

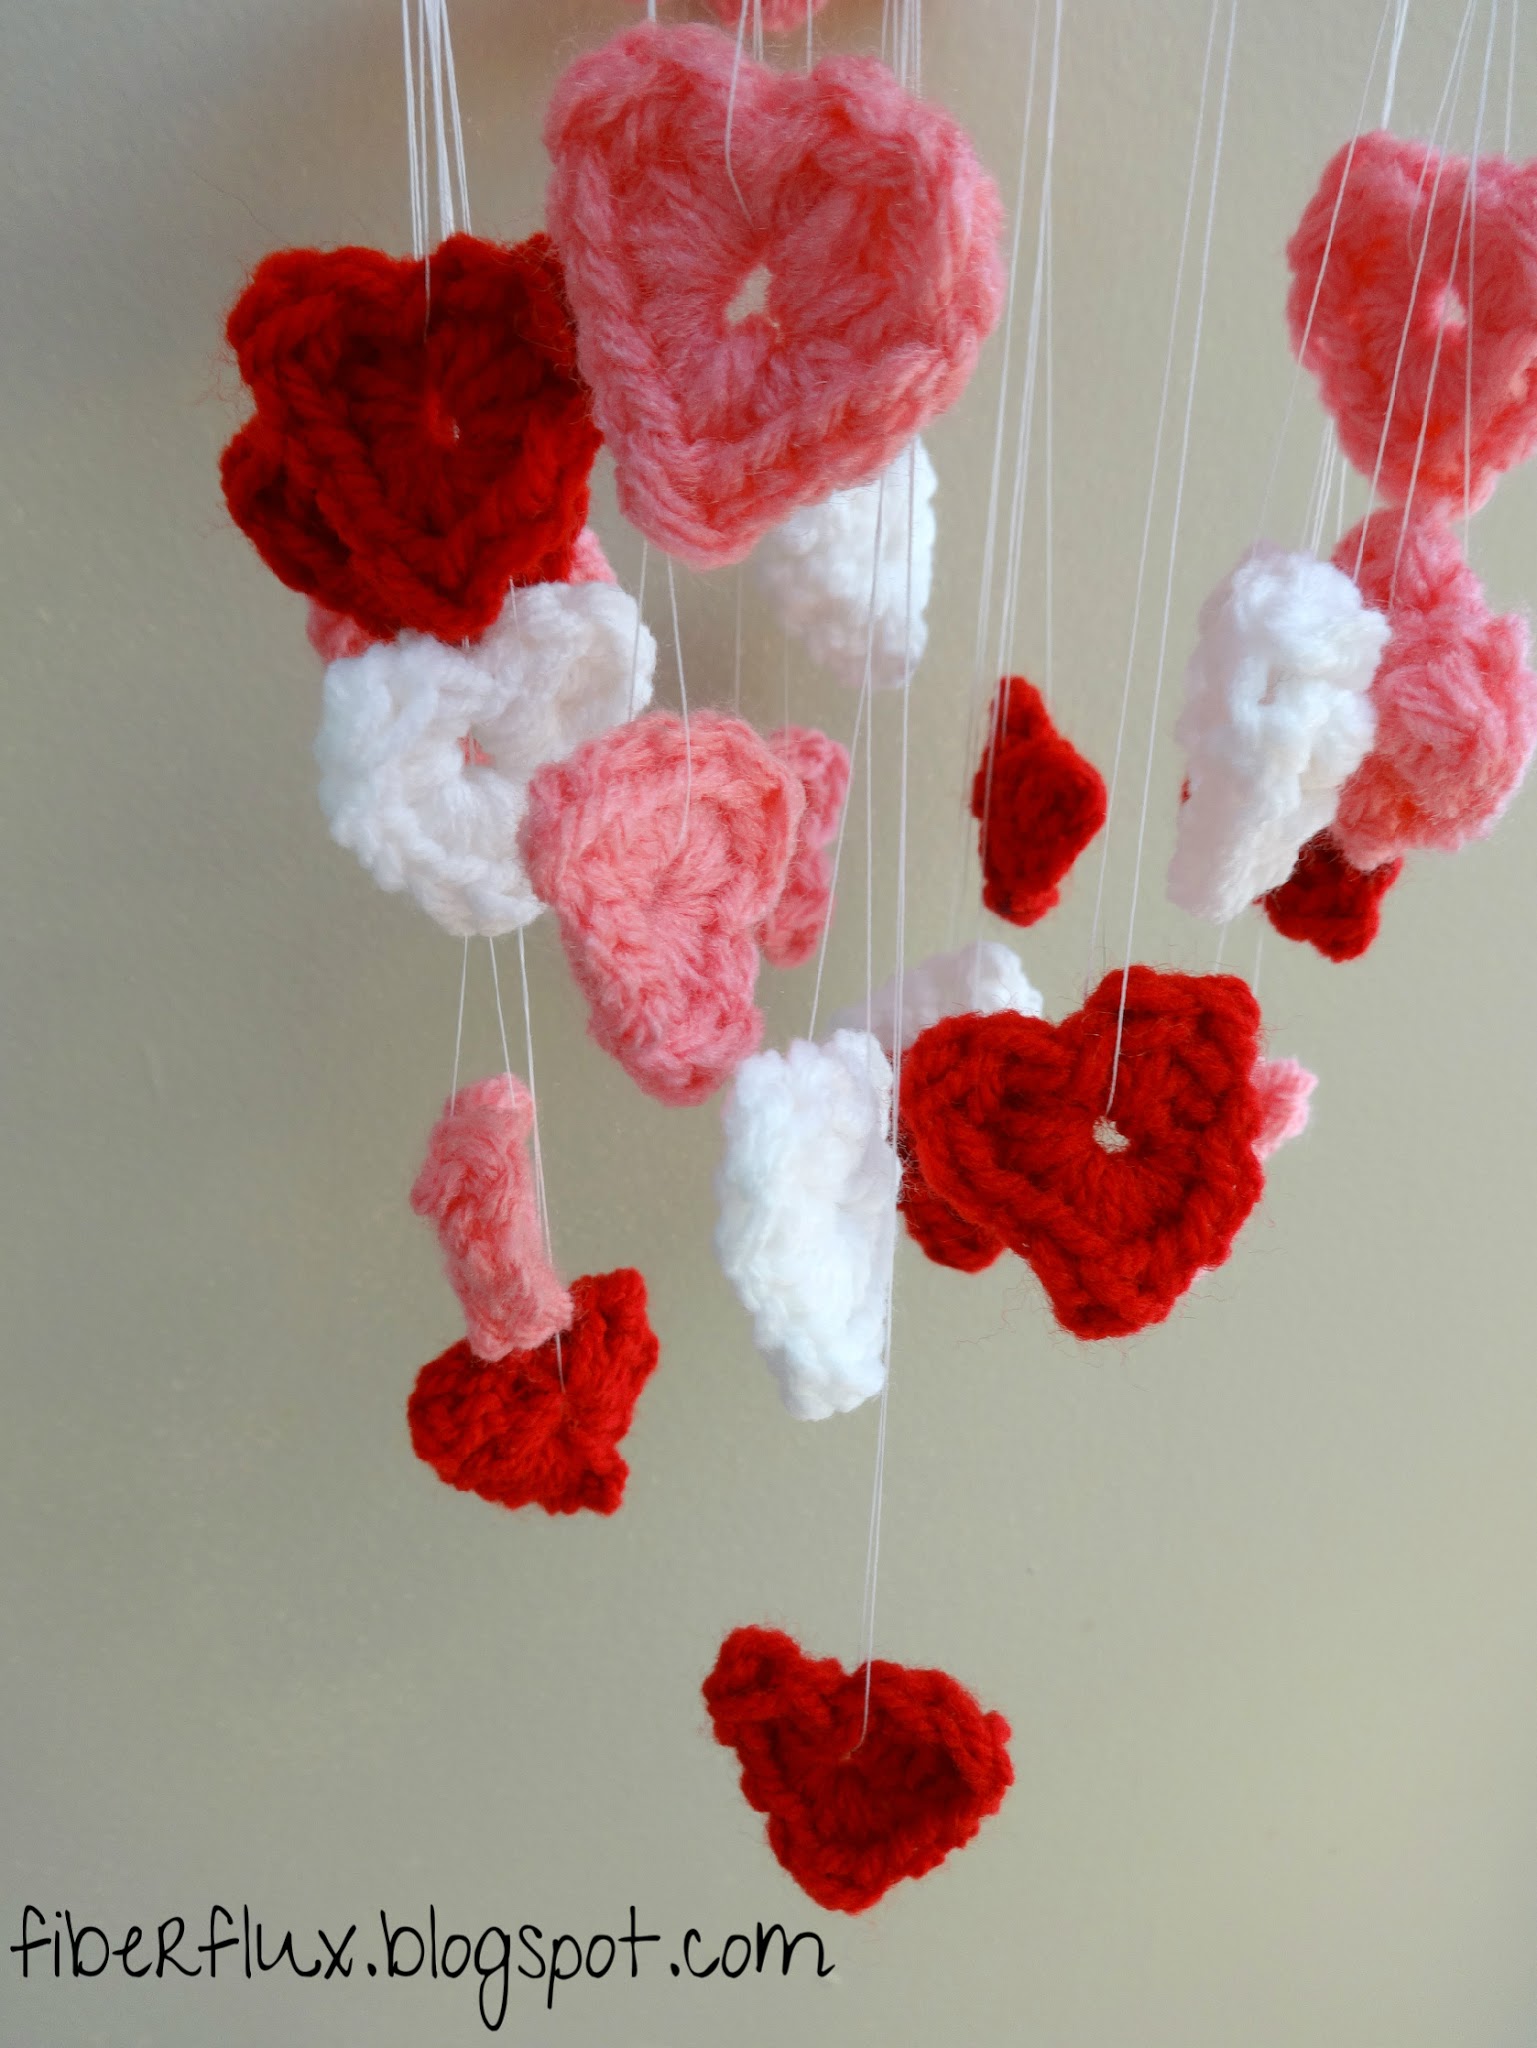
Happy Hearts Day! Here is a whimsical little chandelier you can make to spread some Valentine’s cheer.
For more Valentine goodness, be sure to hop on over to the “Valentine Central” (click the link here or visit the tab at the top of this page)
Here’s what you’ll need:
- 4 inch embroidery hoop (I found a pretty pink plastic one, but any will do)
- Red, white, and pink yarn (yarn shown is Red Heart Super Saver in Cherry Red, White, and Perfect Pink)
- H (5.0 mm) crochet hook
- Thread or fishing line
- Scissors
Here’s how to make it:
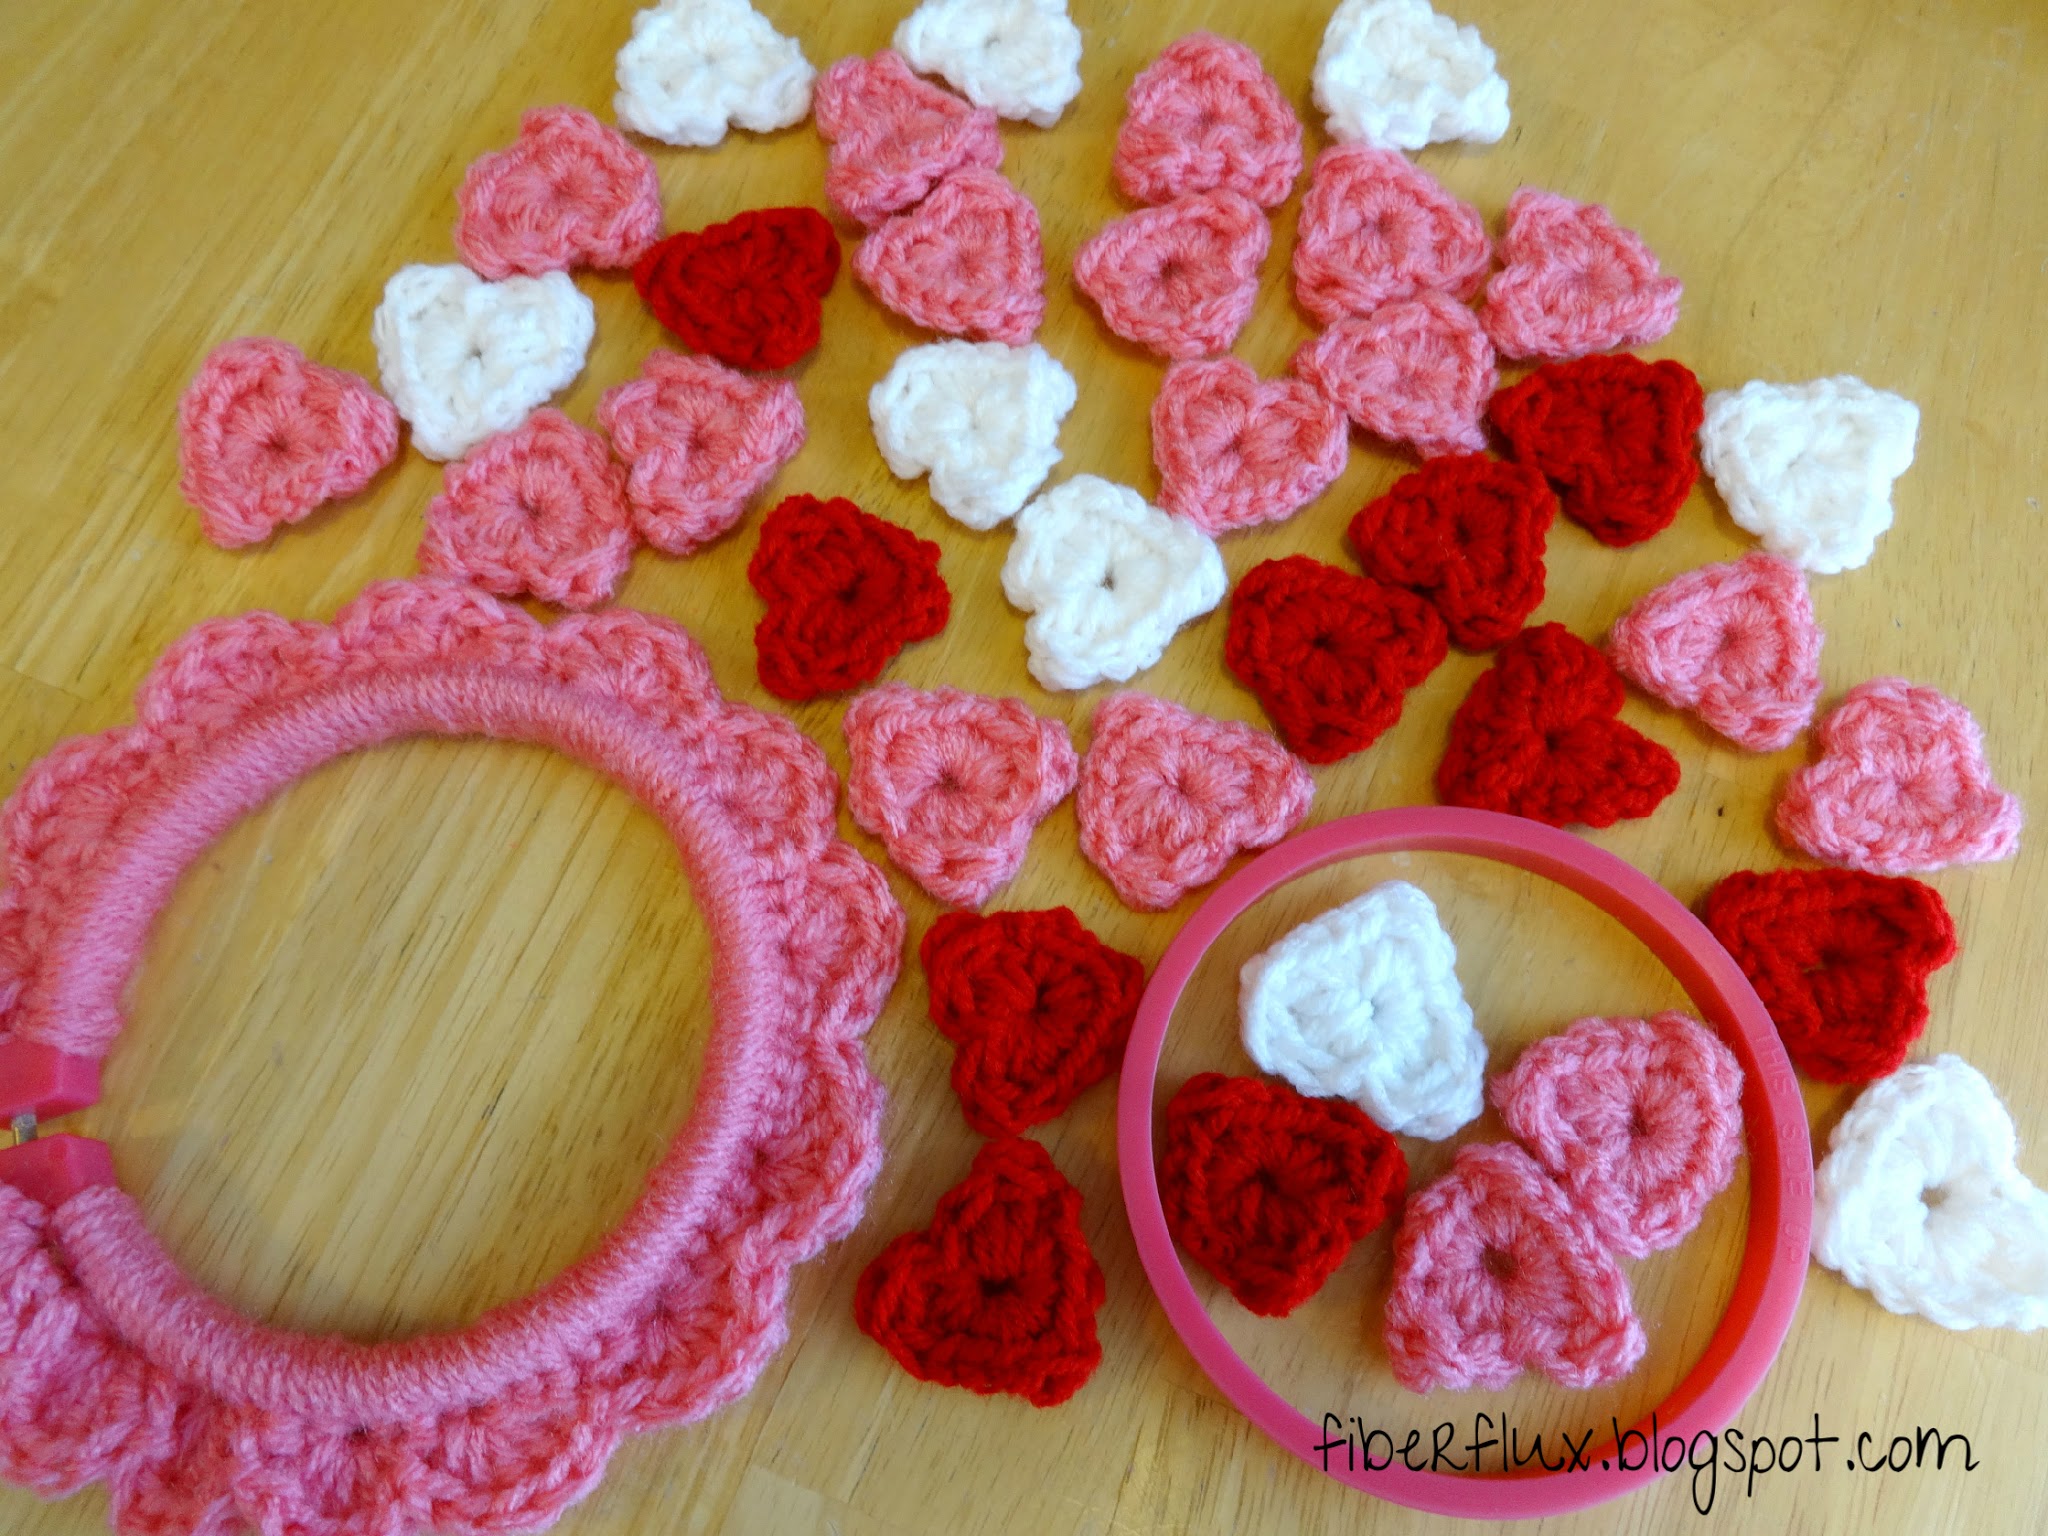
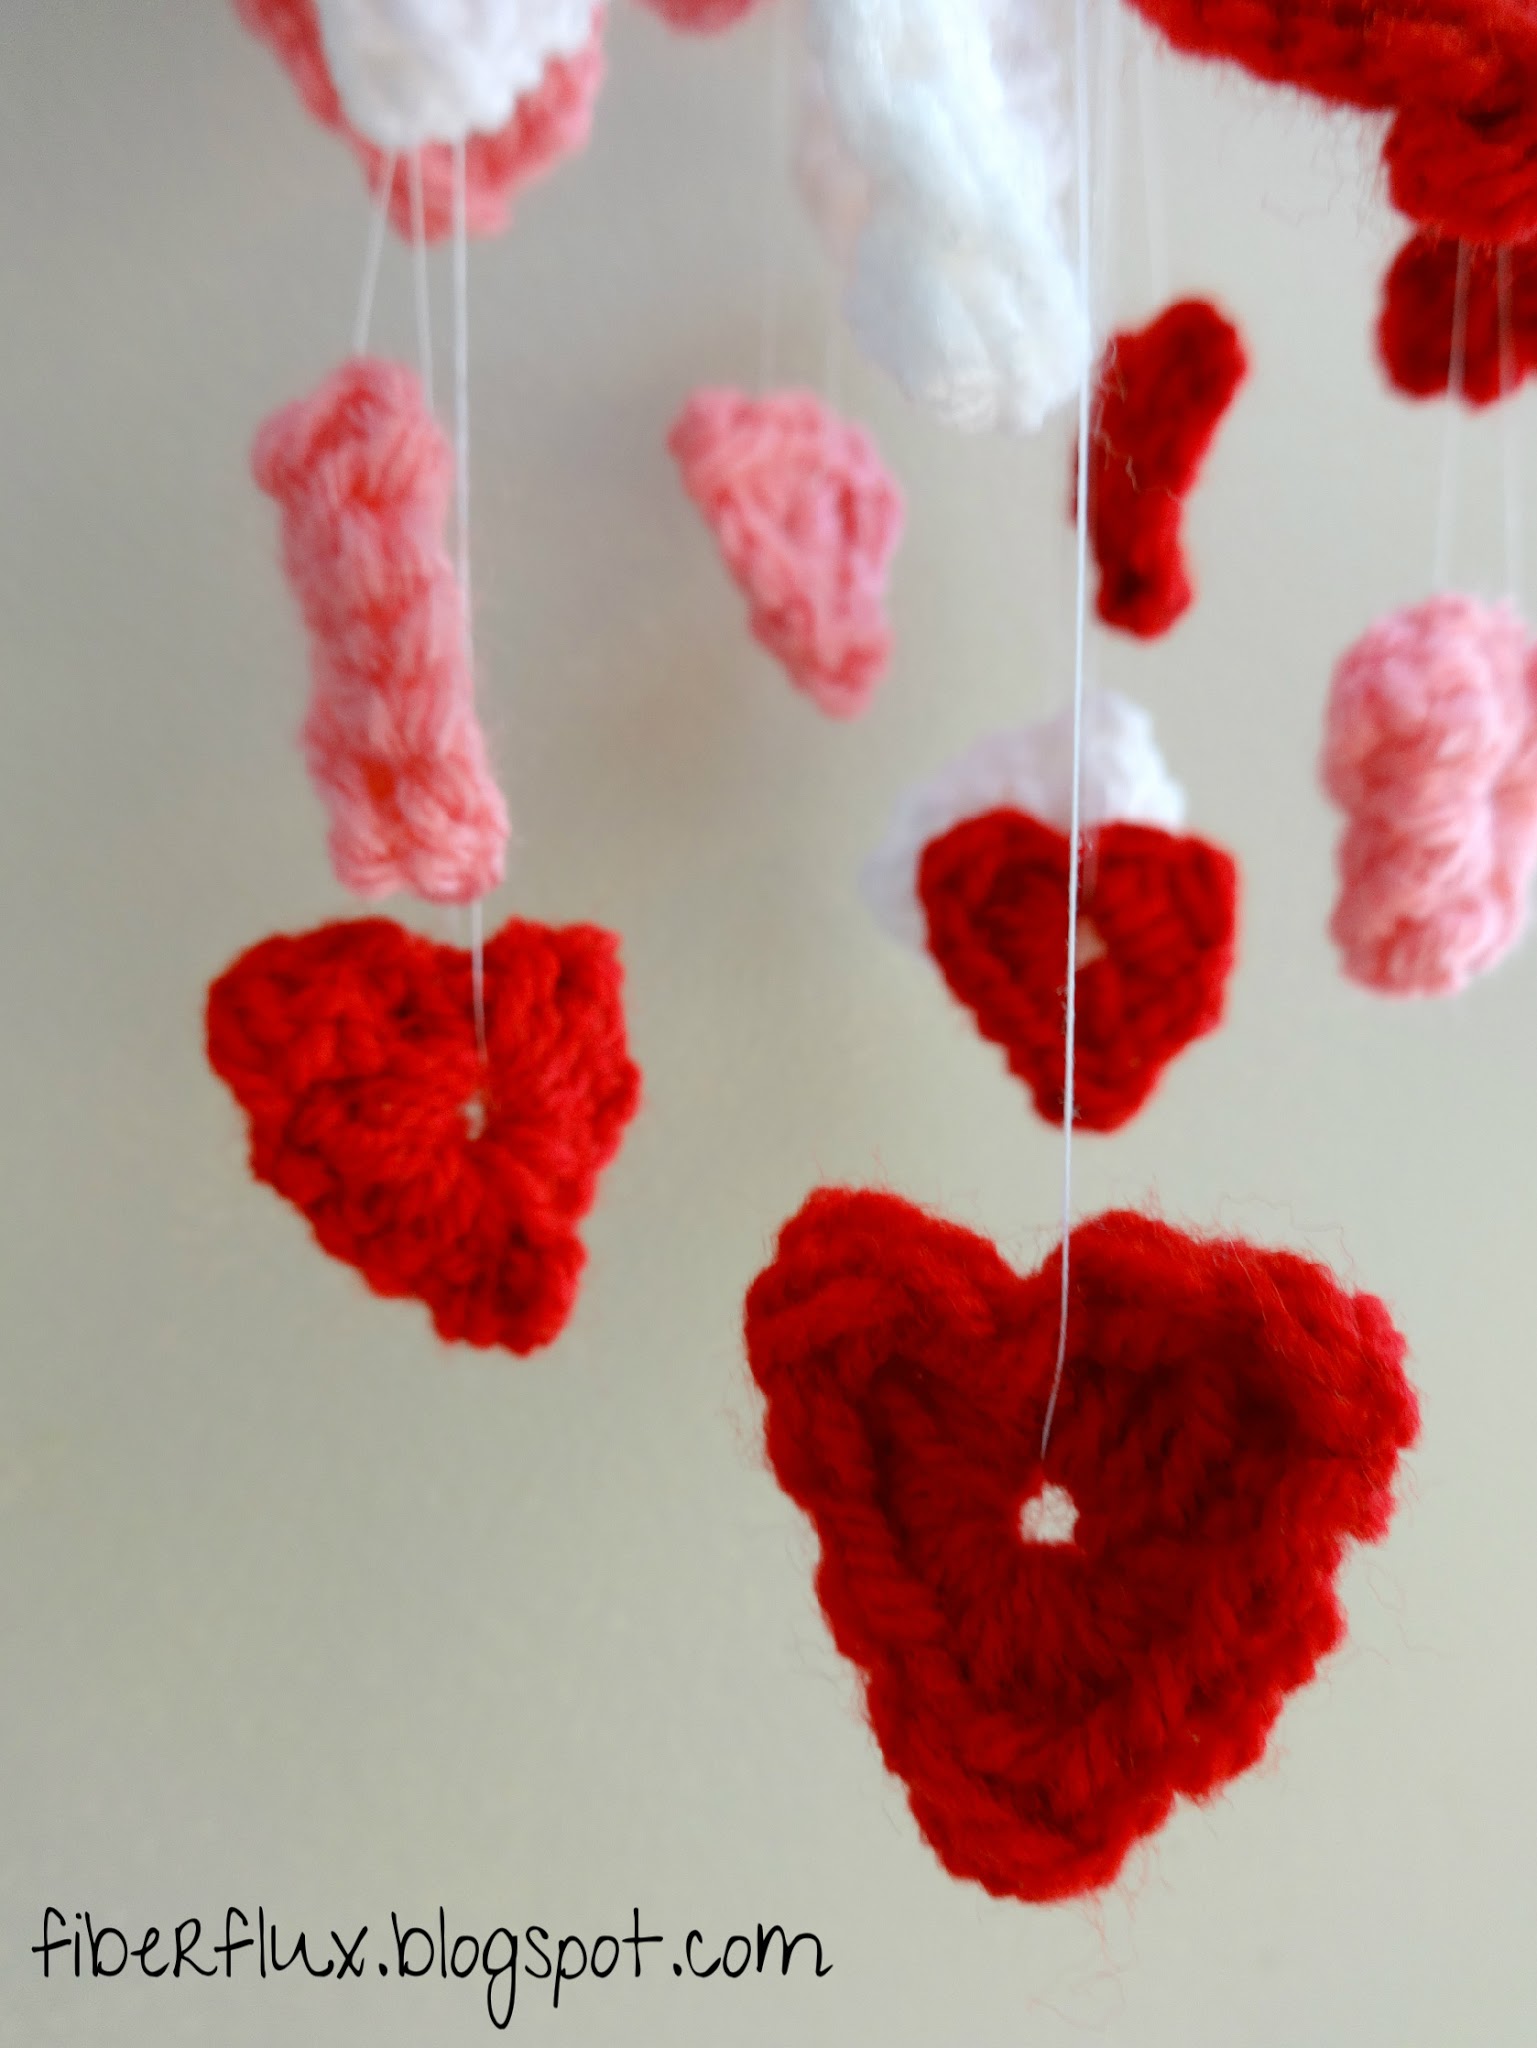
- Work up a bunch of hearts using this one round heart pattern. I made several of each color, set aside.
- Separate the two rings of the embroidery hoop. You’ll crochet the decorative scallop around the outside hoop and tie the hearts to the inside hoop.
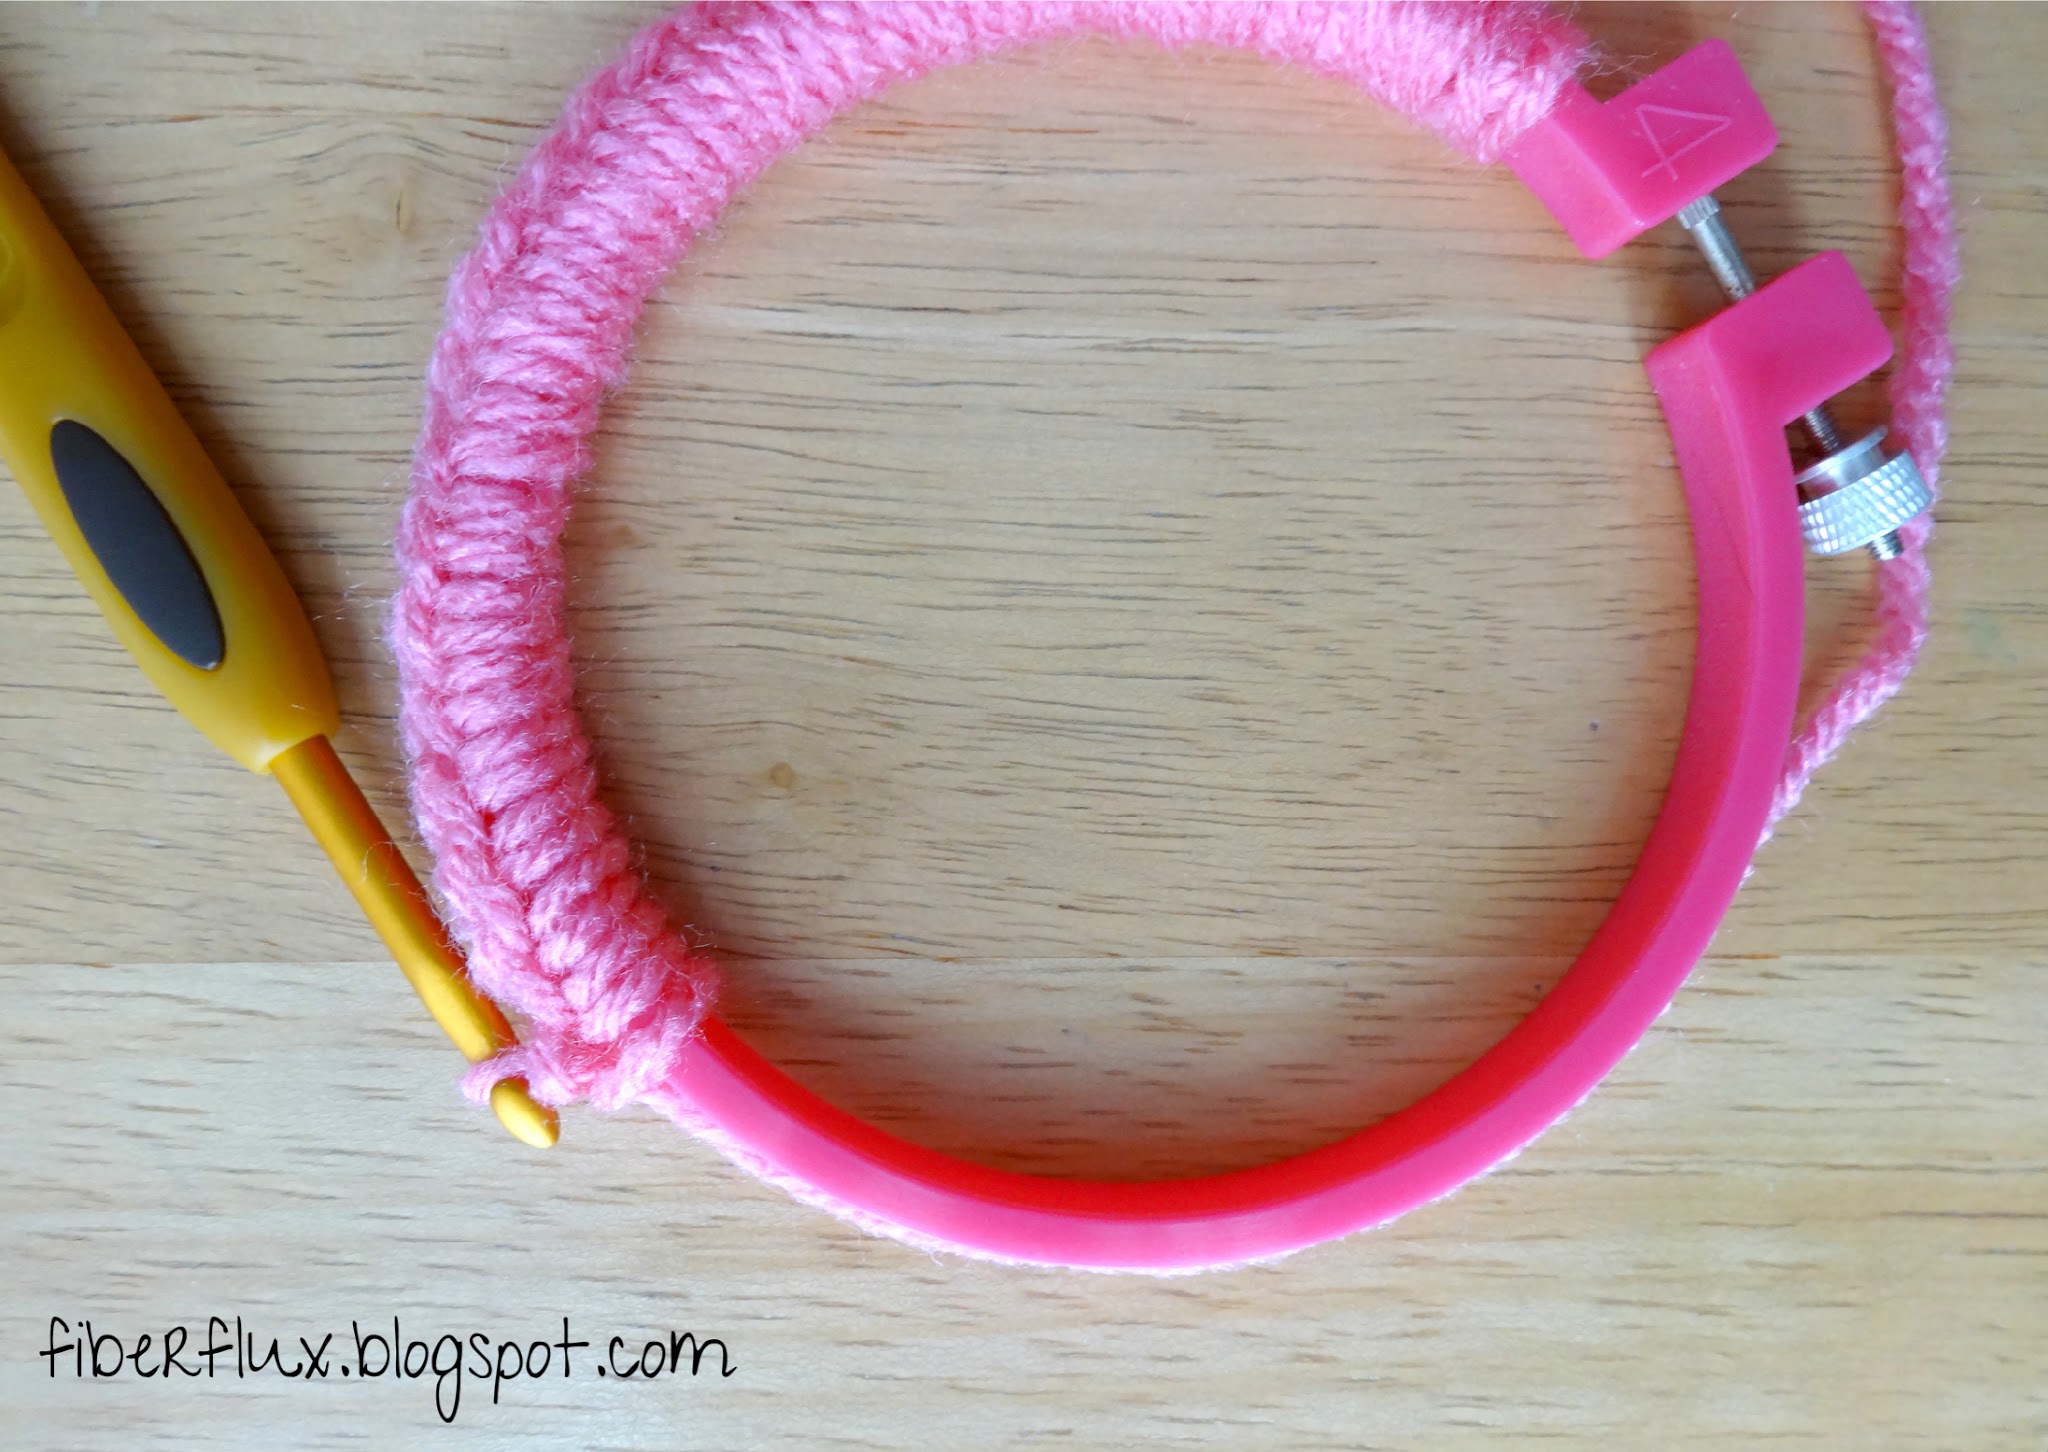
- Tie any color yarn (I used the pink) to the hoop on the left side of where it tightens. Begin working single crochets all around the hoop, until hoop is covered. You can do any amount, as long as it is in multiples of five to accommodate the scallop stitches.
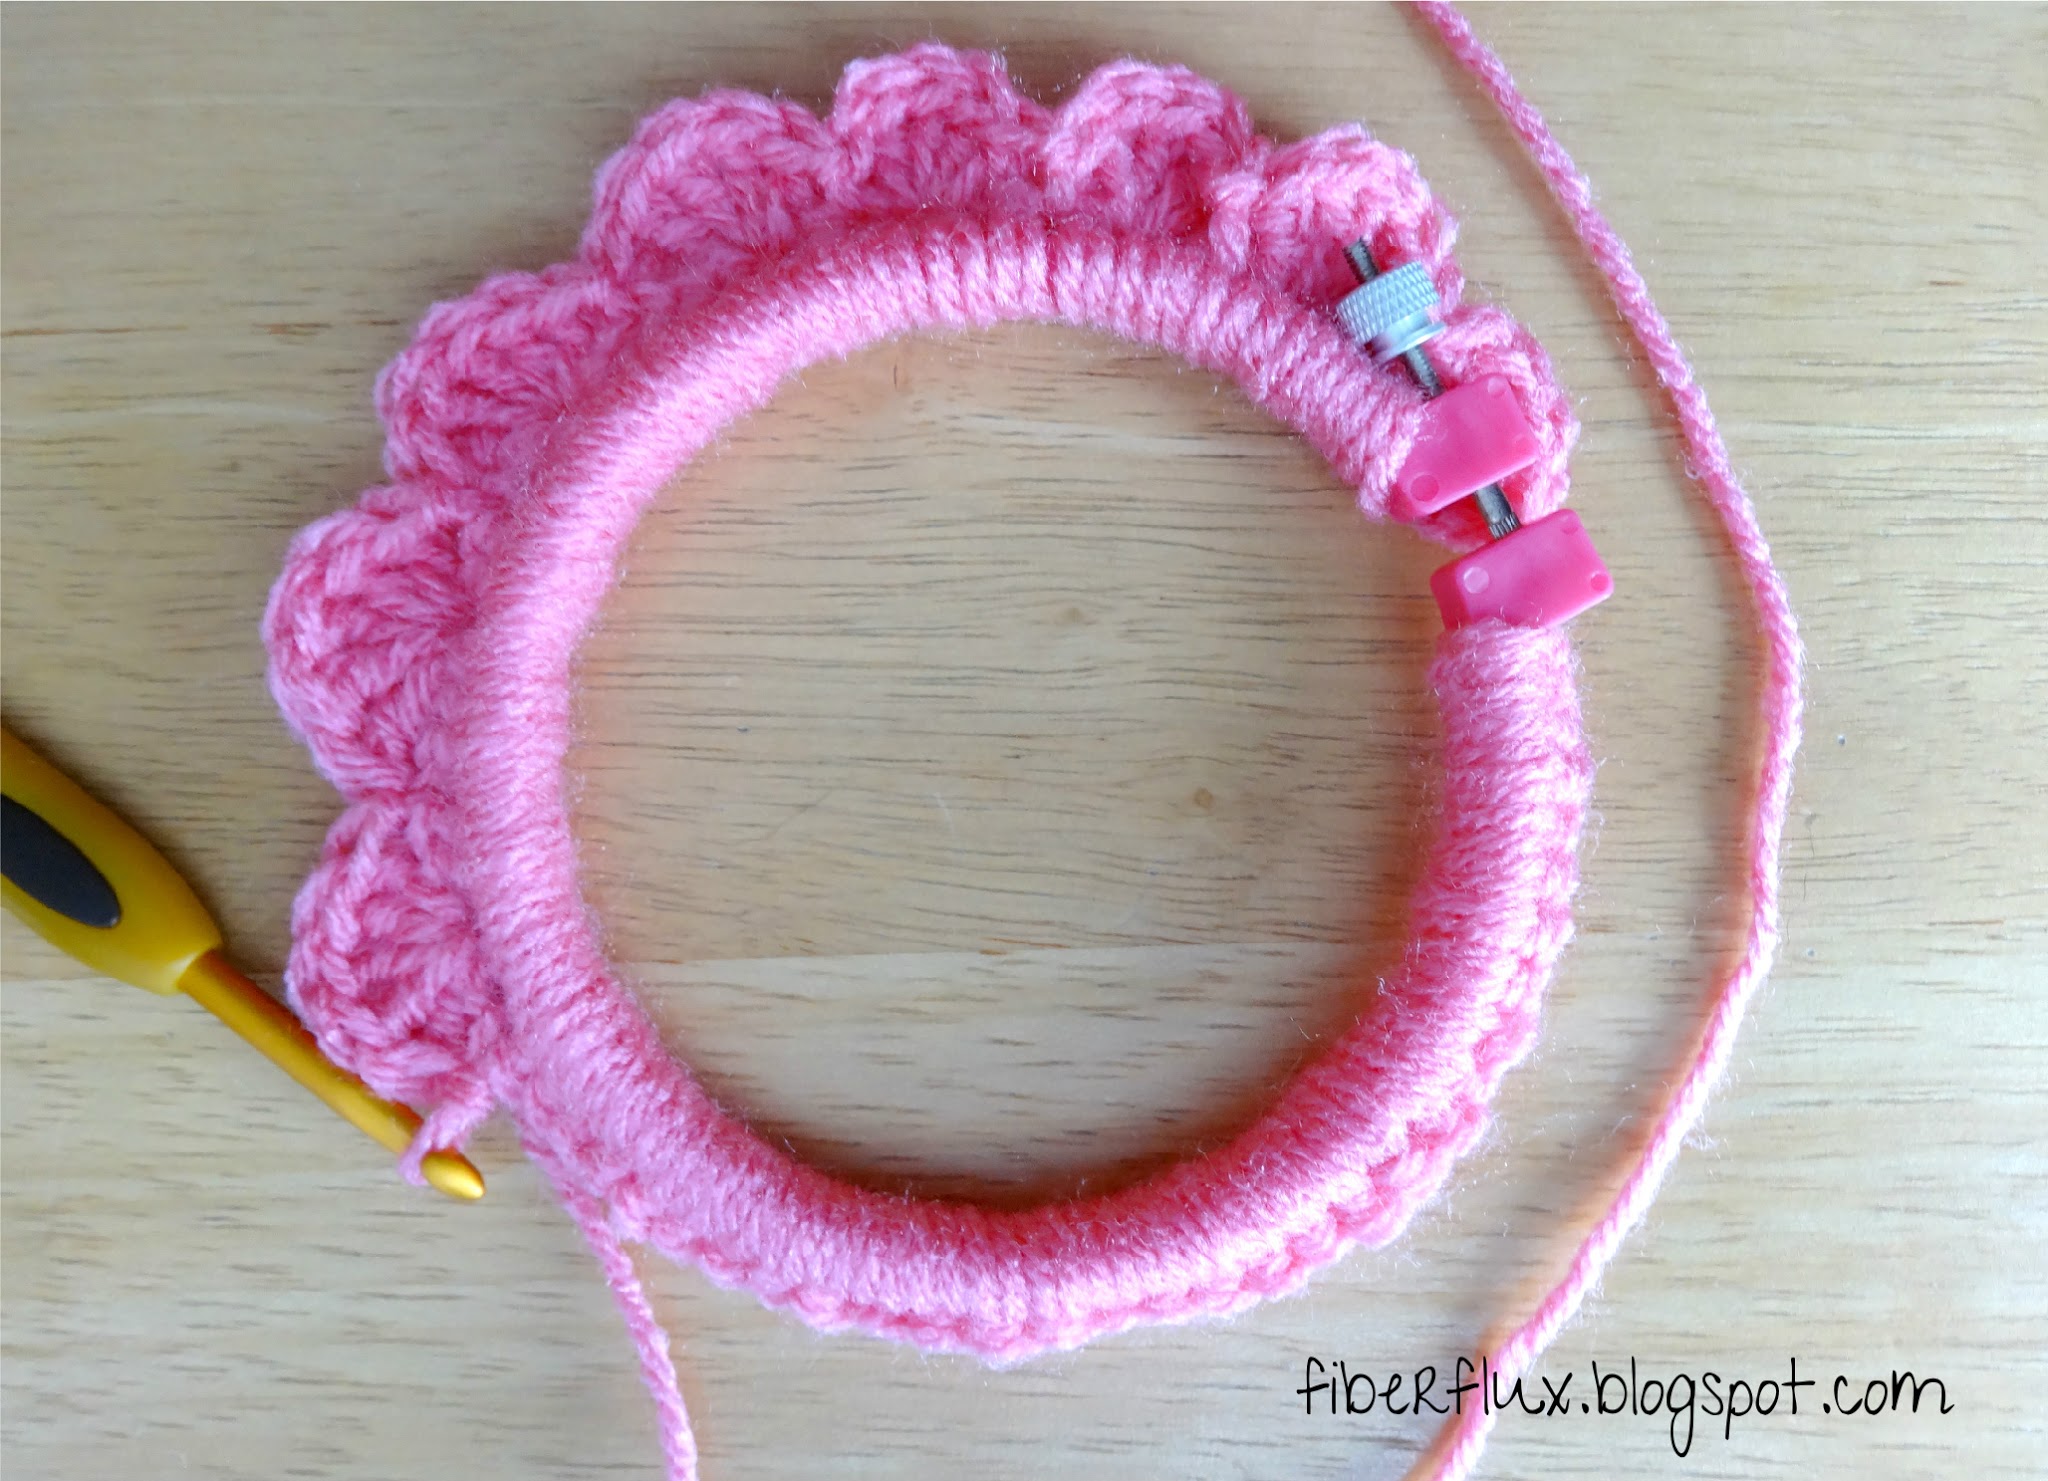
- Next, Chain 3 (counts as first dc) and flip it over to begin working the scallop.
- In the first stitch, work 4 dc. (the first is just 4 because of the turning chain, all other scallops are 5 dc each). Skip a stitch and work a slip stitch in the stitch after that. Skip two stitches and work 5 dc in the next stitch, then skip a stitch, then work a sl st in the next st, then skip two sts.
- Continue in this sequence (5 dc in next stitch, skip next, sl st in next, skip two sts) around the perimeter of the hoop.
- Note: the scallop is fairly forgiving, if for some reason you have an extra stitch, just skip an extra if you need to. Sometimes no matter how many times I count, it happens…no worries!
- Next, using the thread/fishing line tie on the hearts to the inner hoop. They’ll slide around, but once you put the two hoops back together, it will “lock” everything in place.
- Before you put the hoops back together, you may have to slide things around a little (or a lot!) to make sure it will hang level. Tie more thread/fishing line for hanging…I used two pieces and crossed them over to make an “x”
- When everything is together, snip any tails or short pieces that remain…all finished!
For more fun projects and pretty patterns, be sure to follow us on Google+, Facebook, Twitter, and Pinterest for the latest updates!


