
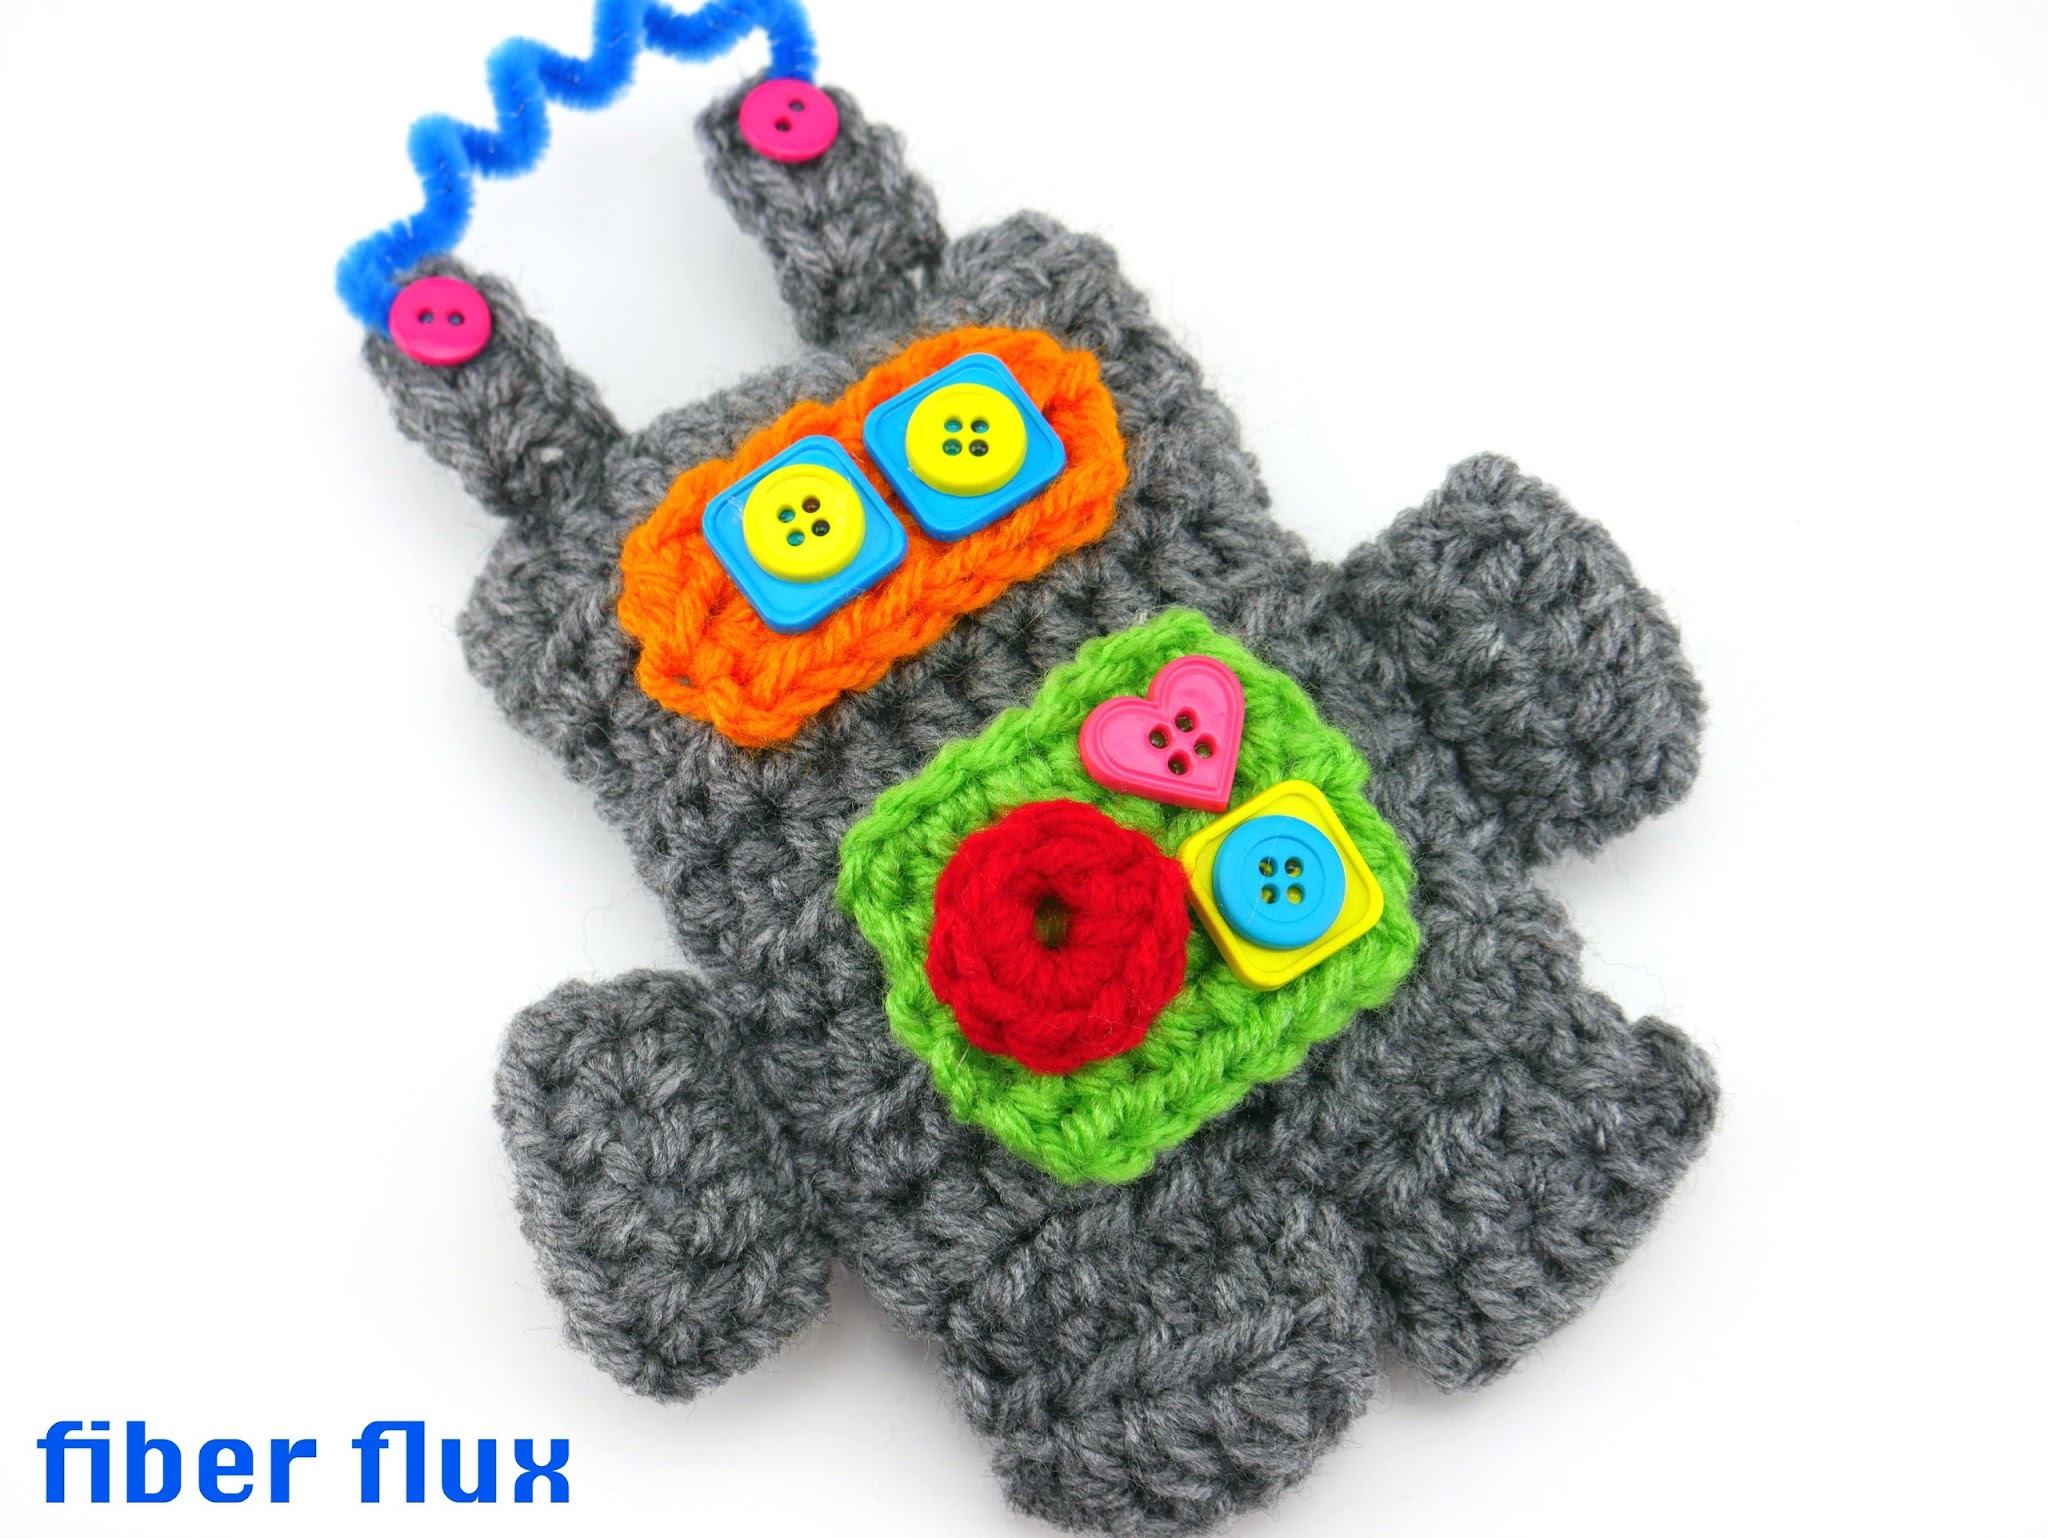
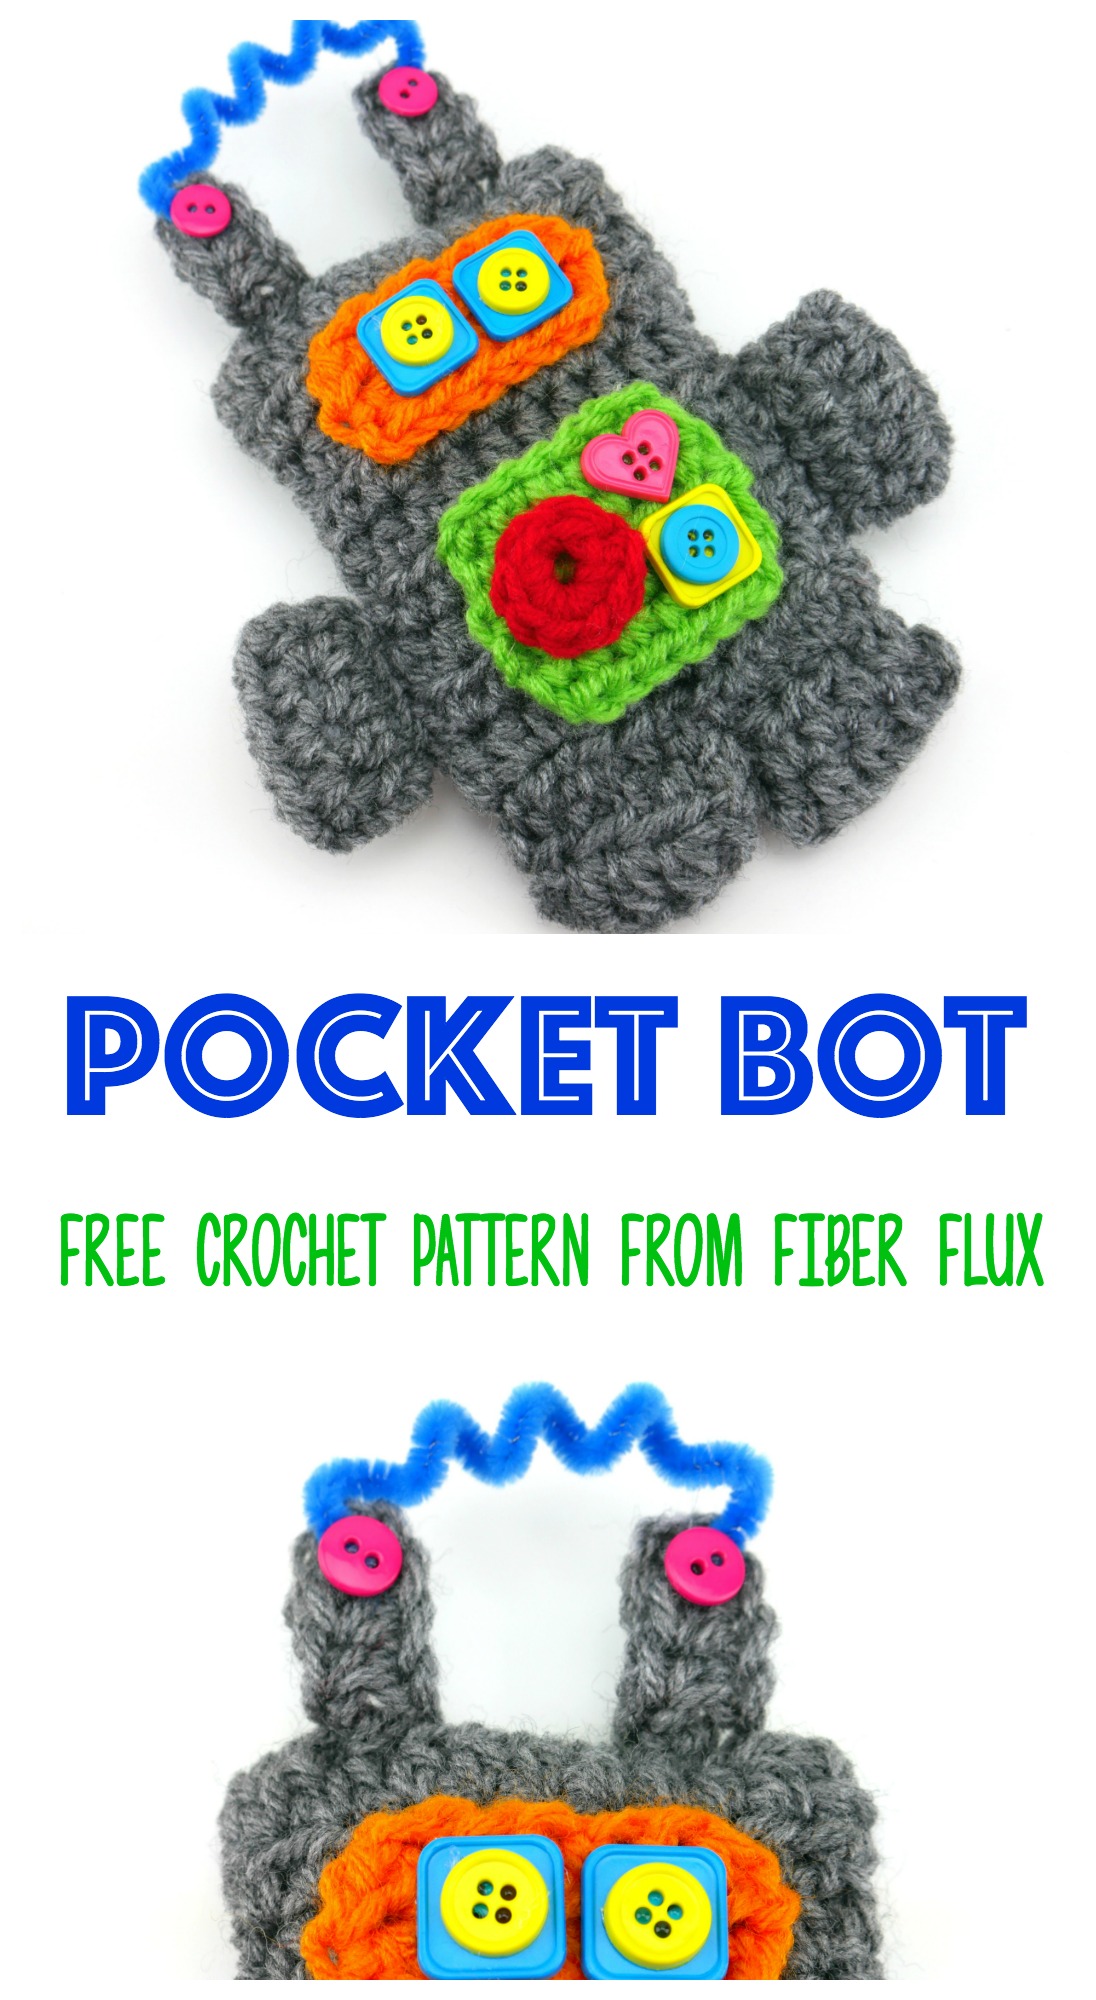
Pocket Bot is a fun little toy that is easy to stitch up. Fun buttons decorate the front and a playful antenna is a cute topper. Perfect for kids and robot lovers alike! Pocket Bot is part of the Crochet Charity Drive crochet along…come join our Facebook group and crochet with us!
Please note: Pocket Bot is for kids over 3 because of small parts.
Need a little help? There’s a full video tutorial below too!
Let’s connect!


Pocket Bot
By Jennifer Dickerson
Click the button below to add this project to your Ravelry queue:
Click below to watch a full video tutorial on how to make this project:
(Can’t see the video? Click here!)
Materials:
-
6.0 mm J crochet hook
-
Worsted Weight yarn in colors of your choice (I used Red Heart Super Saver in “Spring Green” “Gray Heather” “Pumpkin” and “Cherry Red”
-
Buttons ( I used 4 for the eyes, 3 for the chest, and 2 more for the antenna)
-
Pipe cleaner (6 inches long or so)
-
Tapestry Needle
-
Scissors
-
Fiberfill (or Polyfill as it is sometimes called)
Sizing:
-
7 inches tall
-
5 inches wide
Abbreviations and Tutorial Links:
Pocket Bot is made of several pieces and then attached together. Make the pieces first, then proceed down to the “Assembly” section. Below in the parenthesis are the yarn color I used, however feel free to use any colors you like!
Instructions for the body (Gray yarn – make 1):
Ch 12
Row 1: Work a hdc in the 3rd ch from the hook, then work a hdc in each ch across.
Row 2: Ch 2 and turn. Work a hdc in each st across.
Repeat row 2 until piece measures approximately 9 inches inches and fasten off.
Instructions for Arms & Legs (Gray yarn – make 4):
Ch 6
Row 1: Work a hdc in the 3rd ch from the hook, then work a hdc in each ch across.
Row 2: Ch 2 and turn. Work a hdc in each st across.
Repeat row 2 two more times, then fasten off.
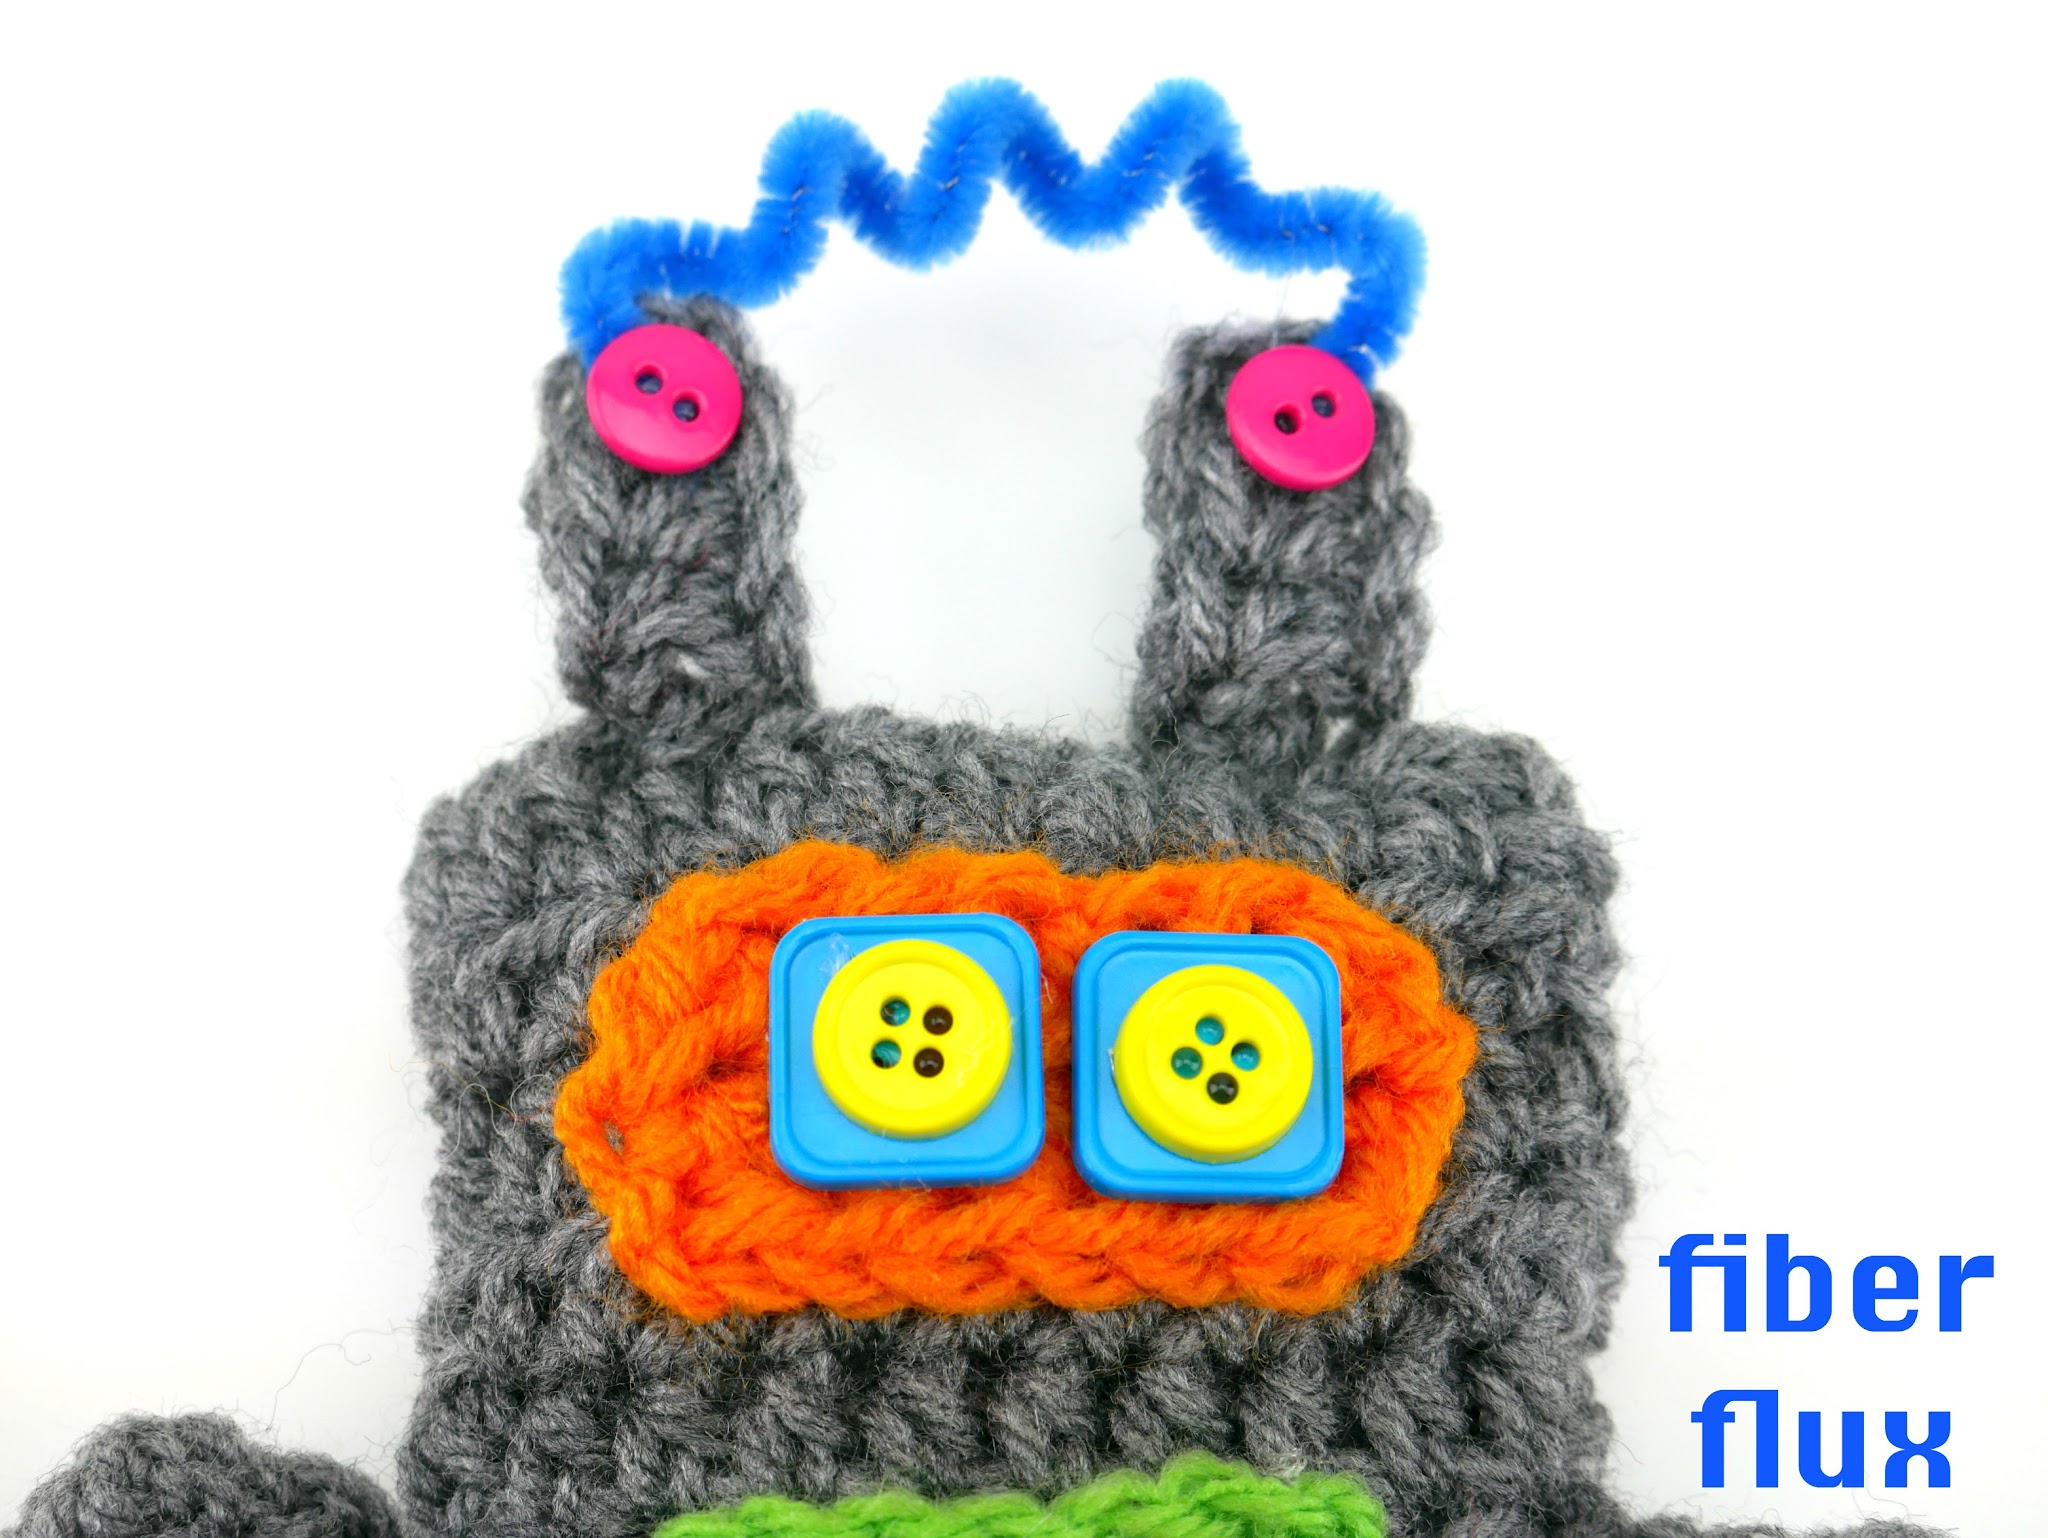
Instructions for Face Plate (Orange yarn – make 1):
Ch 8
Row 1: Work a hdc in the 3rd ch from the hook, then work a hdc in each ch across.
Row 2: Ch 2 and turn. Work a hdc in each st across, then fasten off.
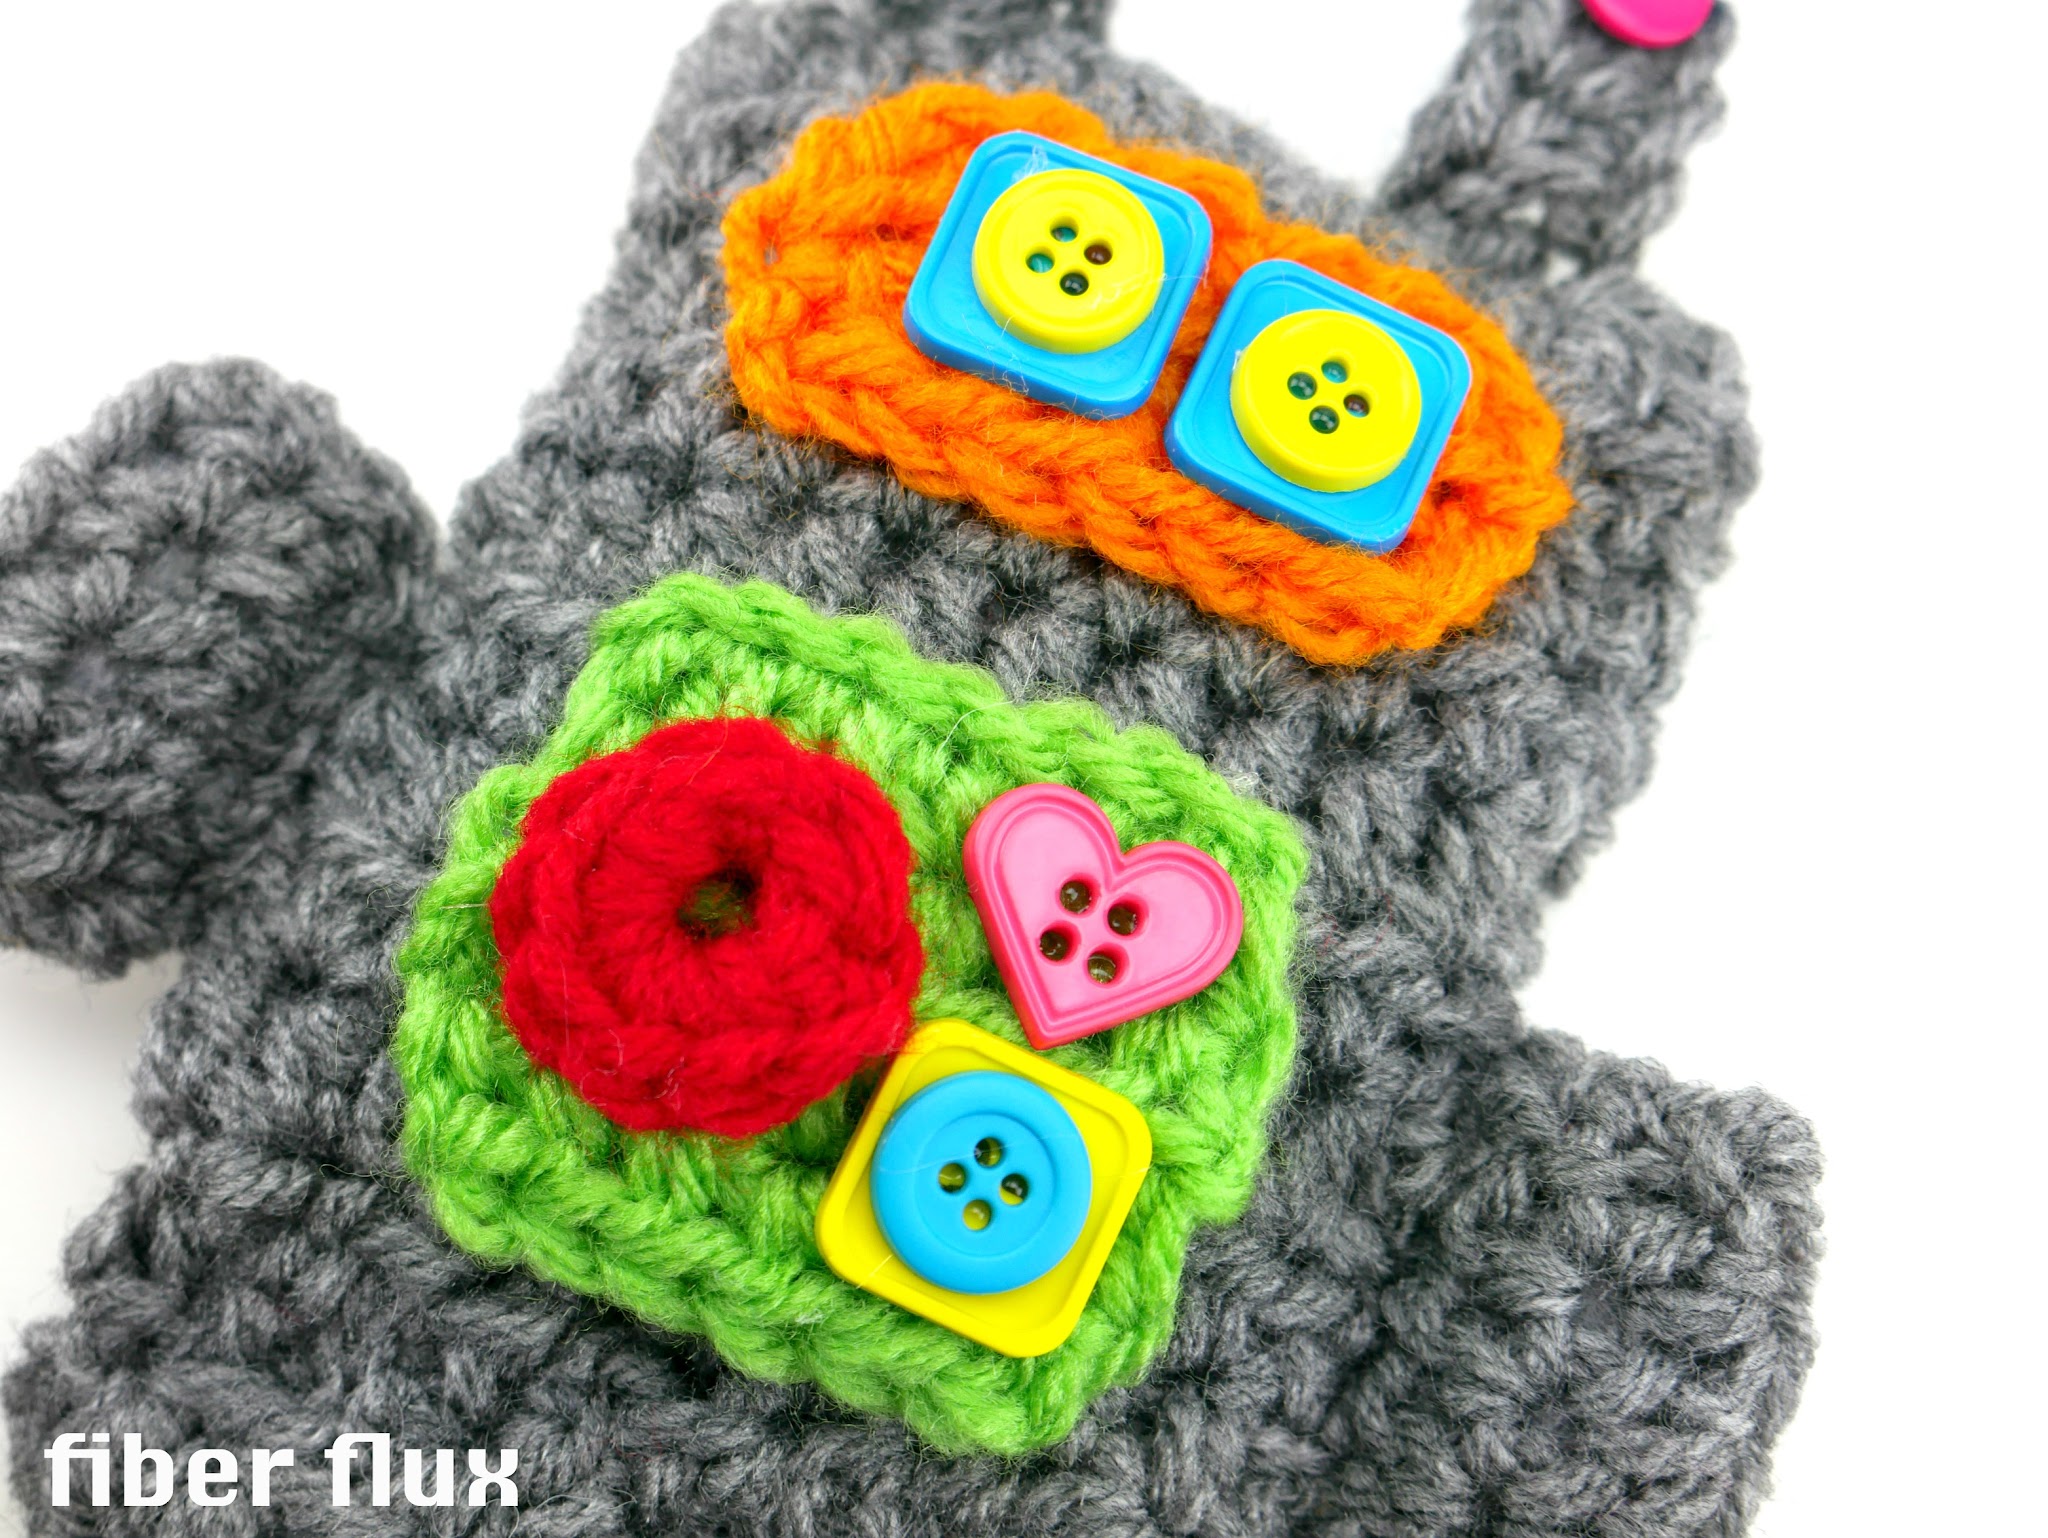
Instructions for Chest Plate (Green yarn – make 1):
Ch 8
Row 1: Work a hdc in the 3rd ch from the hook, then work a hdc in each ch across.
Row 2: Ch 2 and turn. Work a hdc in each st across.
Repeat row 2 two more times, then fasten off.
Instructions for Antenna (Gray yarn – make 2):
Ch 6
Row 1: Work a hdc in the 3rd ch from the hook, then work a hdc in each ch across. Fasten off.
Instructions for Knob (Red yarn – make 1)
Ch 2
Work 8 sc in the ch furthest from the hook, then fasten off.
Assembly:
Fold robot body piece in half and seam closed with the whip stitch seam, adding fiberfill just before you work those last few stitches. Fold each arm/leg piece in half and seam closed with the whip stitch seam, adding fiberfill just before you work those last few stitches. Sew arms and legs to the robot body as shown in the photos. Sew antenna to the top of the robot’s head. Hot glue or set green chest plate to the front of the robot’s body. Hot glue or sew robot’s orange face plate towards the top front of the robot. Hot glue or sew red knob and buttons as shown for eyes and chest buttons. Using a crochet hook handle or pencil, wrap the pipe cleaner around to create a spiral. Glue as shown and then glue buttons on top to hide glued area.

© Jennifer Dickerson 2017
For more fun projects and pretty patterns, be sure to follow Fiber Flux on Google+, Facebook, Twitter, and Pinterest for the latest updates!

Visit the Fiber Flux Yarn Shop…lovely yarn & great prices!


 (Affiliate links, enjoy these awesome products and thanks as always for your support!)


Hands down, This is the most awesome crochet pattern I have ever came across. I am new to knitting and have been taking online classes and so far i have created small items and this is a great idea for my weekend project.Thanks for the inspiration. I will be subscribing to you for more posts like this..
Hi Jennifer thank you for. The Rob Bob and fidget spinner made them for my neighbor. The bag is lovely could you teach how to linen a bag thank you