
Welcome to week 3 of the 2018 Fiber Flux Spring Crochet Along! Today marks week three (already…can you believe it?!?) of the CAL and we’ll tackling the decrease portion of the Springy Stripes C2C Blanket! This is a fun to stitch up blanket that allows the maker to play around with color. Today we’ll learn how to decrease, where you stop increasing about midway and begin to bring it back in to finish off the square.
Also, a very special thanks to Red Heart for sponsoring this CAL with their amazing yarn!
Today we are going to be covering:
- The c2c decrease (written steps + full video tutorial)
- Review of sizing your blanket
- A quick tip for switching colors (see video for this in action!)
- Review of the CAL schedule
- Where to connect with other makers
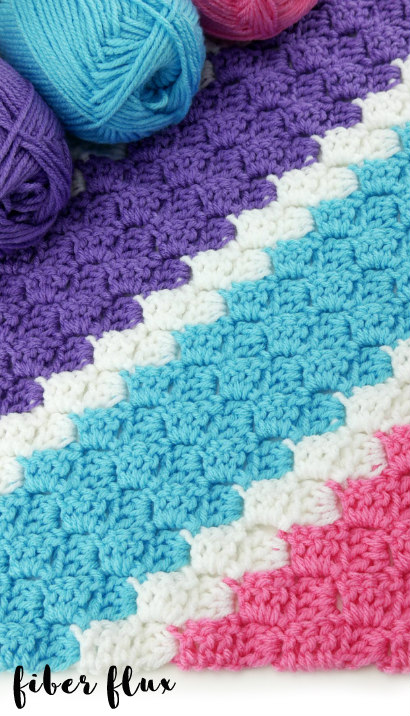
For this CAL (crochet along) we are making the “Springy Stripes Blanket,” a beautiful striped c2c blanket! This has been a highly requested item in the Fiber Flux community, so I am so super excited to making this together! The CAL will be divided over the next few weeks, concluding with a fun showcase of blankets in our maker gallery! Scroll down for the schedule with actual dates and what we’ll be doing on each day/week.
*This is a self-paced project, so definitely go at the speed you feel most comfortable. The instructional videos and posts will be up forever and you will always be able to go back and watch again and again!
Here is a full video tutorial for week 3 of the CAL:
(Can’t see the video? Click here!)
Add this project to your Ravelry queue by clicking on the button below:

Just joining us? Check here for information about supplies!
OK, are you ready? Let’s jump in with the tutorial! I’ve divided it into easy steps that go along with the video to make it simple to follow along. If you’re new to c2c, definitely check out the video too where I’ll walk you through stitch by stitch!
Step 1: When finished working the row, turn your work.
Step 2: Work a slip stitch in each of the next three dc. (see tip below for changing colors on a new row)
Step 3: Work a slip stitch into the turning chain space.
Step 4: Ch 3
Step 5: Work 3 dc into the turning chain space.
Step 6: Slip stitch into the 3rd dc stitch to join the two blocks together OR some people prefer to slip stitch into the turning chain or turning chain space to join. It really is a preference, do what you like best…each way of joining will look very similar. Just be sure as you’re doing all of this the tail (from where you began) is facing downward. You might have to turn it a bit to get it in the right spot.
Step 7: Ch 3
Step 8: Work 3 dc into the turning chain space.
Repeat steps 4 through 8 to complete the remainder of your row. When you begin a new row, begin at step one again. As you decrease, you will eliminate a block from each row.
*Quick color change tip! To keep stripes of color neat looking, change your yarn color AFTER step 2 of each row. See video to see this tip in action!
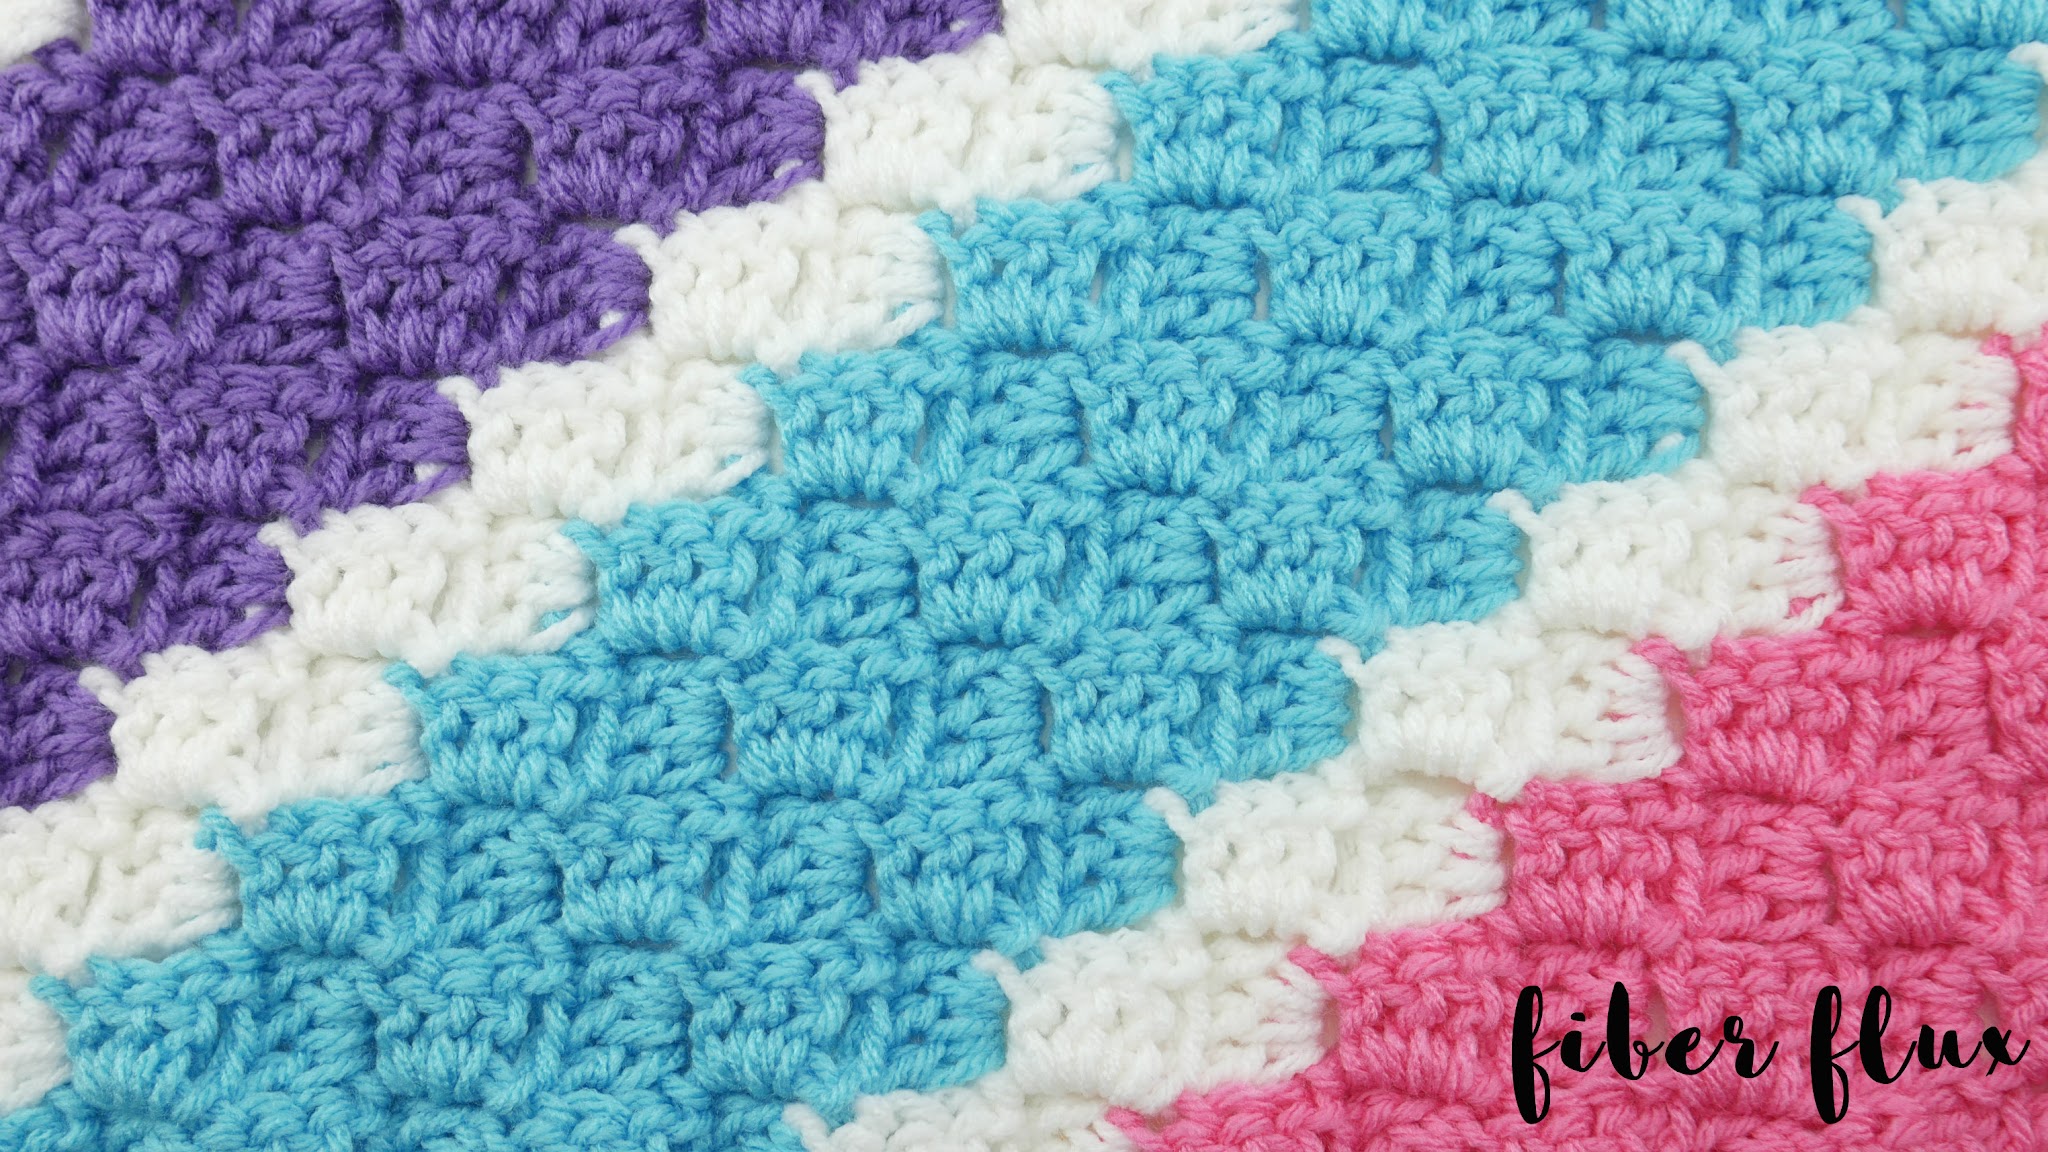
You can work your stripes how you like…I did mine in this sequence:
- 6 rows “Happy” (pink)
- 2 rows “White”
- 6 rows “Sky” (aqua blue)
- 2 rows “White”
- 6 rows “Lilac” (purple)
- 2 rows “White”
Then just repeat!
The finished blanket (if you make the exact one I’ll be making in the pattern and video) is approximately 50 inches tall and 50 inches wide. I’m making mine a large baby blanket/kid sized throw. The blanket height and width can be adjusted by simply working more or less rows of the pattern. The first half of the blanket we’ll increase the square and the second half we’ll decrease, using roughly half of the yarn for the first half of the square and the rest for the decrease part.
*Note: if you want to make your blanket larger, more yarn might be needed. Check out the chart below for common blanket sizes:
![]()
Get yarn for this project here!
(Affiliate link)

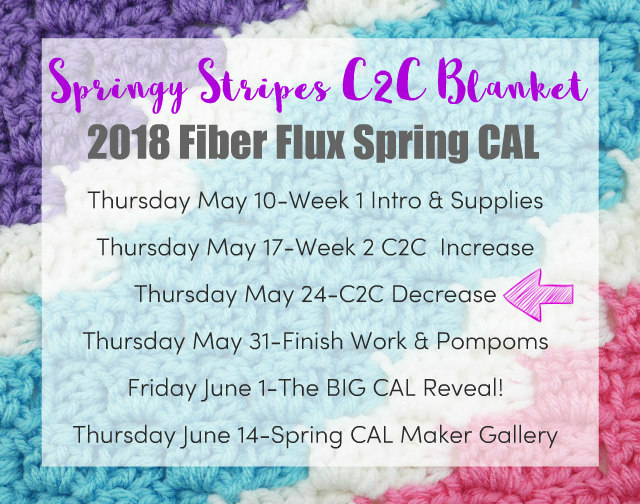
Here’s our CAL schedule below for easy reference:
Missed a week? See links below:
Thursday May 10: Introduction to the CAL, GIVEAWAY, the project, size of finished shawl, yarn, and supplies needed.Thursday May 17: Week 2-c2c increase- Thursday May 24 (that’s today!): Week 3-c2c decrease
- Thursday May 31: Finish work and adding pompoms
- Friday June 1: The BIG CAL reveal!
- Thursday June 14: Spring CAL Maker Gallery Day! Check it out to see all of the gorgeous blankets from the Fiber Flux community!
Let’s connect! You can connect at any of the social media outlets below, be sure to use the tag #fiberfluxcal for your photos.


Also, we have a special group for us on Ravelry, the “Fiber Flux CAL Group” There is a welcome area, so please hop on and introduce yourself. You can get info, ask questions, help each other, see what everyone is doing, and show off your work too!

Click HERE to visit and join the group!
That’s all for today lovelies! See you next week for the finishing touches…happy crocheting!
© Jennifer Dickerson 2018
For more fun projects and pretty patterns, be sure to follow Fiber Flux on Google+, Facebook, Twitter, and Pinterest for the latest updates!
Visit the Fiber Flux Yarn Shop…lovely yarn & great prices!


 (Affiliate links, enjoy these awesome products and thanks as always for your support!)
© Jennifer Dickerson 2018
For more fun projects and pretty patterns, be sure to follow Fiber Flux on Google+, Facebook, Twitter, and Pinterest for the latest updates!
Visit the Fiber Flux Yarn Shop…lovely yarn & great prices!
(Affiliate links, enjoy these awesome products and thanks as always for your support!)

