
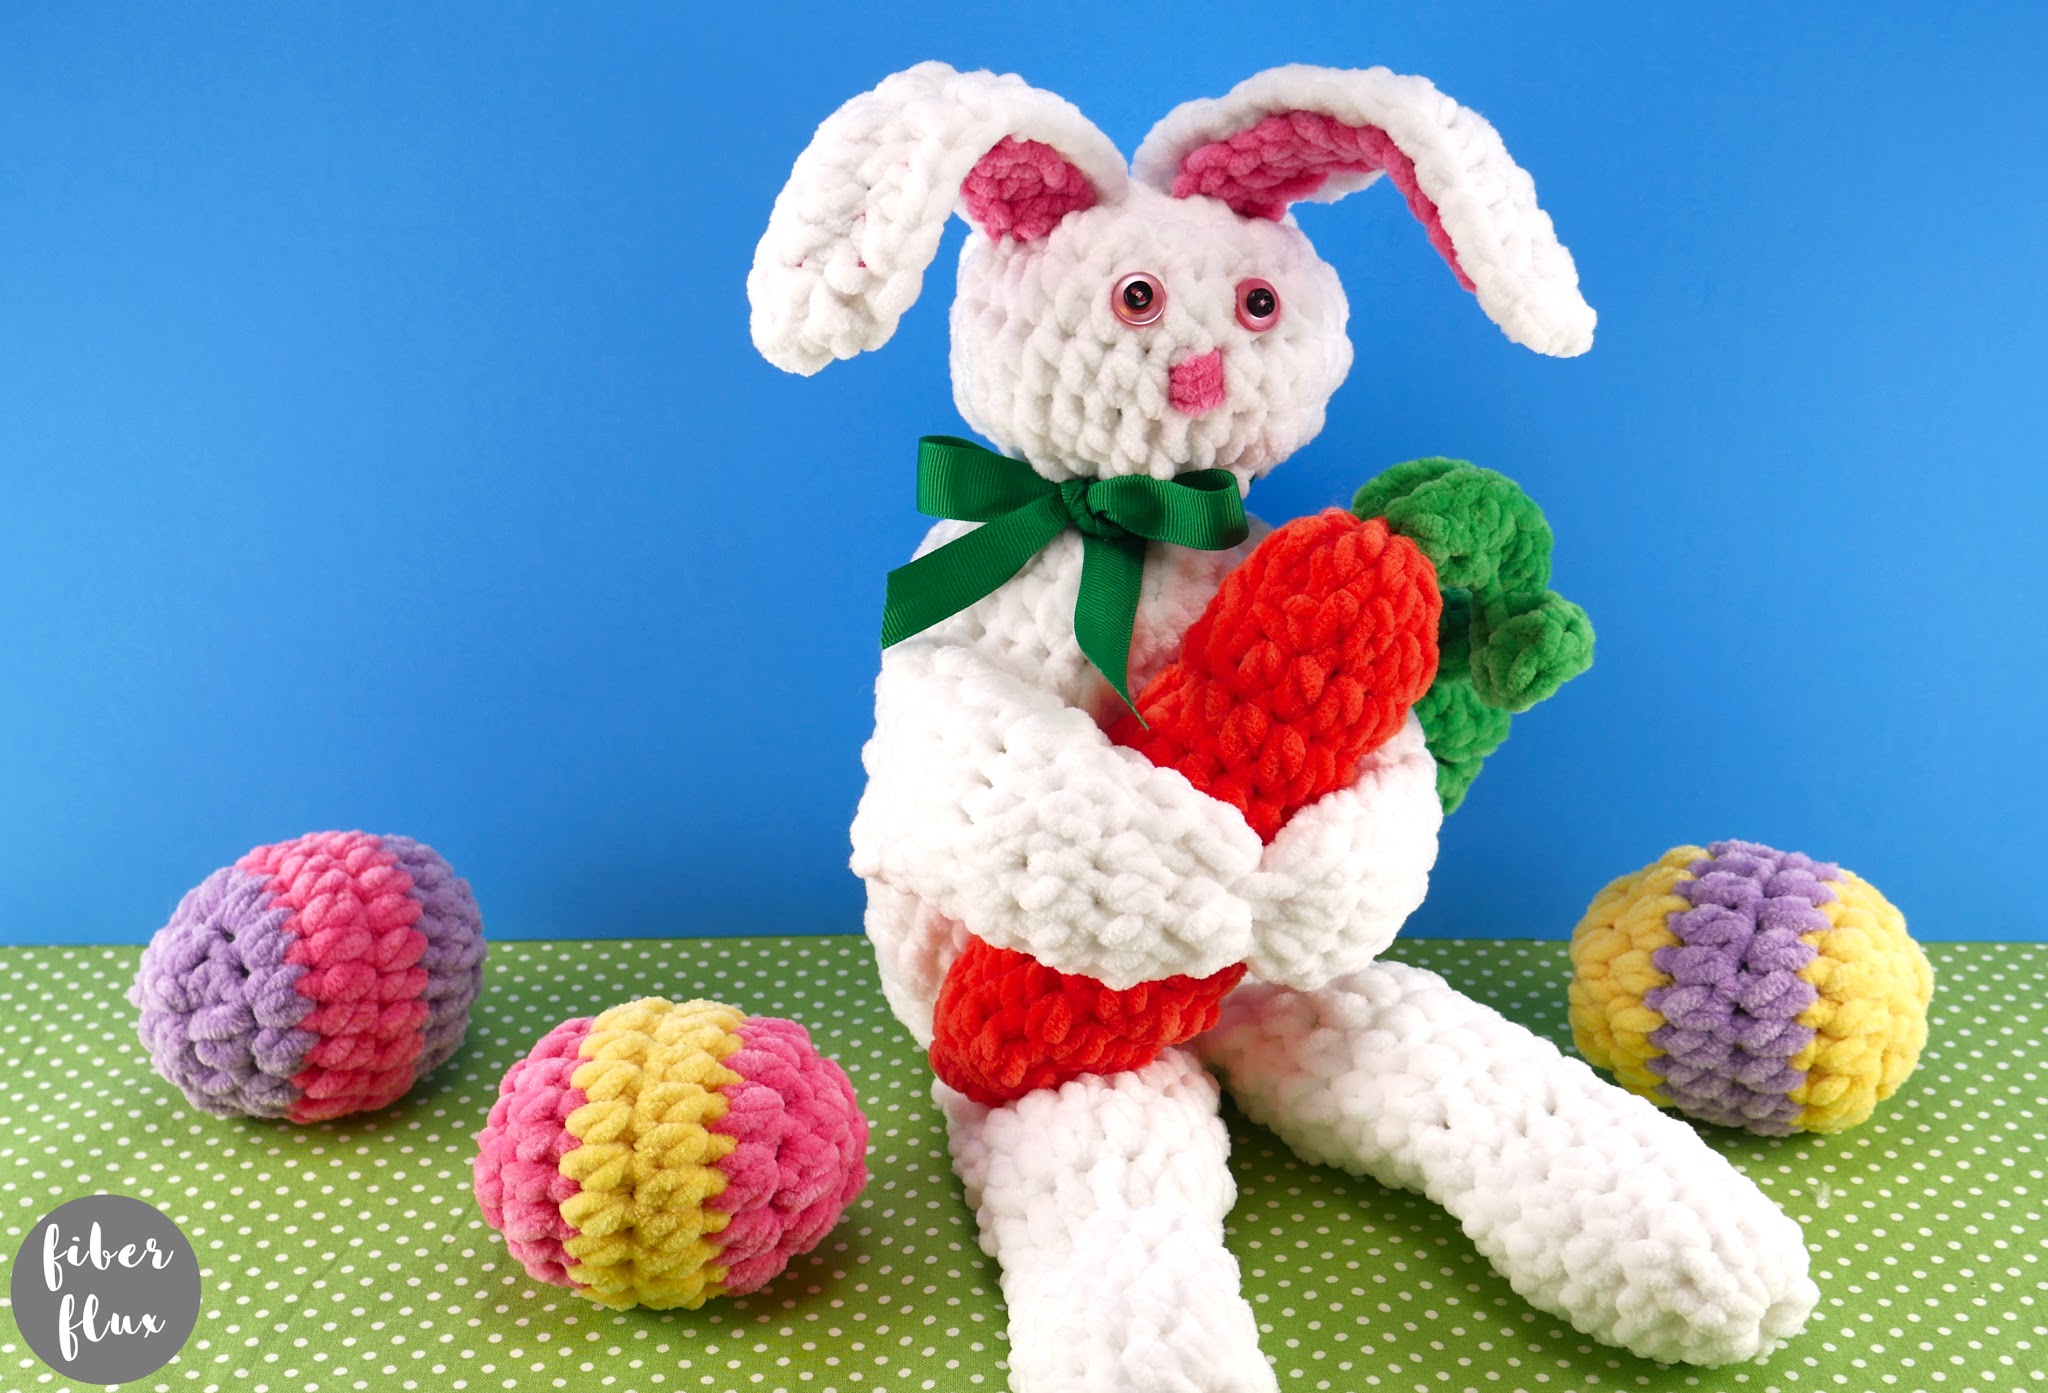
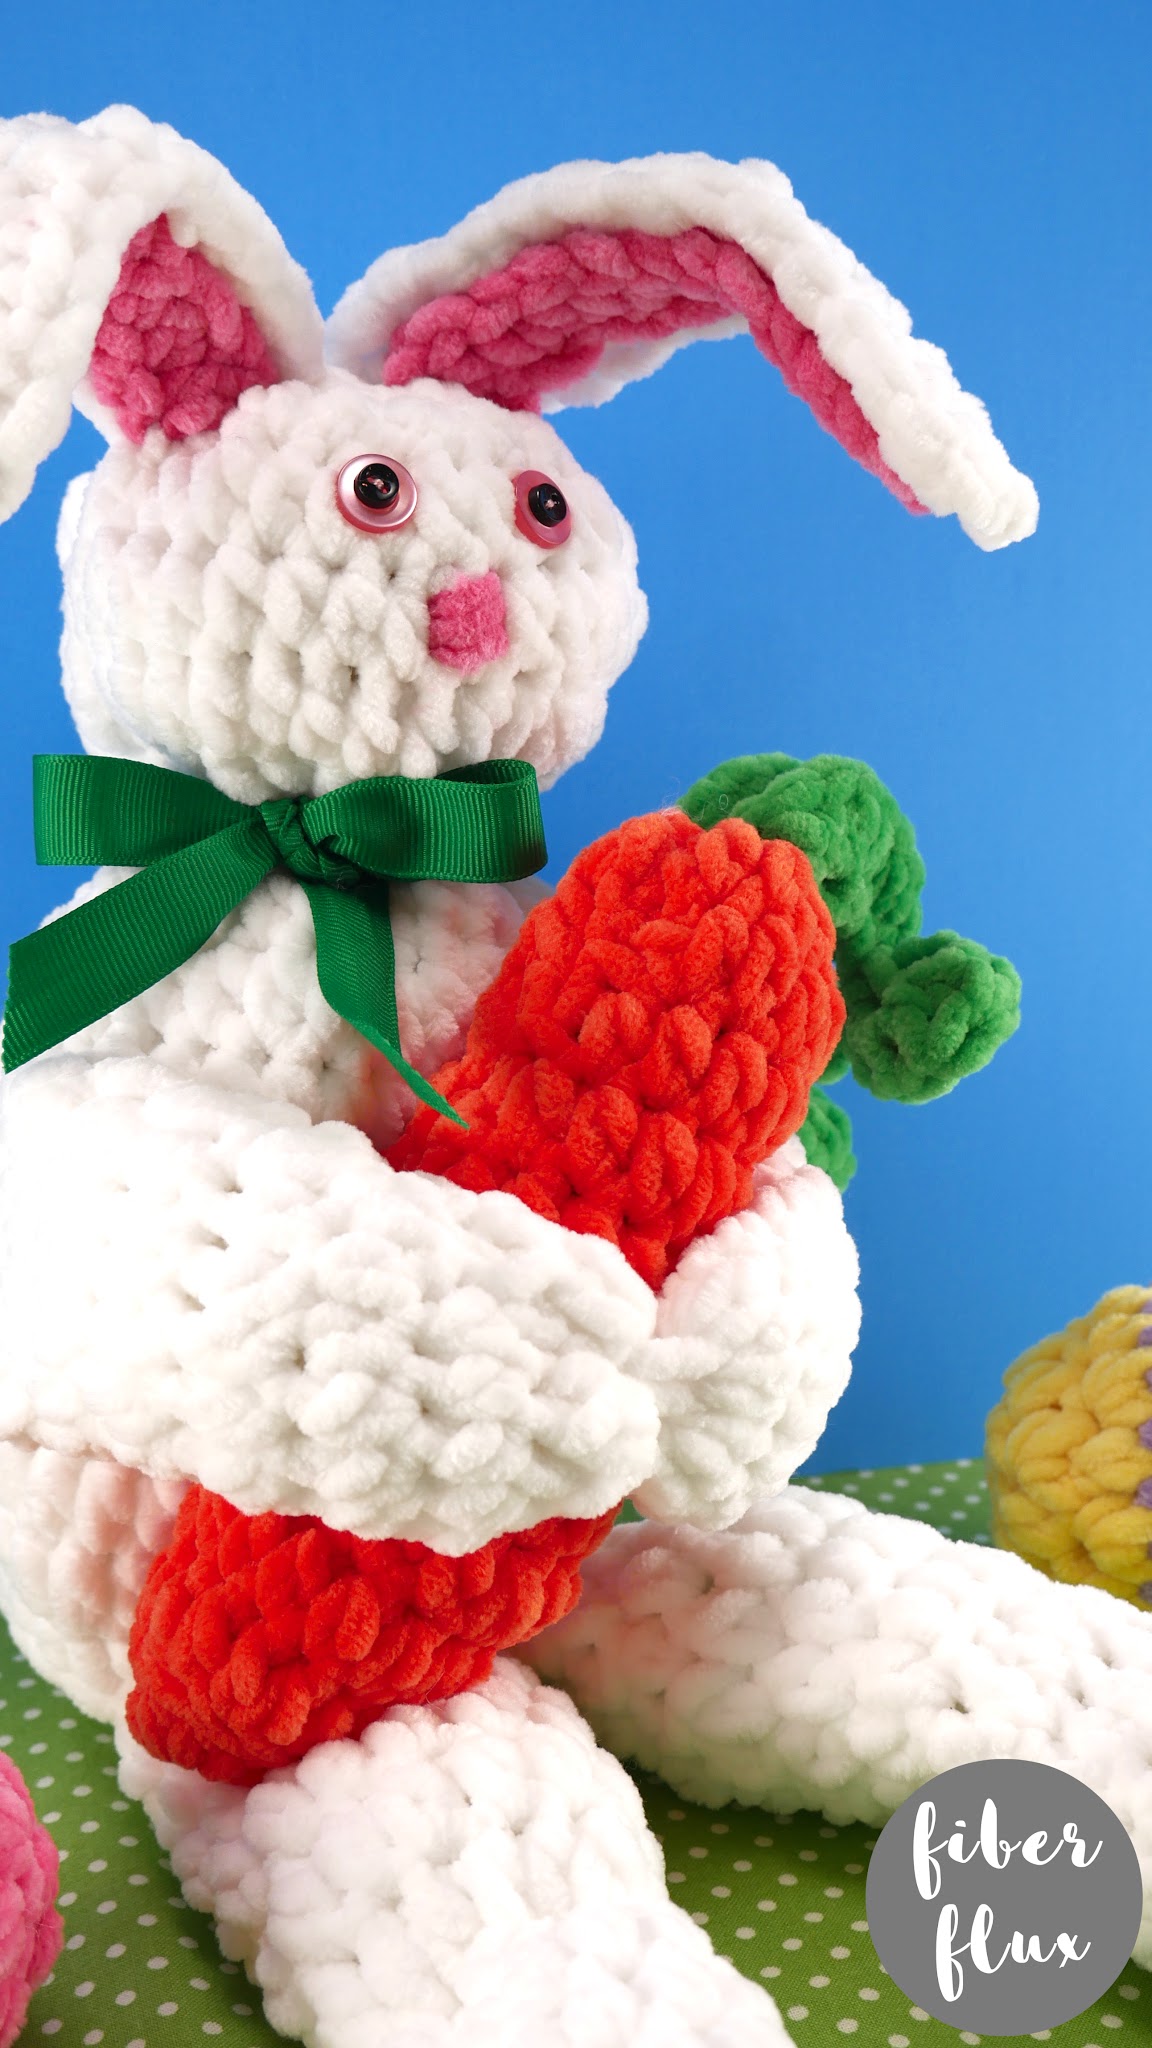
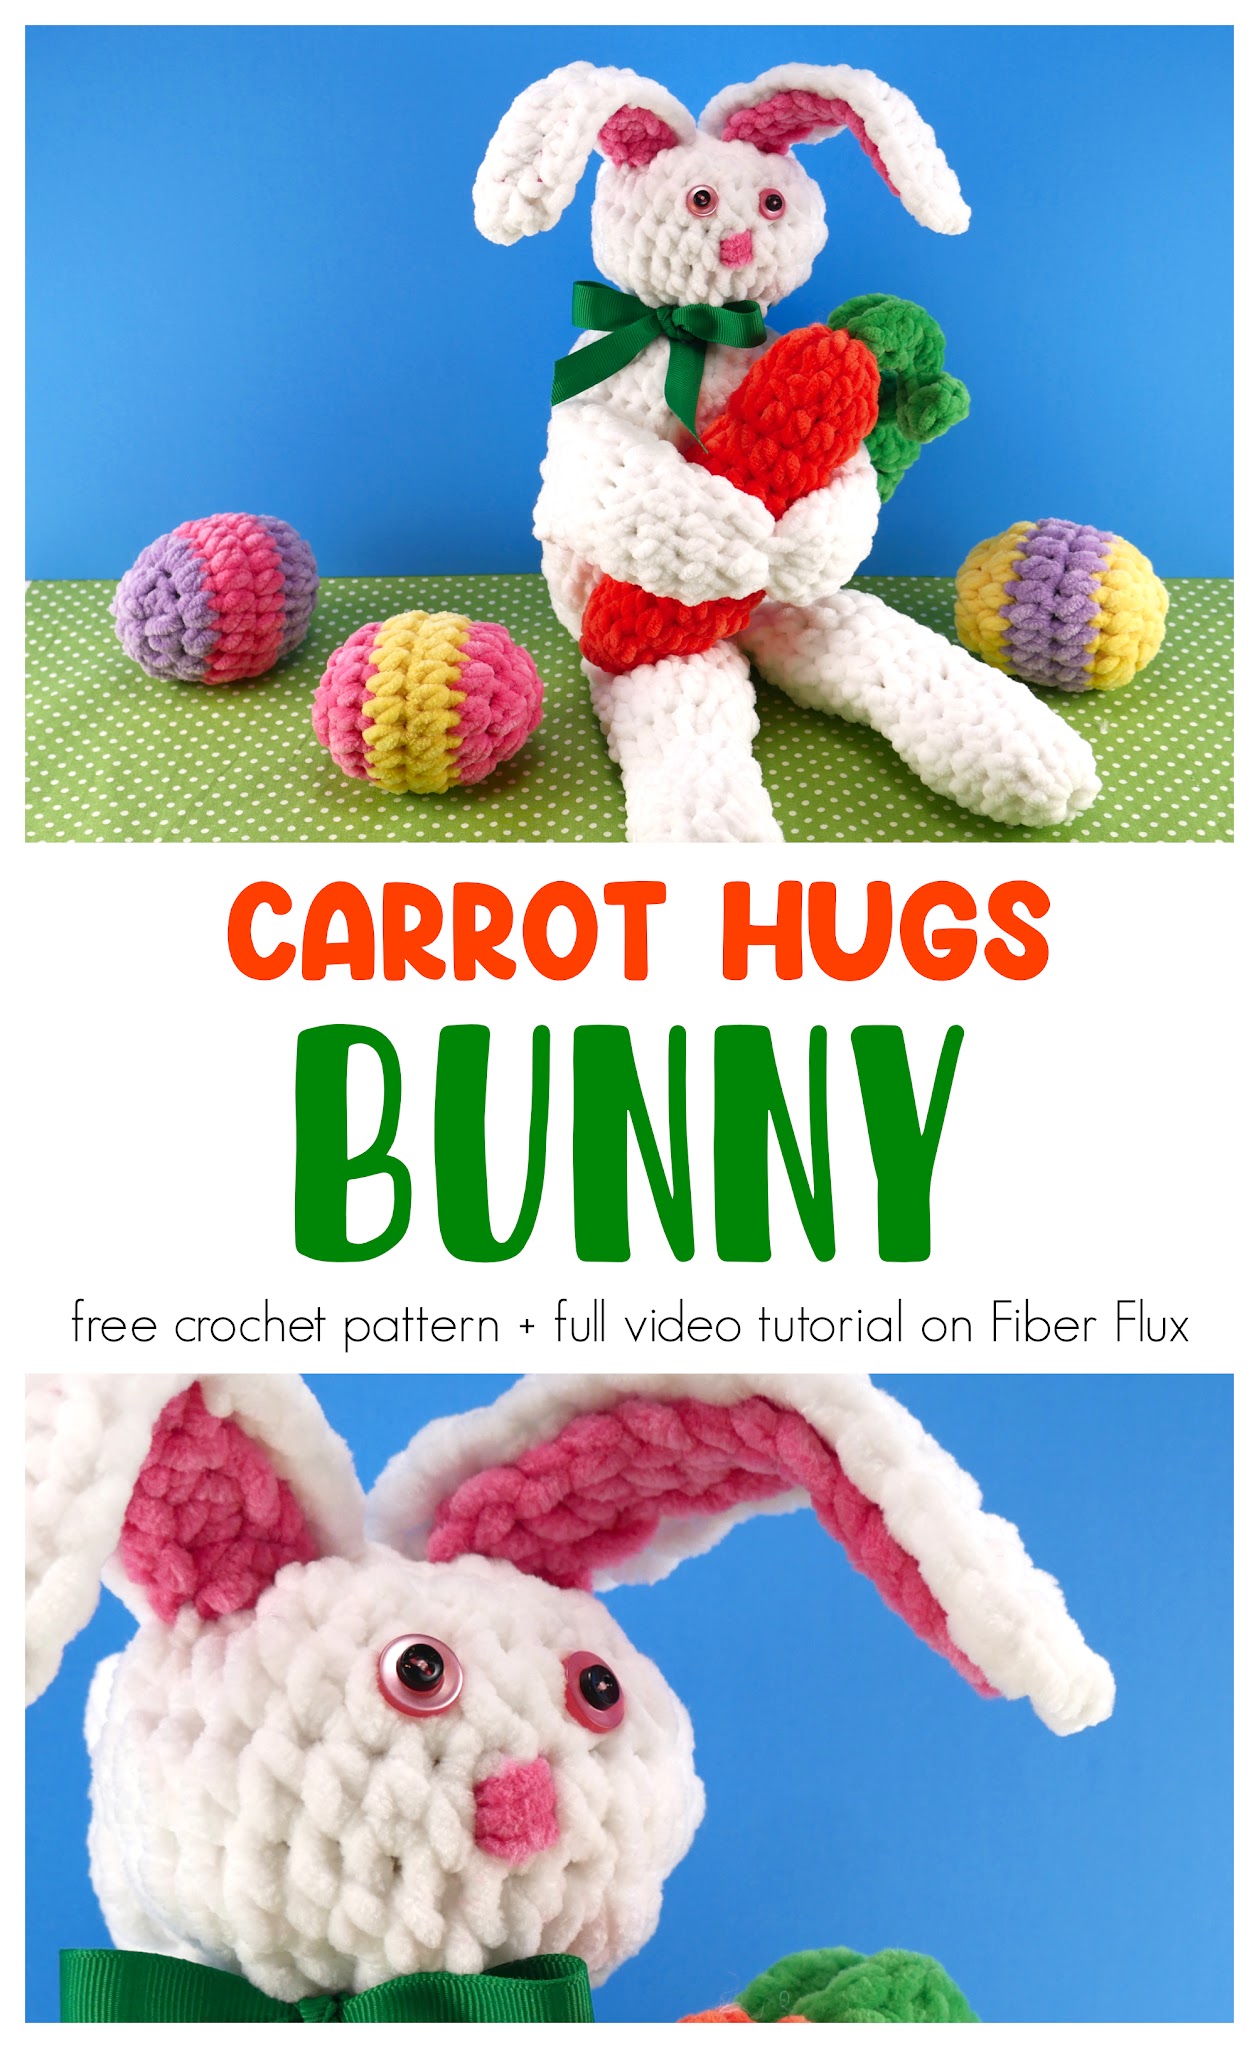
The Carrot Hugs Bunny is a super cute plush to crochet up! Easy stitches and squishy soft yarn make this fun to make and fun to give too! Use this sweet bunny for your springy home decor, or tuck it into a basket for a happy surprise too!
👉Get the ad free pattern PDF from my shop here!👈
Click below to watch a full video tutorial on how to make this project:
(Can’t see the video? Get it here!)
Love video tutorials? Subscribe to the Fiber Flux YouTube channel for more stitchy fun!
Materials:
- 6.5 mm K crochet hook
- Super
bulky/#6 weight yarn (I used Honey Bunny by Hobbii-1 ball (131 yards) of “White” for the body, plus small amounts of “Candy Floss” for the ear lining and nose, small amounts of “Pumpkin” for the carrot, small amounts of “Shamrock” for the carrot greenery topper) - Tapestry Needle
- Scissors
- Tape measure
- Fiber Fill/Poly Fill (to stuff your bunny, you can also use yarn scraps, fabric scraps, or even cotton balls)
- Buttons for eyes ( I used 2 layered buttons per eye to give a pupil effect)
- 2 pipe cleaners if you want your ear to be bendable (optional)
- Wire cutters if using pipe cleaners
- Weights to keep your bunny in place as it sits (I used a handful of stones)
- Ribbon to tie around the bunny’s neck-I used a piece of green grosgrain ribbon.
Sizing:
- Sitting bunny (bottom to top of folded ear)-10 inches
- Bunny laying down from foot to top of folded ear-18 inches
- Carrot-6.5 inches
- Carrot with greenery-11 inches
- Each leg-7 inches
- Each arm-5.5 inches
- Each ear-5 inches
- Bunny body circumference-12 inches
- Bunny head circumference-10.5 inches
Pattern Notes:
- If you are giving this to a small child, embroider the eyes instead of using buttons for safety.
- Love the eggs in the photos? Get the free pattern here!
Instructions For Bunny Body & Head:
Ch 4, then join with a slip stitch in the chain furthest from the hook to make a ring.
Round 1: Ch 2, then work 11 hdc into the center of the ring. Join to close round with a slip stitch.
Round
2: Ch 2, then *work a hdc into the first stitch. Work 2 hdc into the
next stitch. Repeat from * around. Join to close round with a slip
stitch.
Round 3: Ch 2, then *work a hdc into the first stitch, then 2 hdc into the next stitch. Repeat from * around. Join to close round with a slip stitch.
Round 4: Ch 2, then work a bphdc (back post half double crochet) into each stitch around. Join to close round with a slip stitch.
Round
5-15: Ch 2, then work a hdc in each stitch around. Join to close round with a slip stitch.
Round 16: Ch 2, then *work a hdc2tog across the first two stitches. Repeat from * around. Join to close round
with a slip stitch.
Round 17: Repeat round 16.
Fasten off leaving a long tail.
Stuff the bottom body section with filling, adding stones/weights to the bottom part as you fill. Fill until the body part is mostly stuffed and the head section is still empty. Thread another piece of matching yarn and sew around the neck, then cinch to create a neck. While the head is still empty, sew button eyes (or embroider eyes if giving to a small child) and Sew a small pink nose with pink yarn from the ears. Stuff the head, then thread the tail with a tapestry needle, weave it around the opening and pull tight to cinch it up. Weave in any ends and continue below.
Instructions For Arms (Make 2):
Ch 4, then join with a slip stitch in the chain furthest from the hook to make a ring.
Round 1: Ch 2, then work 11 hdc into the center of the ring. Join to close round with a slip stitch.
Rounds
2-7: Ch 2, then work a hdc in each stitch around. Join to close round with a slip stitch.
Fasten off leaving a long tail.
Stuff each arm with filling, then sew “hands” together in the middle. Sew each arm to either side of the bunny. Weave in any ends and continue below.
Instructions For Legs (Make 2):
Ch 4, then join with a slip stitch in the chain furthest from the hook to make a ring.
Round 1: Ch 2, then work 11 hdc into the center of the ring. Join to close round with a slip stitch.
Rounds
2-12: Ch 2, then work a hdc in each stitch around. Join to close round with a slip stitch.
Fasten off leaving a long tail.
Stuff each leg with filling and if desired, place a stitch for each knee to allow it to bend a little when sitting. Sew each leg to the front bottom edge of the bunny. Weave in any ends and continue below.
Instructions For Ears (Make 2):
*Part 1, white outer part-
Ch 16
Row 1: Work a hdc in the 3rd chain from the hook. Work a hdc in each chain across.
Row 2: Chain 2 and turn.Work a hdc in each stitch across.
*Part 2, pink inner part-
Ch 14
Row 1: Work a hdc in the 3rd chain from the hook. Work a hdc in each chain across.
Seam the pink part to the white part leaving the bottom open, like a pocket. Slip a pipe cleaner into the ear and snip. Sew each ear to the bunny’s head and weave in any ends.
Instructions For Carrot Bottom:
Ch 4, then join with a slip stitch in the chain furthest from the hook to make a ring.
Round 1: Ch 2, then work 7 hdc into the center of the ring. Join to close round with a slip stitch.
Round 2: Ch 2, then work a hdc into the first stitch. Then work 2 hdc in each stitch around. Join to close round with a slip stitch.
Rounds 3-11: Ch 2, then work a hdc in each stitch around. Join to close round with a slip stitch.
Cut, leaving a long tail to cinch up the top later. Stuff the carrot with small amounts of filling. Thread the tail with a tapestry
Instructions For Carrot Greenery Top:
Larger curlicue-
Ch 16
Row 1: Work a hdc in the 3rd chain from the hook. Work 3 hdc in each chain across. Fasten off leaving a tail for seaming.
Smaller curlicue-
Ch 8
Row 1: Work a hdc in the 3rd chain from the hook. Work 3 hdc in each chain across. Fasten off leaving a tail for seaming.
Sew greenery parts to the top of the carrot and weave in any ends. Place the carrot into the bunny’s arms and it’s done!


![]()
![]()
![]()

![]()
![]()


© Fiber Flux LLC 2023

