Wet Blocking 101: Make Your Finished Pieces Look Their Best

Blocking your work is useful to know to make your hand knits and crocheted items look their absolute best.  It makes the “fabric” look uniform and even and opens up lace beautifully, yielding a more fabulous and professional looking finished object.  For this tutorial, I’ll show you two ways to block your work, a lighter blocking technique and a heavier duty blocking technique.

A few important things to note:

  • With more delicate fabrics like angora or mohair, the lighter spraying method is preferred.
  • For synthetic yarns, there are differing opinions on this, some say you can block, others say don’t do it…if you choose to try it, be sure not to use heat of any kind (like steaming for example), as it could melt the yarn.
  • Make sure your pins are rust proof!
  • You can also block pieces with the steam setting with an iron, it is not recommended for all fibers, and frankly, the idea of doing this scares me to death.  In addition, I like to not only block, but lightly clean the garment as well before wearing or gifting.
  • Do not over block!  You don’t want to stretch the garment too far and ruin all of your beautiful hard work.

Here’s what you’ll need:

  • Pins–be absolutely sure they are rust proof!  I prefer the “T” pins.

The “Lighter” Spray Bottle Method…

Using your pins, pin the dry piece to the blocking mat.  Spray generously with water from the spray bottle.  Allow to dry completely (minimum of 24 hours) before unpinning.

The “Heavier Duty” Soaking Method…

This is the method I use most, I like how it not only blocks the piece, but gently cleans it as well.  To start, fill a (clean) sink or basin with cool water (never hot, as to not felt it) and add soaking solution if you desire (follow manufacturer’s instructions on the label).  Immerse the piece and soak until it is completely wet.  If using soap, check the label…some require you to rinse it out, others do not.  If you need to rinse, empty soapy water out from sink/basin and replace it with cool, clear water.  

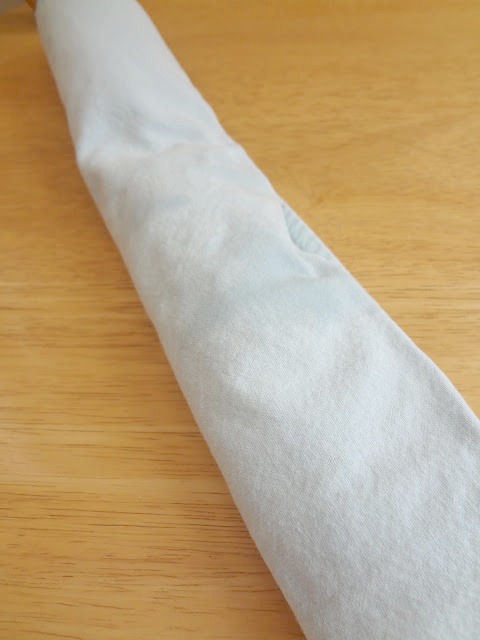
Lay the piece on a towel and press out the excess water between towels.  Never, ever wring…this will cause damage to the fibers.  

Roll the piece up in a towel, and gently squeeze to remove moisture…

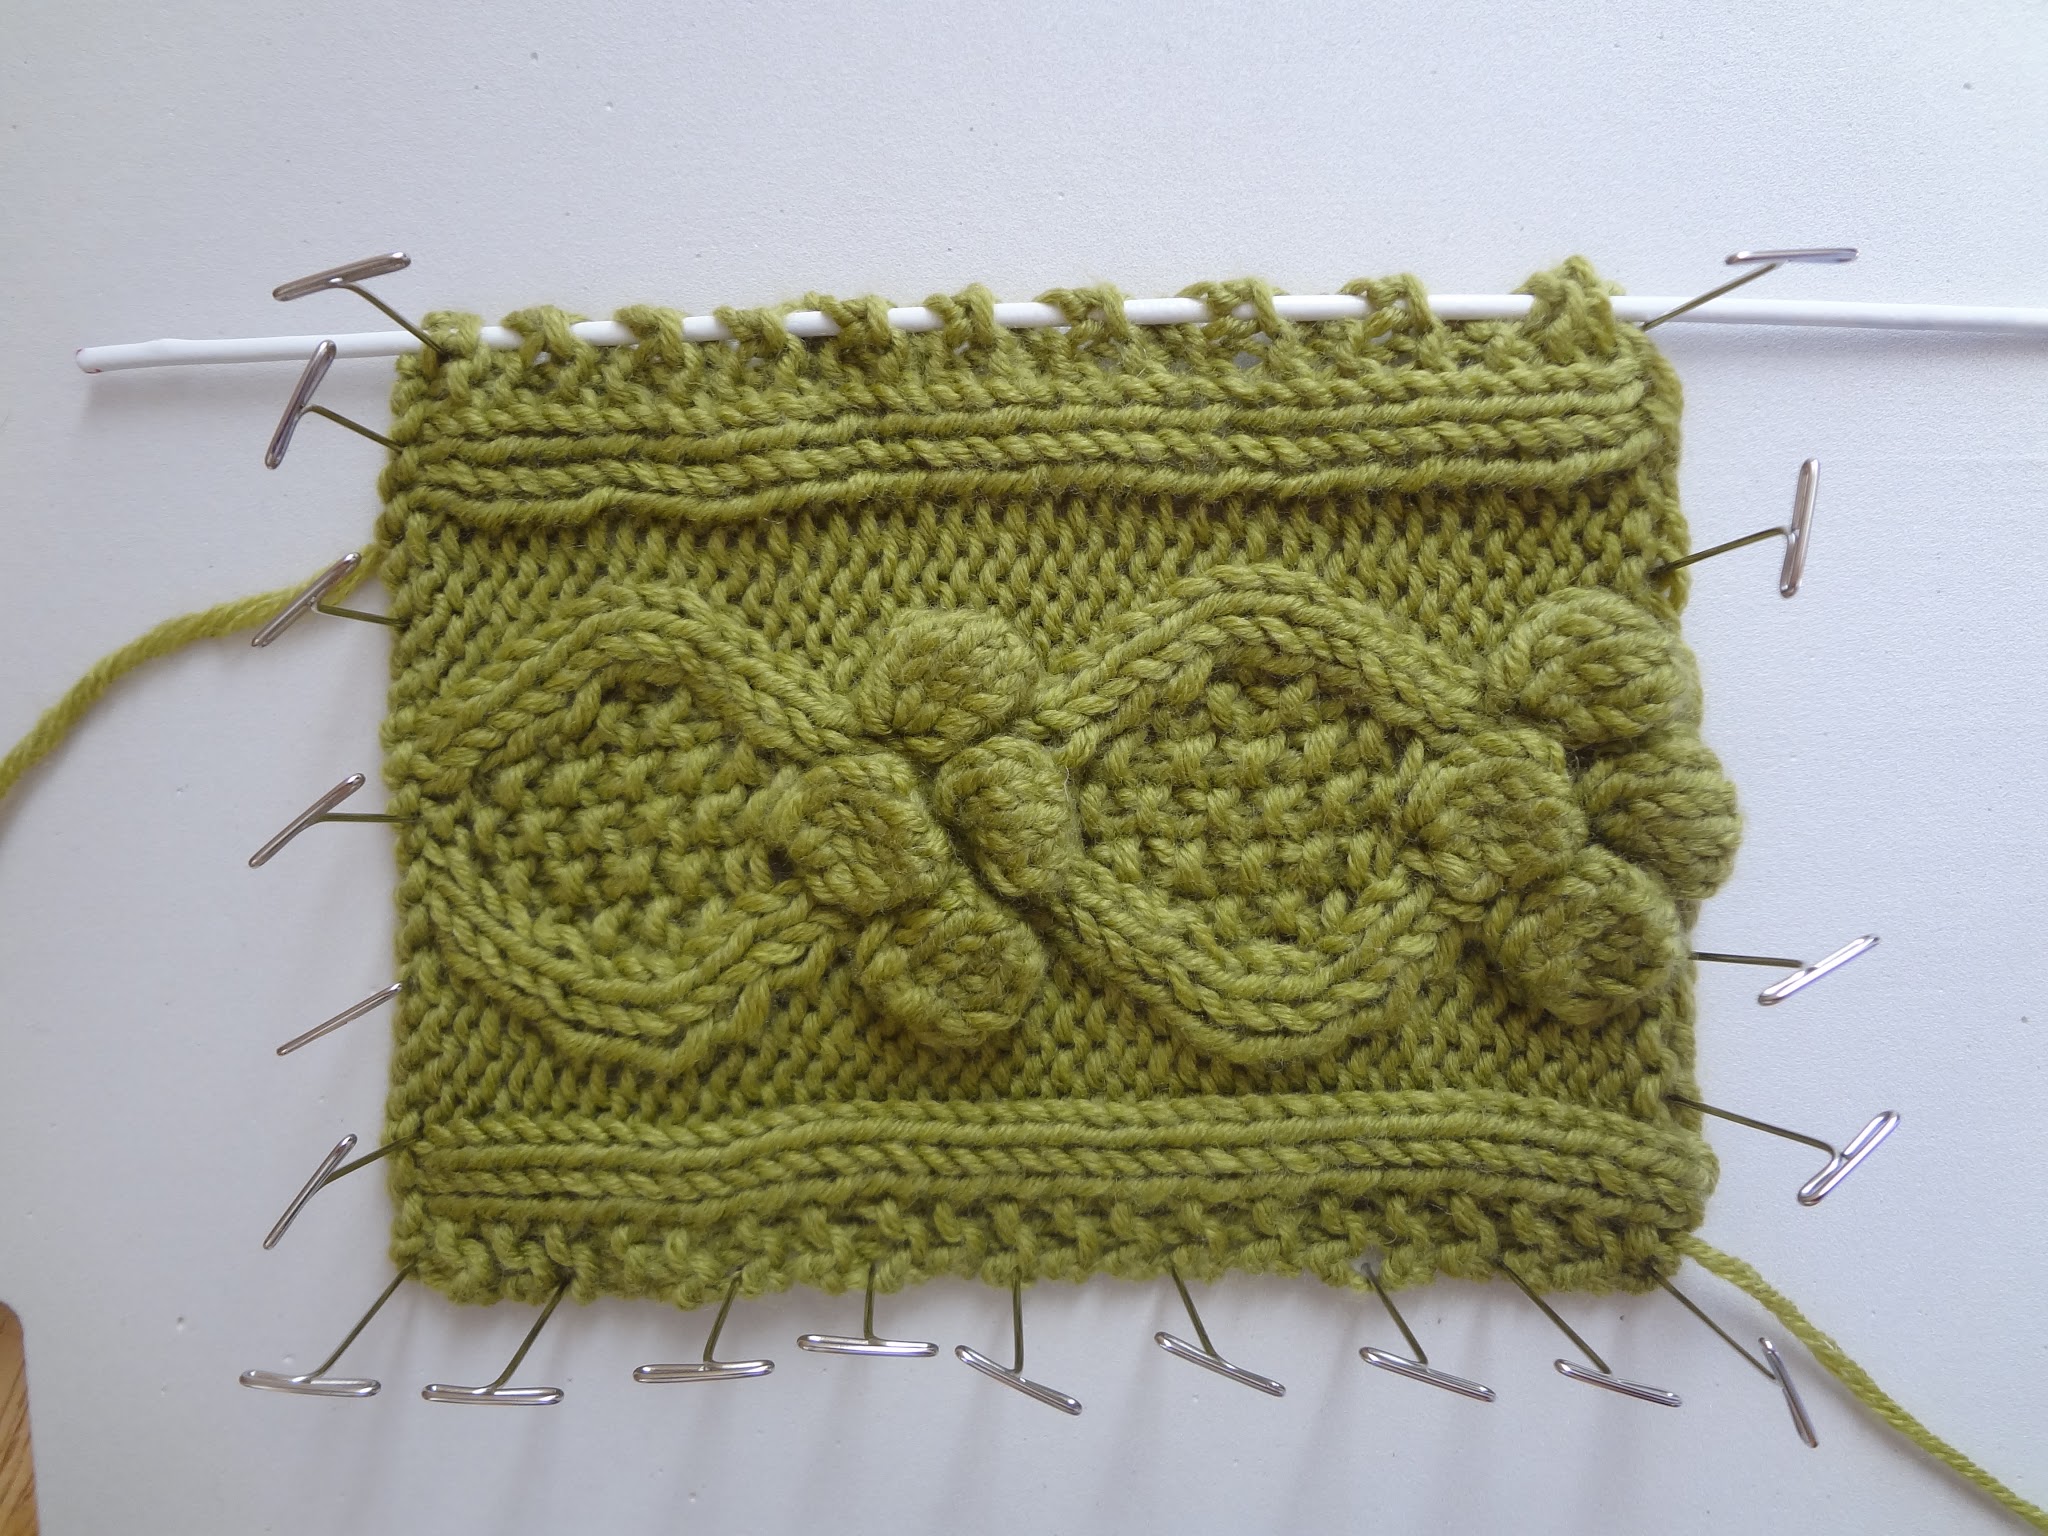
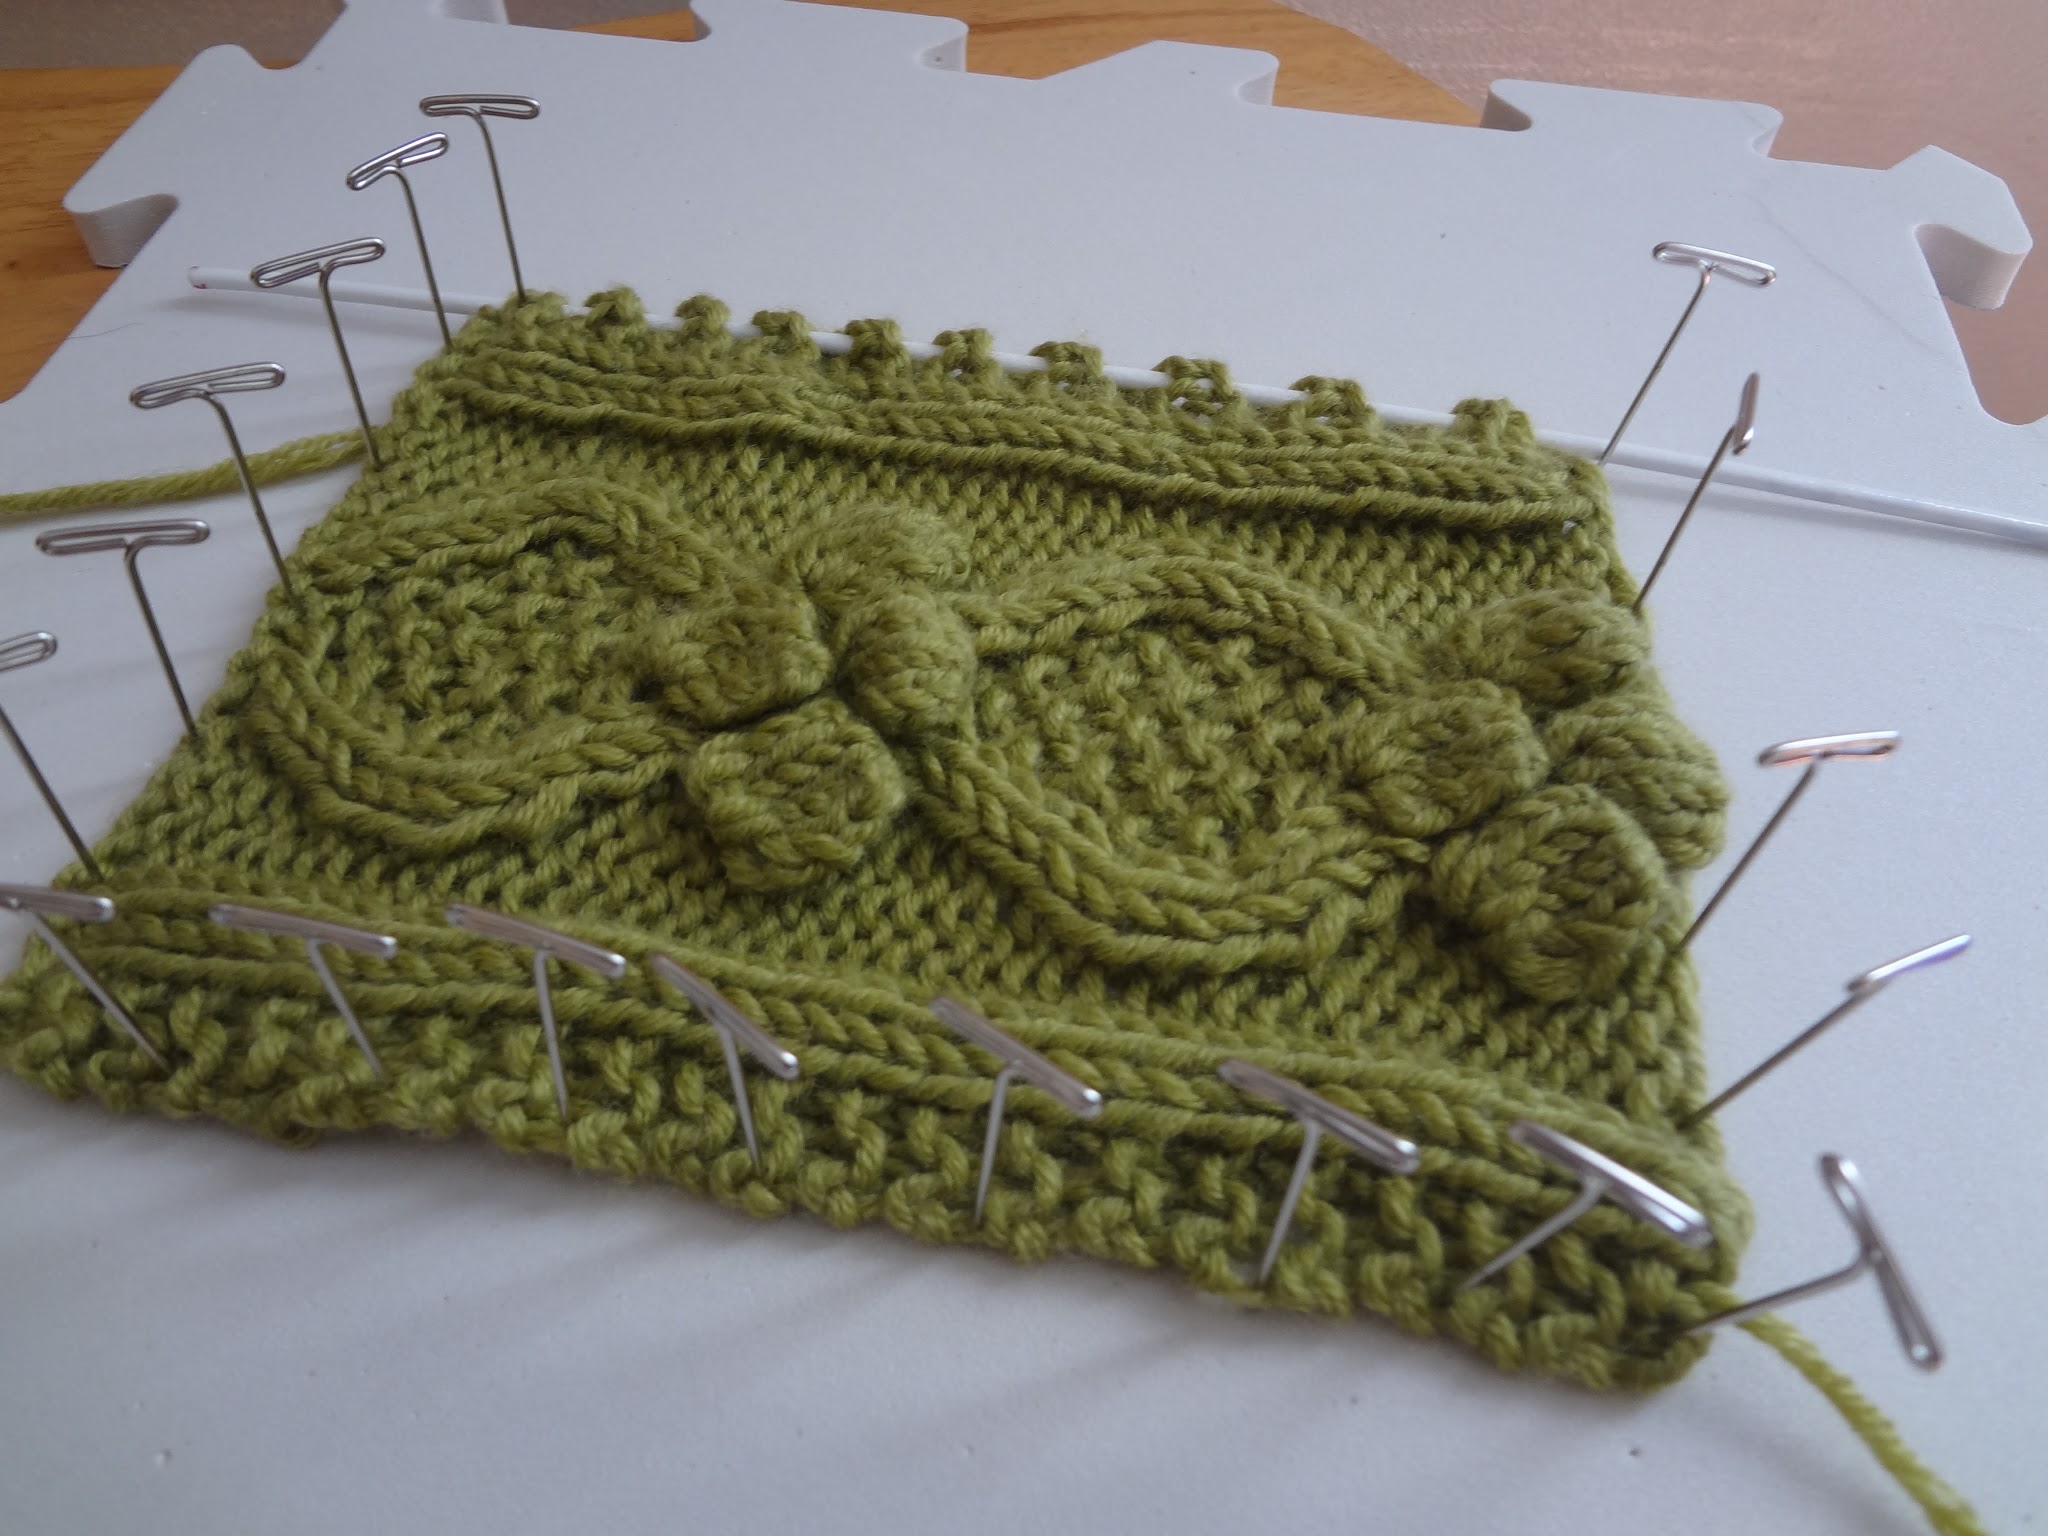
Now it’s time to pin!  What I like to do is pin a few all around to get the general shape/measurement, then go back around and place more pins closer together so that you get a nice straight edge.  Do not over pin!  You don’t want to stretch the garment too far and ruin all of your beautiful hard work, this is especially important for ribbing which naturally needs to pull in a bit.

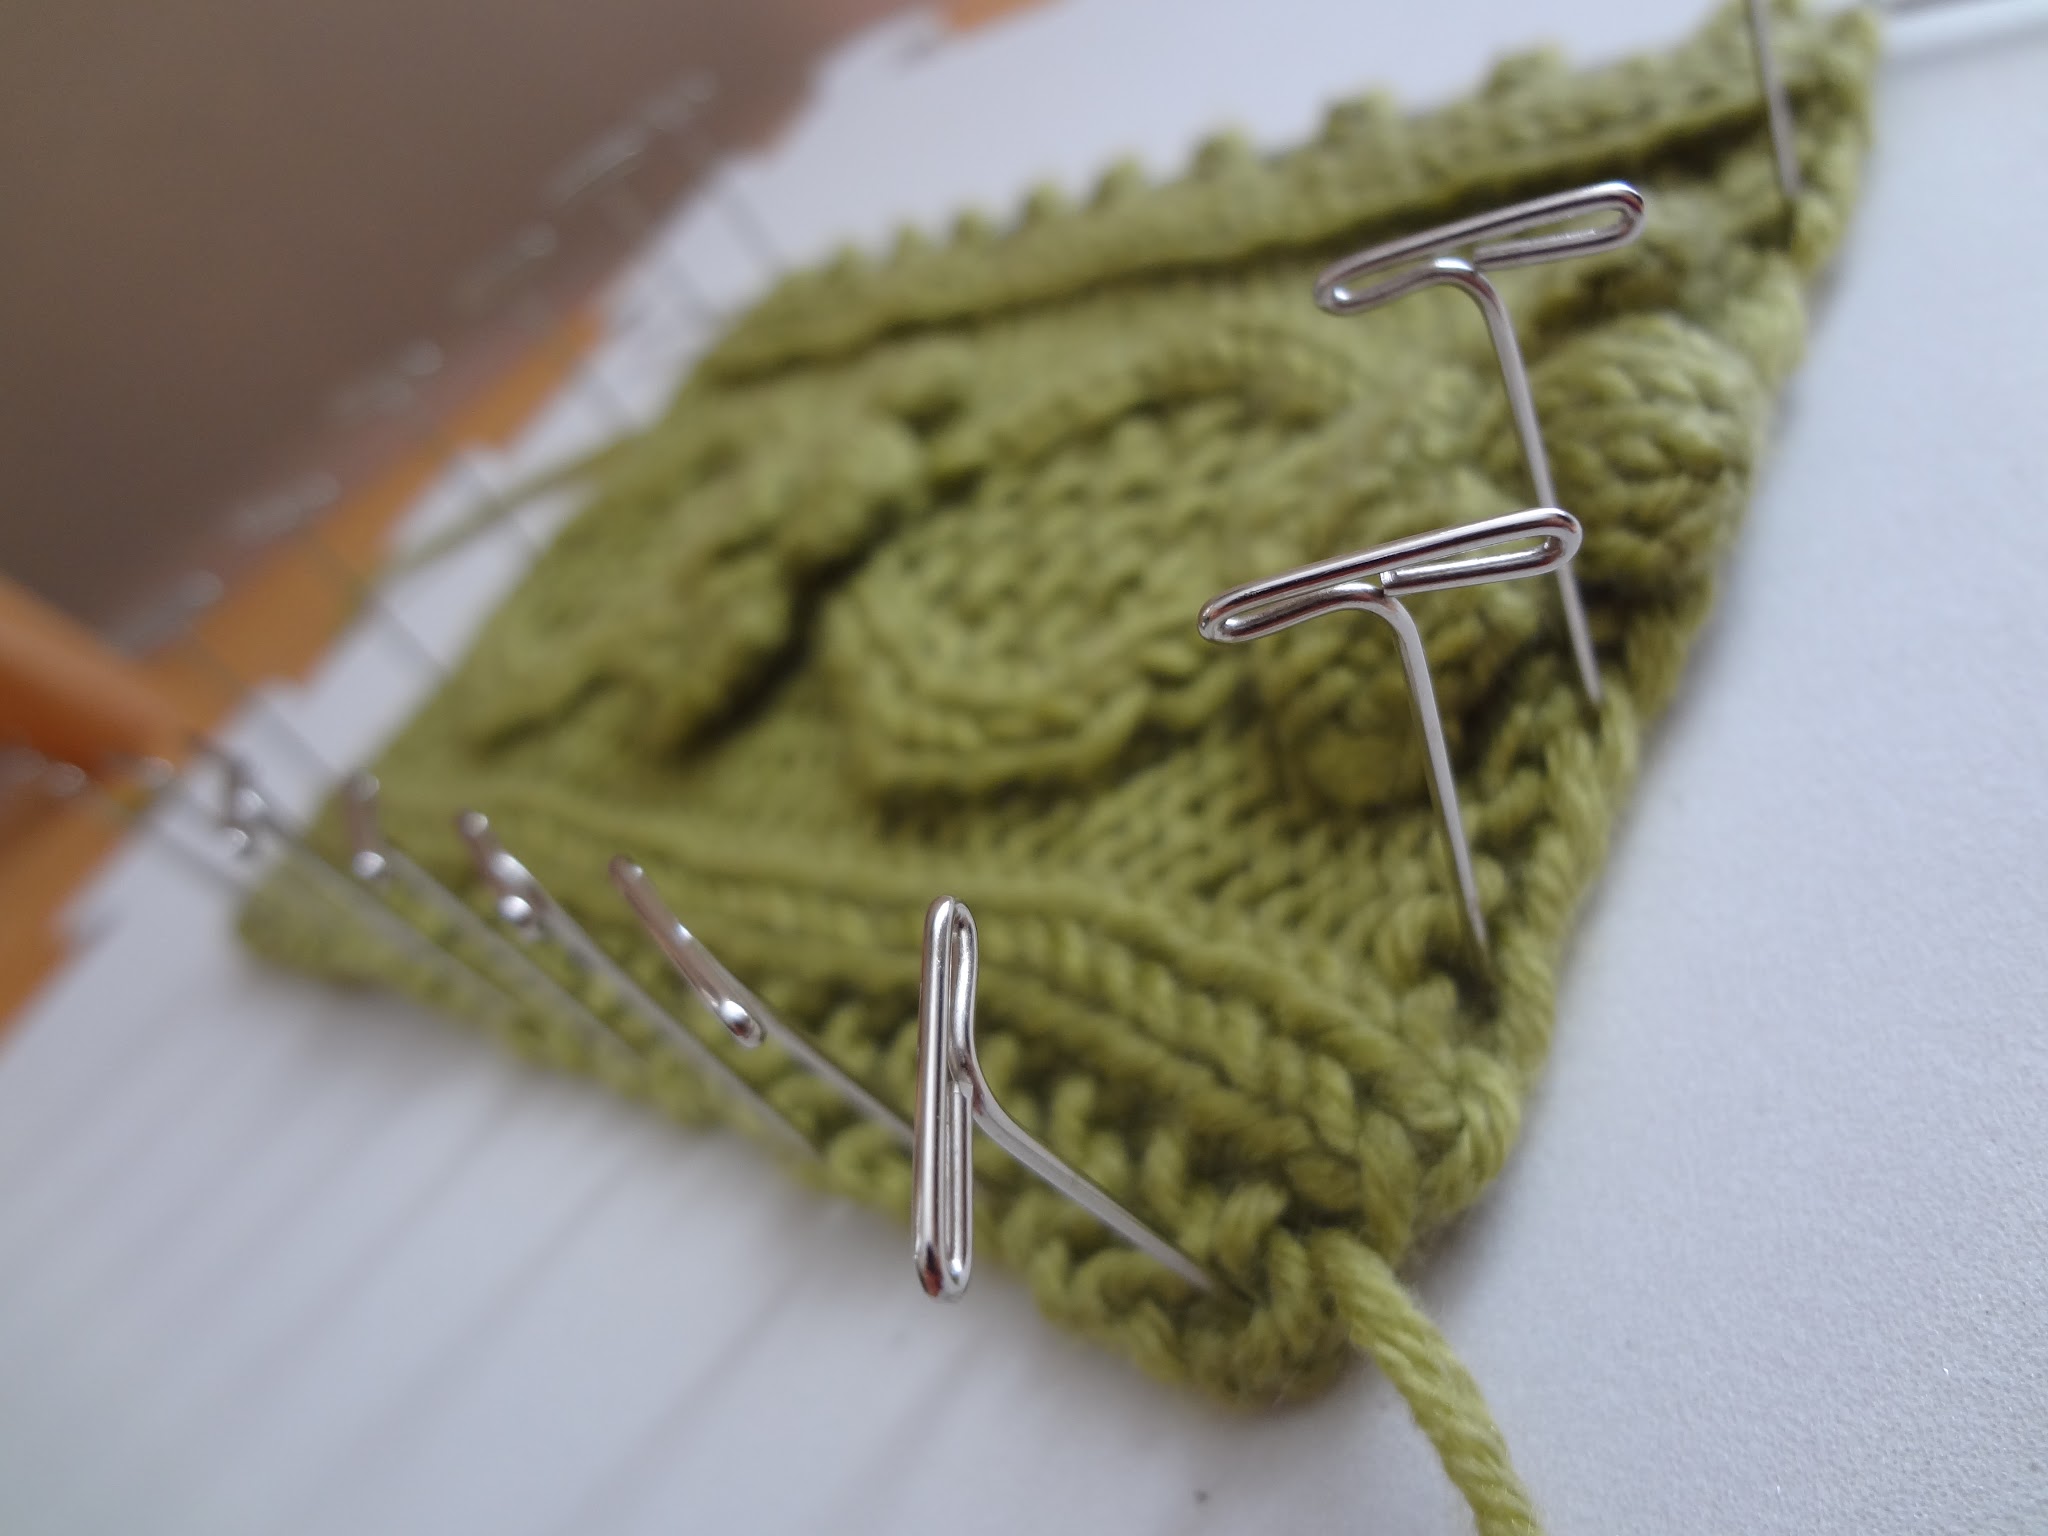
When I blocked this piece shown, I pinned up three sides and used a blocking wire (Make your own here!) to show you how they both look…blocking wires are totally optional, but very useful for lace pieces.

Finally, when everything is pinned up to your satisfaction, let completely dry.  I always wait a minimum of 24 hours…it is important that there is absolutely no moisture left.  Then unpin and enjoy your beautifully blocked handmade lovelies!

Click below to watch a video on how to block your work step by step:

For more fun projects and pretty patterns, be sure to follow us on Facebook, Google+, Twitter, and Pinterest for the latest updates!


Related Posts

5 thoughts on “Wet Blocking 101: Make Your Finished Pieces Look Their Best

  1. You are awesome…you examples are great and very clear. Do think for the spray I could use fabreeze?

    1. Thank you! I have never tried it, however I would use something very mild as not to damage any of the fibers.

Leave a Reply

Your email address will not be published. Required fields are marked *