
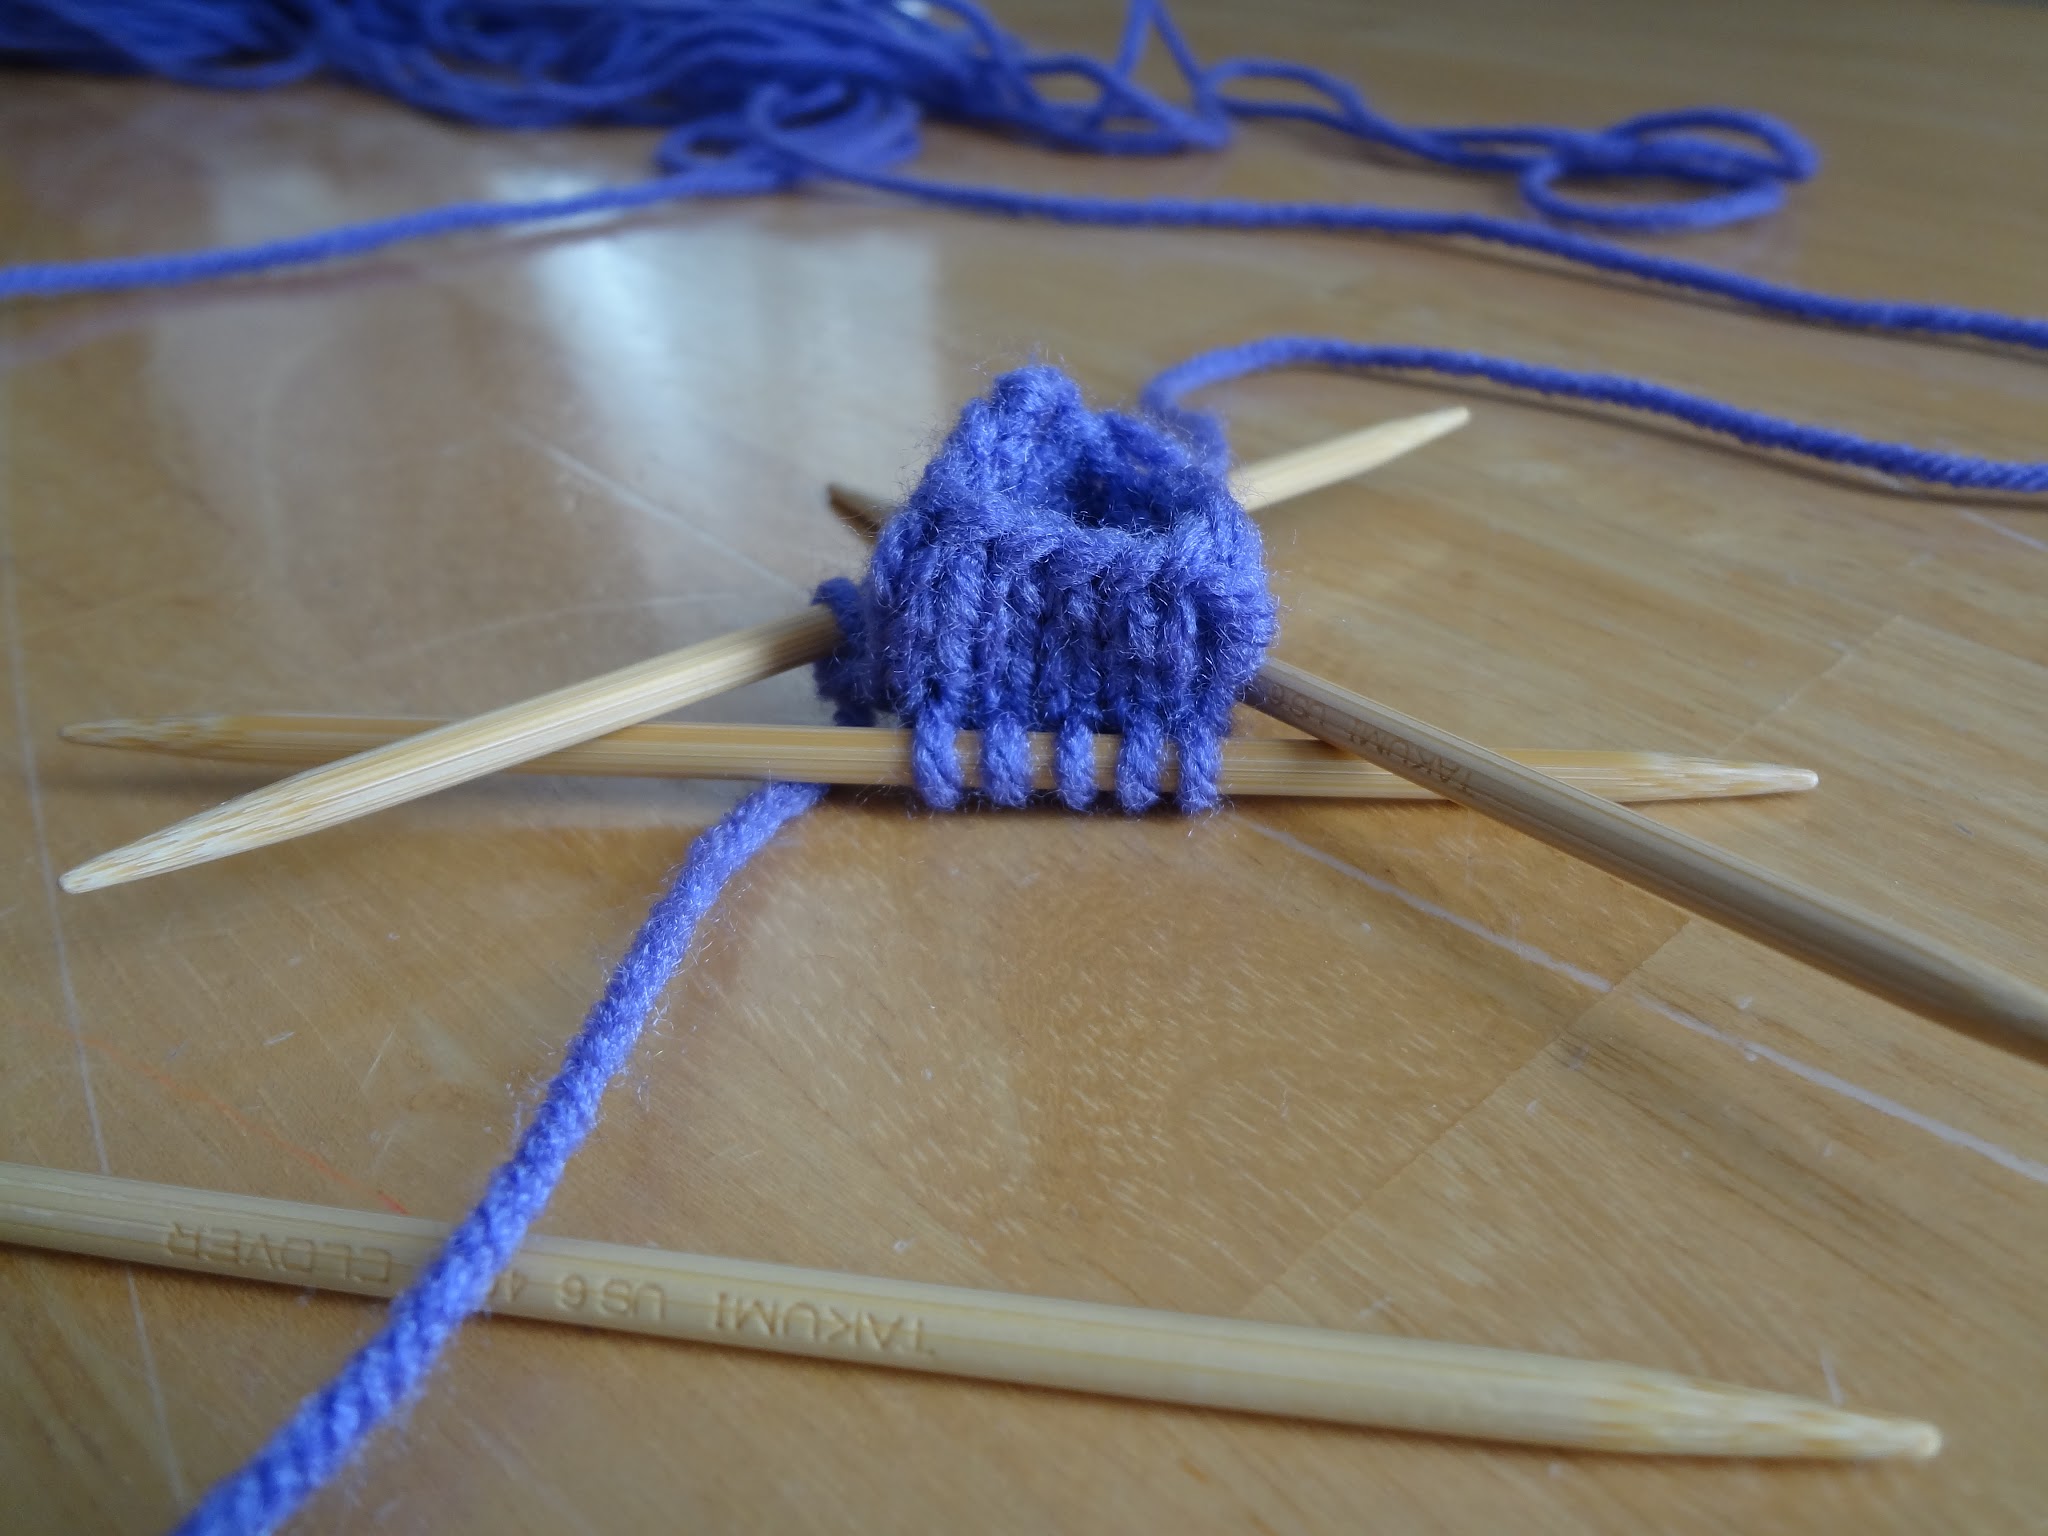
When I discovered knitting in the round, I was totally floored…how wonderful to be able to make seamless tubes! Knitting in the round allows you to make seamless hats, sweaters, cowls, and anything else you desire. Generally (but not always), it’s good to use double pointed needles for smaller tubes…here’s how to do that:
How to Knit in the Round Using Double Pointed Needles
You can also use the “Magic Loop” method to make smaller tubes too, but that’s something we’ll chat about another day.
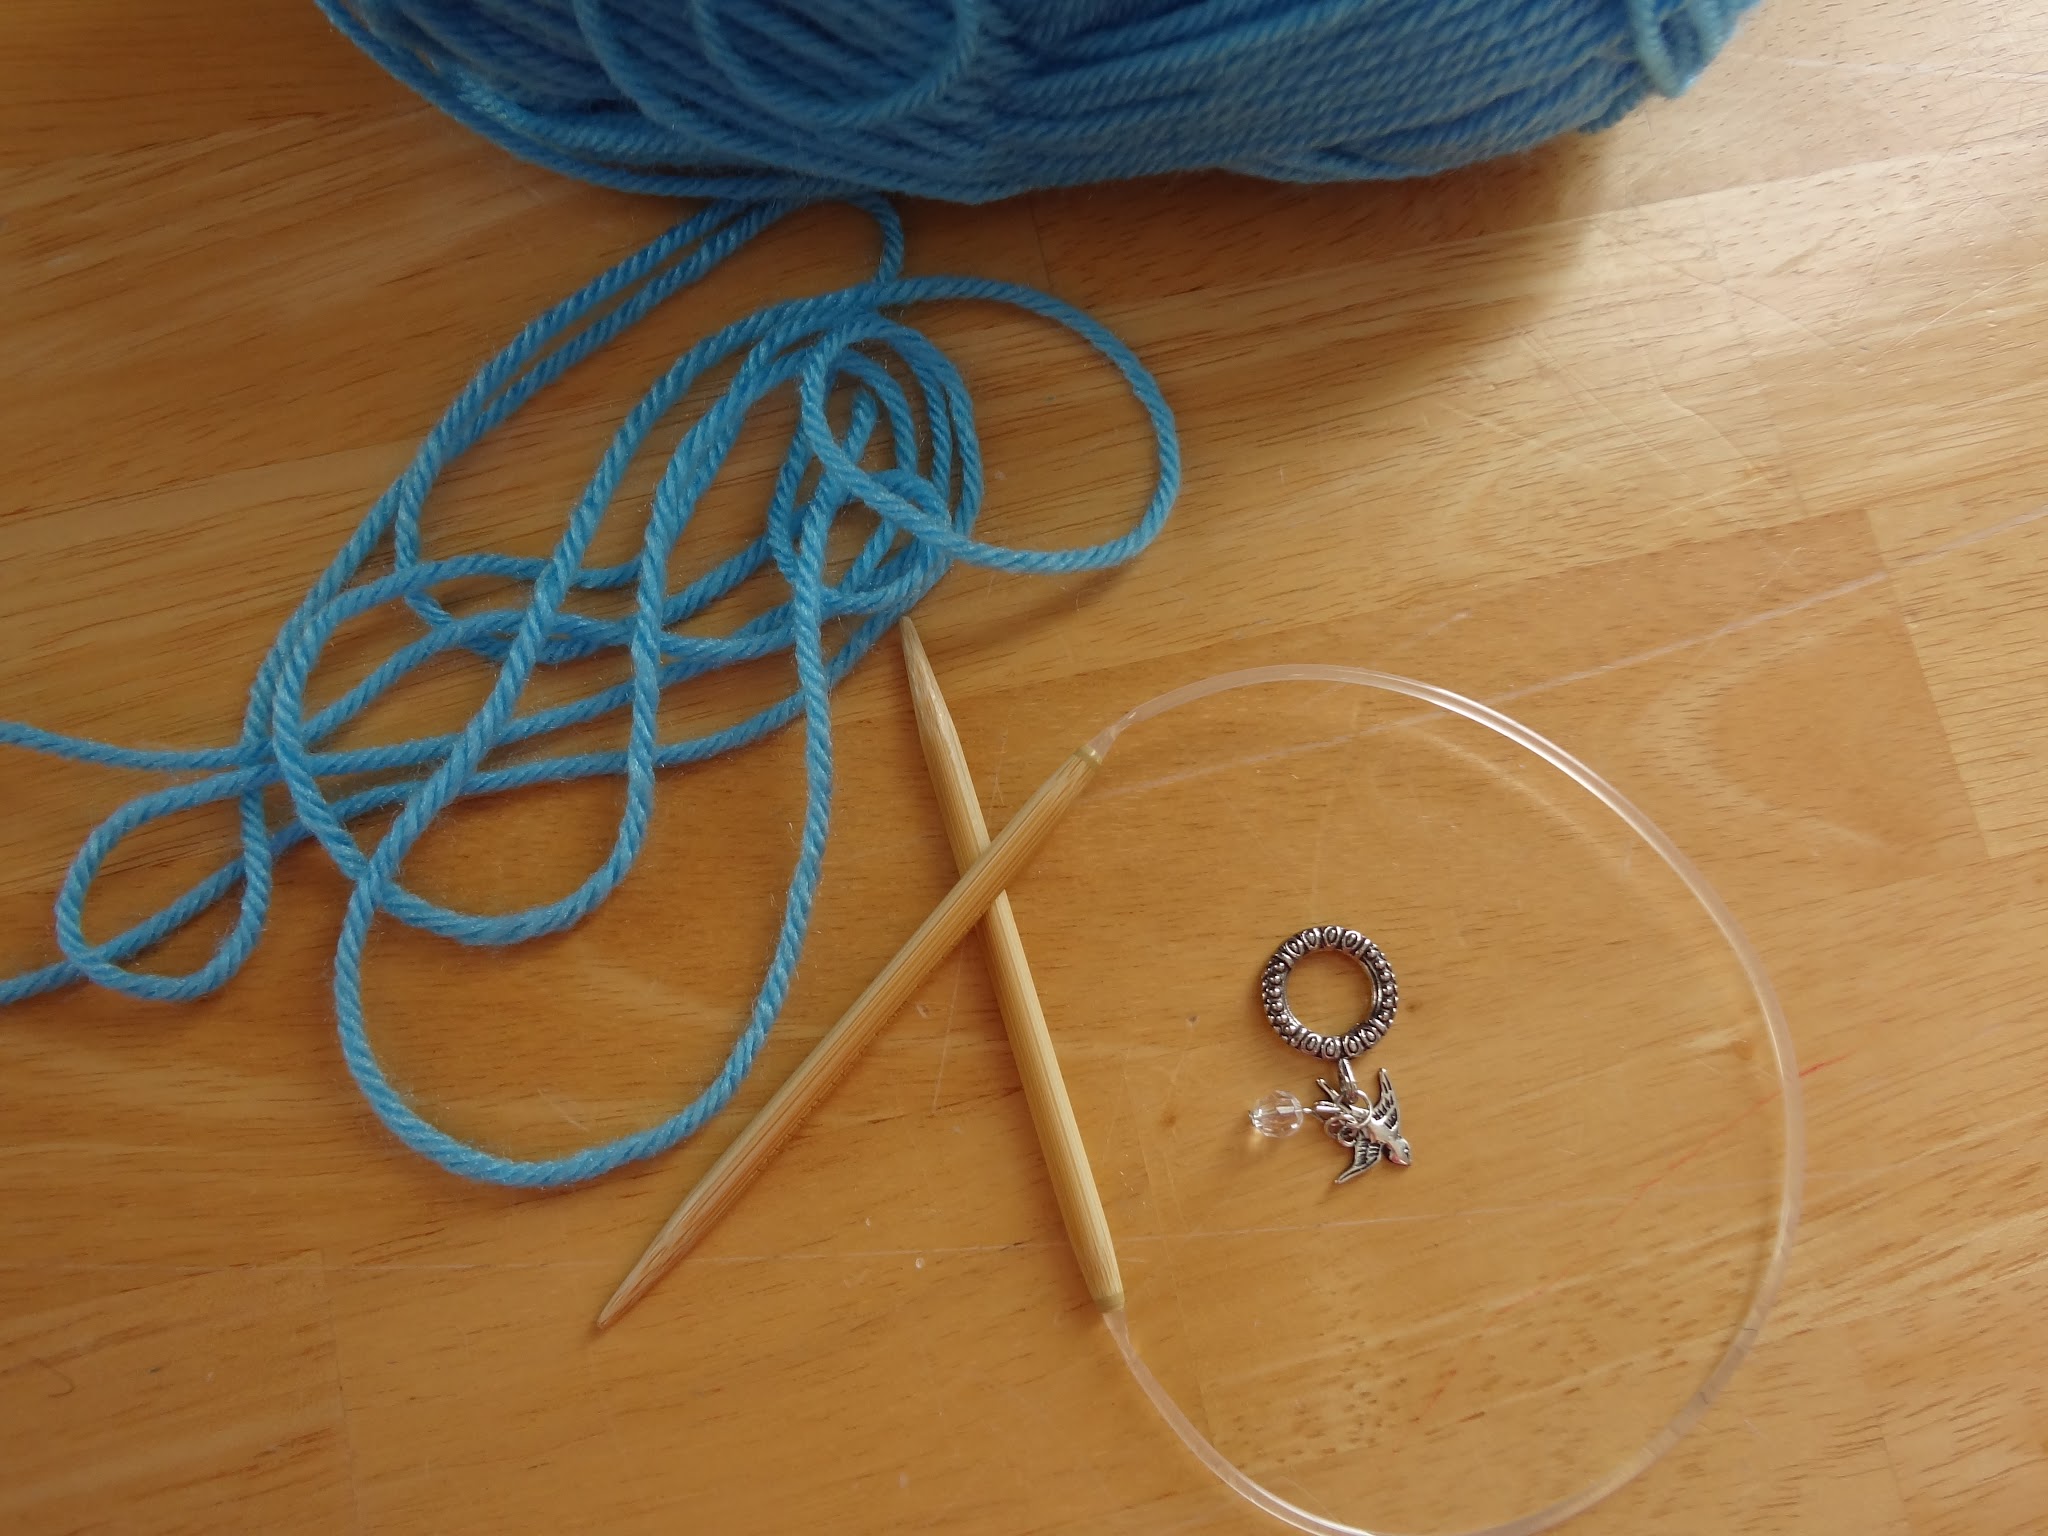
Today dear stitchers, were going to make a larger tube with a circular needle. To get started, all you need is some yarn, a circular needle, and a stitch marker. A word about circular needles… circular needles come in many different materials including different metals, wood, and bamboo to name a few…there are also interchangeable ones that you can swap the tips and vary the length of the cables too! In this tutorial, I’m using a regular Clover brand bamboo circular needle (my most favorite, but definitely experiment with the material and type you like best).
Do you like my super cute stitch marker? Here’s how to make your own using recycled jewelry:
Begin just as you would normally would by casting on the number of stitches your pattern requires,
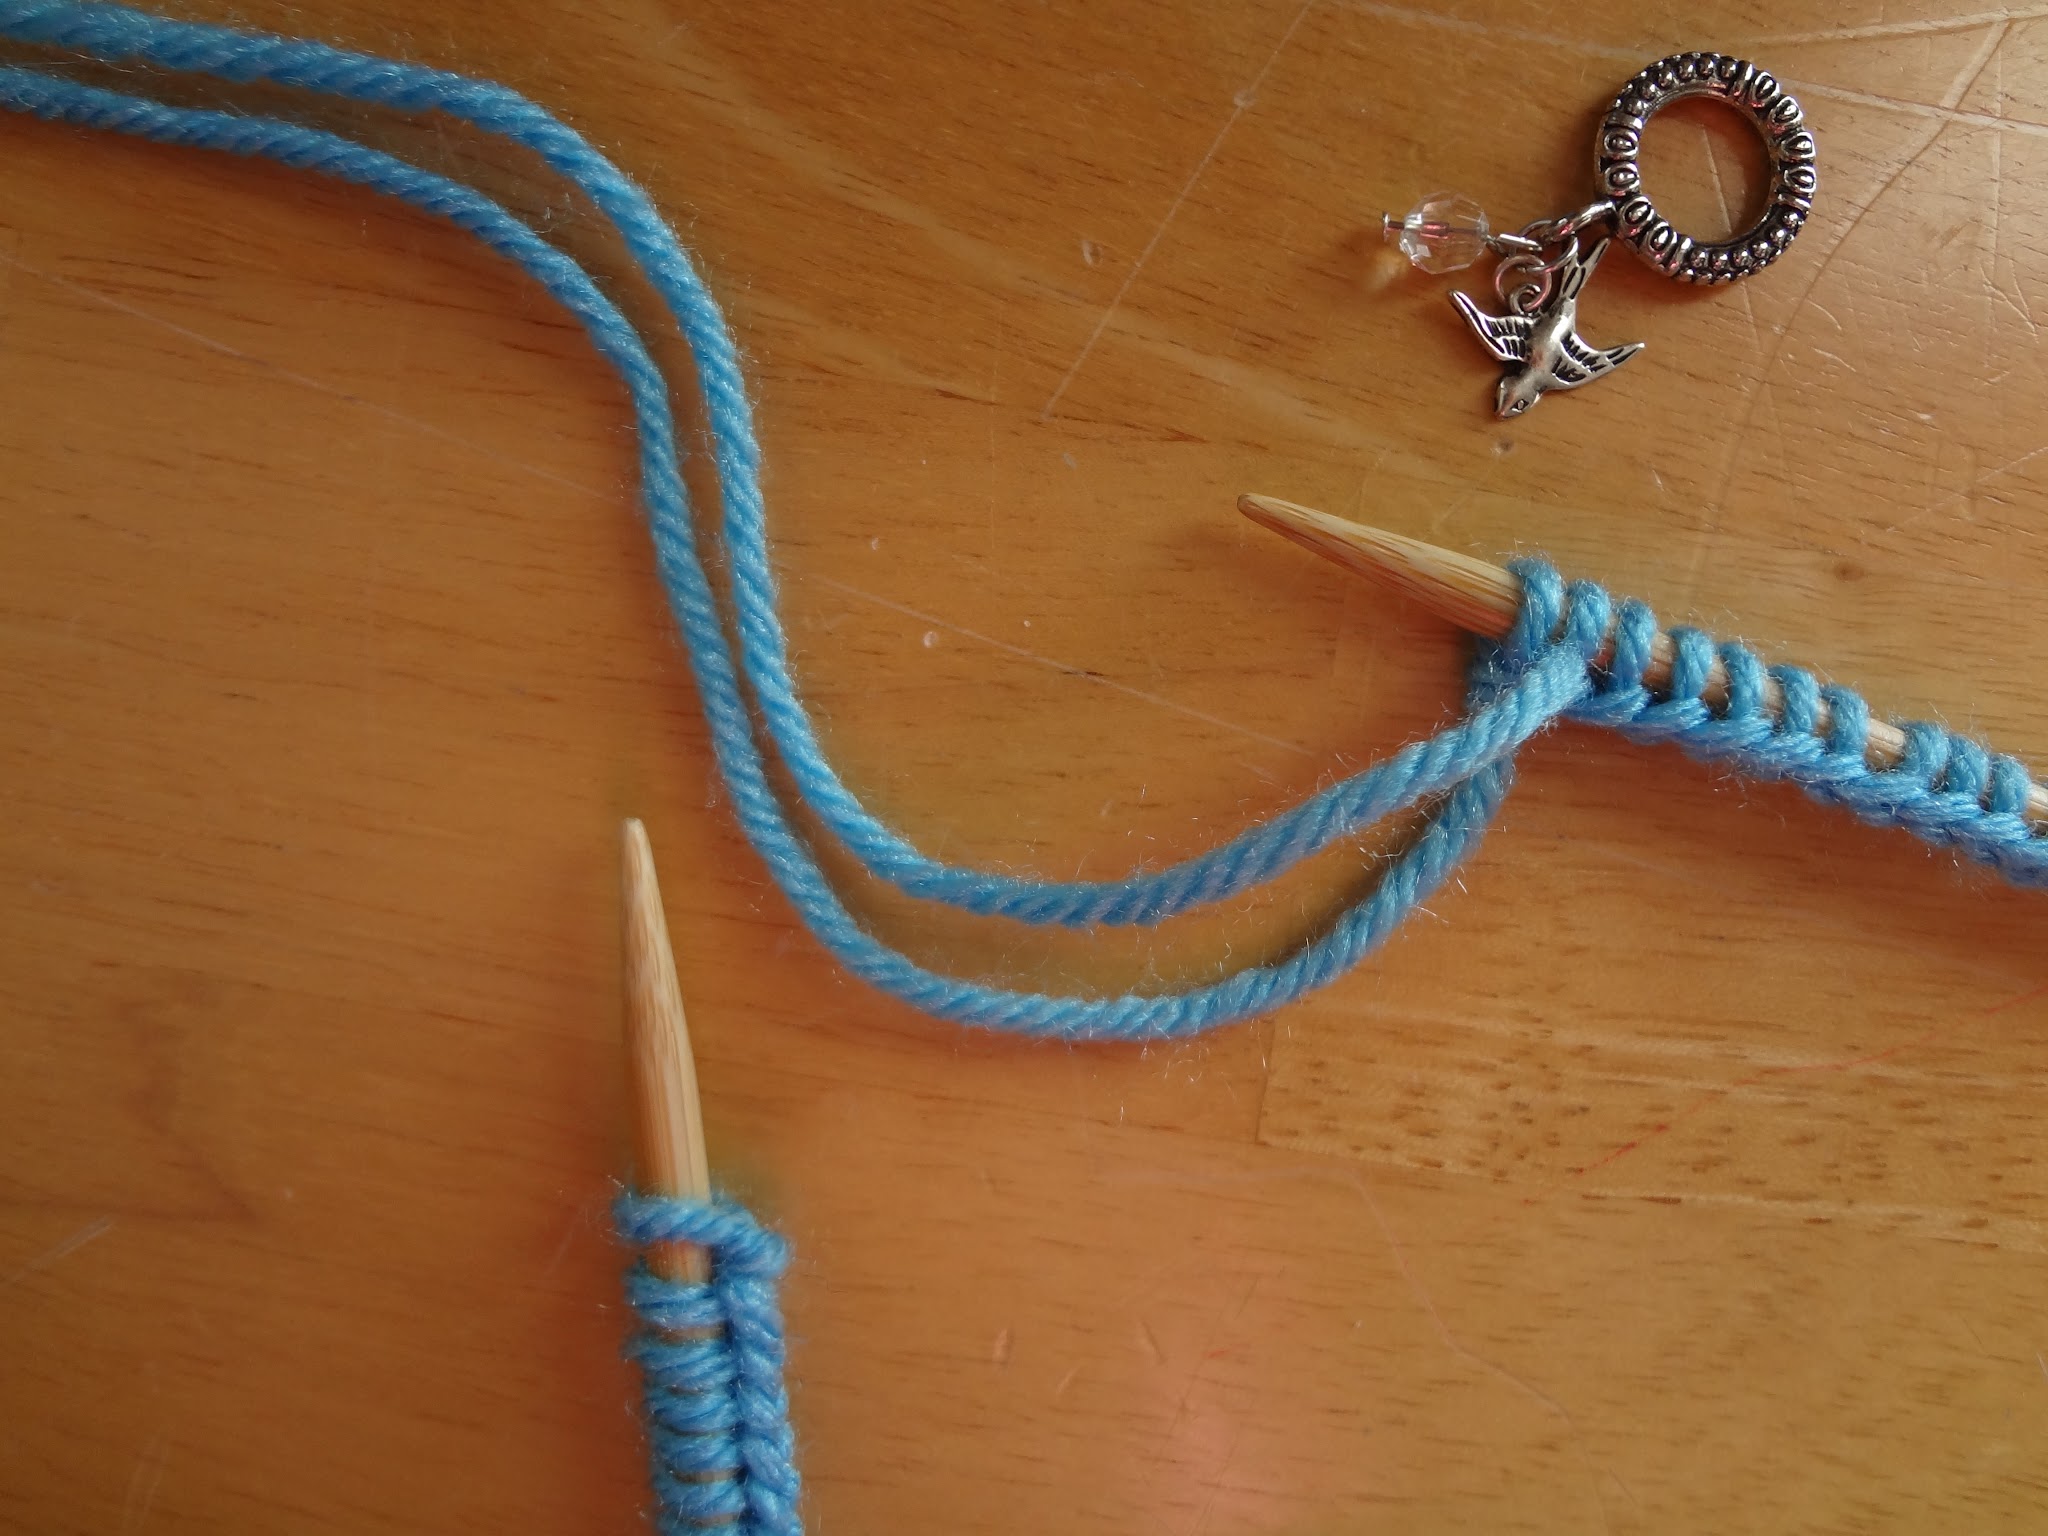
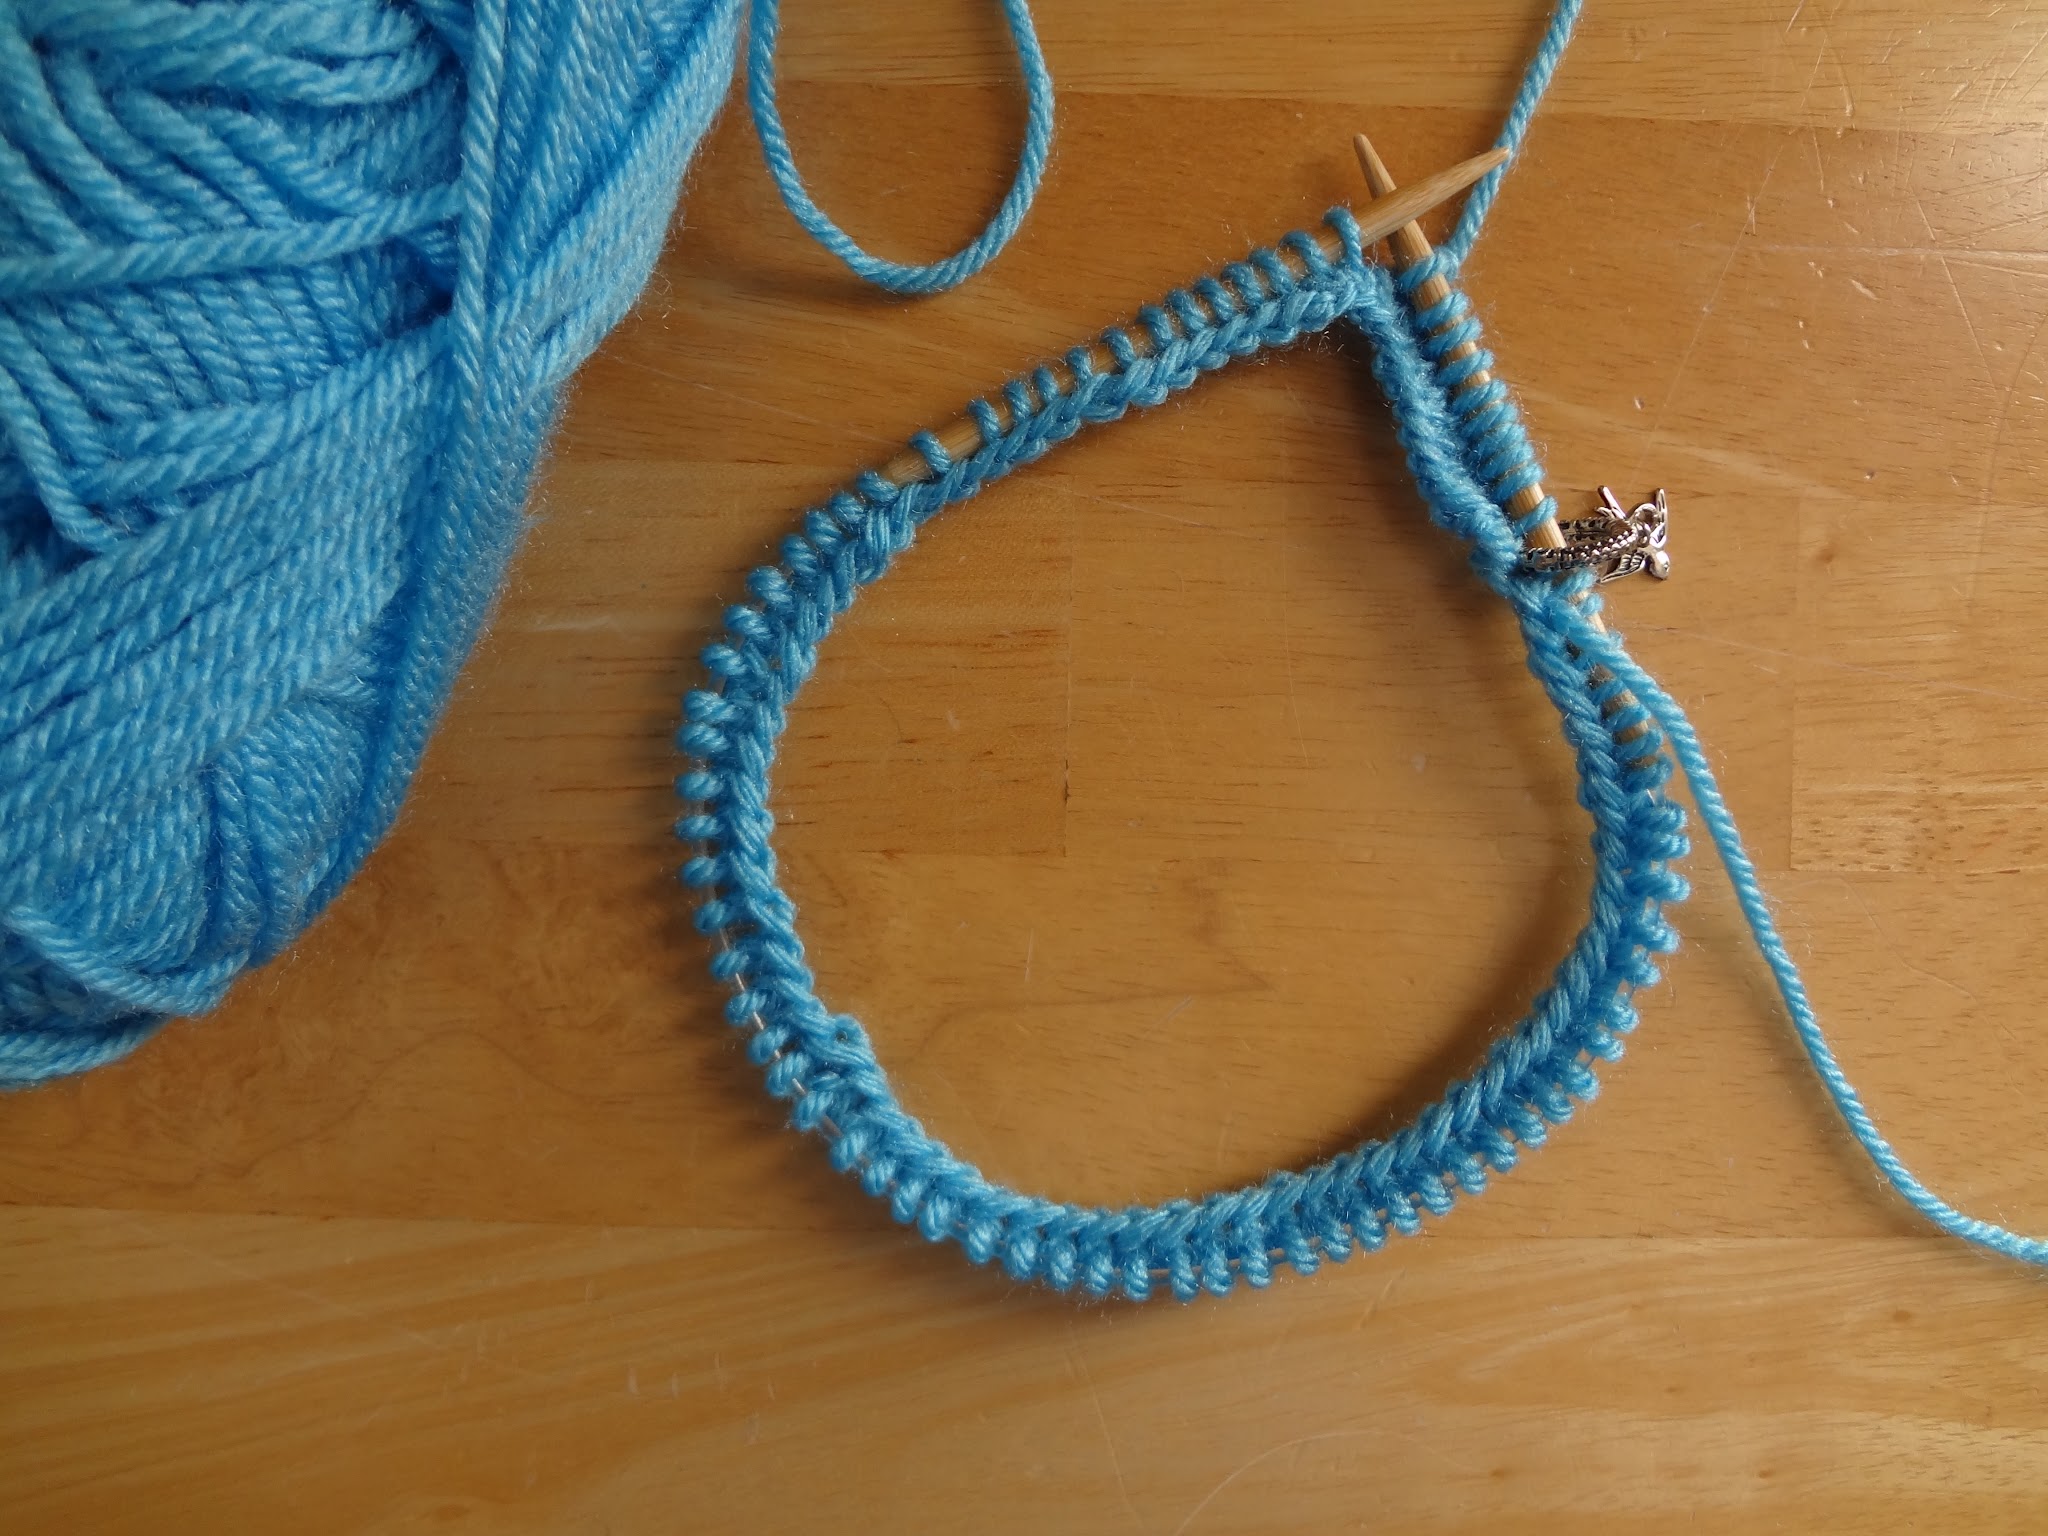
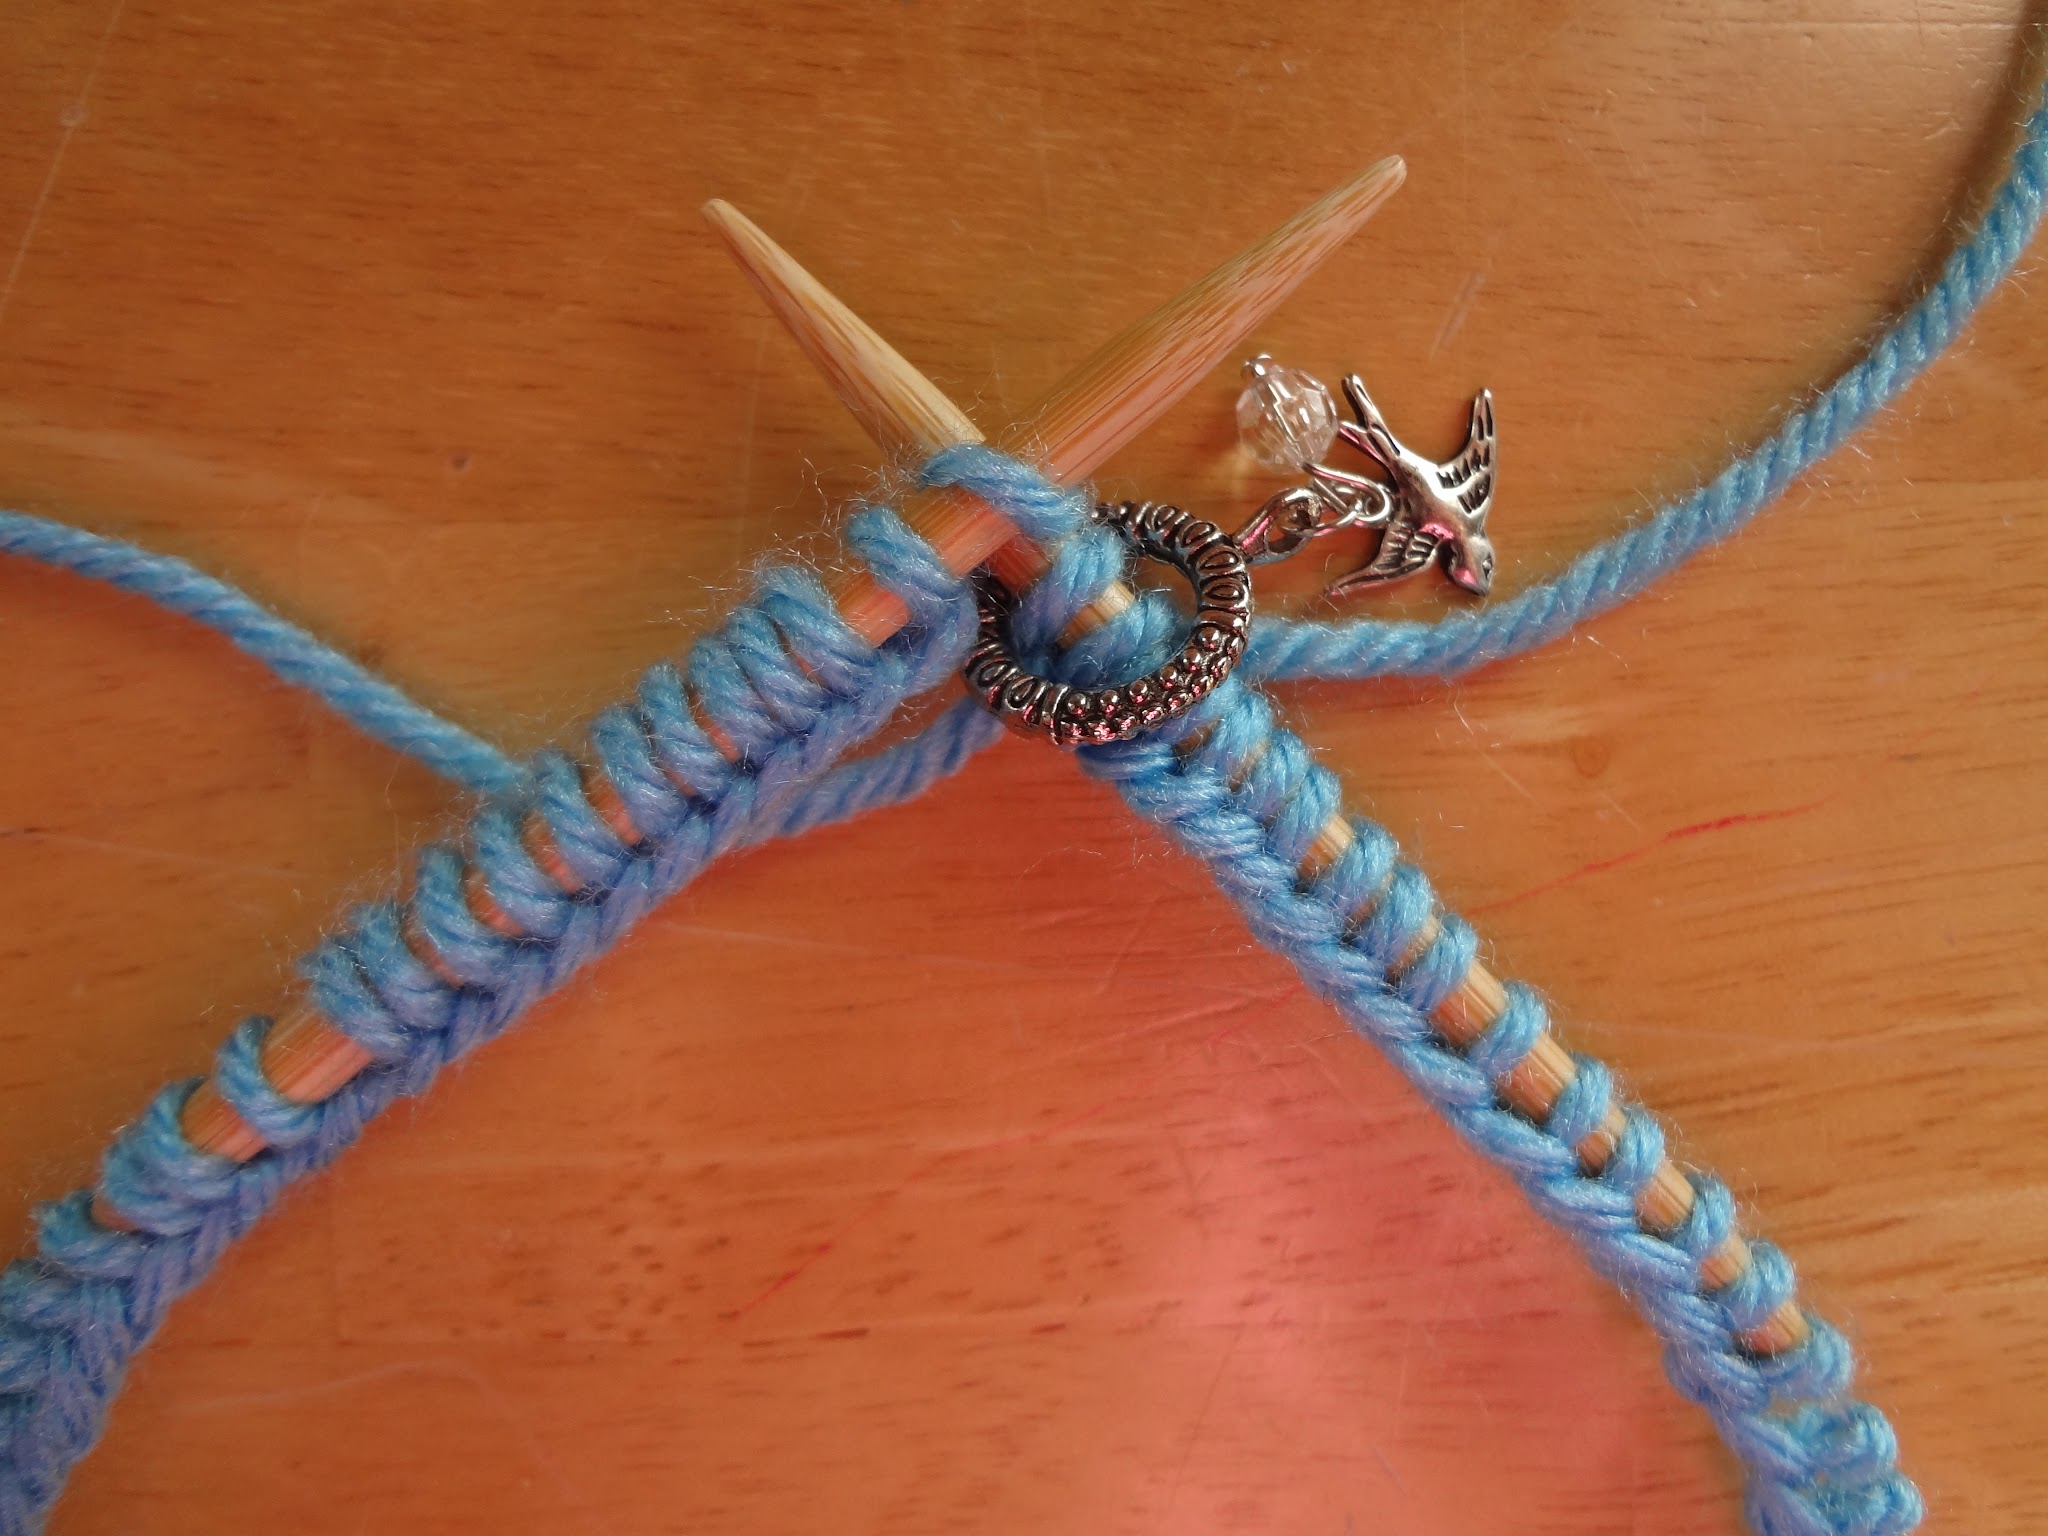
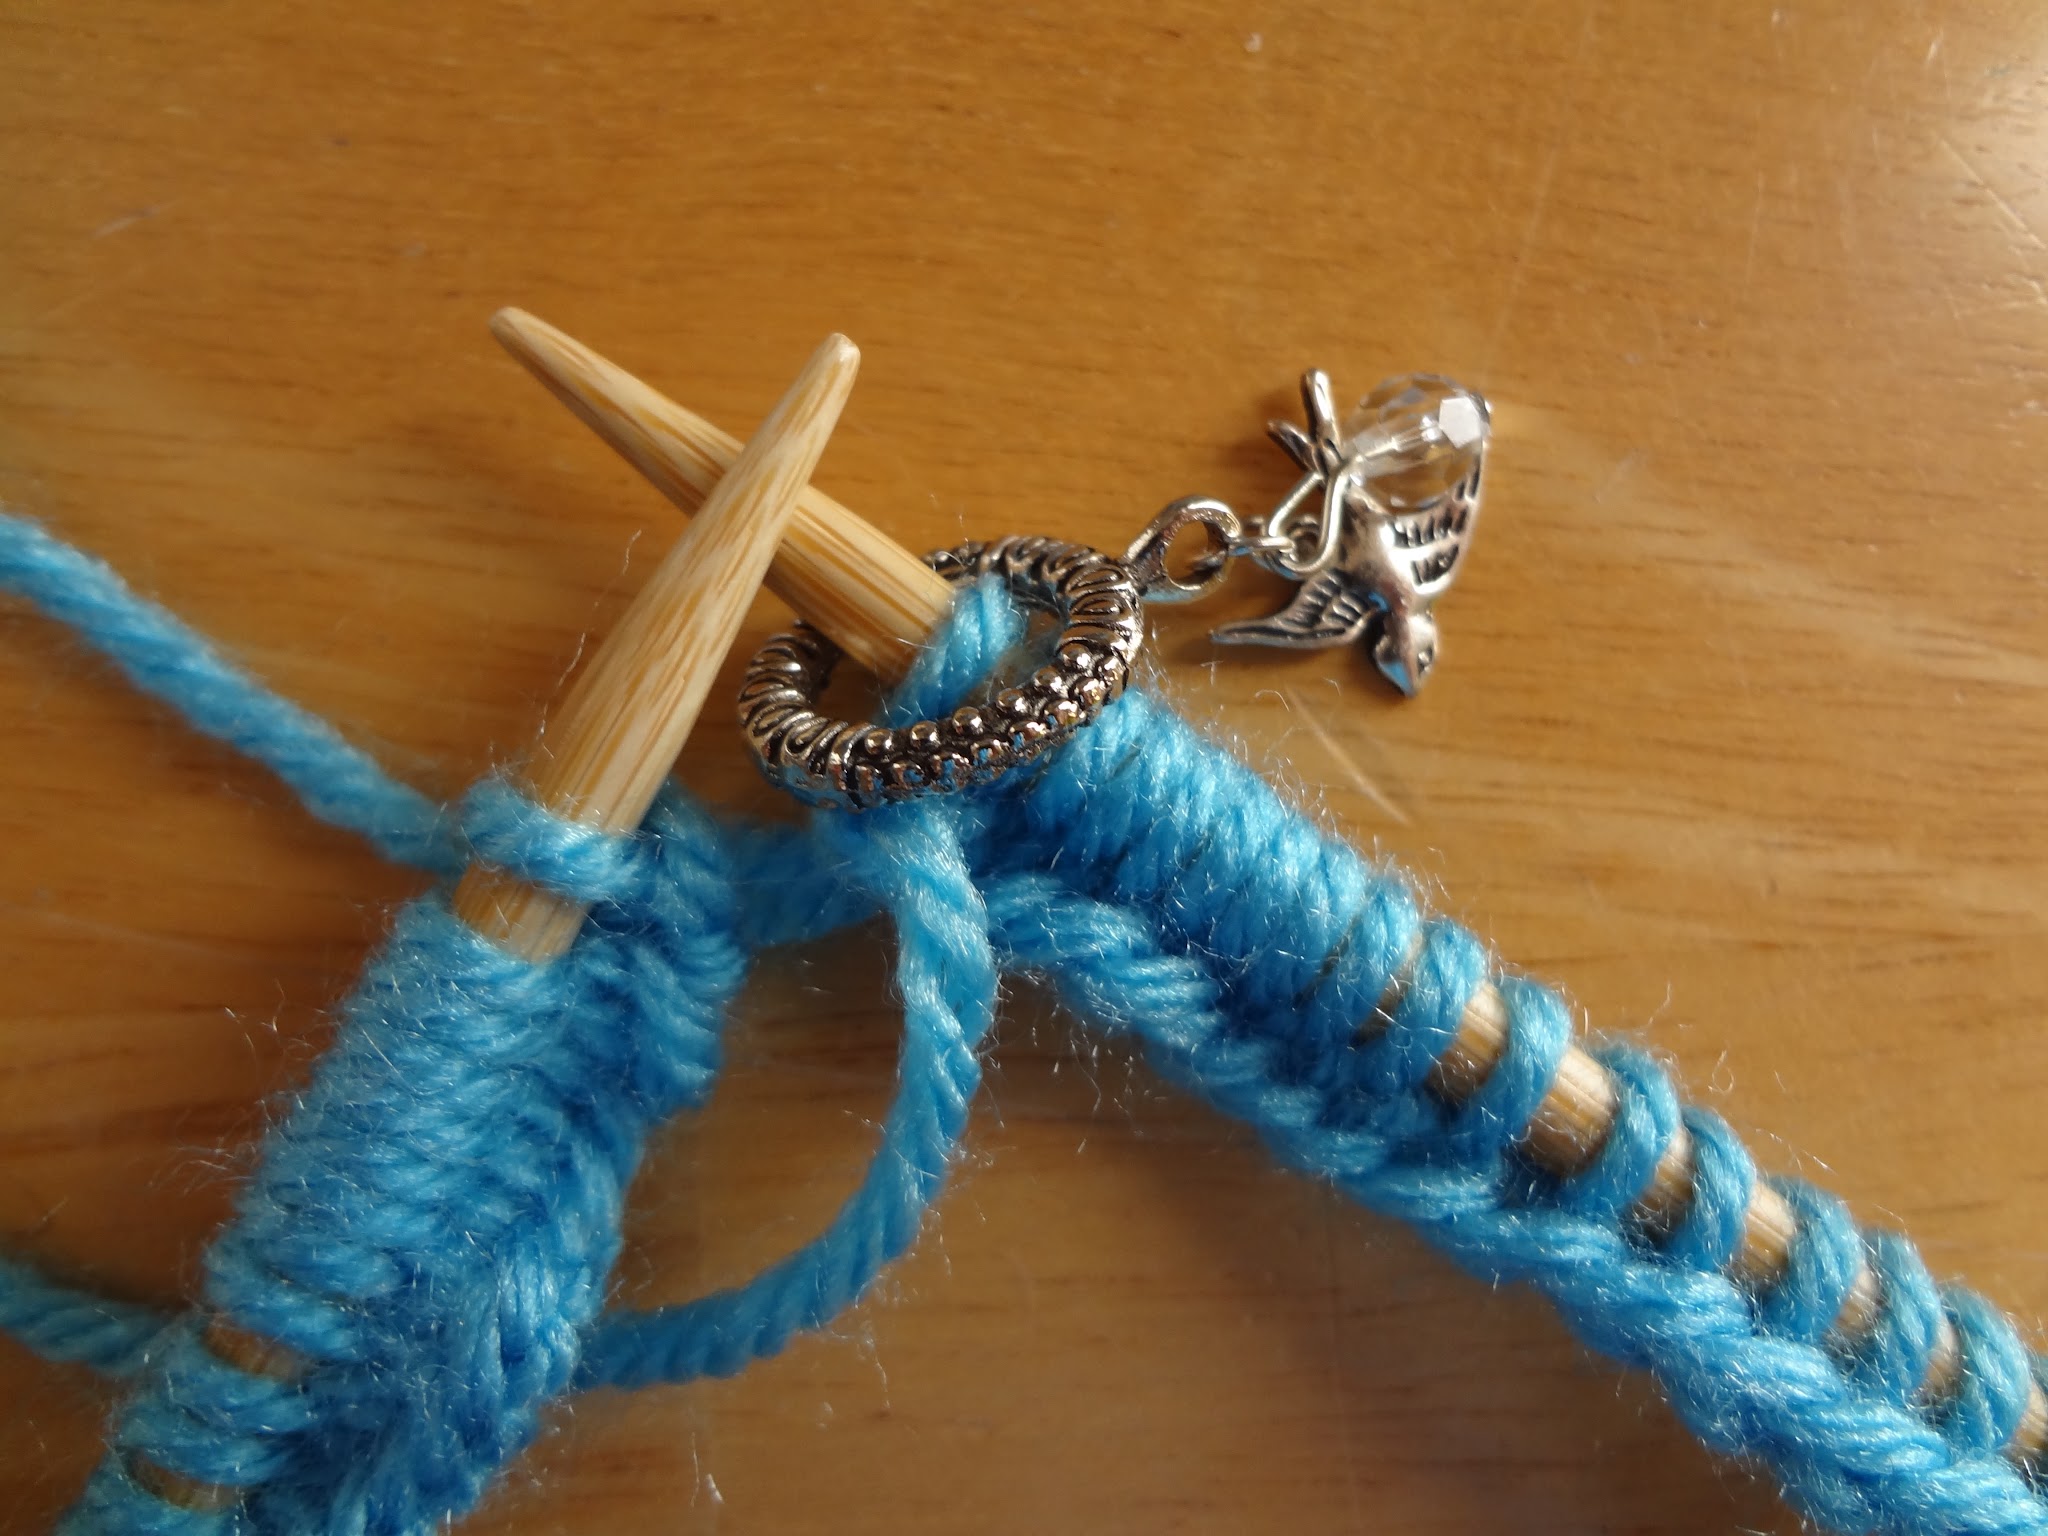
Then, place your stitch marker on the right hand needle (in a pattern this can be abbreviated as “PM” or “place marker”), then knit the first stitch. This begins out first round. Extremely important…be very careful not to twist the stitches you’ve cast on as you join together and knit the first stitch! In the picture below, you can see the marker in place and the first stitch knitted…notice too how all of the stitches I’ve cast on are all facing inward (not twisted). Please note too that you’ll want to give the first stitch on each round an extra tug to prevent “laddering” or loose stitches.
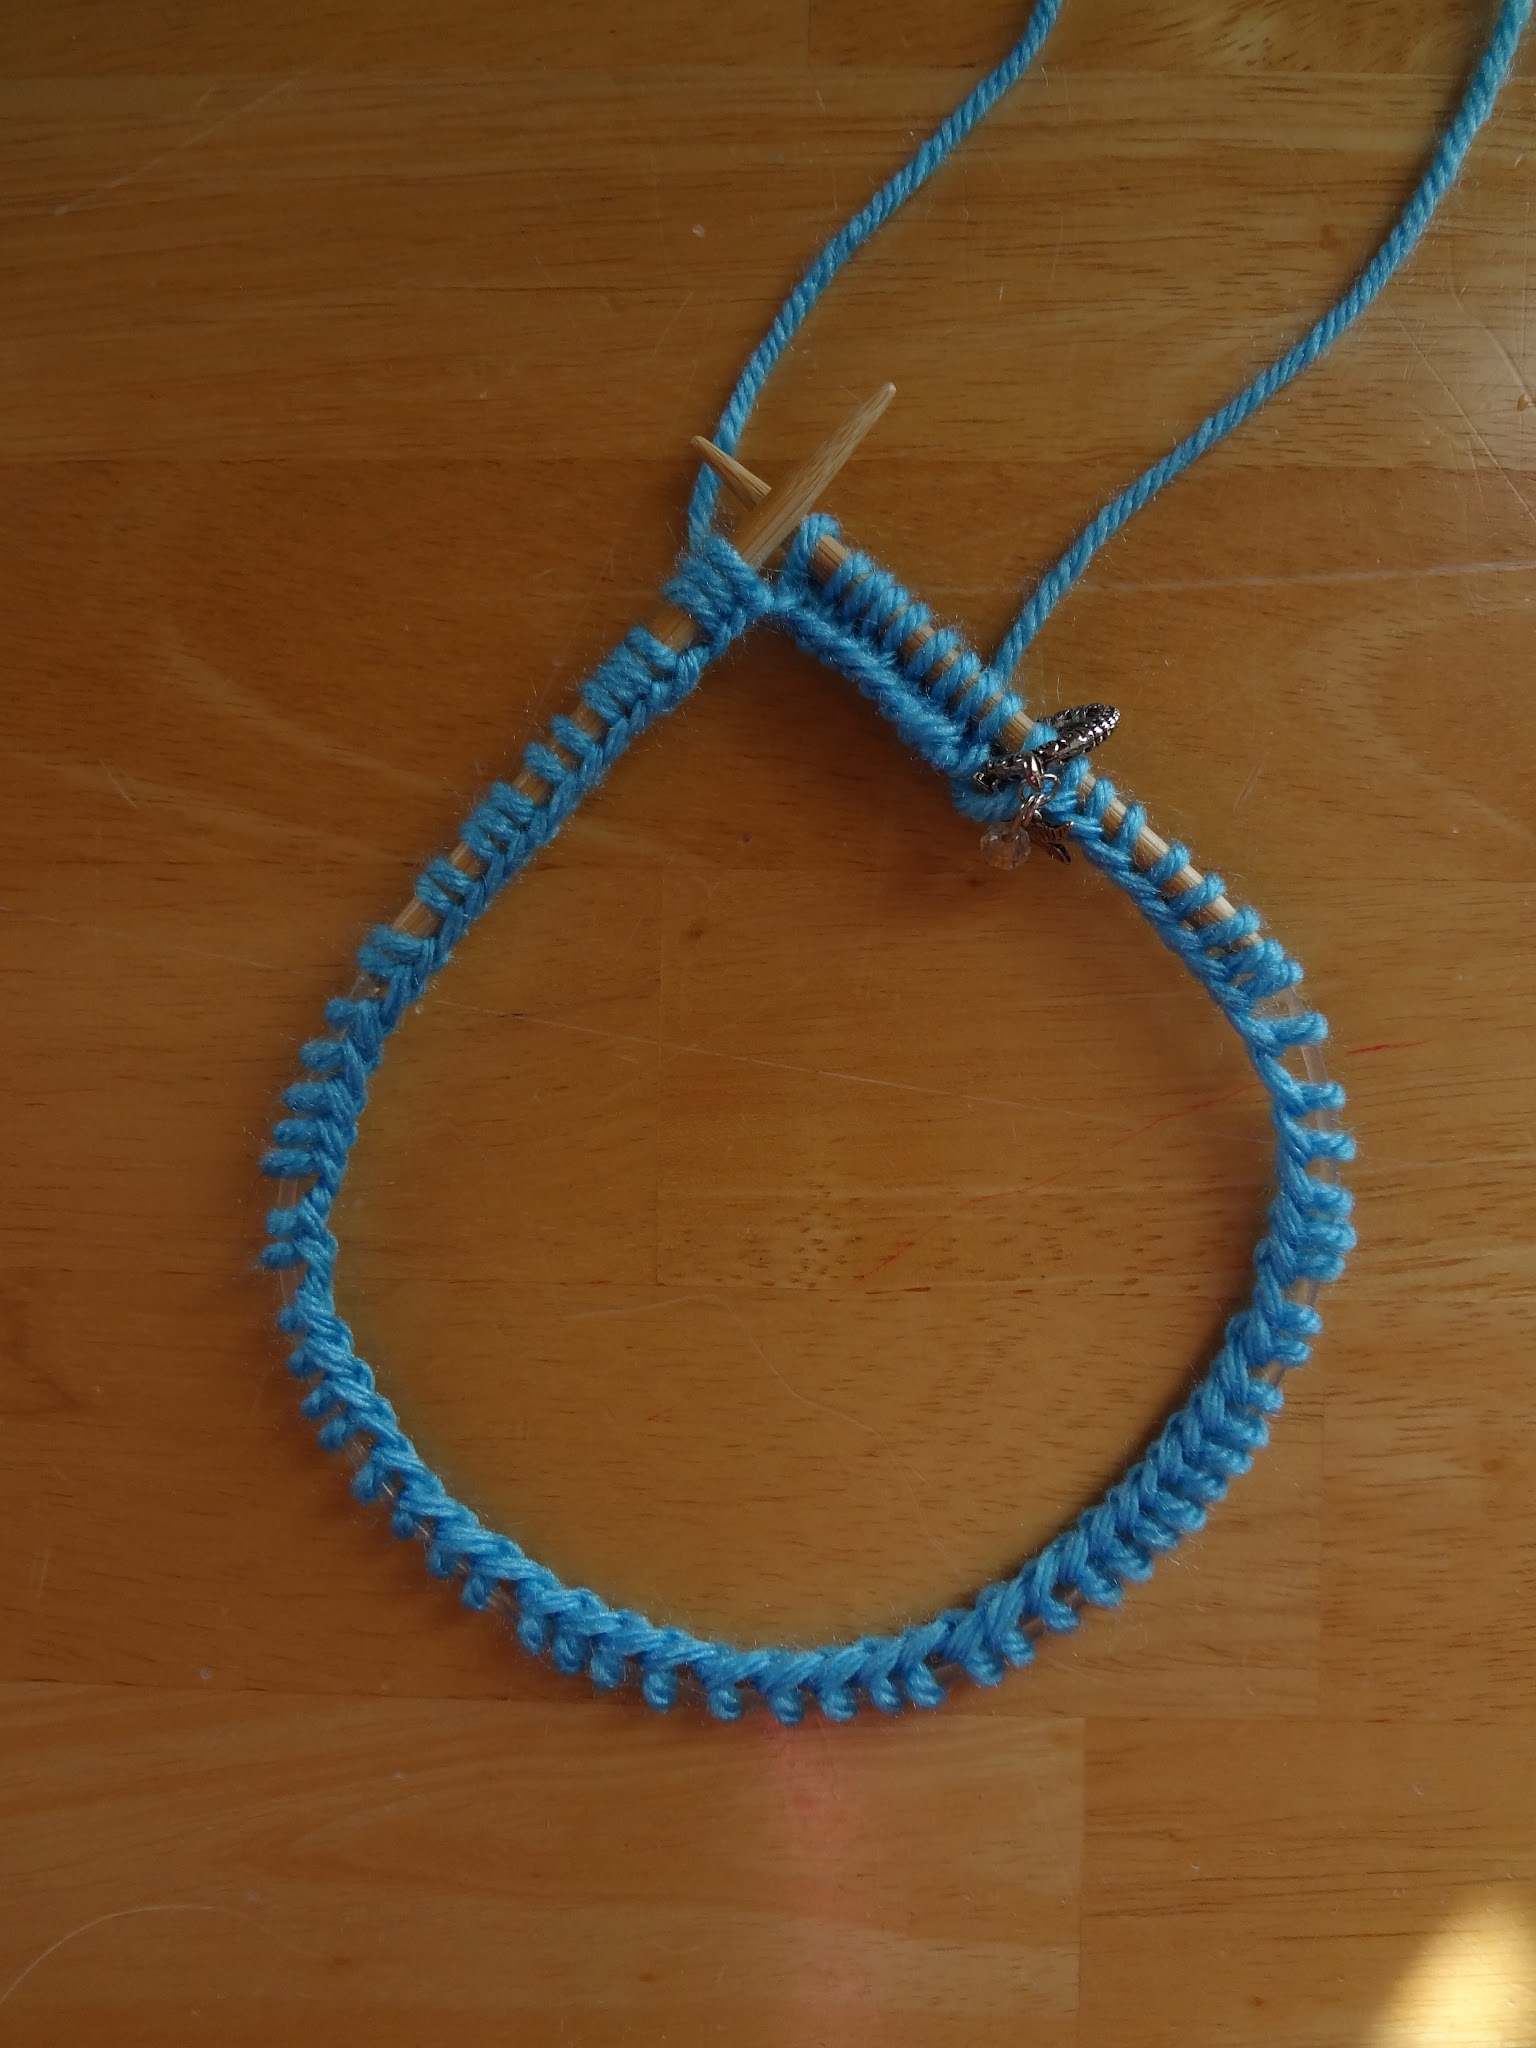
Now just keep knitting! In the picture below, you can see how it looks as you begin to work that first round…and note too how all of the stitches still are facing inward (no twisting).

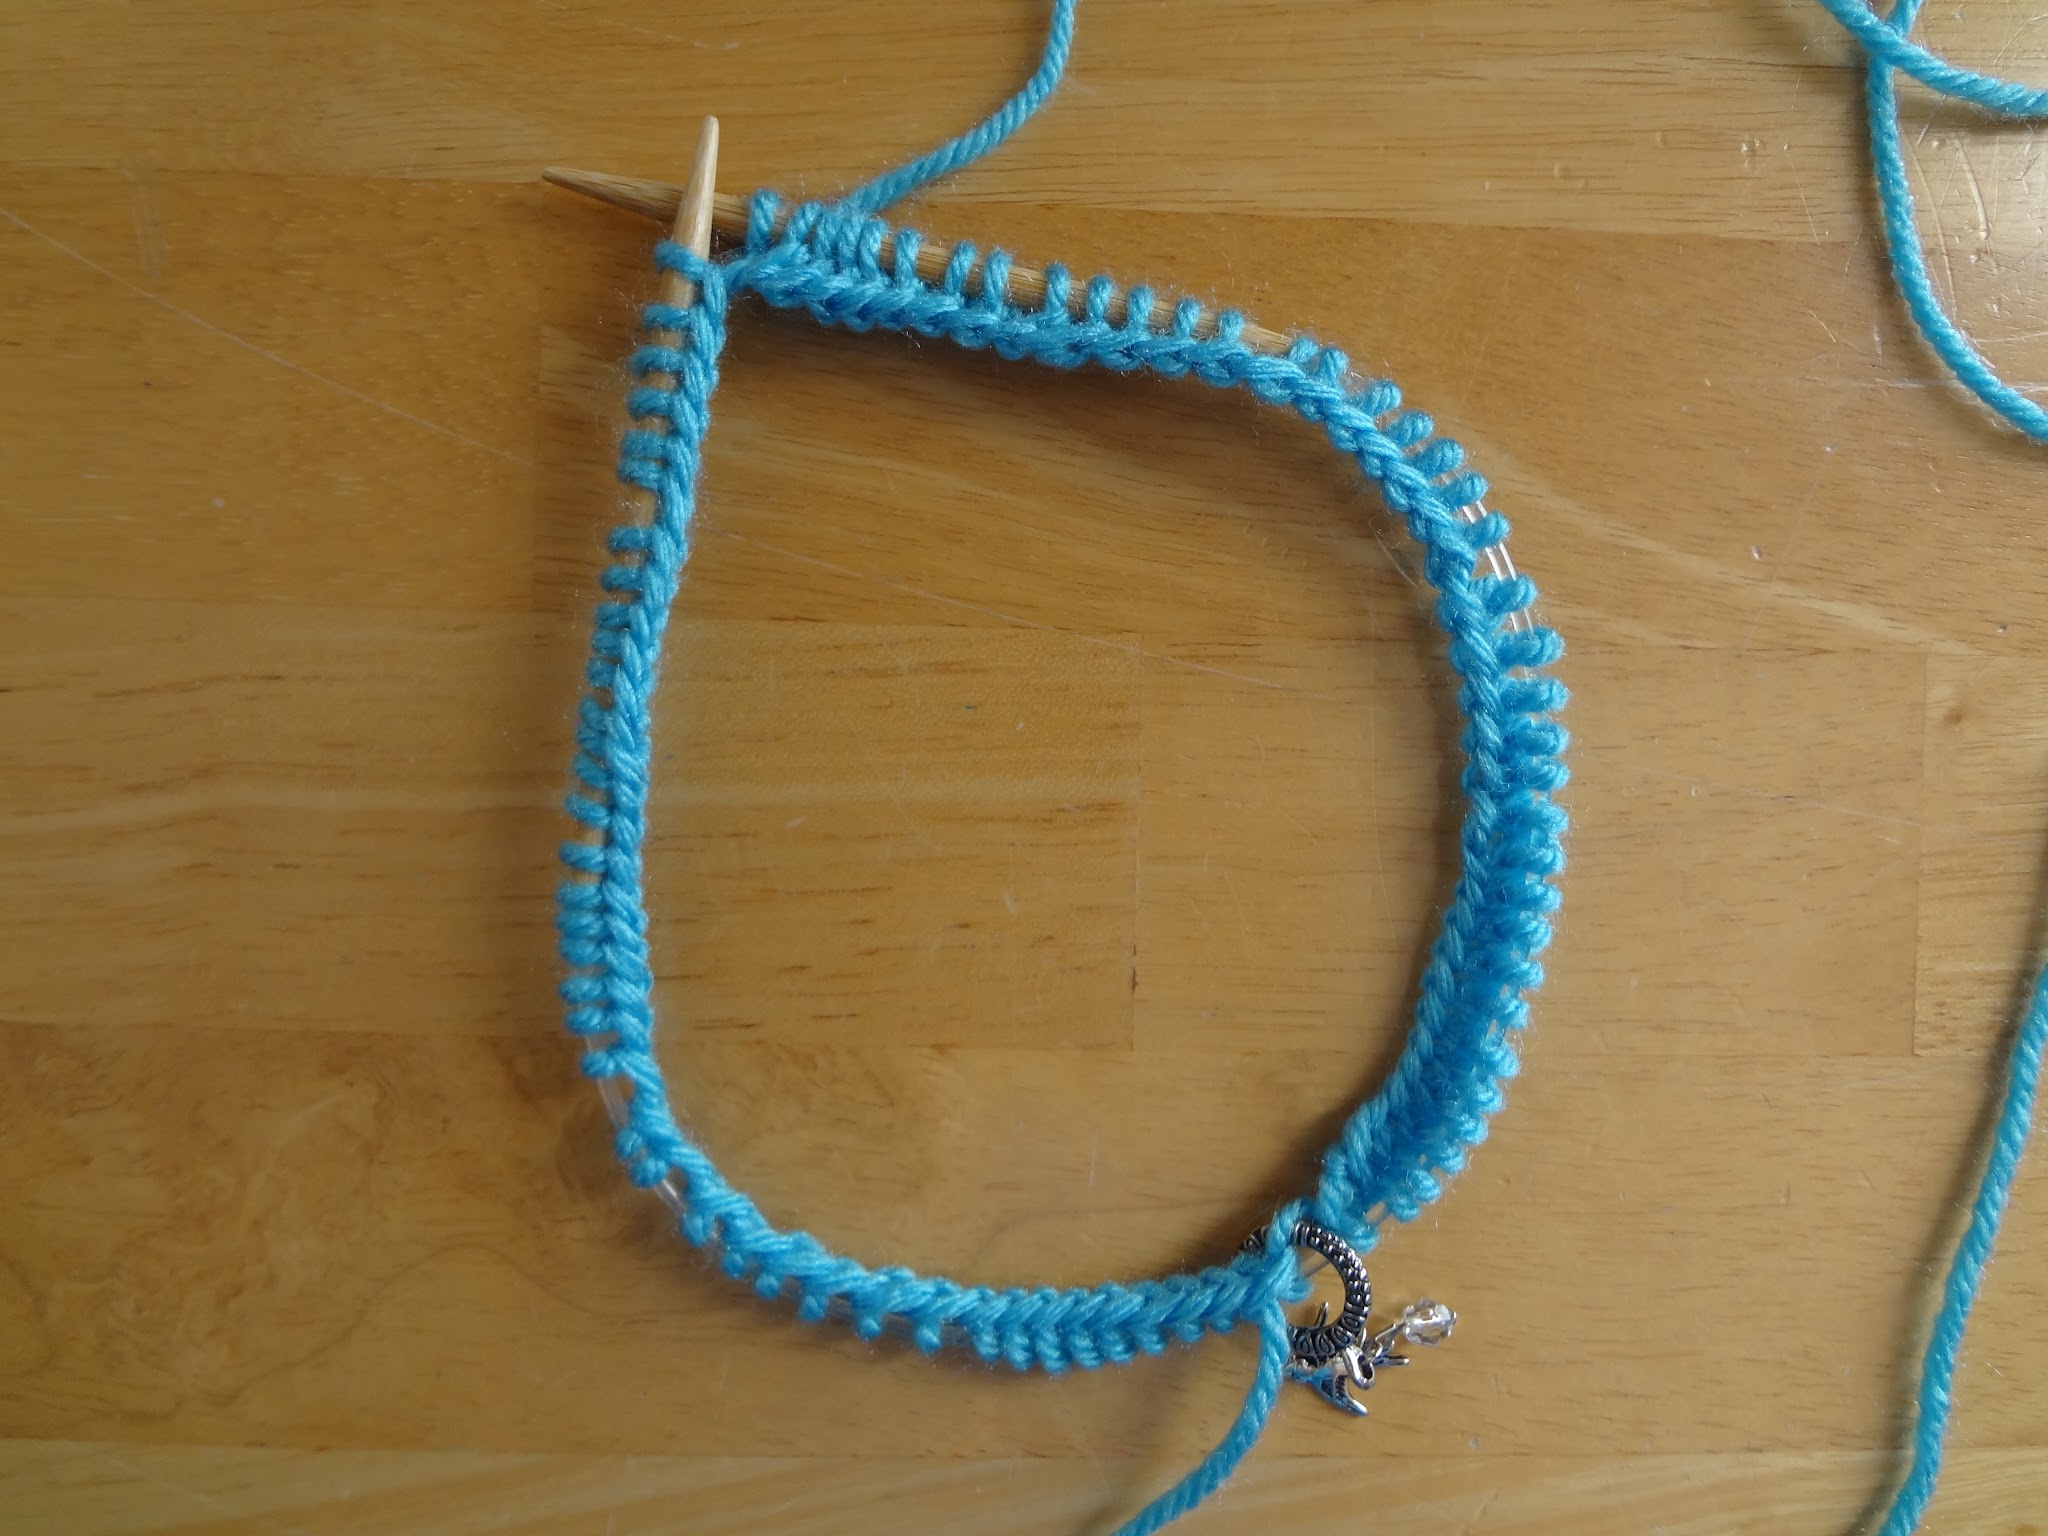
Here is the top view of the work, so you can see how things are shaping up…
And here I’ve gone about halfway around…
When you have completed your first round and are back at the stitch marker again…
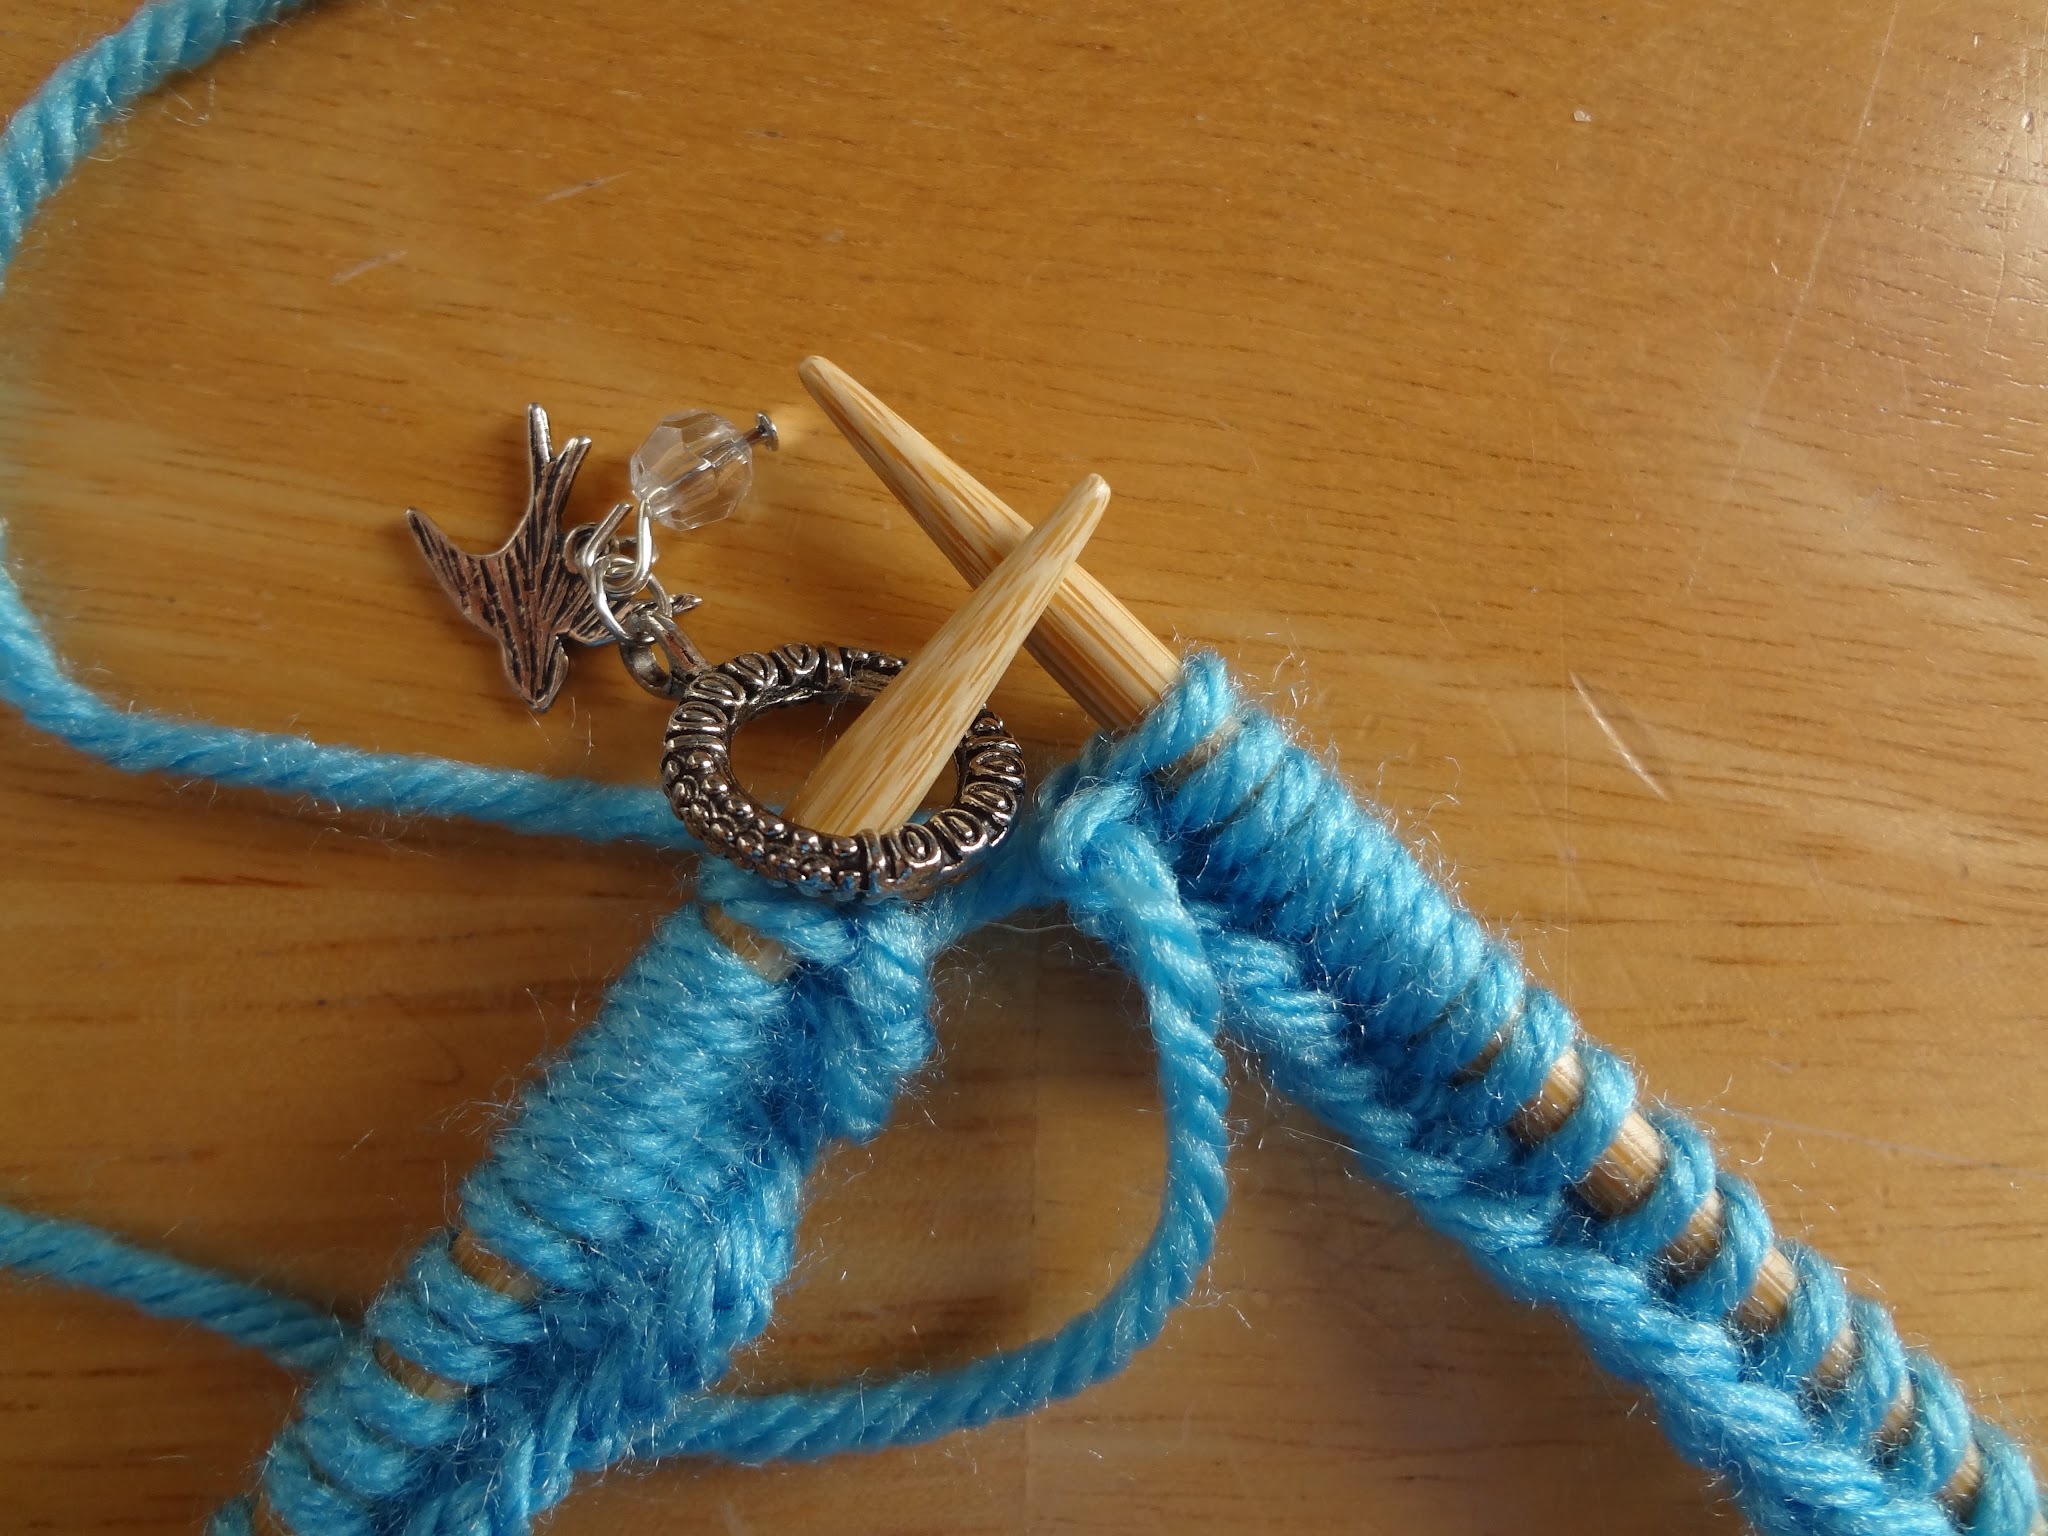
…simply slip the marker from left to right and keep going. Again, you’ll want to be sure to give that first stitch an extra tug to keep everything uniform.
There you have it! Oh, and just one more thing…when knitting in the round, stockinette stitch is created by knitting every round as opposed to knitting flat where you knit a row, purl a row, and so on.
Now that you are a master at knitting in the round, you can do all sorts of seamlessly fun things in the round on your circular needles.
Be sure to check out this tutorial too to learn to knit in the round using double pointed needles (DPNs):
How to Knit in the Round Using Double Pointed Needles (DPNs)
And…here are a bunch of free knitting patterns to test your new skills on!


How do you determine the cable length?
That's a great question! Generally for smaller tubes like hats and cowls, I'll use the 16 inch length. The teeny, tiny hats though (mostly preemie size) I might use double pointed needles instead. For larger things like sweaters, you'll want to use something bigger.
Generally (and hopefully) the pattern you are using will indicate the length of the circular needle that is recommended. You'll know when doing the first round too if it is the wrong length. If it is too long for your project, you'll barely be able to join it in the round. Likewise if your cable length is too short, your stitches will be smashed and trying to leap off the edge!
Thanks Jennifer. I have tried the Magic Loop method, but I guess I'm just too dumb to understand the directions. This would be great, then you wouldn't need different length cables.
I enjoy your website very much.
Thanks so much Jennifer. Your instructions are SO clear. I'm a knew knitter and you've given me such hope.
Wonderful!!! Welcome to the fabulous, amazing, wonderful world of knitting!! 🙂
I don't undersyand how it becomes a tube..I've tried it and.still had one long peice that I had to join together.. help please 🙁
This comment has been removed by a blog administrator.