

Whip stitching is a common way to join two pieces of crochet or knitting together. I often use it because it is simple to do, virtually invisible, and lays nice and flat.
Here I am using a contrasting color to show you the stitches, normally you would use yarn of the same color so the seam stays hidden.
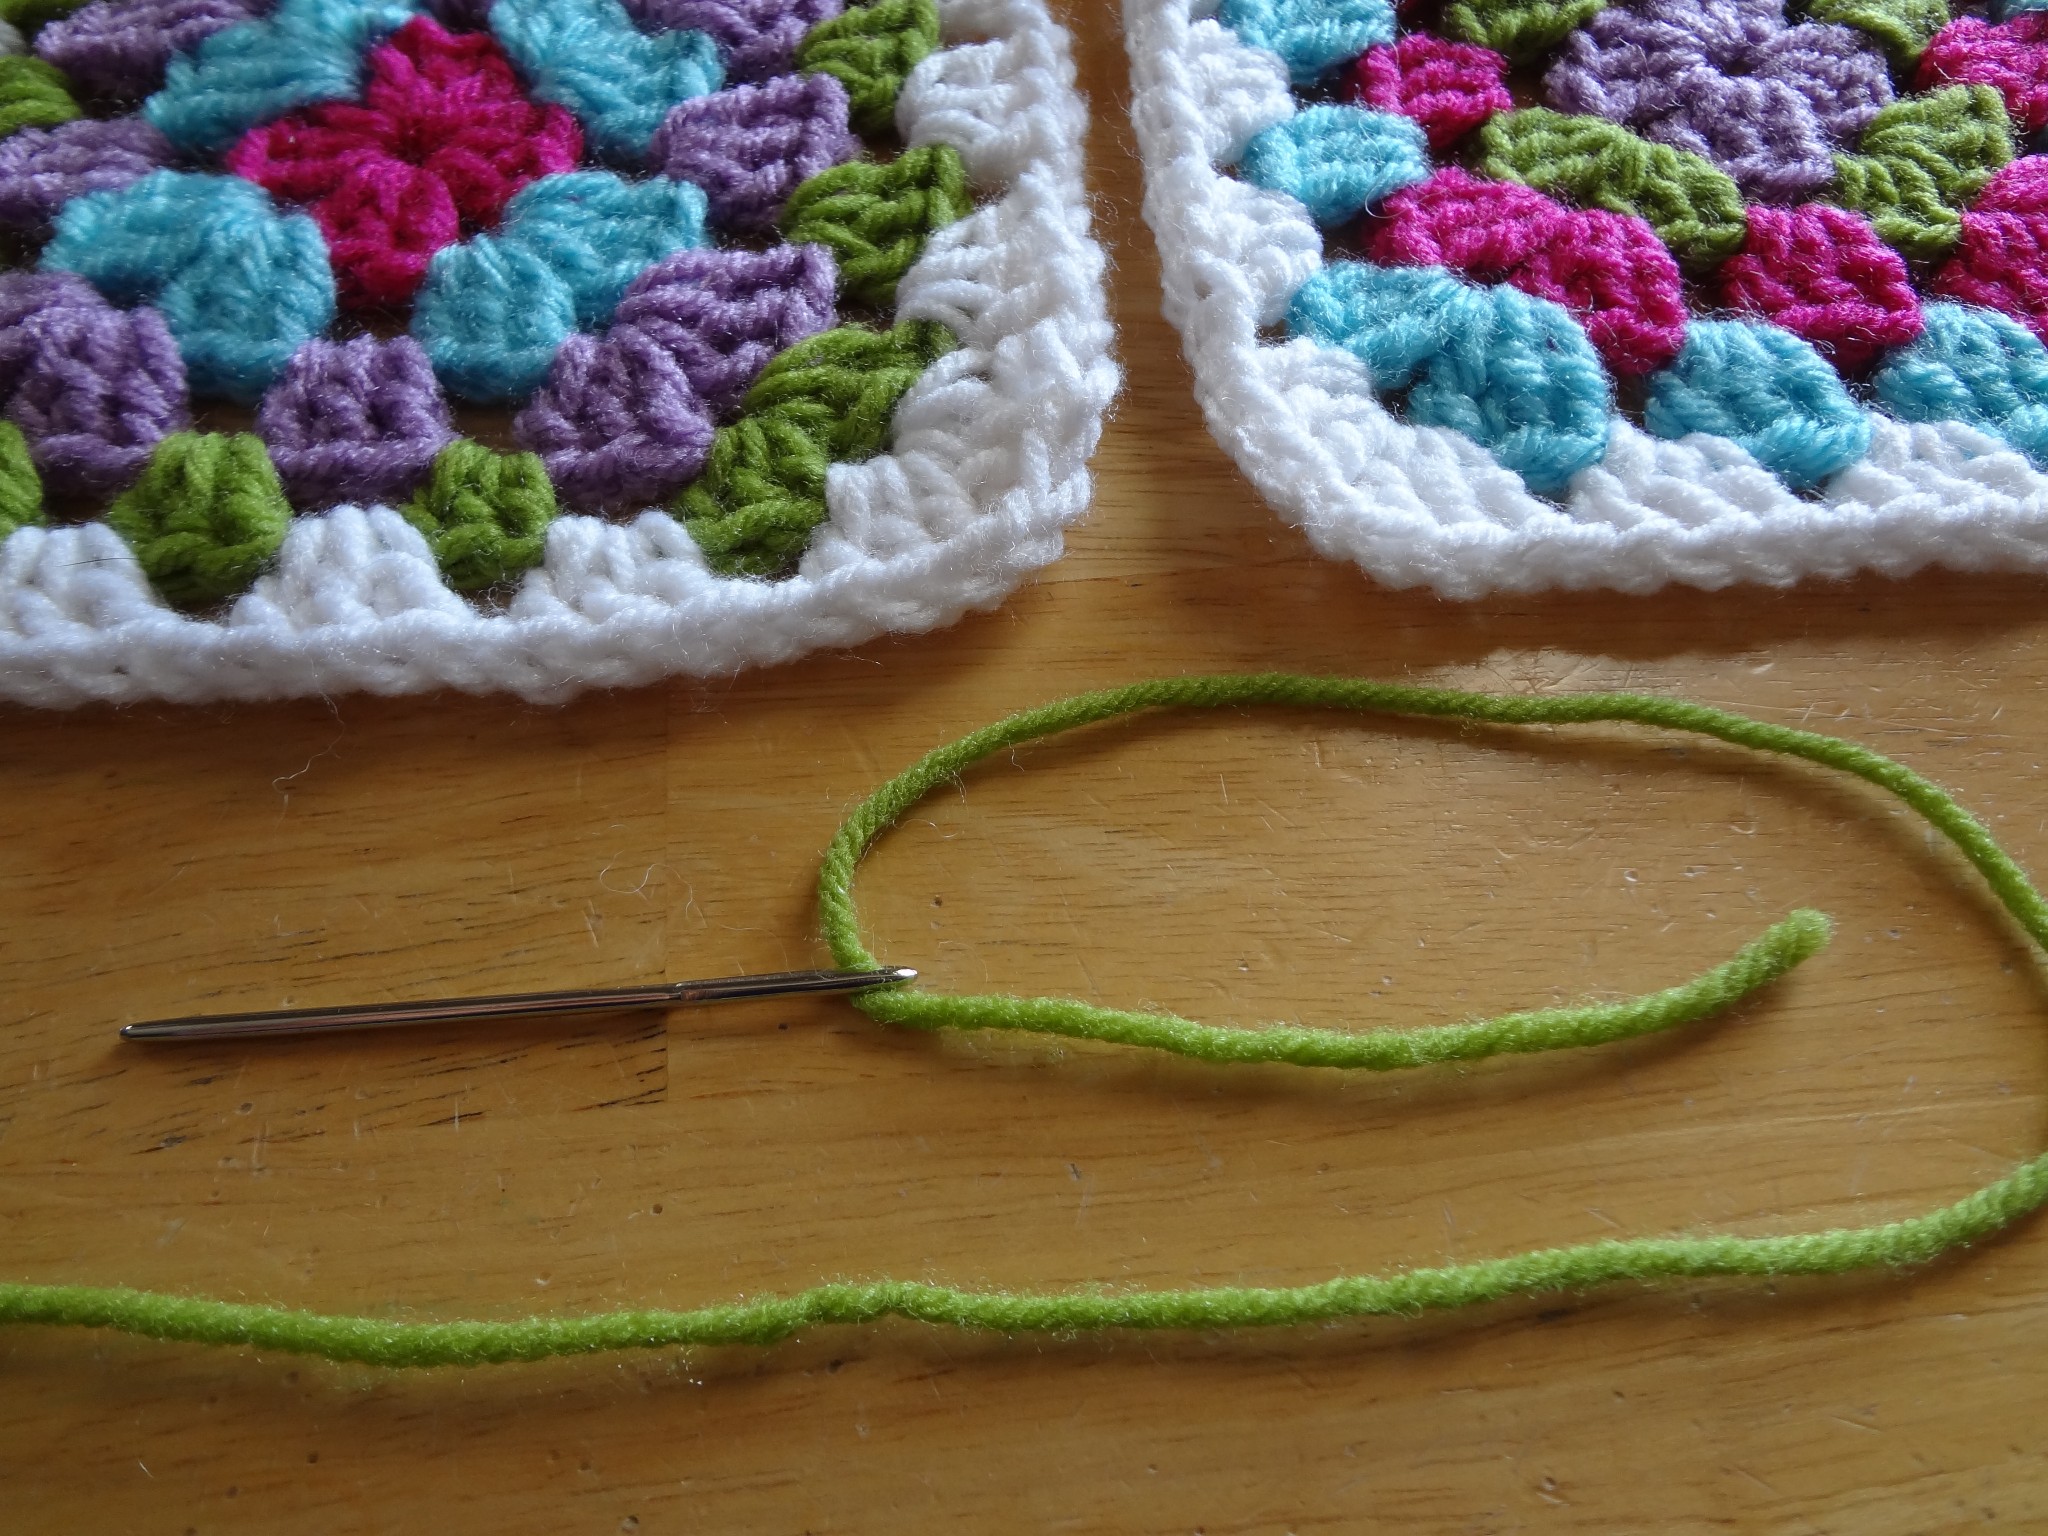
To begin you’ll need the two pieces you will be joining together, a length of yarn, and a tapestry/yarn needle. Thread your needle with a tail as shown and tie a knot at the end (note: I like to leave enough yarn at the knot so I will be able to weave it in later),
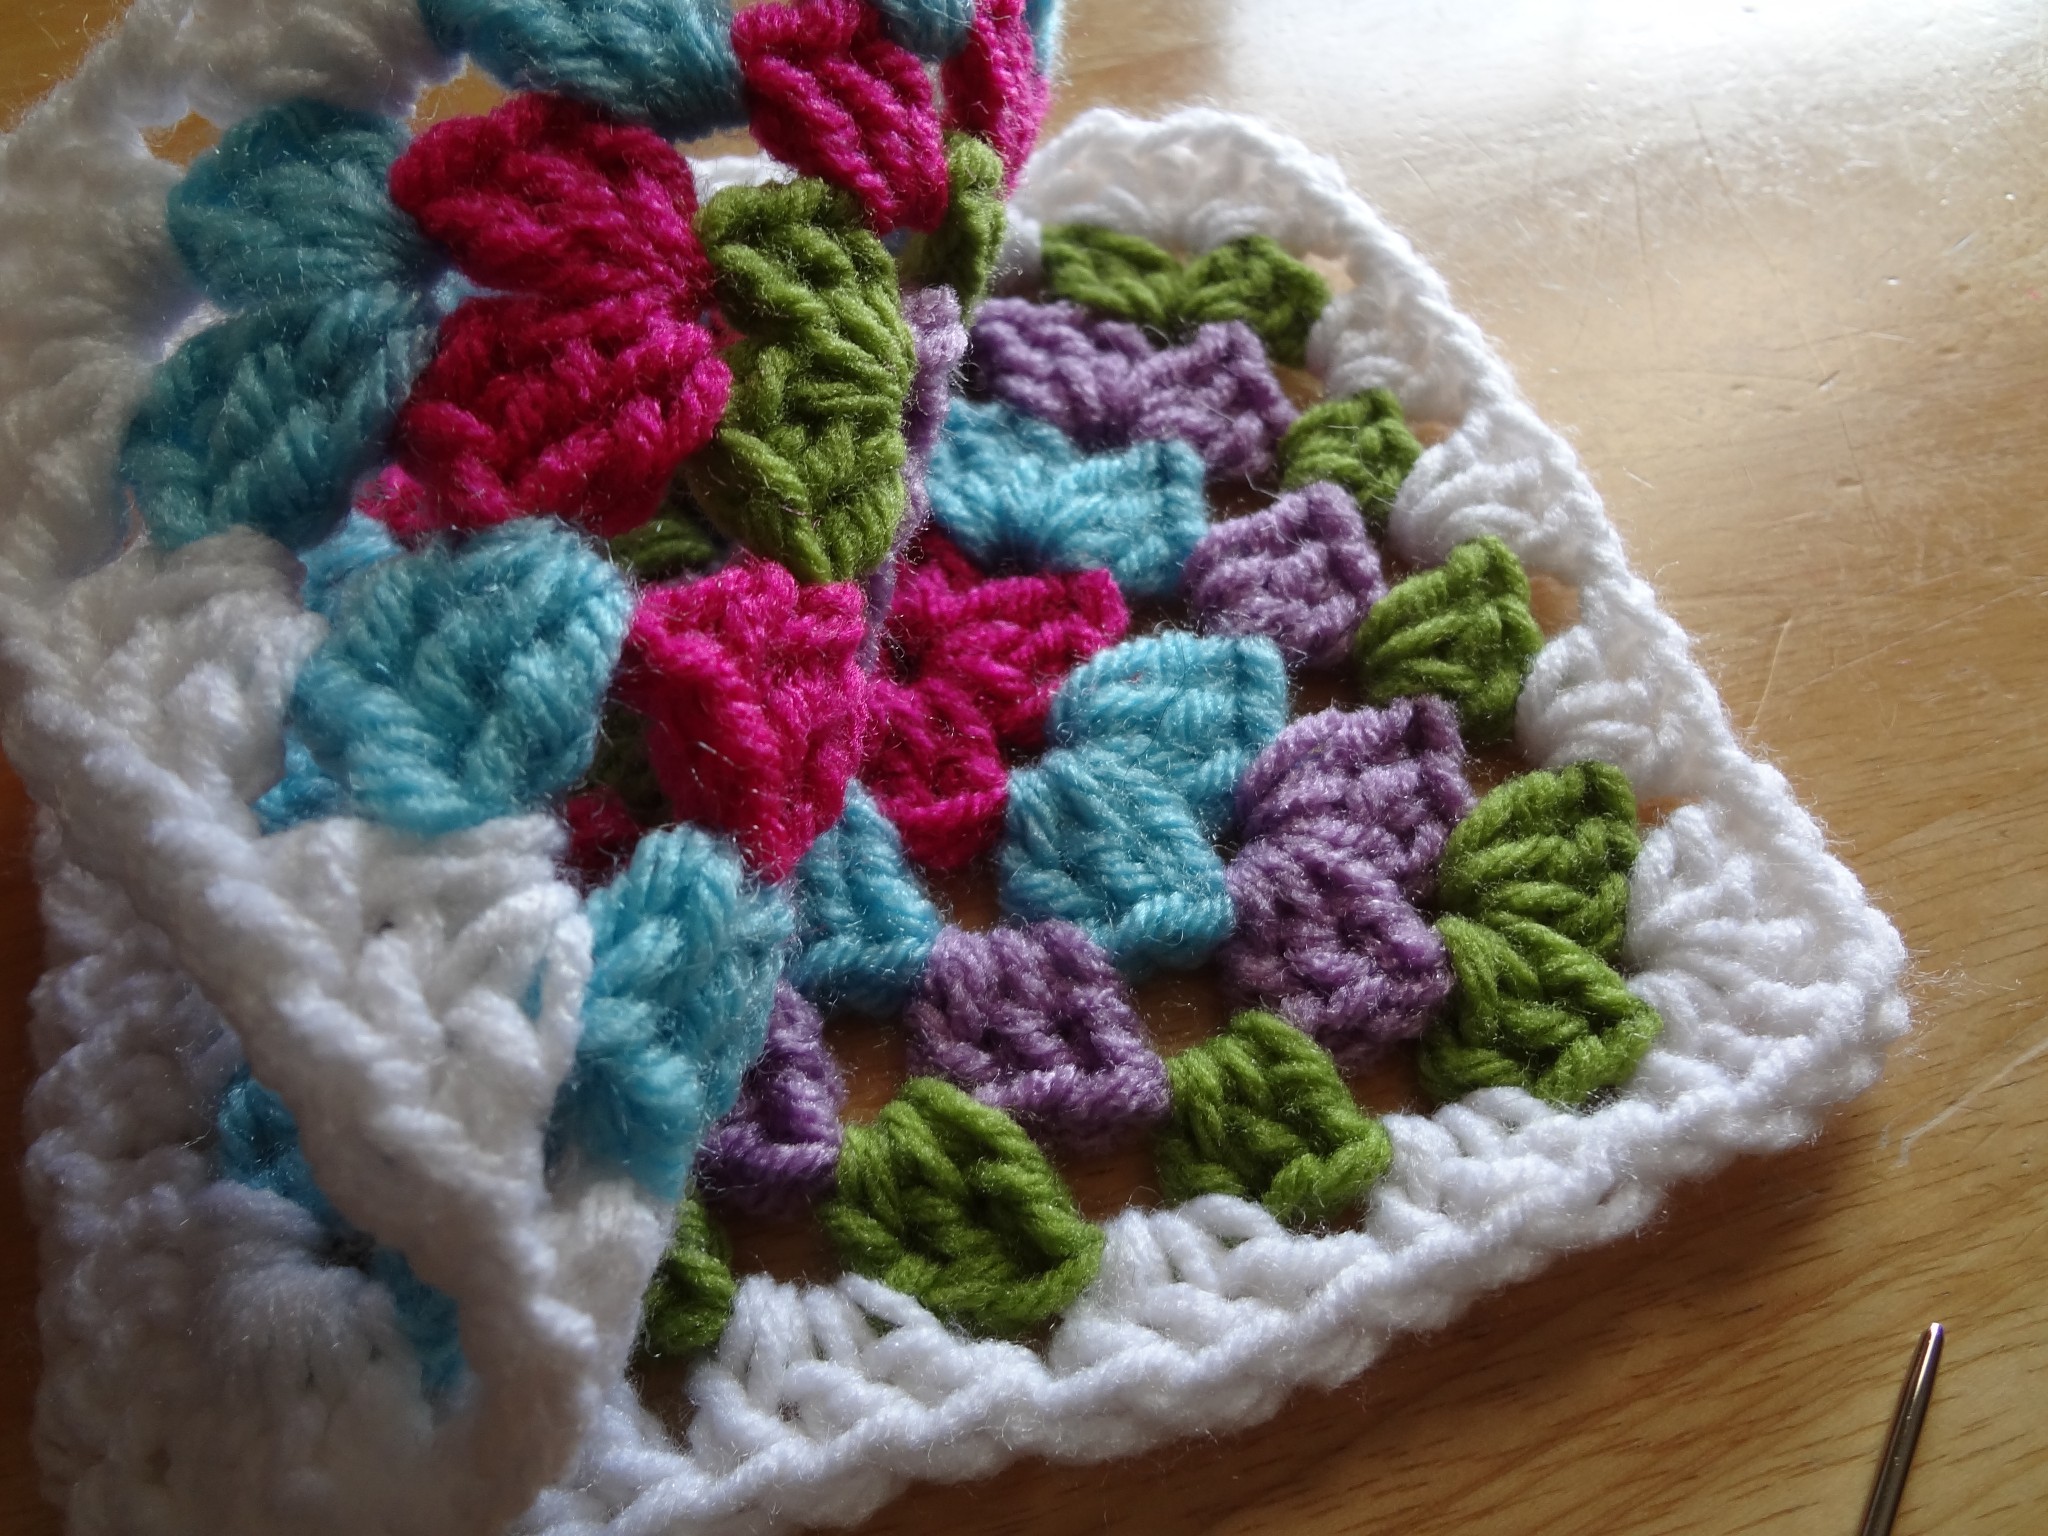
Now align your pieces so that are both facing inward…I like to “sandwich” my pieces together, some people like to lay their pieces flat and side by side on a table and seam it that way, sandwiching it together is my personal preference, you can do it either way.
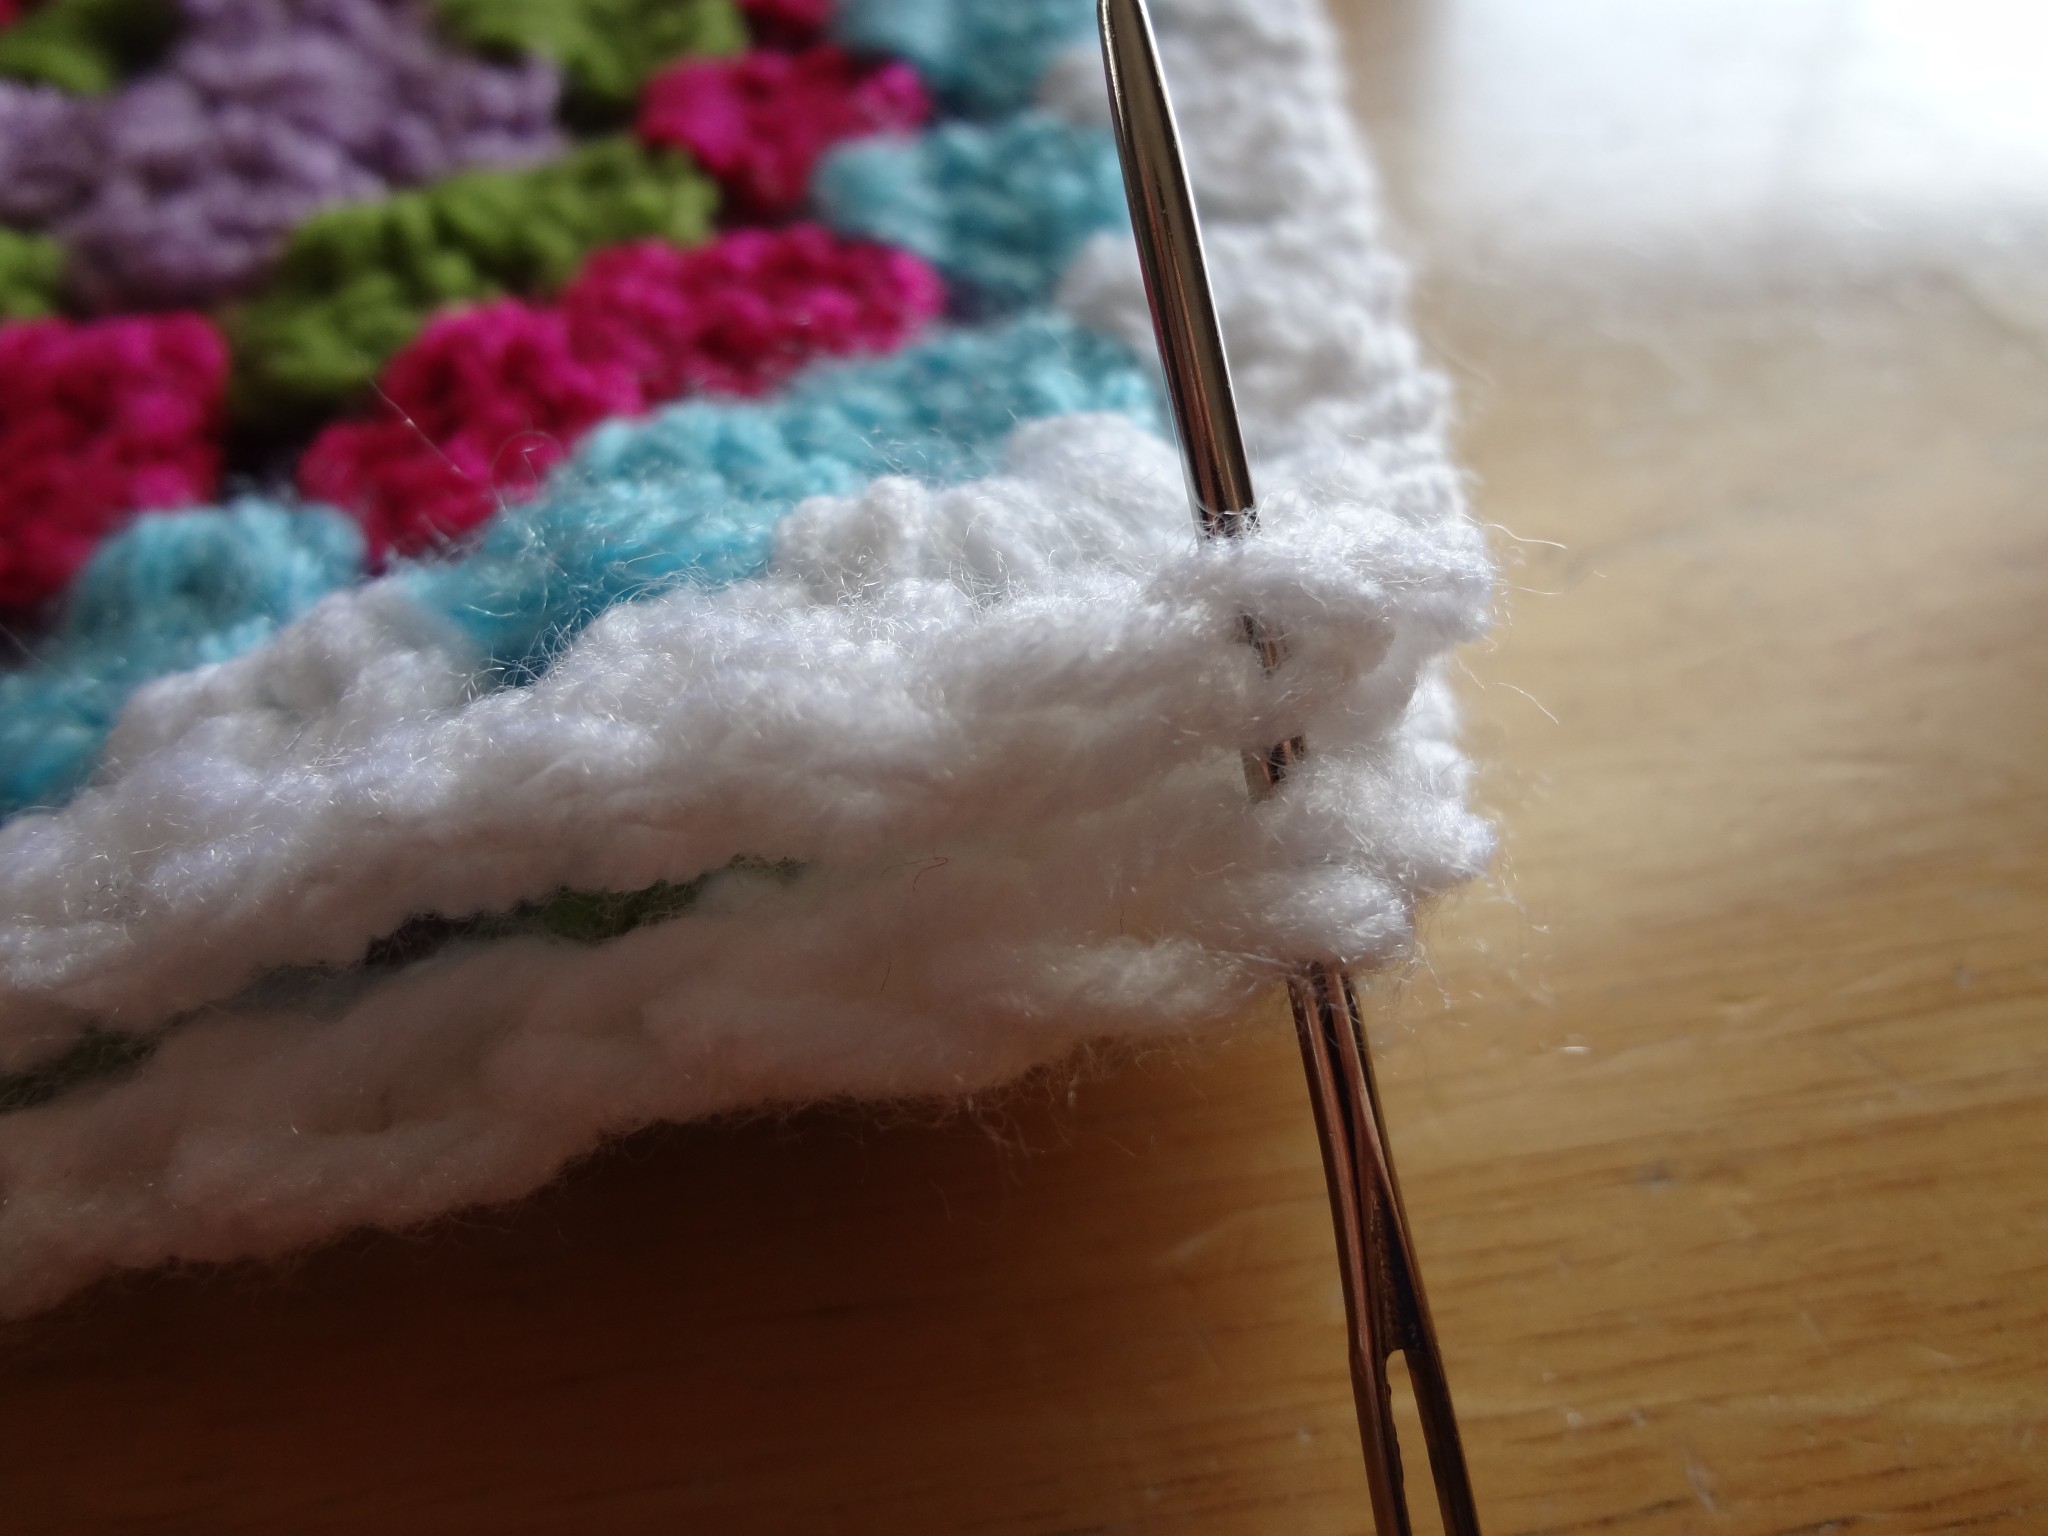
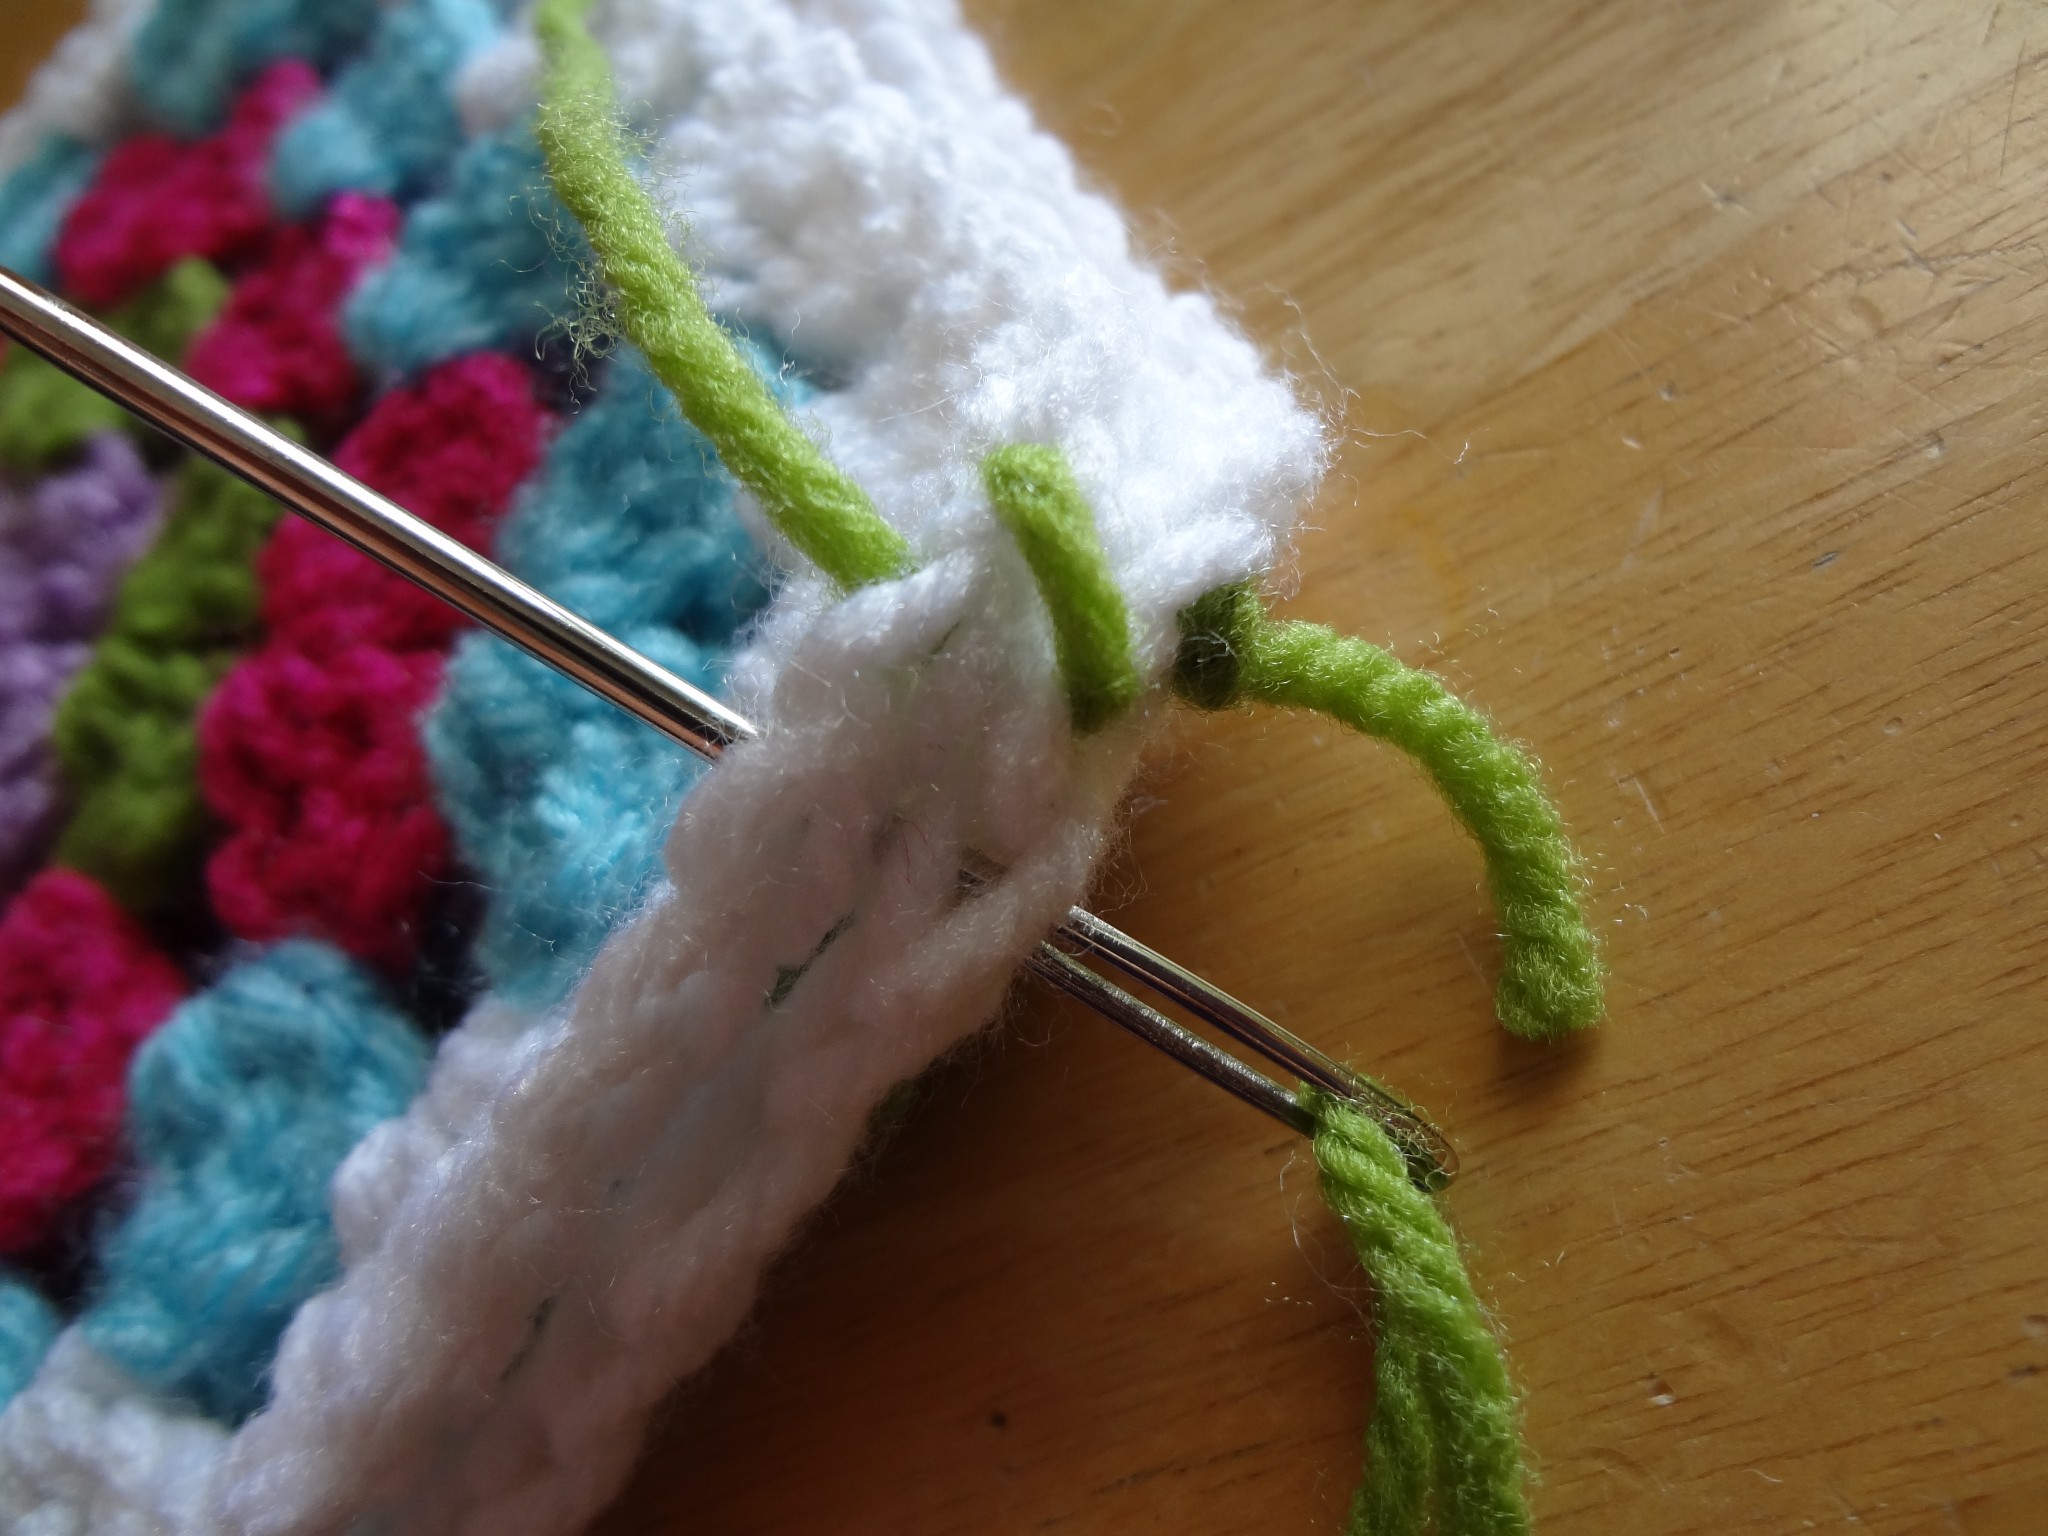
Going through both loops (front and back) of both pieces, bring your needle up from the bottom as shown,
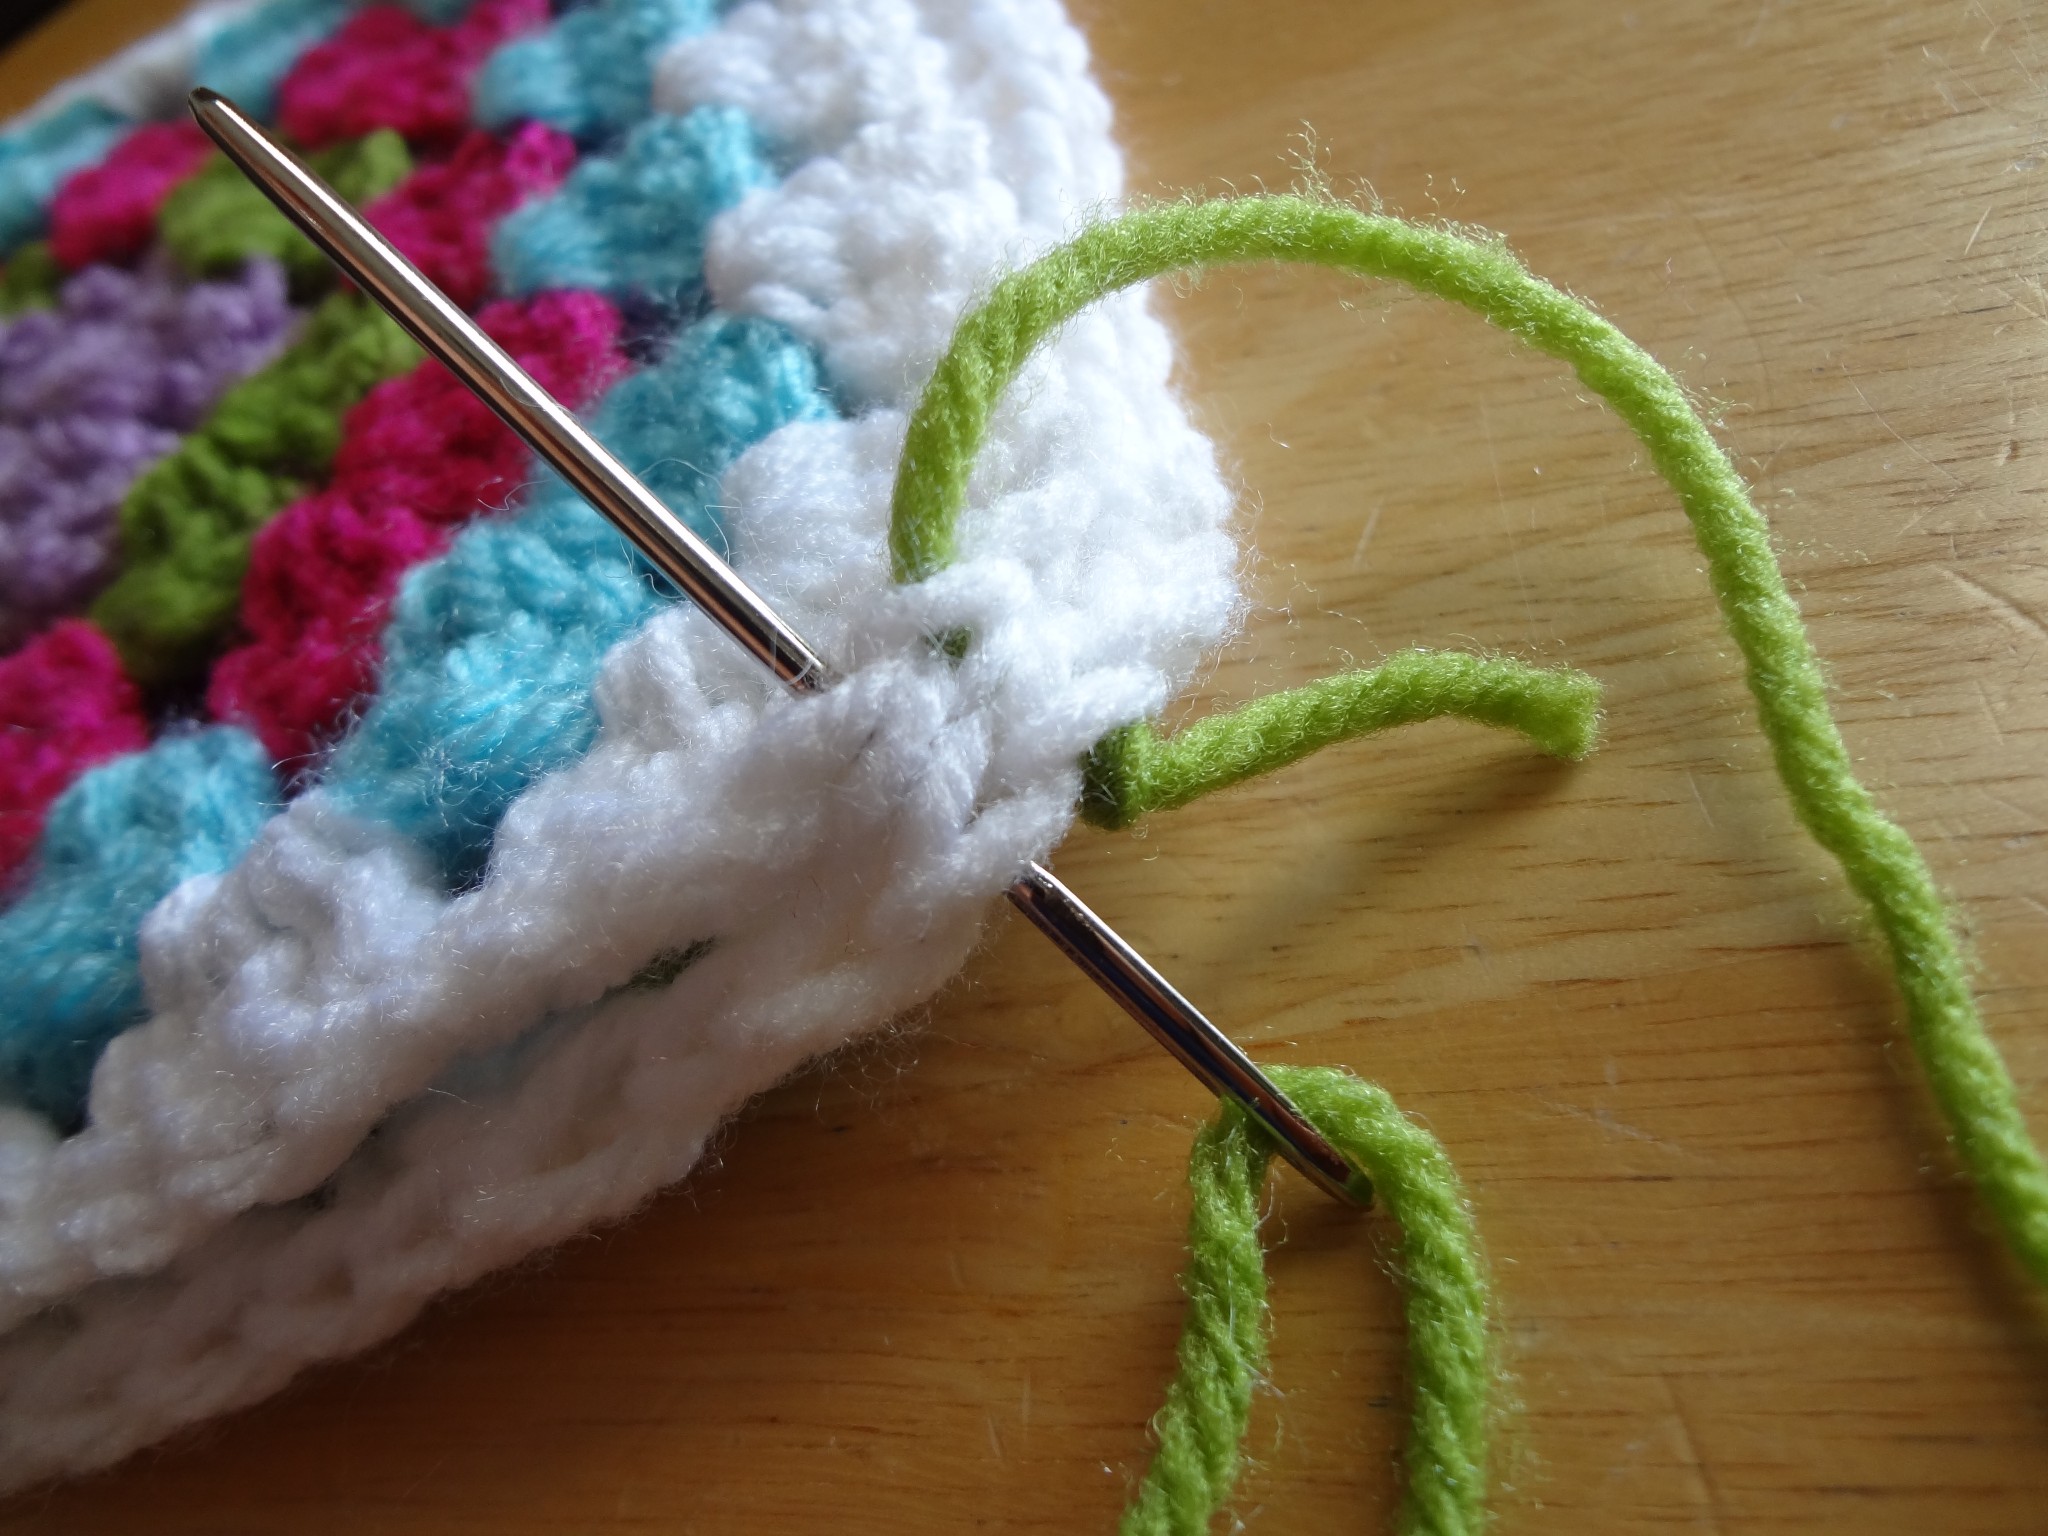
And pull through. Again, you’ll want to leave a long enough tail here to weave it in later.

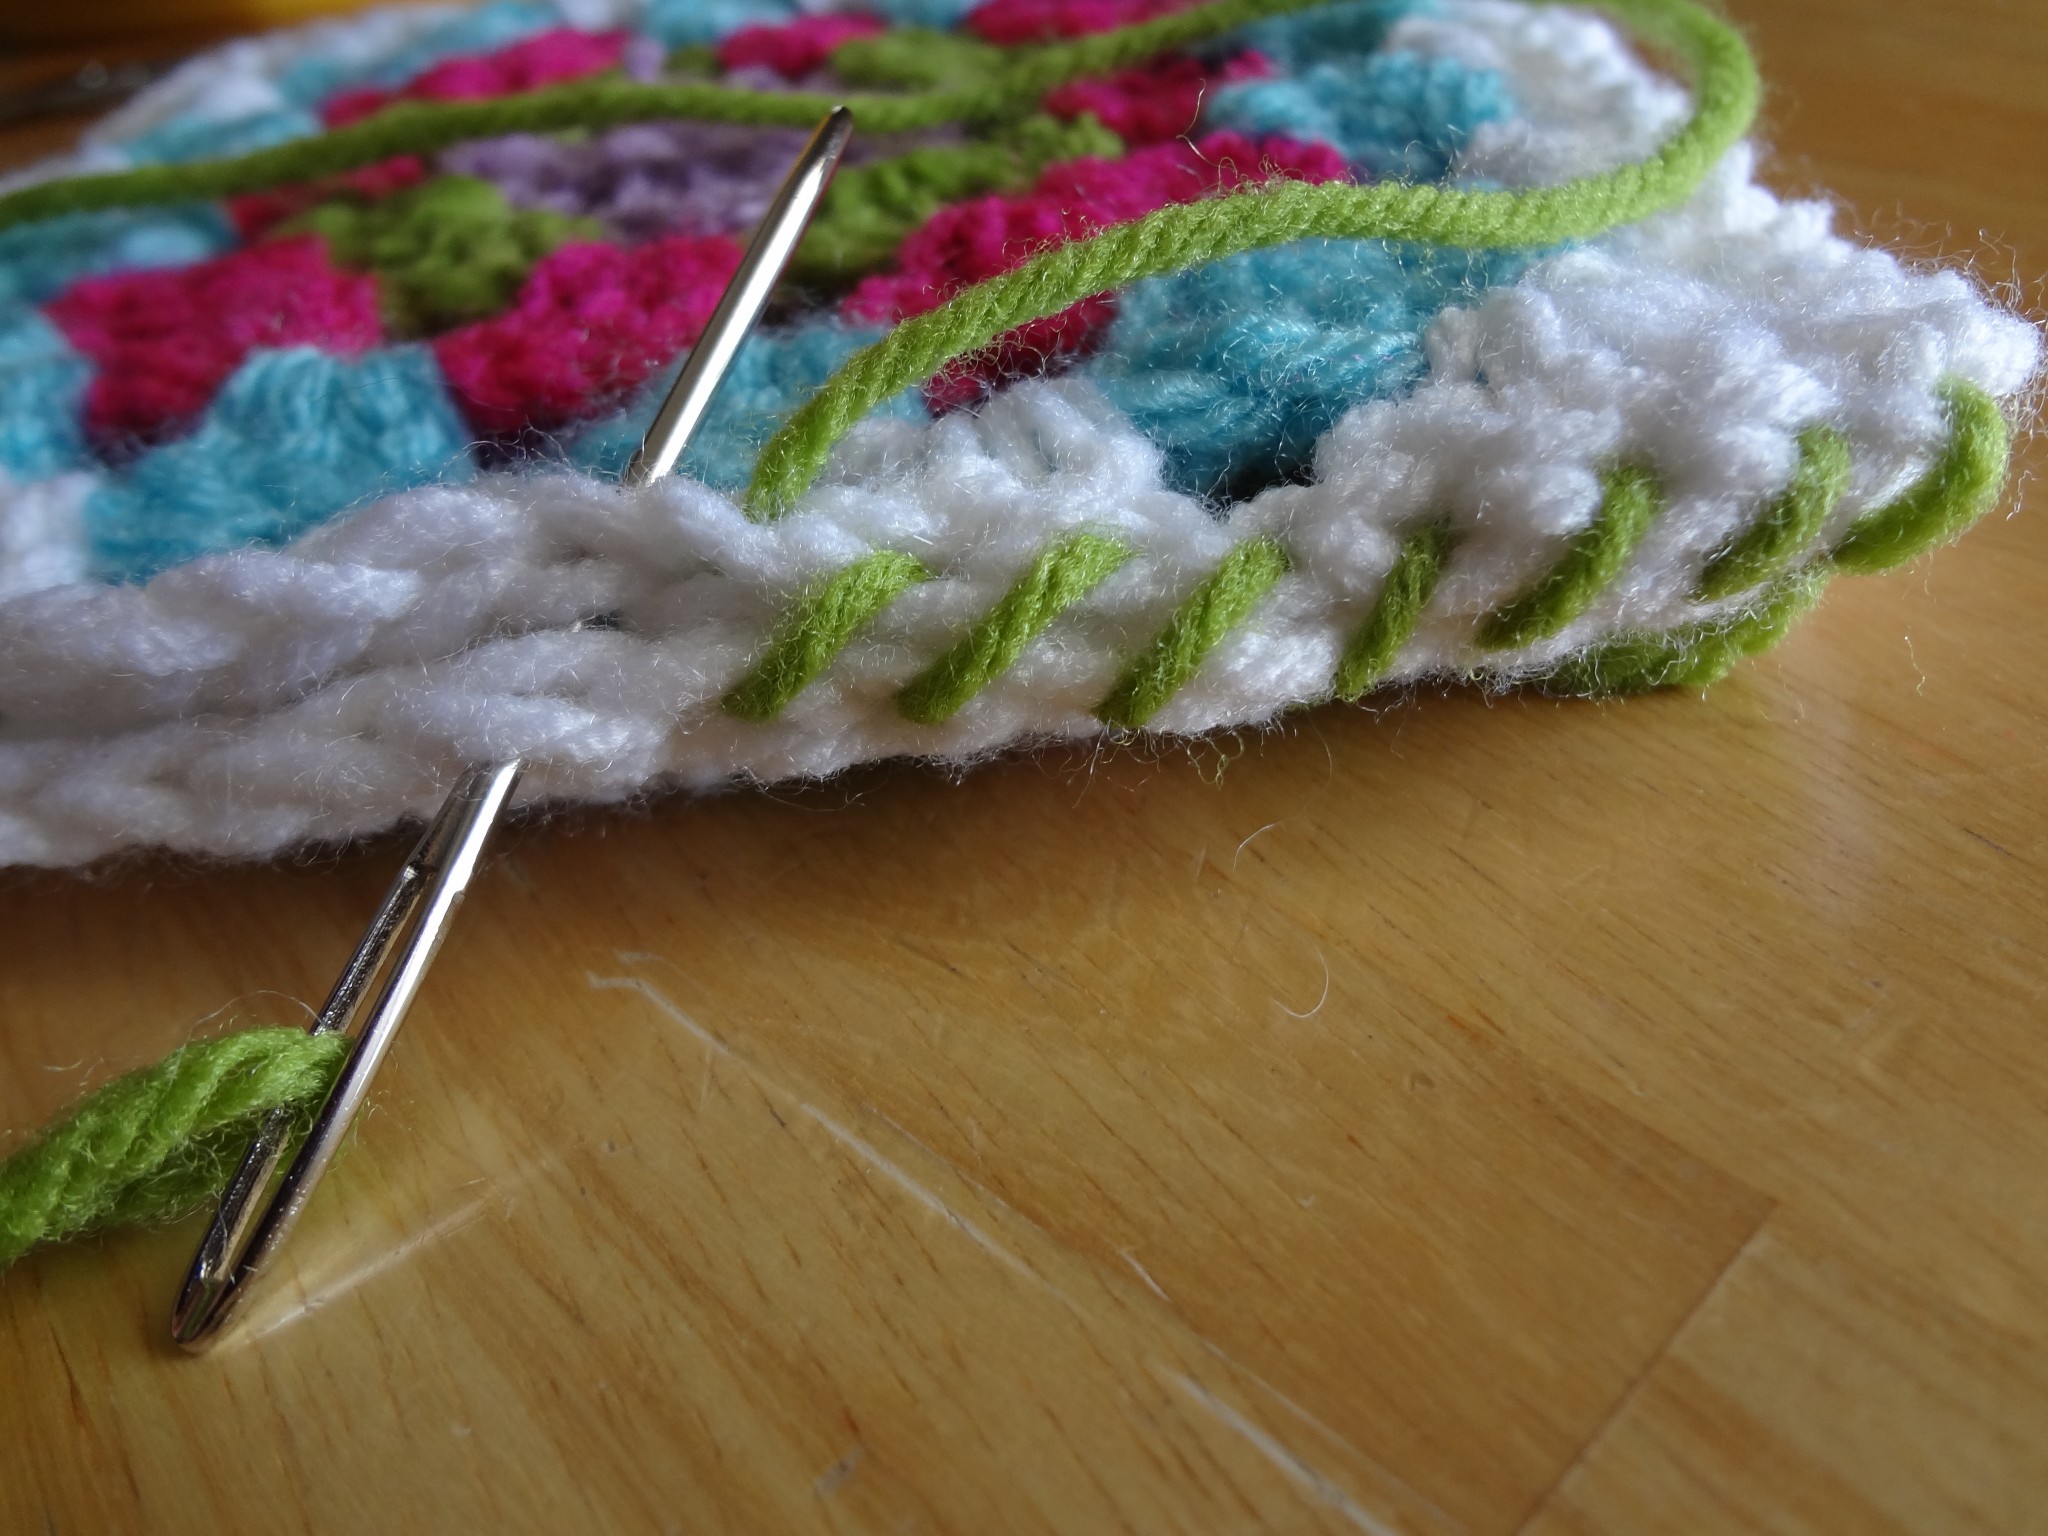
Now repeat what you’ve just done…go through both loops (front and back) of both pieces, bringing your needle up from the bottom as shown.
And pull through. Here’s your first stitch!
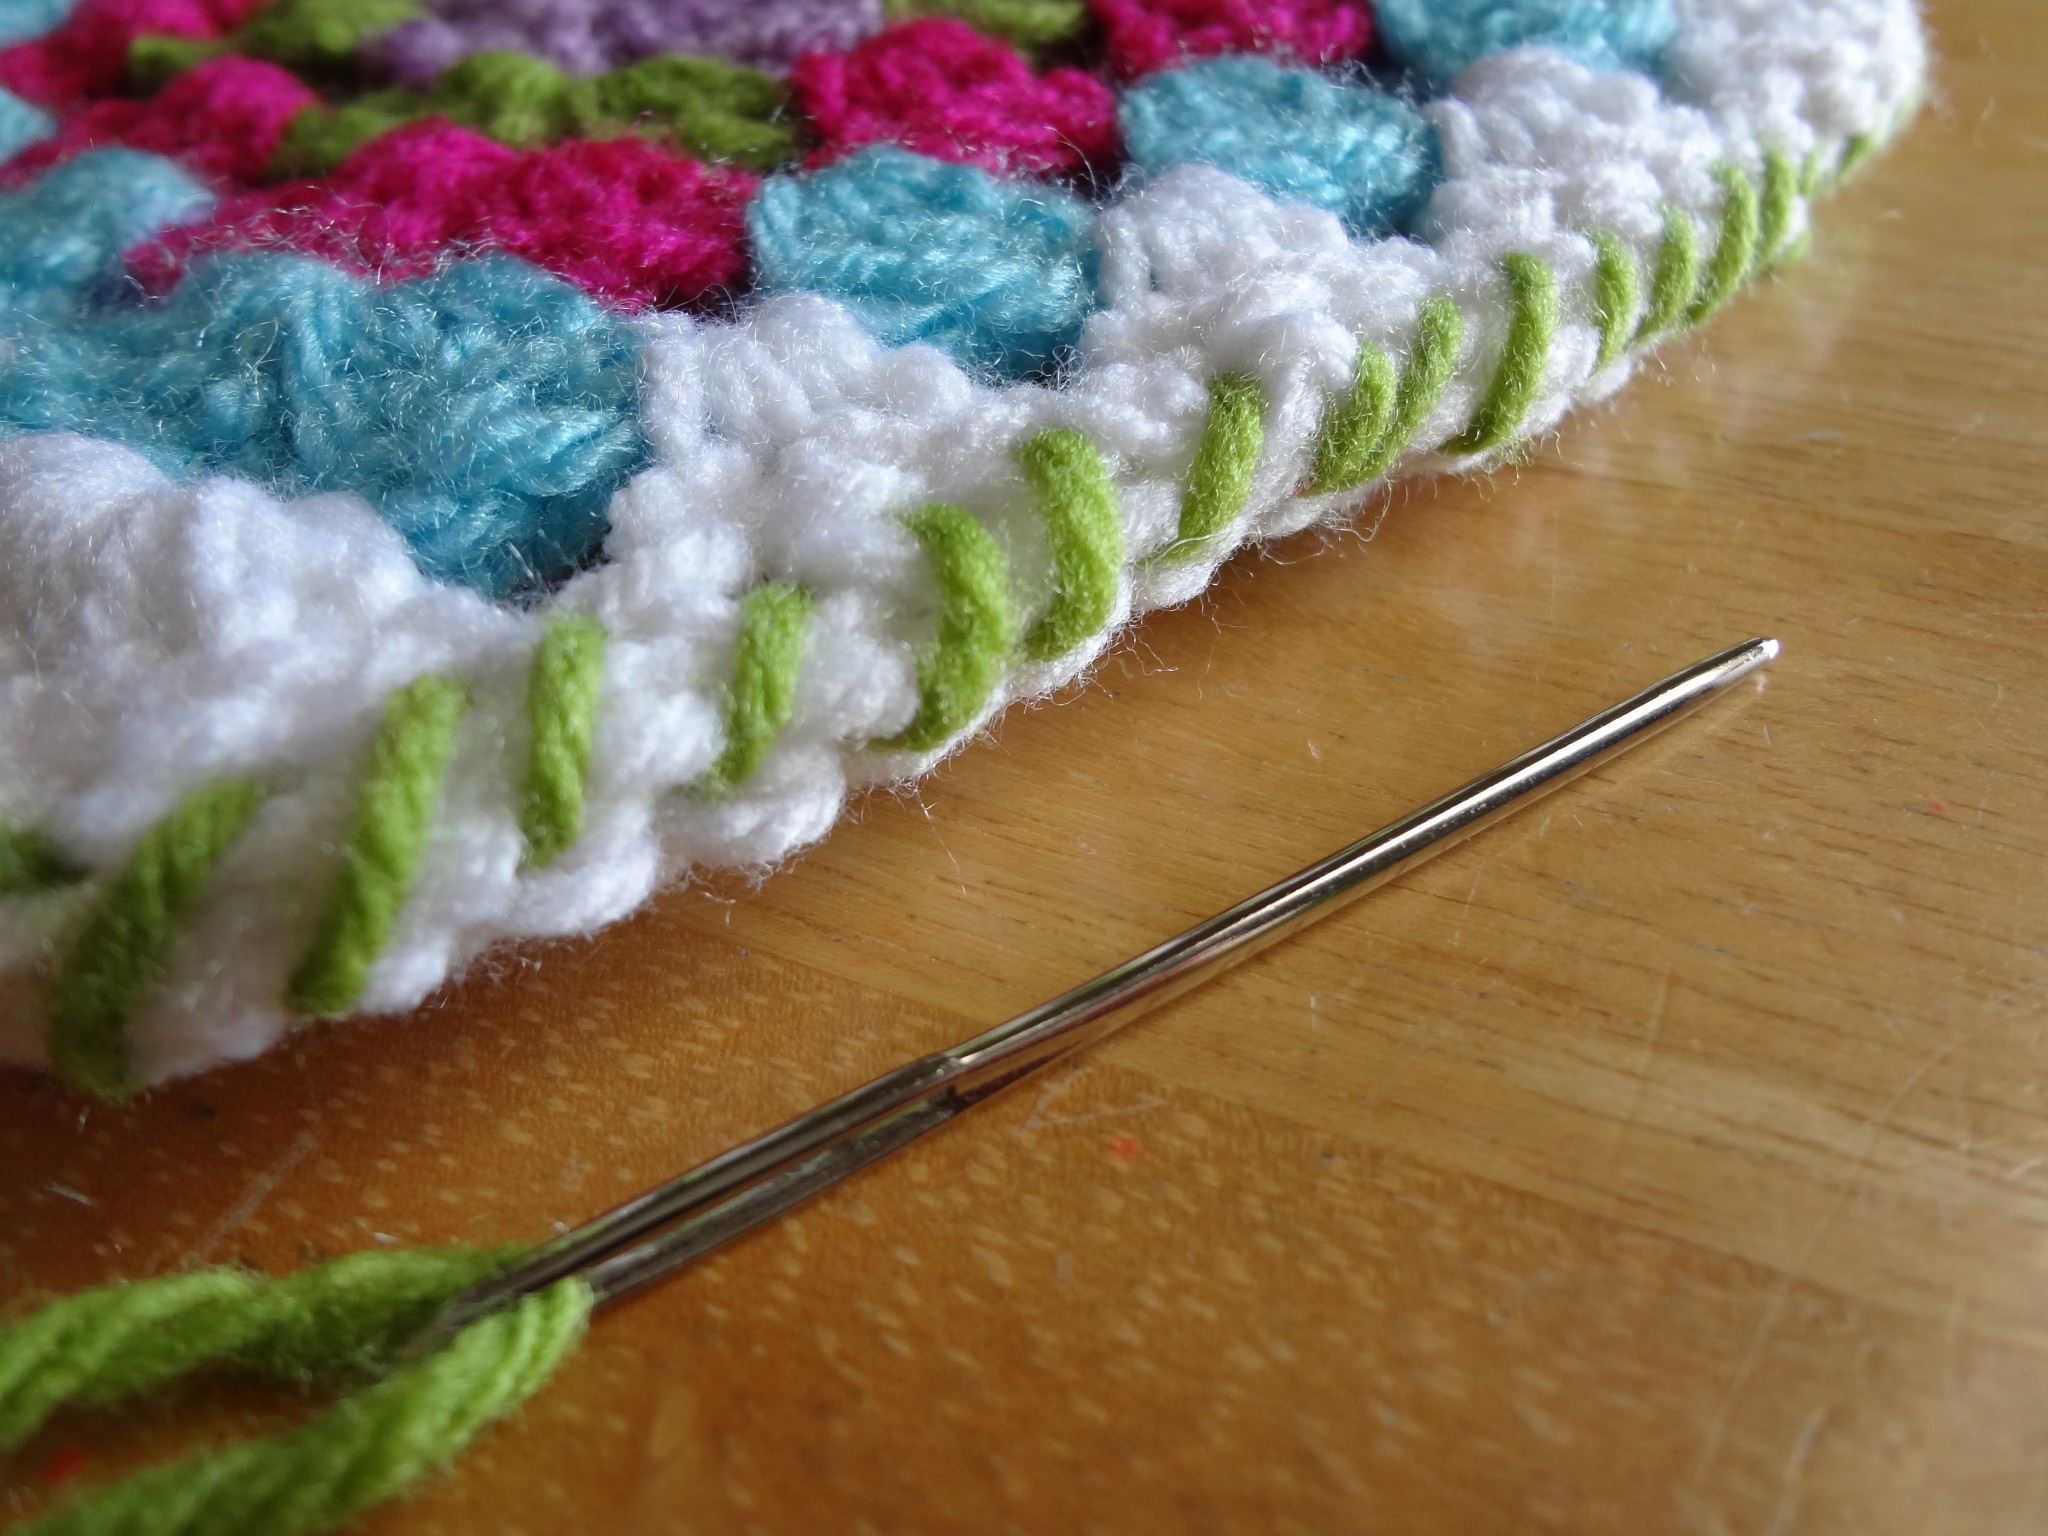
Now just keep repeating…
…until you get to where you want to stop.
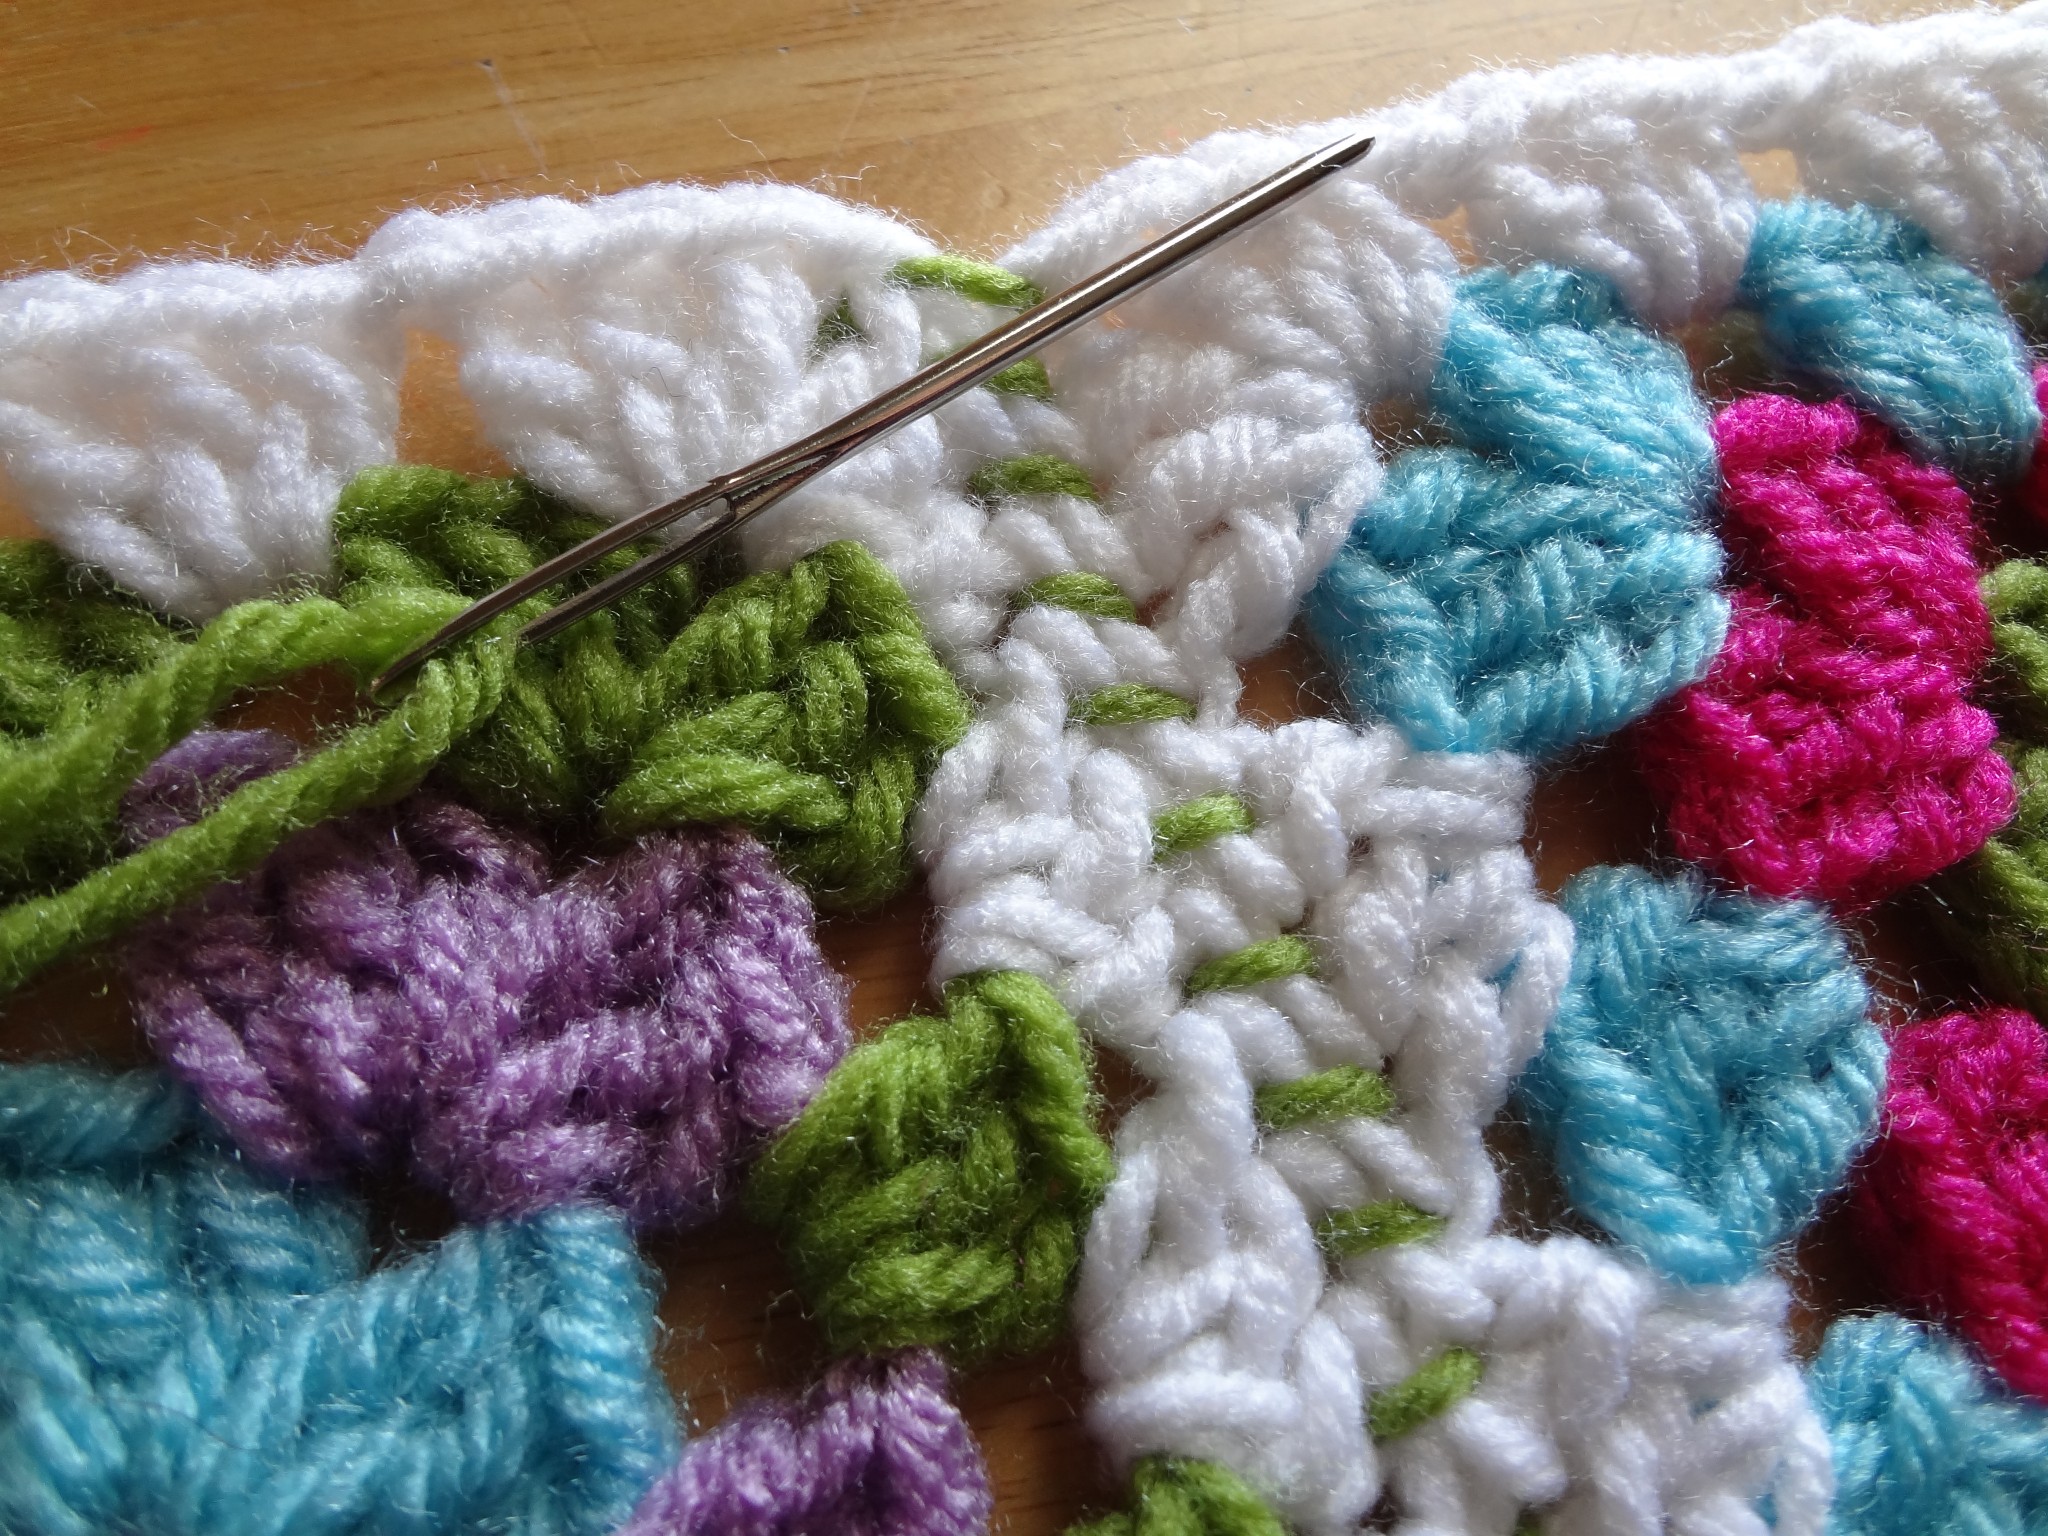
When you are finished, you can open it up and check out your handiwork. Normally I would have done this in the same white yarn so everything is invisible and clean looking. However, if you want to show off your stitches, feel free to use anything you like!
)


Thanks so much for the step by step on this! I'm a new crocheter so I need all the help I can get!
You are so welcome! I find this stitch to be indispensable to my stitchy toolbox! 🙂
Thank you for the tutorial. I will pin it for reference! Love the colors in your motifs 🙂
Thank you! They will someday become a blanket…someday!
thanks for the whip stitch tutorial. I will try it whenever I do a blanket or a pillow cover:)
You're welcome, I go back to this stitch again and again for many projects. 😉
Thanks a bunch just what i needed
Awesome, so glad it helped!
Thanks…this is the best example I have seen…very helpful. I love your sight!
So helpful, thank you!
This comment has been removed by a blog administrator.
This comment has been removed by a blog administrator.
This is great! Going to make several of these! 😁👍🧶
This comment has been removed by a blog administrator.