
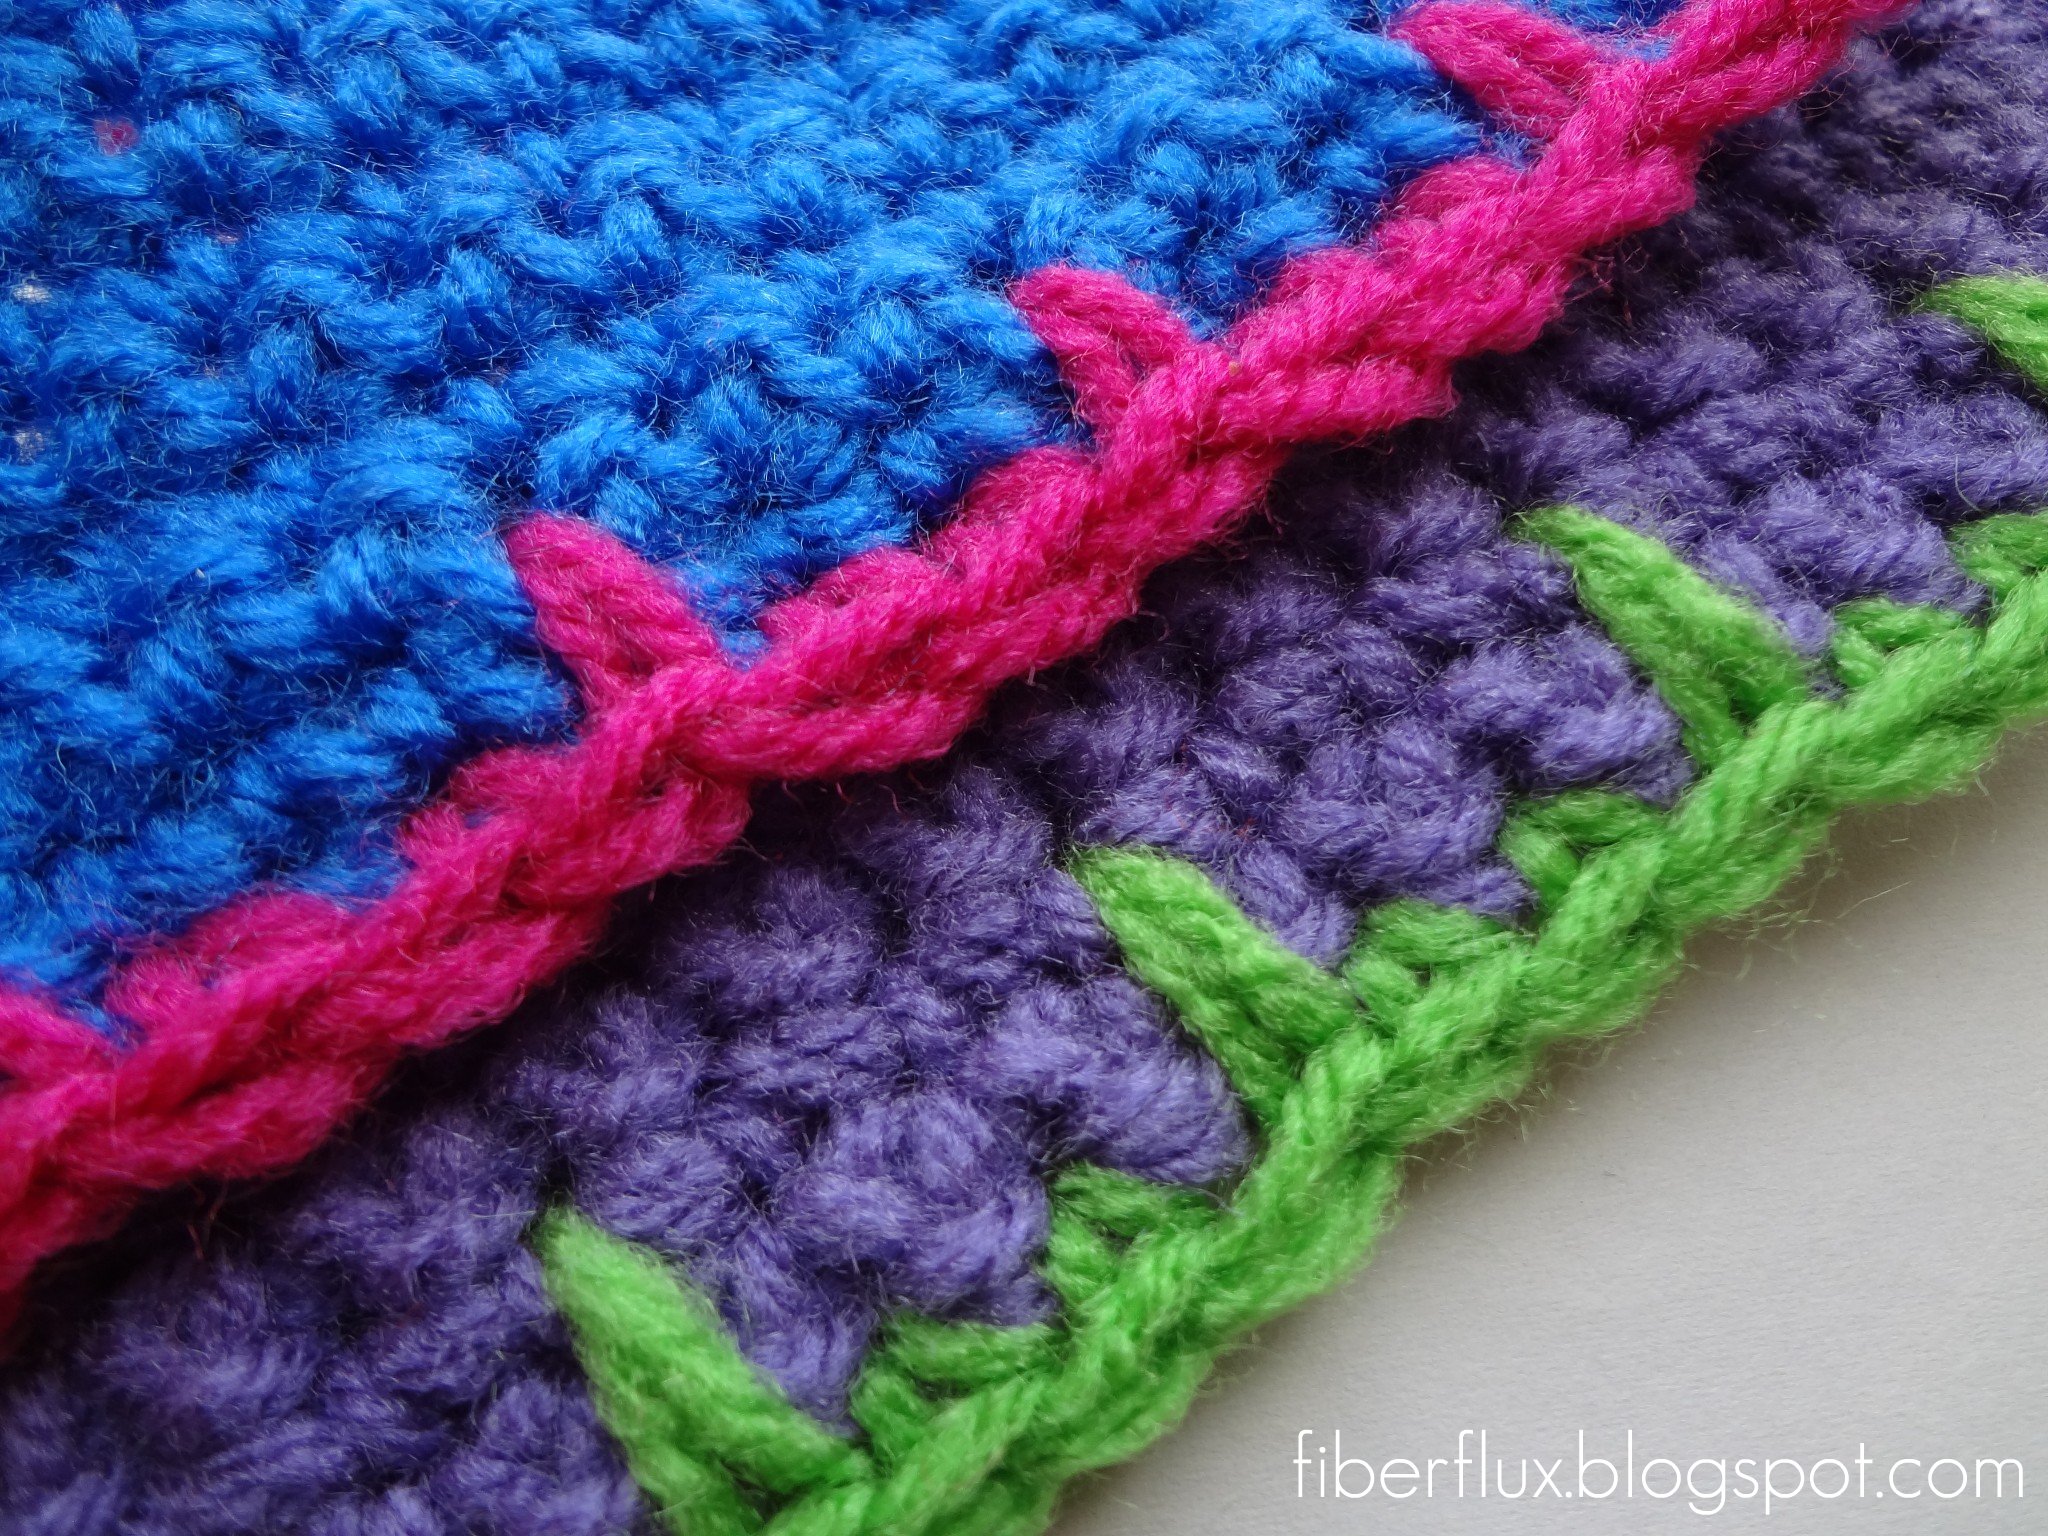
Crochet blanket stitch edging is beautiful yet simple and can serve three purposes. It can straighten out an uneven edge, it can strengthen an edge, and it can add beauty and interest if you need to add a little something extra.
The “point” or longer stitch is made by working a single crochet a few rows down to create an elongated stitch. In the pieces I made, I had a lot of fun experimenting with bright beautiful colors. All of the possibilities are endless! Plus, crochet blanket stitch edging is a very quick edging to add on.
To begin, I started with some worsted weight yarn and an H hook. Feel free to use whatever you like. For a uniform effect, try using a similar yarn weight and hook as the piece you are adding it to.
In this tutorial, I refer to the longer stitch as the “point.” So I worked a sequence of single crochet, single crochet, then a single crochet “point.” Experiment with different sequences too, for example, try spacing your points closer or further apart by working more or less single crochet in between the points.
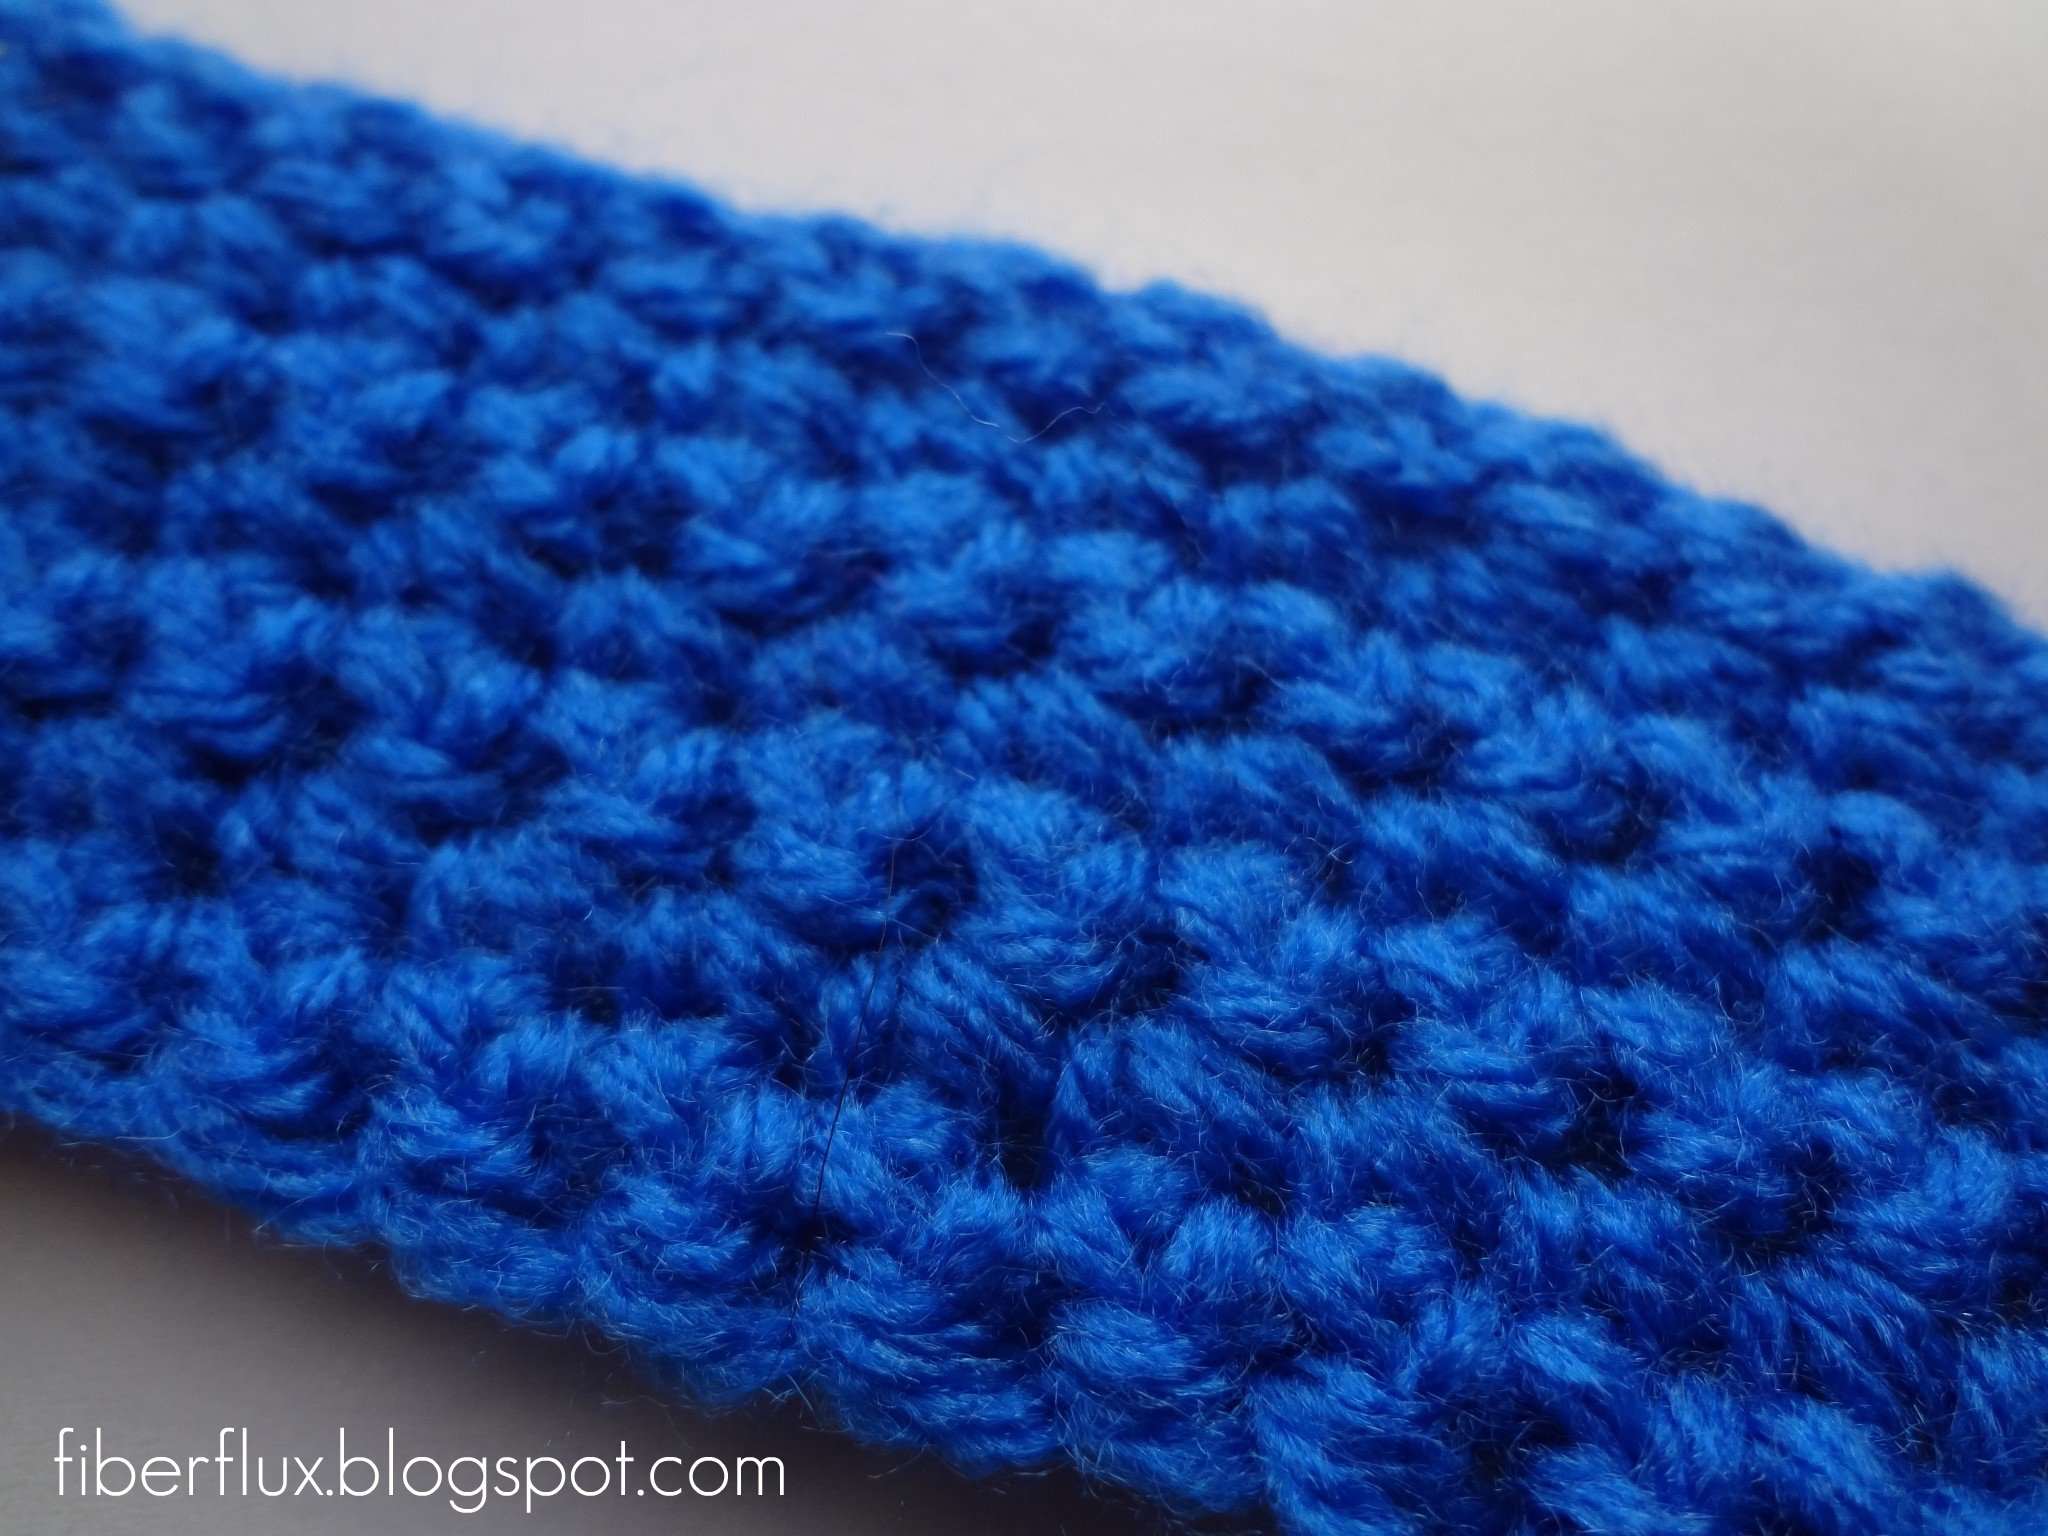
Let’s go! I began with a simple swatch of single crochet,
Tie on new color,
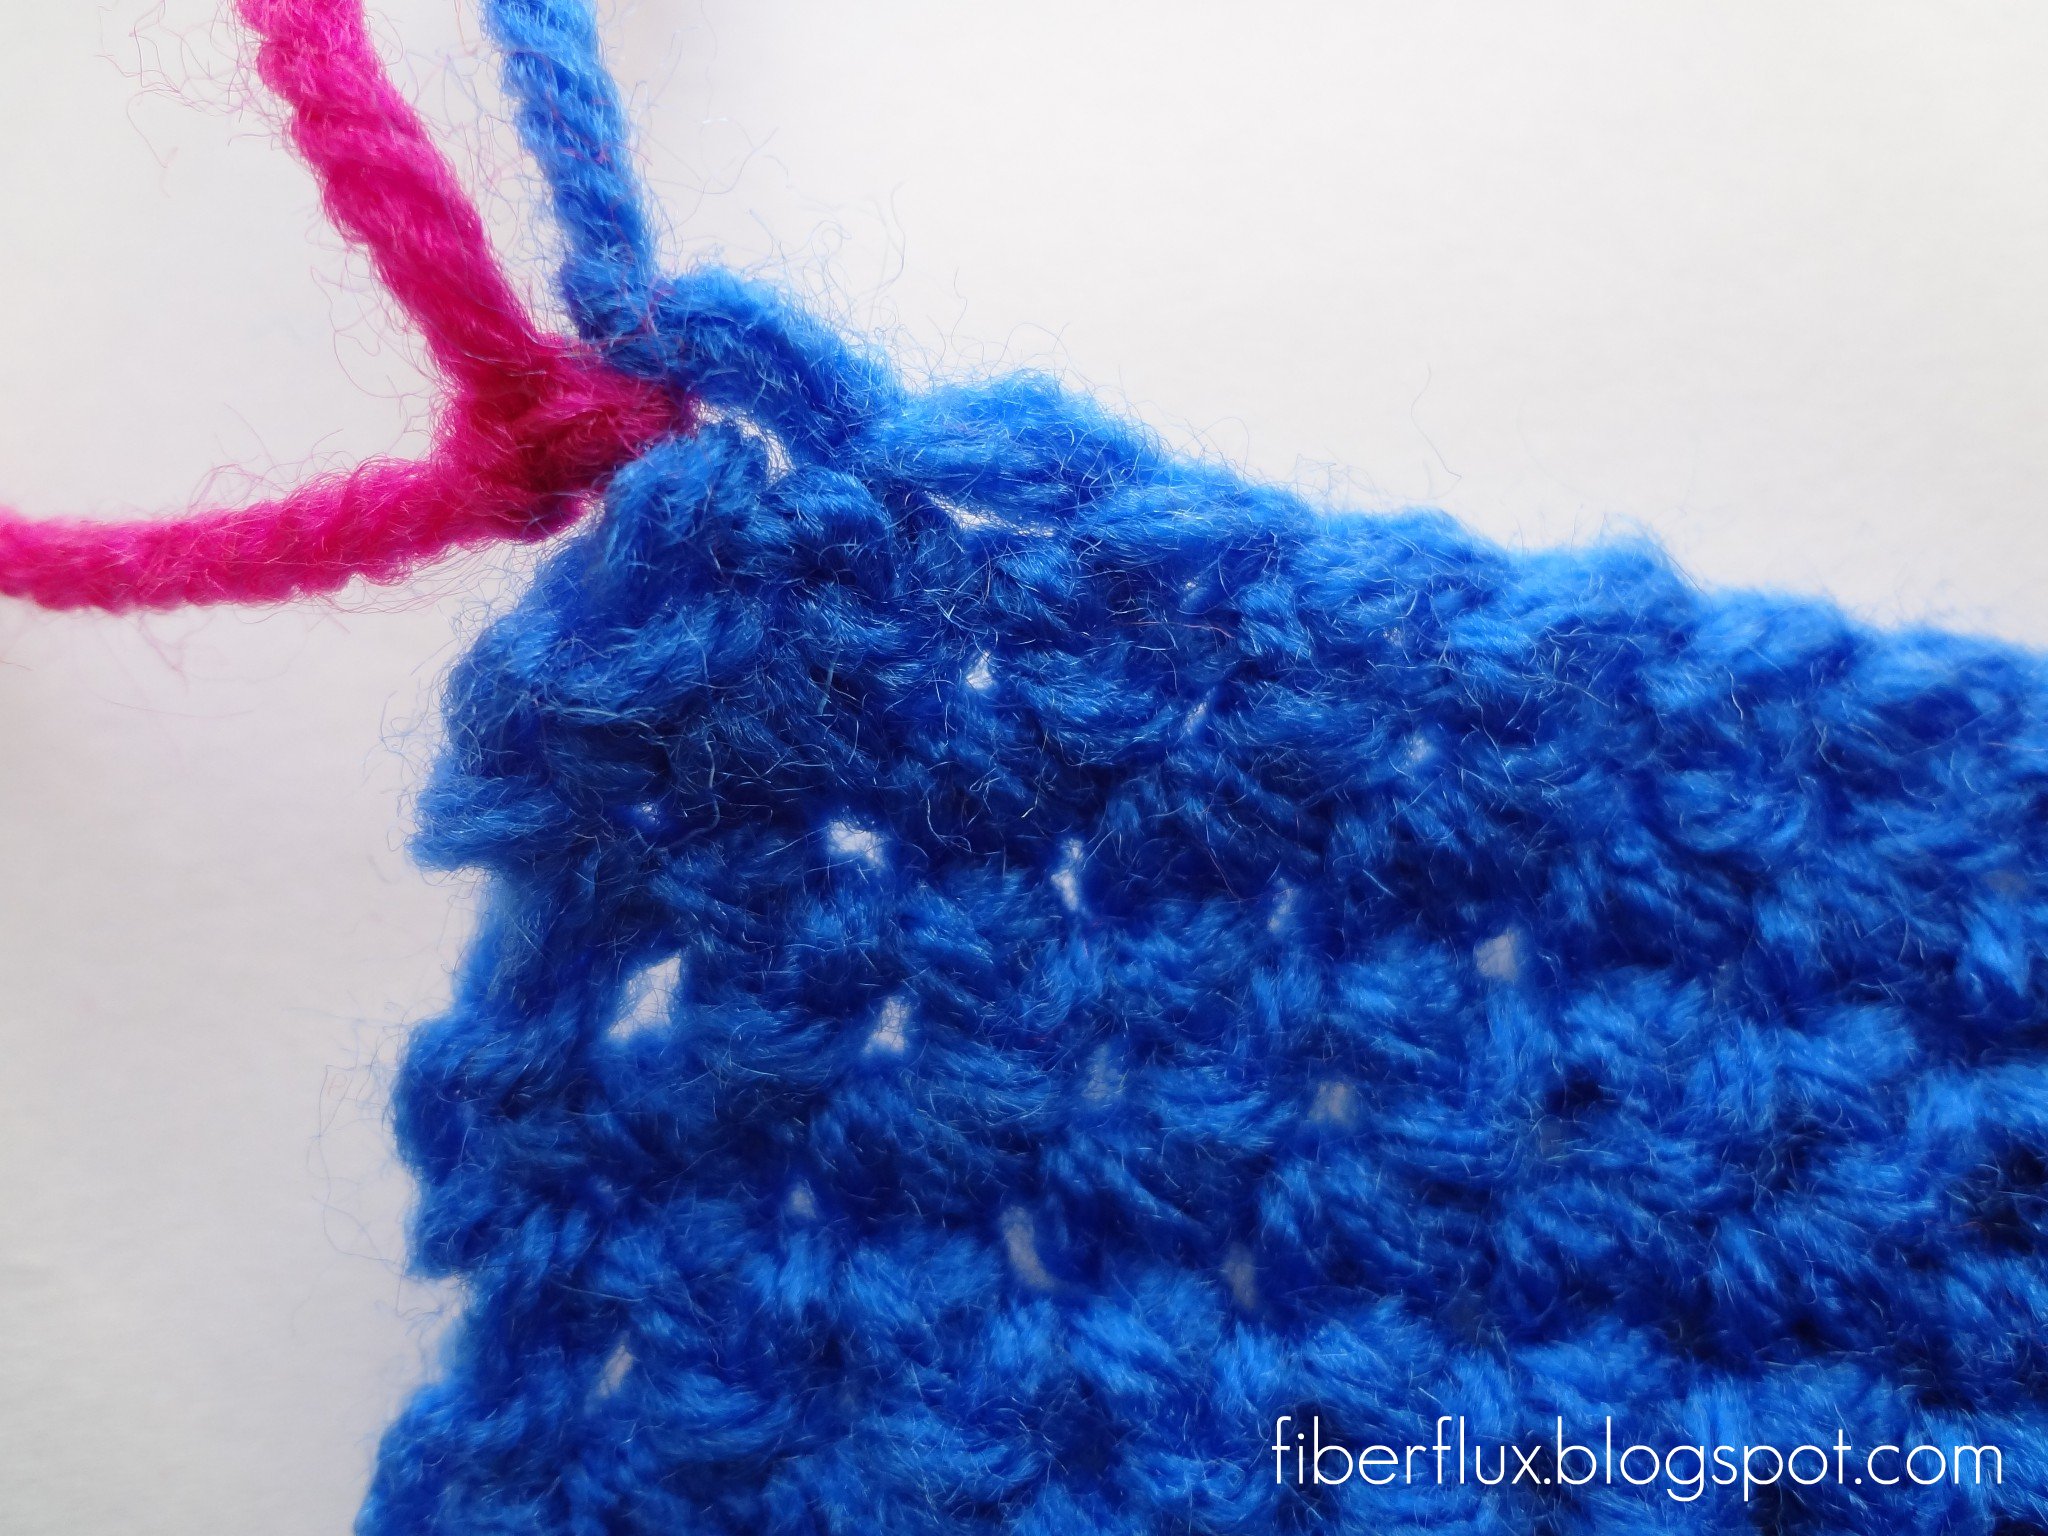
Chain 1,
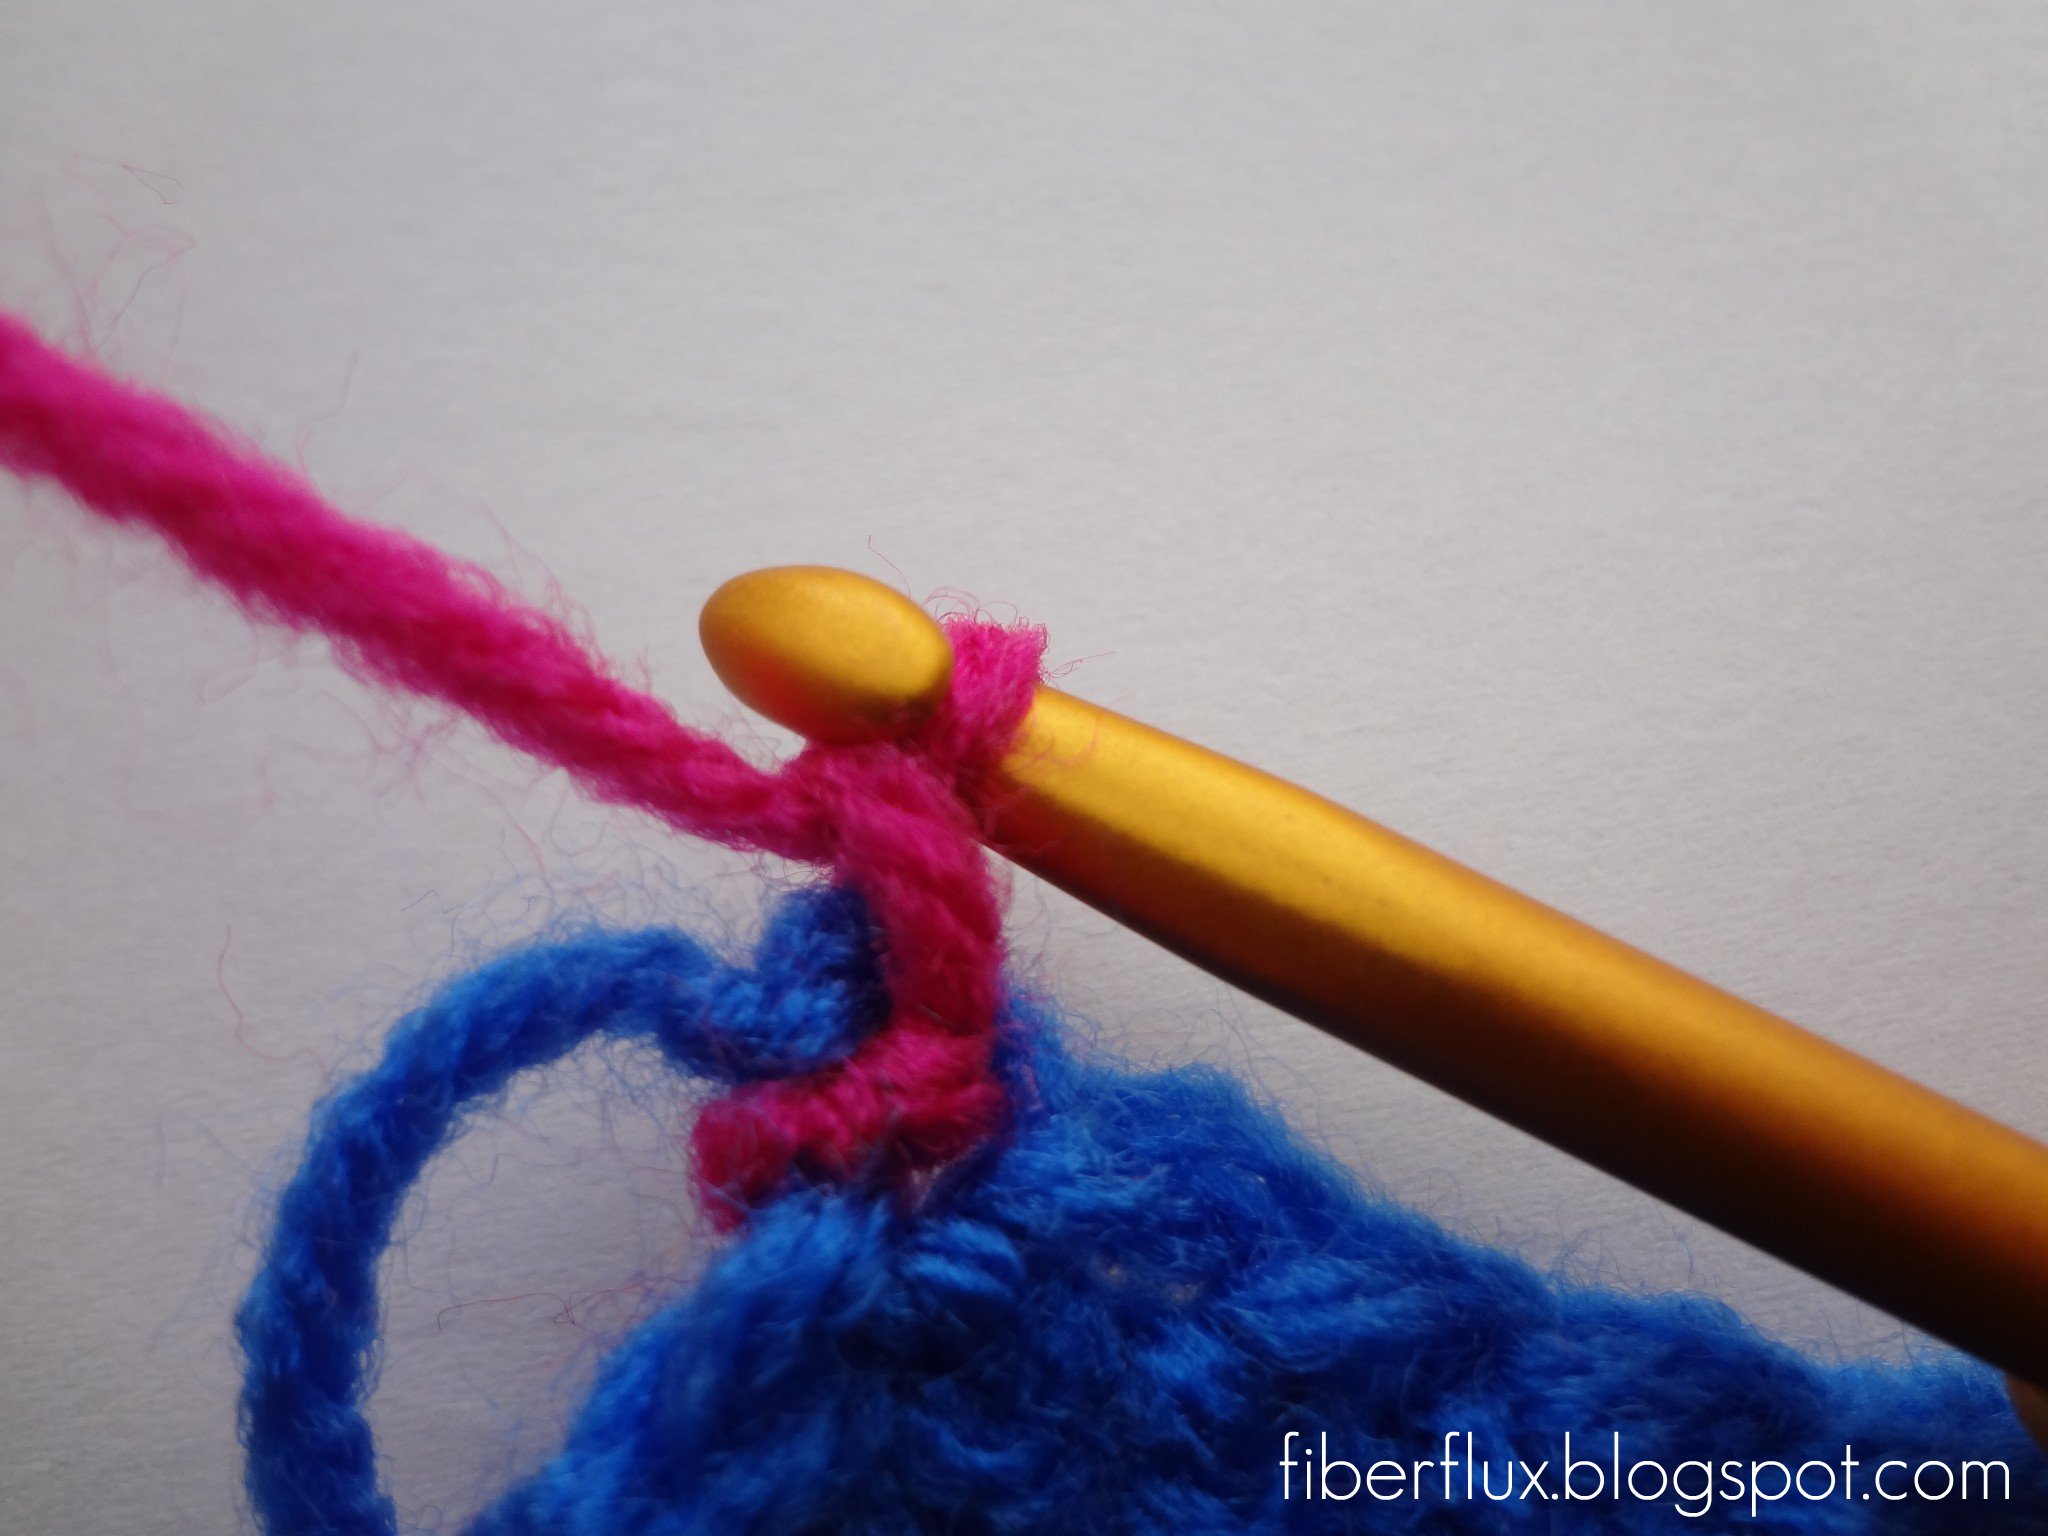
And turn. Now work a single crochet in that first space,
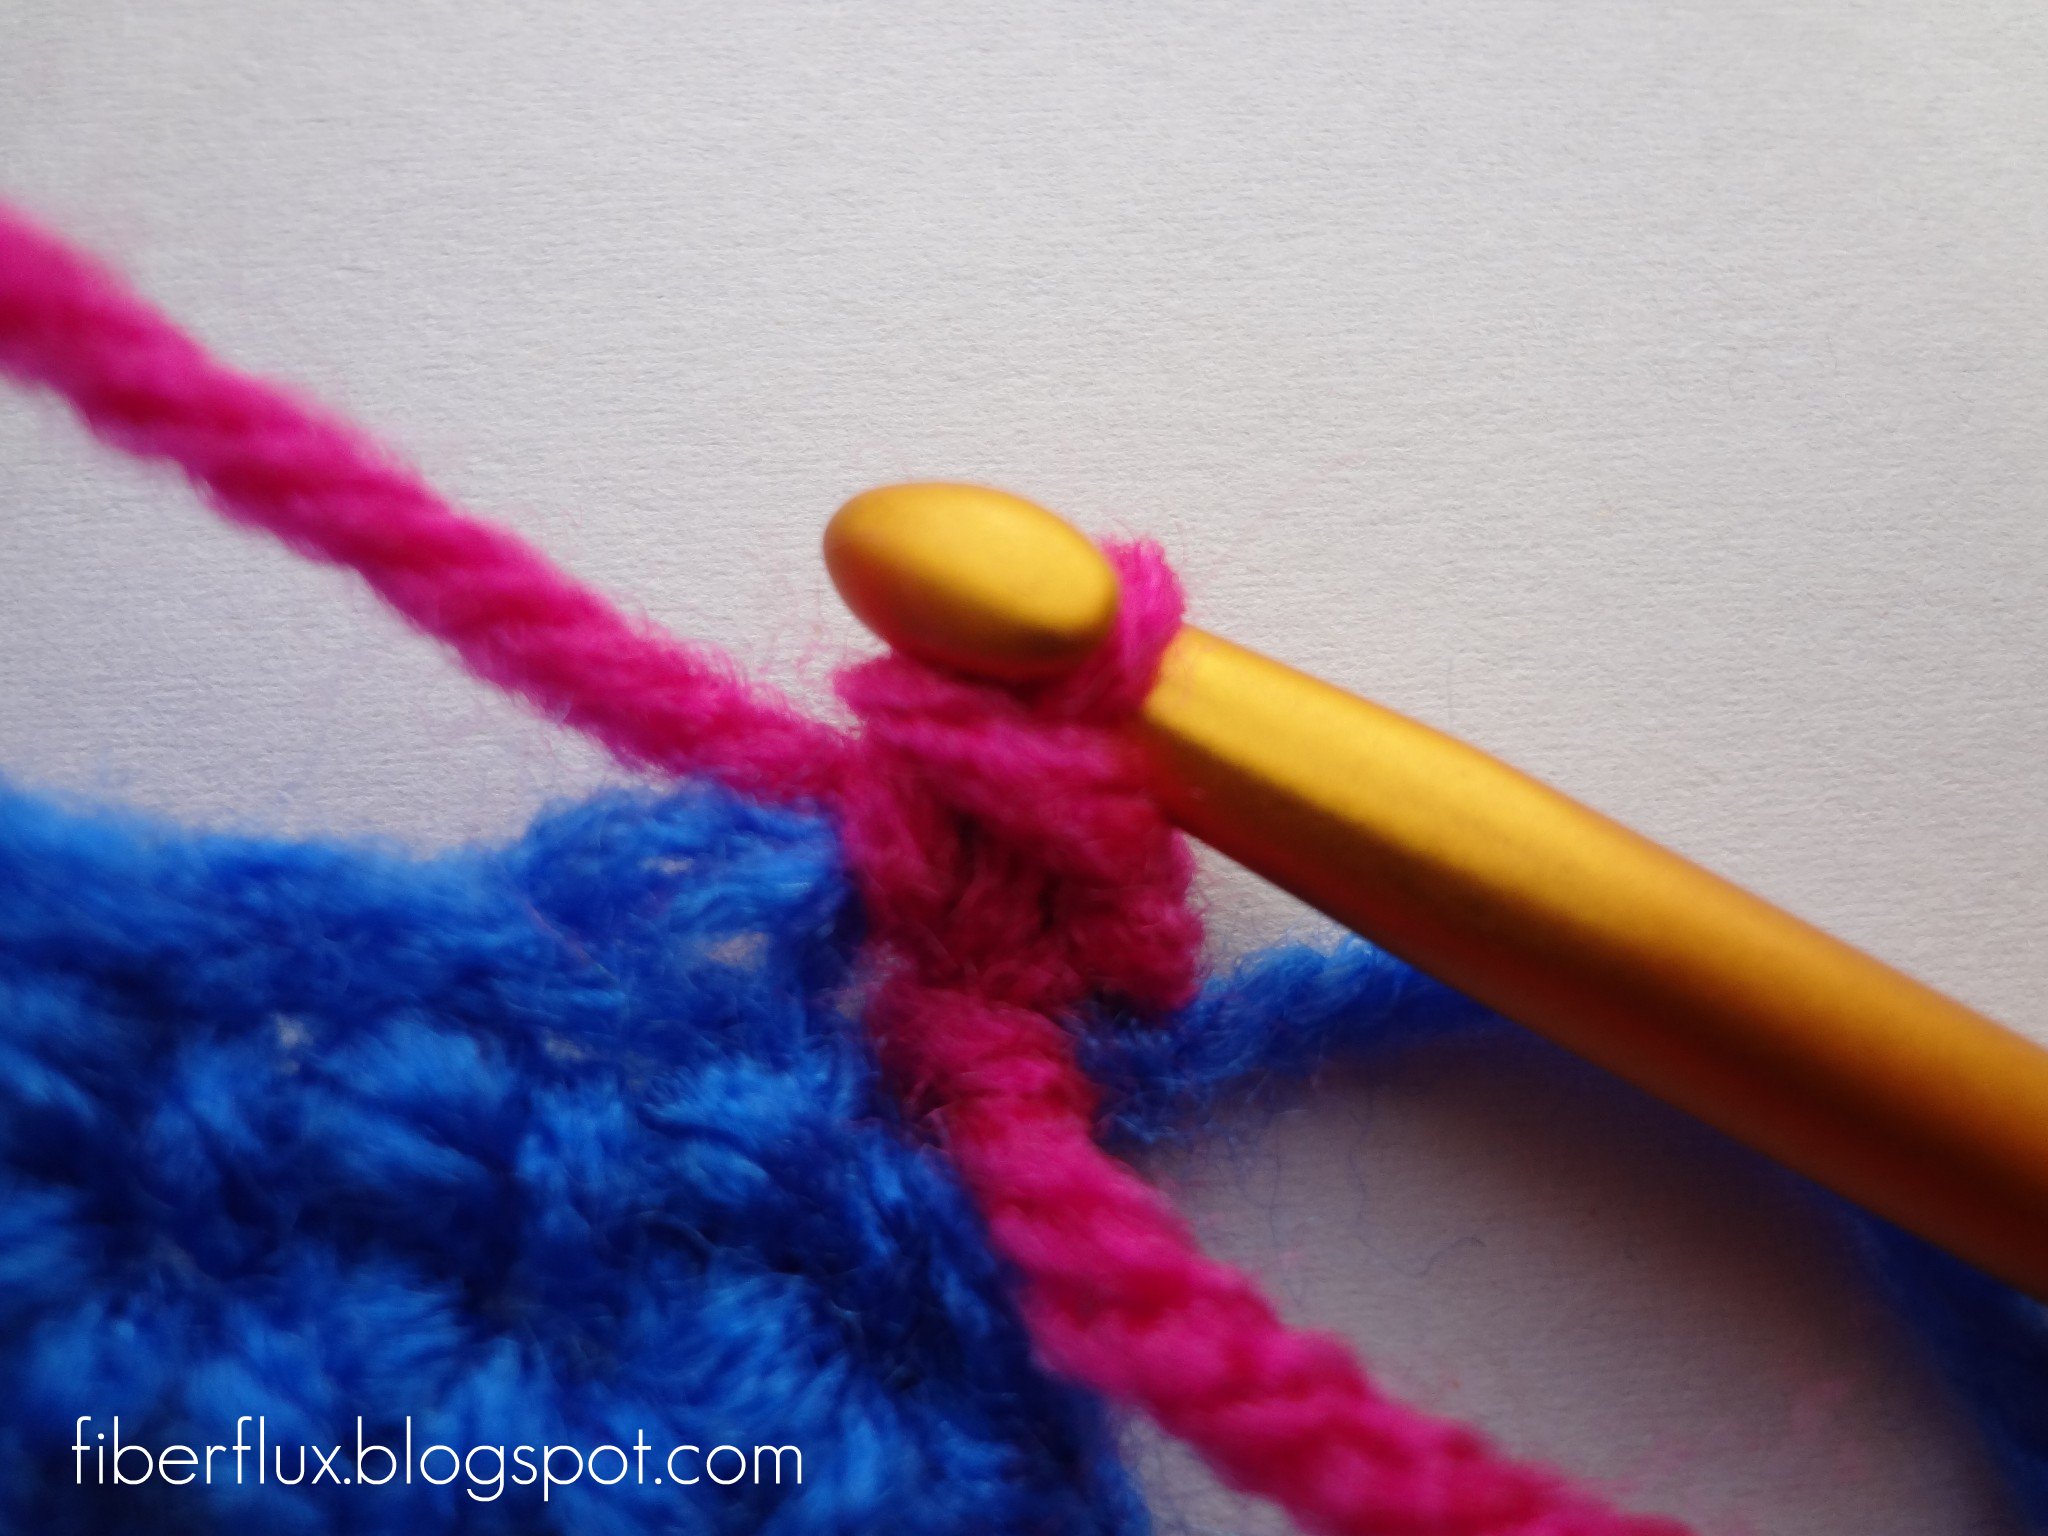
then a single crochet in the next space…
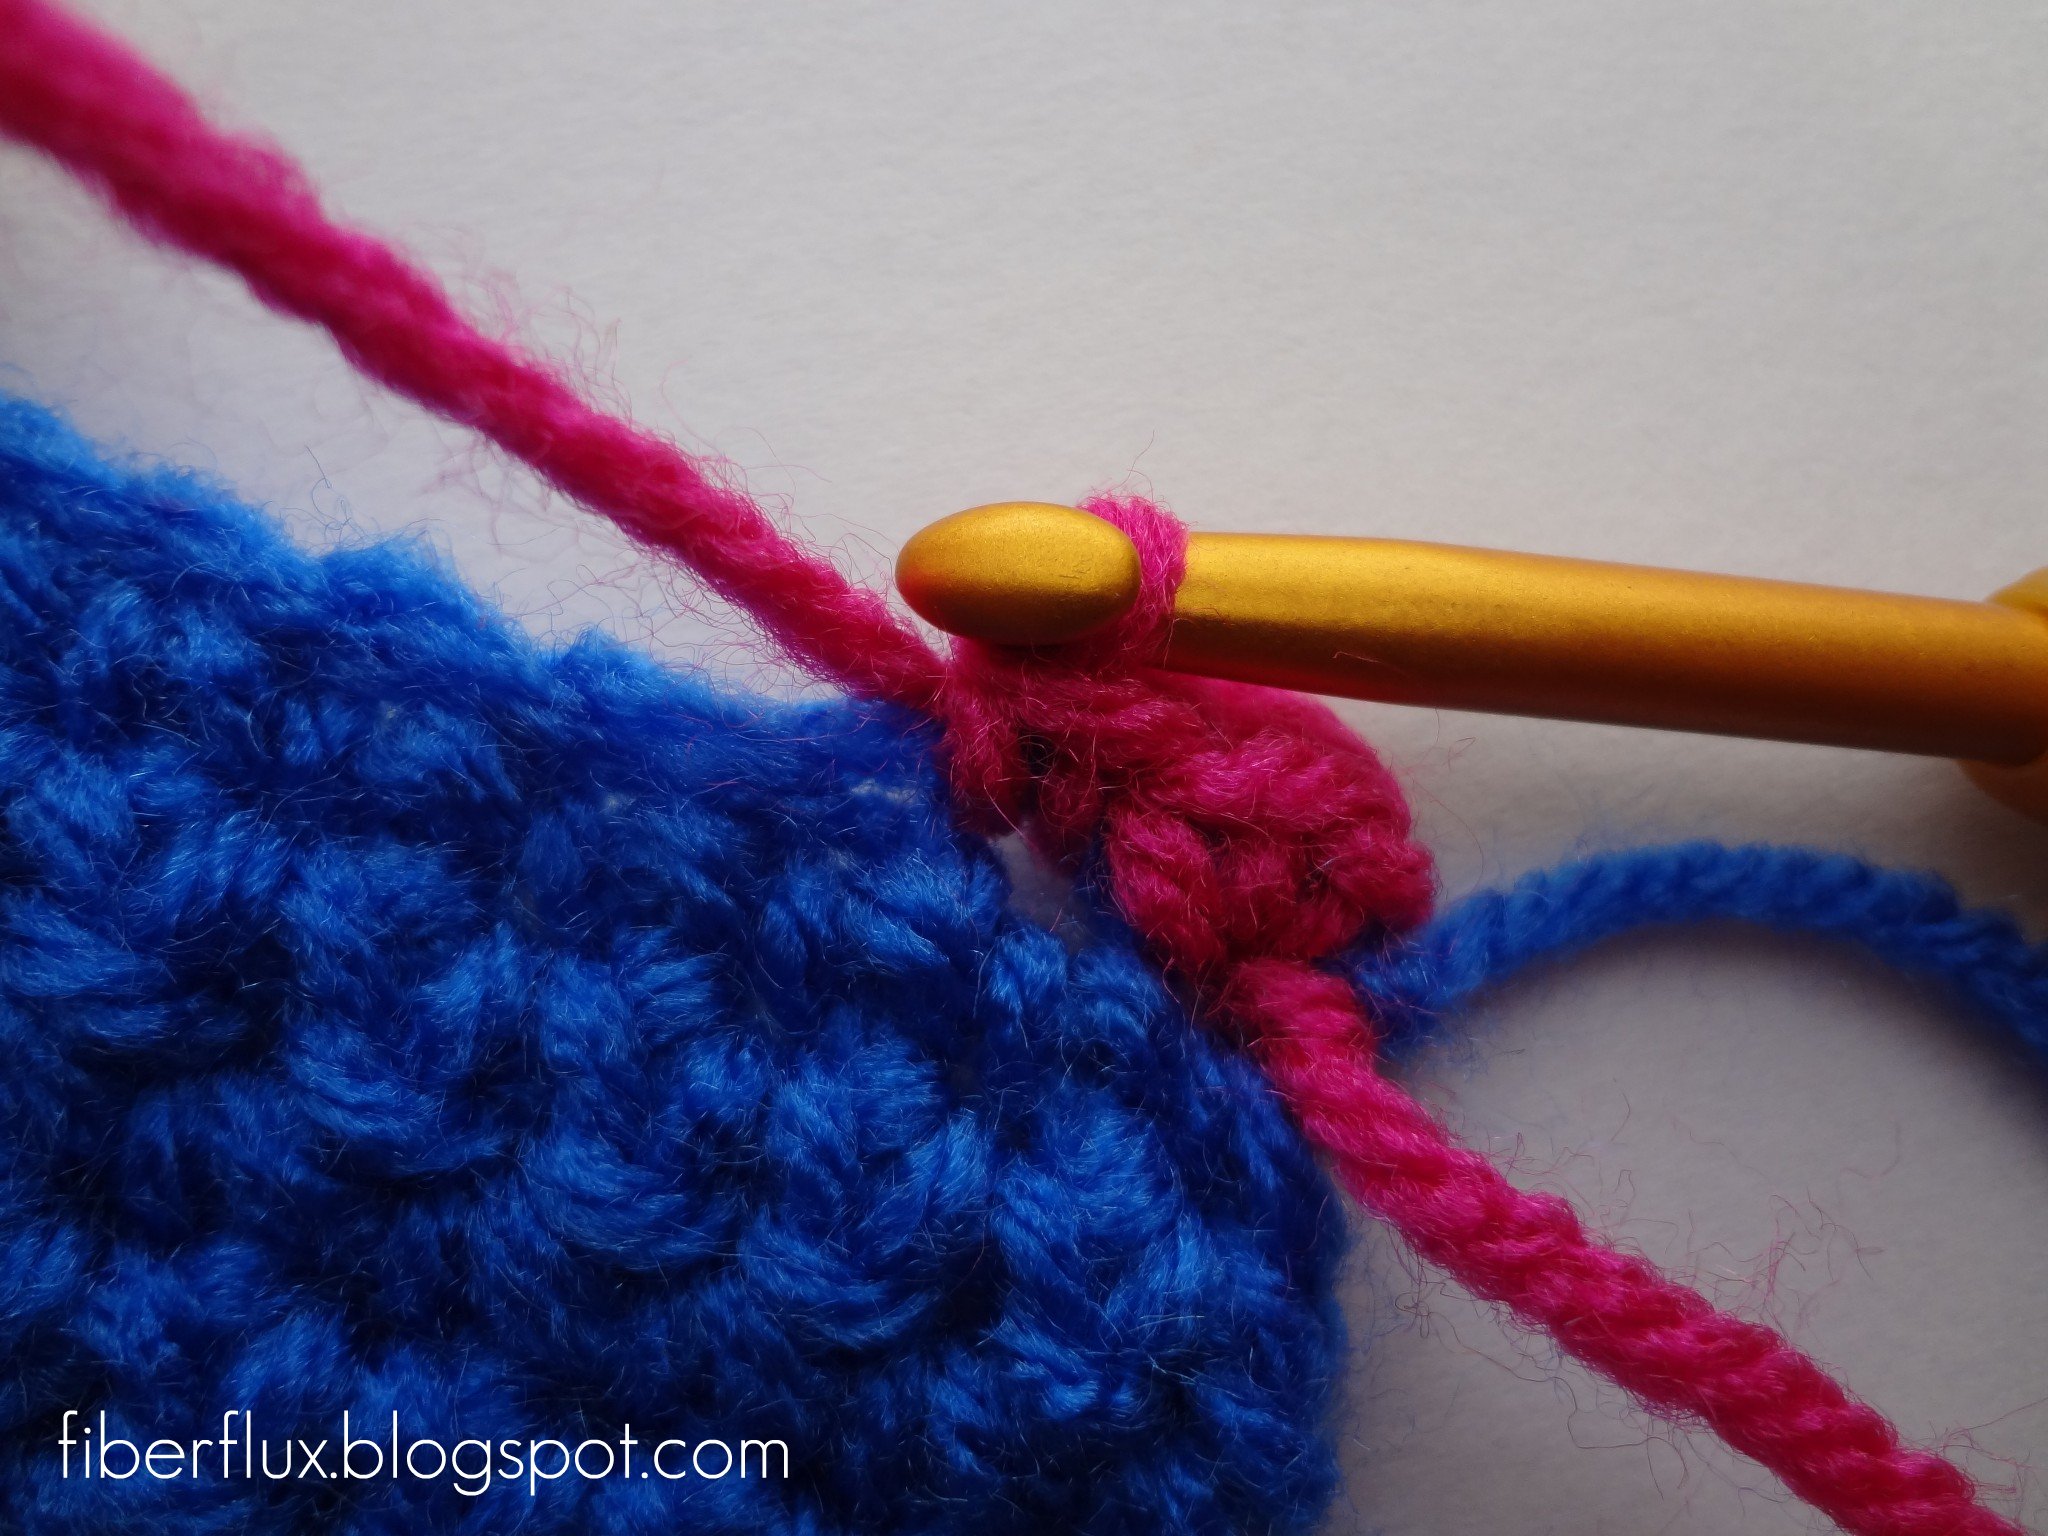
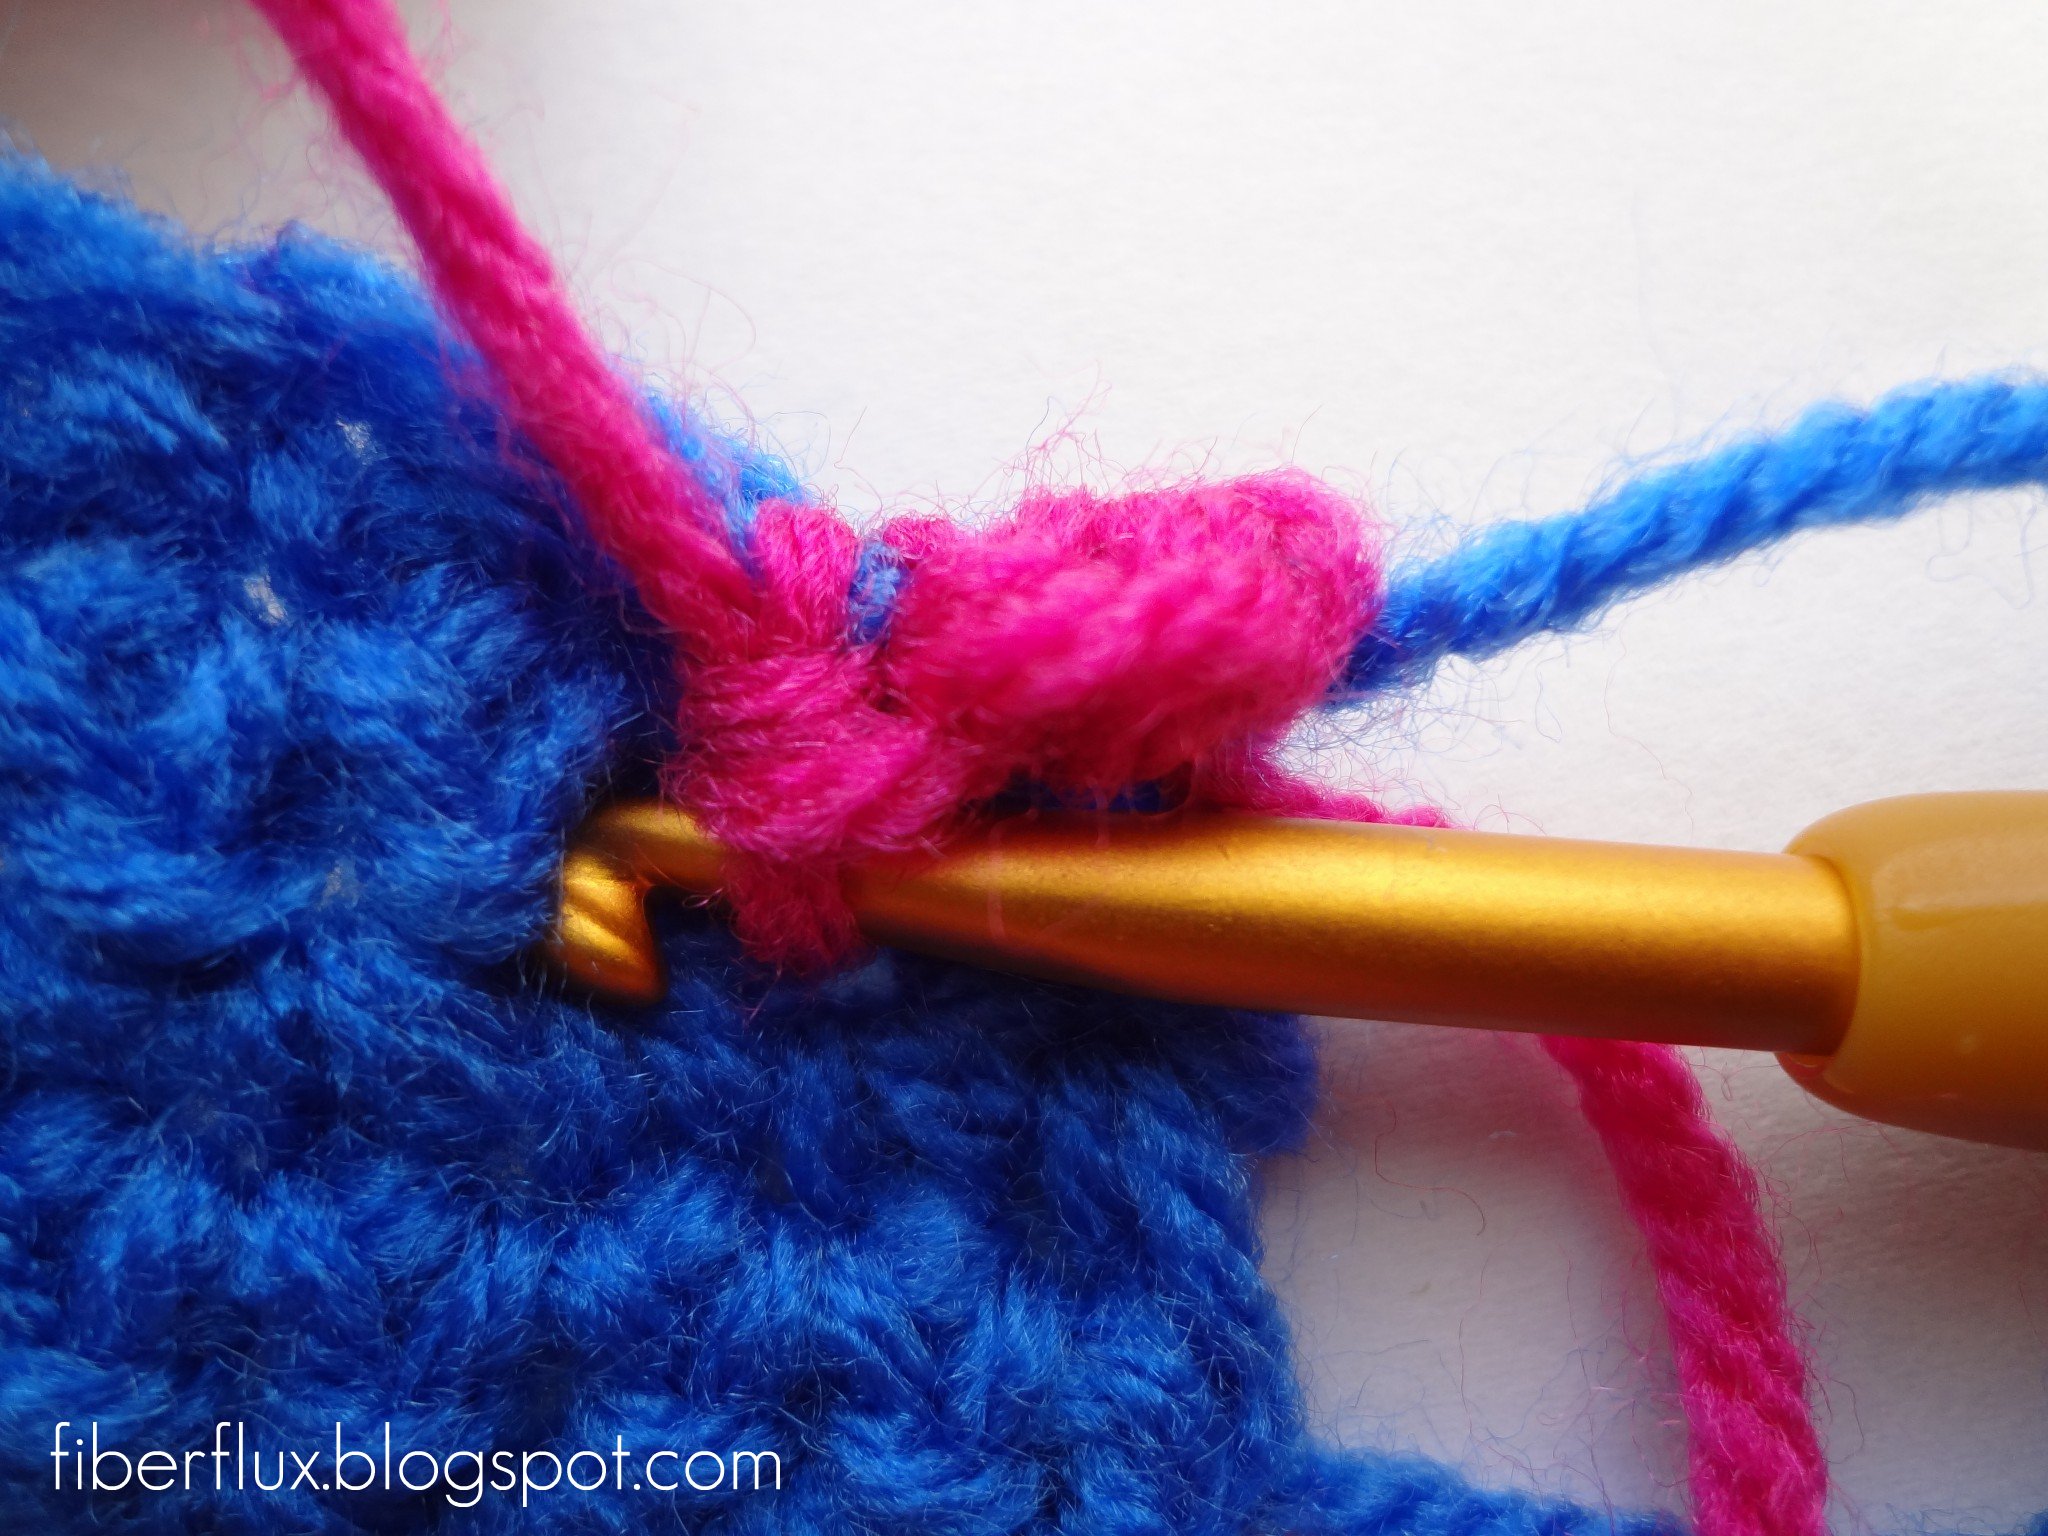
Now to make the point. See where my scissors are pointing in the picture below? I chose to go this far down for mine. You can make your point shorter or longer than mine, but just be sure you make each point the same length by working each one in that same row as you go across.
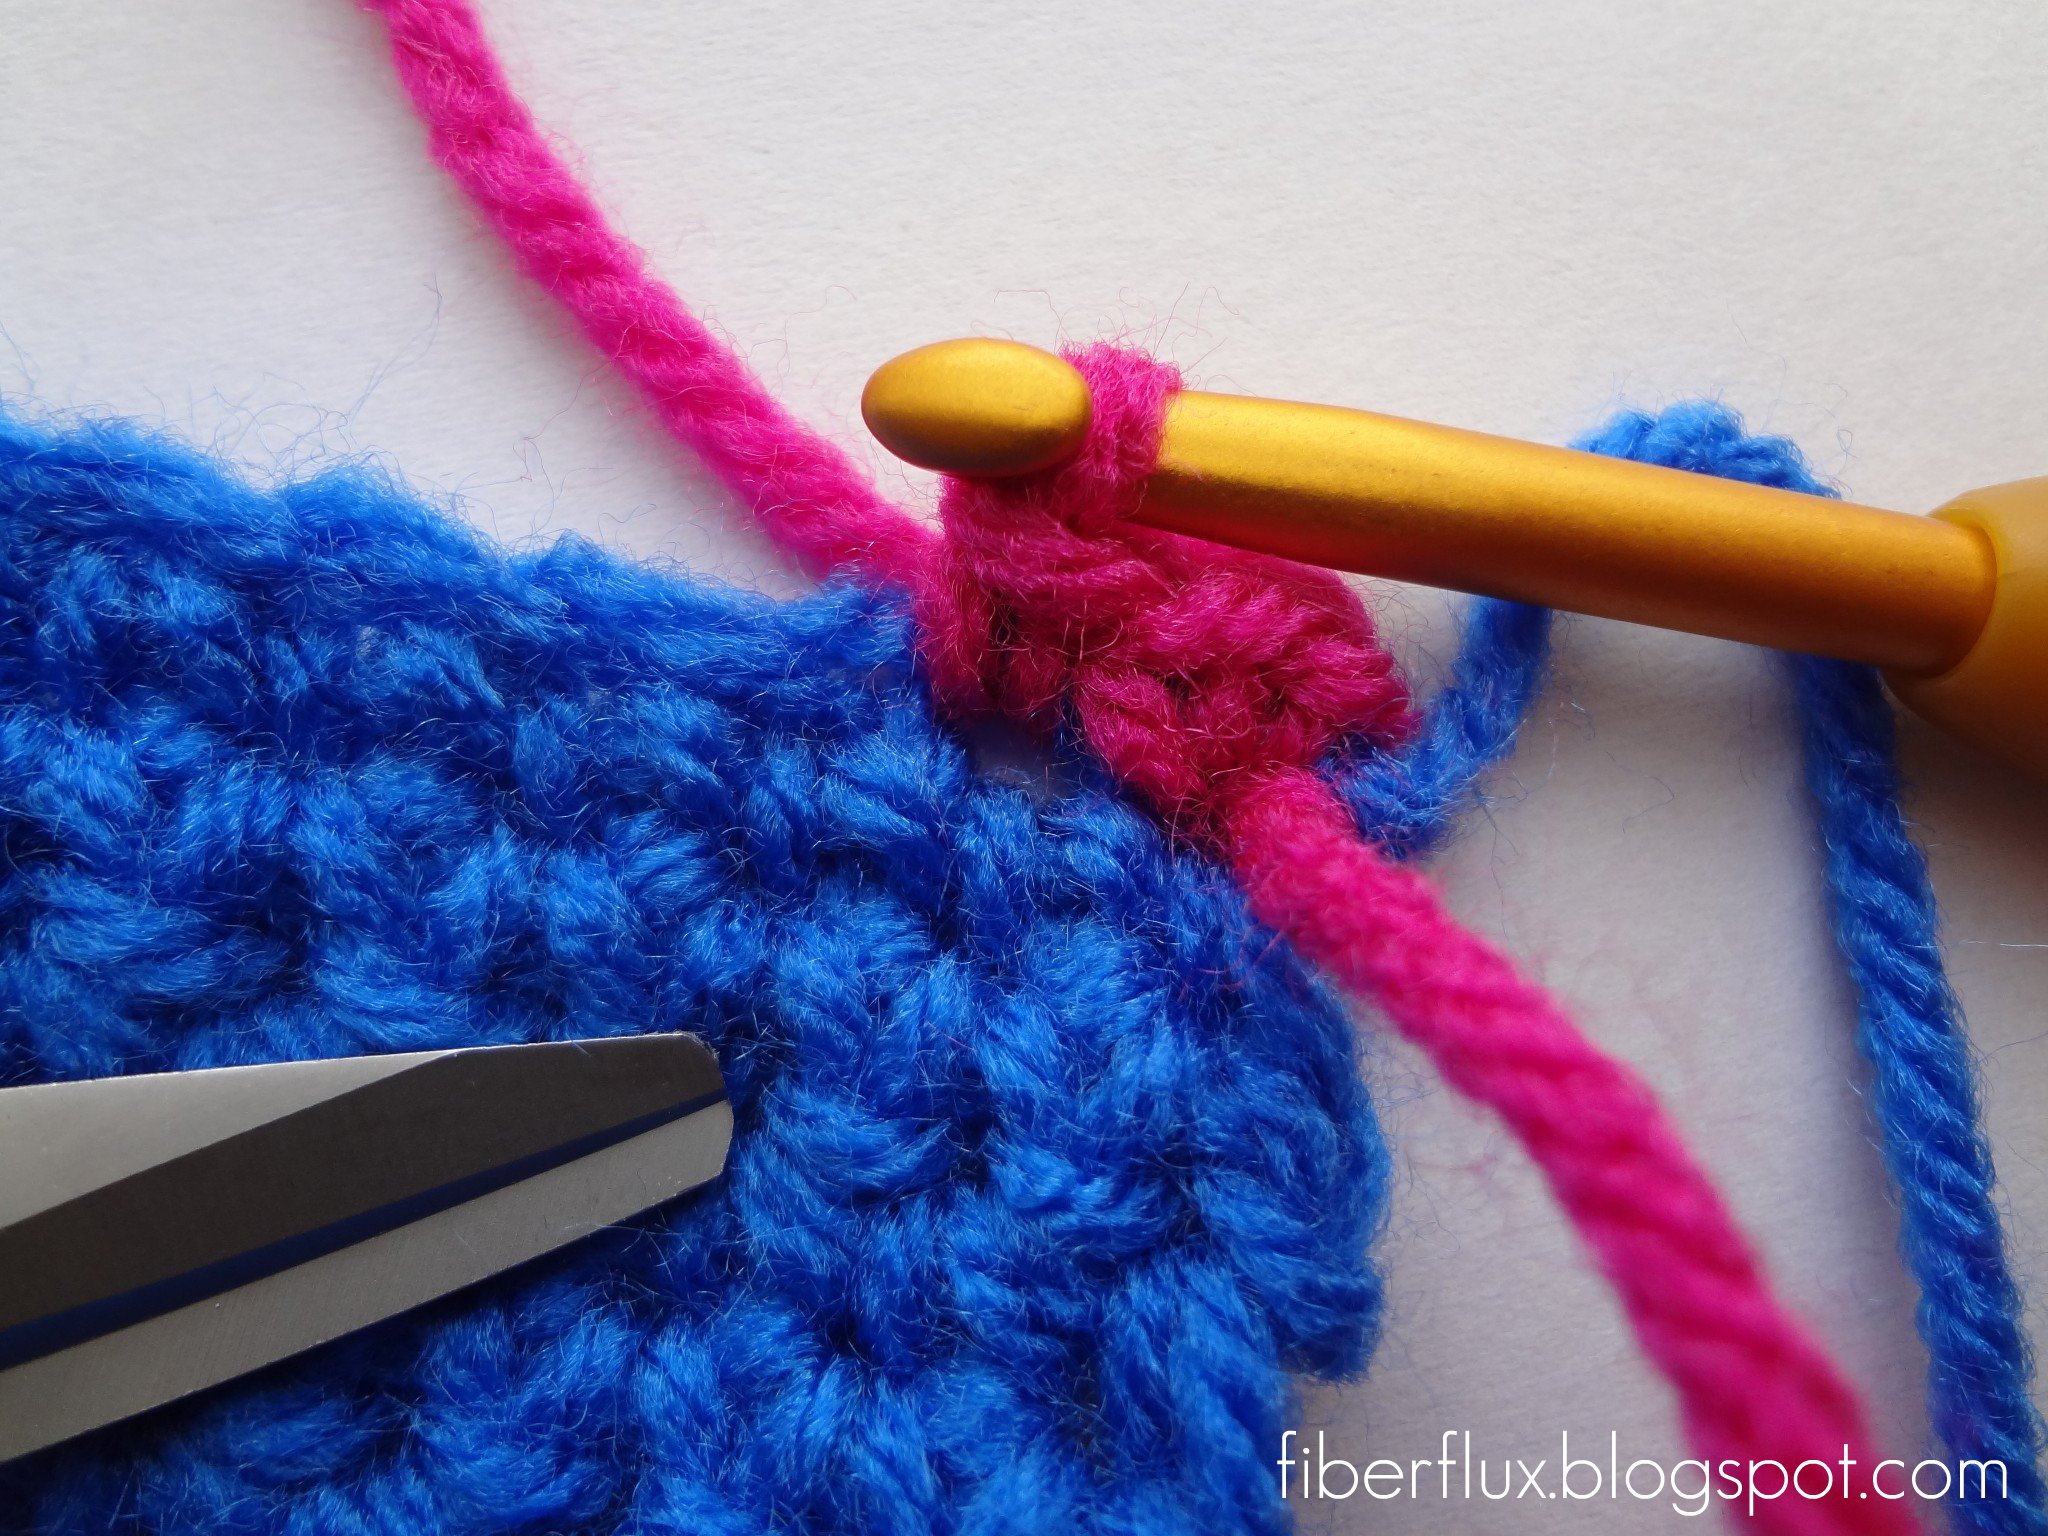
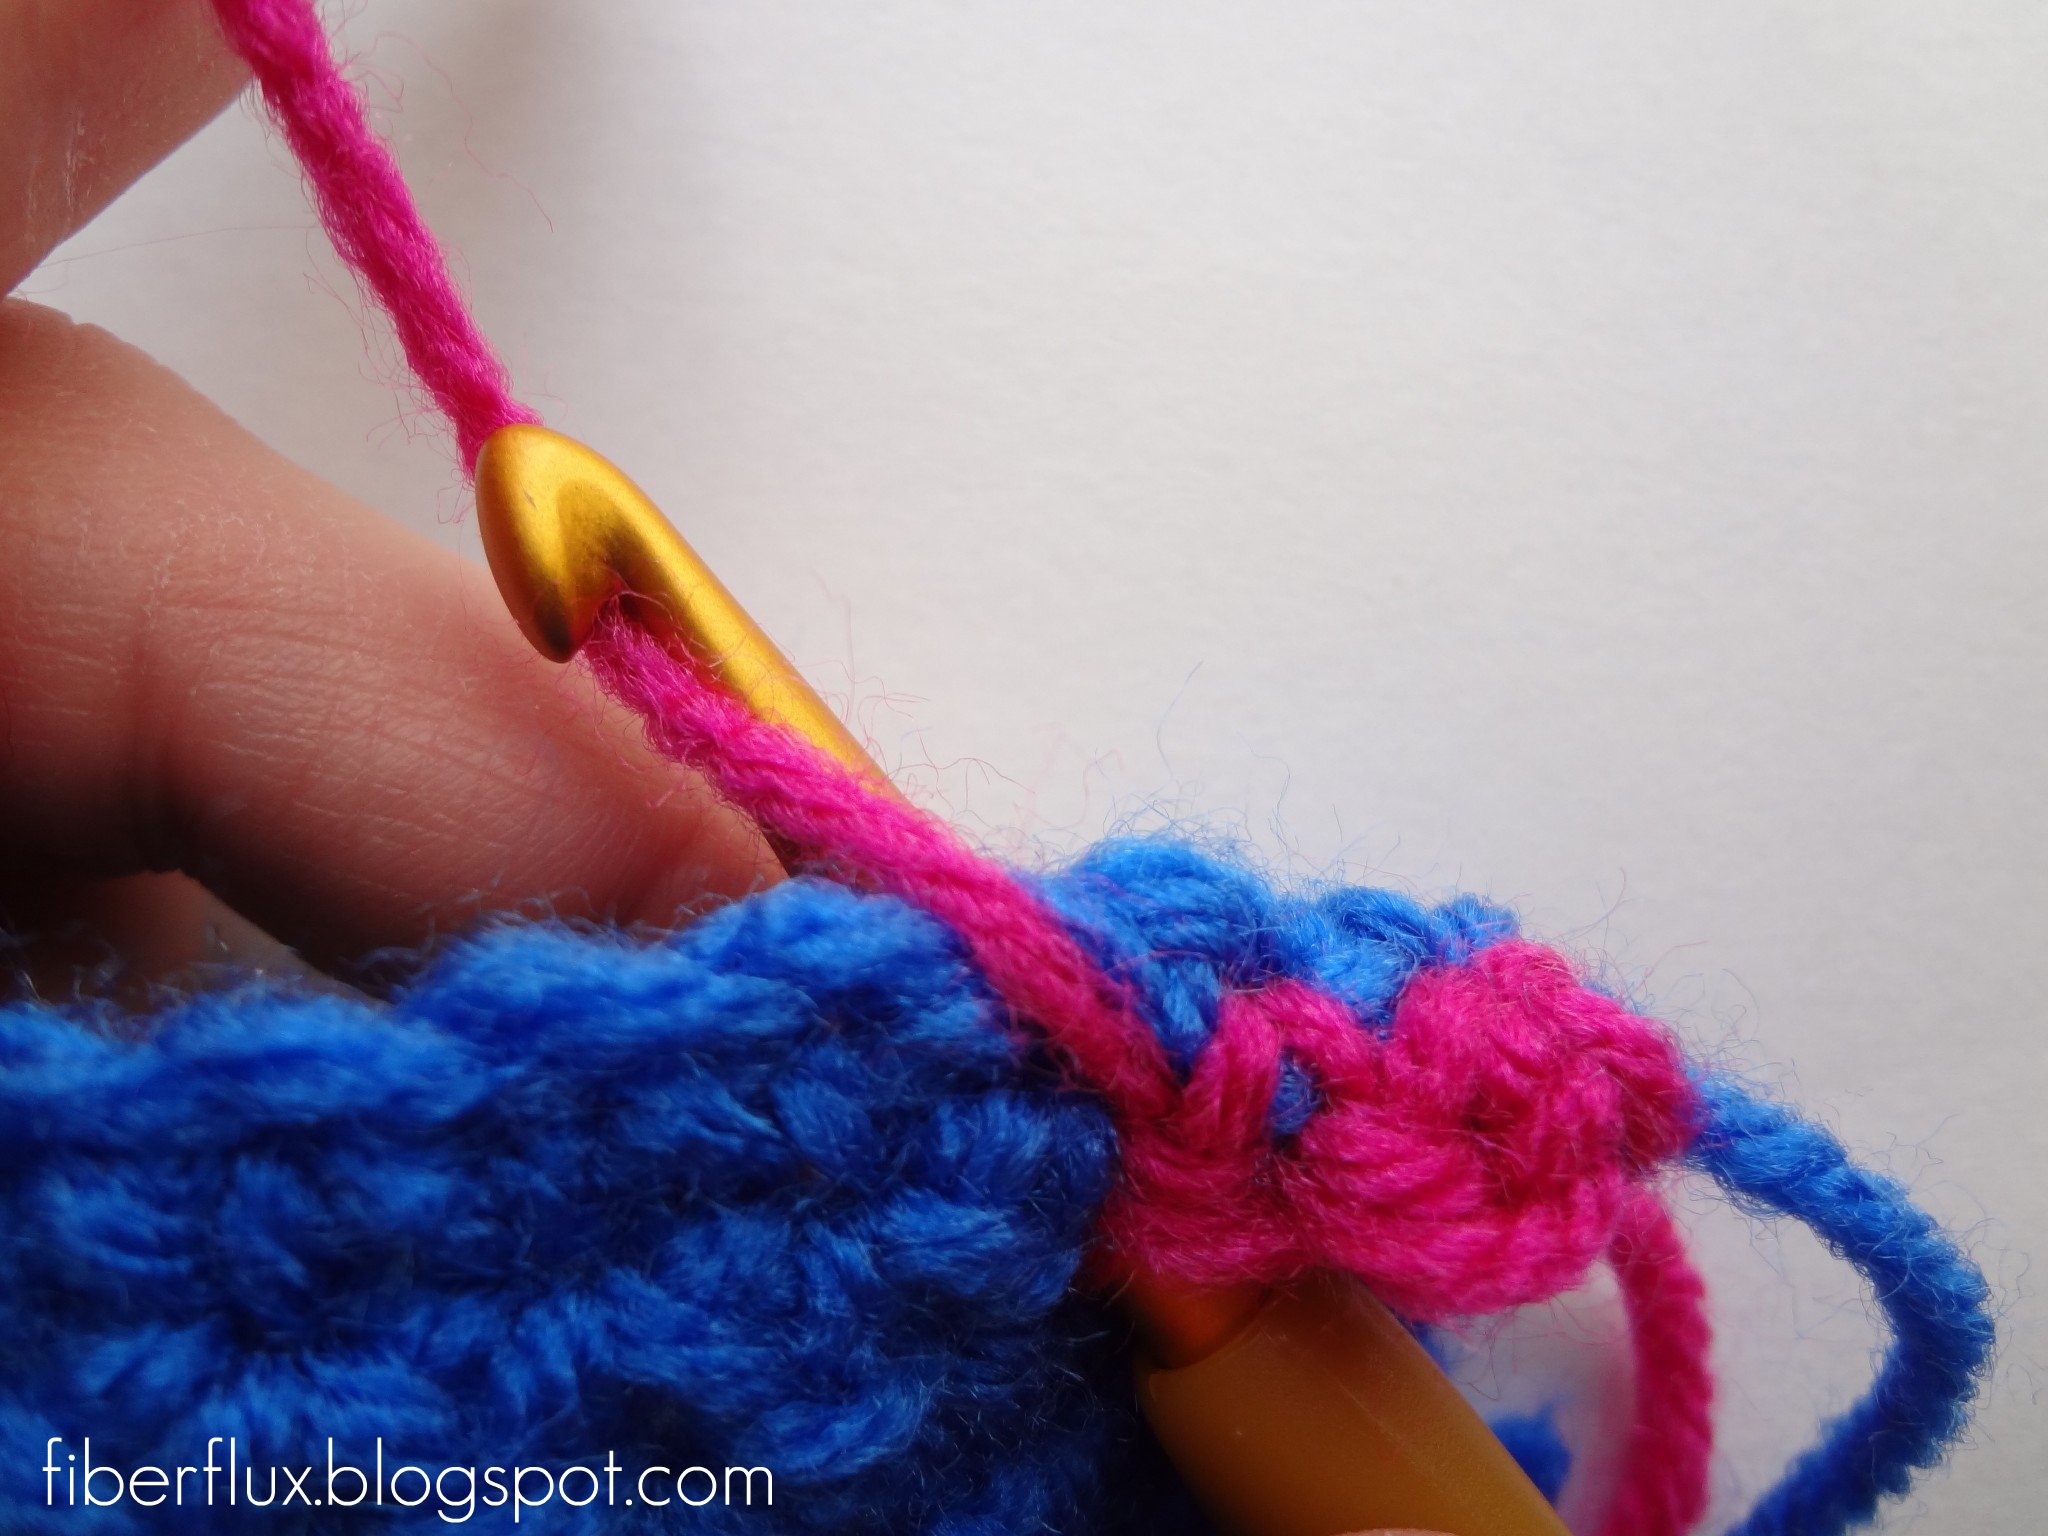
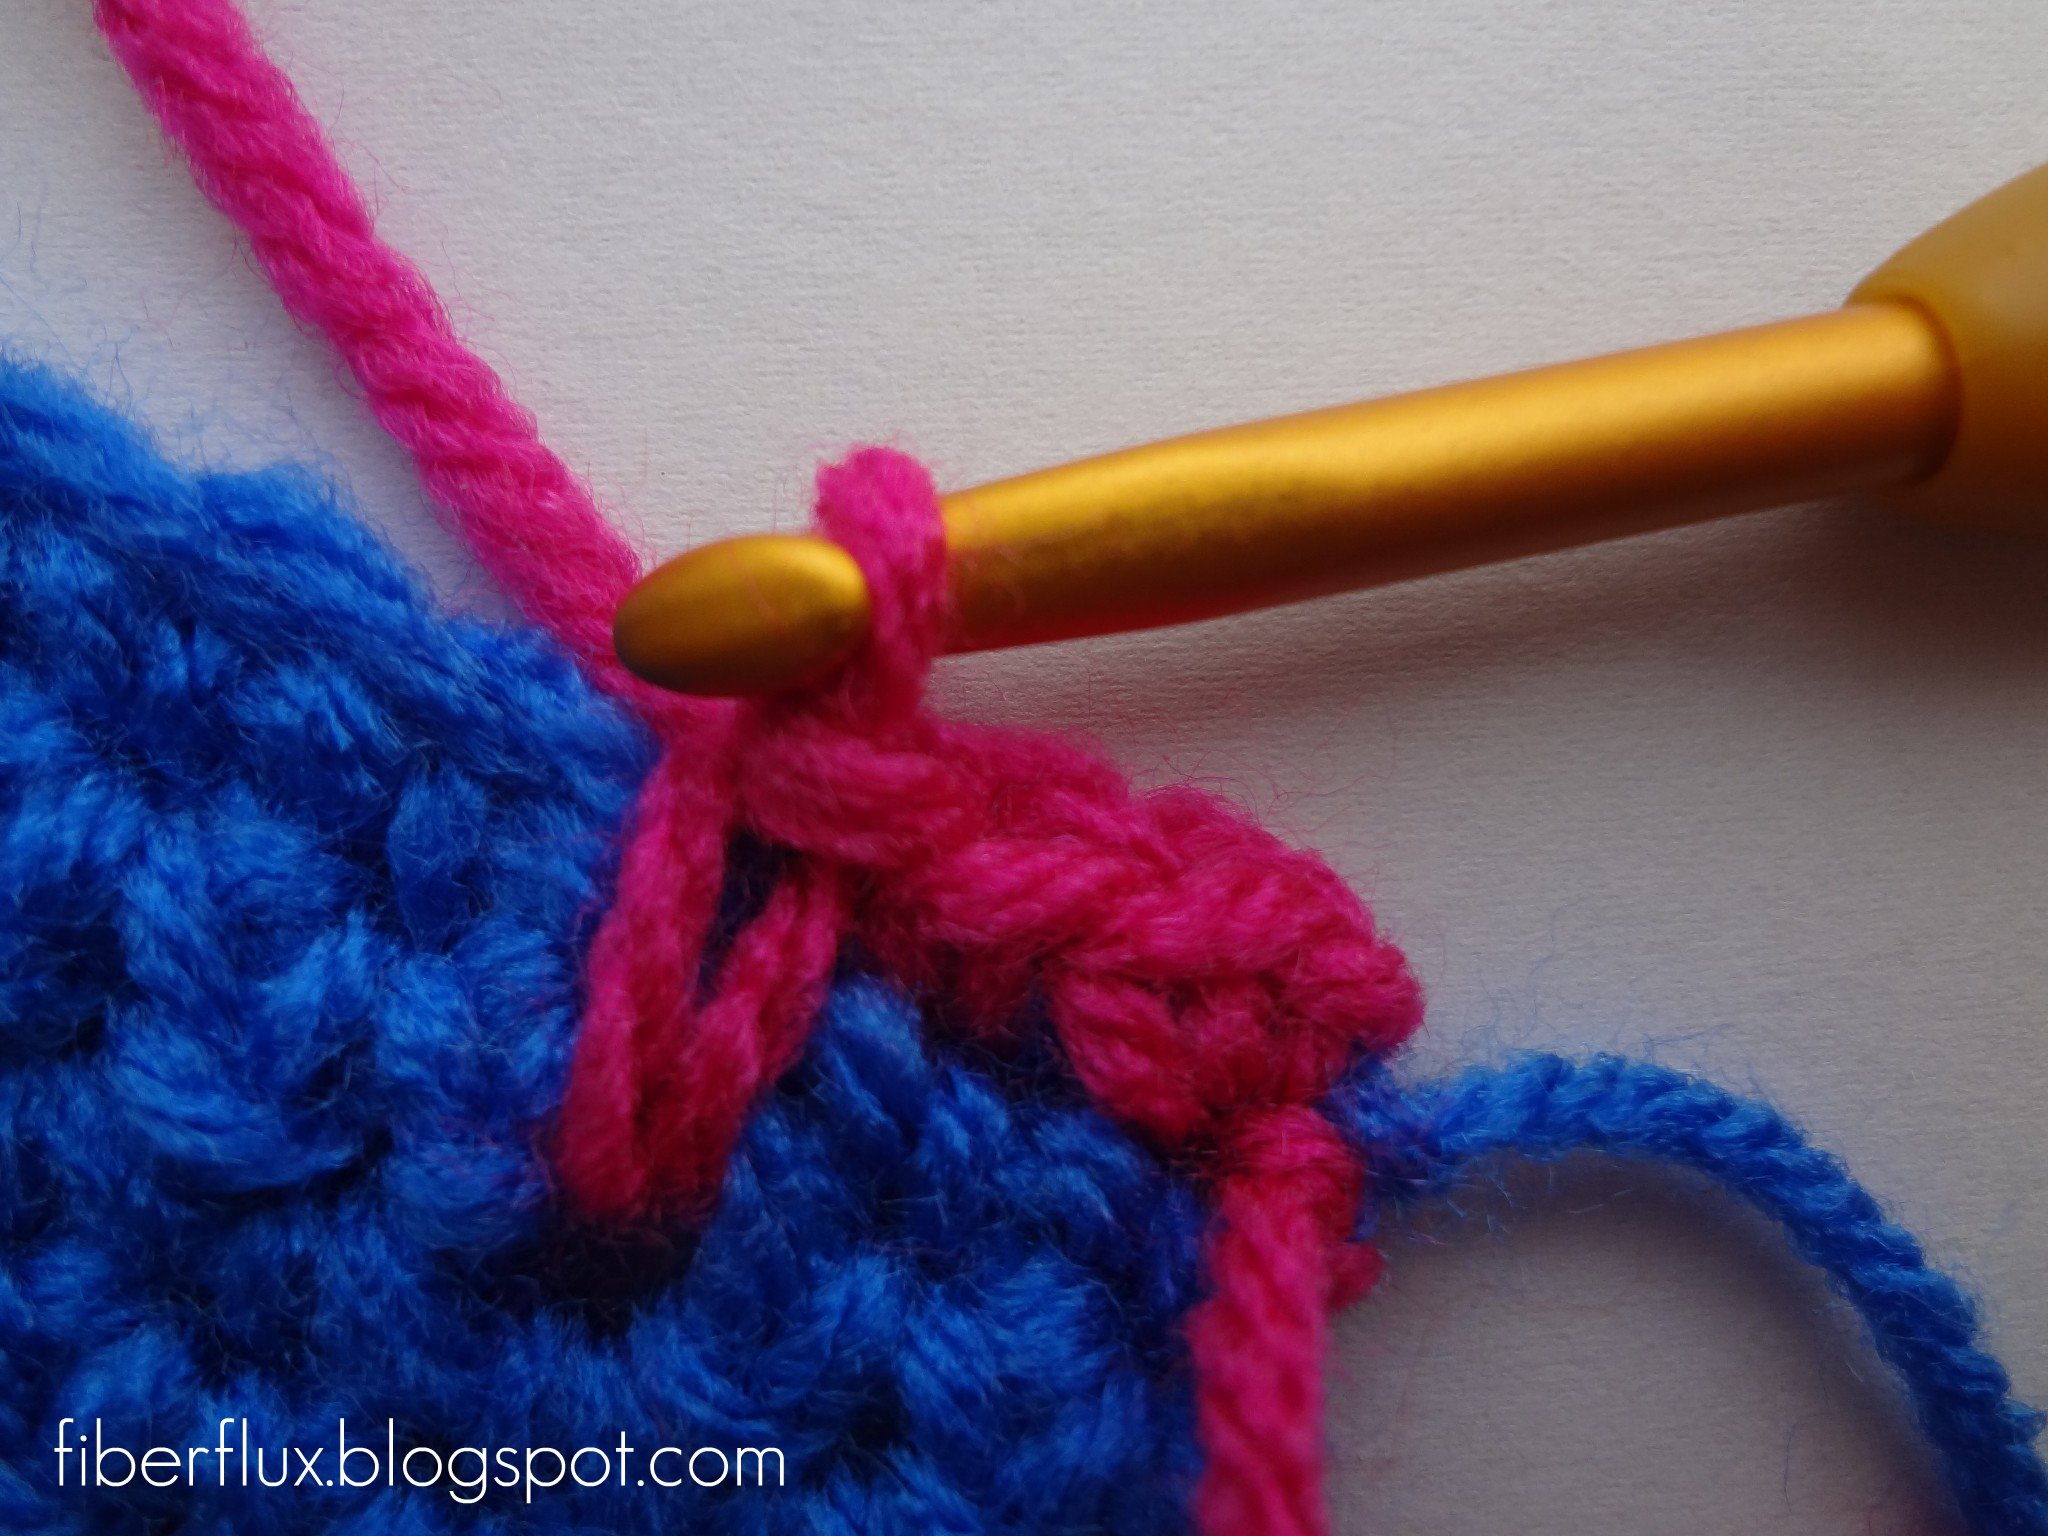
Now, insert your crochet hook in that area,
and work a single crochet the way you normally would,
see the point beginning to take shape?
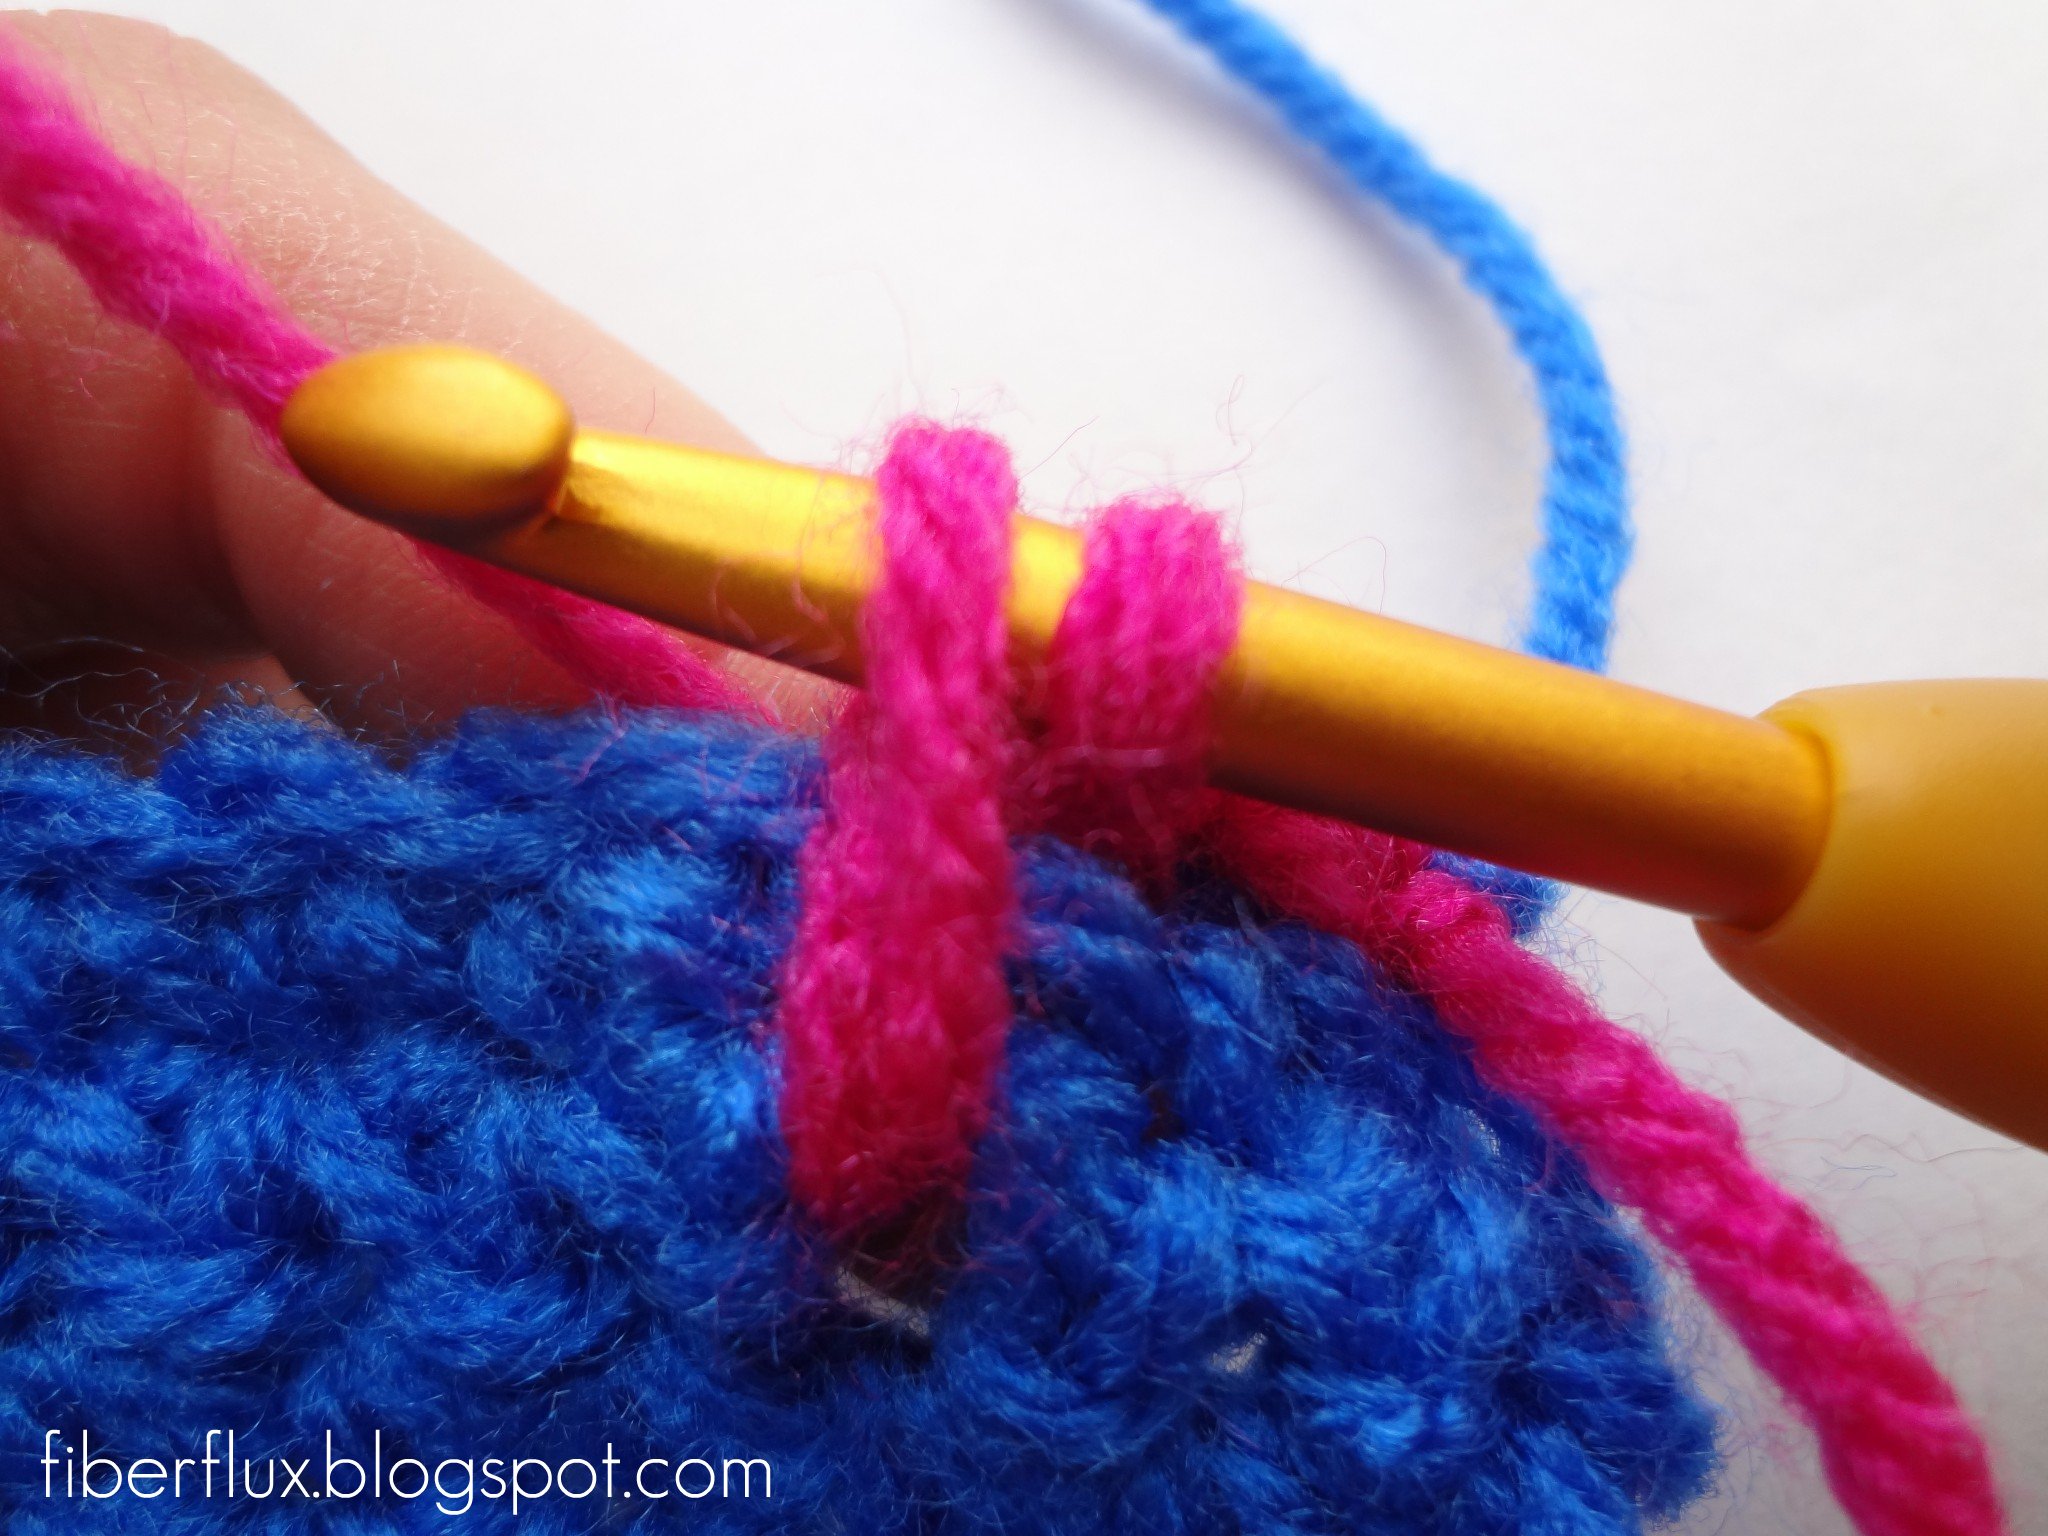
Try not to tug too much when working the points, or you’ll distort the fabric.
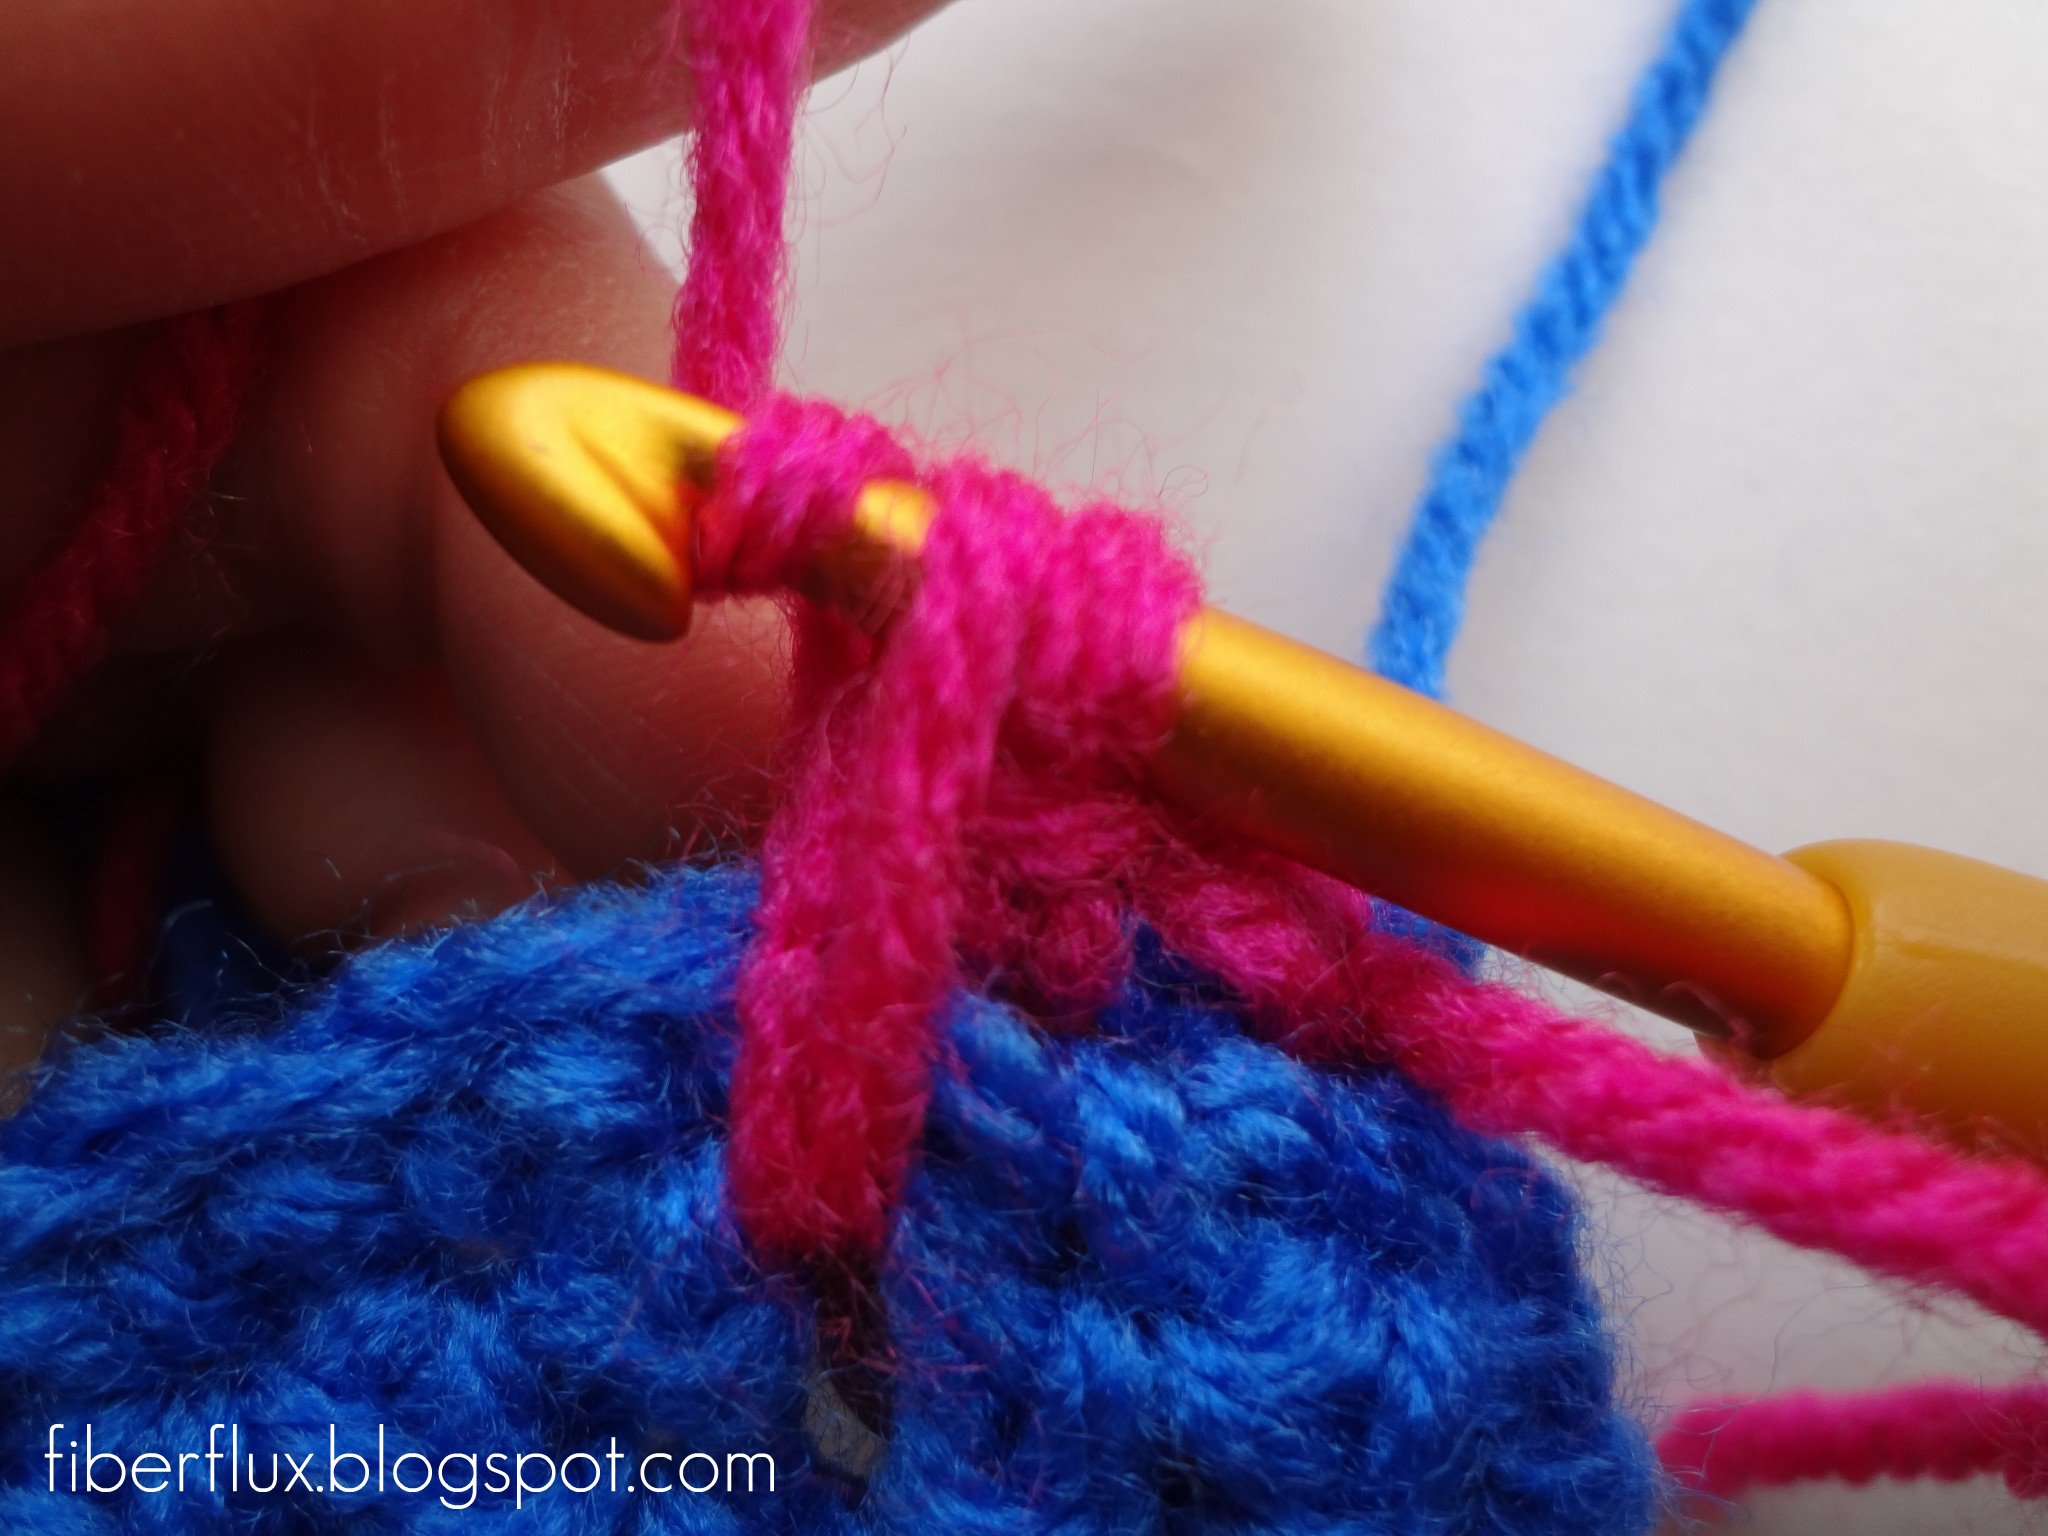
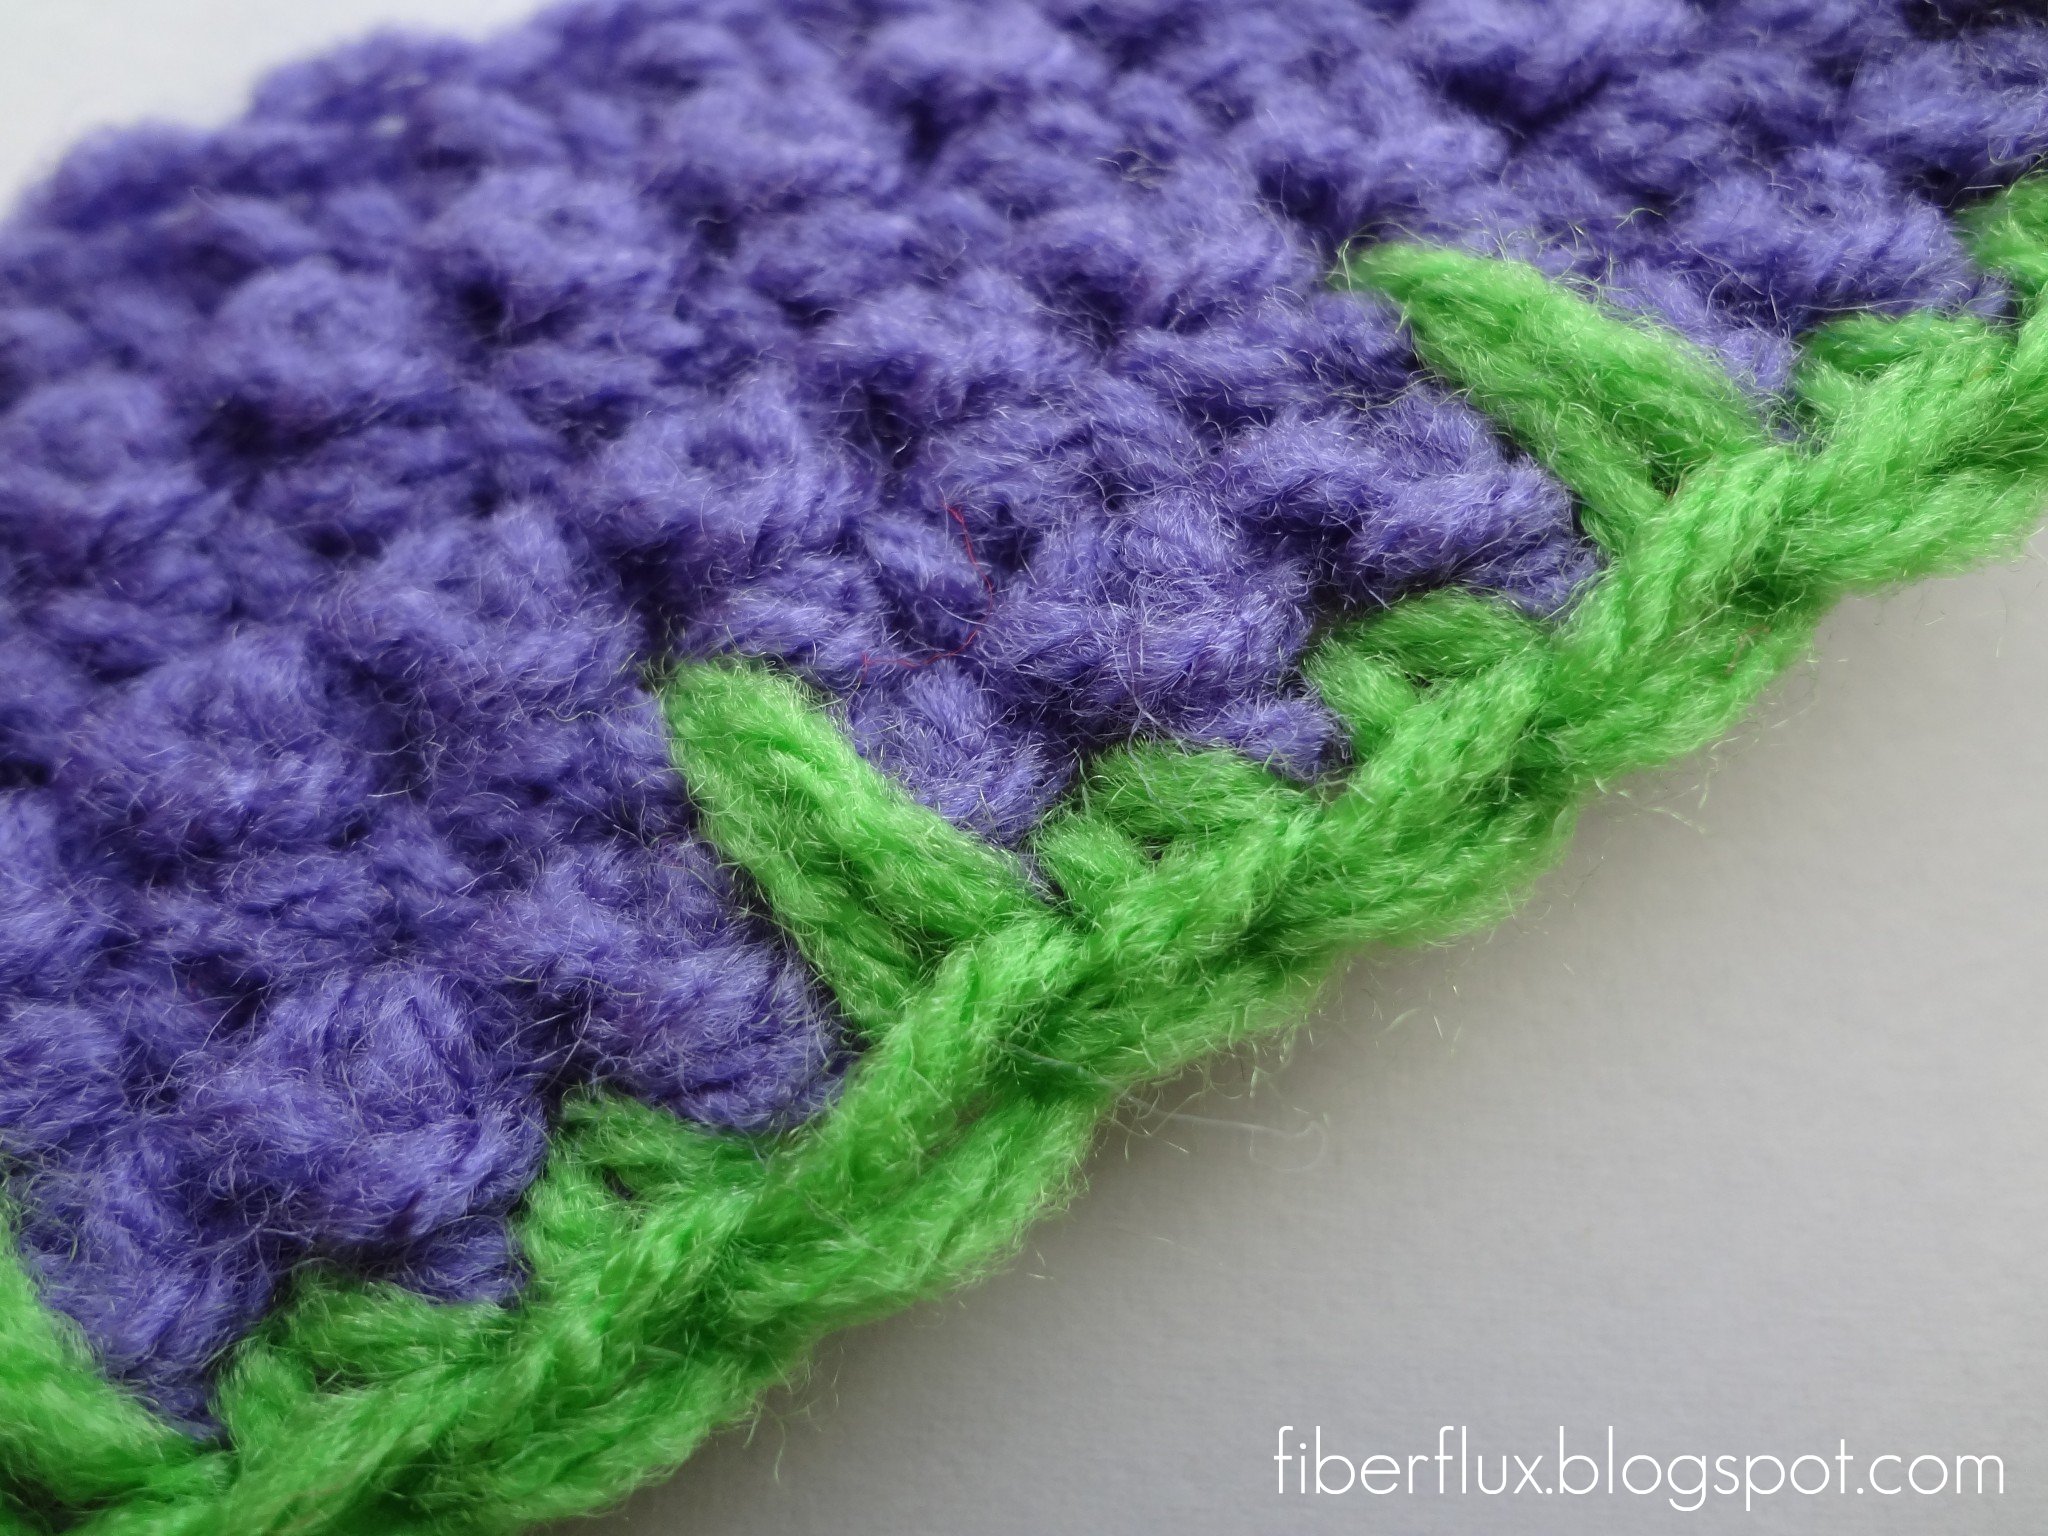
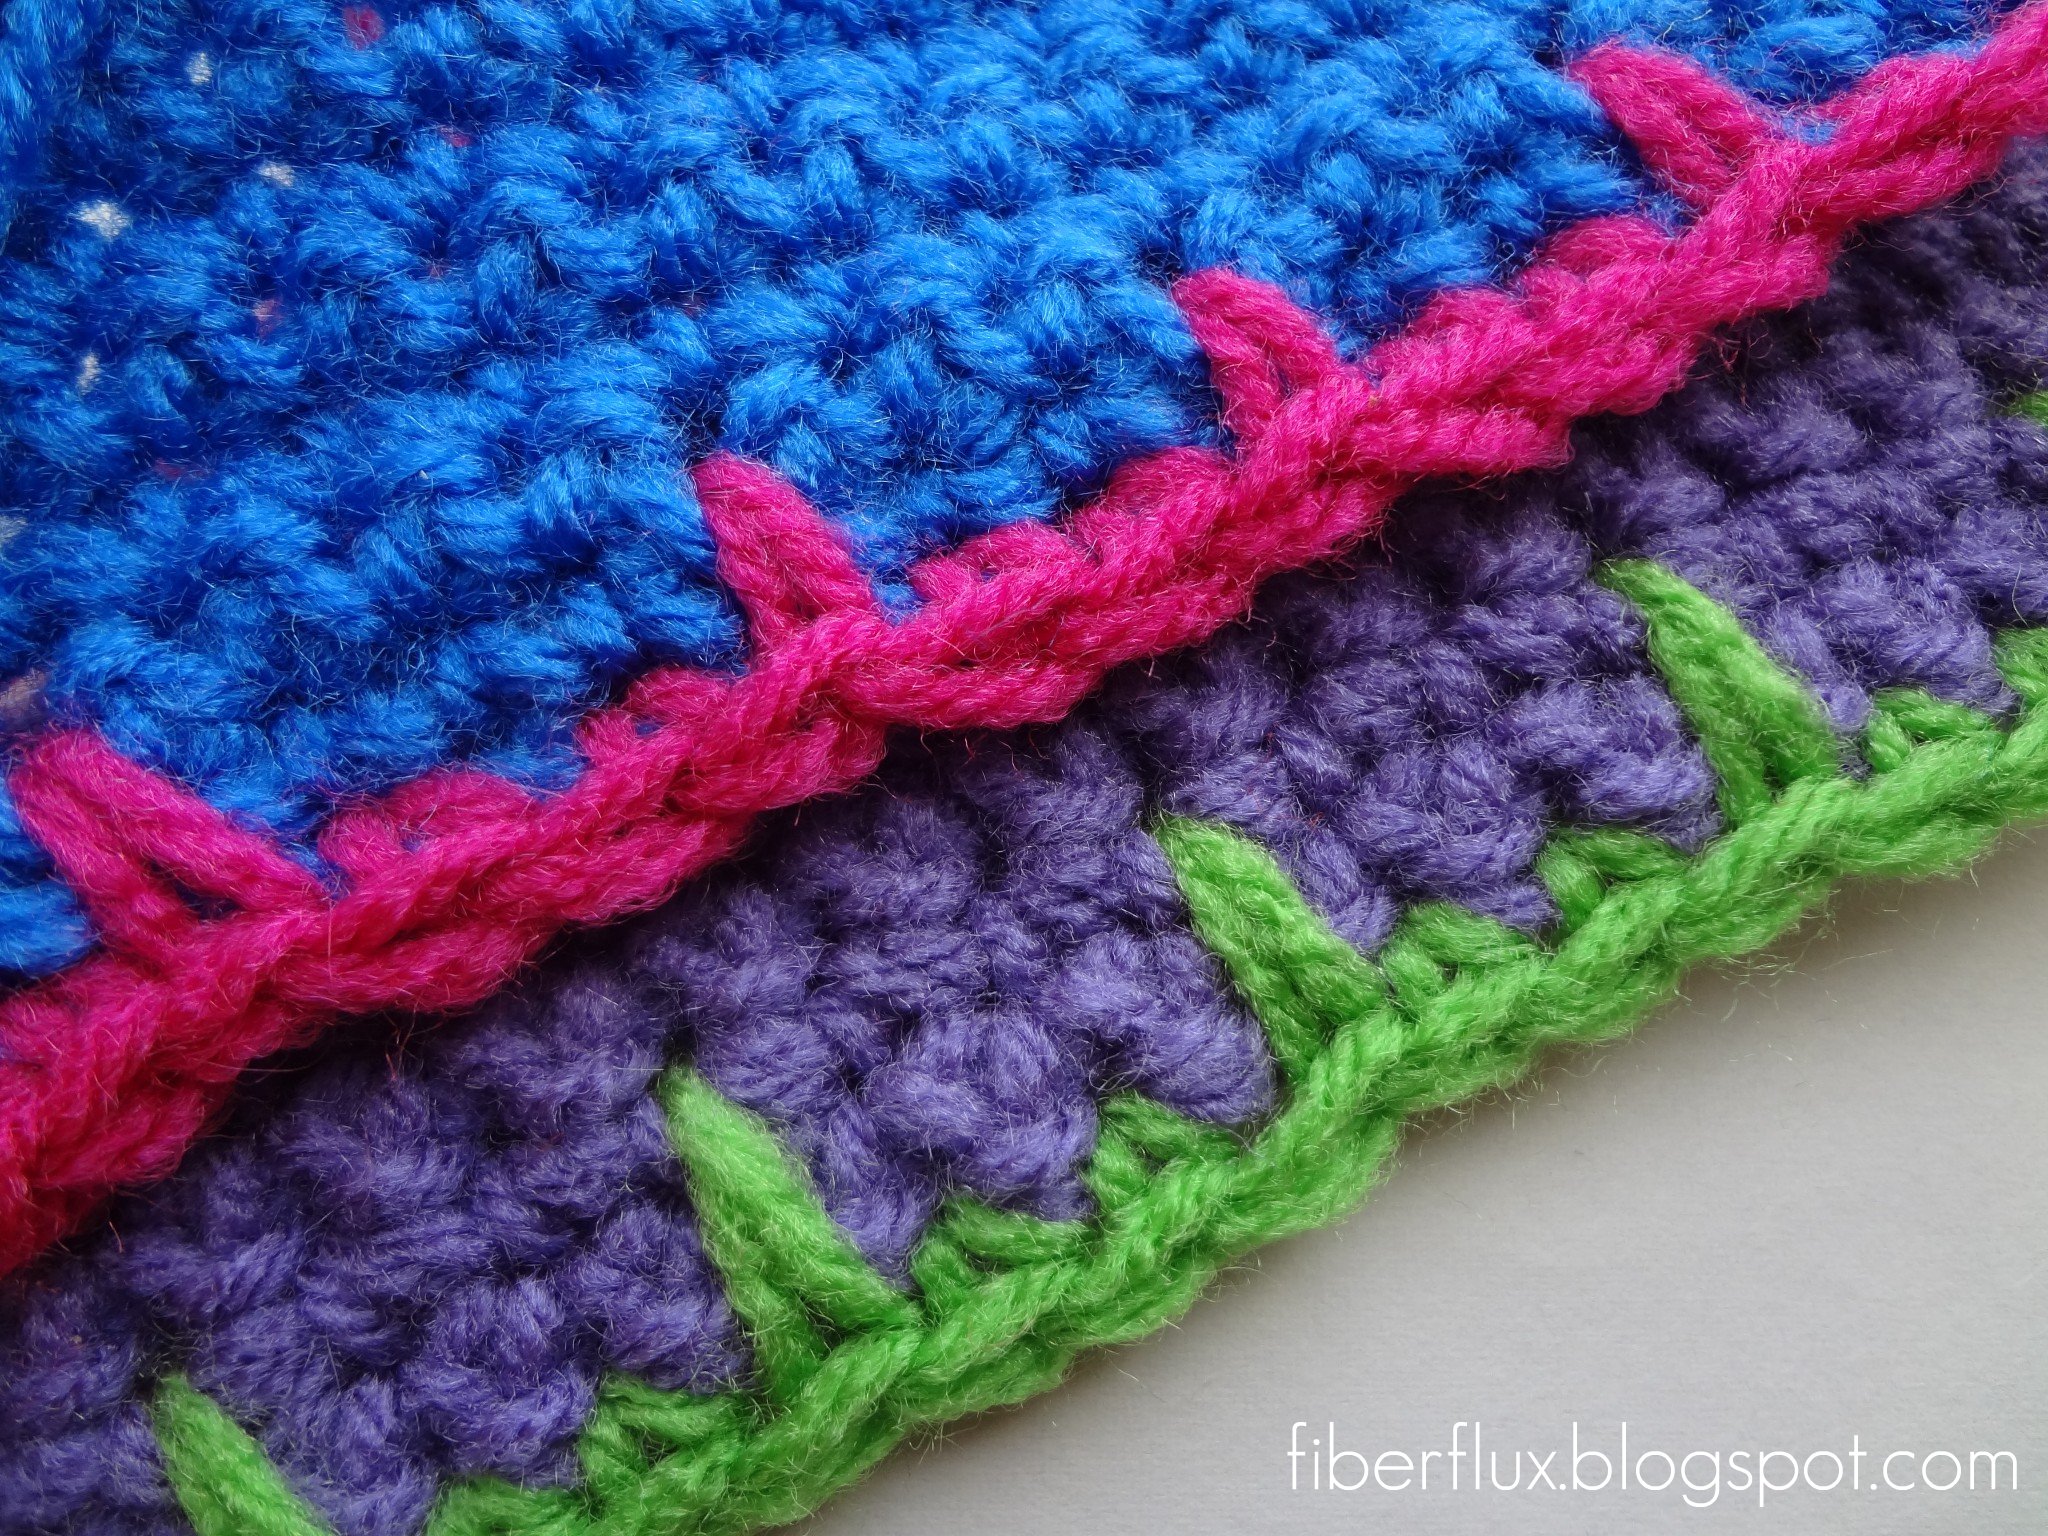
There we go, all finished!
Continue to work the sequence the length of your piece…pretty!

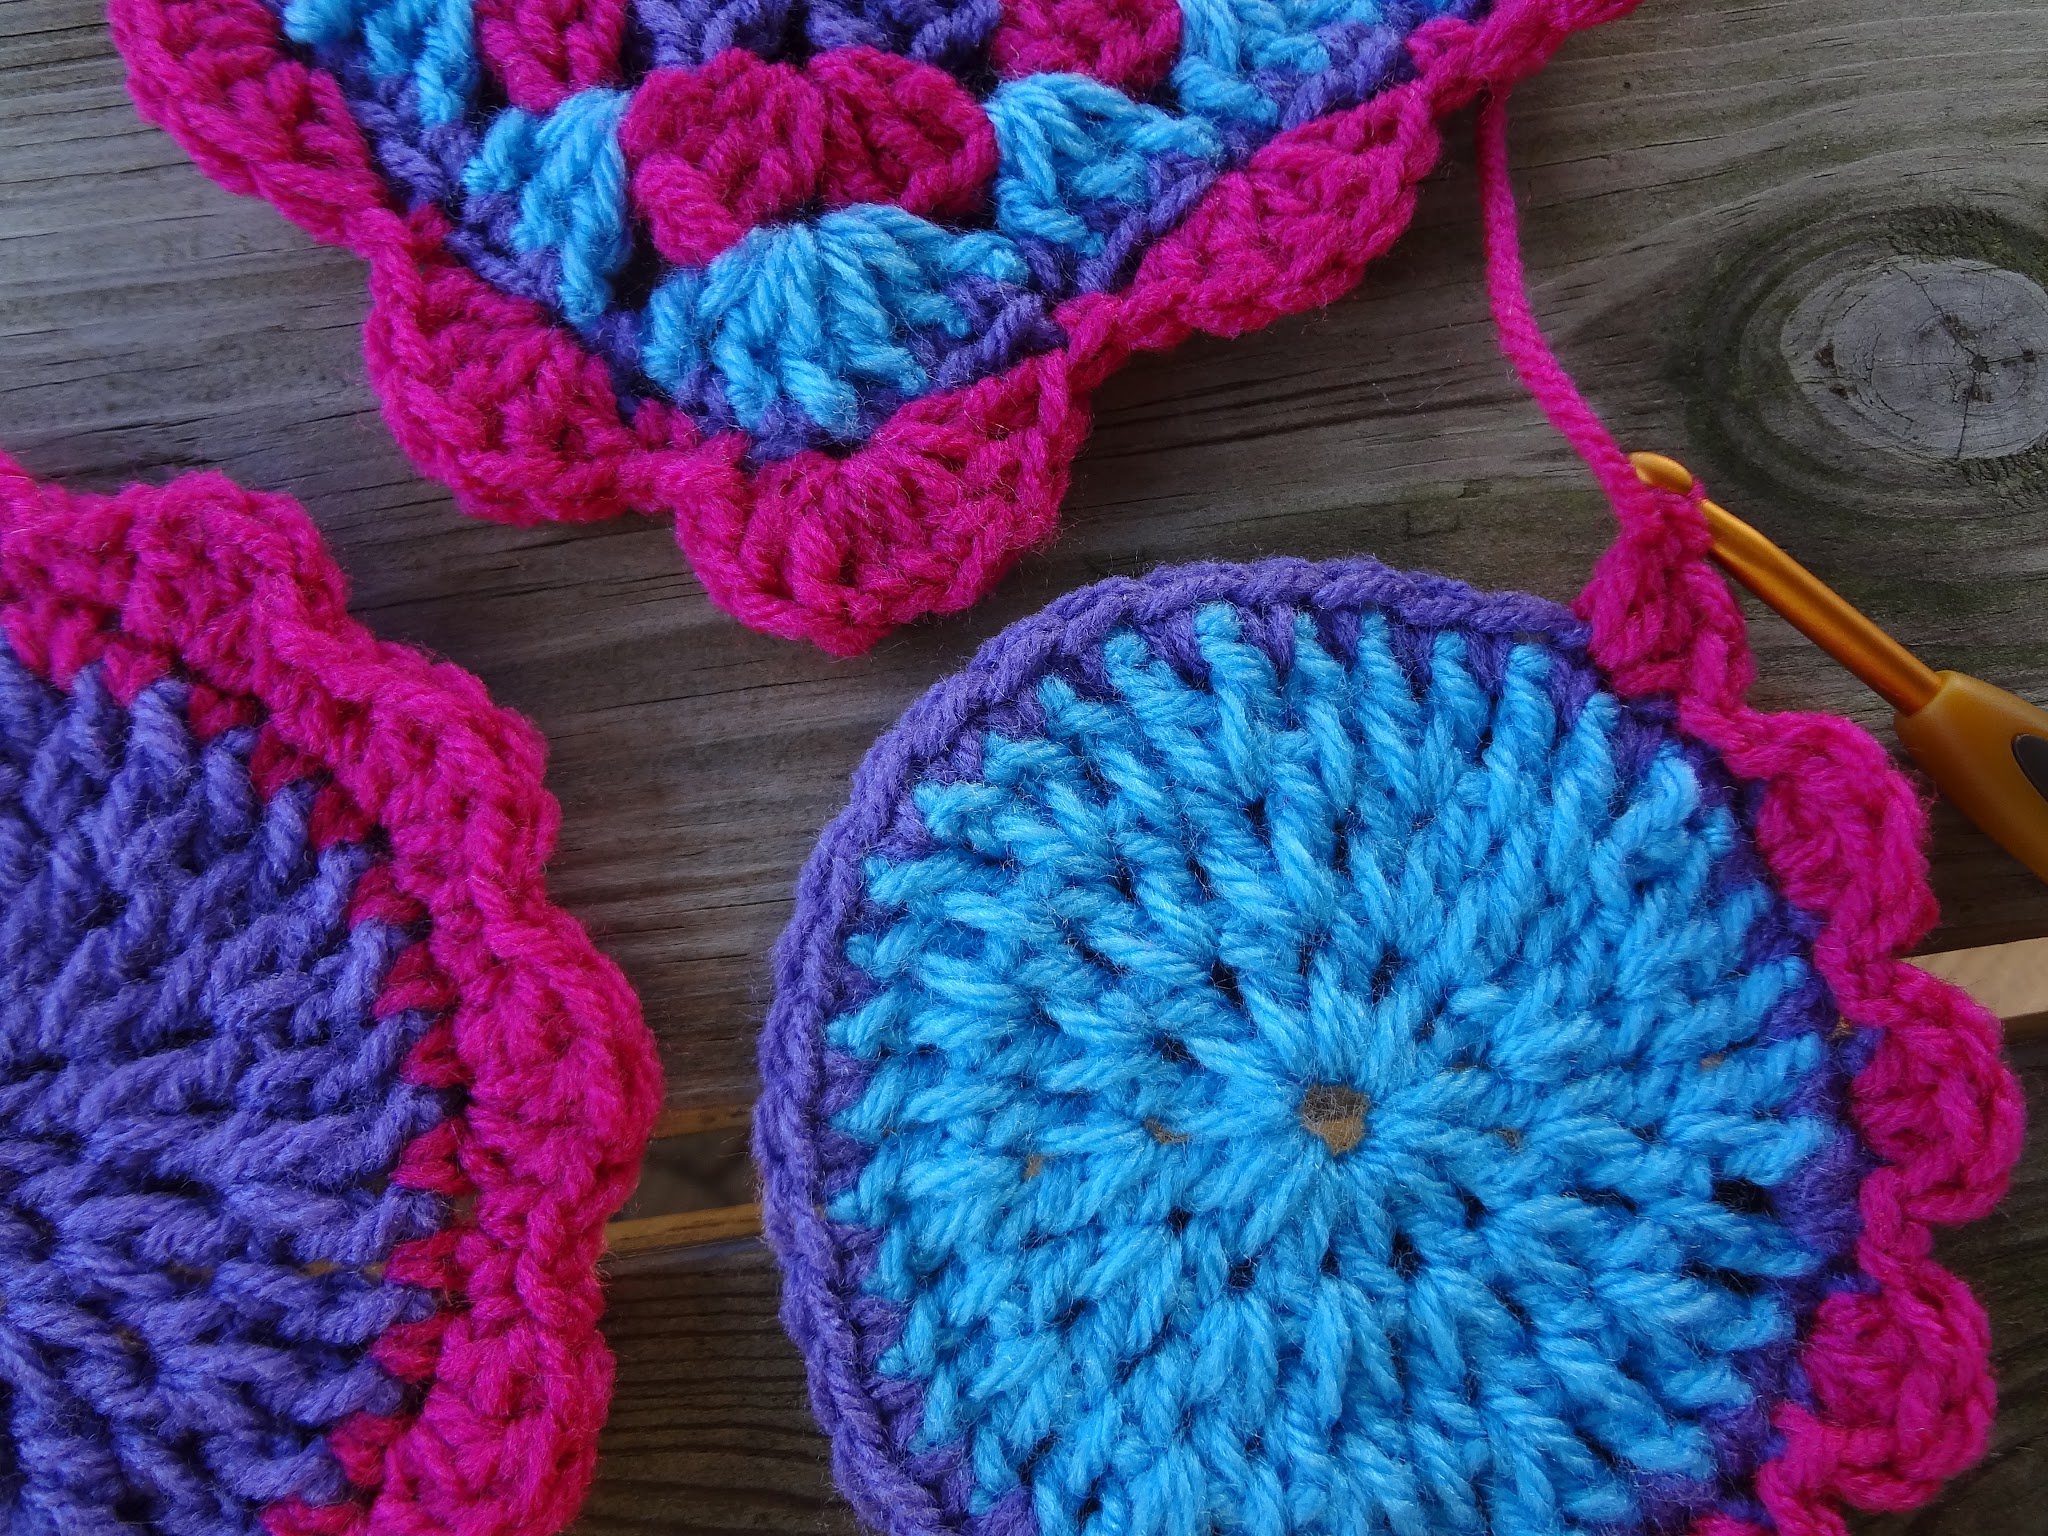
You could also use this stitch as a unique edging foundation row to work another row of picot edging or scallop edging too. (how to make scallops tutorial link below).
There you have it!
Click here for crocheted scallops photo tutorial


easy and beautiful!!!!
thank you, xxx Ale
Thank you! I had fun picking out the colors!
Love this!!! Such a different edging….
Thanks for sharing!! I didn't know this!!
Silvia
Thank you for the tutorial. I've been looking for something like this for a long time.
I love this edging. Thanks!!
Very nice tutorial! Thank you very much. And I love the bright colors you used 🙂
Love this … So simple,effective and colourful. Thank you
thank you. it finishes of the edges lovely.
Thanks everyone! I thought it would look pretty in those fresh, bright colors too! 🙂
can i do this with a granny on the straight pattern???
I love this! Great tutorial! I found you on Pinterest and linked to your tutorial on my blog this morning: http://www.mooglyblog.com/unpinning-pinterest-for-april-2013/
Thanks so much for sharing!
Can you explain what to do at the corners
Thank you! I find this very helpful!
Gracias por compartir este tutorial! Muy bueno y muy útil,le da buena terminación a cualquier trabajo. Saludos desde Argentina.
Thank you for for sharing this is used it to finish of a little beanie hat.
Just seen this post and its a good idea and easier and neater than having to get out your needle and thread it up. You call it sc point but its like the long sc. Thanks I will try this
Could you please explain how to do the corners? Thanks
After viewing a useless YouTube video on borders, you explained this perfectly!Thank you.