

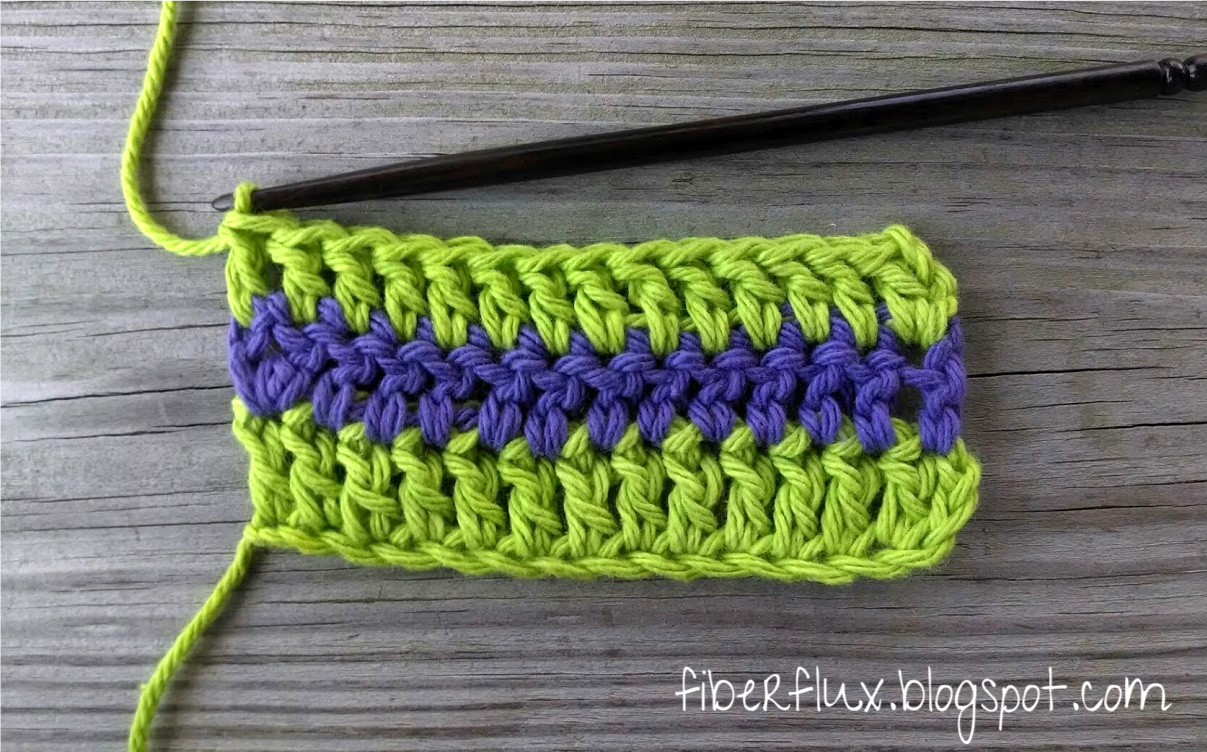
Several dear Fiber Flux readers have asked how to change colors when starting a new row. While there are different ways of going about it, this is the way I prefer and do time and time again. It’s fast, easy and you can weave in all of those pesky ends as you go…super important when making something striped!
Note: This skill can also be used when you finish a ball of yarn and you want to tie on a new one to finish your project.
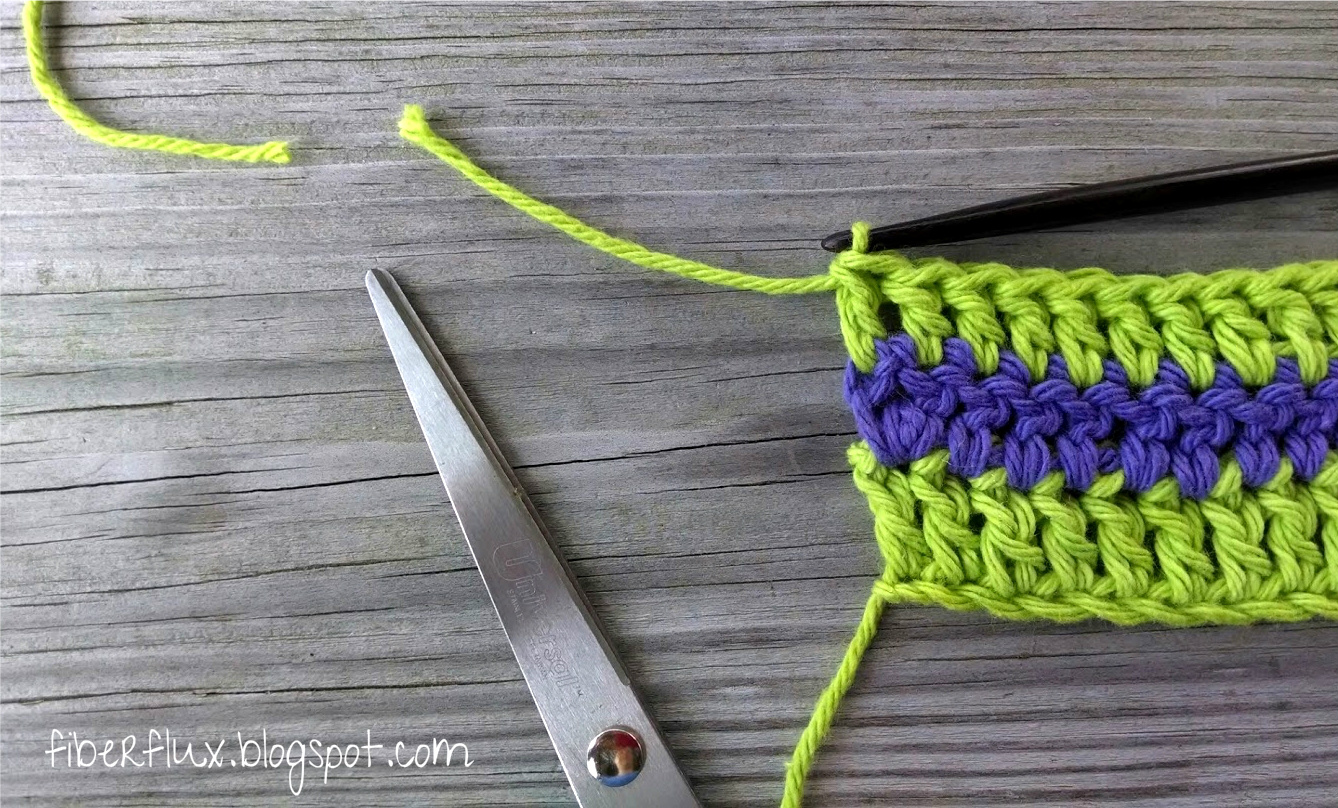
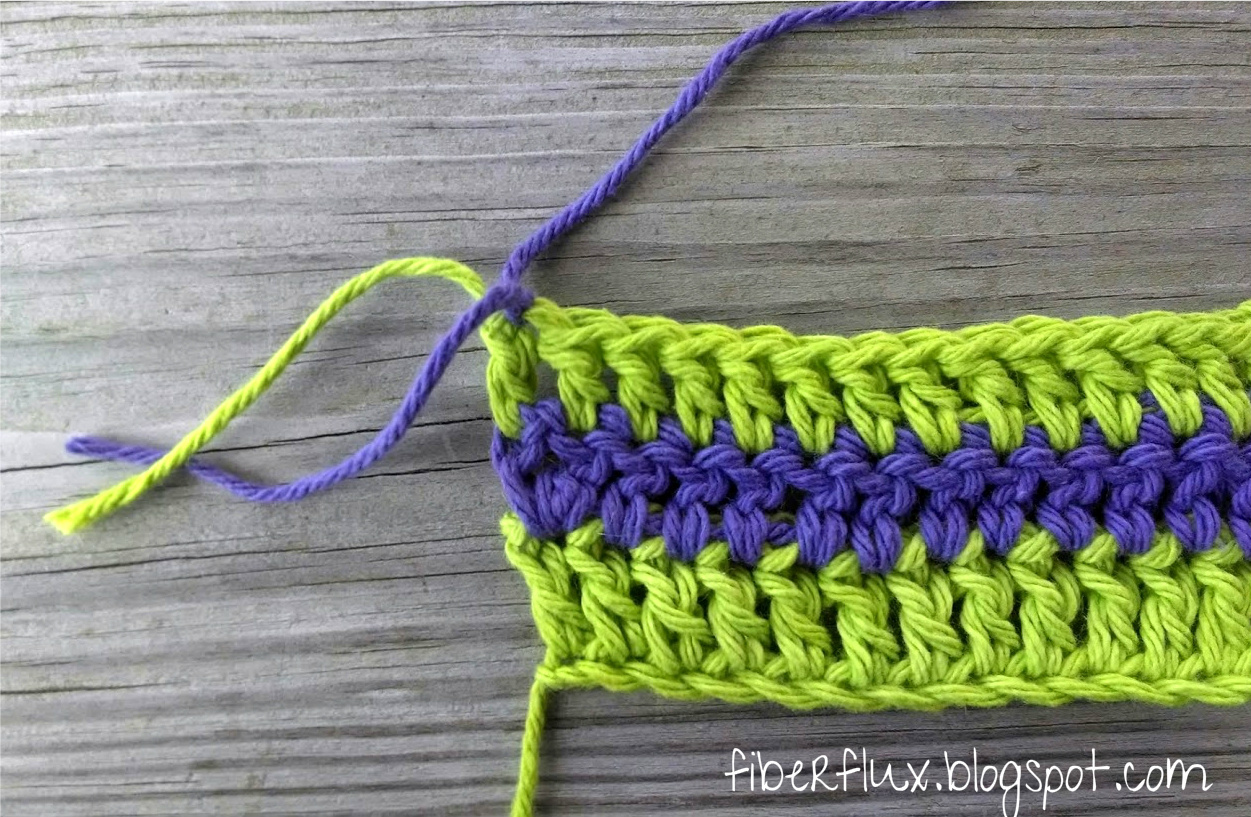
To start a new row in a different color, finish the end of your current row,
Next, snip the yarn…I like a tail that is neither too long or too short. If it is too long it becomes cumbersome and way too much to weave in, if too short, it gets a little fiddly trying to work with a teeny little tail.
Pull the end through the remaining loop and securely fasten.
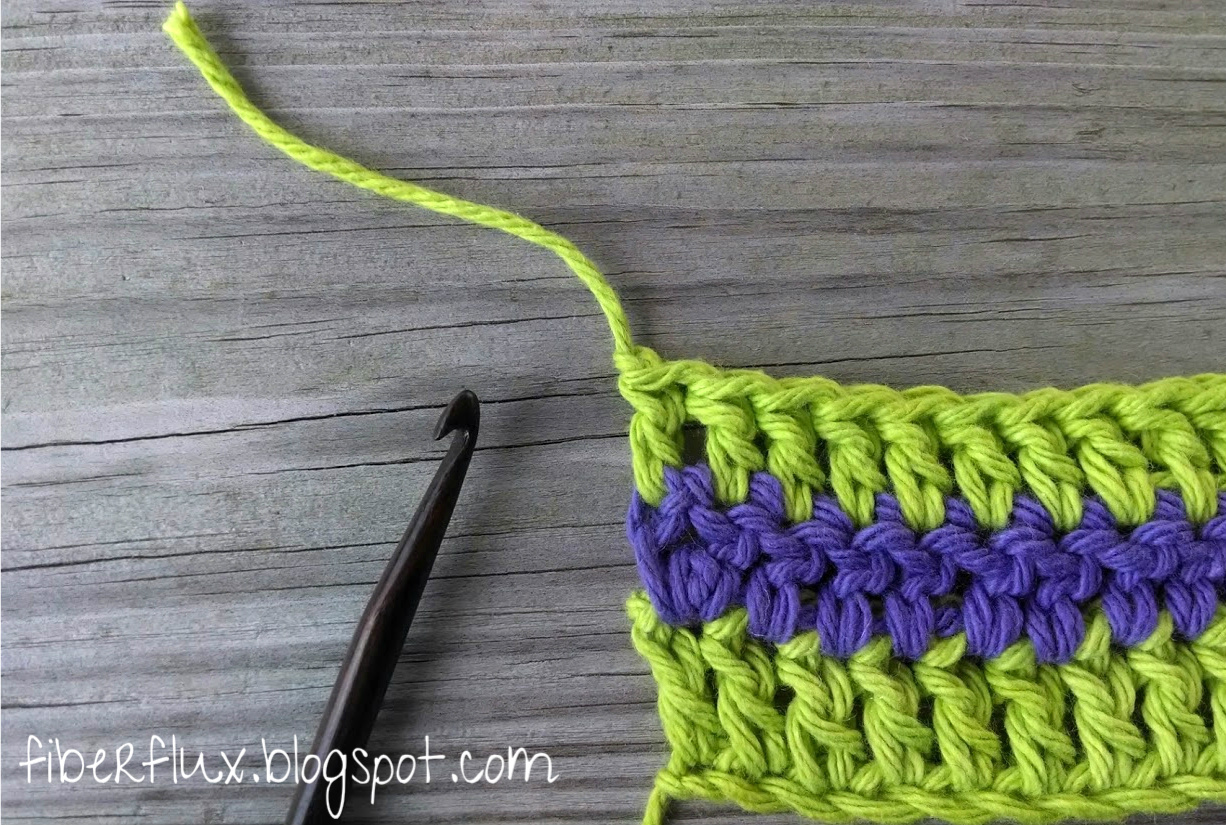
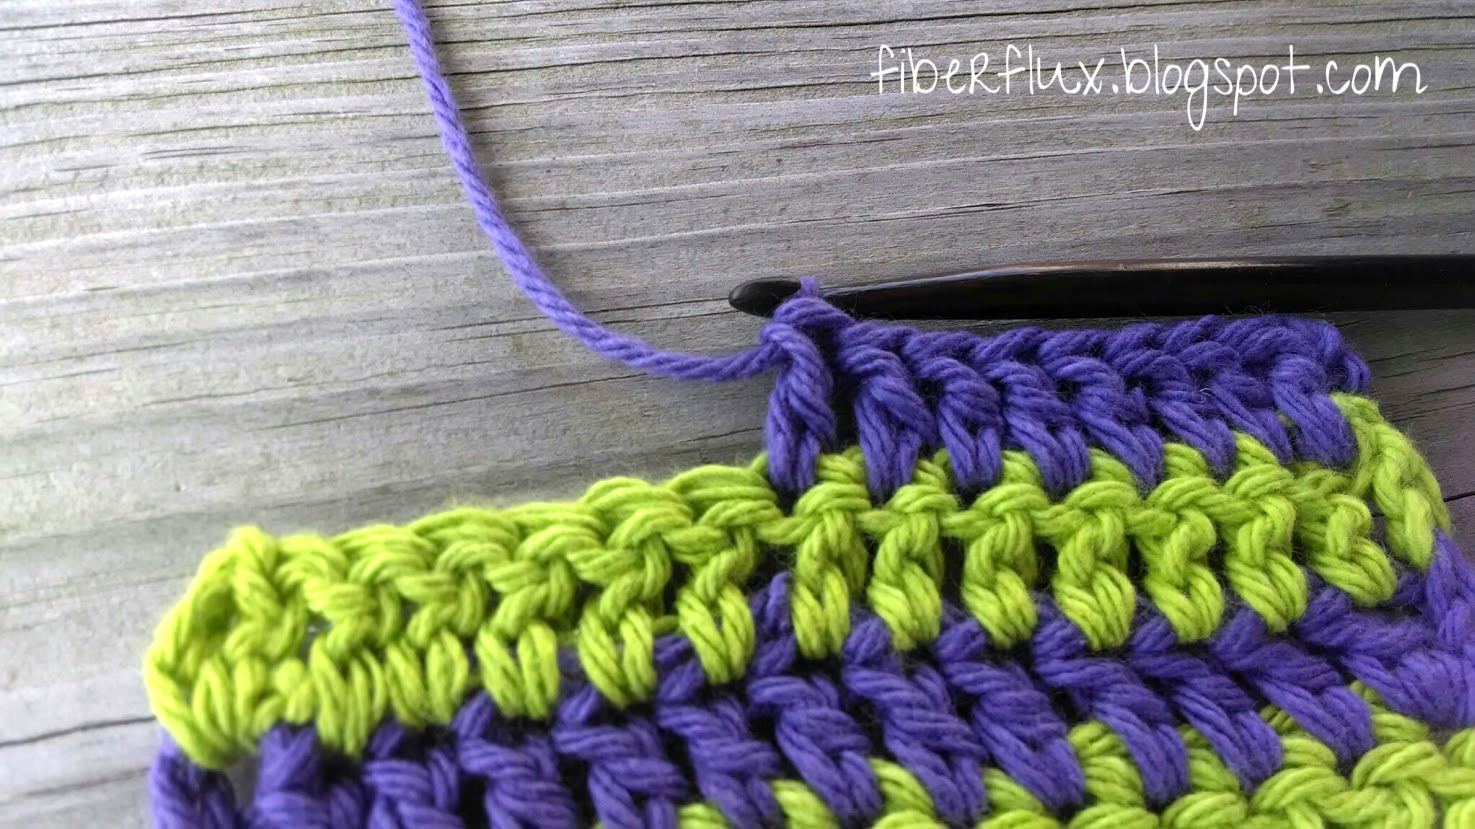
Now you’re ready for the new color…draw the new yarn through as shown below:
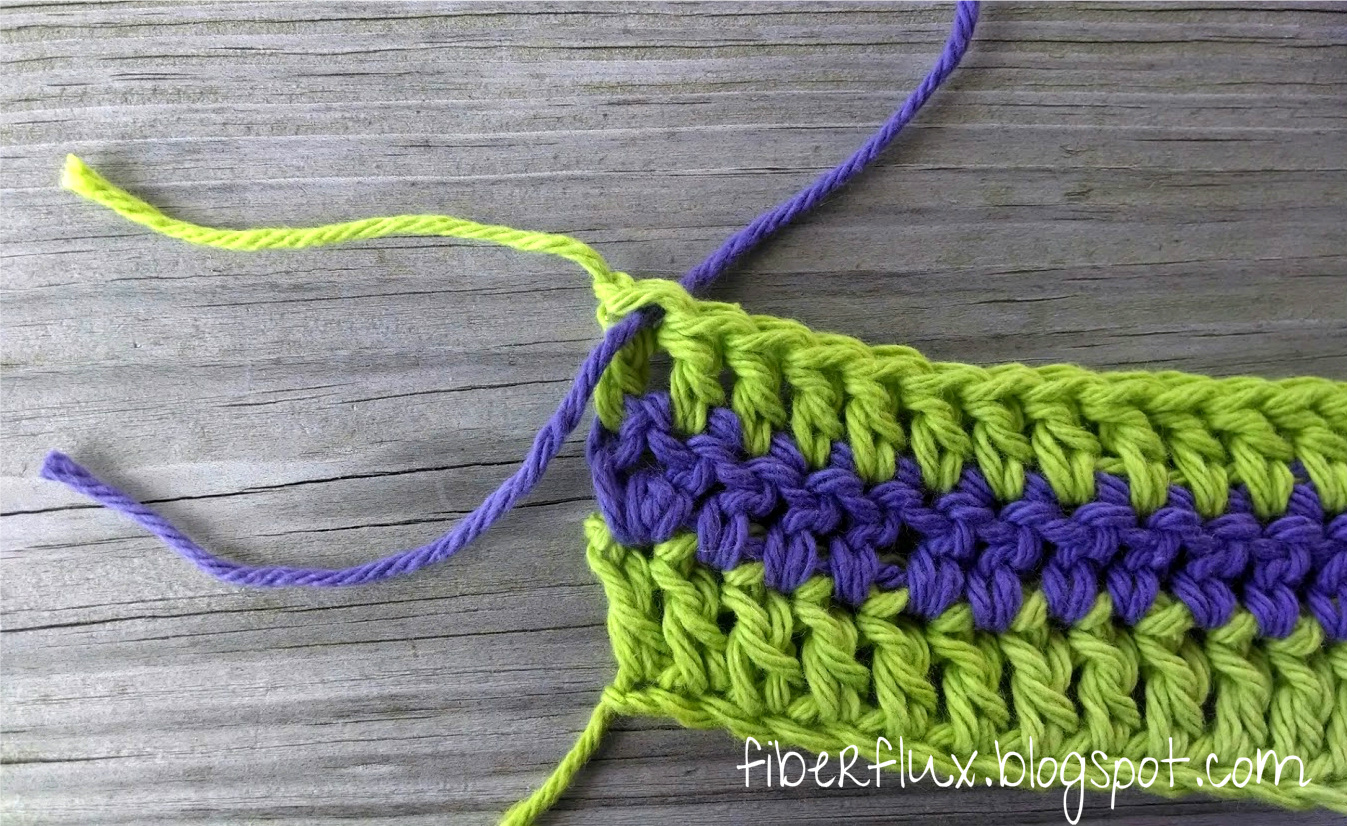
Tie it together and fasten,
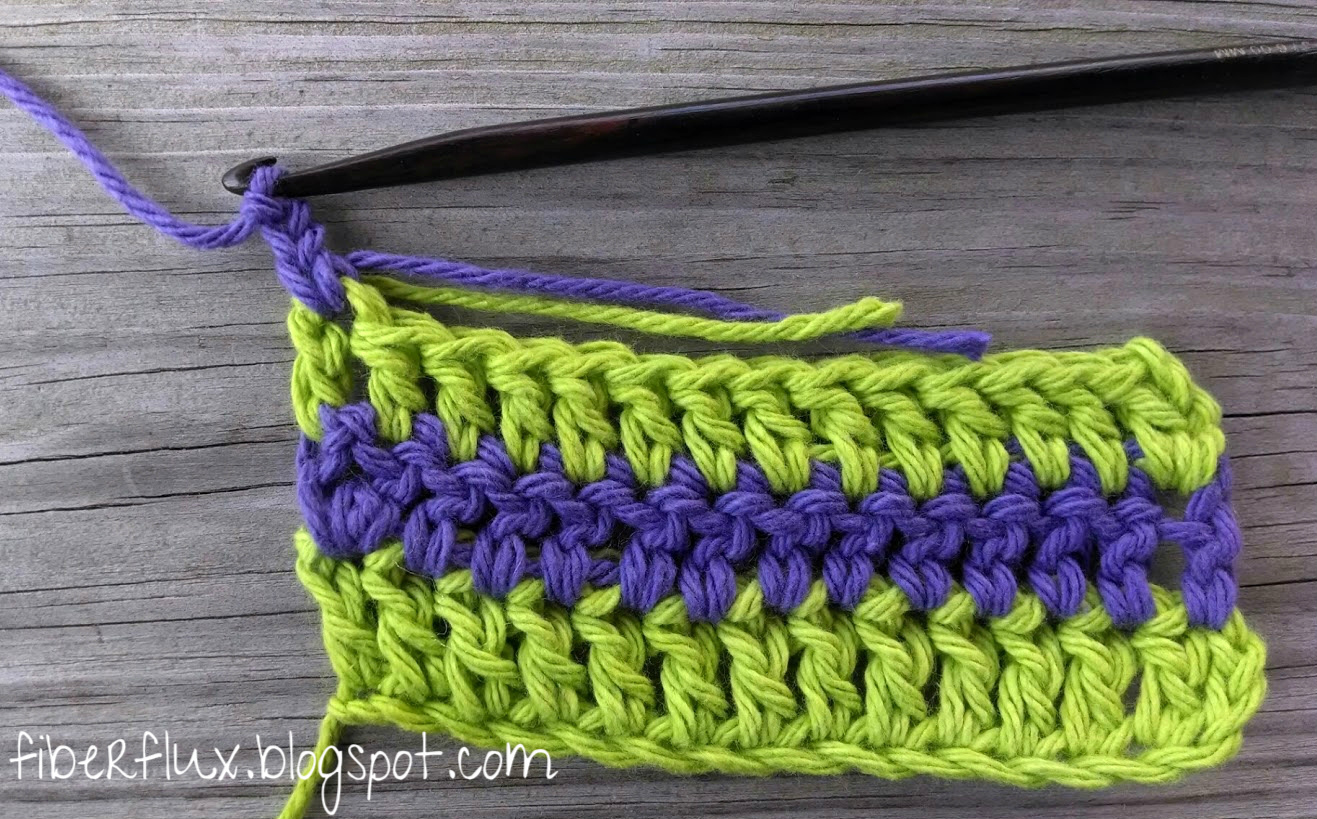
Next, lay your yarn horizontally like I did below, kind of laying on the top edge of the row. Work your turning chain without the tails at this point, just keep them laying on top as shown below.
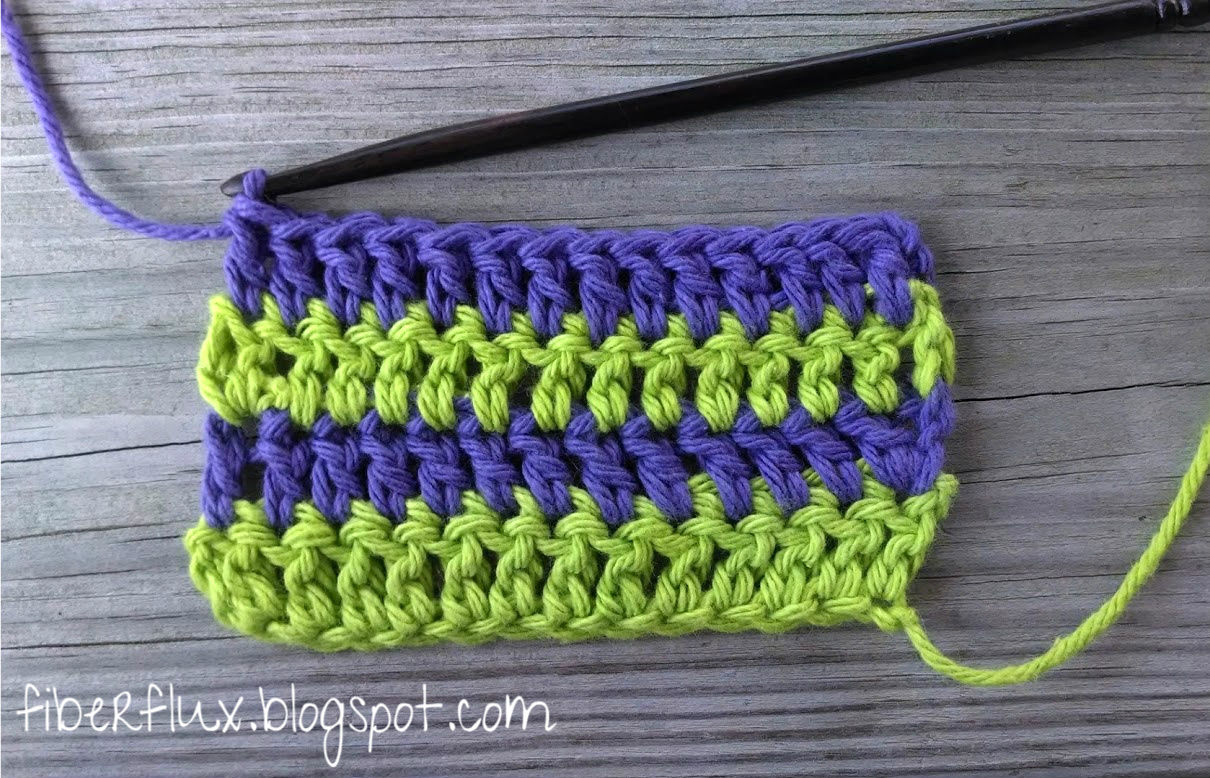
(For this particular swatch, I did a turning chain of 3 and made rows of double crochet stitches)
Turn your work and work your first stitch. Be sure when inserting the hook, you are also incorporating the two tails when you make your stitch…this is how you’ll weave in as you work.
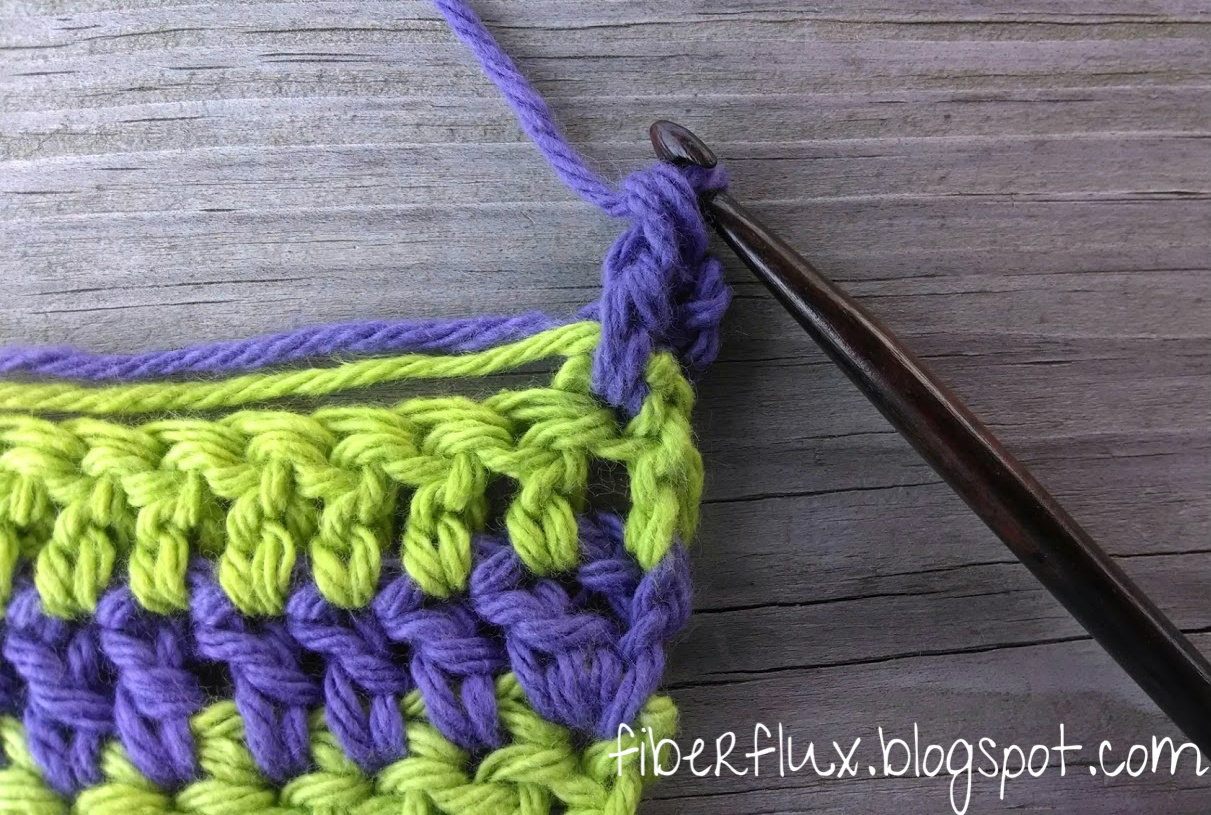
Keep working stitches across the row, always incorporating the tails when you insert the hook into the work.
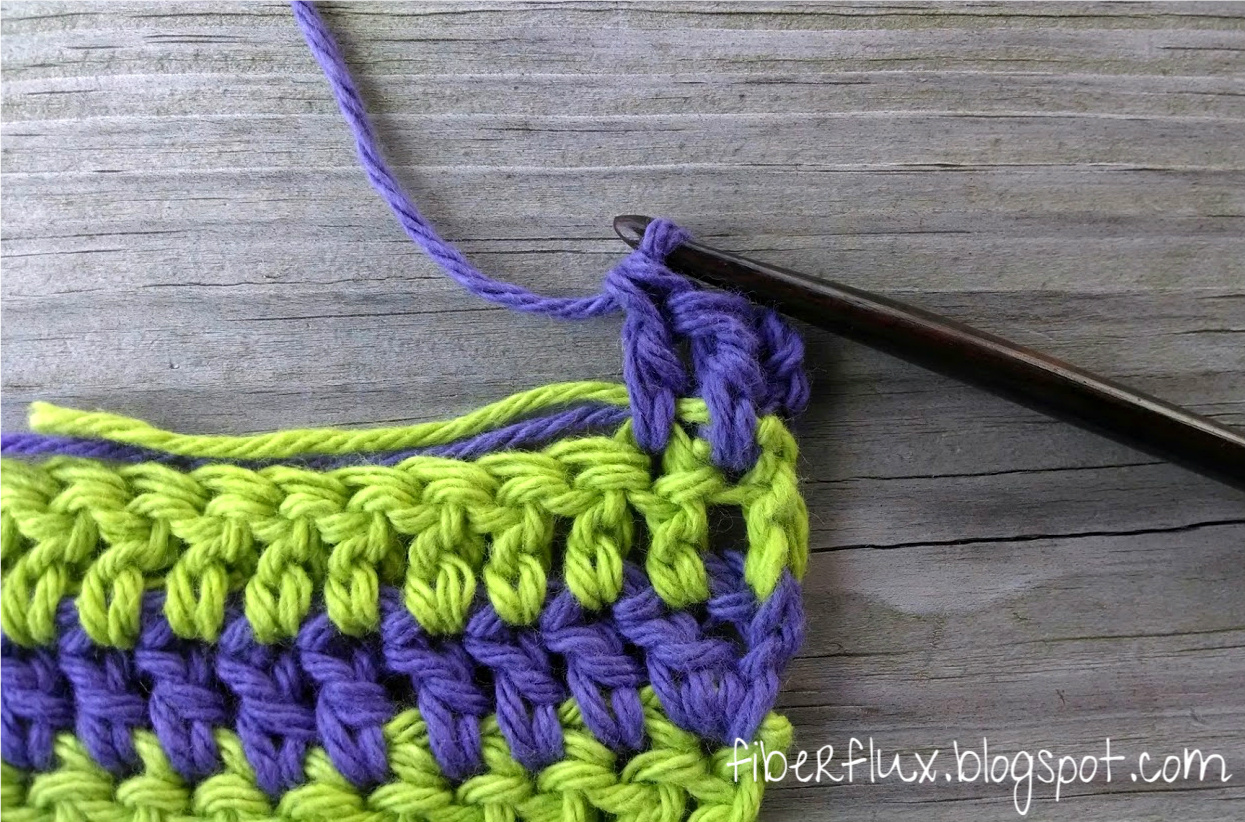
After working the row some, you can trim as you go too,

I like to flip it over and make my snip,

Now flip the work back over and give it a super gentle tug…the tails will disappear into your work!
That’s it! When you reach the end of row again, just keep repeating these steps for a clean-looking, well-crafted project. Happy crocheting!
For more fun projects and pretty patterns, be sure to follow us on Facebook, Twitter, and Pinterest for the latest updates!
)


Thank you for this easy and simple trick.
So beautiful pictures and useful tutorial 🙂 Thanks for sharing!
Thank you and so very nice to hear from you too! 🙂
Hey
I follow your blog for a while and really like it!
I also have a blog, mainly about crochet stuff!
If you like to check out:
http://lanathewoolydog.wordpress.com/
Greets
Marli
Thanks for sharing! Very cute project you have shared! Happy crocheting!
Do you ever have problems with the tails working their way out? I have had this happen with blankets when I do my ends this way. Any advice is appreciated!
Yes, sometimes you get one that is particularly stubborn! What I'll do is give a gentle tug again, trim it and pull on the row a bit, normally it will disappear…once in a while I'll have to do it again. 🙂
Could this work for granny squares too?
Yes! I do the same for granny squares too. 🙂
Thank you so much from me also! This has always been a problem for me and now you make it so simple!!
Great! So happy I could help. 🙂
I have always weaved them in with the tapestry needle. Your method is brilliant. I'm just thinking to myself, DUH!
Thanks so much!