
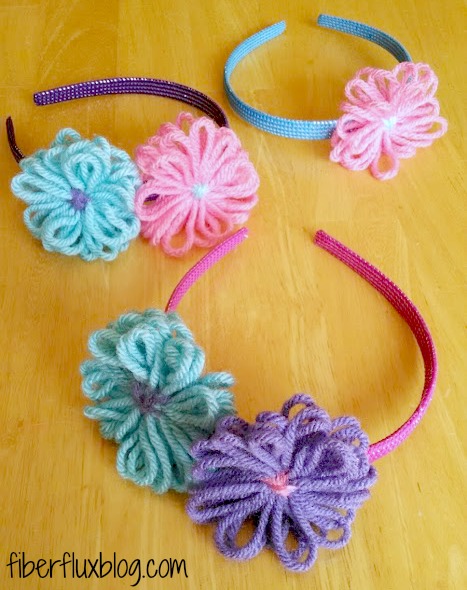
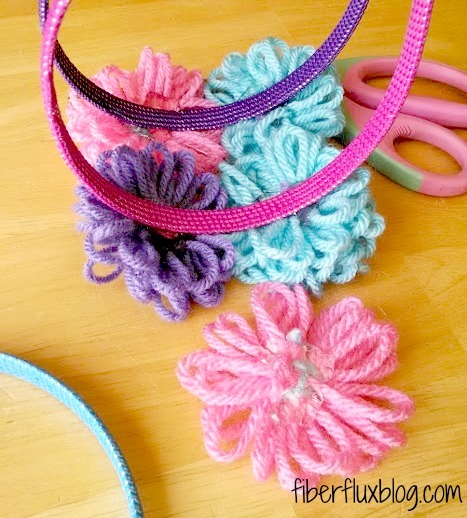
These cute little headbands are a fun project to do with kids and are full of yarny goodness. The flowers are easily made with a flower loom, and attached to store bought headbands.
Here’s what you’ll need:
- Yarn (yarn shown is worsted weight)
- Flower Loom & Loom Tool
- Headbands
- Scraps of Felt or Fleece
- Hot Glue Gun
- Tapestry/Yarn Needle
- Scissors
Here’s how to make a Loom Flower Garland:
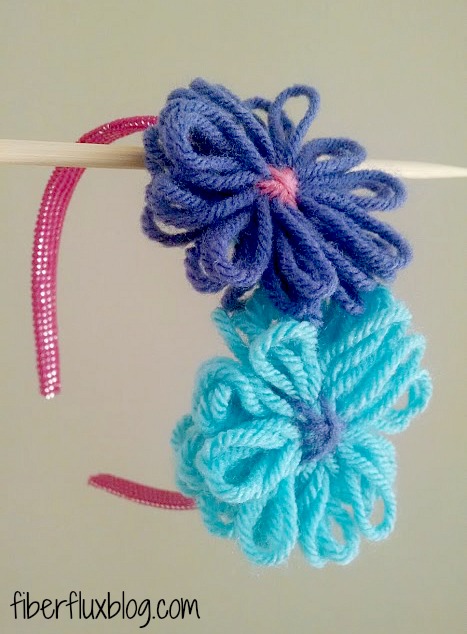
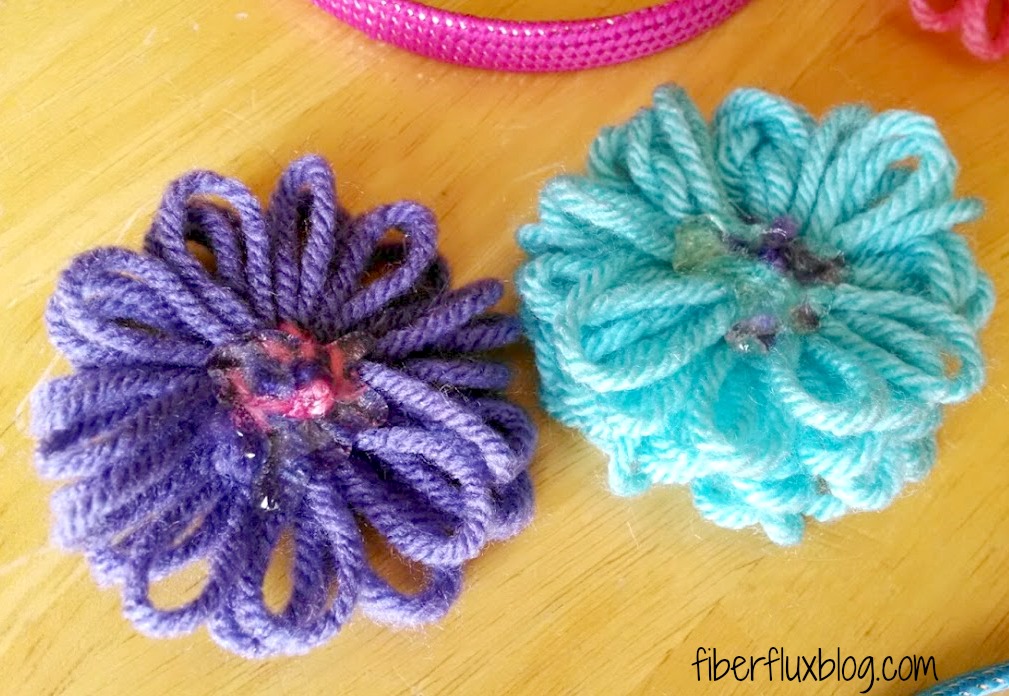
Make as many flowers as you need using a flower loom. I made a couple of headbands with two flowers and one headband with one flower.
Click below to watch a helpful video to make a loom flower step by step:
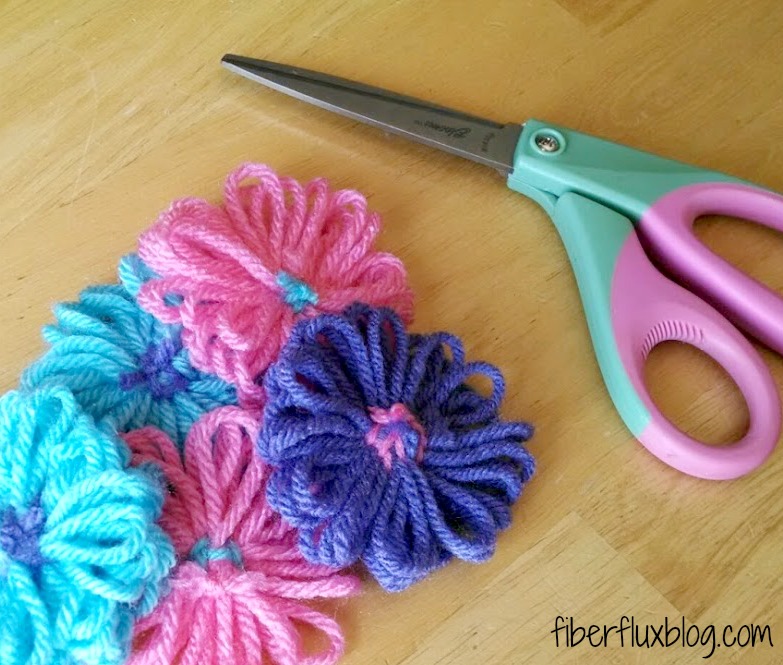
Next, trim off the yarn tails from the backs of each flower,
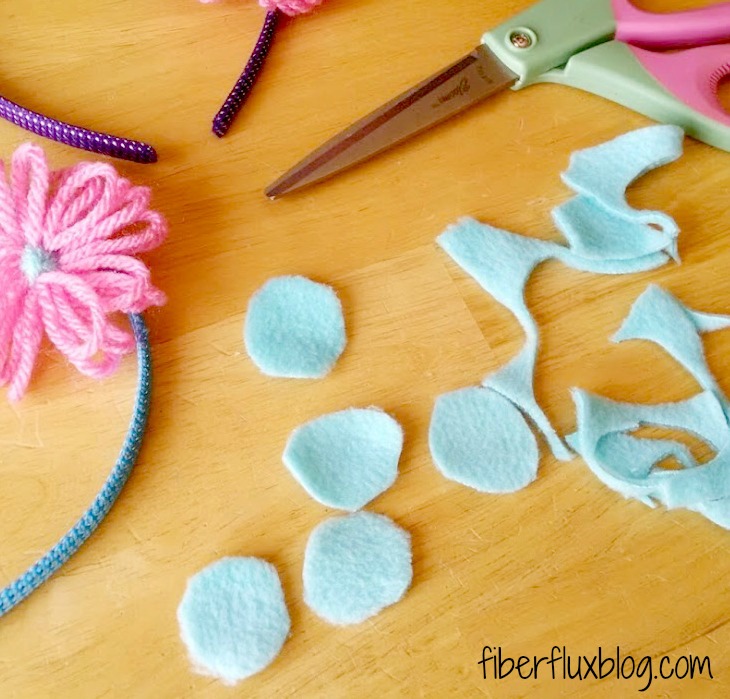
Using your fleece/felt scraps, cut a one inch circle for each flower. You can make a template, or free hand it like I did,
Squirt some glue to the backs of the flowers,
And stick the headbands right on. You may have to prop them up on something to hold in place.
To finish off the headbands, glue a circle to the back of each flower. This will make it more comfortable to wear and hide the mechanics of the headband/glue. Be sure to let dry completely before moving and wearing. All finished!

For more fun projects and pretty patterns, be sure to follow Fiber Flux on Google+, Facebook, Twitter, and Pinterest for the latest updates!
(Affiliate Links)


This comment has been removed by a blog administrator.
This comment has been removed by a blog administrator.