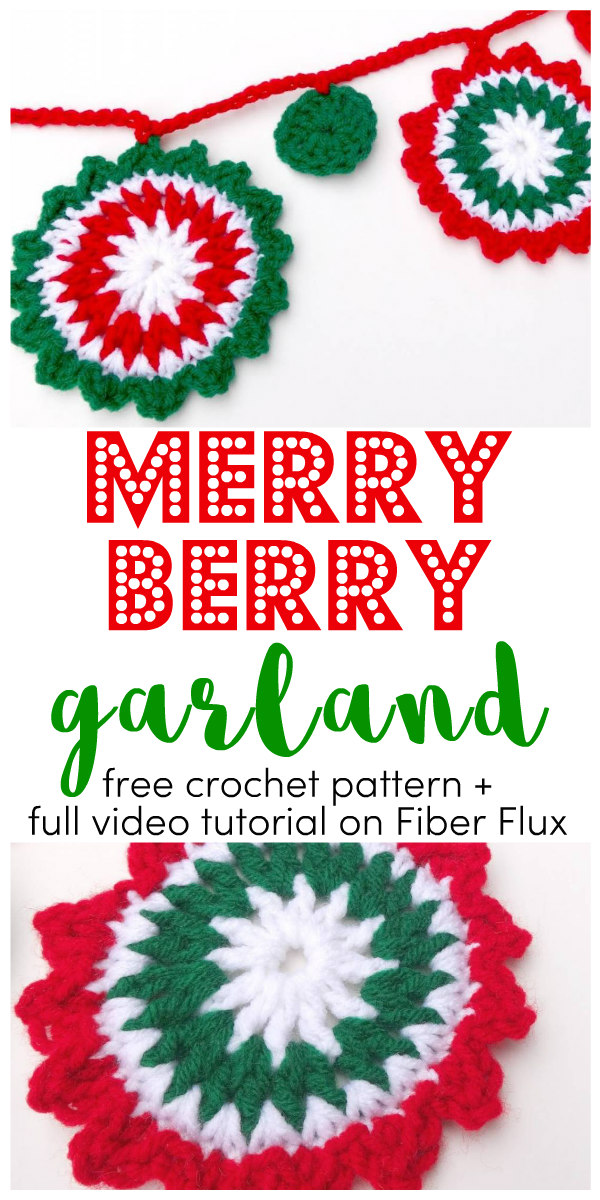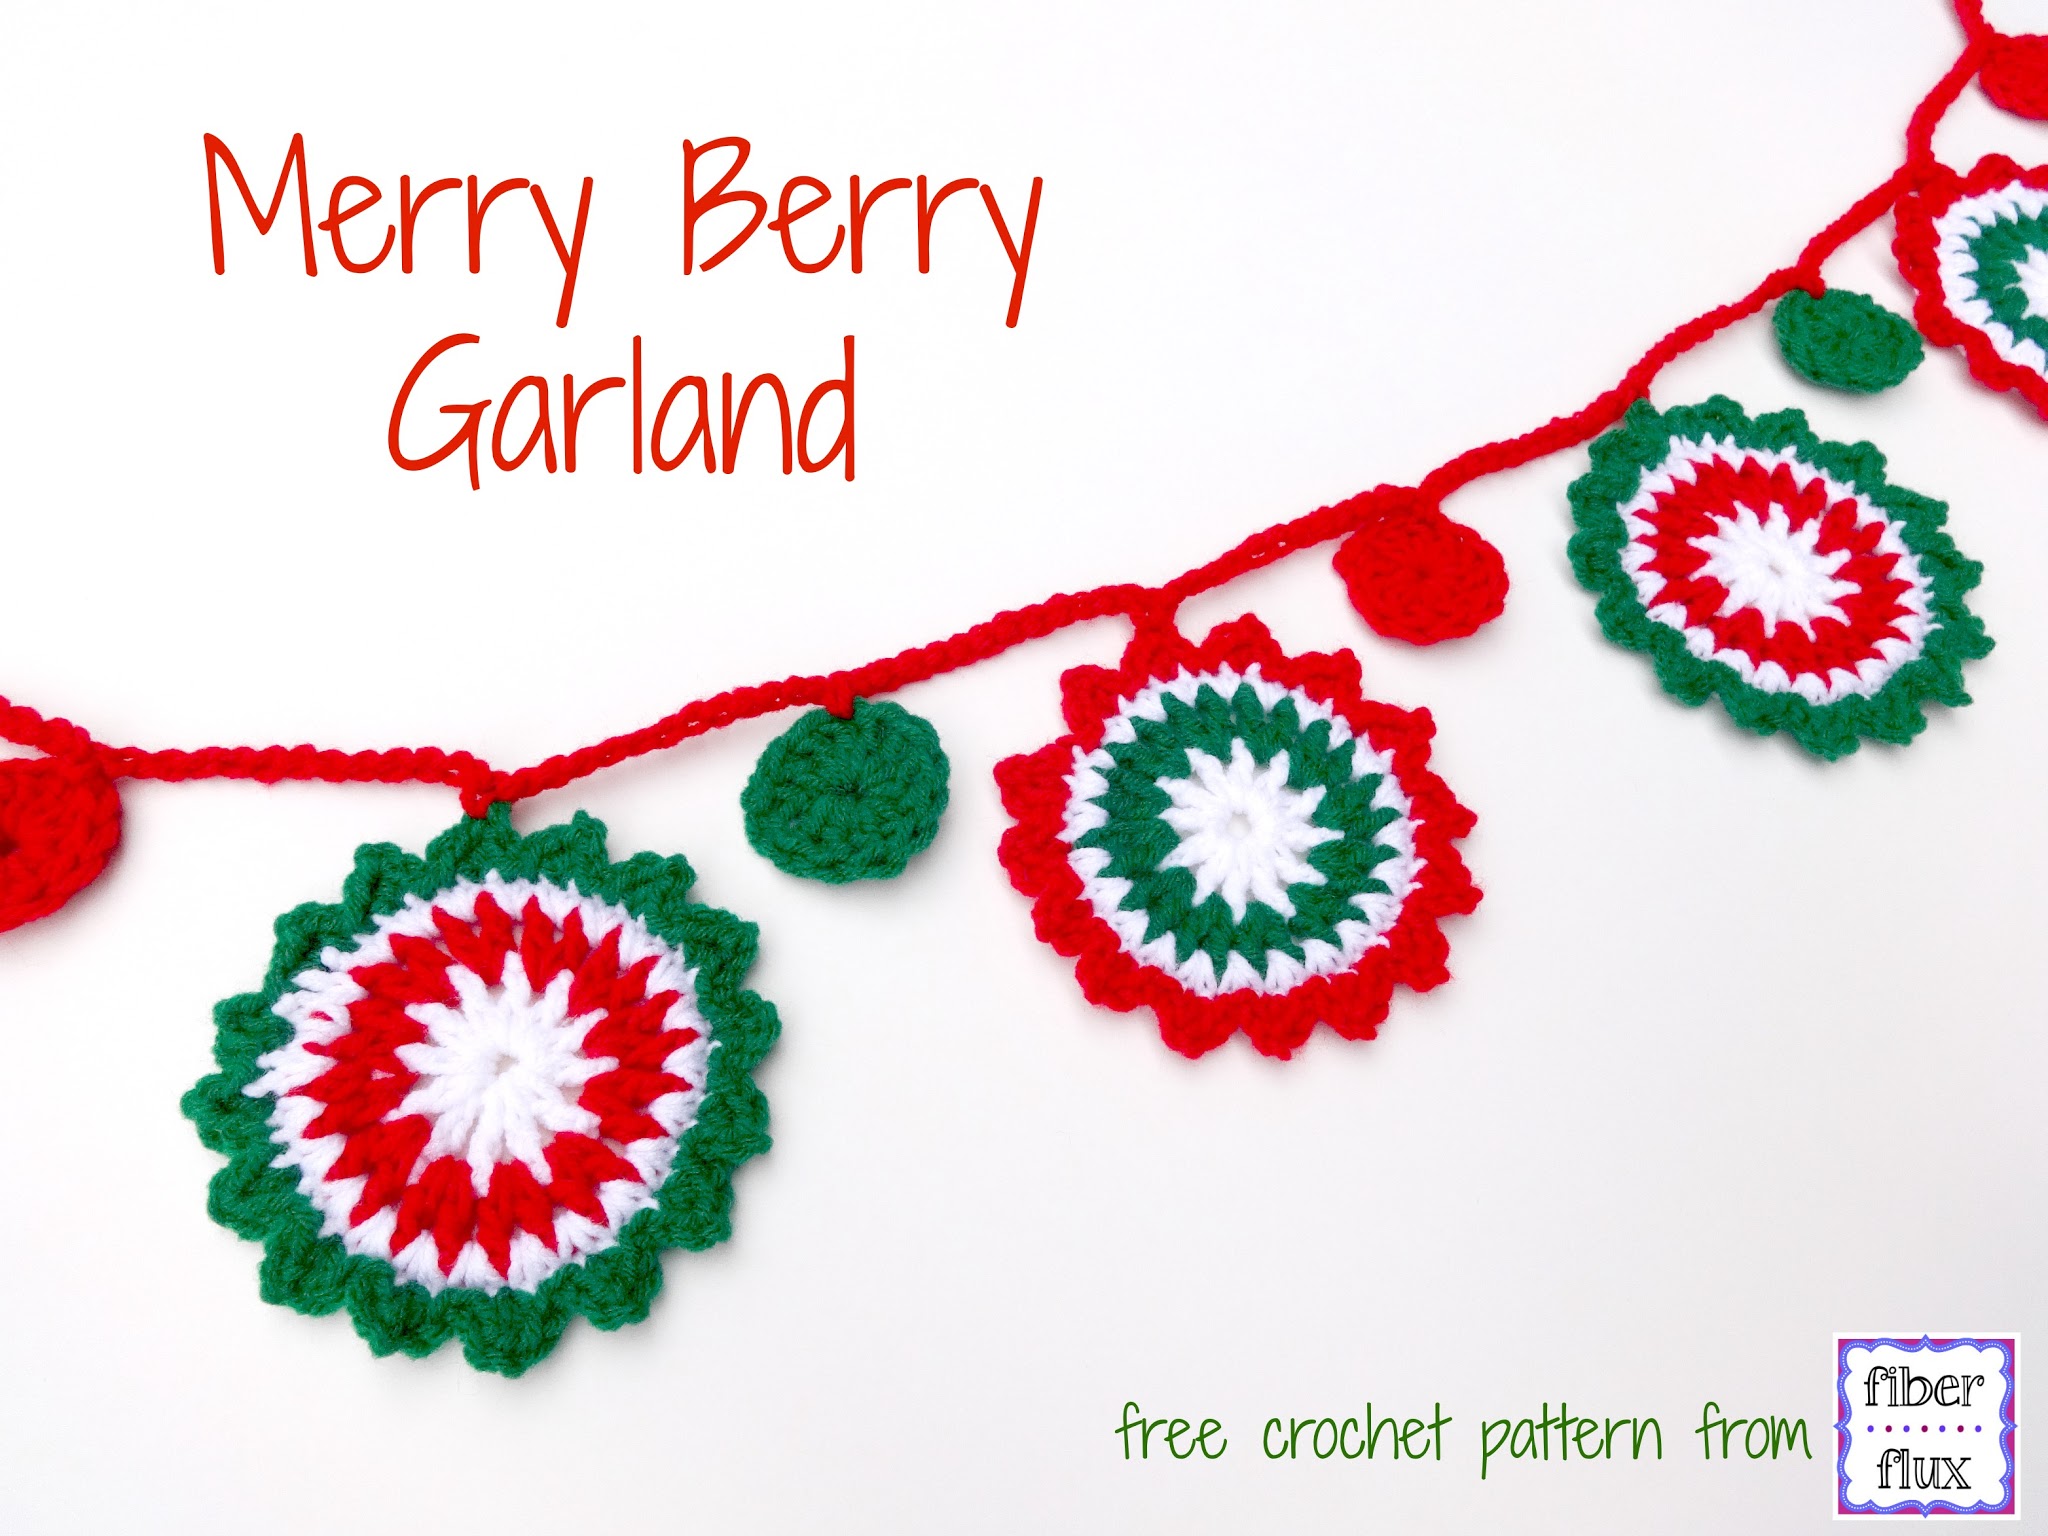
The Merry Berry Crochet Garland is full of holiday cheer! This easy and pretty crochet pattern makes a lovely addition to the home. I made mine for a window, but you can make an extra long one for a tree, mantel, or even a mirror.
This is part of the Merry Berry collection:
Materials:
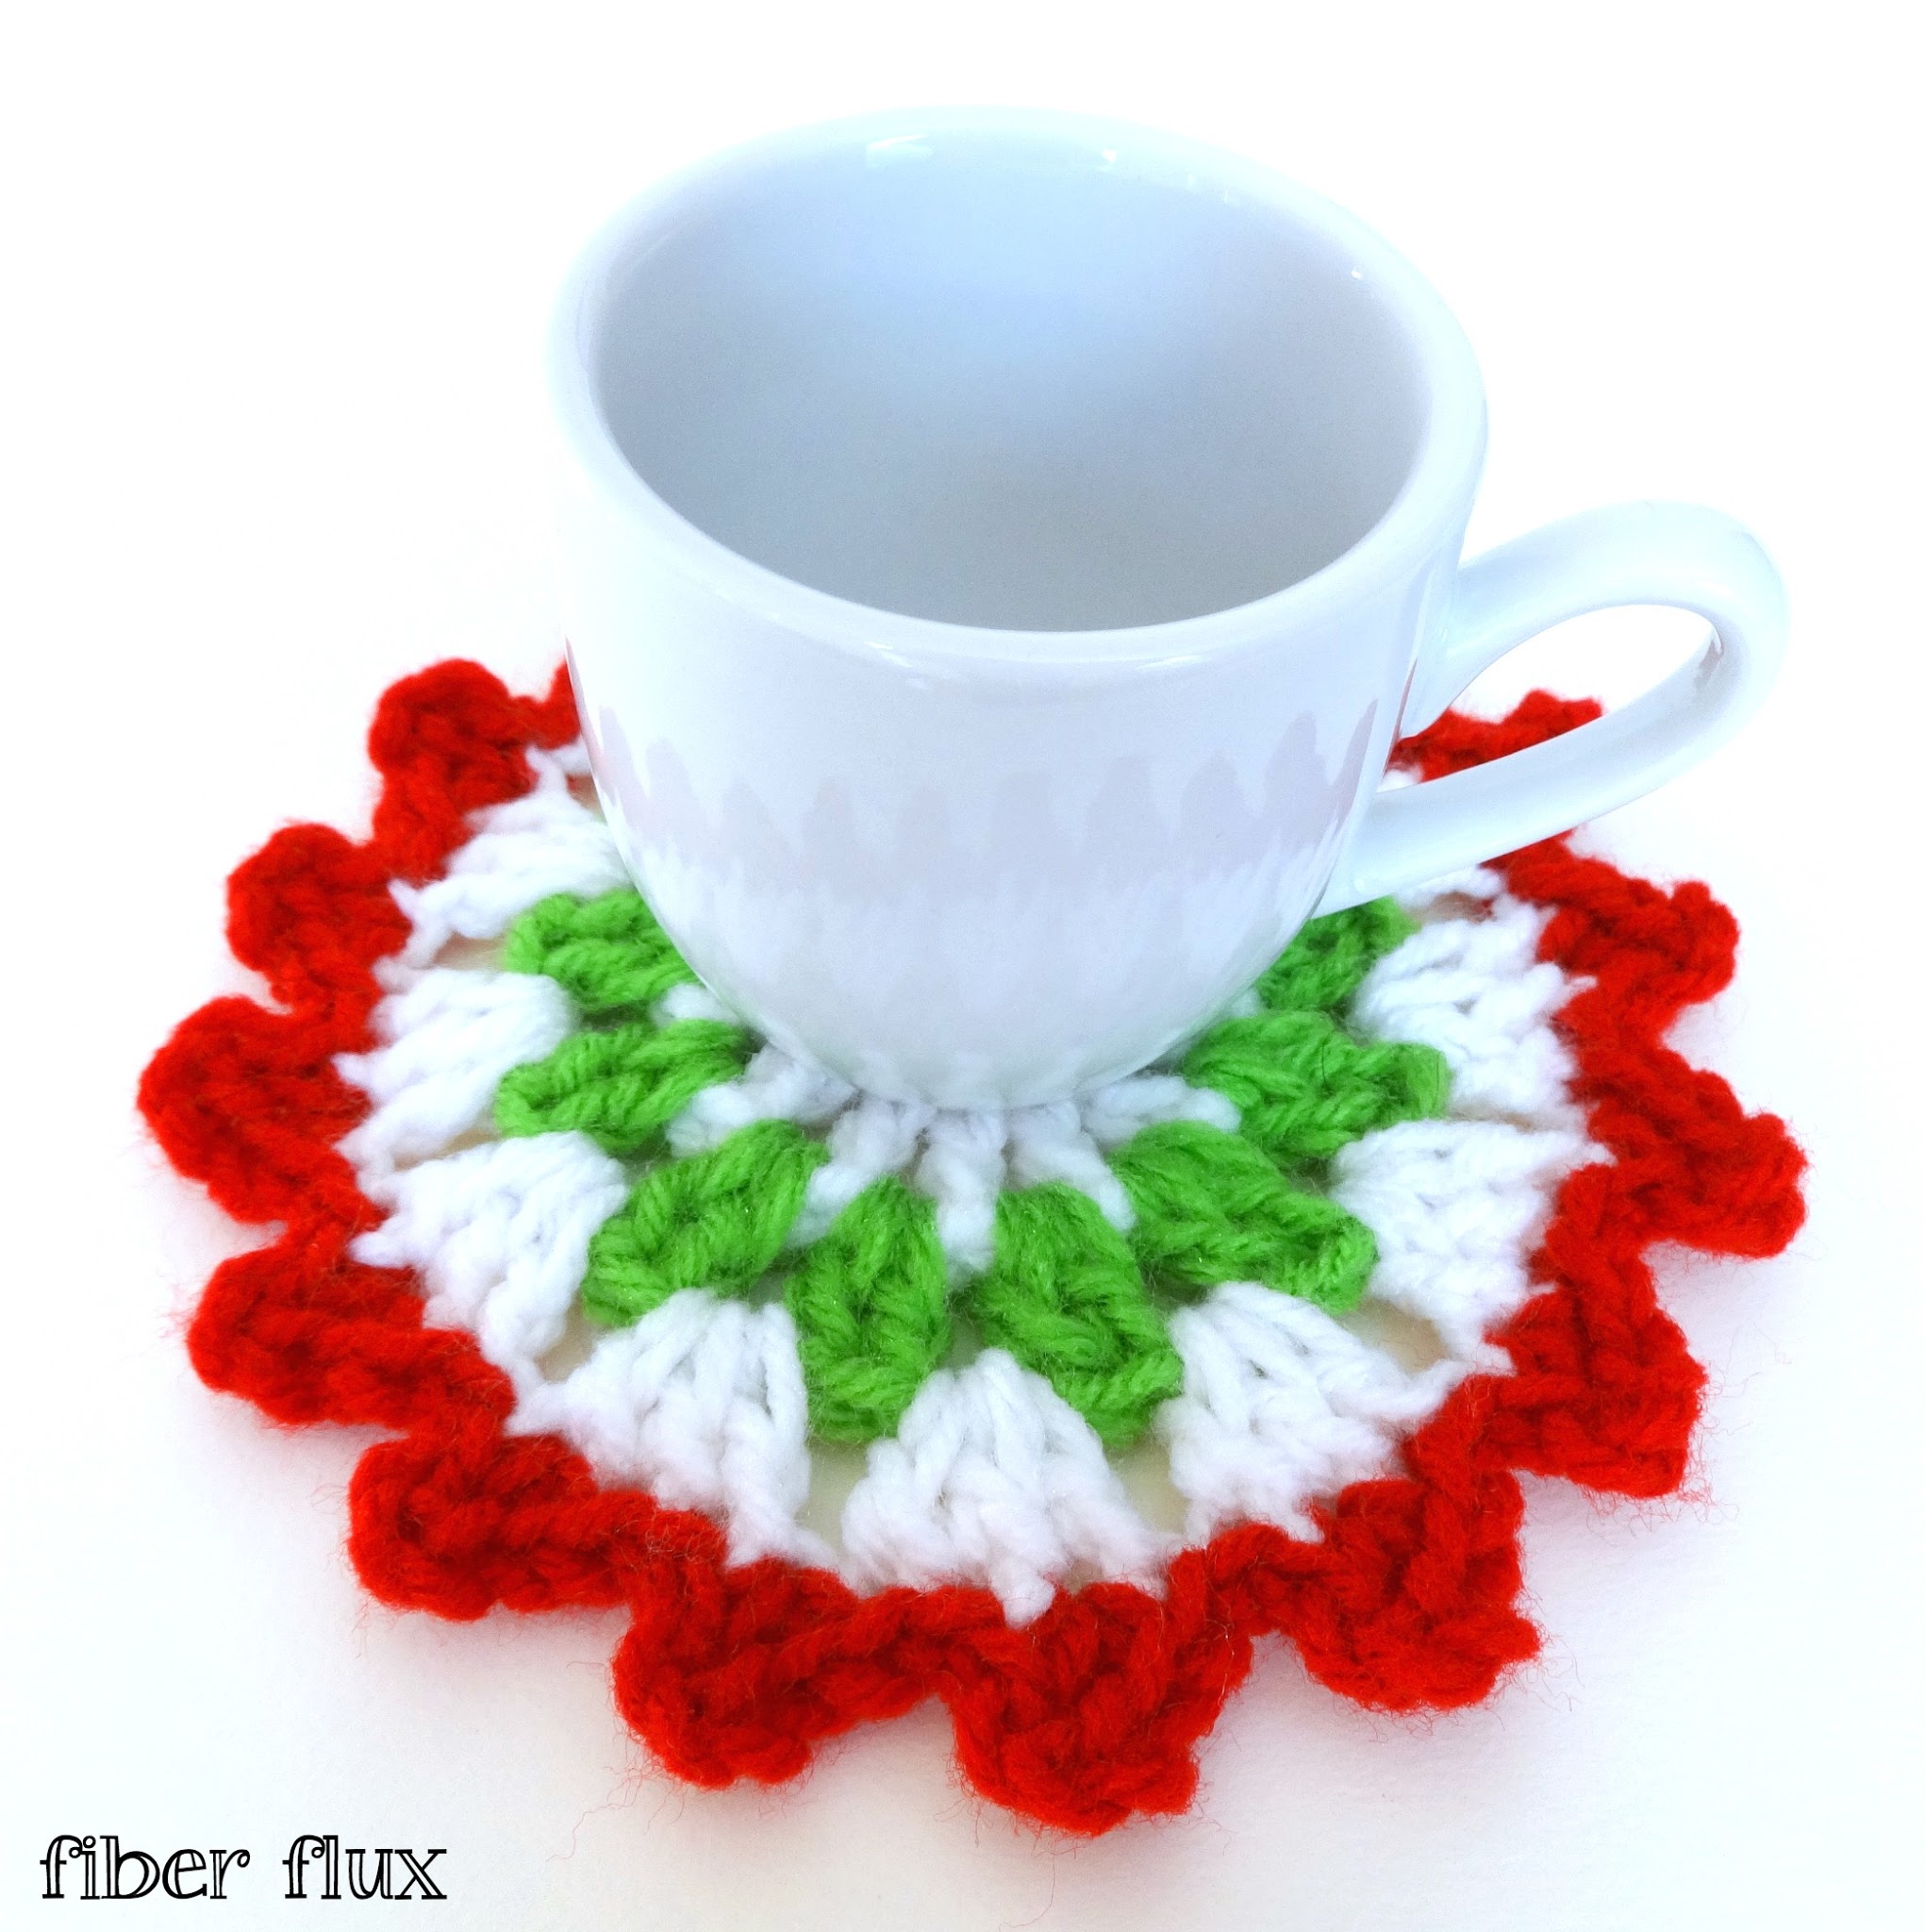
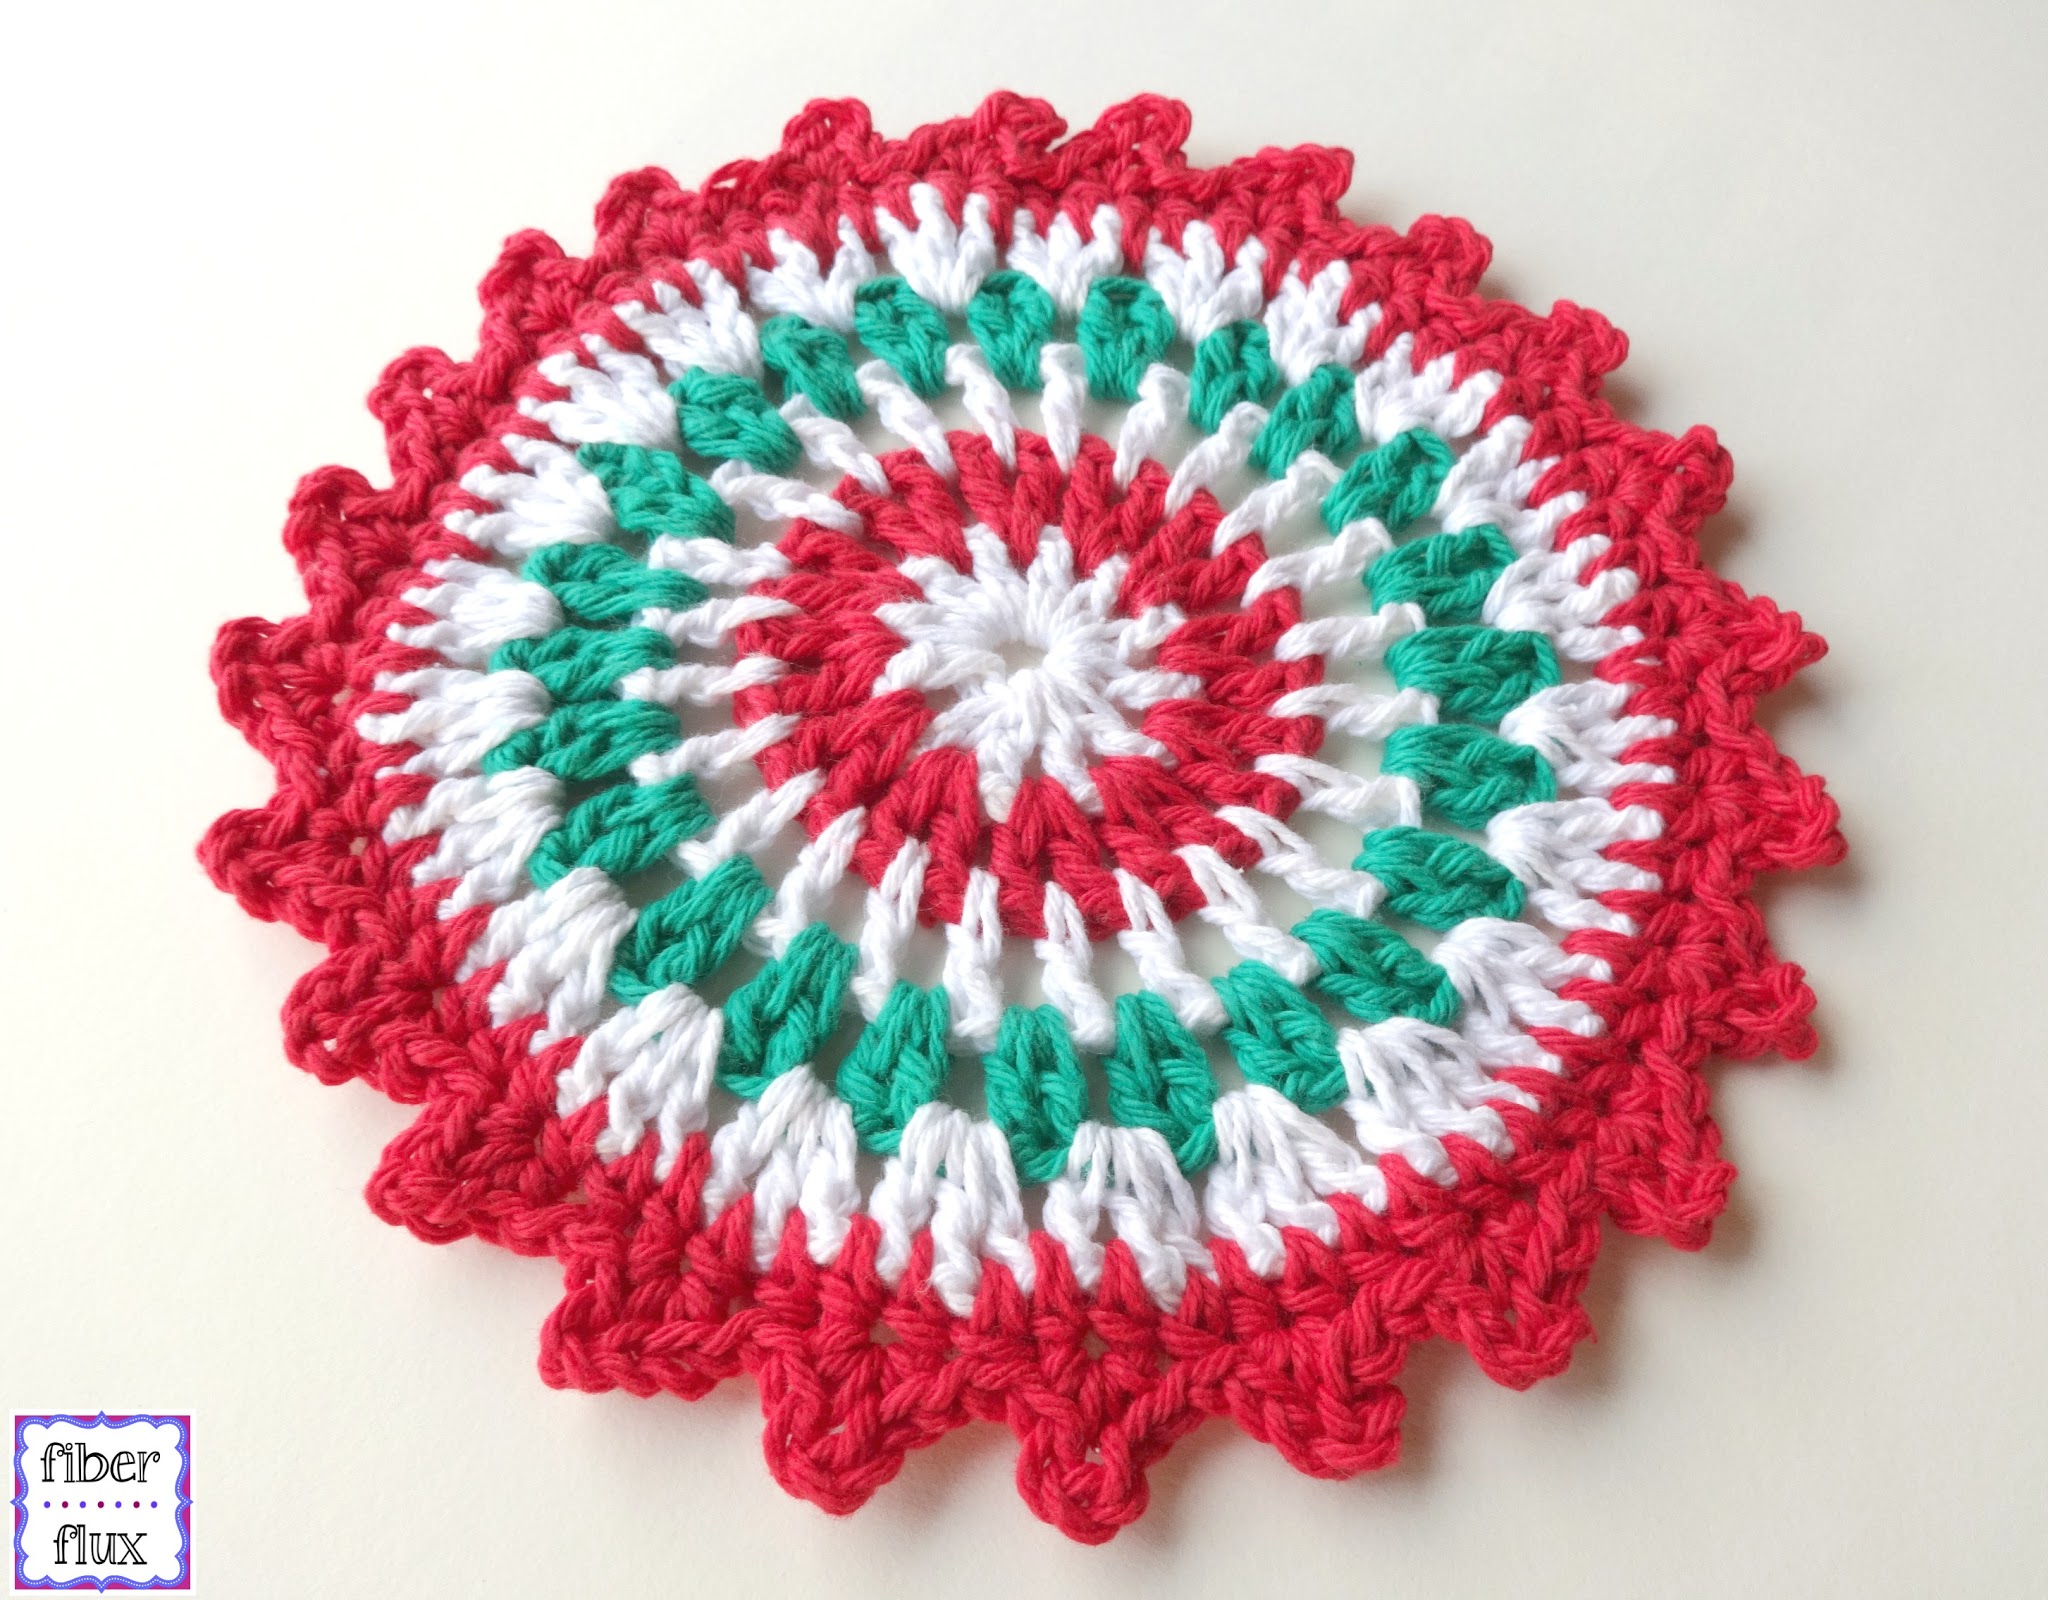
- Worsted weight yarn in colors of your choice (yarn shown is Red Heart Super Saver in “Cherry Red” “Paddy Green” and “White”
- J (6.0 mm) crochet hook
- Tapestry needle
- Scissors
Sizing:
- Larger circles are 5 inches across
- Smaller circles are 2 inches across
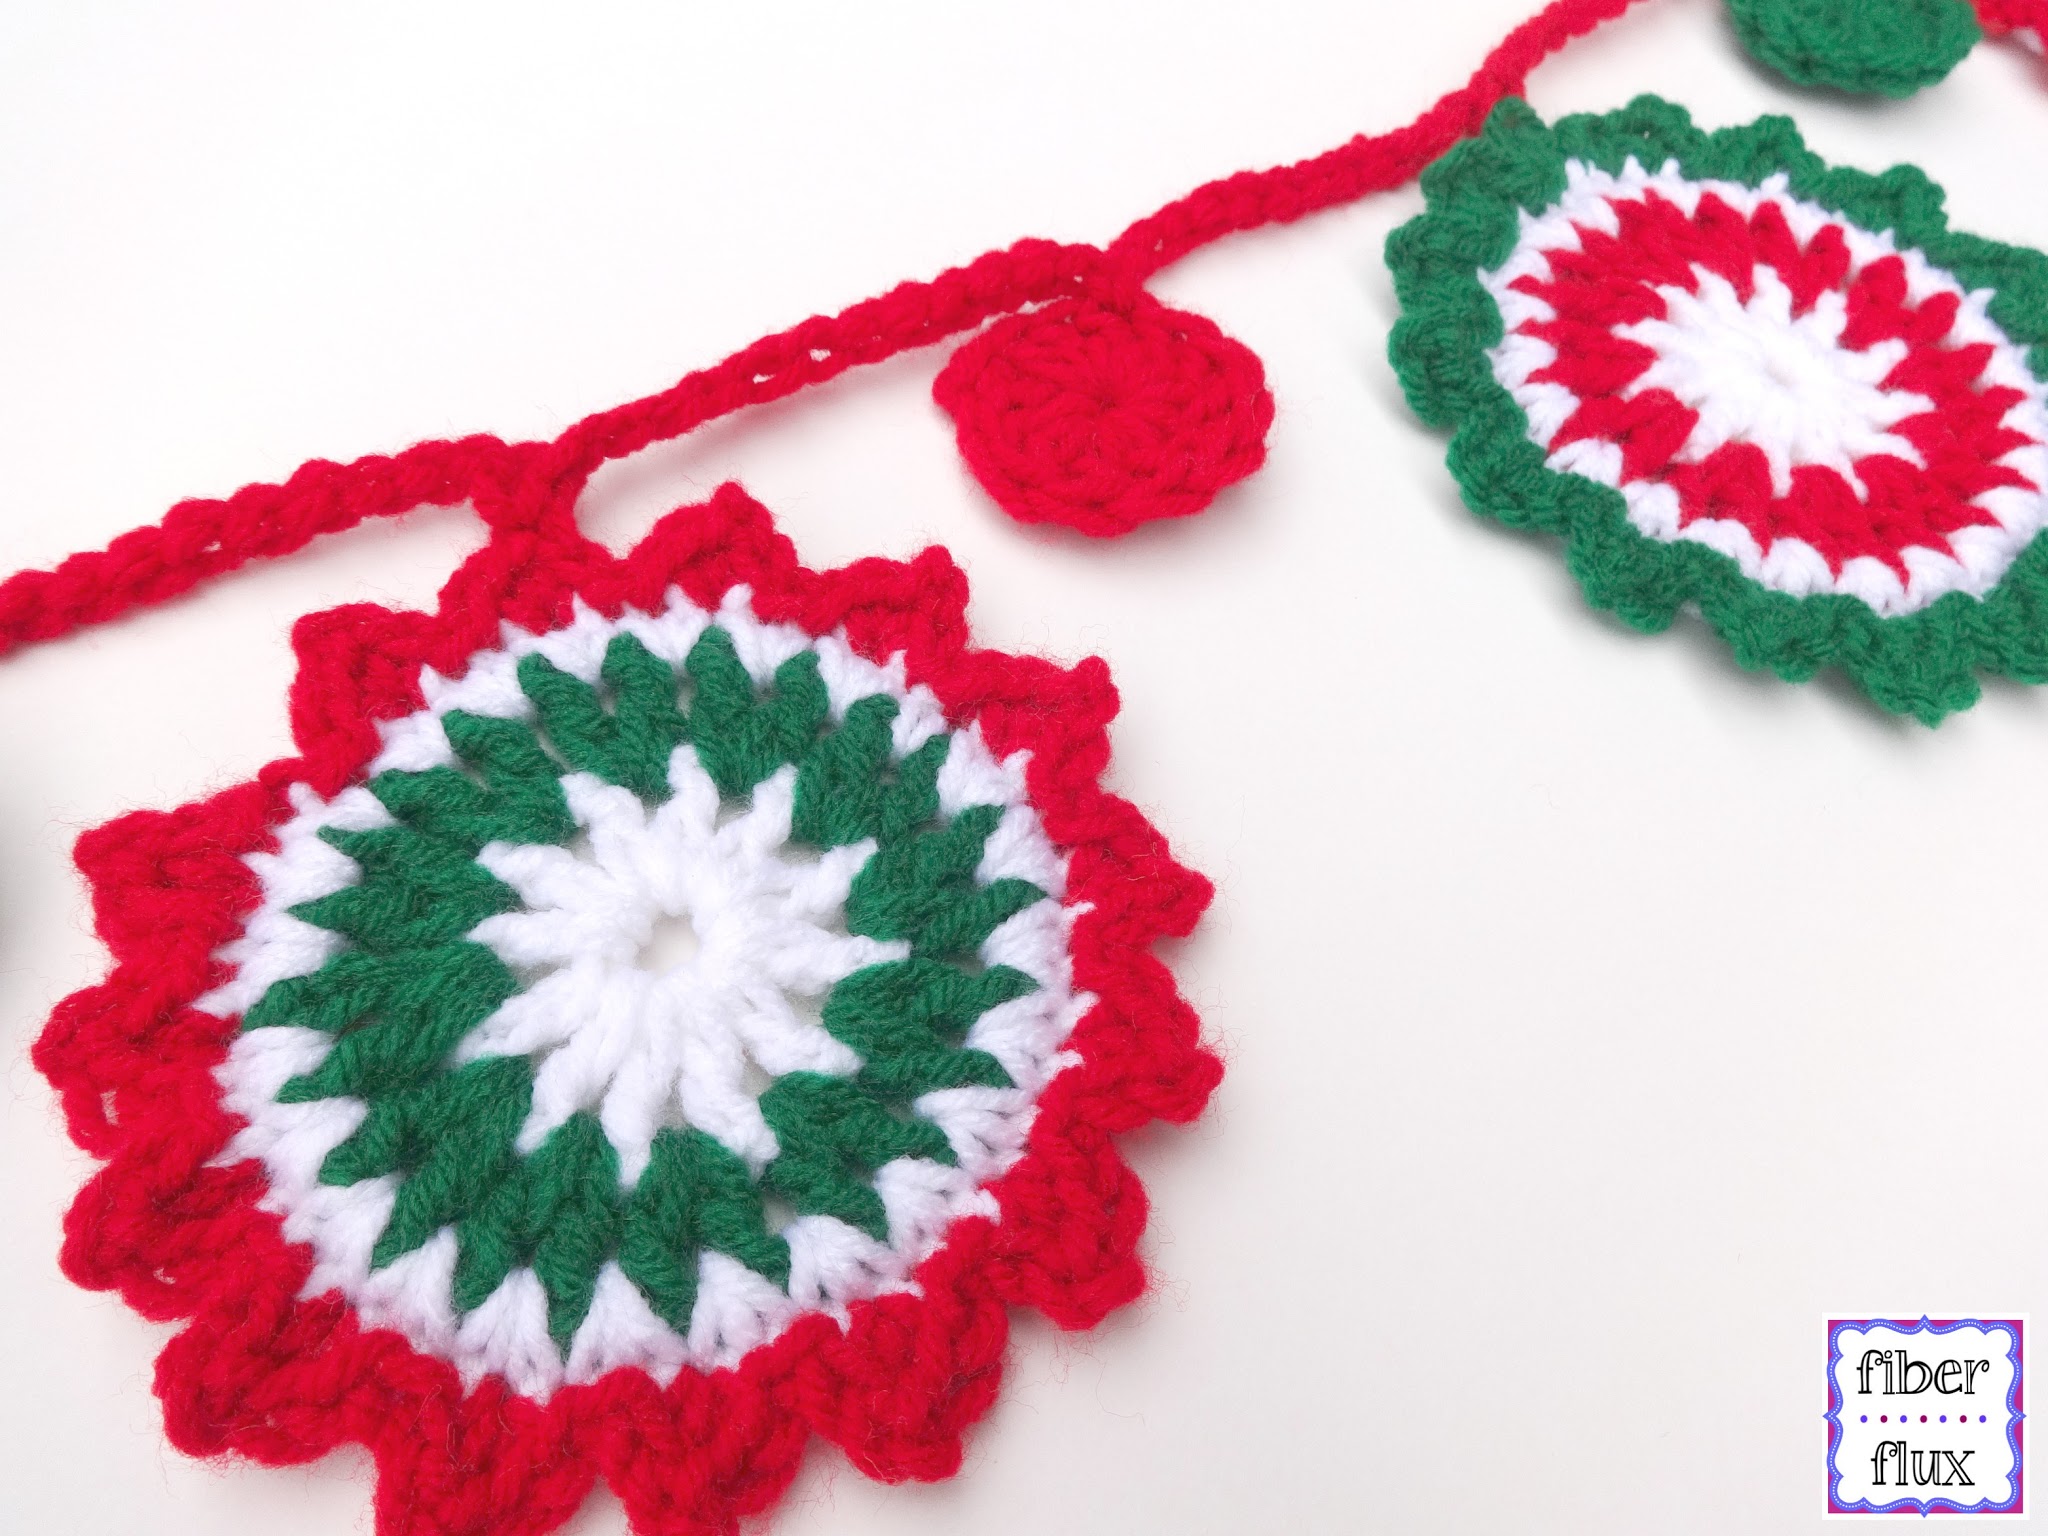
Instructions for Larger Circles:
- Ch 4 and join into a ring with a slip stitch (Work this in white).
- Round 1 (white yarn): ch 4 (counts as a dc), then (dc into center of ring, chain 1) 11 times. Join to close with a slip stitch.
- Round 2 (red or green yarn): Chain 4 and work a dc in the same space. Chain 1, then work two double crochet in the next (chain 1) space. Keep doing this all the way around, working 2 dc, ch 1 in each space. Join to close round with a slip stitch.
- Round 3 (white yarn): Chain 2, then work a hdc in the same space. In the next space (in between each dc post), work 2 hdc. Repeat around circle, then join to close with a slip stitch.
- Round 4 (red or green yarn): Work a sl st into the first st, a sl st into the next st, then in the next st (sc, ch 2, sc). Repeat this sequence all the way around the circle. Fasten off.
Instructions for Smaller Circles:
- Ch 4 and join into a ring with a slip stitch (Work this in red or green).
- Round 1: ch 4 (counts as a dc), then dc into center of ring 11 times.
- Join to close with a slip stitch.
Finishing & Assembly:
- Weave in all ends.
- Determine how much spacing you’d like in between the circles.
- I found it helpful to lay out all of the circles the way I wanted before beginning.
- The garland shown has 12 chains in between each.
- To begin, chain 12, slide a circle onto your hook and work a sc to add it on.
- Ch 12, then add another circle, ch 12, add another circle and so on.
- Finish up by doing 12 more chains.
Watch a video on how to crochet the Merry Berry Garland stitch by stitch:
Want more free holiday crochet patterns? Get them here!