
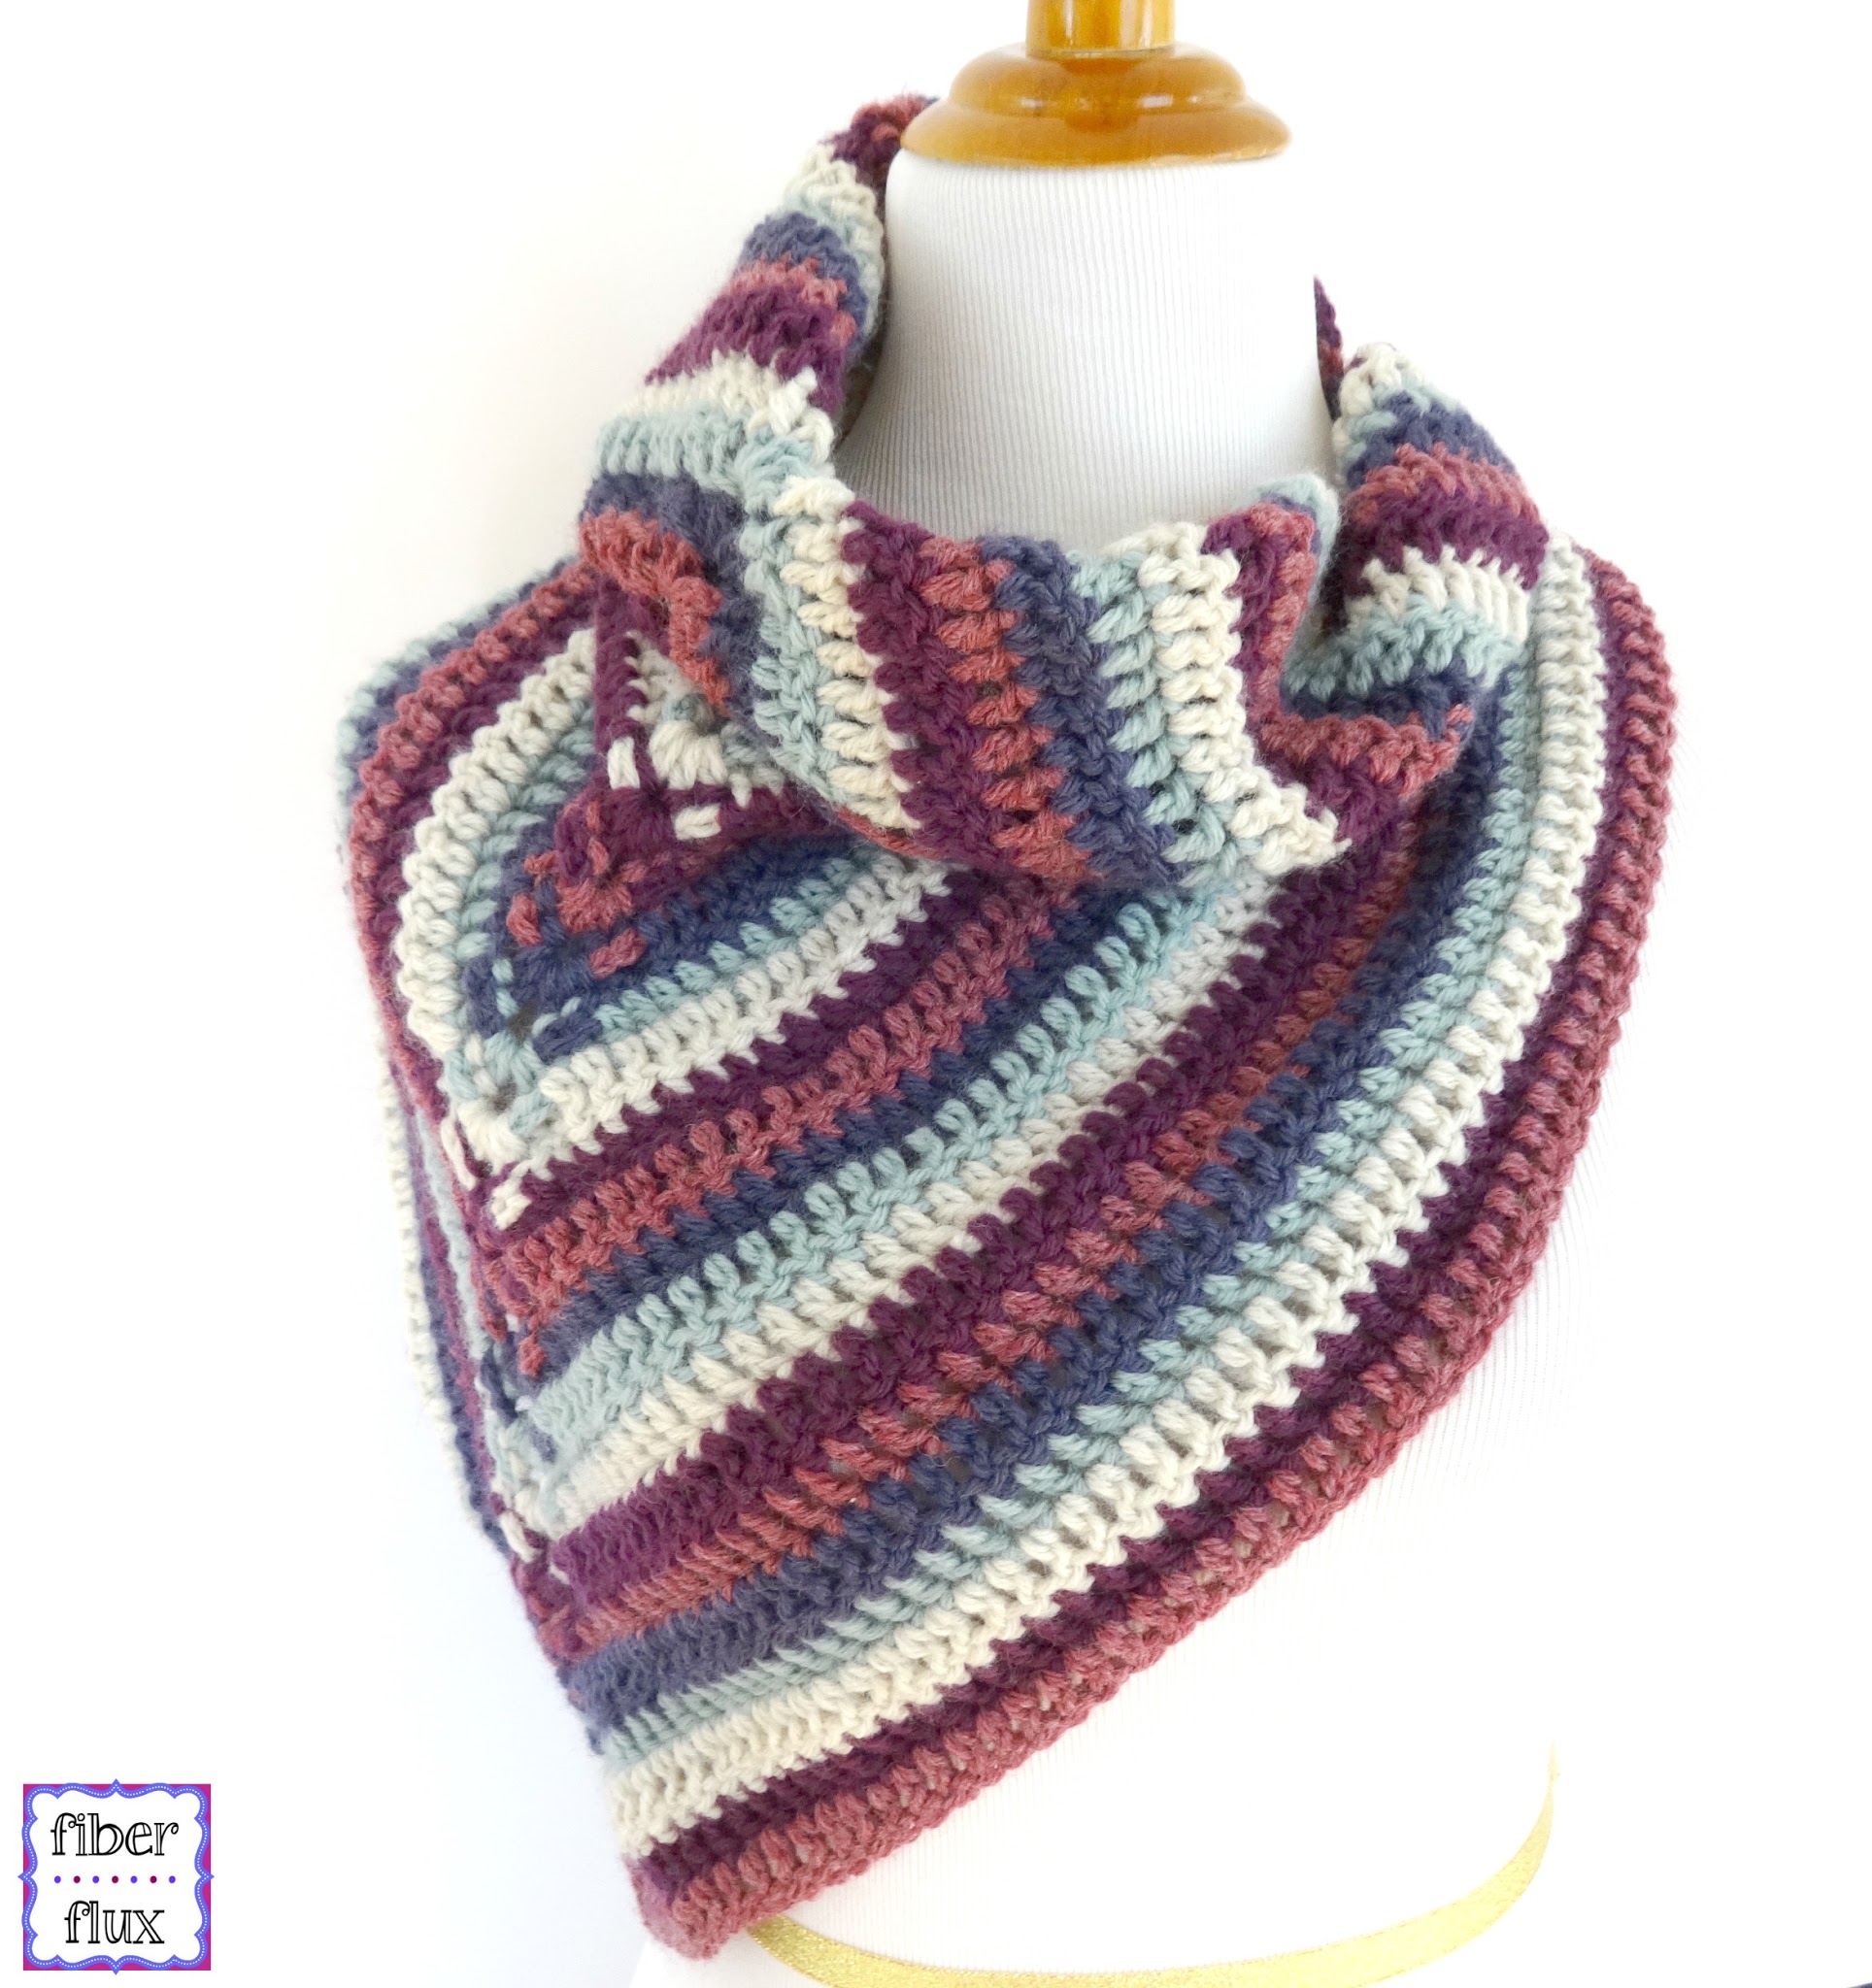
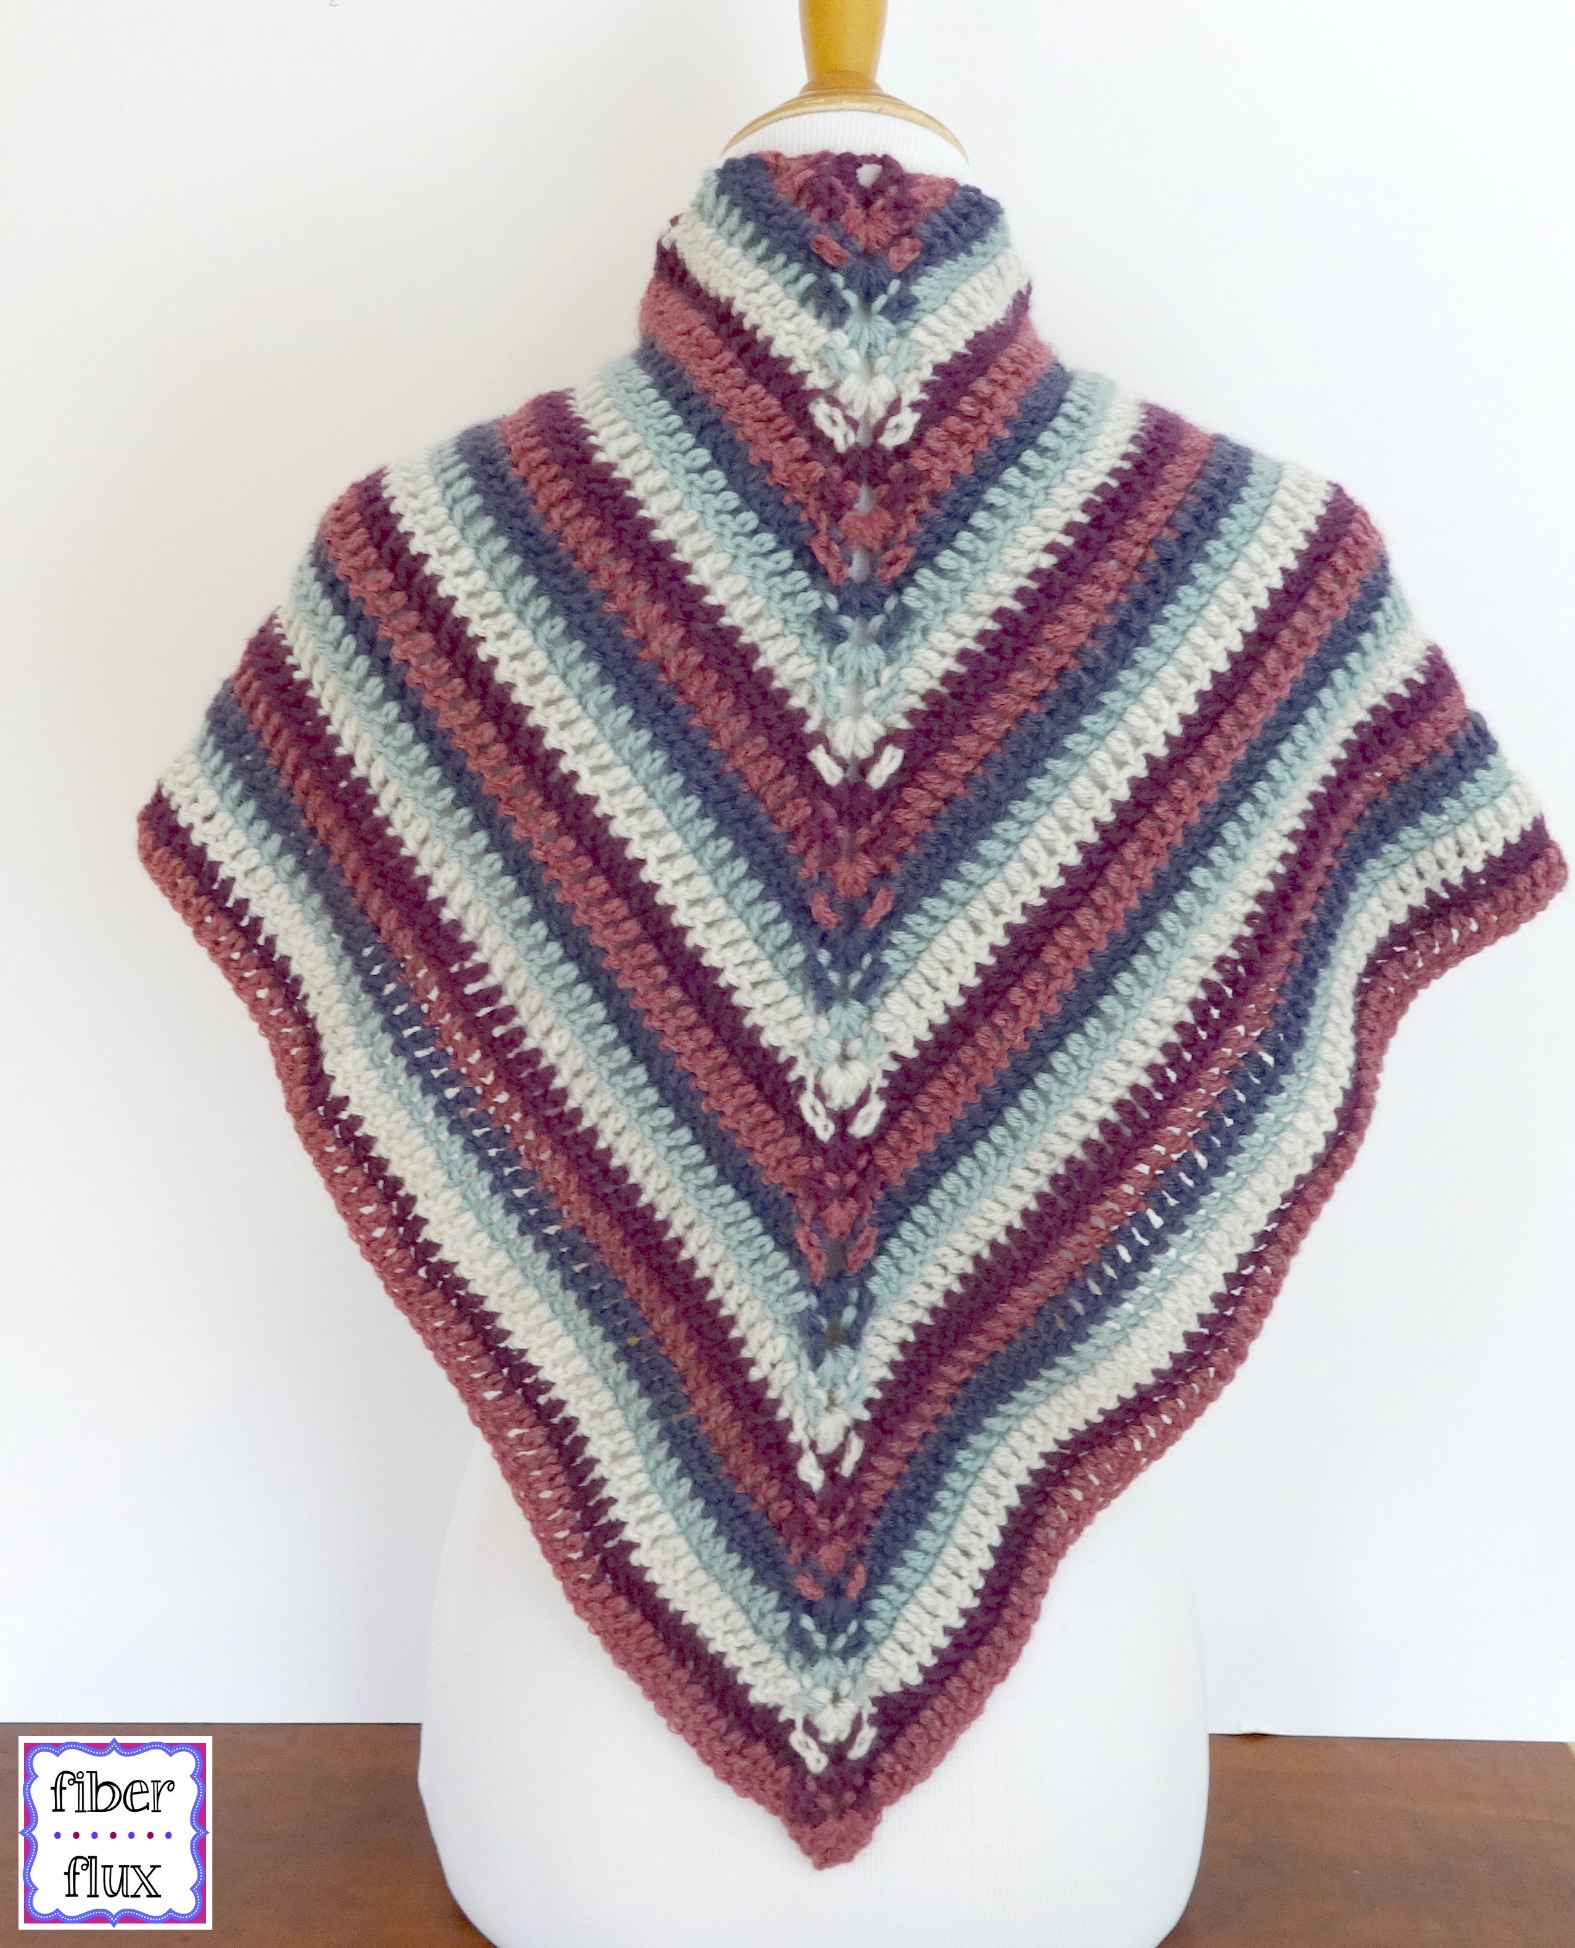
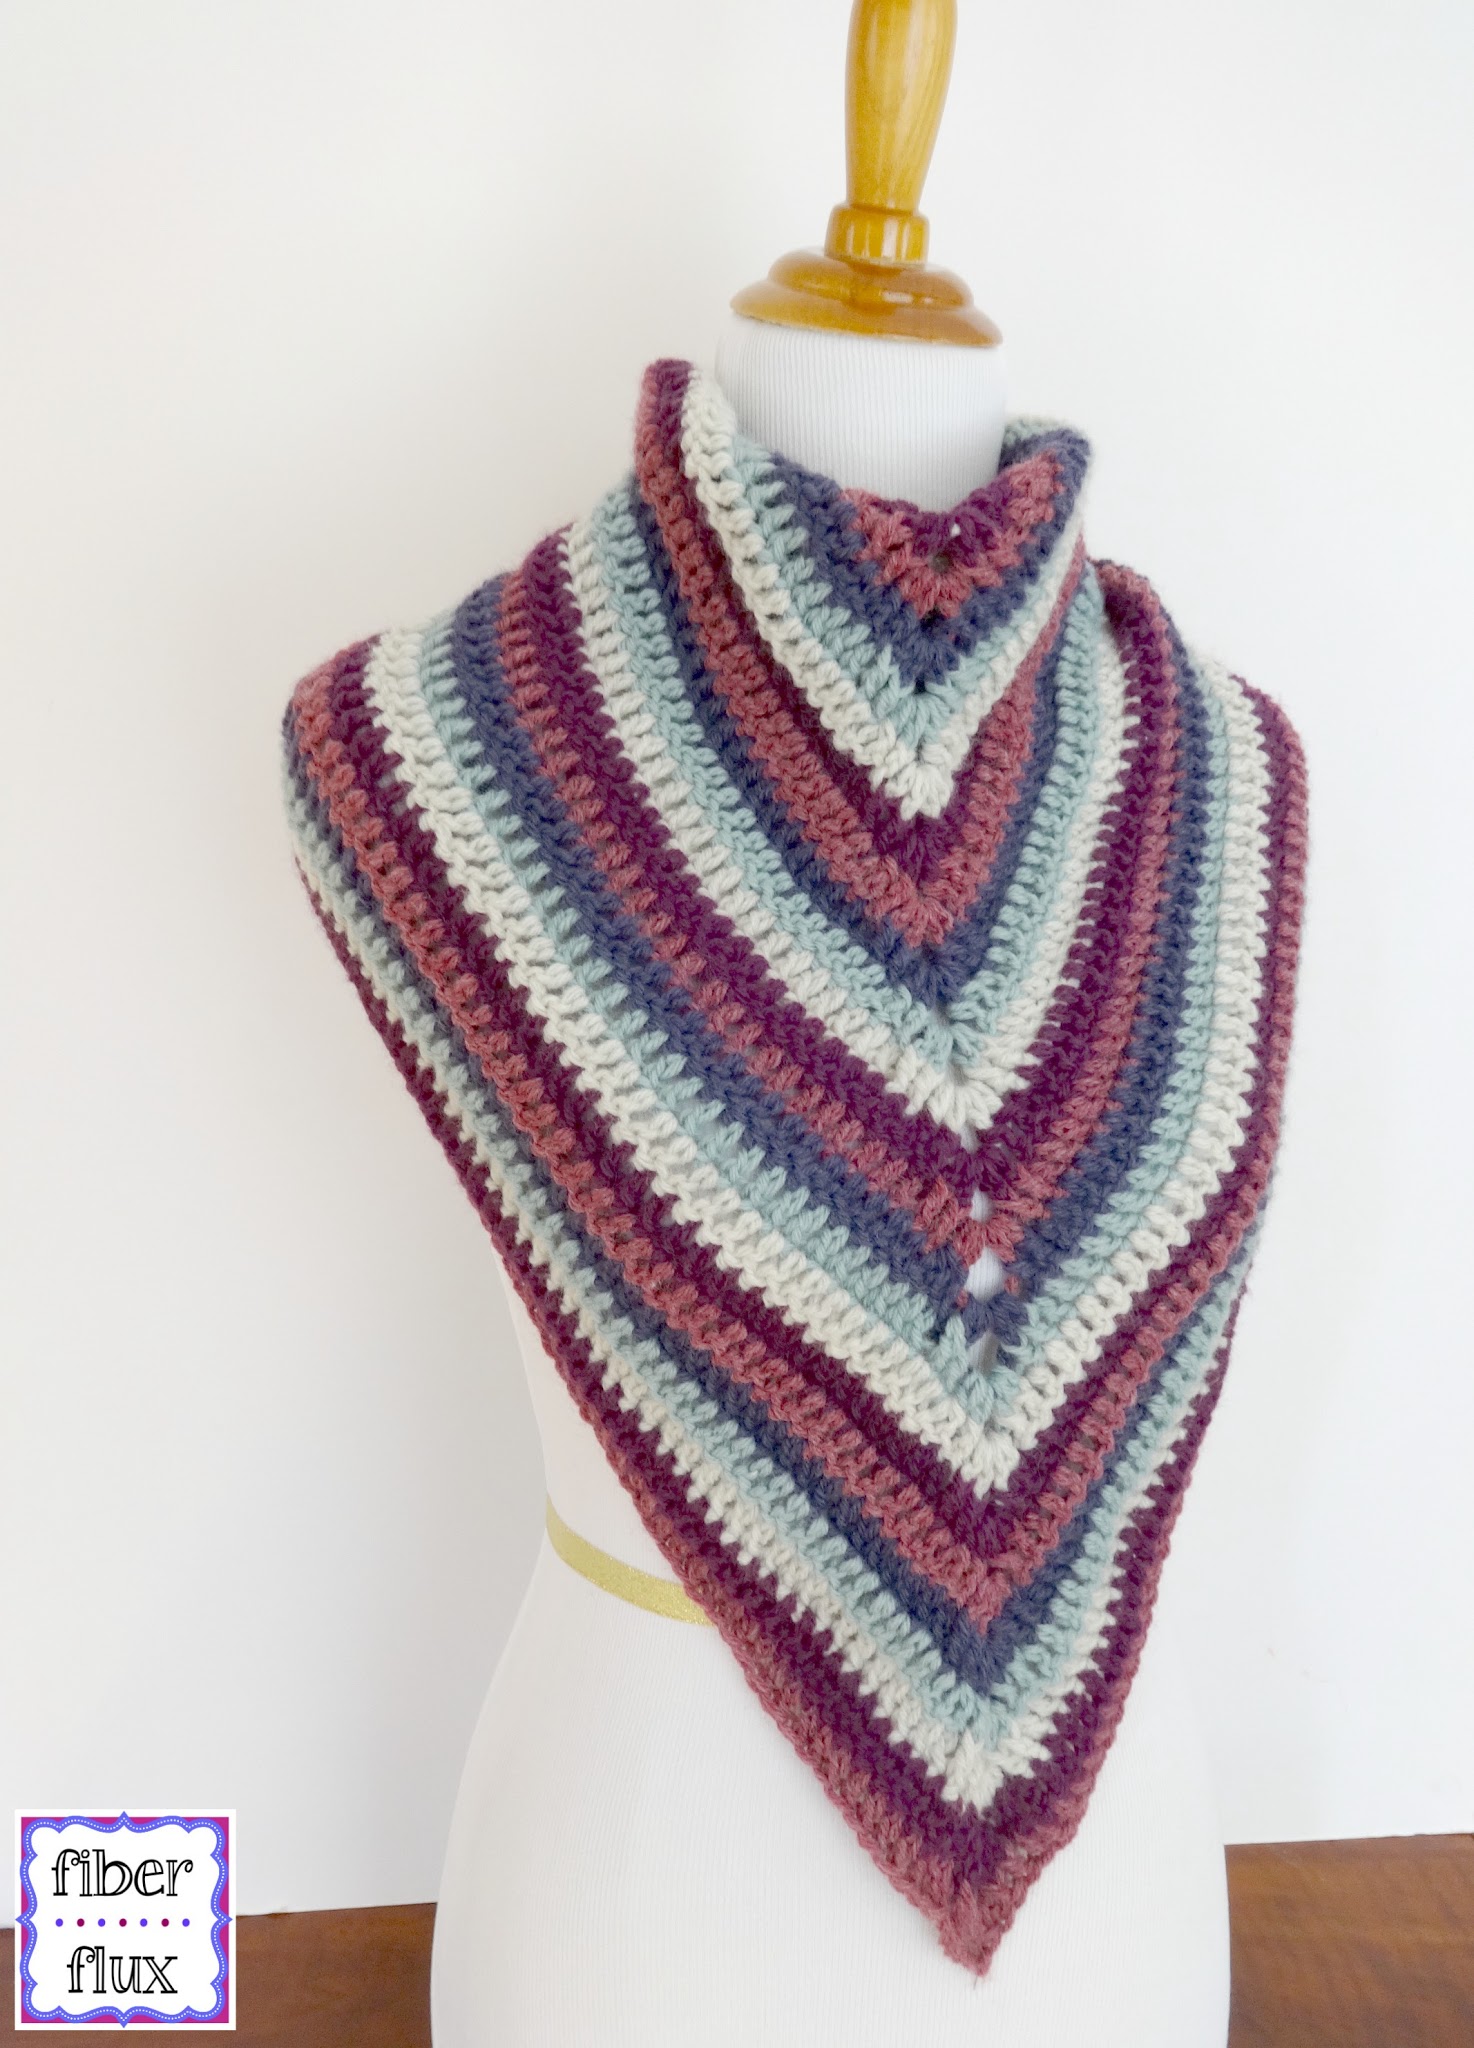
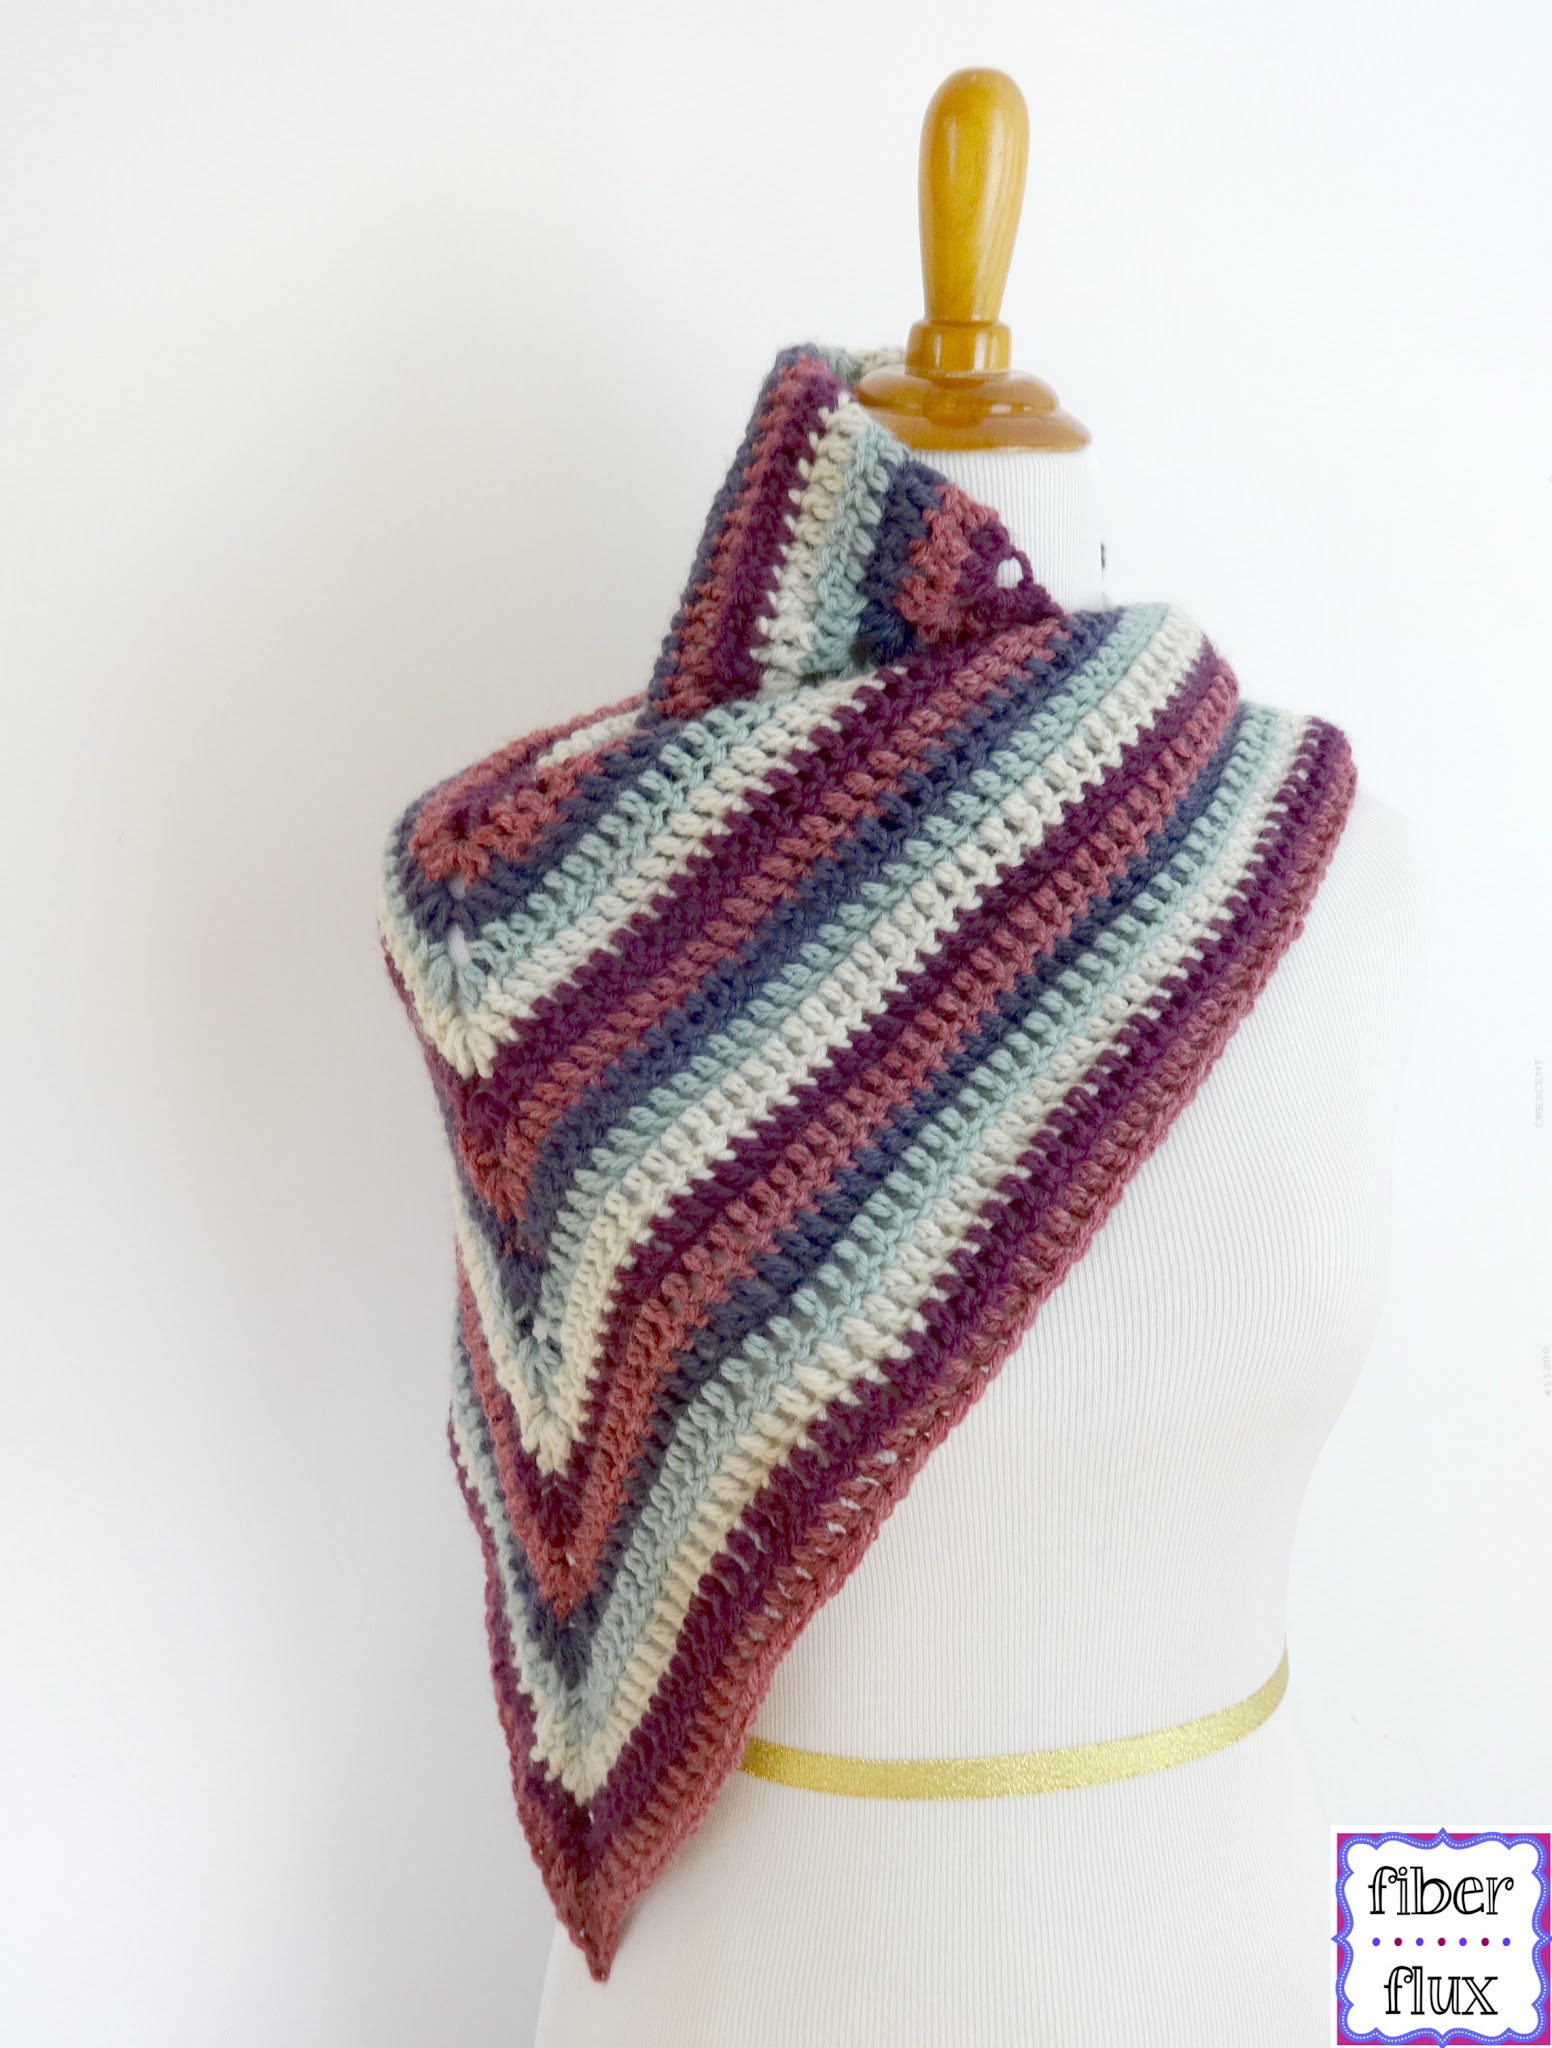
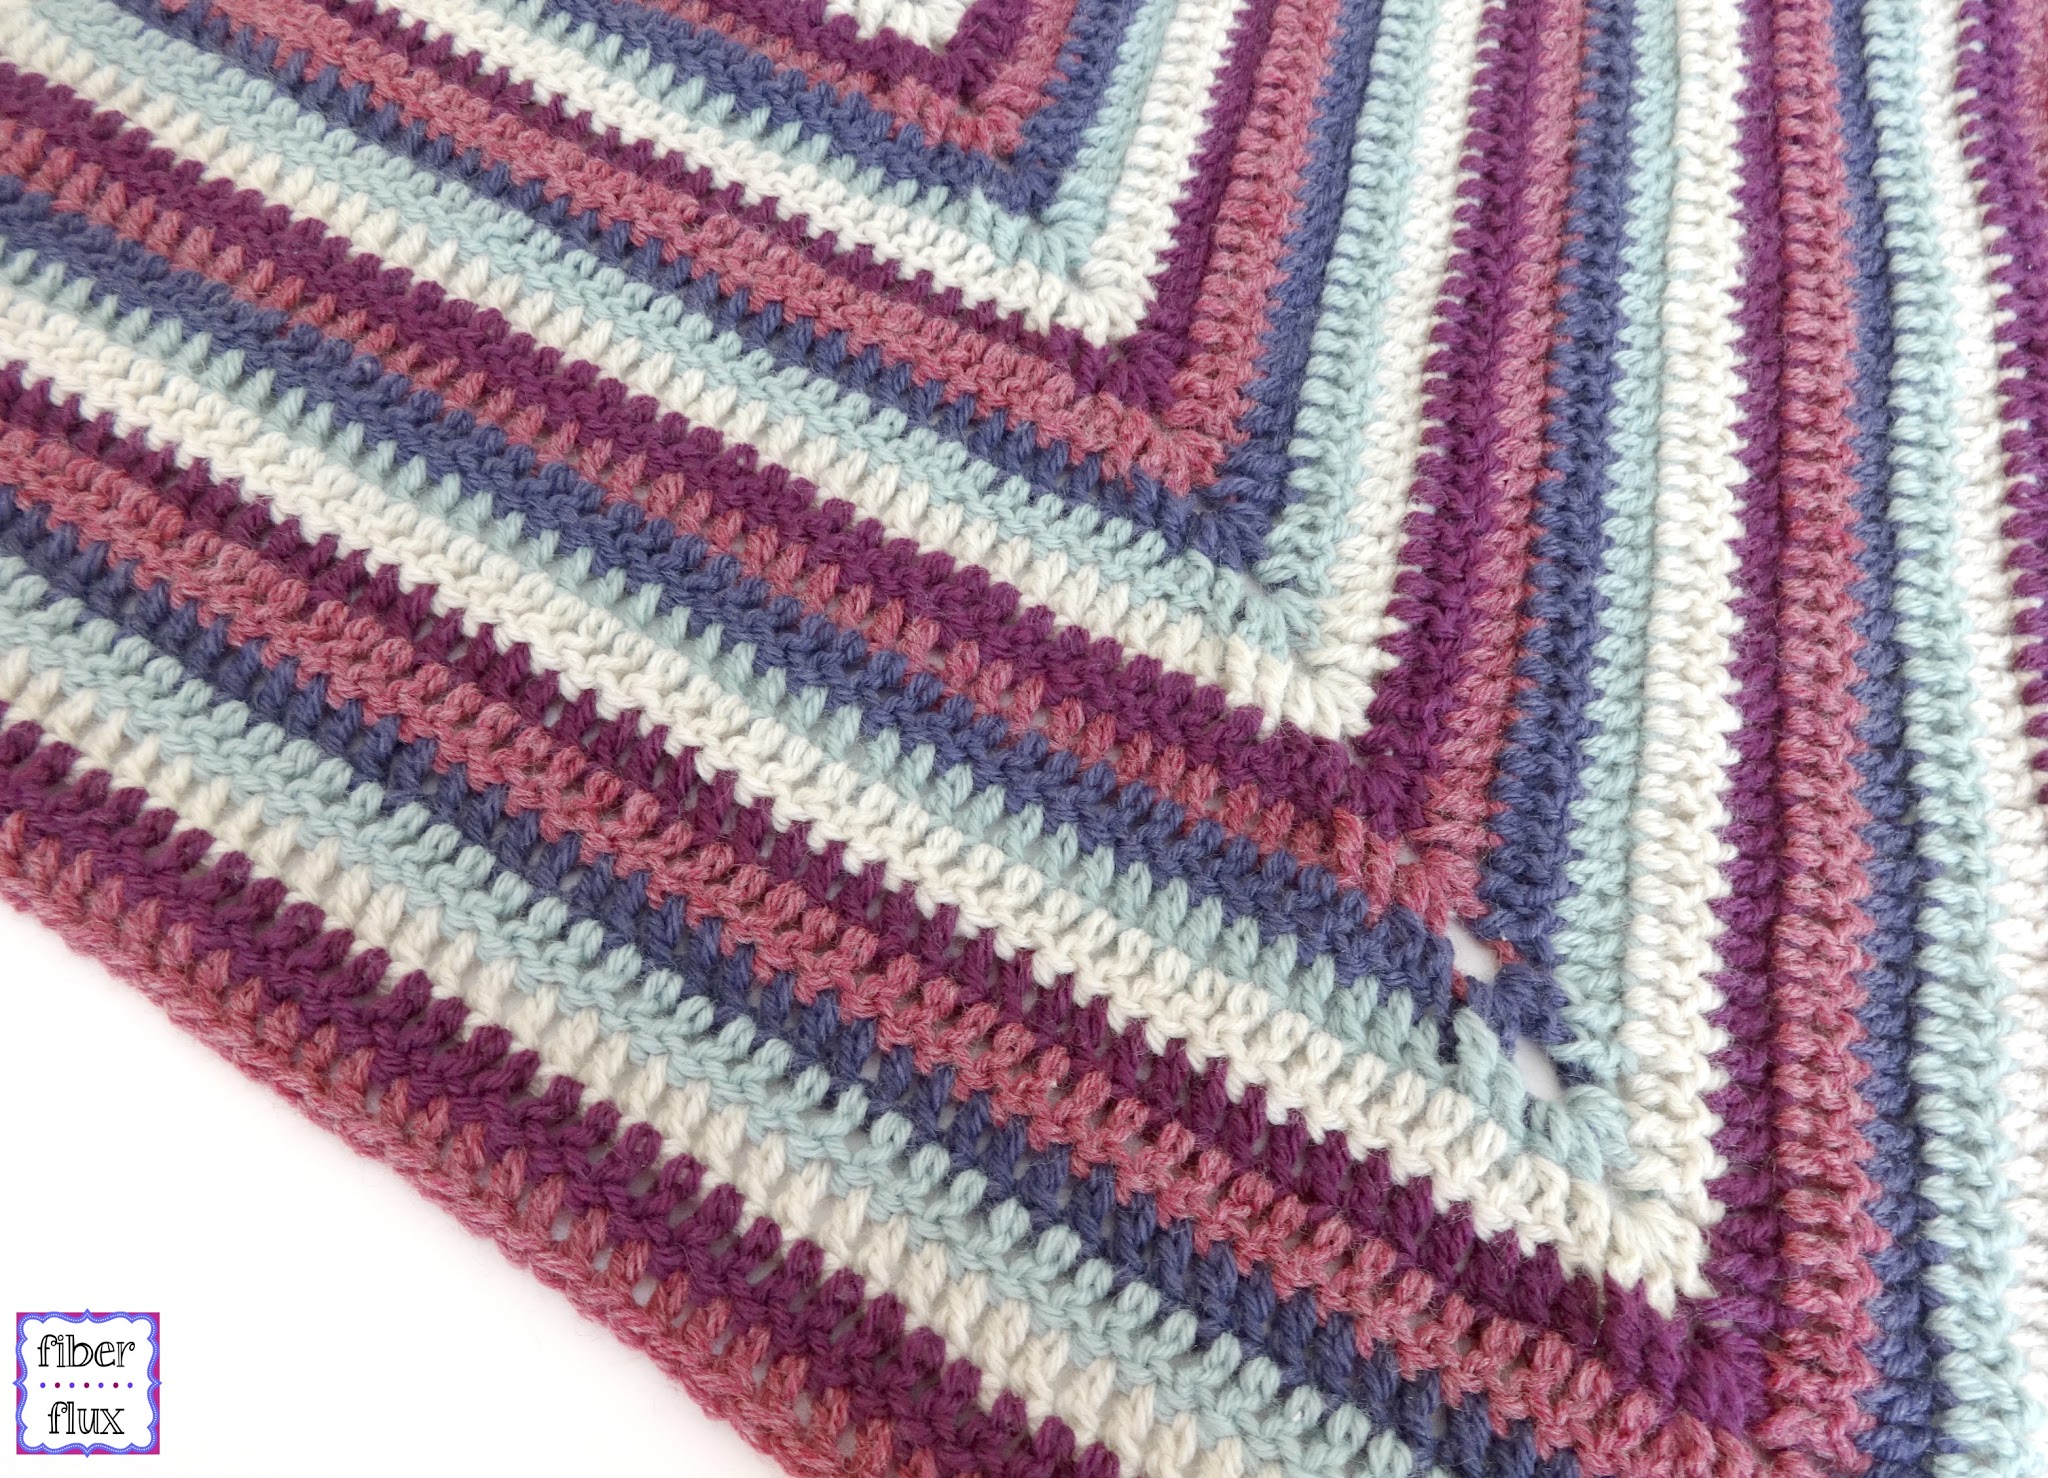
The Alpine View Wrap is an interesting and beautiful wrap that is fun to work up. This wrap has actually been requested by many of you since the Alpine Steps Afghan Square came out a while back..I am happy to share it with you now! It is completely reversible, each side with a slightly different stitchy look.
The Alpine View Wrap
By Jennifer Dickerson

Click the button below to add this to your Ravelry queue:

Tutorial Links:
- Double Crochet (dc)
- Back Post Double Crochet (bpdc)
- Front Post Double Crochet (fpdc)
- Weave In Ends As You Go
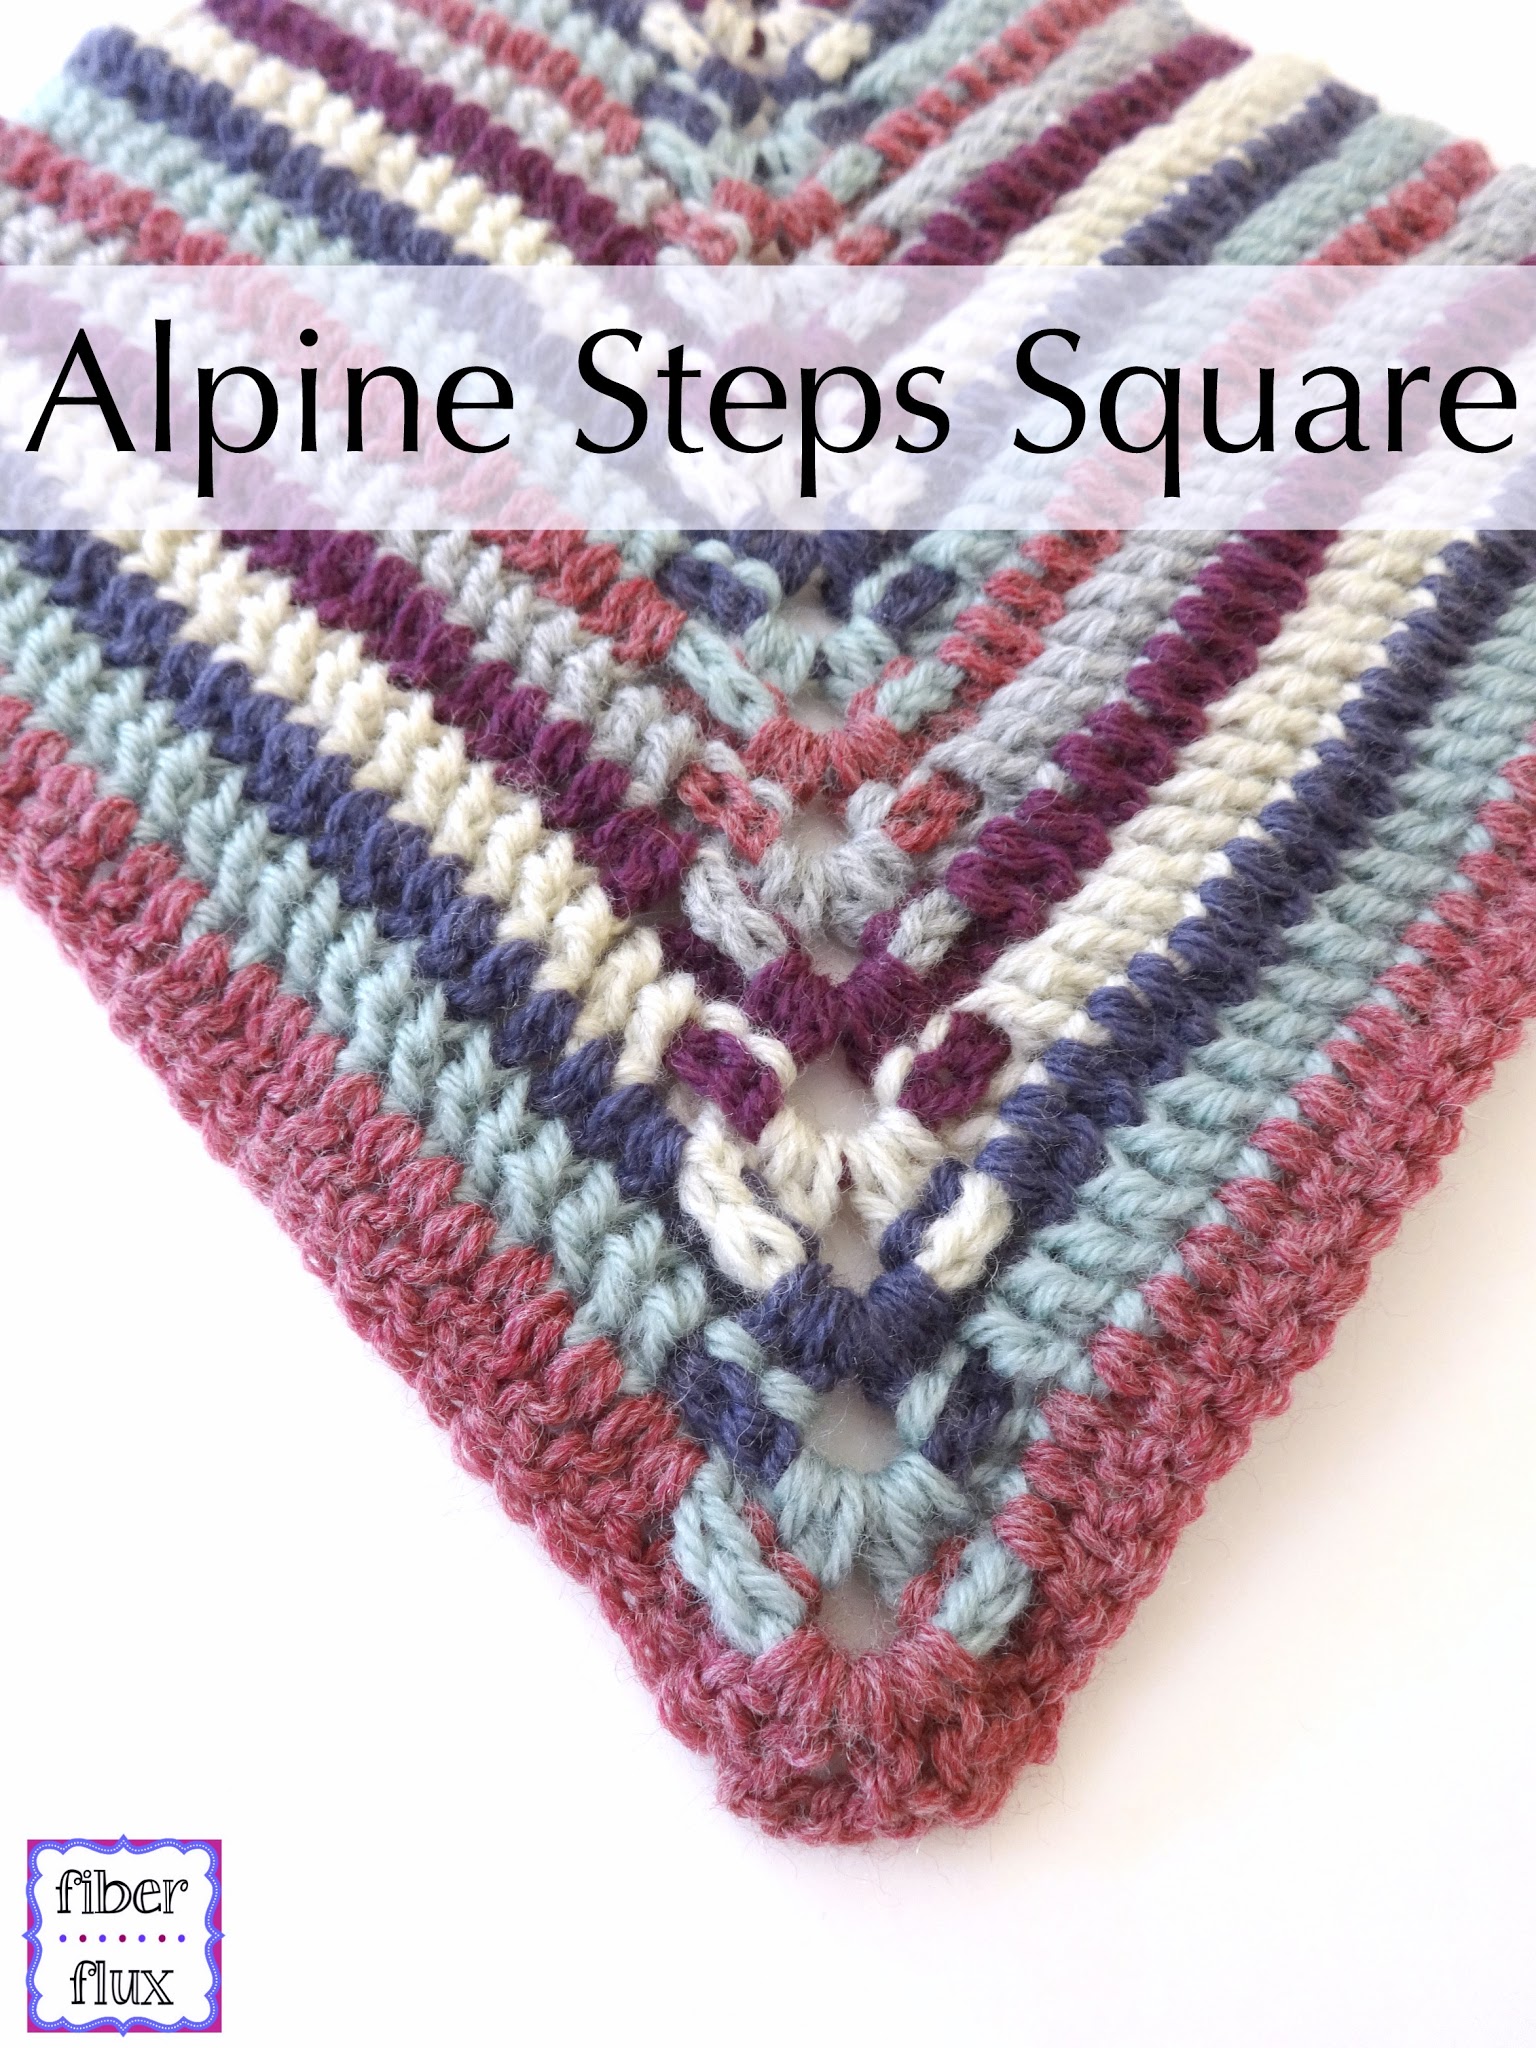 Click here for the Alpine Steps Blanket Square pattern!
Materials:
- Worsted weight yarn of your choice. Yarn shown is Lion Brand’s Wool Ease Worsted in “Seaspray” “Natural Heather” “Violet” “Dark Rose Heather” and “Eggplant”
- J (6.0 mm) crochet hook
- Scissors
- Tapestry Needle
Sizing:
Wrap as shown in photos measures approximately 45 inches across the top from point to point. However, you can make yours larger or smaller by simply working more or less rows of the pattern.
Instructions:
Note: Each row is worked in a different color. Weave in any ends as you go to save a ton of time later!
Ch 4
Row 1: In the ch furthest from the hook, work 3 dc, ch 2, 4 dc.
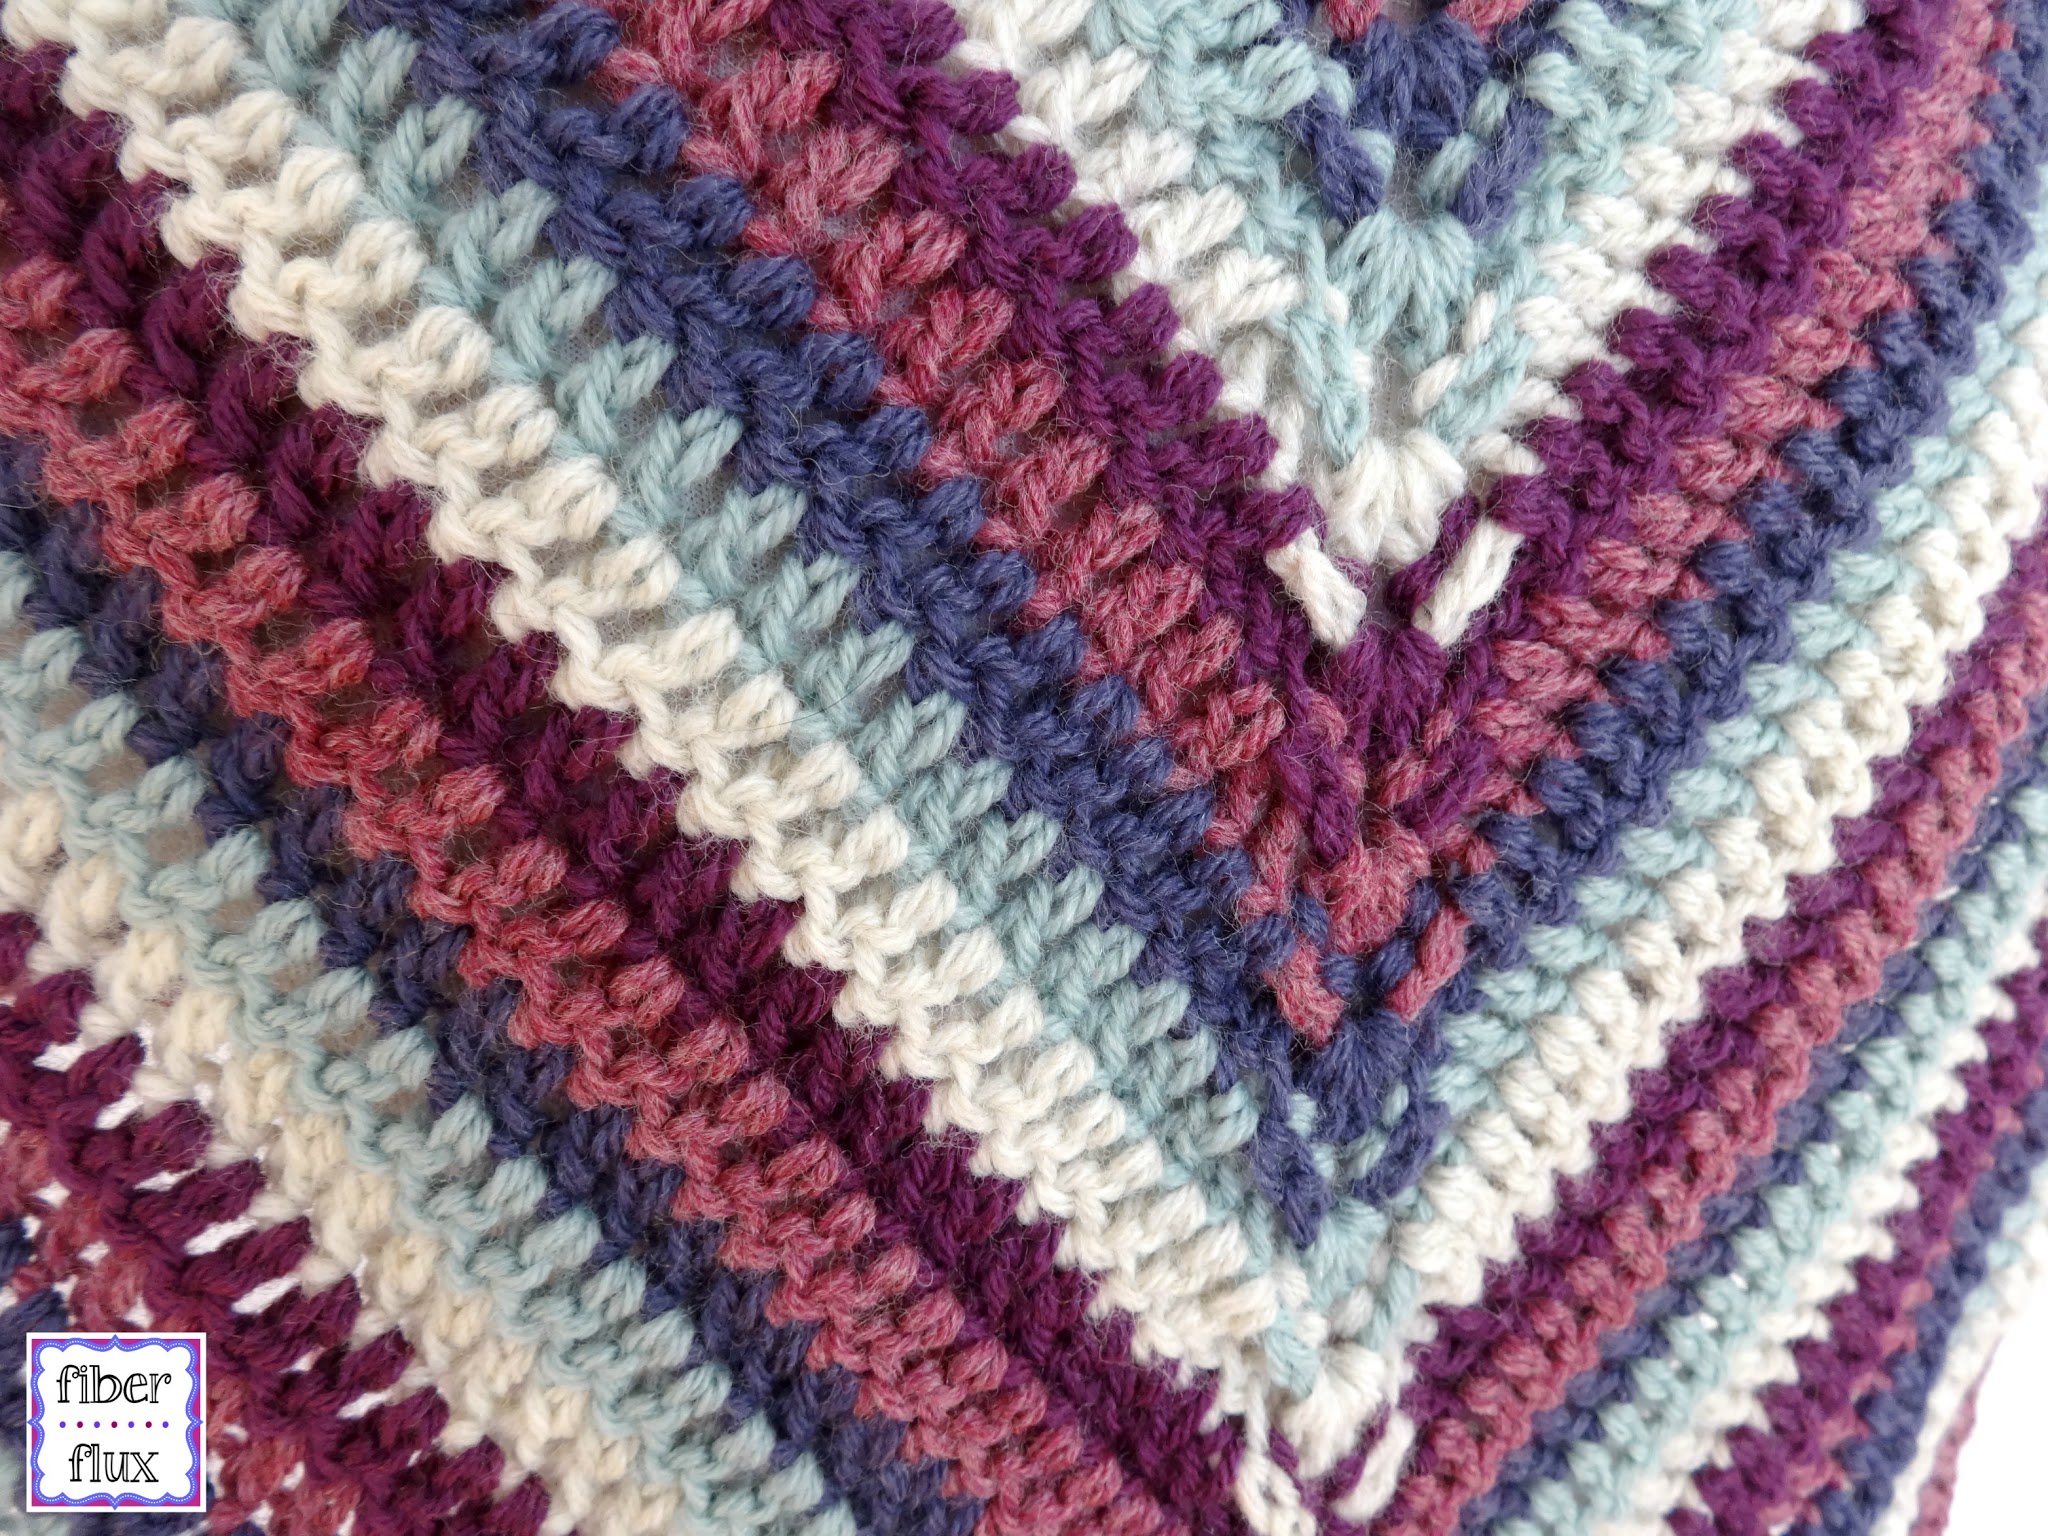
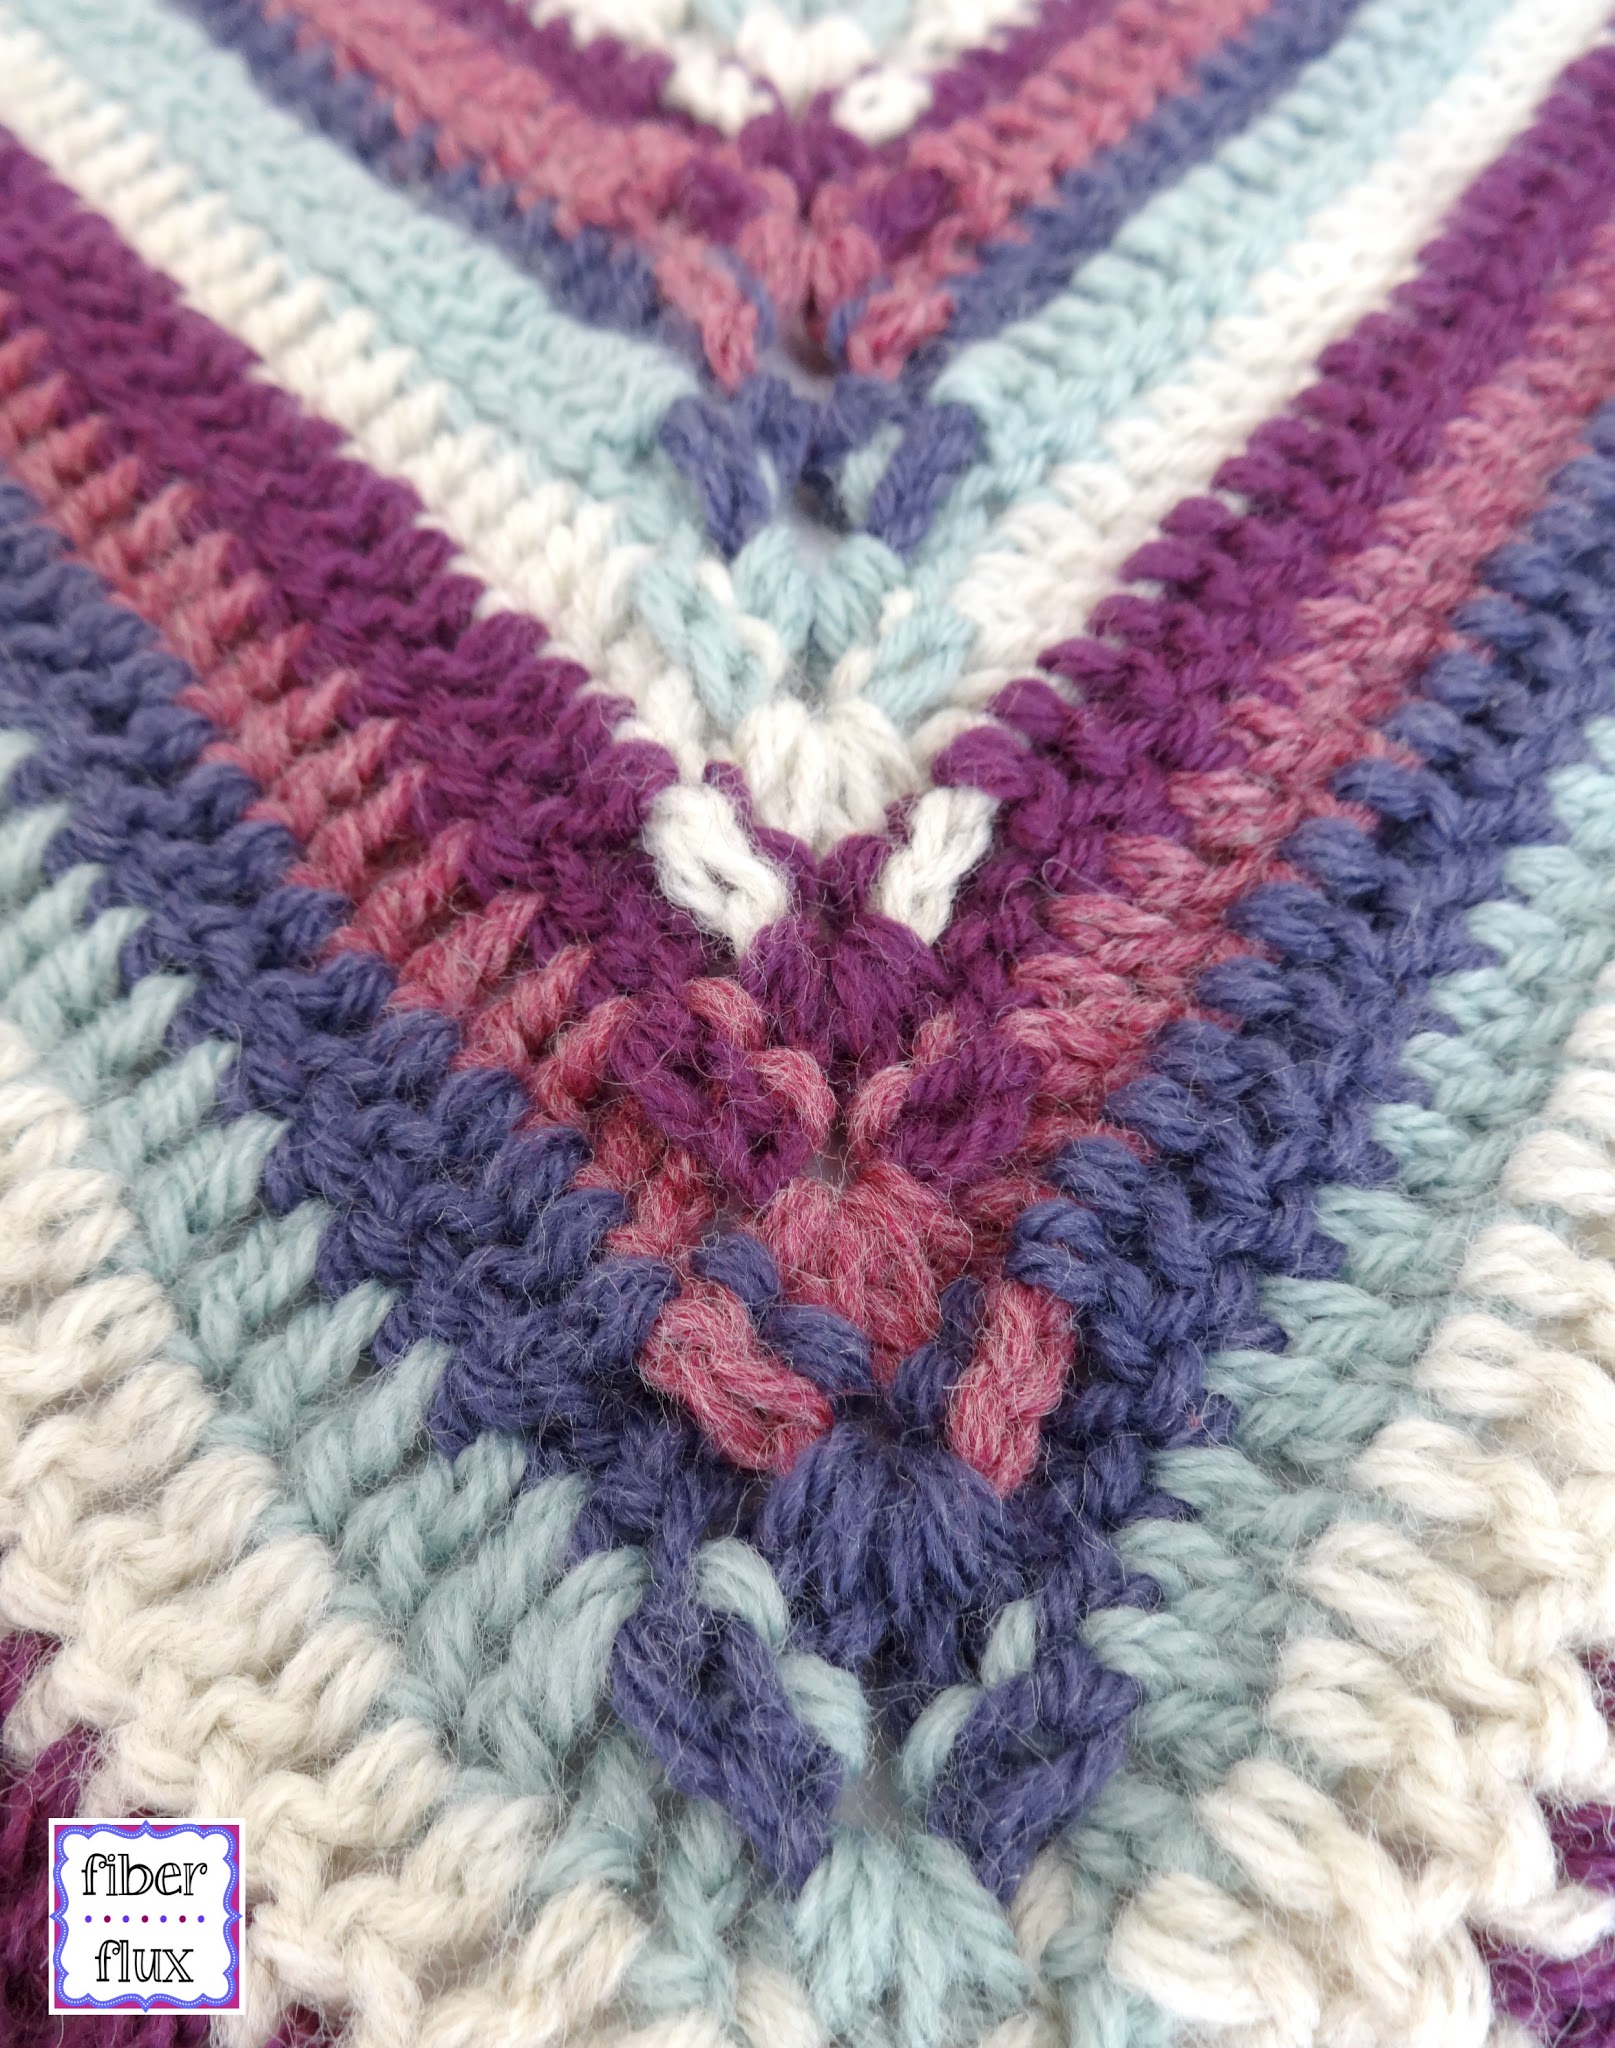
Row 2: Ch 3 and turn. Work a dc in the first st, dc in the next st. Work a bpdc (back post double crochet) in each of the next sts. In the ch 2 space from the previous row, work 2 dc, ch 2, 2 dc all in the same space. Work a bpdc in each of the next two sts. Work a dc in the next st and a dc in the turning chain.
Row 3: Ch 3 and turn. Work a dc in each stitch until the last two dc stitches before the corner and work a fpdc (front post double crochet) in each. In the corner (ch 2 space from previous row), work 2 dc, ch 2, 2 dc all in the same space. In the next two dc, work a fpdc in inch. Work a dc in the remaining stitches of the row, then a dc in the turning chain.
Repeat rows 2 and 3 until wrap is as long and wide as you’d like. As the wrap grows, the sides (dc stitches) will increase with each row worked. The corners and post stitches remain the same for every row. Just be sure to stop at those 2 dc before you reach the corner, and work it as indicated in the instructions to achieve that “stair step” corner appearance.
Finishing & Assembly:
Weave in any ends that remain and you’re finished!
Click below to watch a video on how to crochet the Alpine View stitch by stitch:
Be sure to follow Fiber Flux on Google+, Facebook, Twitter, and Pinterest for the latest updates!

 (Affiliate Links)


LOVE IT!!!!!! I find I am much better "seeing" you do it along with written instruction…thanks for taking the time to "show" me how to do this one! I really do love it and plan to make one 🙂
I like the pattern very much, the variegated colors, beautiful. I really am pleased to be able to crochet this pattern, thank you. N H