

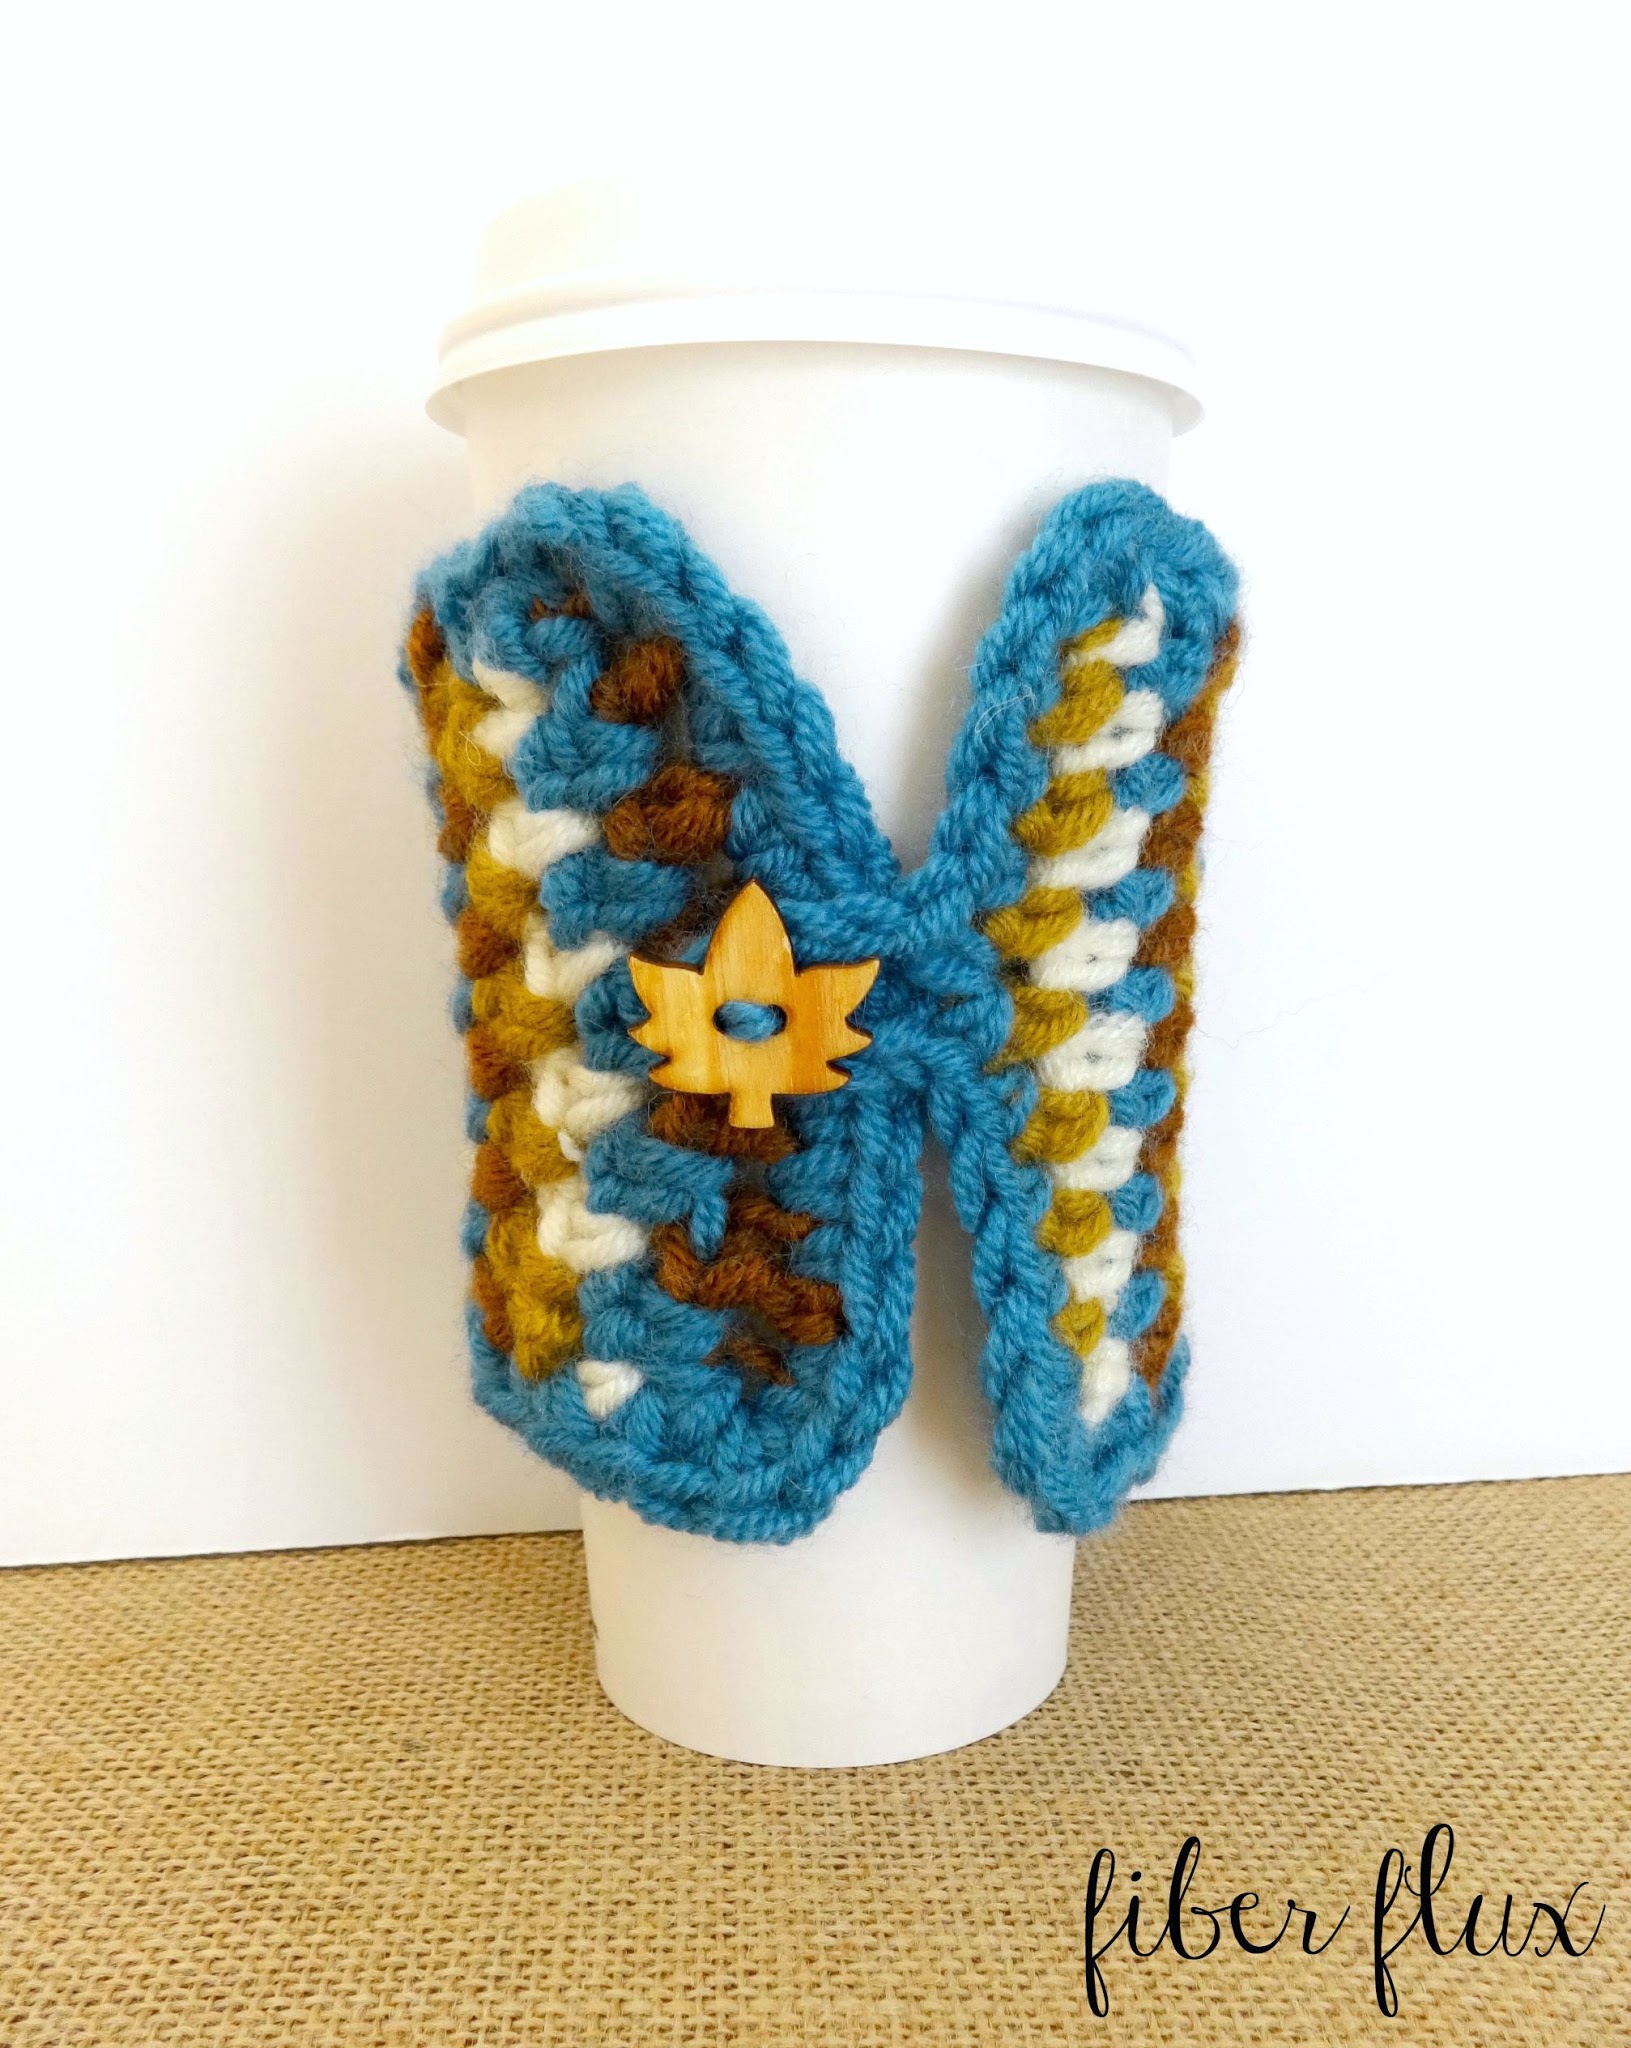
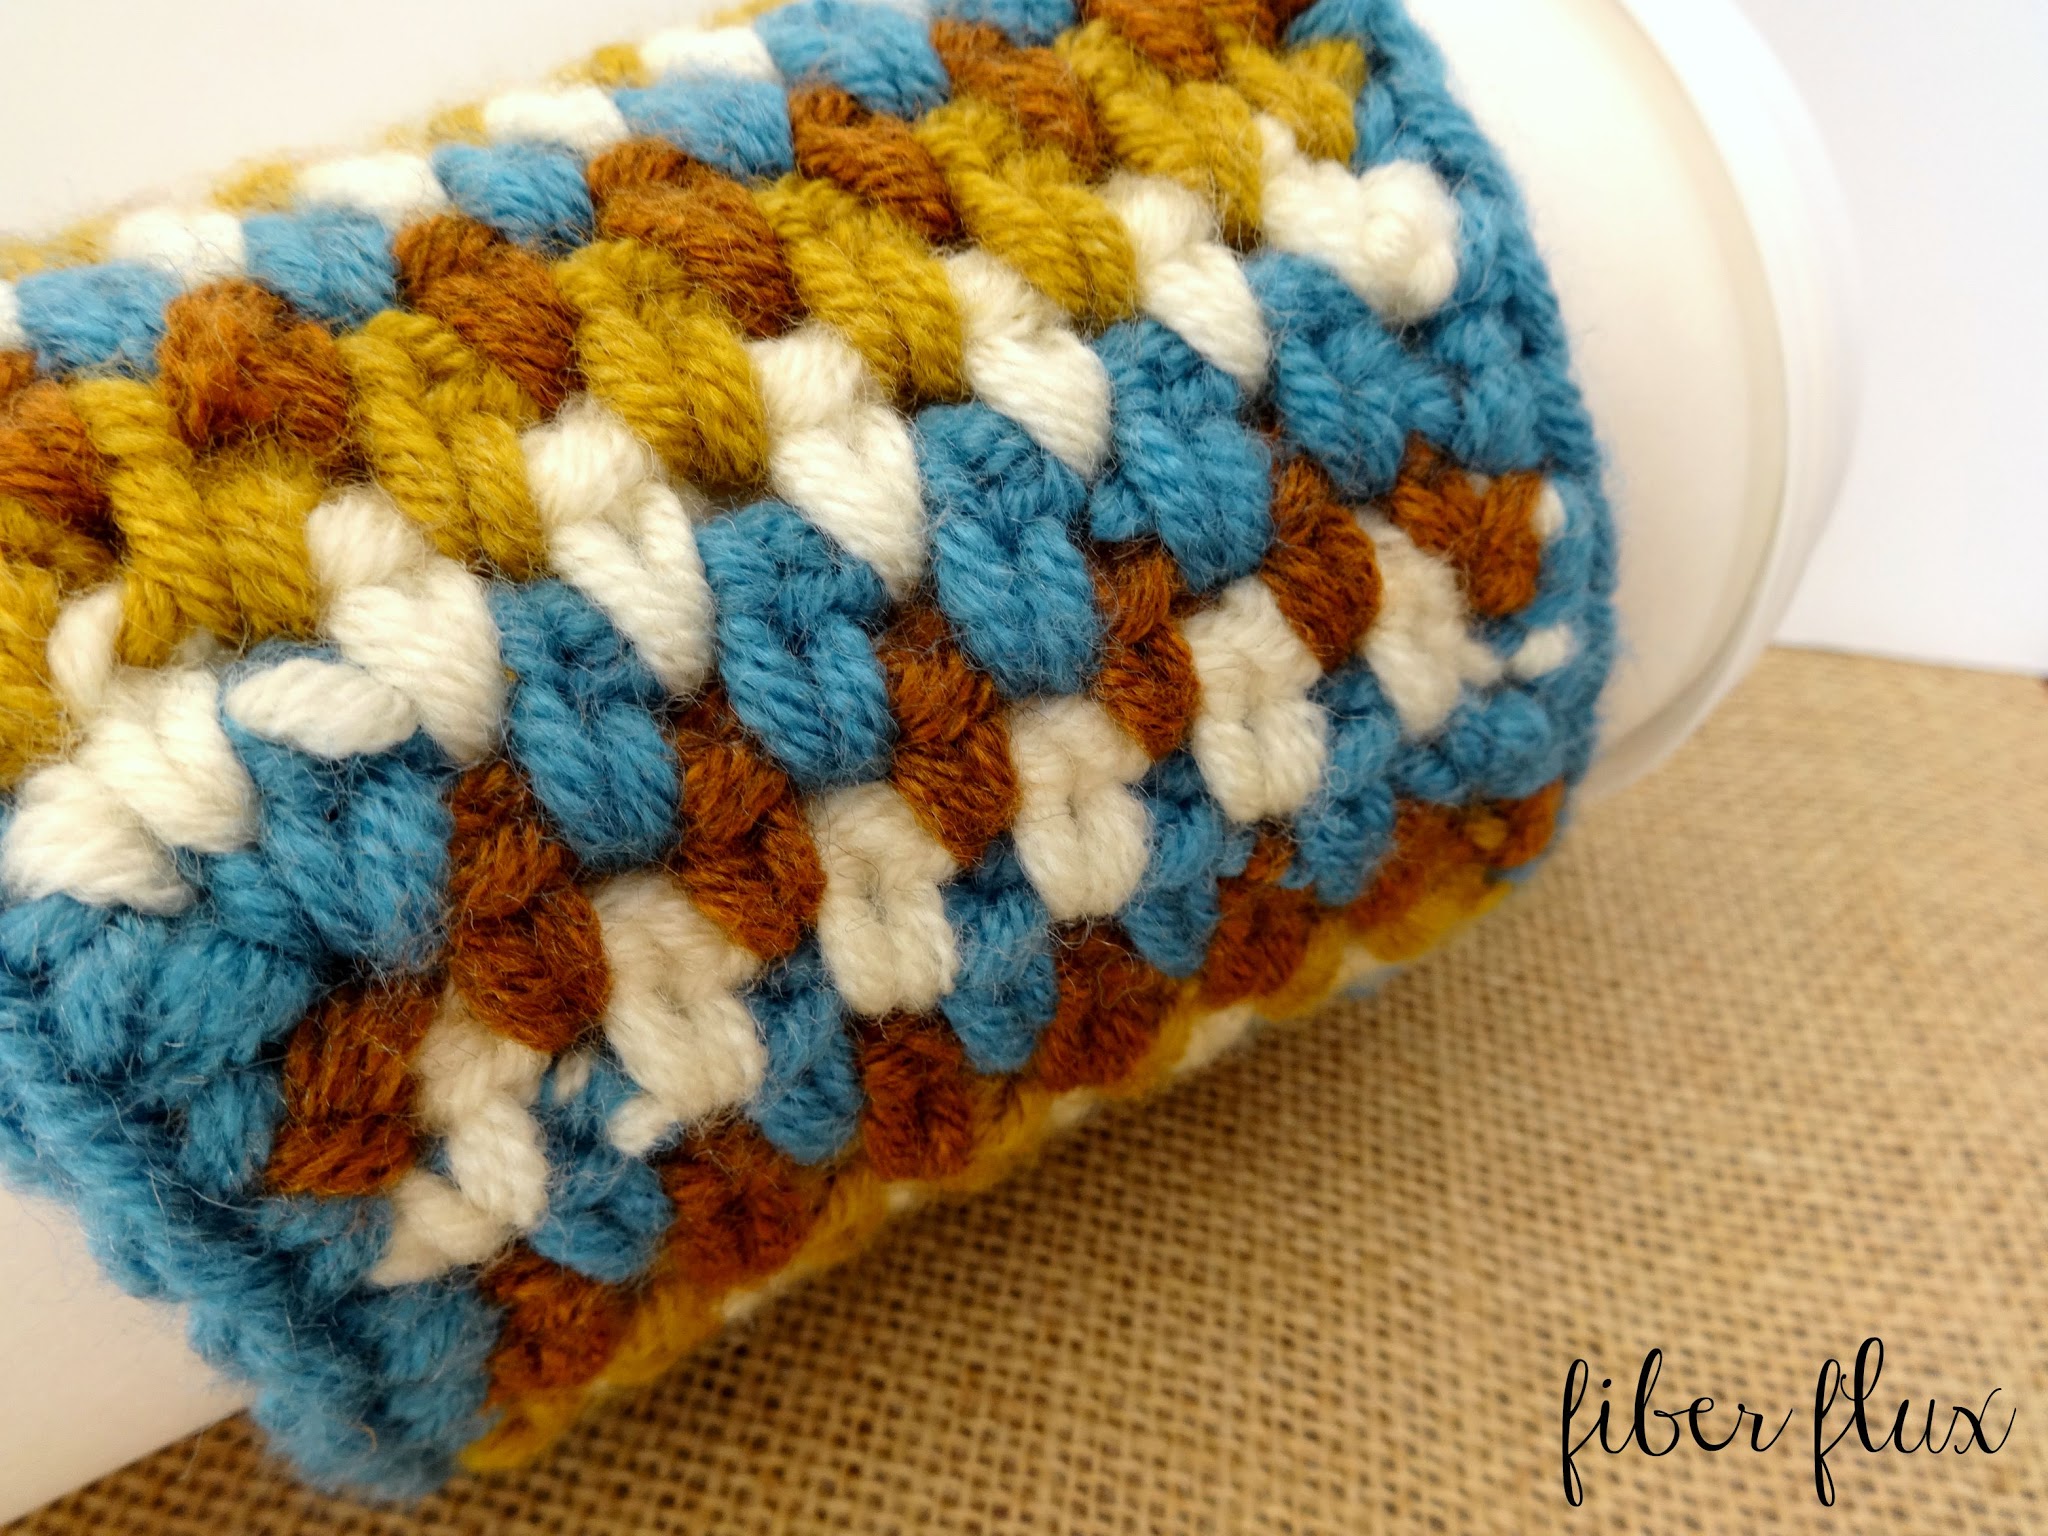
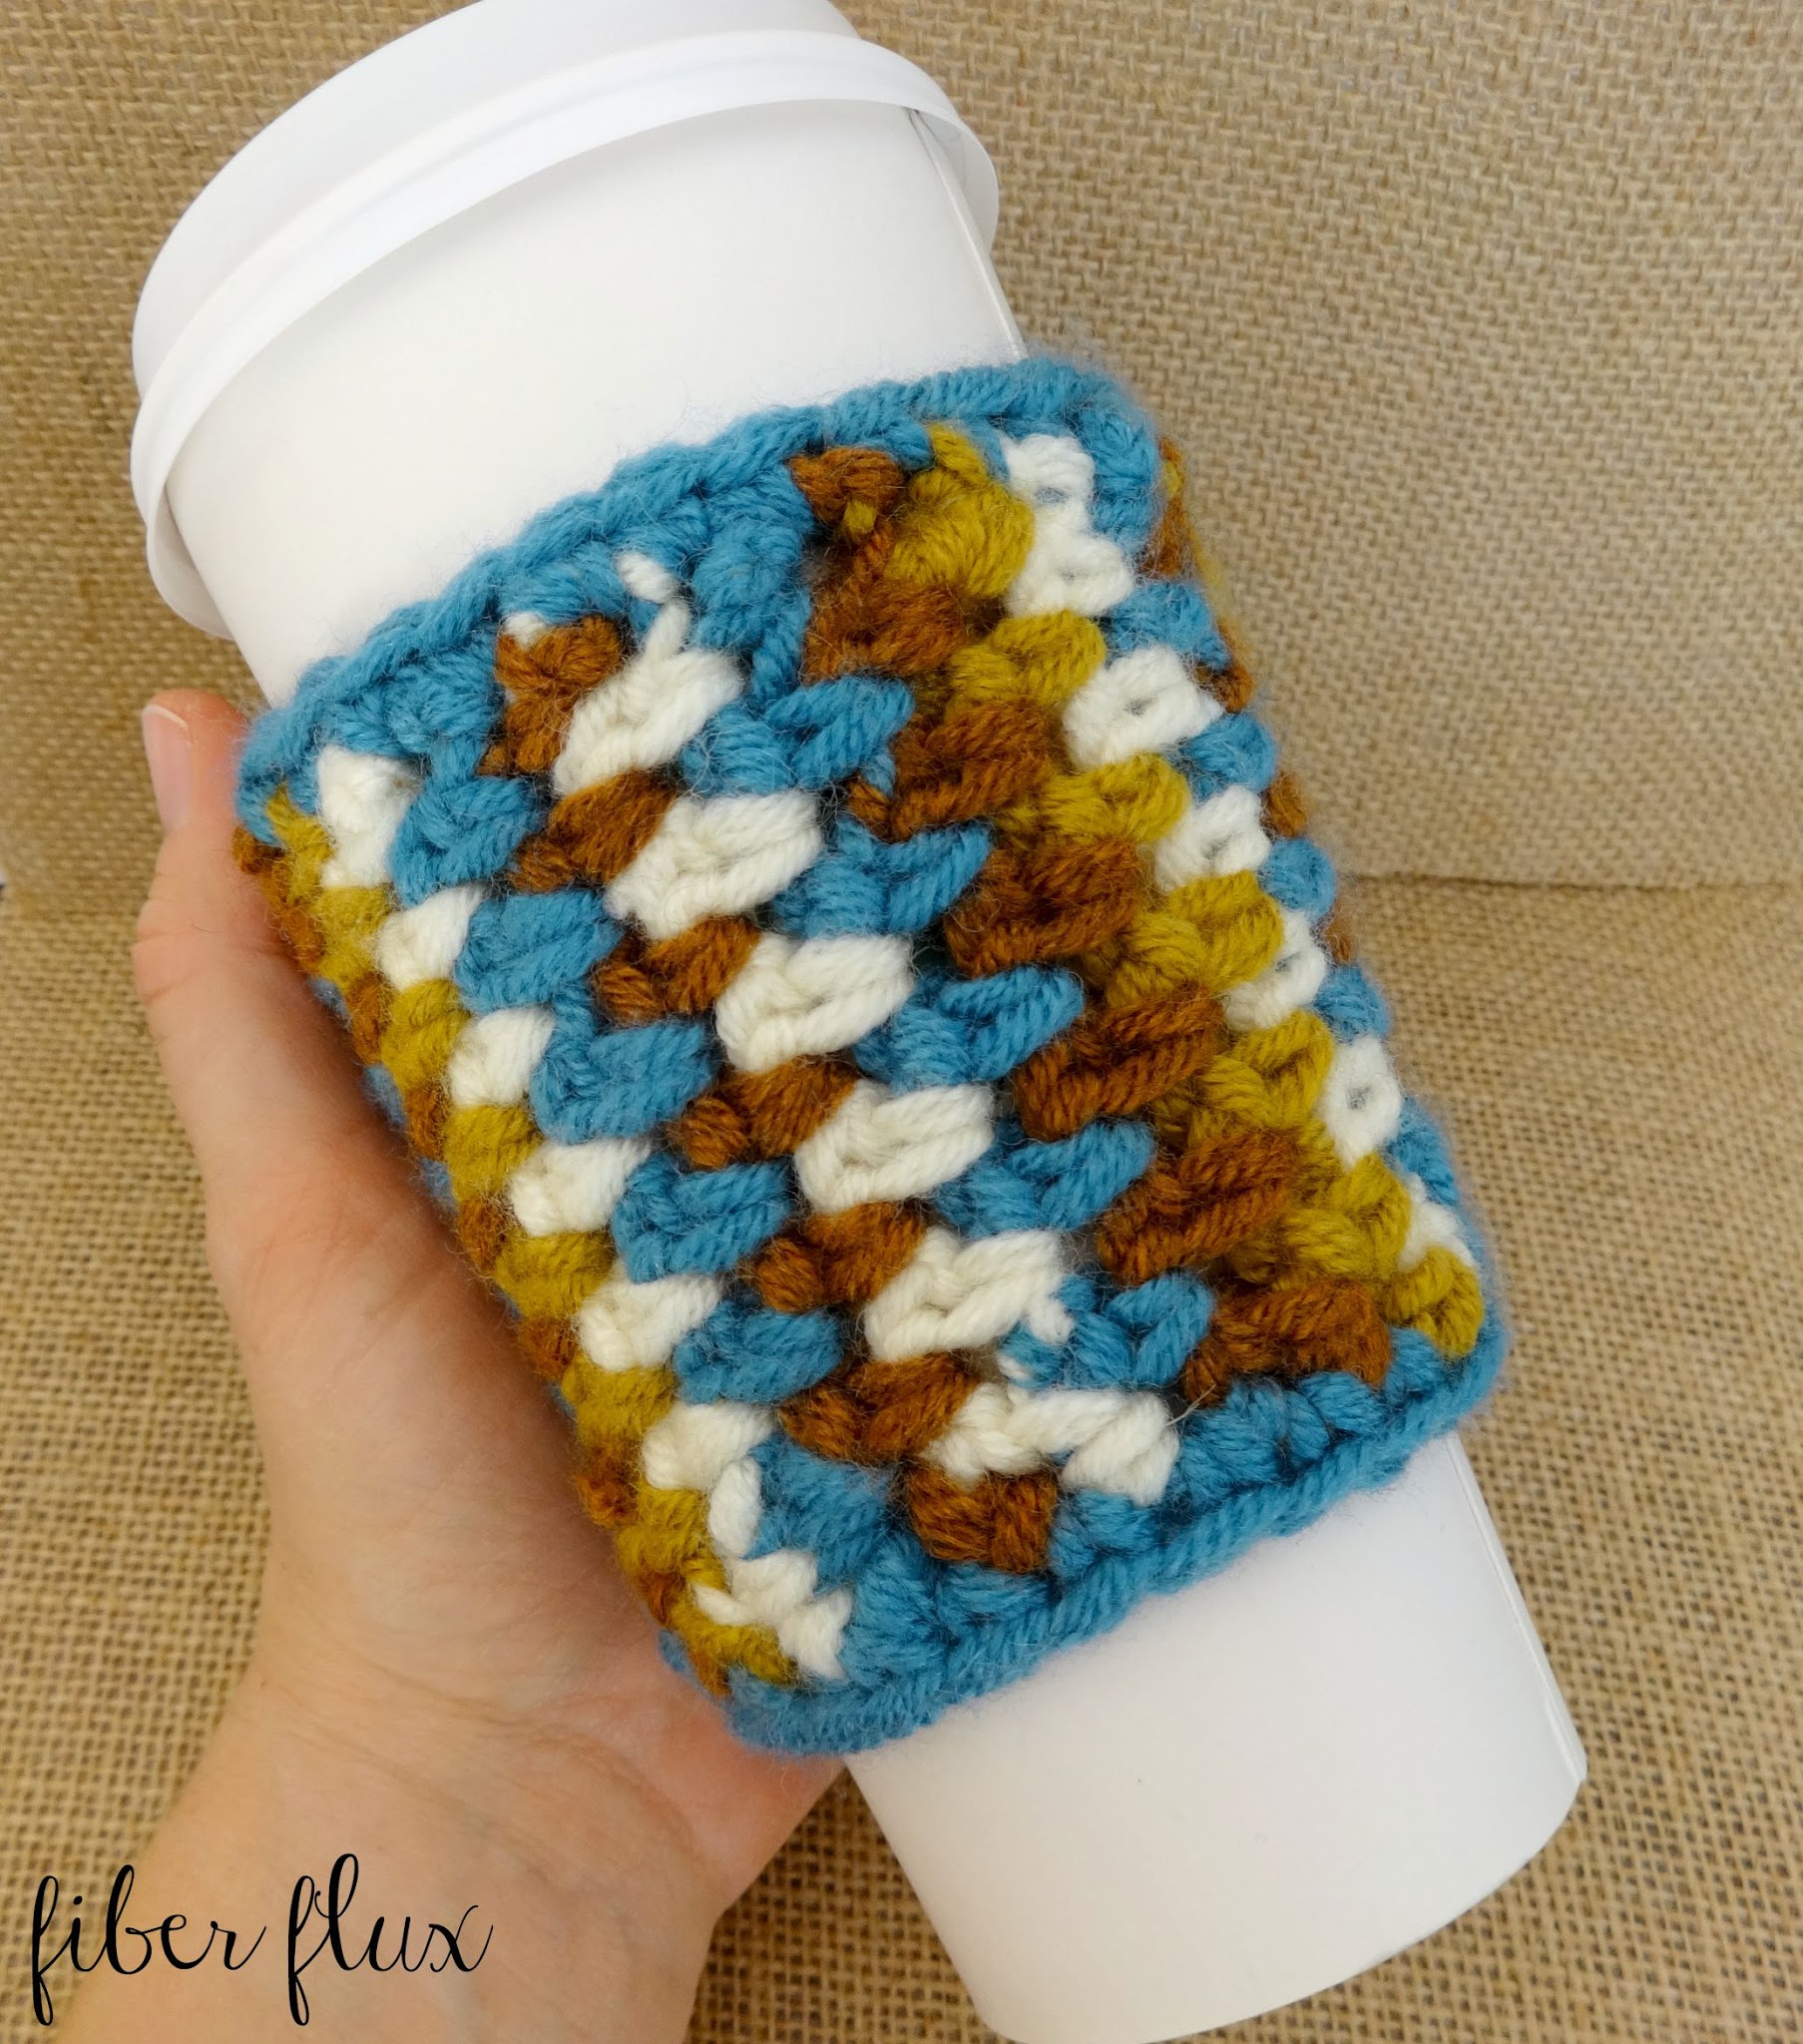
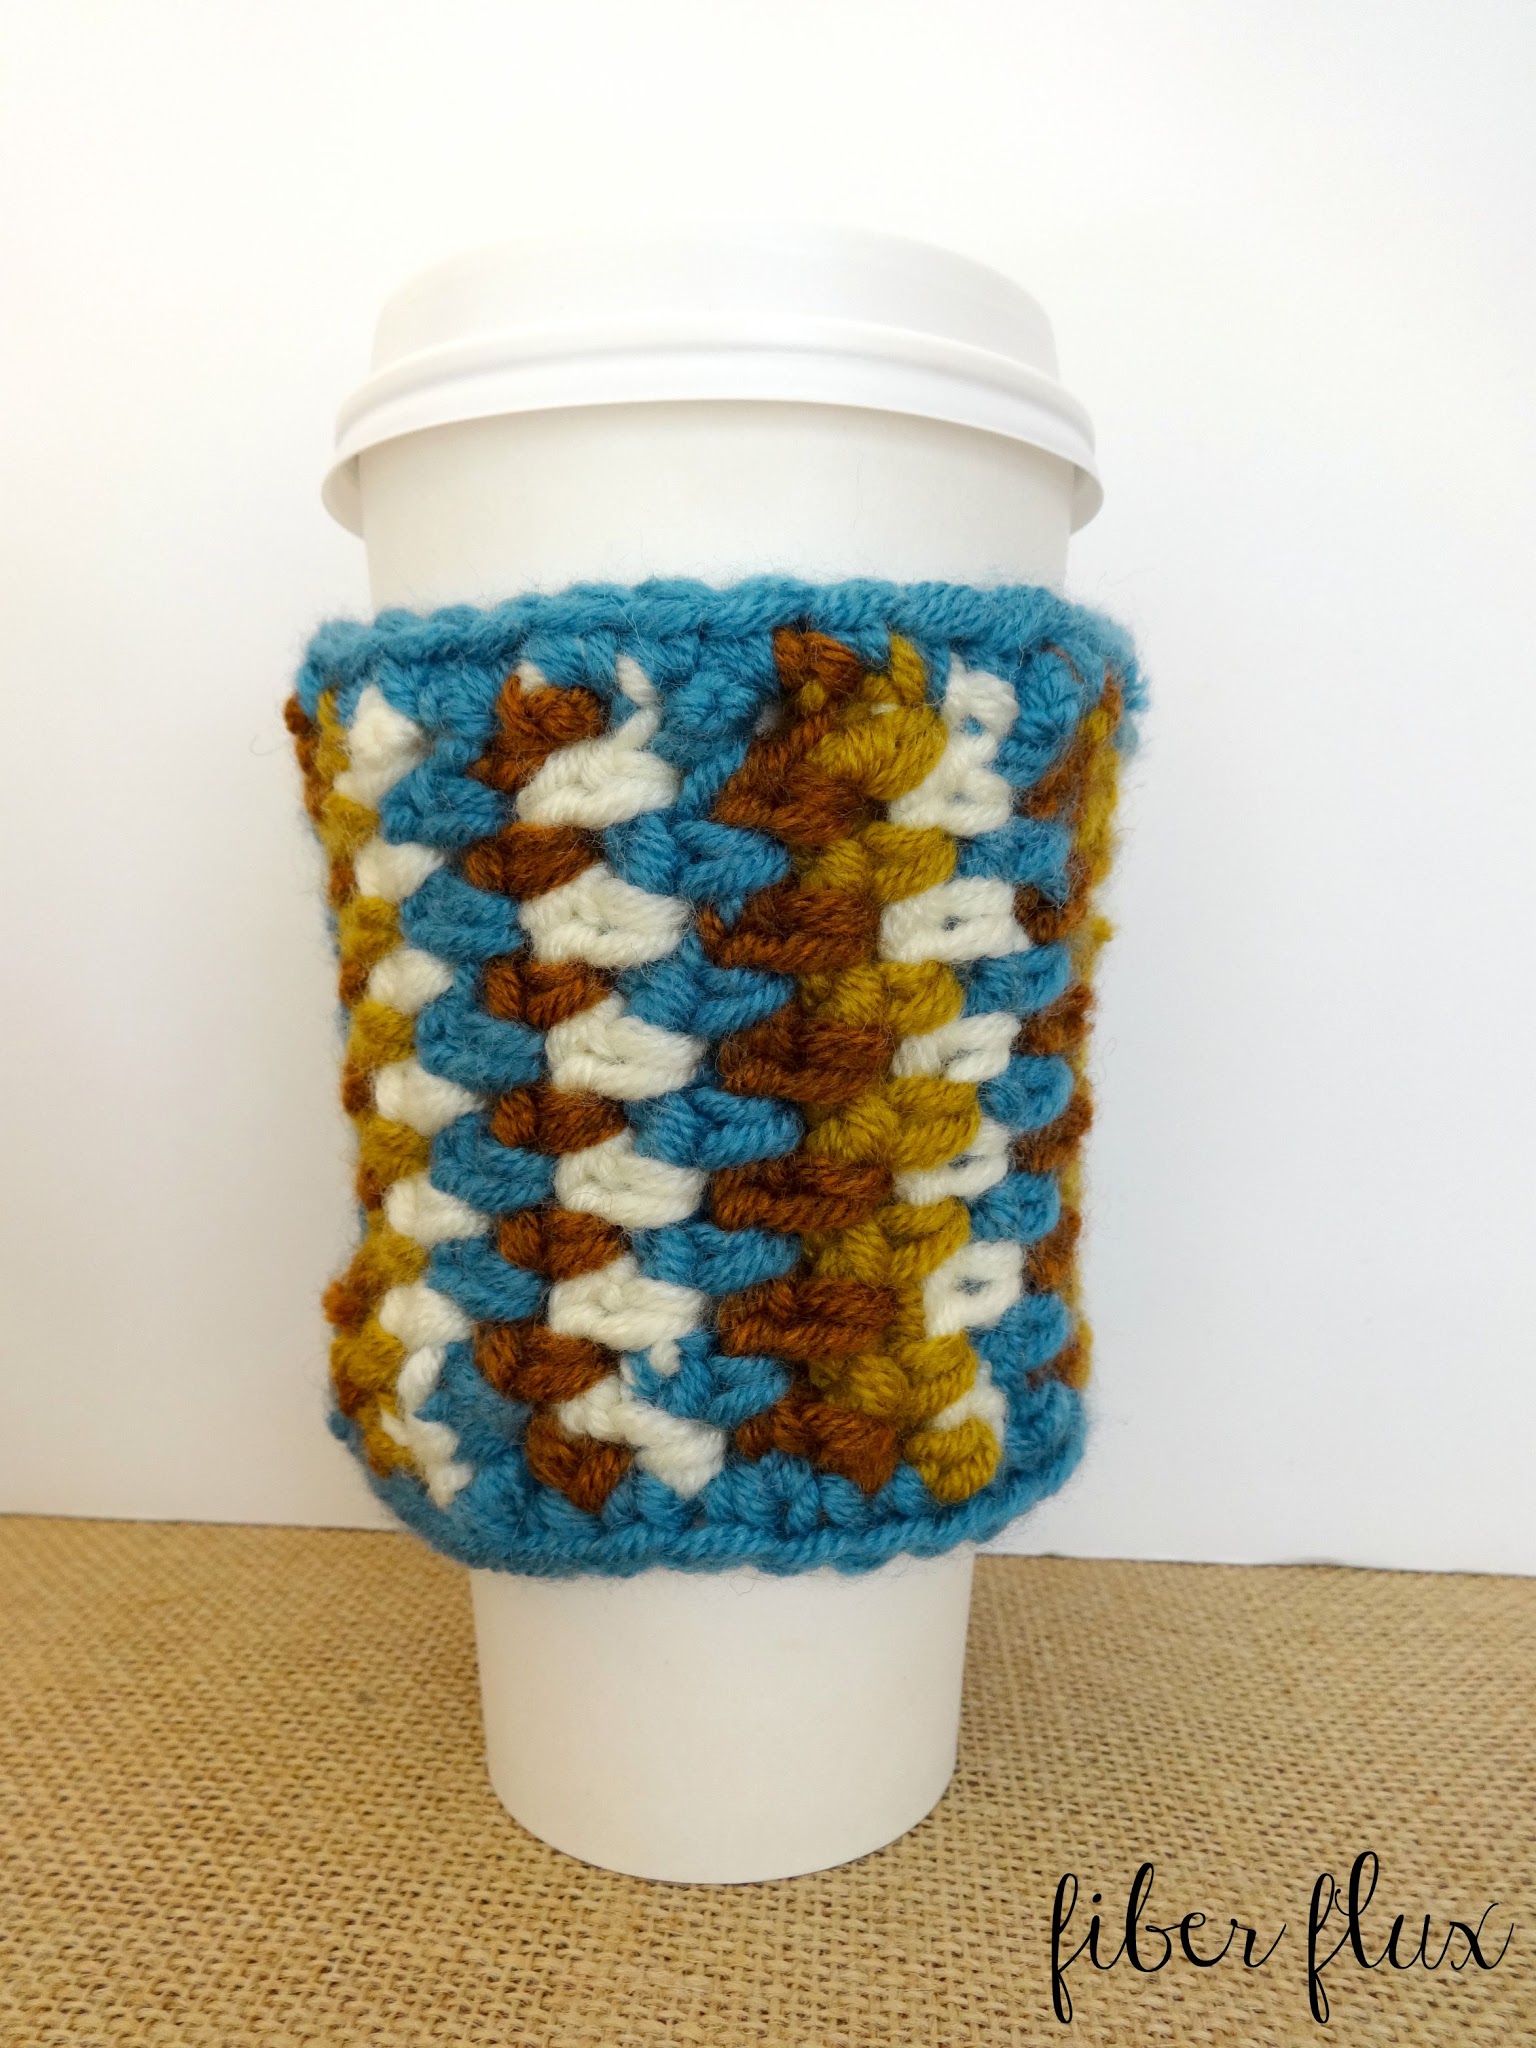
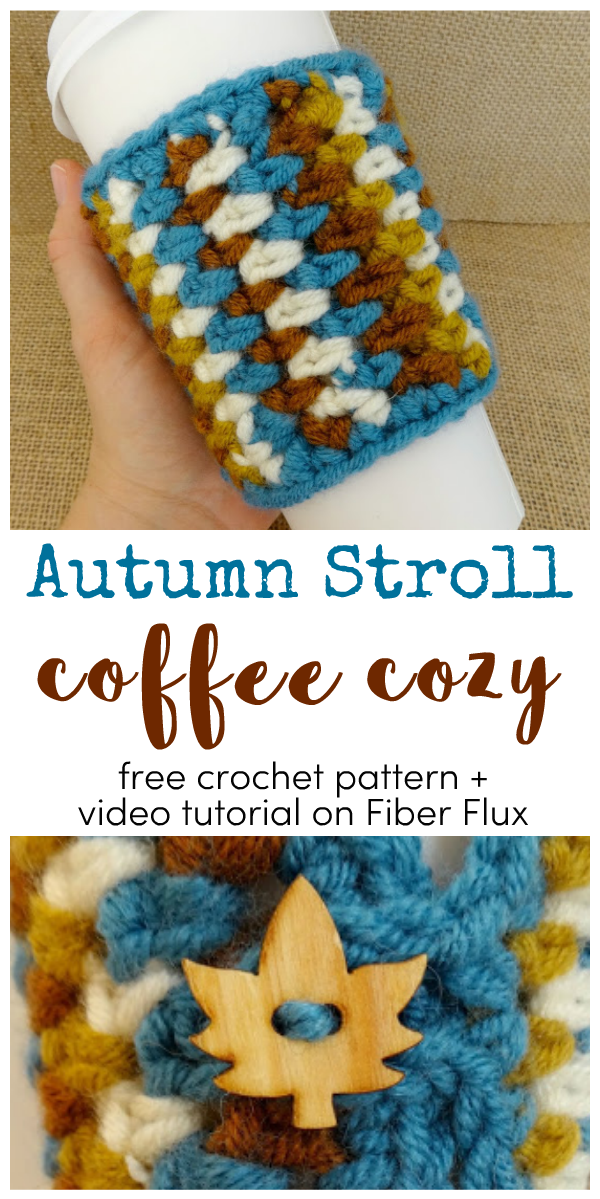
The Autumn Stroll Coffee Cozy is warm and squishy and the perfect accompaniment to your coffee or tea! Crocheted in fabulous fall colors, the cozy is stitched up with the lovely linen stitch and secured with a pretty wood button (see next photo below). The cozy shown here is made for a big cup (because I love my coffee!), but you can change the sizing (instructions for that below) as you see fit for your own cup too.
Autumn Stroll Coffee Cozy
By Jennifer Dickerson
Click the button below to add this project to your Ravelry queue:

Materials:
- Small amounts of bulky yarn (yarn used for cozy pictured is Lion Brand Woolspun in “Honey” “Aquamarine” “Mahoghany” and “Fisherman”
- K (6.5 mm) crochet hook
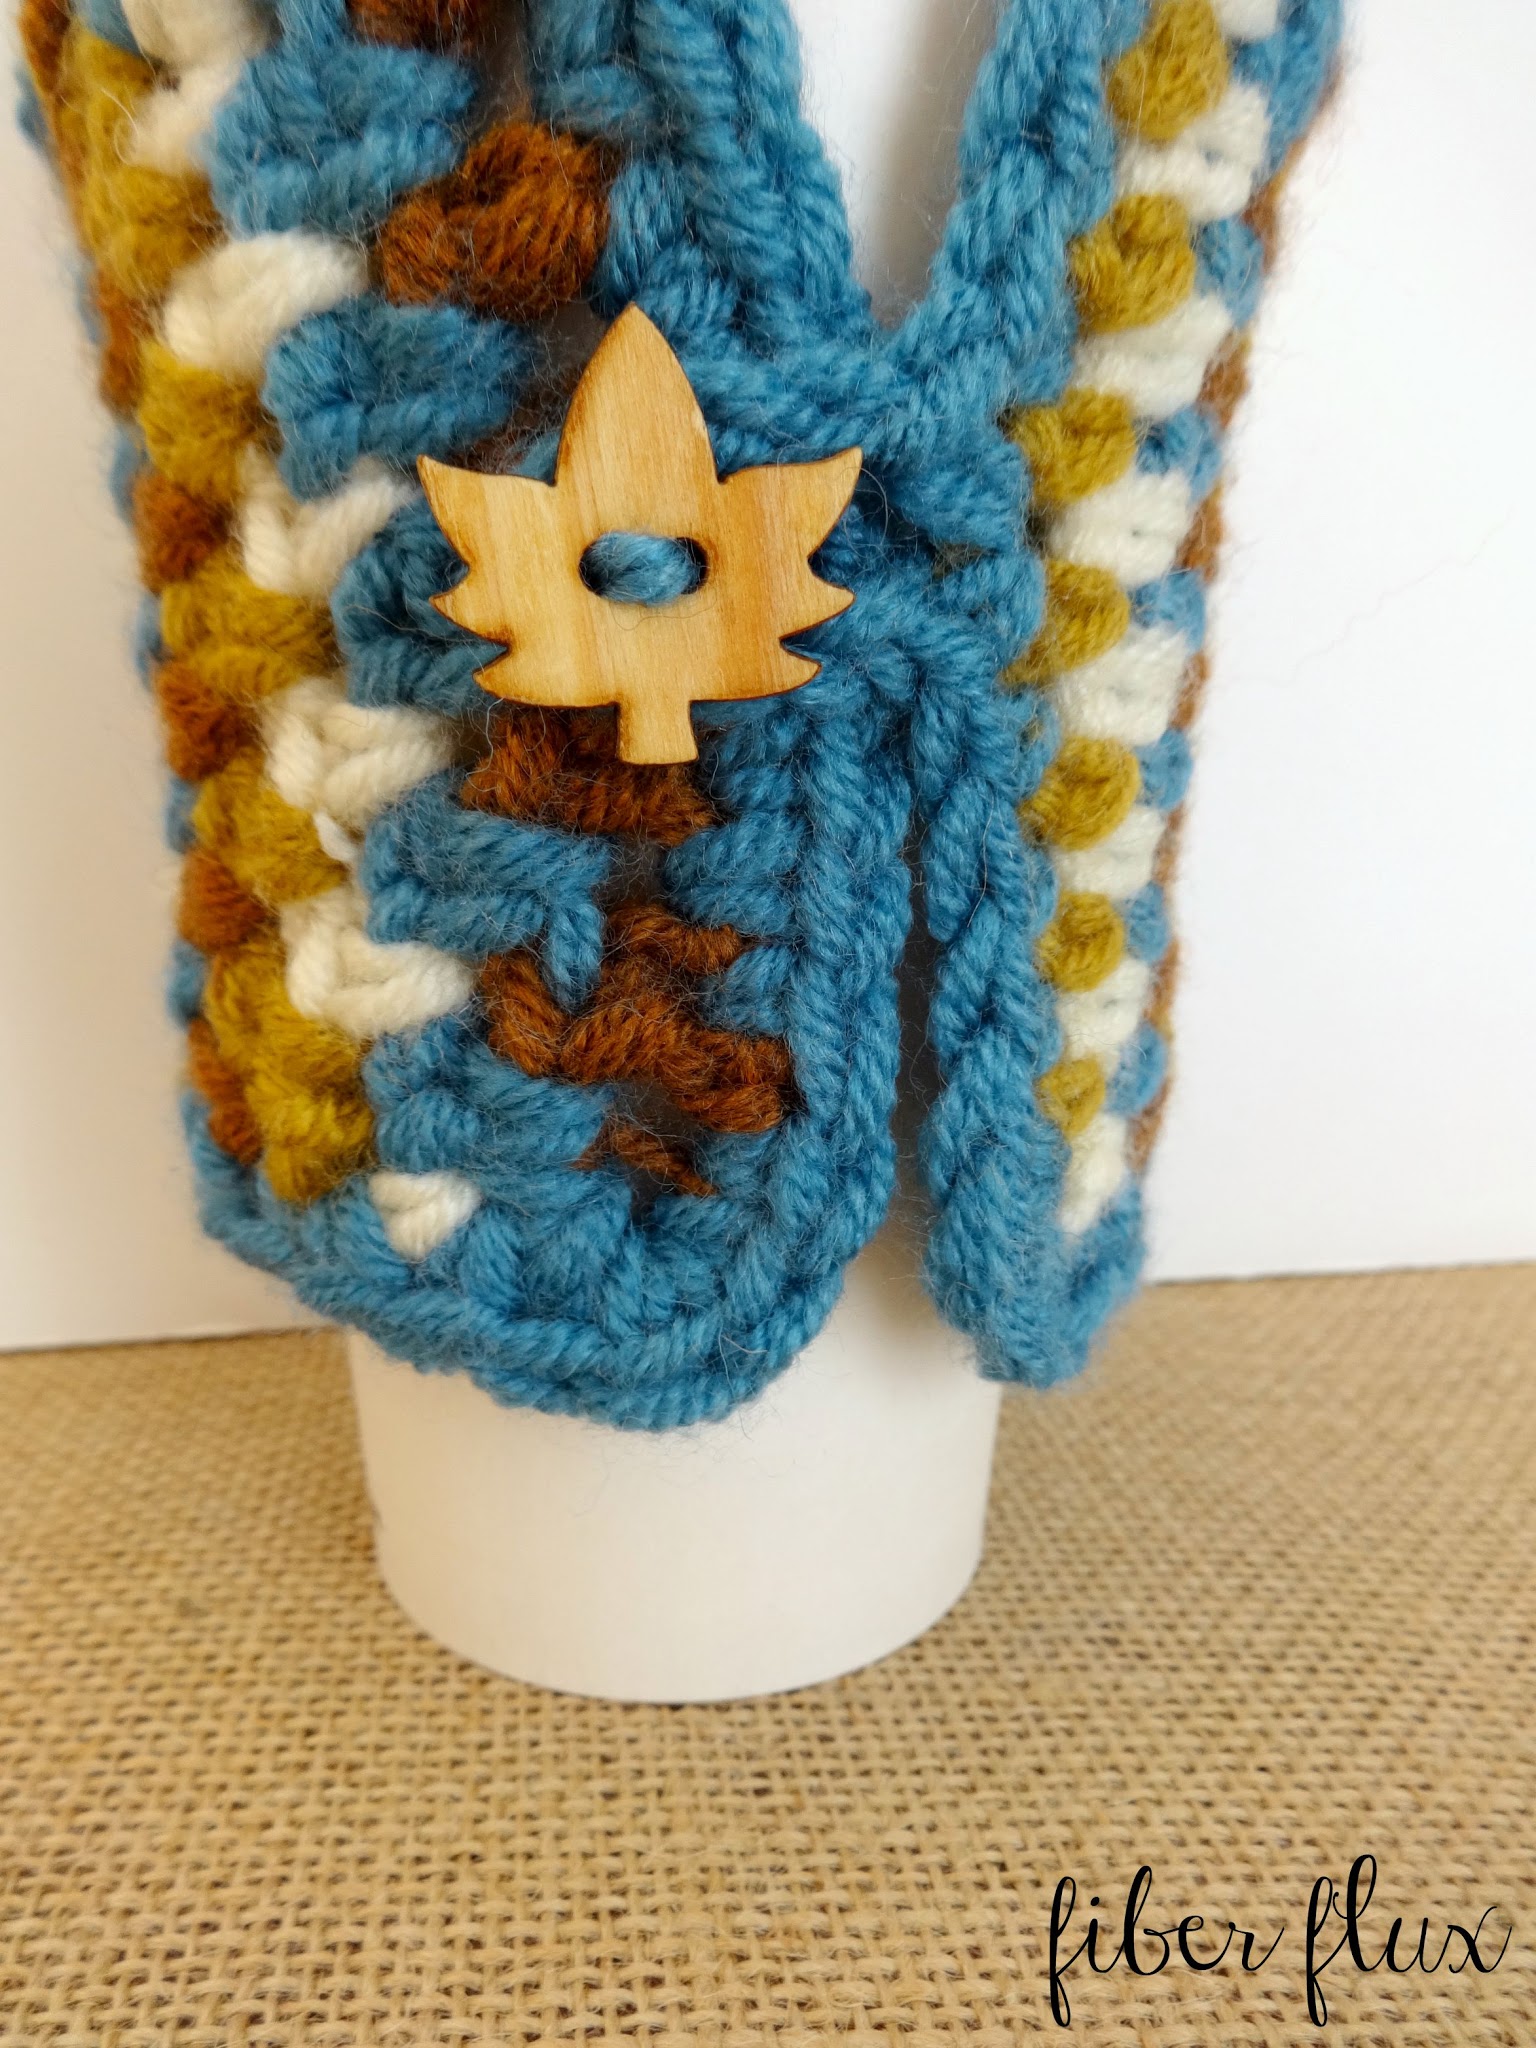
- 1 button
- Tapestry needle
- Scissors
Sizing As Shown:
- 4.5 inches tall
- 10 inches long (before buttoning, not including the loop)
Note: I made mine for a large coffee cup, but making a smaller starting chain will yield a shorter cozy and working less rows will make it smaller around.
Tutorial Links:
Instructions:
Note: Each row worked in a different color.
Ch 12 (to change sizing, simply make your starting chain any even number)
Row 1: Work a sc in the second ch from the hook, *ch 1, skip 1 ch, sc in the next ch, repeat to last ch.
Row 2: Ch 1 and turn. Work a sc in the first sc, sc in the ch 1 space, *ch 1 sc in the sch 1 space, repeat from * to last ch 1 space, then sc in the last sc.
Row 3: Ch 1 and turn. Work a sc in the first st, then ch 1. *sc in the ch 1 space, ch 1, repeat from * to last ch 1 space, then work a sc in the last st.
Repeat rows 2 and 3 until cozy is as big around as you need it to be. Weave in any ends. Proceed below for edging and button loop instructions.
Edging & Button Loop Instructions:
Tie on preferred edging color into any corner of your rectangle and ch 1. Work 3 sc in the corner, then a sc in each of the stitches along the side, then along the bottom, then the other side (working 3 sc in each of the corners). When you get to the top of the rectangle, work a sc in each st up to the middle of the top edge, then ch 6 (see note below) for the button loop. Work another sc in that same st, then continue working a sc in each st across. Join to close round with a sl st.
Finishing & Assembly:
Weave in all ends and sew button on as shown in the photo above with a piece of matching yarn.
Click below for a full video tutorial for this project:
Happy crocheting lovelies!
For more fun projects and pretty patterns, be sure to follow Fiber Flux on Google+, Facebook, Twitter, and Pinterest for the latest updates!
Visit the Fiber Flux Yarn Shop for fabulous yarn at great prices!


 (Affiliate links, enjoy these awesome products and thanks as always for your support!)

