
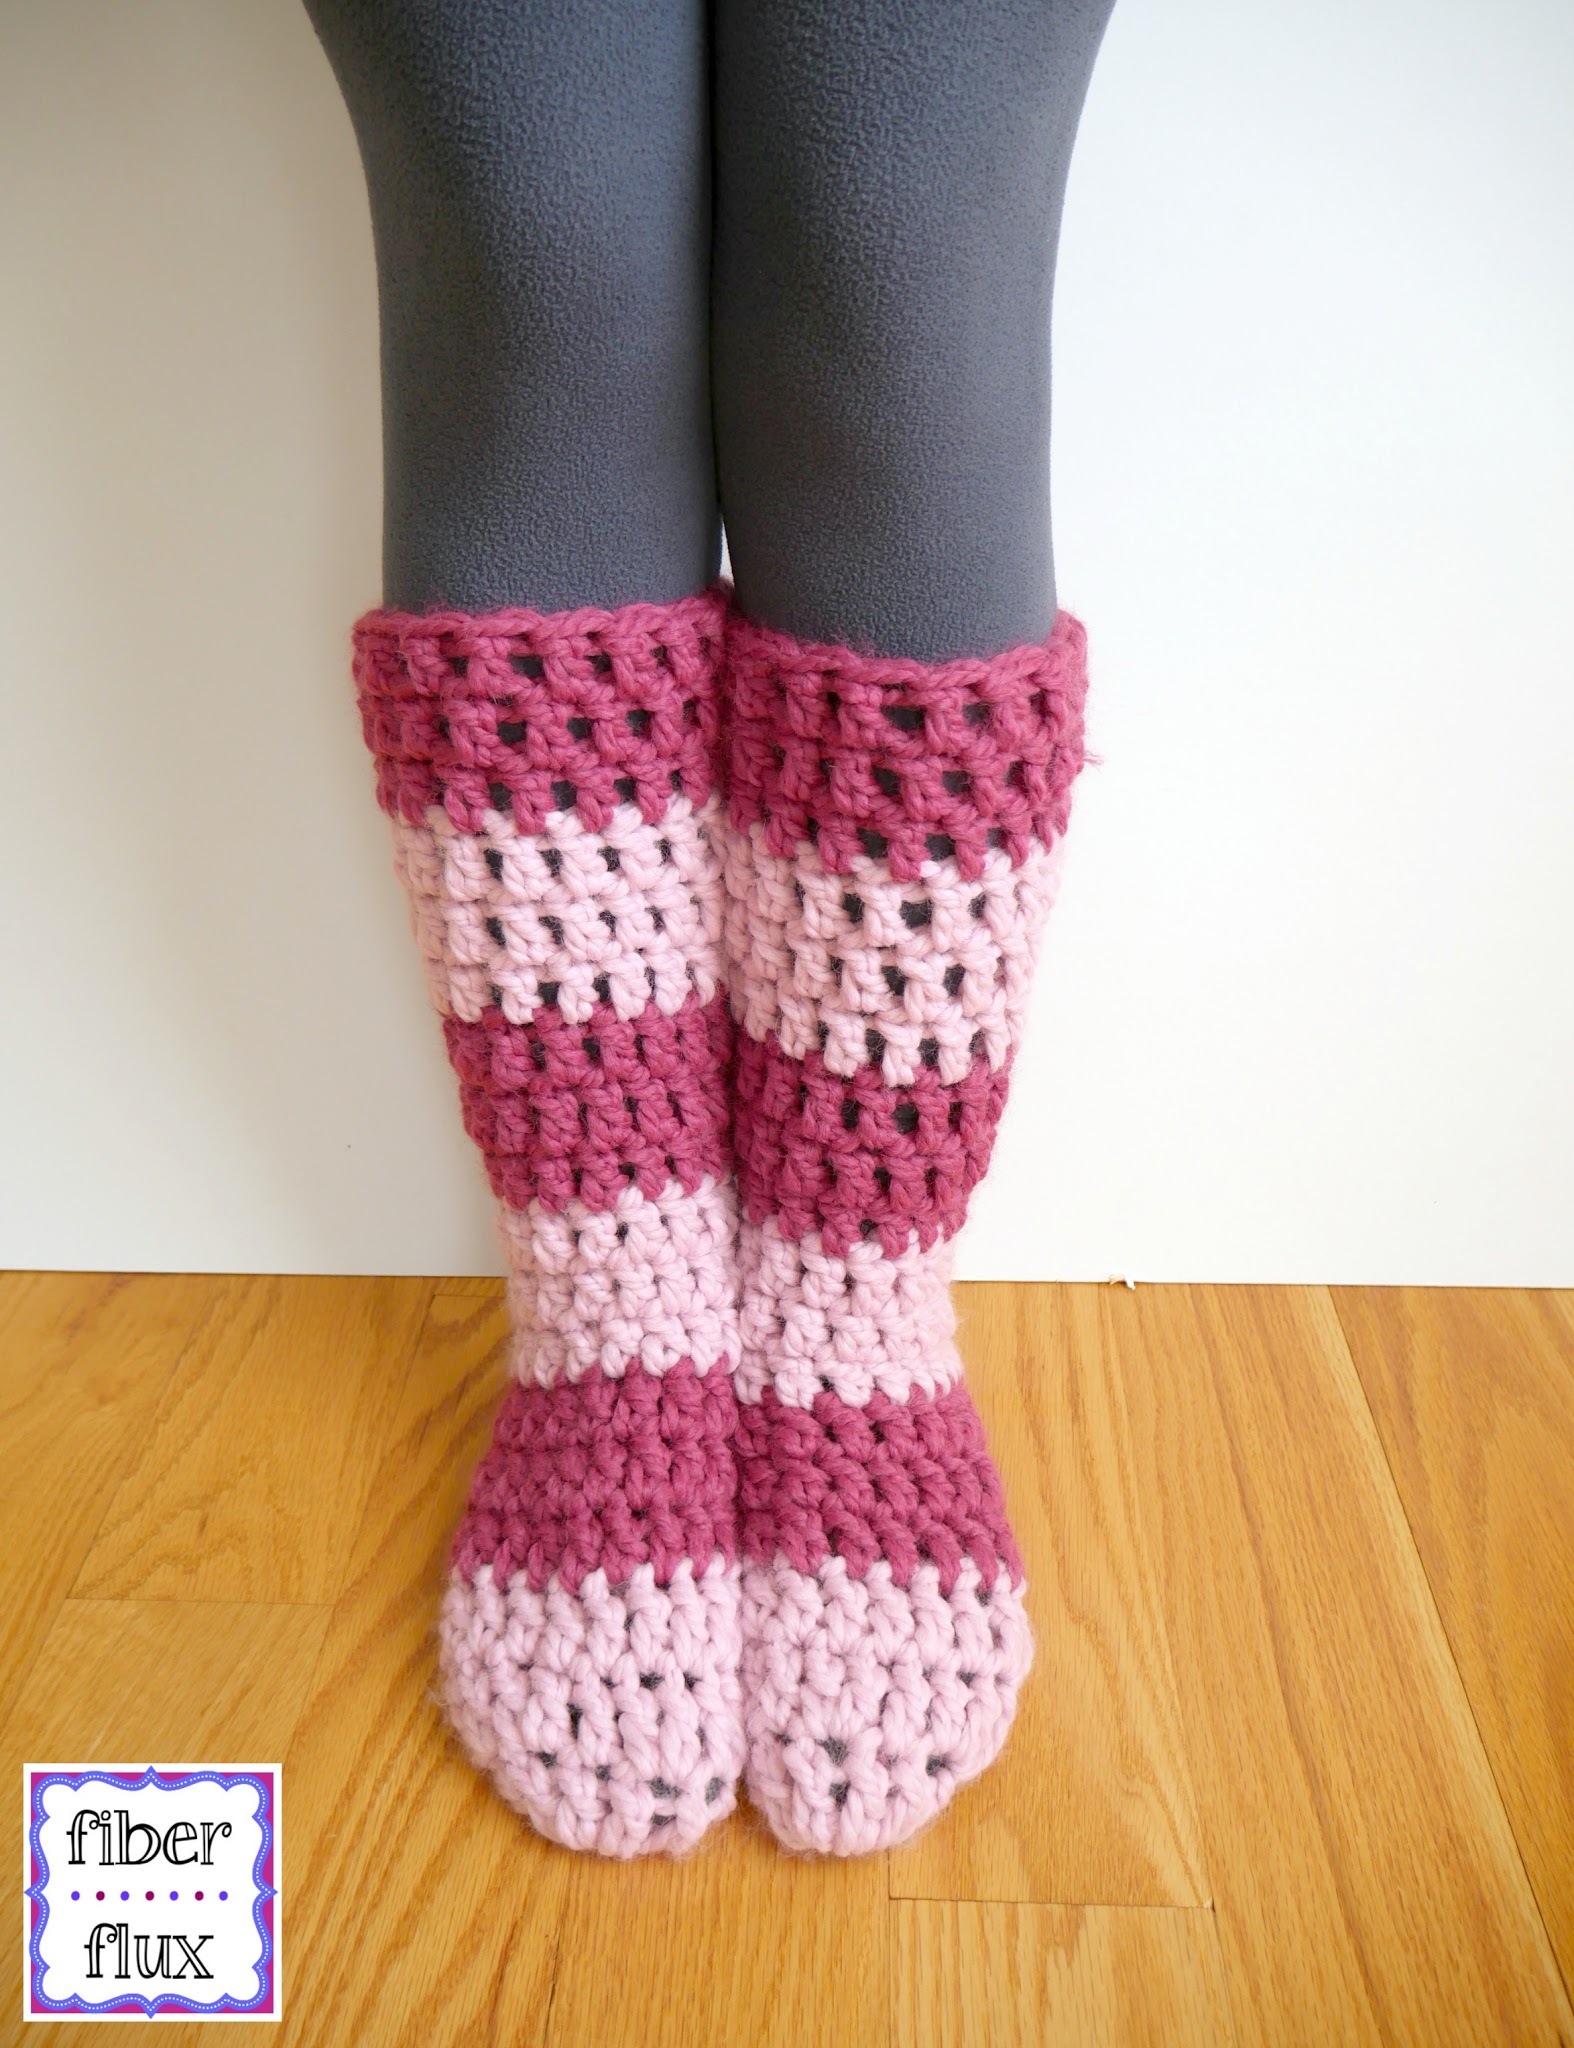
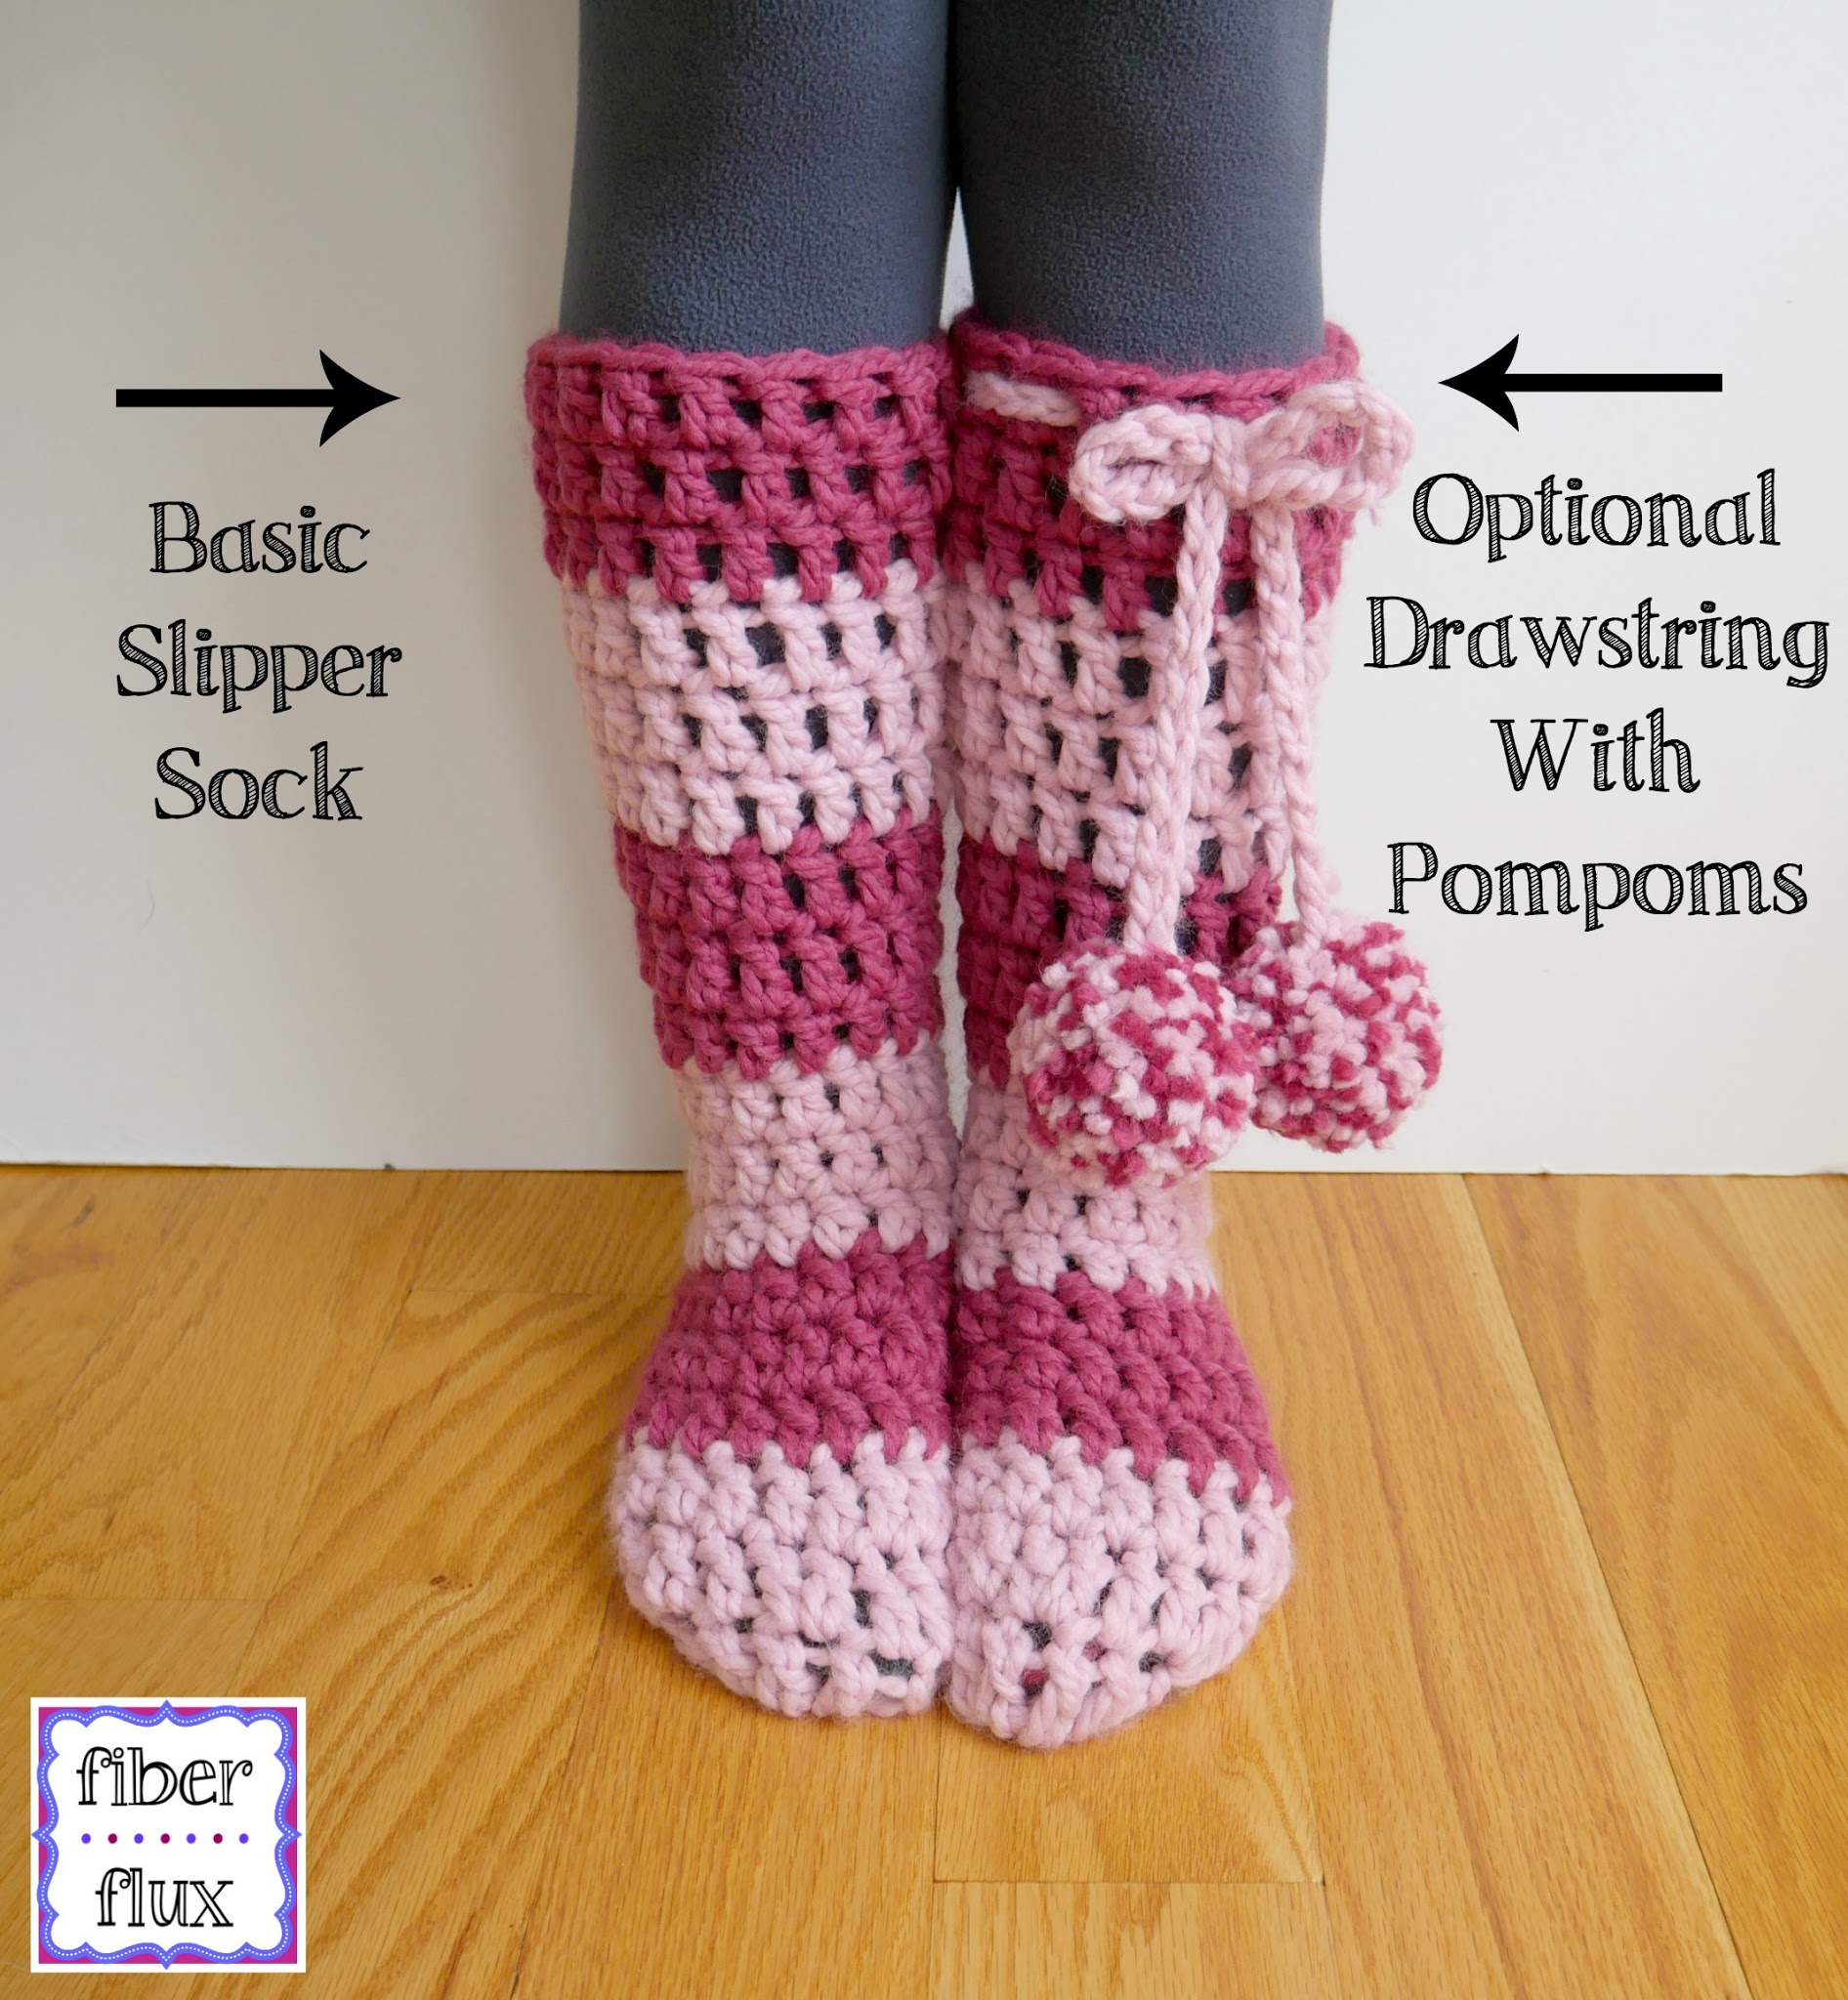
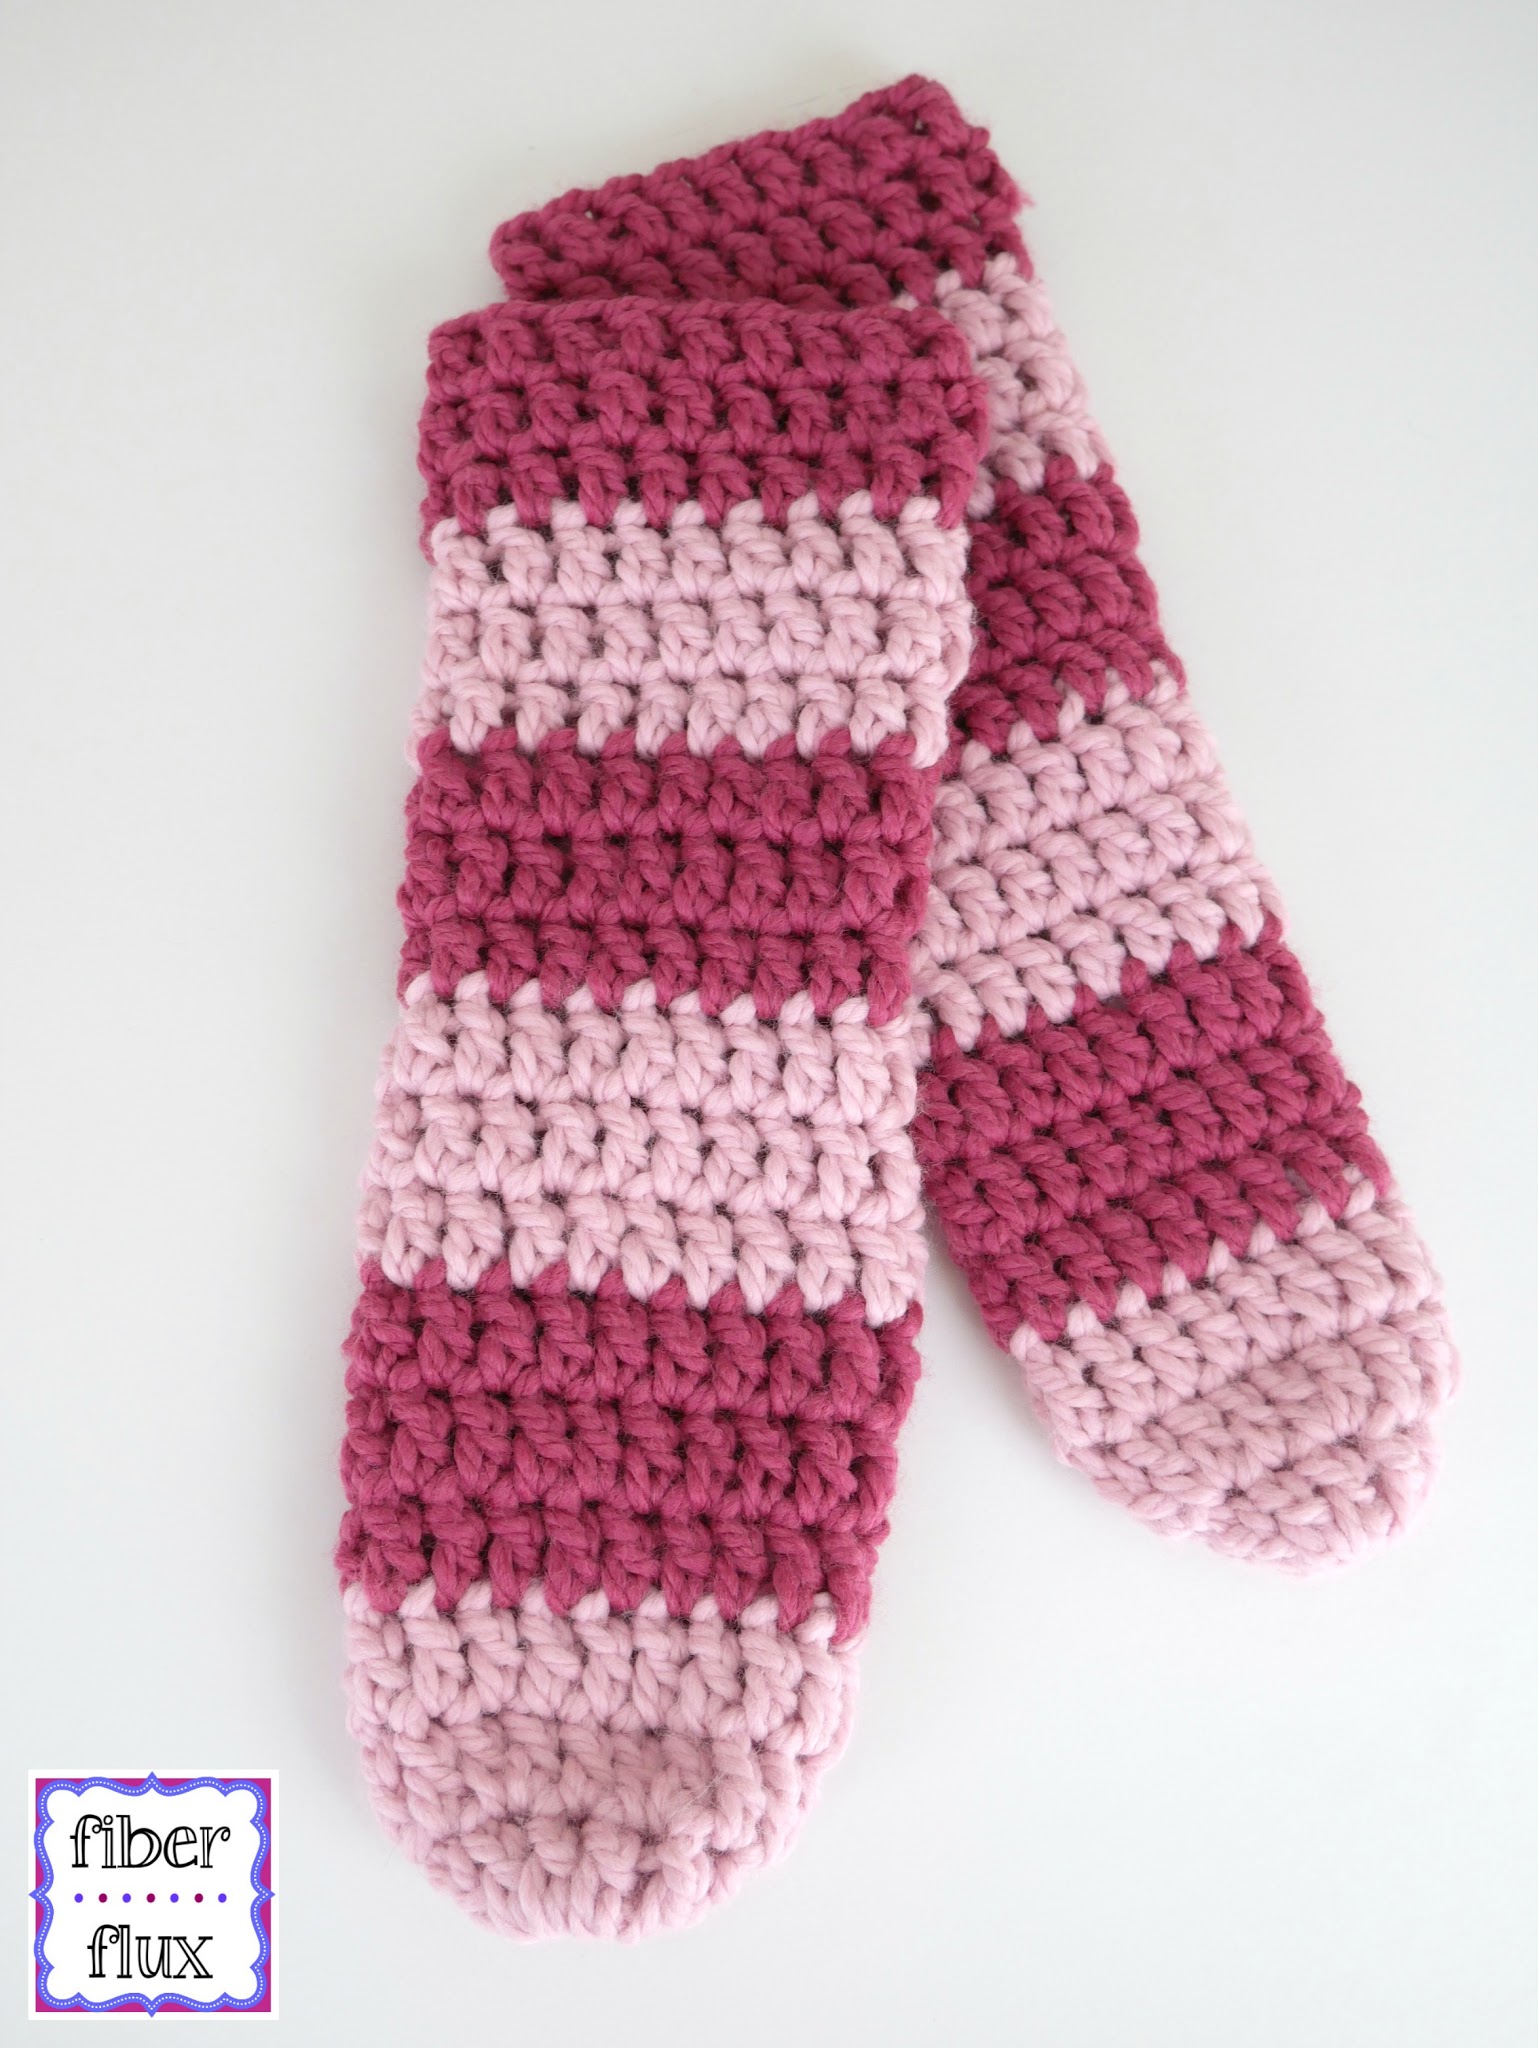
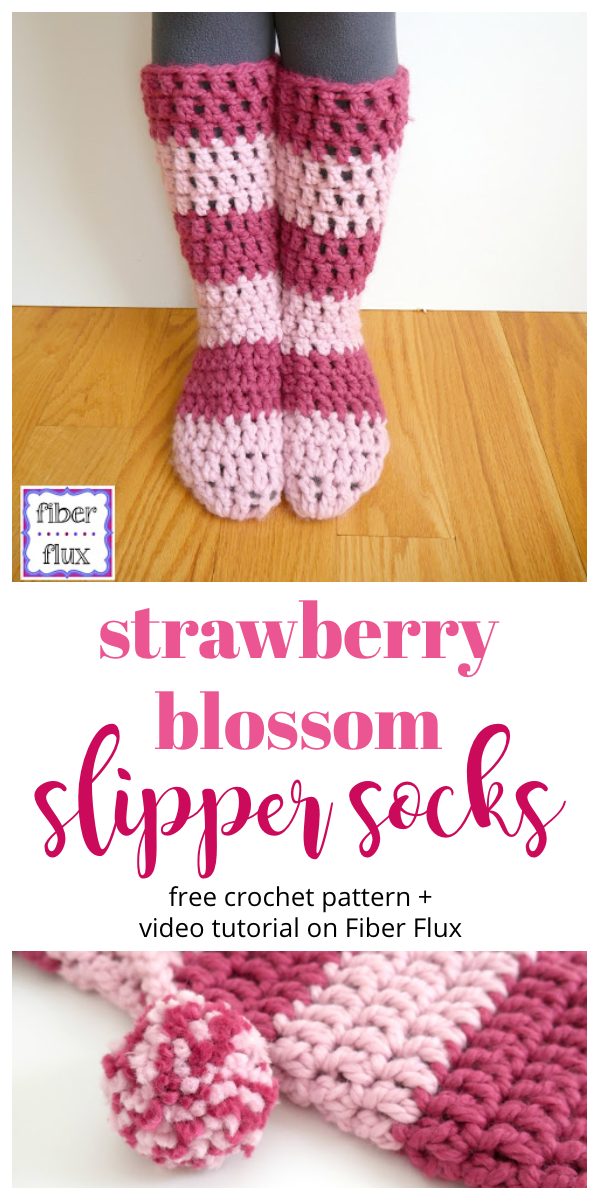
The Strawberry Blossom Crochet Slipper Socks are soft, lofty, and extra cozy for toasty feet and legs. An easy to construct “tube” sock is finished off with an extra (optional) drawstring and fun pompoms. One of the most fun things about this pattern are the fun stripes…I can’t wait to see what colors you pick too!
Watch a full video tutorial on how to crochet the Strawberry Blossom Crochet Slipper Socks:
(Can’t see the video? Get it here!
Abbreviations and Tutorial Links:
Materials:
- 9.0 mm crochet hook
- 2 Balls of Lion Brand Wool Ease Thick & Quick (I used 1 of the “Raspberry” colorway and one of the “Blossom” colorway.
- Tapestry Needle
- Scissors
- Ruler or Measuring Tape
Sizing:
- 18 inches tall
- 11.5 inch circumference
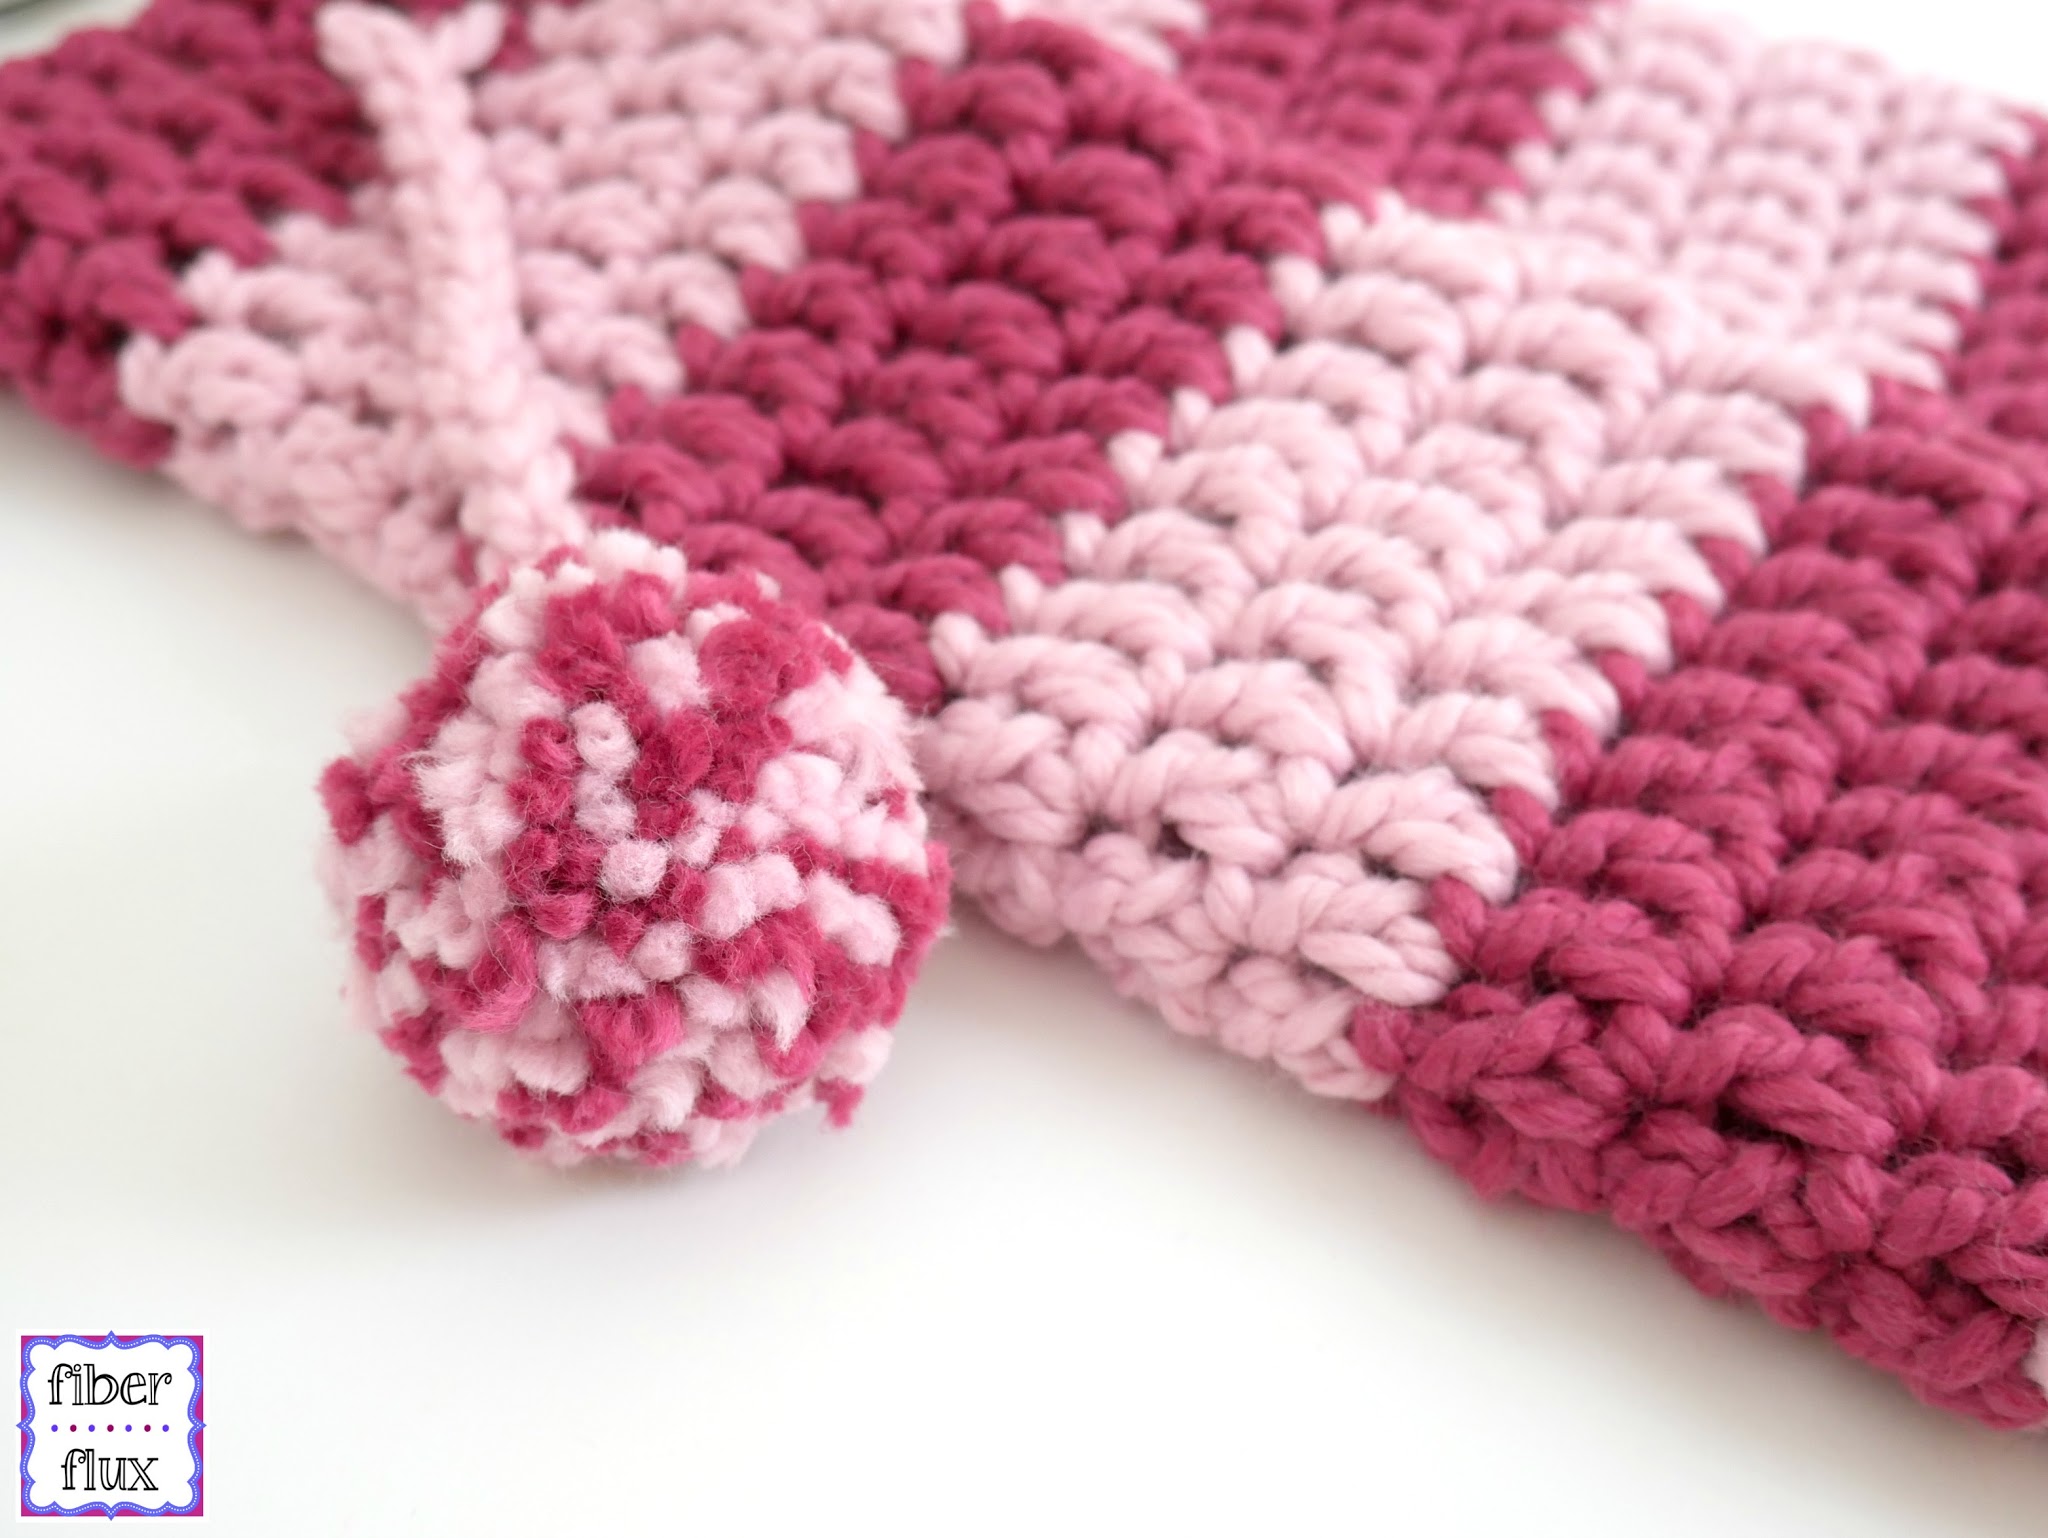
- pompoms are each 3 inches wide
Instructions for Slipper Socks (make 2):
Ch 4, then join with a sl st in the ch furthest from the hook to create a ring.
Round 1: ch 3, then work 11 dc into the center of the ring. Join with a sl st to close round.
Round 2: ch 3 (counts as a dc), then work a dc in the first st. *work 2 dc in the next st, then a dc in the next st. Repeat from * to end of round, then join to close with a sl st.
Round 3: ch 3 (counts as a dc), then work a dc in each st. Join to close round with a sl st.
Repeat round 3 until slipper sock measures 18 inches tall from beginning (or desired height).
Drawstrings (make 2):
Note: this part of the slipper is totally optional. You can wear the slippers with or without.
Make a chain 41 inches long, fasten off and weave in ends. Repeat for second string.
Pompoms:
Make two per slipper using one color for a solid pom pom, and two or more colors for a multi color pompoms. I wrapped mine around my hands two strands held together.
Check out this video tutorial below if you need more help making the pom-pom.
Finishing & Assembly:
Weave all ends. Using ties from pom poms, tie one to each drawstring end. Trim ends.
Happy crocheting lovelies!
For more fun projects and pretty patterns, be sure to follow Fiber Flux on Google+, Facebook, Twitter, and Pinterest for the latest updates!
Visit the Fiber Flux Yarn Shop for fabulous yarn at great prices!


 (Affiliate links, enjoy these awesome products and thanks as always for your support!)


these are so adorable thank you for sharing!!!
What happens after Round 3 ?? No further instructions…..
You keep going with round 3 and make them as long as you want them to be
Hi. Can you tell me how many stitches i should have. Thank you.
How many stitches should I have total for round 2
Also, none of my crochet hooks say 9mm. Is it the same as N?
Awesome tutorial! You make it super easy to follow and I can actually make these!! Love, love, love!
What size would you say these would fit? My father is wanting a pair sans Pom poms but I'm not sure the circumference would be large enough. Thanks!
These are amazing, thank you so much for sharing. I have a quick question. I am voluptuous woman, and I do believe that I will need a little wider circumference when its all said and done. Would I just need to repeat the single and double (round 2) in the 3rd round as well to make it wider?
Did this work? I am planning on doing this this morning but also need a little bigger of a circumference
Thank you for the pattern. It is simple and fast. I was able to easily taylor it for my needs.
What size foot do these fit
Love this pattern, but it would be good to know how many stitches you should have after round three.
Was at doctors office working on my tube(s). A lady told me how cute they were. I said thanks. Then showed her the you tube site. 💘 your designs thanks so much.
This comment has been removed by a blog administrator.
This comment has been removed by a blog administrator.
Has anyone tried this with Bernat Blanket yarn?
Hi, i completed the project but instead of it being straight my sock continually got wider ): please tell me what i did wrong
This comment has been removed by a blog administrator.