

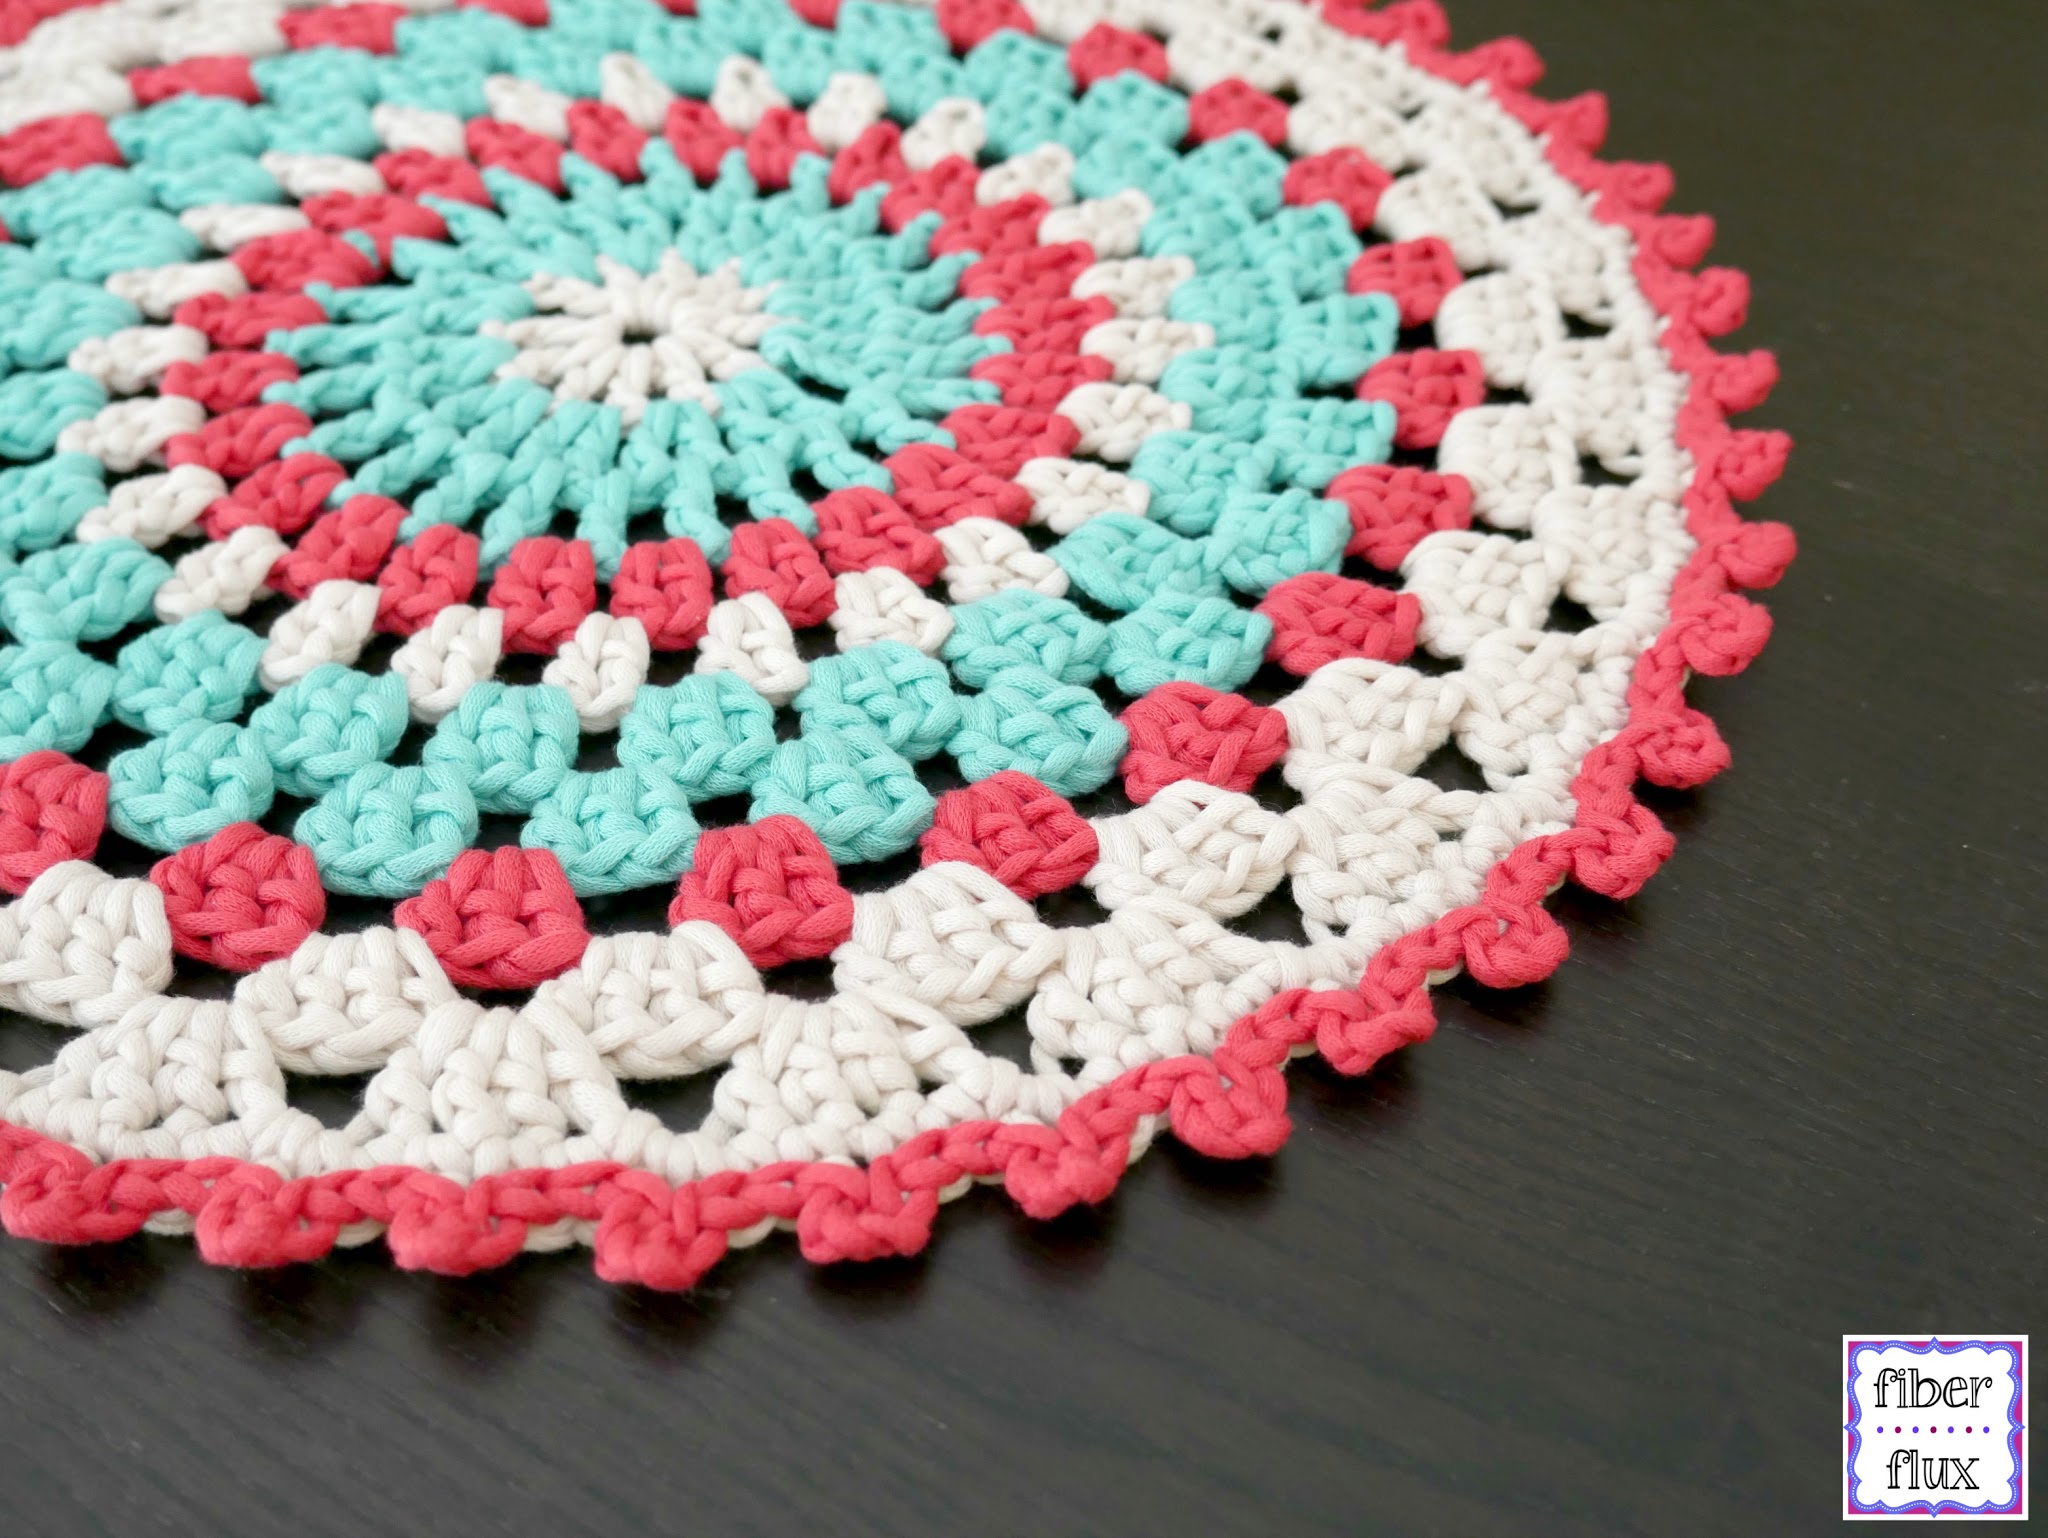
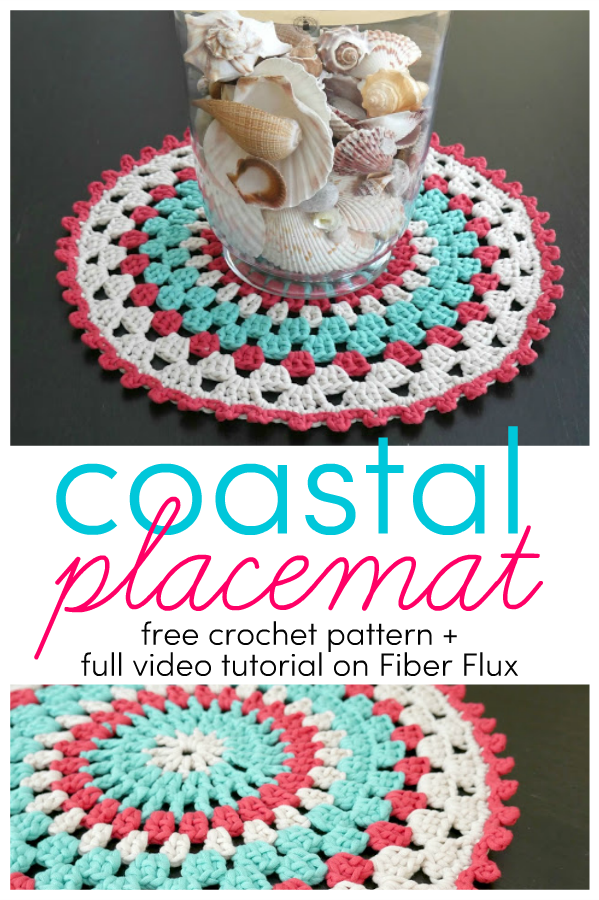
The Coastal Placemat makes a lovely addition to a summertime table. Make a few for each guest at the table or perhaps just one to make a striking centerpiece. Fast, fun, and easy too!
Coastal Placemat
By Jennifer Dickerson
Click the button below to add this project to your Ravelry queue:

Click below to watch a full video tutorial on how to make this project:
(Can’t see the video? Click here!)
Let’s connect!


Materials:
- Bernat Maker Dec (yarn scraps from the Boardwalk Breeze Blanket in Cream, Woodberry, and Aqua)
- 8.0 mm crochet hook
- Scissors
- Tapestry needle
Sizing:
- 16 inches across
Tutorial Links & Abbreviations:
Instructions:
Note: Colors are indicated in the instructions for each round worked, feel free to change colors as desired.
Ch 4, then join with a sl st in the ch furthest from the hook.
Round 1 (cream): ch 3, then work 11 dc into the center of the ring, then join with a sl st to close round.
Round 2 (aqua): Ch 3 then work a dc, ch 1 in the first space. *Work (2 dc, ch 1) in the next space. Repeat from * to end of round, then join with a sl st to close round.
Round 3 (aqua): Ch 3 then work a dc, ch 1 in between each dc from the previous round, then join with a sl st to close round.
Round 4 (red): Ch 3, then in the same space work a dc, ch 1. *In the next space work (2 dc, ch 1). Repeat from * to end of round. Join with a sl st to close round.
Round 5 (cream): Repeat round 4.
Round 6 (aqua): Ch 3, then in the same space work 2 dc, ch 1. *In the next space work (3 dc, ch 1). Repeat from * to end of round. Join with a sl st to close round.
Round 7 (aqua): Repeat round 6.
Round 8 (red): Repeat round 6.
Round 9 (cream): Ch 3, then in the same space work 3 dc, ch 1. *In the next space work (4 dc, ch 1). Repeat from * to end of round. Join with a sl st to close round.
Round 10 (cream): Repeat round 9.
Round 11 (cream): Ch 1, then work a sc in the same space. *work a sc in each of the next 4 stitches, then 2 sc in the next space. Repeat from * to end of round. Join with a sl st to close round.
Round 12 (red): *Work a slip stitch in each of the first three stitches, ch 3, then work a sl st in the same stitch. Repeat from * to end of round. Join with a sl st to close round.
Finishing: Weave in any ends and you’re finished!

For more fun projects and pretty patterns, be sure to follow Fiber Flux on Google+, Facebook, Twitter, and Pinterest for the latest updates!

Visit the Fiber Flux Yarn Shop…lovely yarn & great prices!


 (Affiliate links, enjoy these awesome products and thanks as always for your support!)


Jennifer, mine is looking ruffled not laying flat. Maybe stitches are too tight?? Help please. Thank you!
Maybe your stitch count is off. Every row should end with an even number. Its annoying to count stitches but hopefully it will help.
Where can I find the coaster placemats?
Hi Jennifer. I made this using sugar and cream cotton. It's a little bit smaller than yours but still pretty. Thanks for the pattern.
Thank you Jennifer for your tutorial. very easy to follow and my placemat came out beautiful! I used Lily Sugar and Cream and it came out not quite as thick but still lays flat, and lots of compliments. Thanks again. (I used pink instead of red)
I absolutely LOVE this pattern. I have used it so many times now. I made it with Loops & Threads Creme Cotton Yarn. I was wondering if you had any pattern increase suggestions to make this into a larger piece – specifically for a round dining table. I notice that the DC in each space increase – how would you continue to increase?
I did a variation of this with thinner yarn (4.00 hook) and it turned out beautifully. Thank you for this pattern!
Does it matter whether we use the same type of yarn you are using or can we use a different yarn?
No, it doesn't matter. You can use and type of yarn that you feel up to
I just finished this and I'm so happy with the results. I also used Lily
Sugar and Cream yarn and even though I crochet a bit on the tight side it turned out larger than I expected. Thank you so much for the free pattern!
I really like your videos & tutorial. Thanks for sharing it. I've made some of this placemat for gifts to my families, and they like it!!
Love the Placemat. Will be making me one in red white and green for Christmas.
Love ur videos an website an this pattern. Just learned to crochet. Finishing my second mat. Thank u