
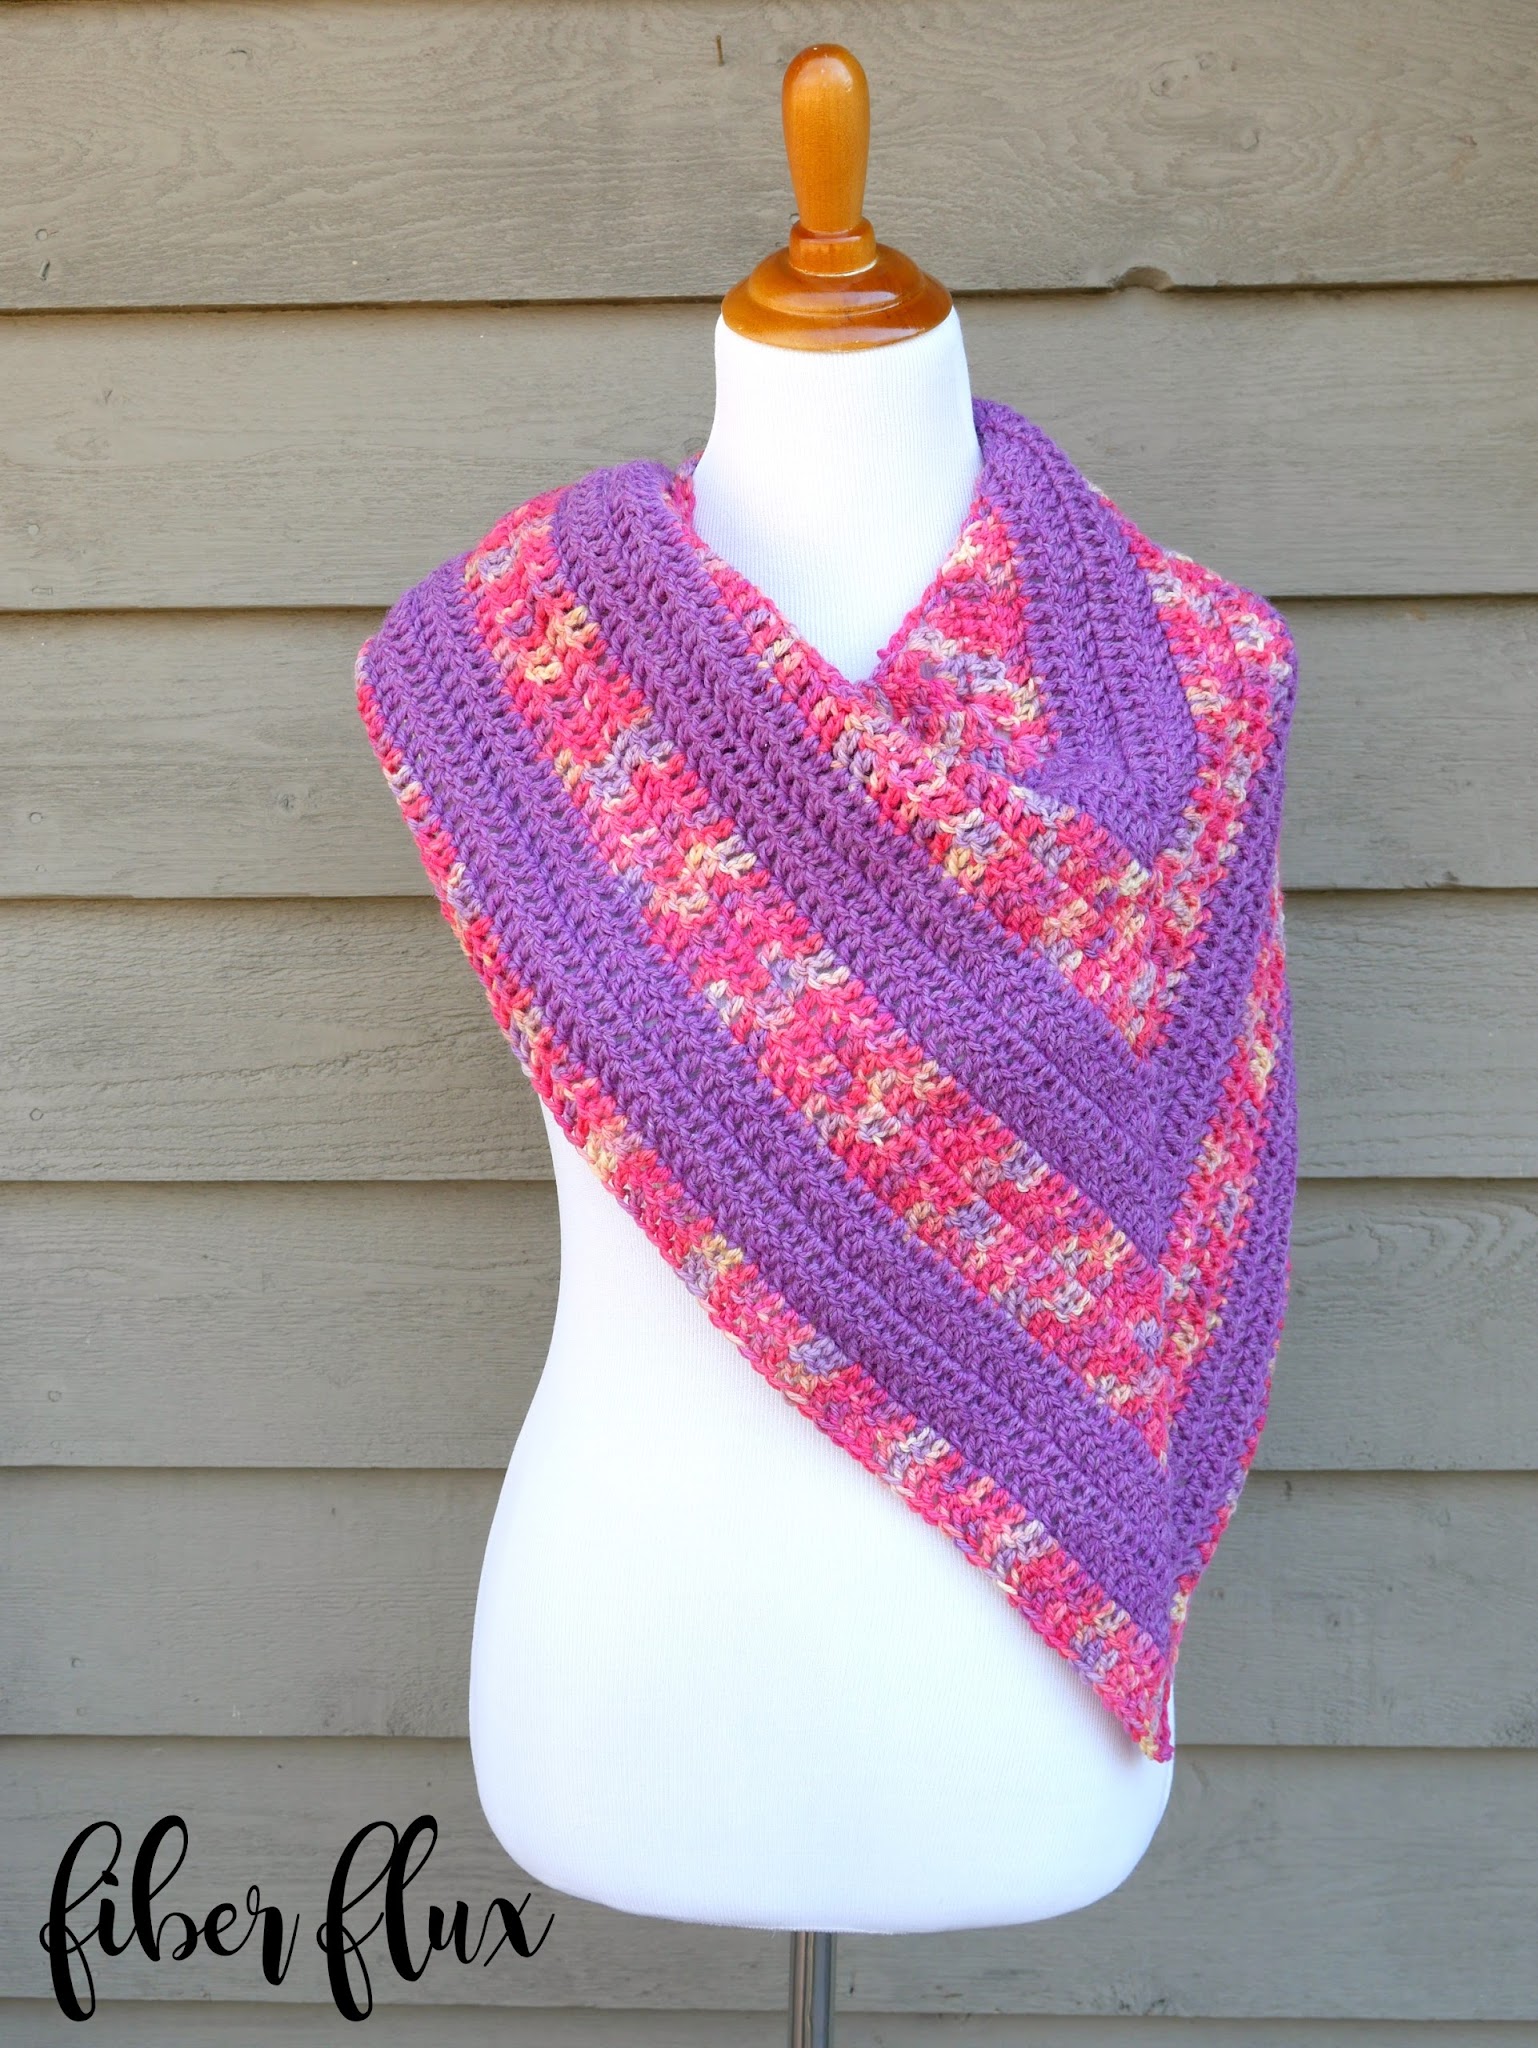
The Tulip Patch Shawl is like a breath of fresh spring air! I’m always so excited to welcome spring after a long, cold winter. Some of the very first flowers that pop up in my garden are daffodils and tulips…and the tulips are my favorite of the early flowers! This shawl celebrates those cheerful springtime blossoms with fun stripes of solid and variegated yarn. This shawl is super easy with stunning results!
Need a little help? There’s a full video tutorial below too!
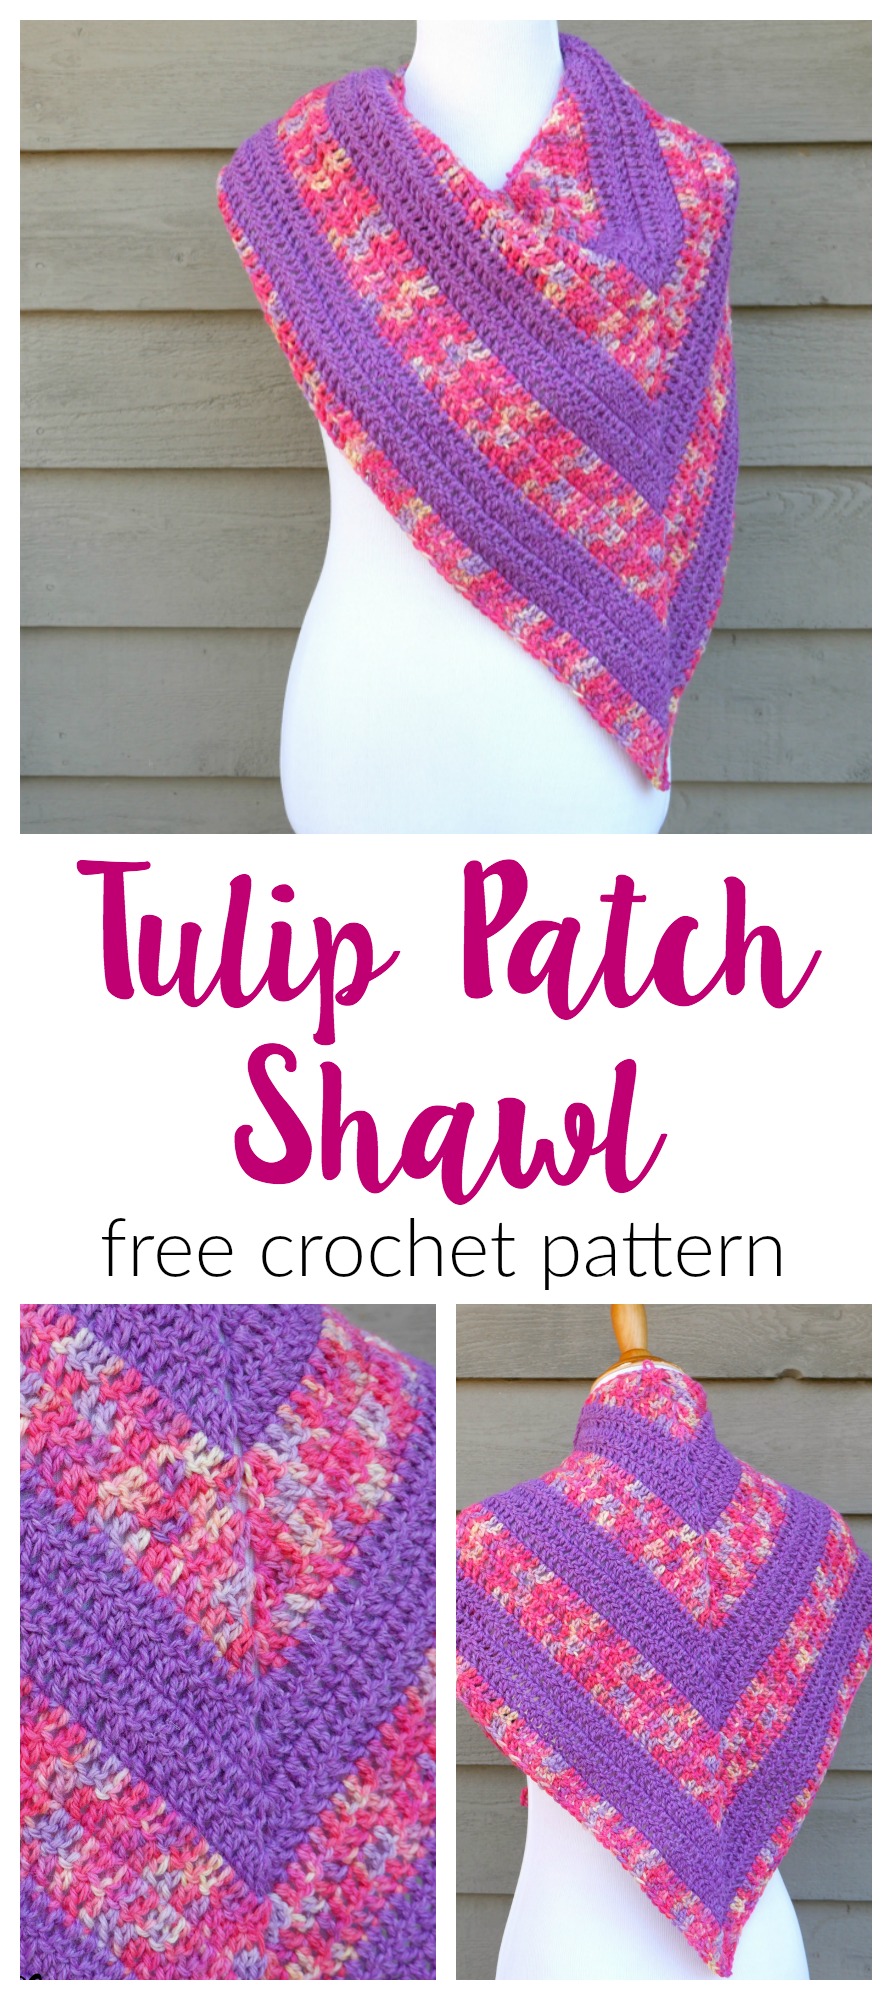
Tulip Patch Shawl
By Jennifer Dickerson
👉 Get the ad-free pattern PDF from my shop here! 👈
Click the button below to add this project to your Ravelry queue:

Click below to watch a full video tutorial on how to make this project:
(Can’t see the video? Click here!)
Materials:
-
6.0 mm “J” crochet hook
-
2 Skeins of Naturally Nazareth by Kraemer Yarns in “Dawn” and “Twilight” (Note: If you need to substitute yarn, 400 yards of any worsted weight will work well)
-
Tapestry Needle
-
Scissors

Sizing:
-
50 inches across the top edge
-
36 inches along each side
Abbreviations and Tutorial Links:

Instructions:
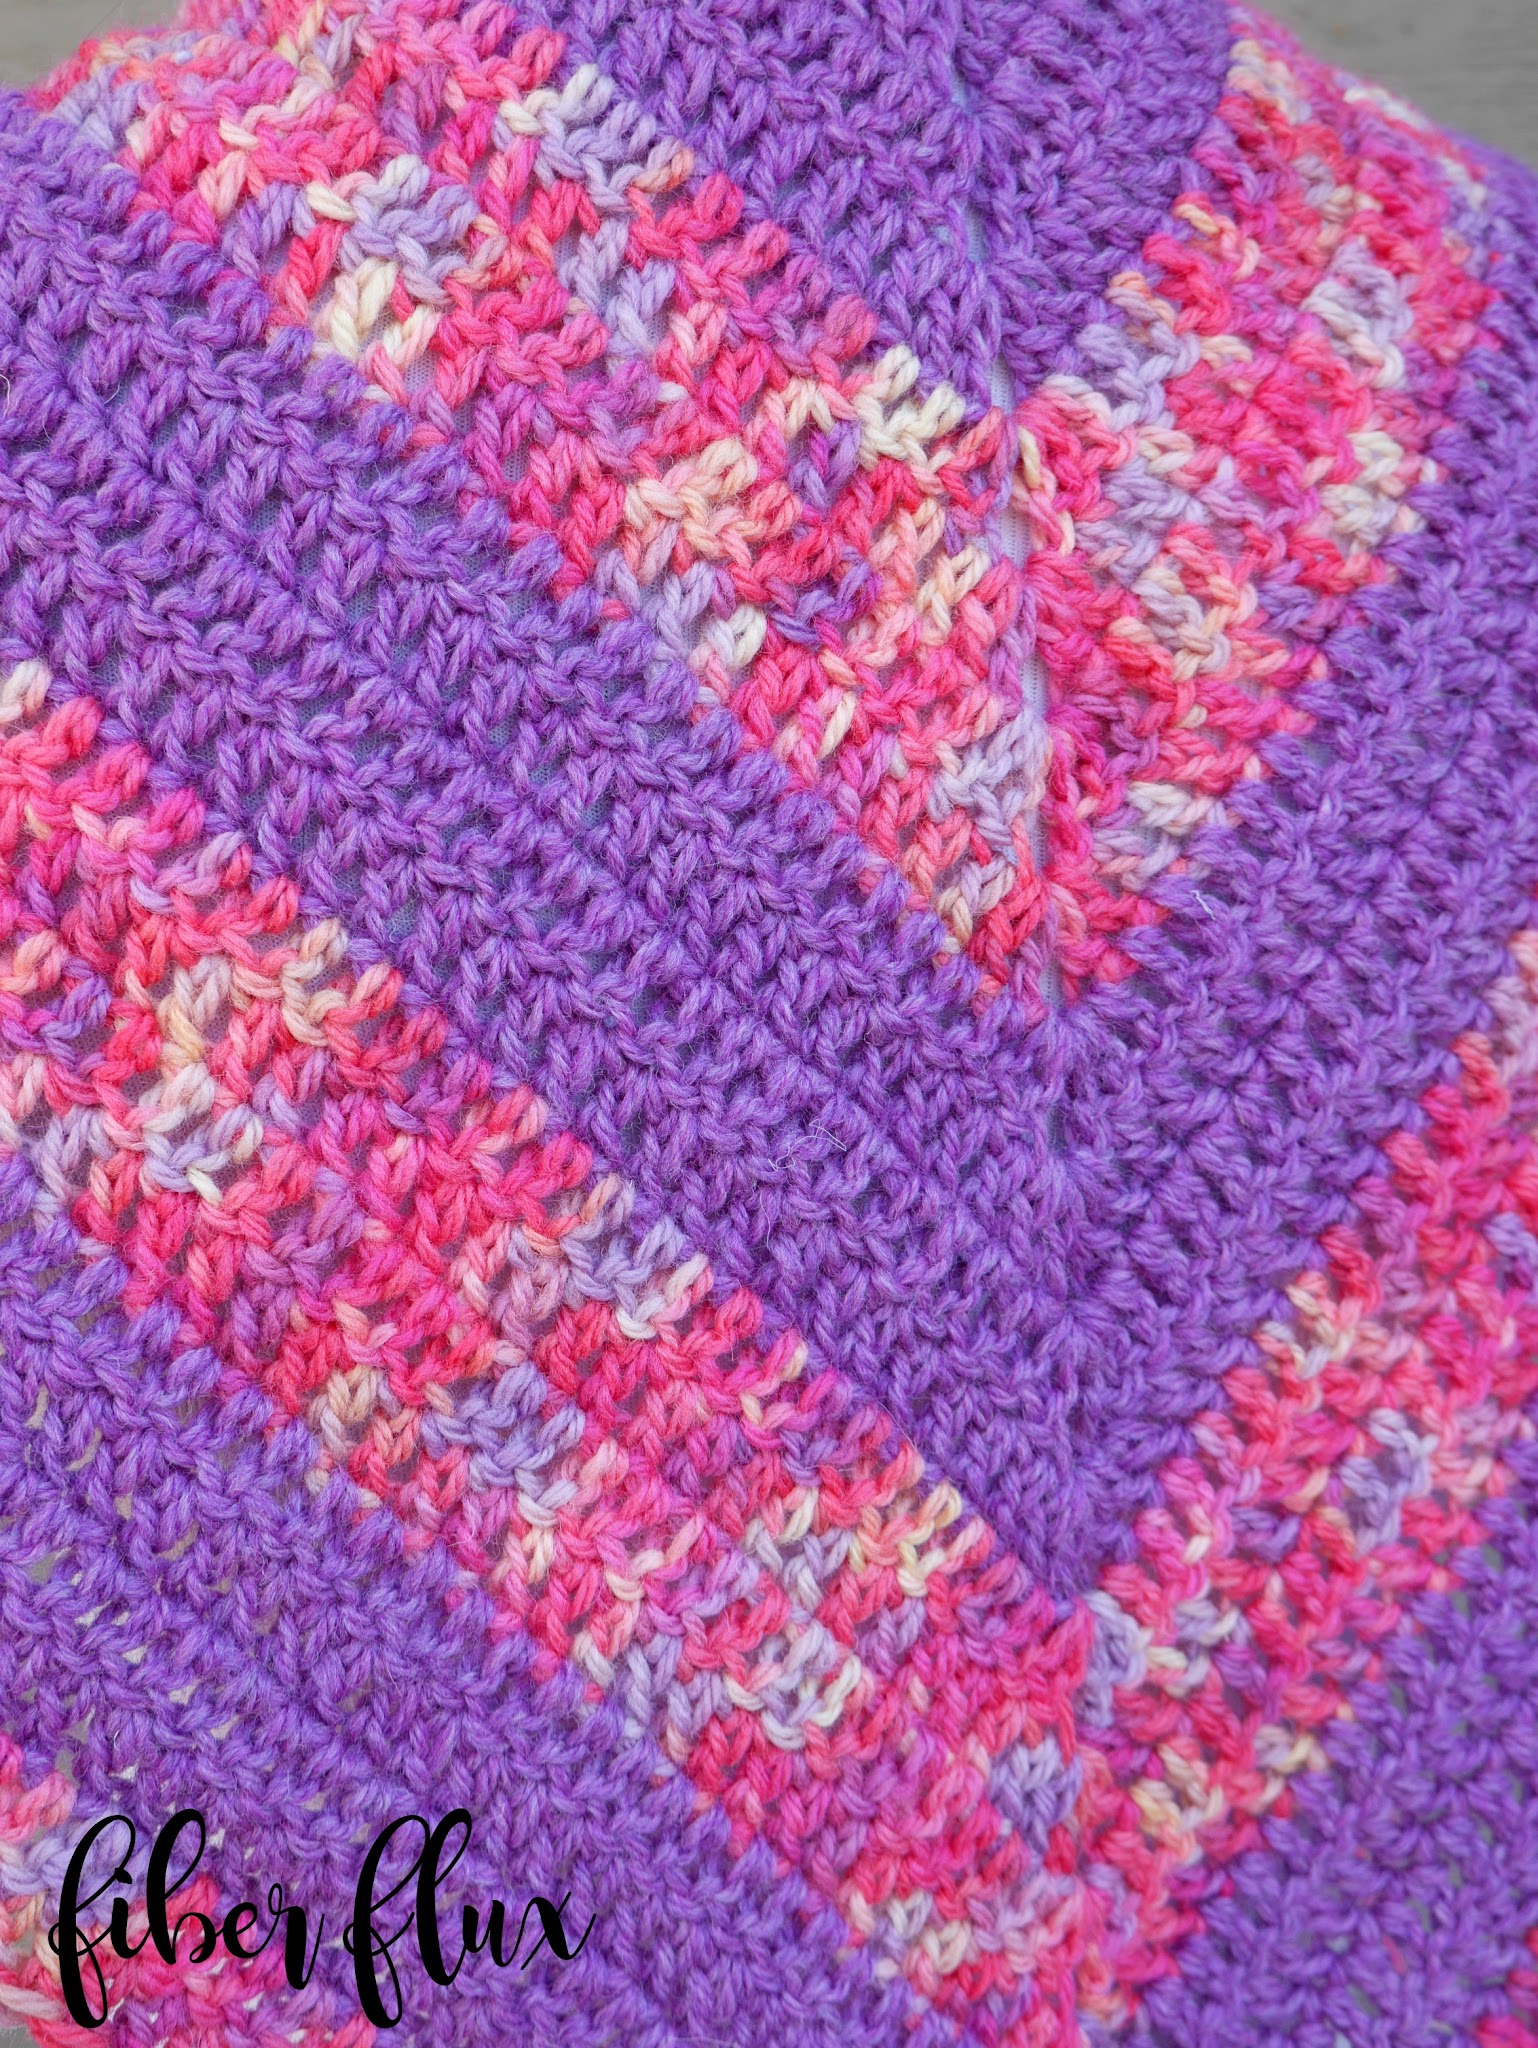
Note: I worked 4 rows of each color, and then two more rows of the variegated yarn. To see how to change colors, check out the video!
Ch 4 and join the the ch furthest from the hook to create a ring.
Row 1: Ch 3, then in the center of the ring work (2 dc, ch 2, 3 dc)
Row 2: Ch 3 and turn. In the very first stitch (at the base of the chain 3) work 2 dc. Work a dc in each of the next 2 stitches, then in the corner space, work (2 dc, ch 2 , 2 dc). Work a dc in each of the next two stitches, then work 3 dc in the turning chain space.
*Note: for row 3 and each row after, you’ll work it like row two, but adding side stitches to each row. This is how the triangle will grow wider and taller. The points of the triangle are always worked the same. In the video, I work the first 5 rows of the pattern stitch by stitch if you need the visual.
Row 3: Ch 3 and turn. In the very first stitch (at the base of the chain 3) work 2 dc. Work a dc in each of the side stitches of the triangle, then in the corner space, work (2 dc, ch 2 , 2 dc). Work a dc in each of the side stitches, then work 3 dc in the turning chain space.
Repeat row 3 until shawl is 36 inches down each side and 50 inches across the top edge or until desired length. Fasten off and weave in any ends that remain.

© Jennifer Dickerson 2017
For more fun projects and pretty patterns, be sure to follow Fiber Flux on Google+, Facebook, Twitter, and Pinterest for the latest updates!

Visit the Fiber Flux Yarn Shop…lovely yarn & great prices!


 (Affiliate links, enjoy these awesome products and thanks as always for your support!)

