
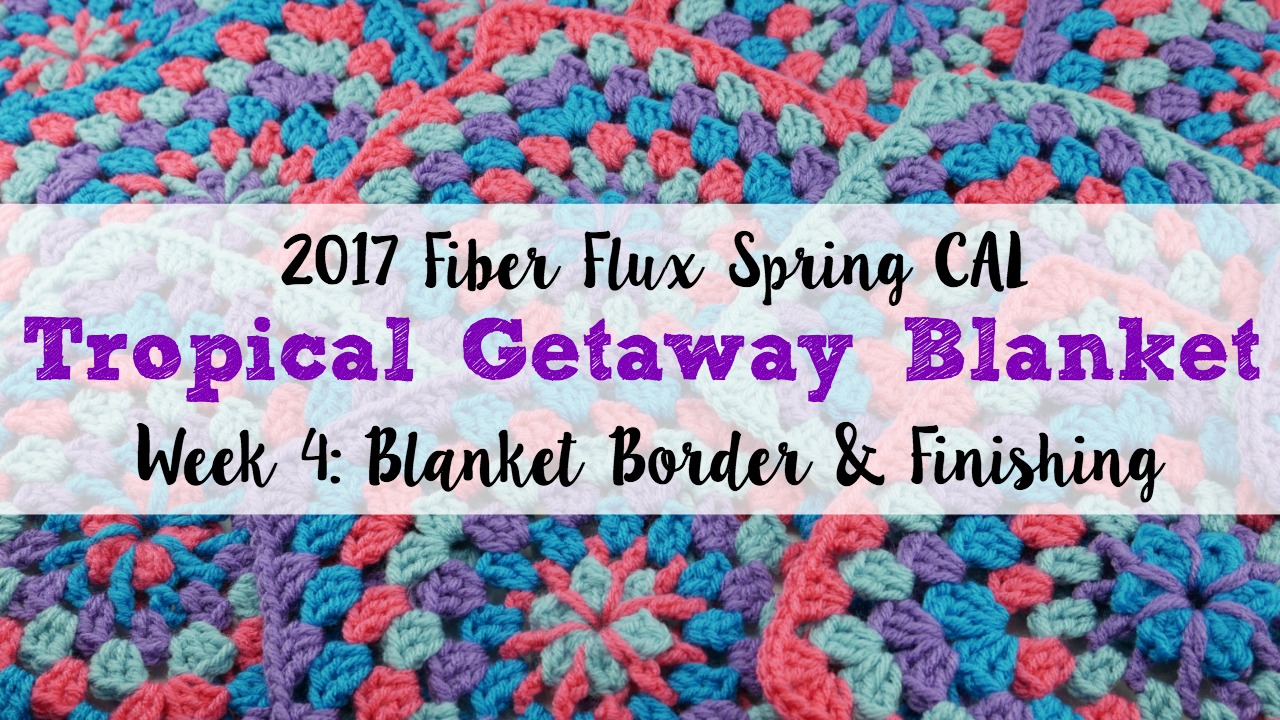
Welcome back for week 4 of the 2017 Fiber Flux Spring Crochet Along! Today we will be adding a beautiful border to the Tropical Getaway Blanket, a classic granny square blanket.
Just joining us? Scroll down to the schedule below where you’ll find links for weeks one, two, and three!
Add this project to your Ravelry queue by clicking on the button below:

*This is a self-paced project, so definitely go at the speed you feel most comfortable. The instructional videos and posts will be up forever and you will always be able to go back and watch again and again!
Because there are those of you who prefer the written version and those who prefer a video tutorial, below are both. Either way, be sure to check out the video for some helpful tips as you are working on the project. You can really customize this border however you like and make it thicker, thinner, different colors, etc.
Here’s this week’s CAL video:
(Can’t see the video? Click here!)
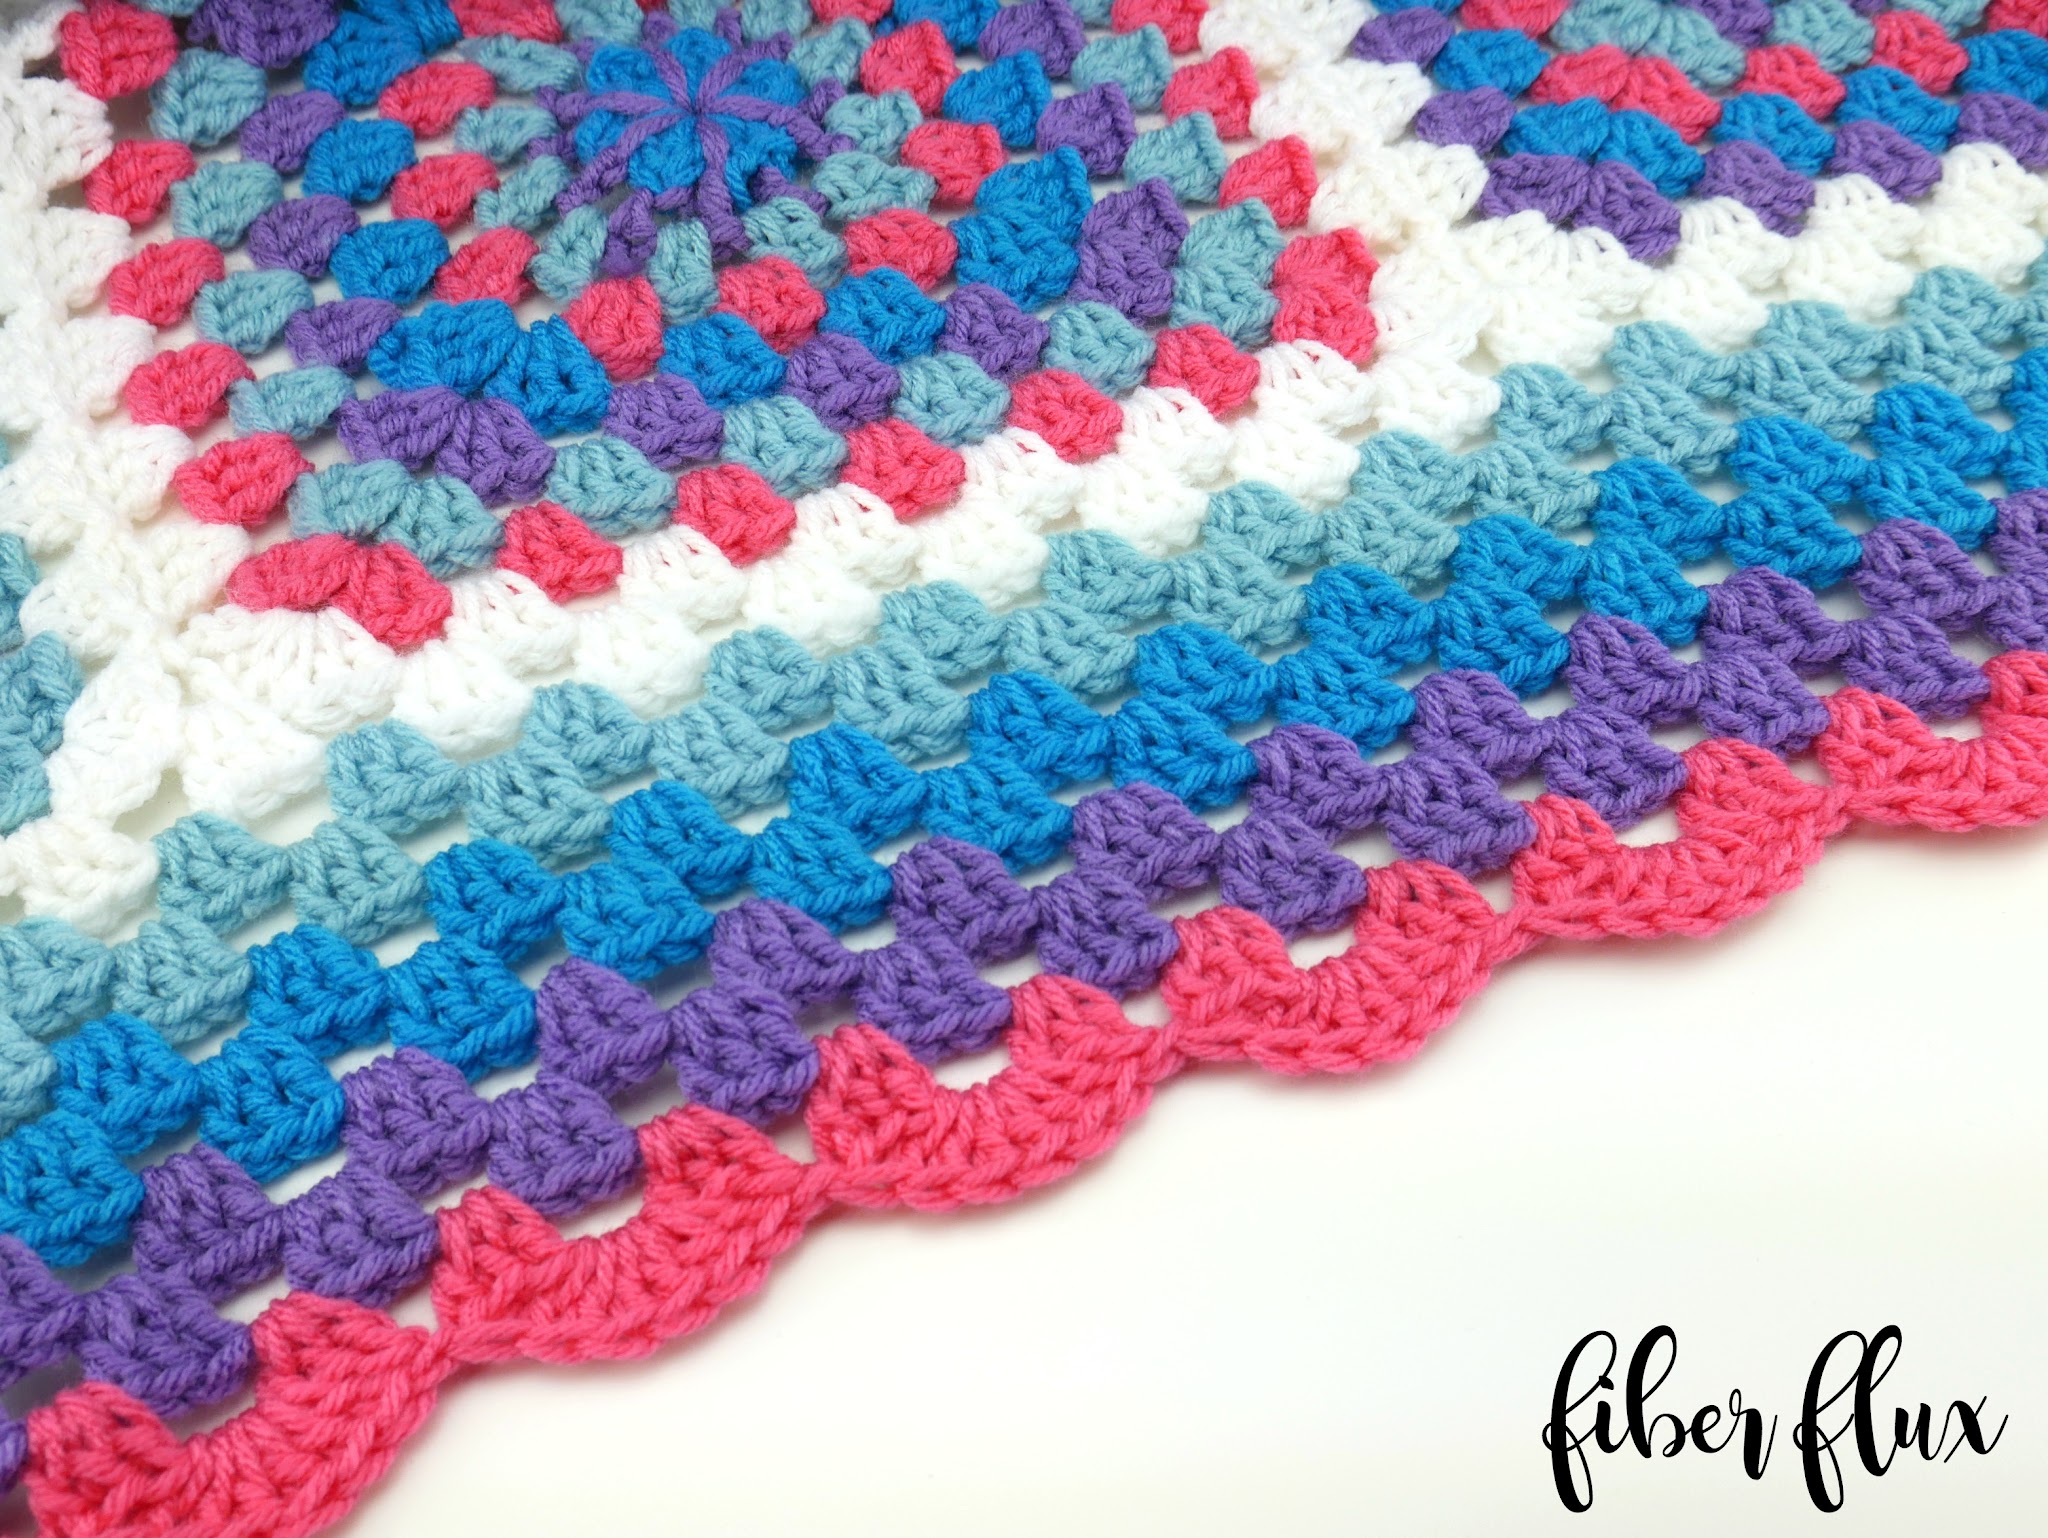
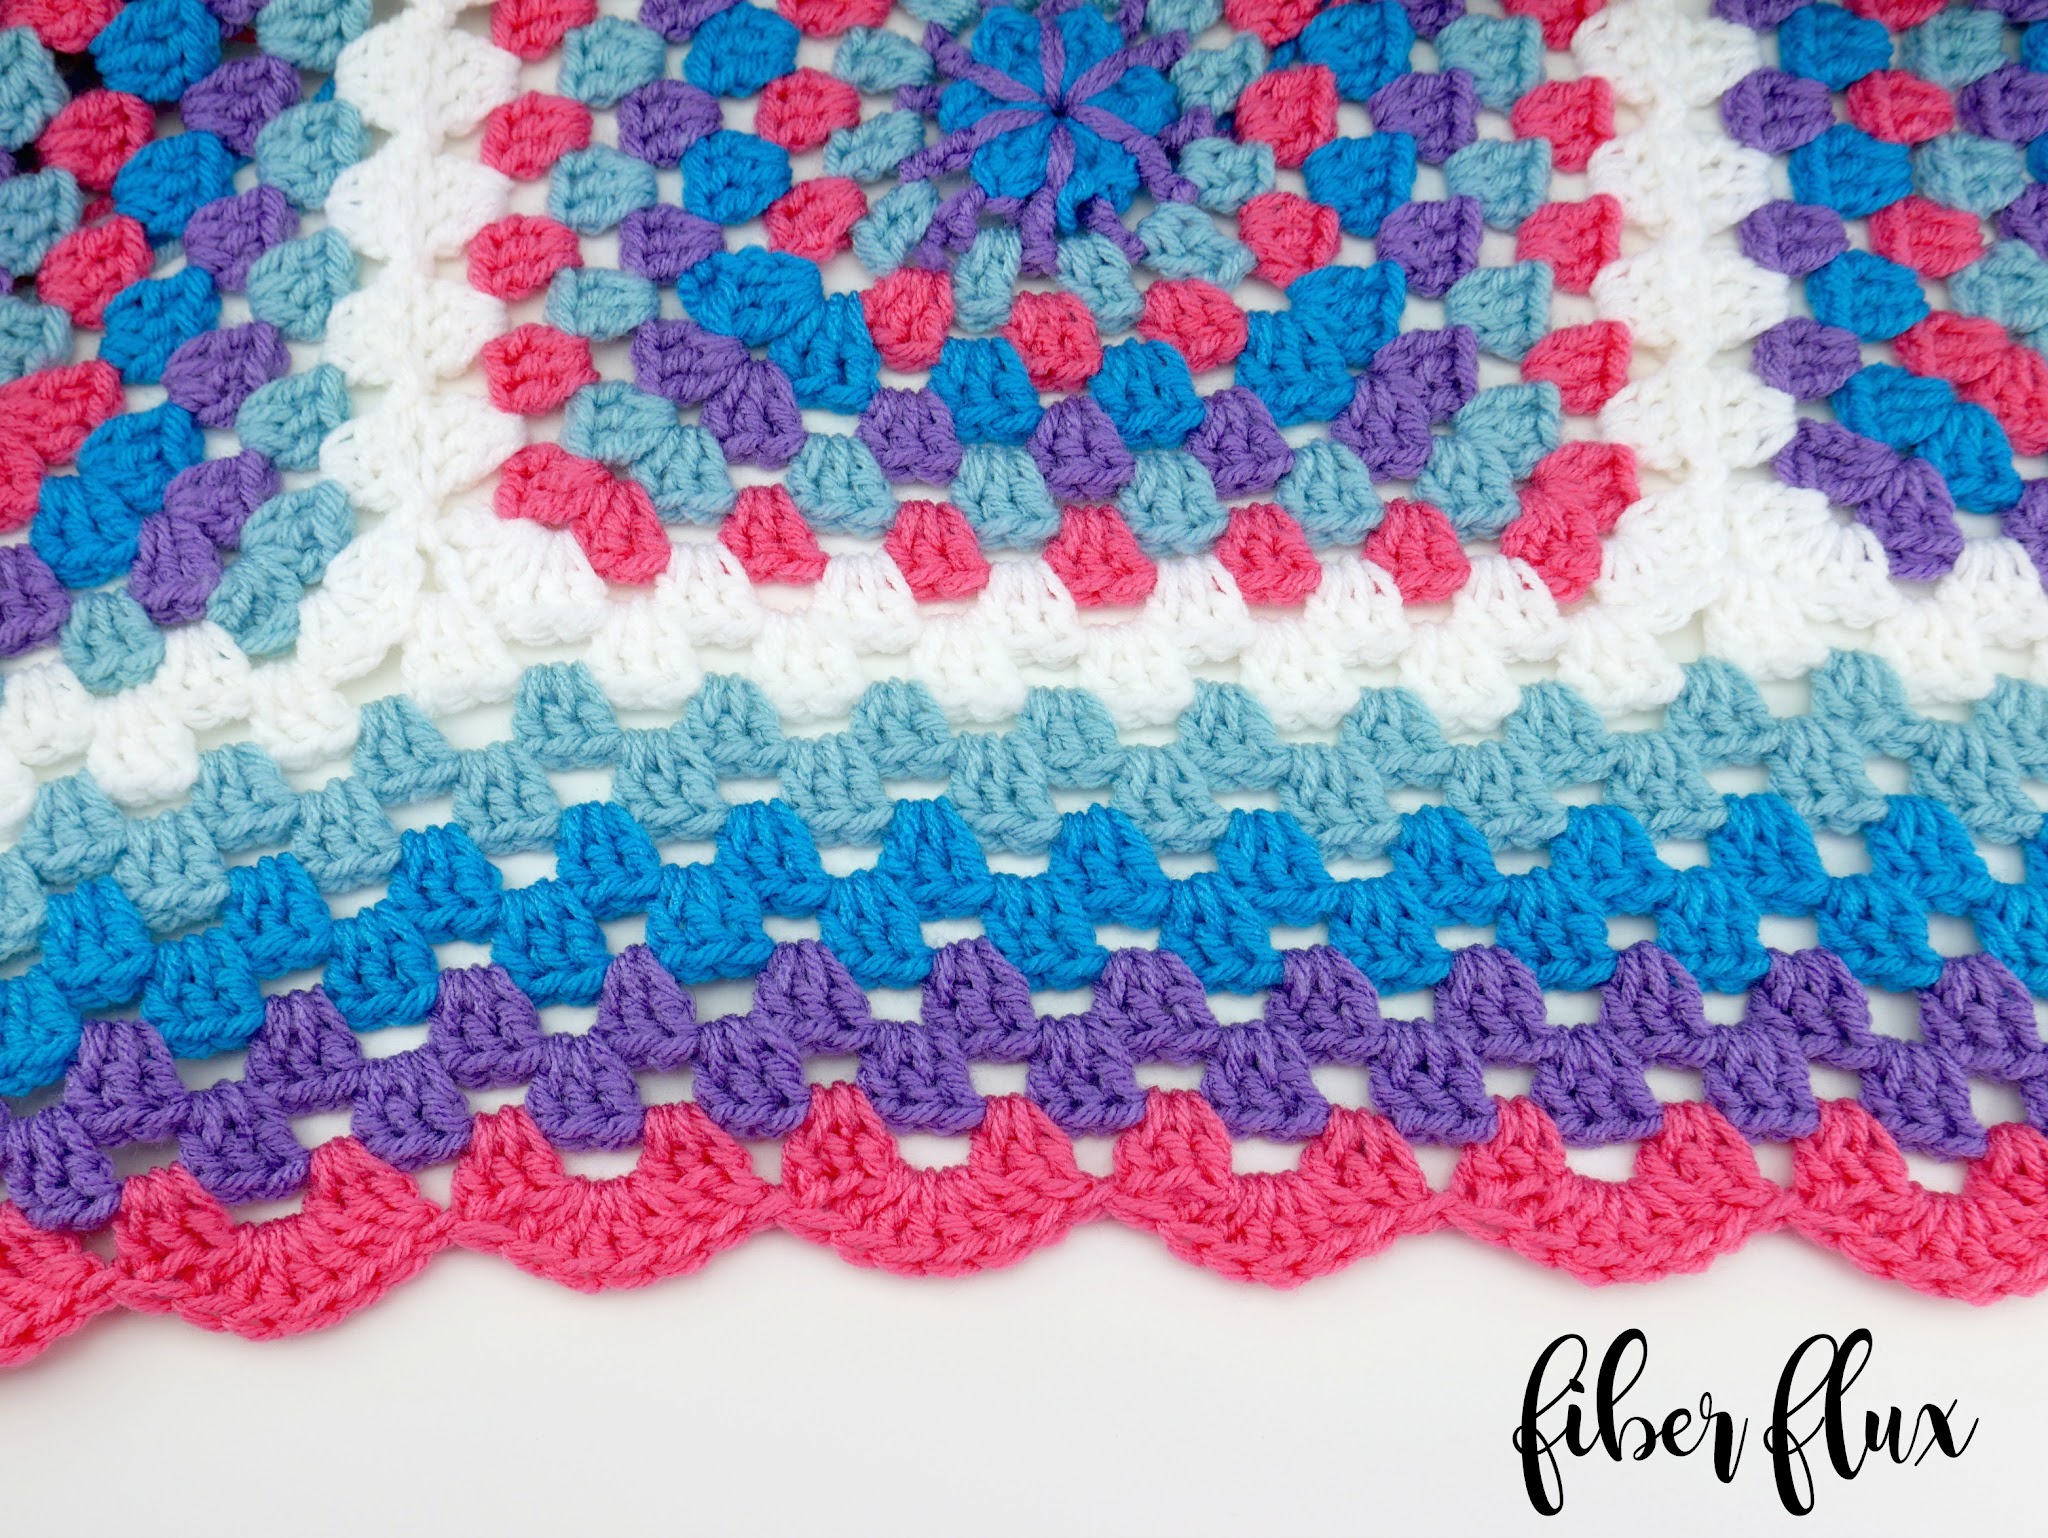
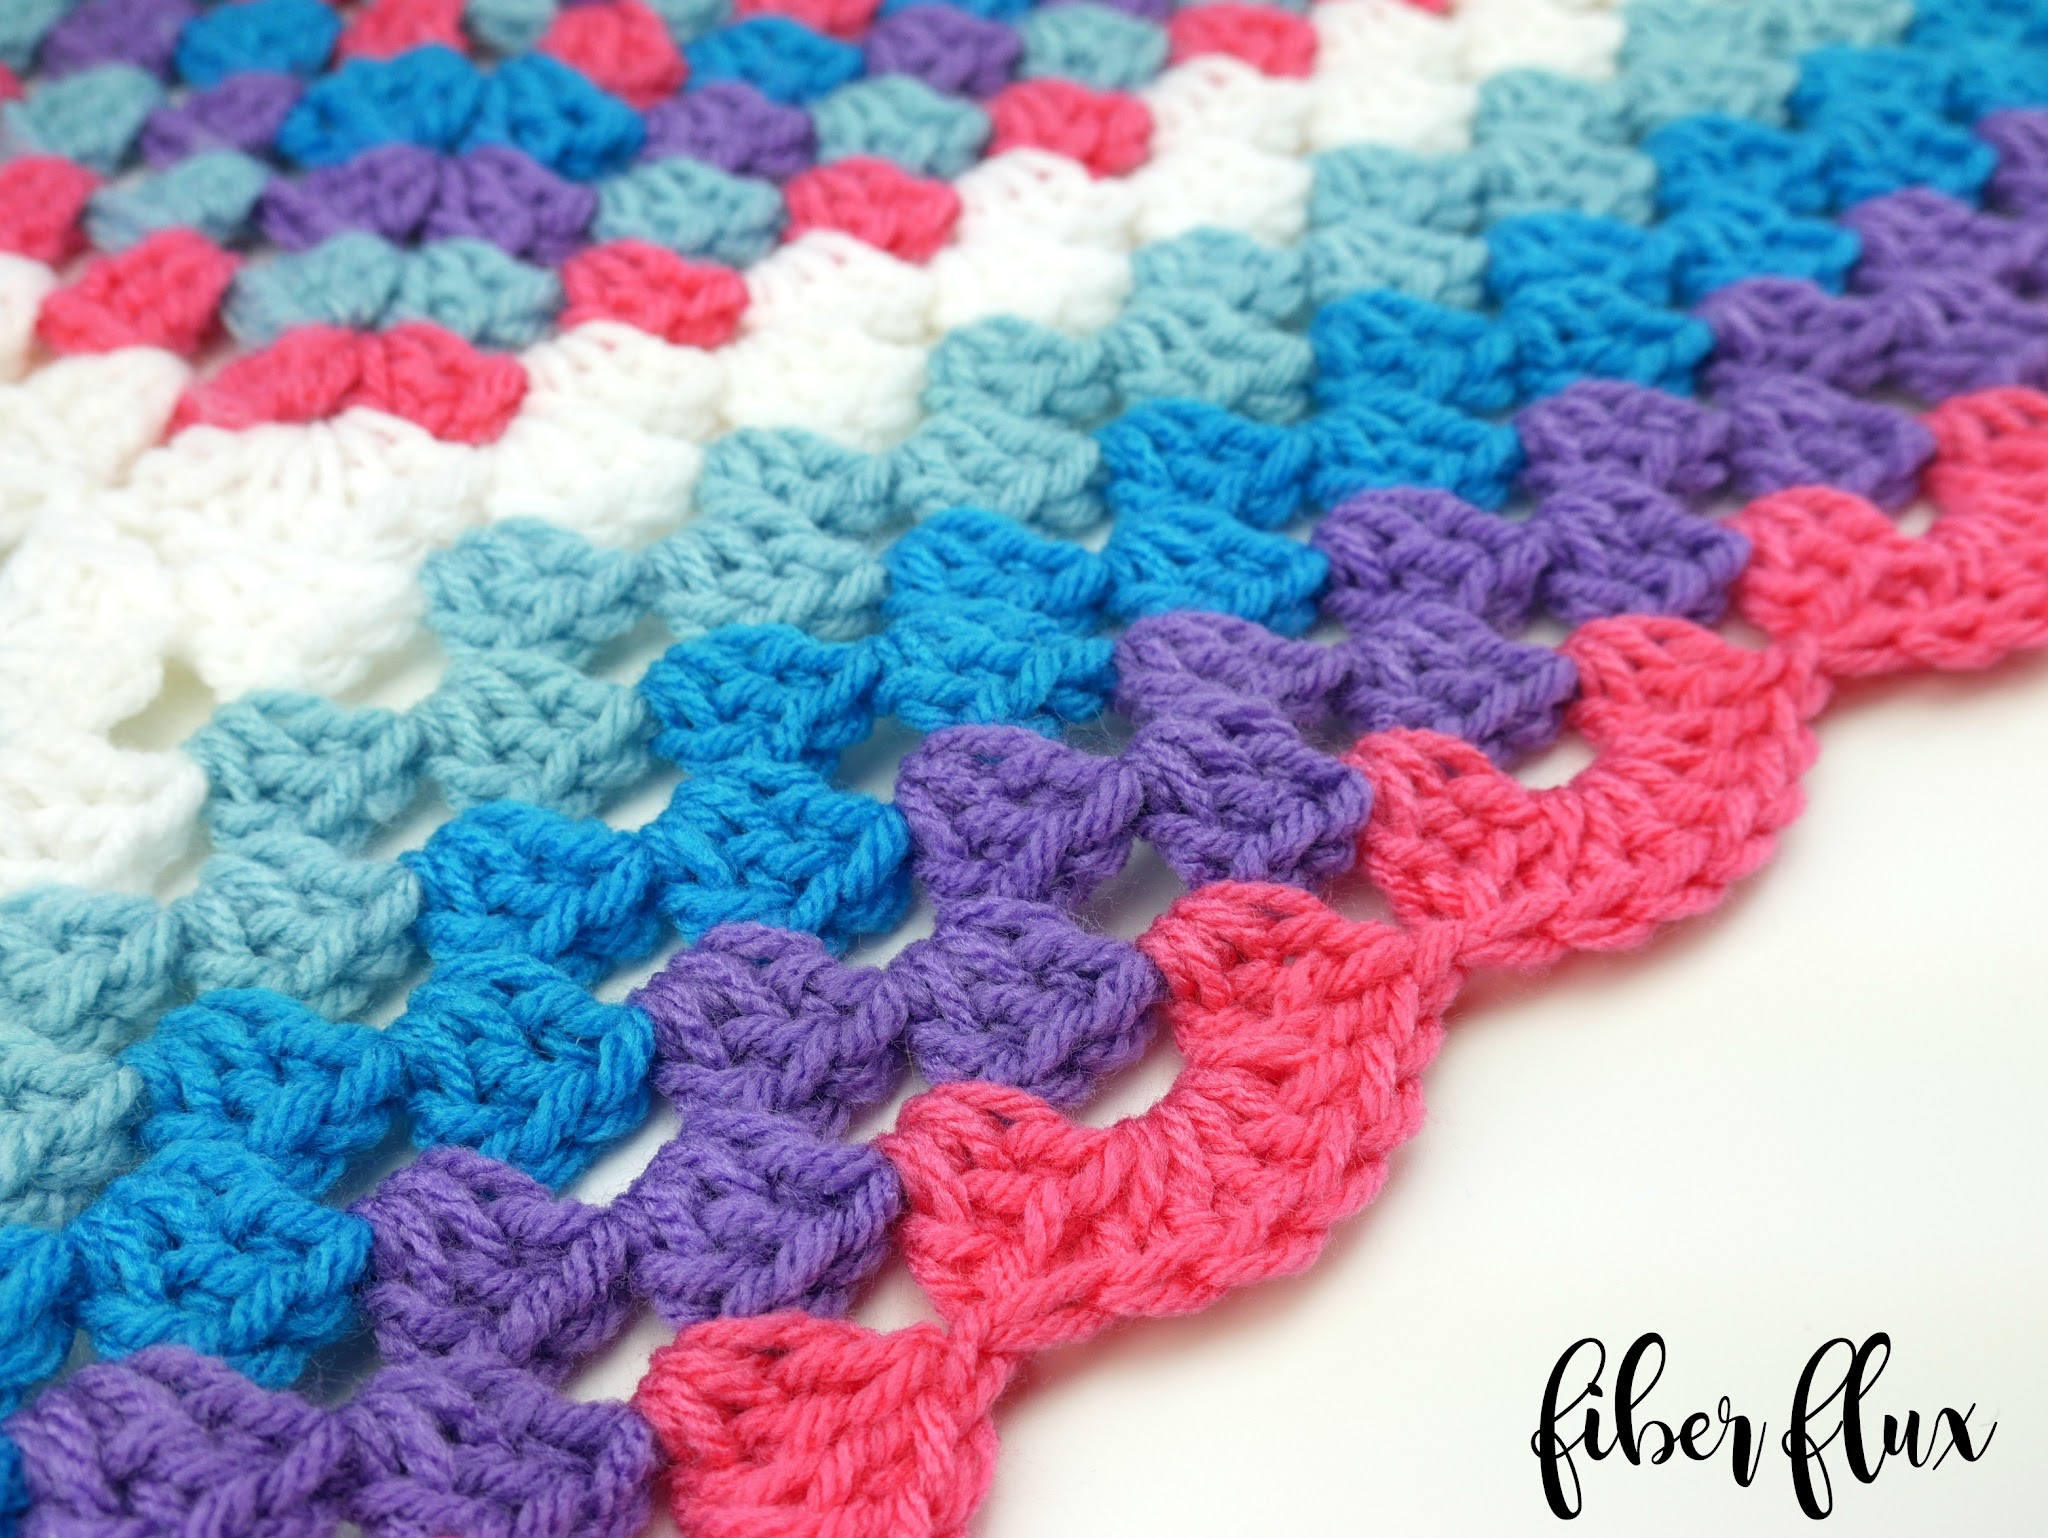
Last week we learned the join as you go technique to connect all of the blanket squares. This week, we’ll be adding a lovely but simple border to frame in all of the grannies. In the pattern below, I indicated which colors I used for each round too.
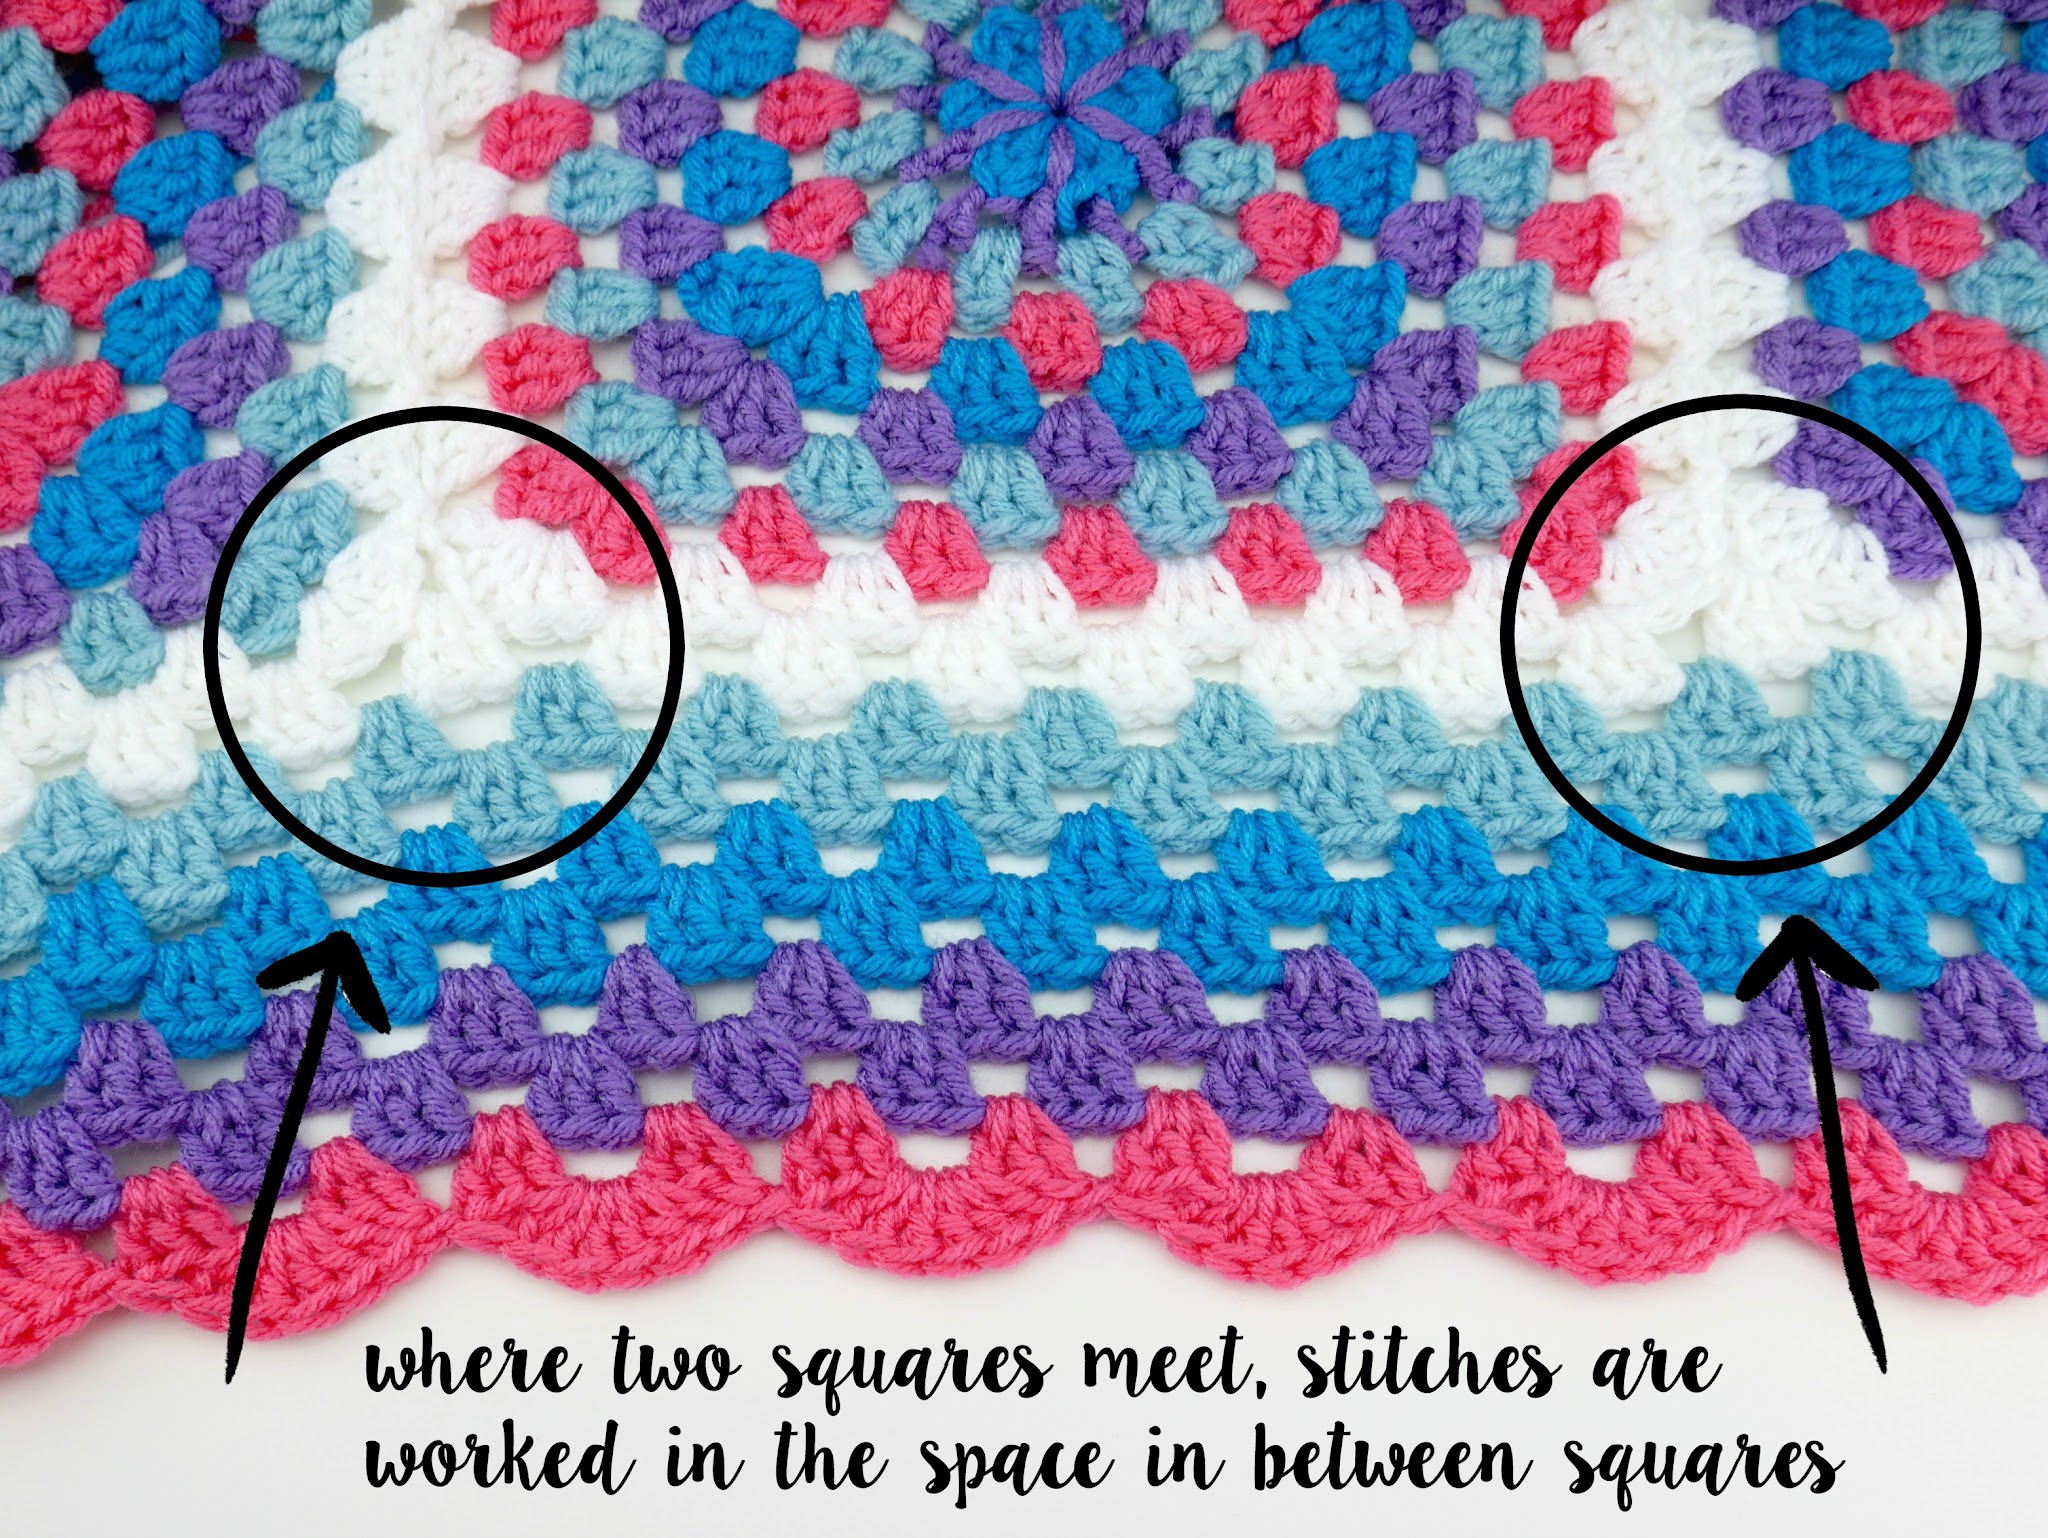
Round 1 (White): In any corner space, ch 3 then work (2 dc, ch 1, 3 dc). Work (3 dc, ch 1) in each ch 1 spaces along the side of the blanket. Note: When you arrive at the areas where two squares meet (the two corners), work (3 dc, ch 1) in the space between the squares (see photo below). Continue working the side in this manner, then work (3 dc, ch 1, 3 dc) in the corner. Repeat for the remainder of the blanket, then join with a sl st to close round.
Round 2 (Aqua): In any corner space, ch 3 then work (2 dc, ch 1, 3 dc). Work (3 dc, ch 1) in each space along the side of the blanket, then work (3 dc, ch 1, 3 dc) in the corner. Repeat for the remainder of the blanket, then join with a sl st to close round.
Round 3 (Aqua): Repeat round 2
Round 4 (Blue Hawaii): Repeat round 2
Round 5 (Blue Hawaii): Repeat round 2
Round 6: (Lilac): Repeat round 2
Round 7: (Lilac): Repeat round 2
Round 8: (Papaya): Repeat round 2
Round 9: (Papaya, scallop round): Beginning at a corner, ch 3 then work 11 dc into the corner space. *Work a sl st in the next space, then work 6 dc in the next space. Continue down the side of the blanket from * to the next corner. Work 12 dc in the corner space, then repeat this sequence for each side and each corner. Join to close the round with a slip stitch.
Note: On the rounds where you are switching colors, simply cut the yarn and tie a new color into any corner space. For rounds where you are not switching colors, after closing the previous round, slip stitch over to the corner space and then begin the round.
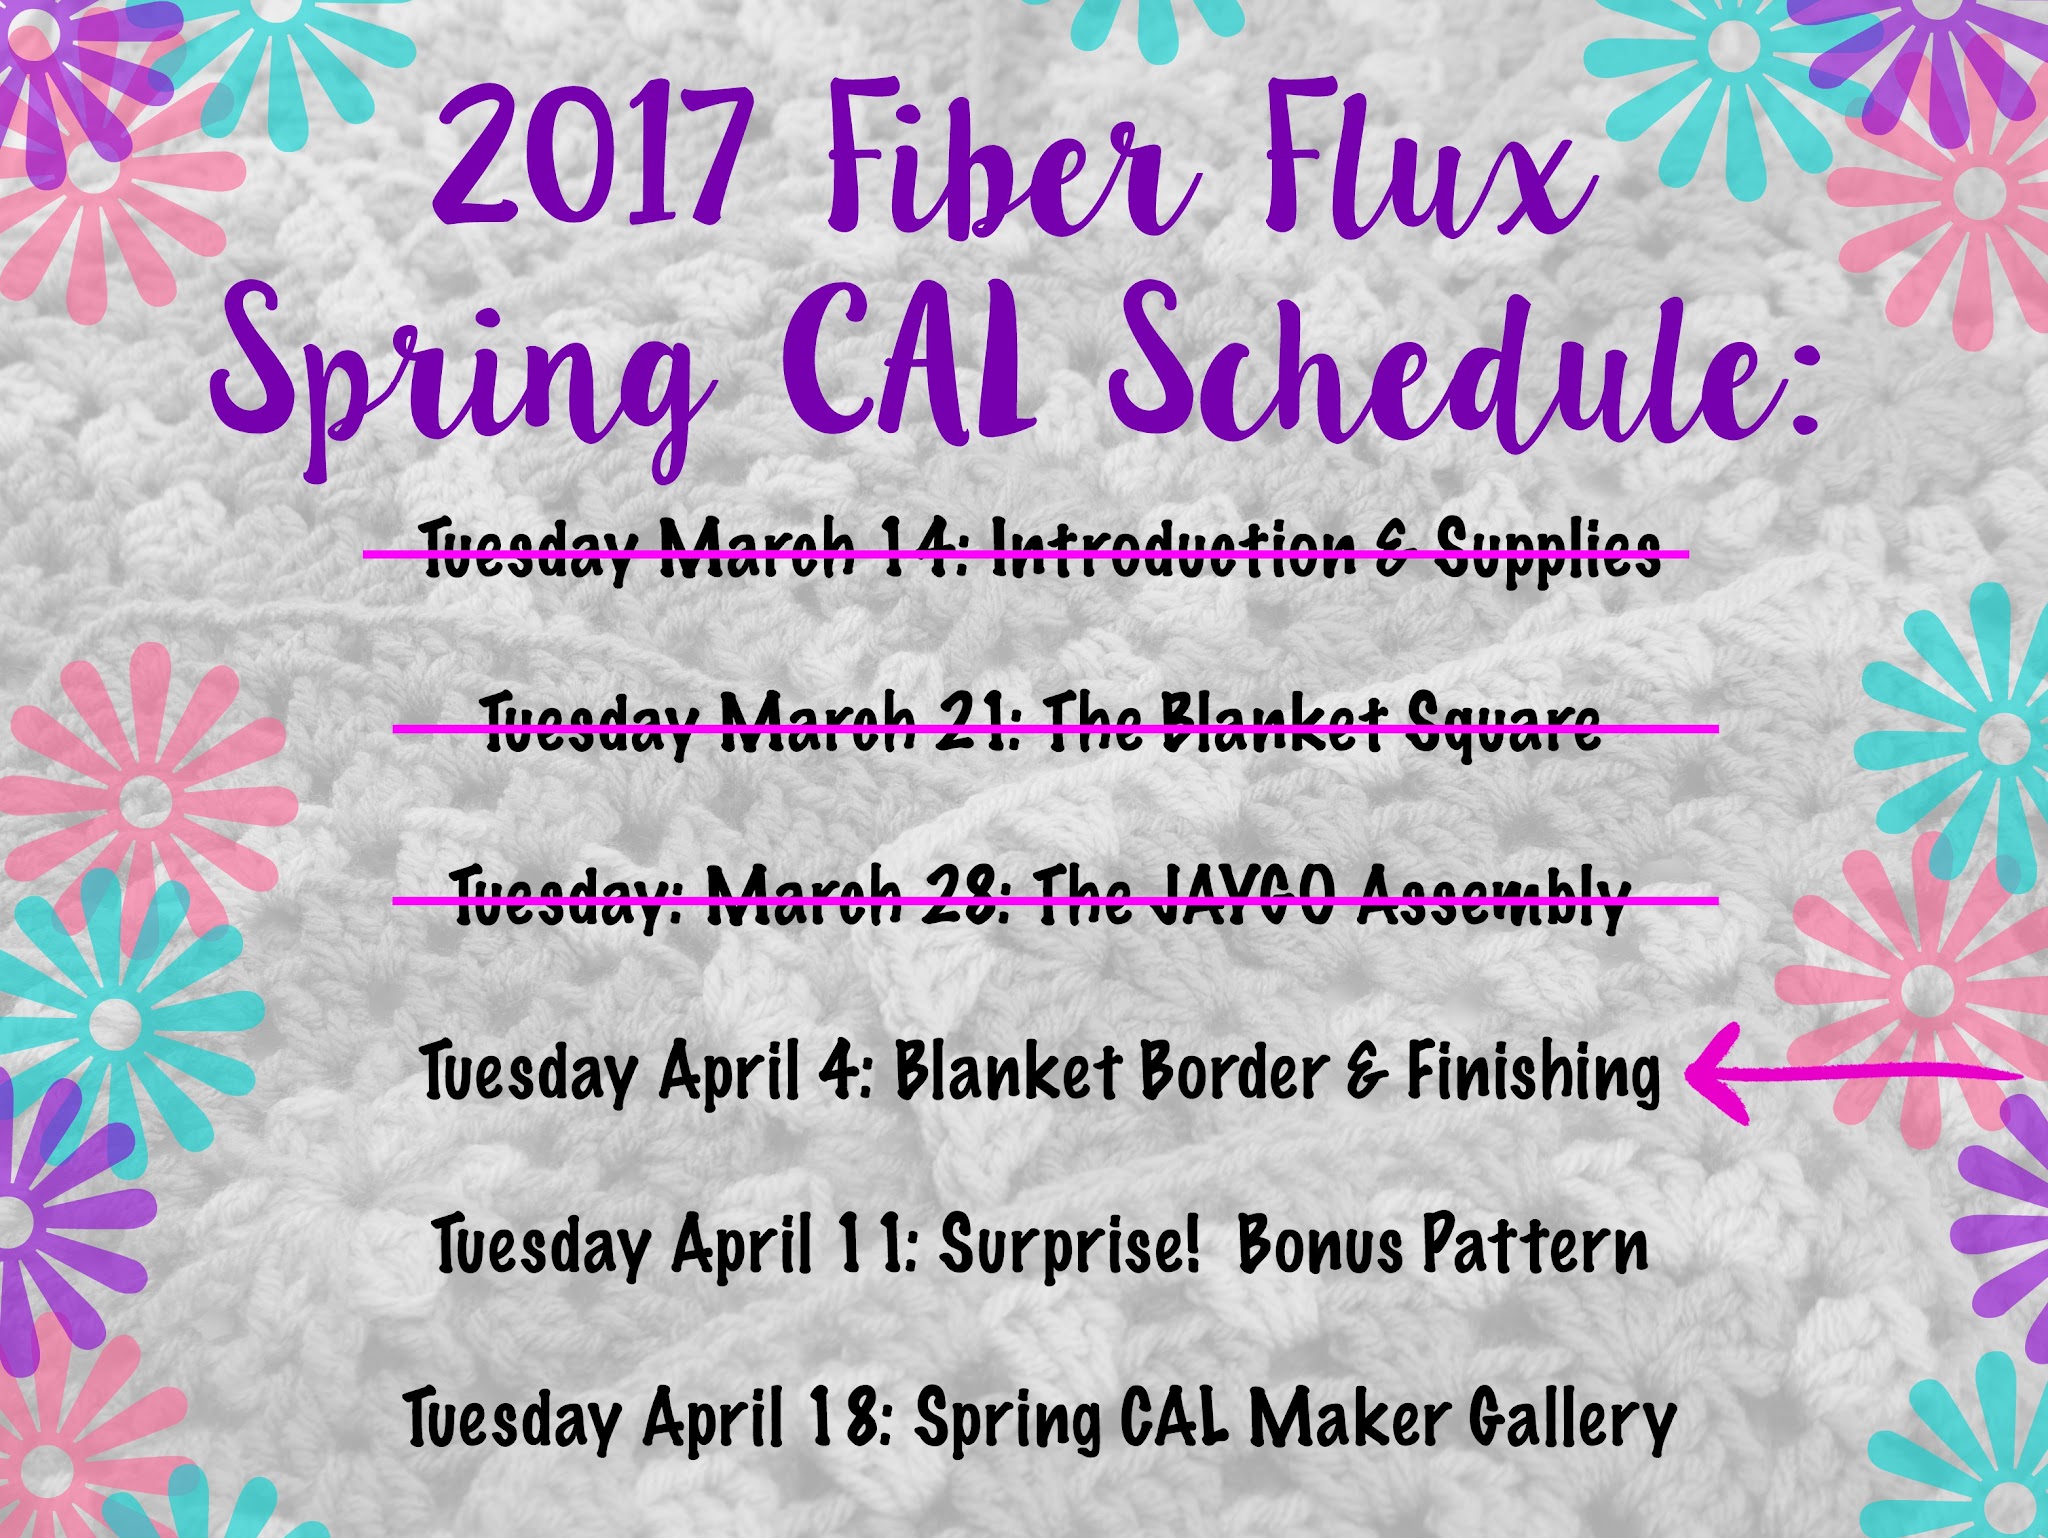
Tuesday March 14: Introduction to the CAL, the project, sizing options, and supplies needed- Tuesday April 4 (that’s today!): How to add an edging to “frame” in your squares, finish work on the blanket.
- Tuesday April 11: Surprise! Today there will be a special surprise bonus pattern to go along with your blanket.
- Tuesday April 18: I will feature our Maker Gallery…so send me your work! This can be single motifs, work in progress, or finished pieces too! We want to see it all!
Last part…let’s connect! You can connect at any of the social media outlets below:


Also, I have set up a special group for us on Ravelry, the “Fiber Flux CAL Group” There is a special welcome area, so please hop on and introduce yourself. You can get info, ask questions, help each other, see what everyone is doing, and show off your work too!

Click HERE to visit and join the group!
I am LOVING all of your beautiful creations…please keep sharing those pictures and above enjoy, take some time to relax with your hook, and have fun! That’s all for today lovelies, see you next Tuesday for part four of the CAL!!

© Jennifer Dickerson 2017
Visit my Patreon page to help support Fiber Flux!
For more fun projects and pretty patterns, be sure to follow Fiber Flux on Google+, Facebook, Twitter, and Pinterest for the latest updates!

Visit the Fiber Flux Yarn Shop…lovely yarn & great prices!


 (Affiliate links, enjoy these awesome products and thanks as always for your support!)


thanks jennifer it was fun making granny square blanket and pillow it so pretty. it looks so spring and summer. really love these colors.
Did you block your squares before joining them? I noticed some of my squares vary by about 1/2 inch because some of the yarn is slightly thicker or thinner than the others… is it a good idea to block them or will it all work itself out?