
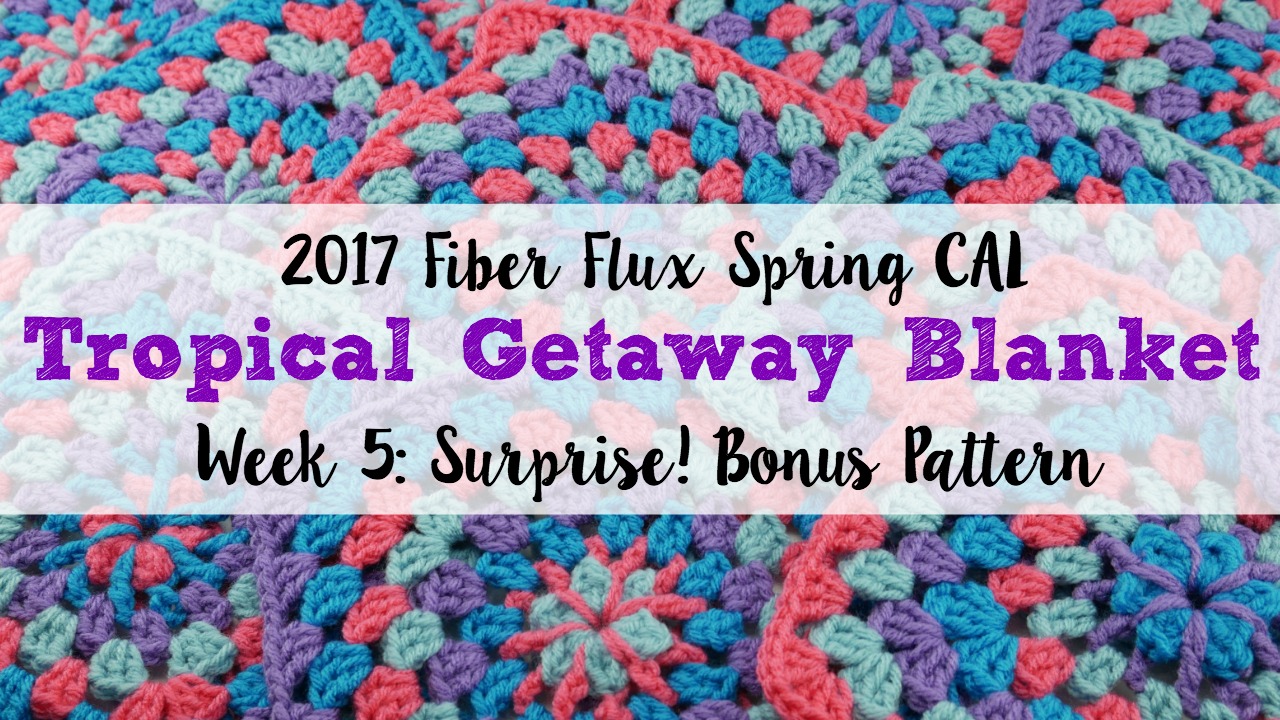
Welcome back for week 5 of the 2017 Fiber Flux Spring Crochet Along! Today we will be making a special bonus surprise project to go along with the Tropical Getaway Blanket. Scroll down to see the bonus pattern!!!
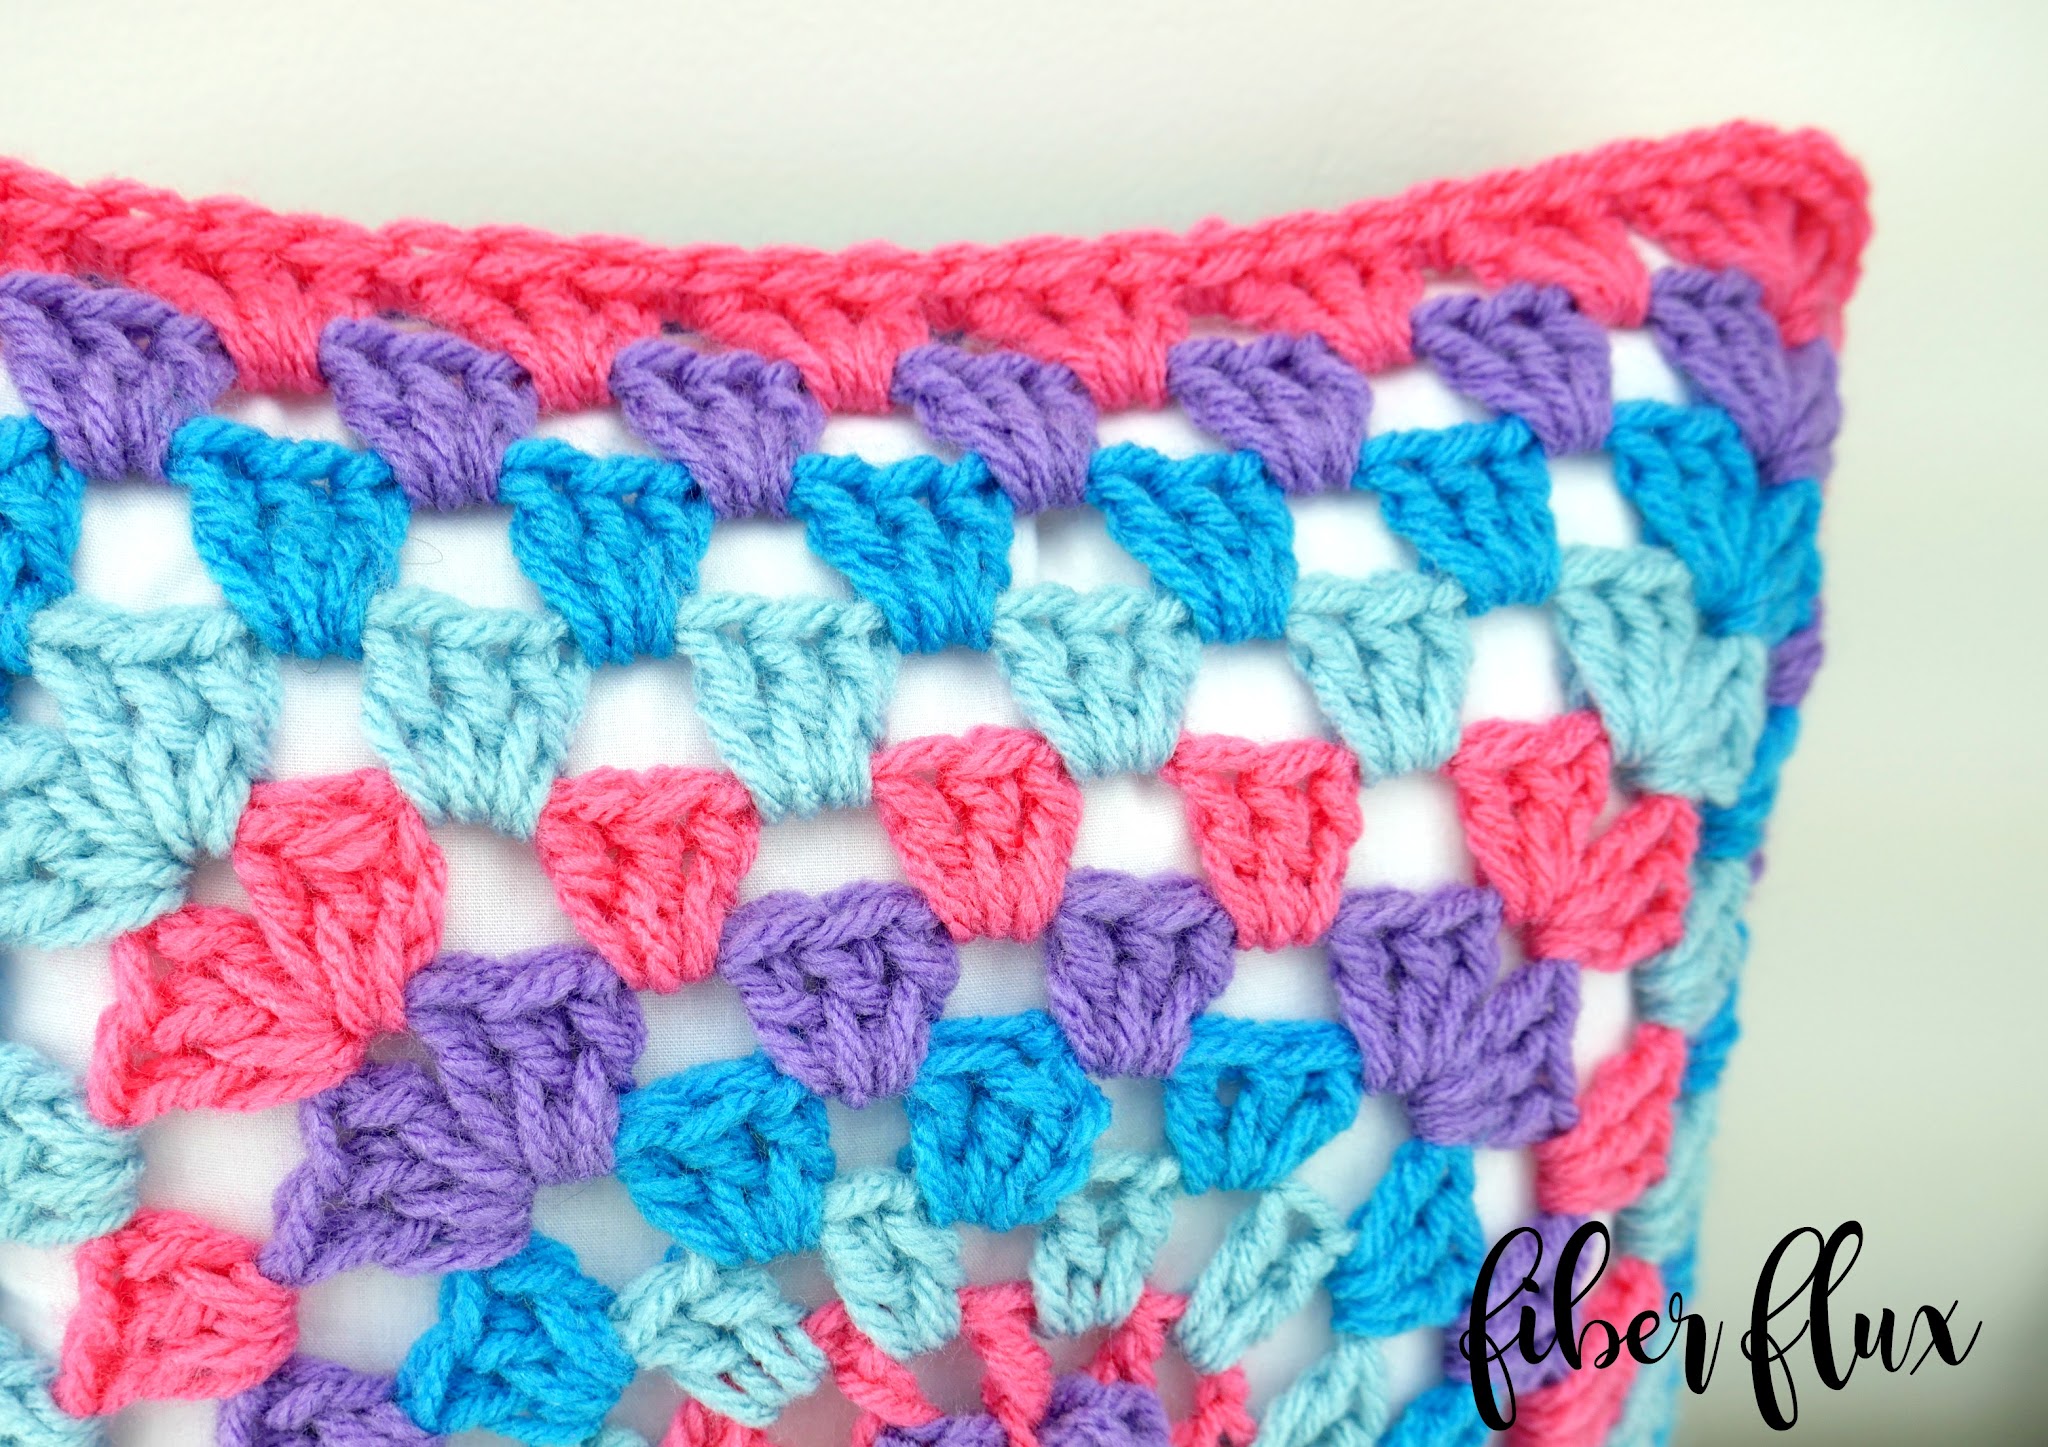
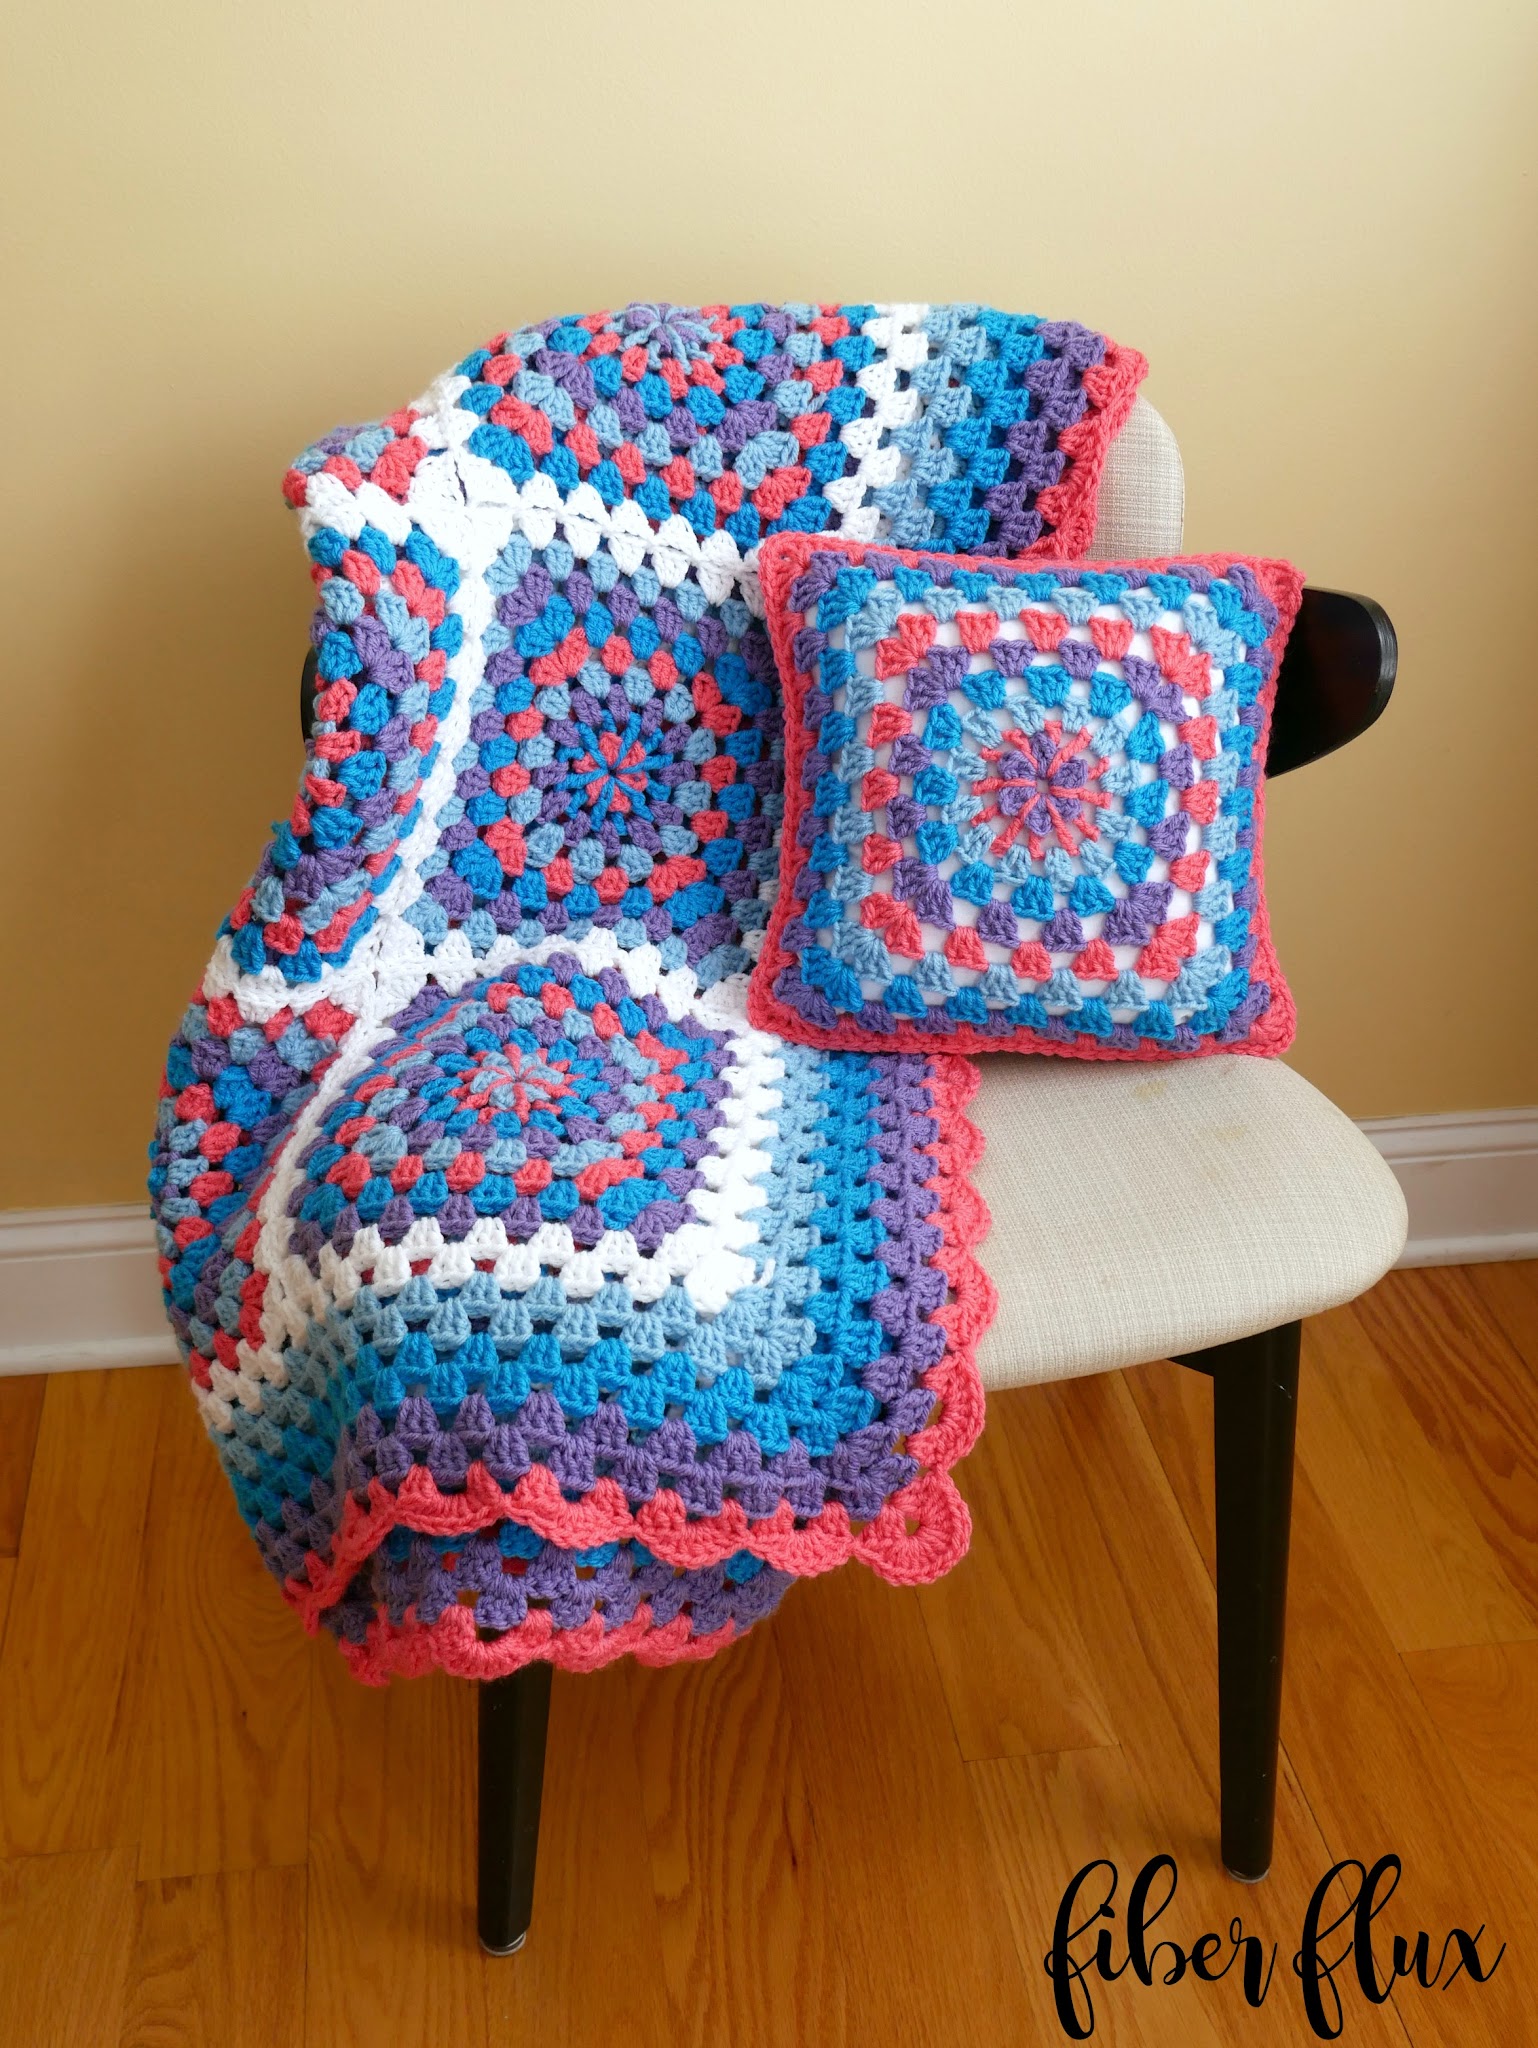
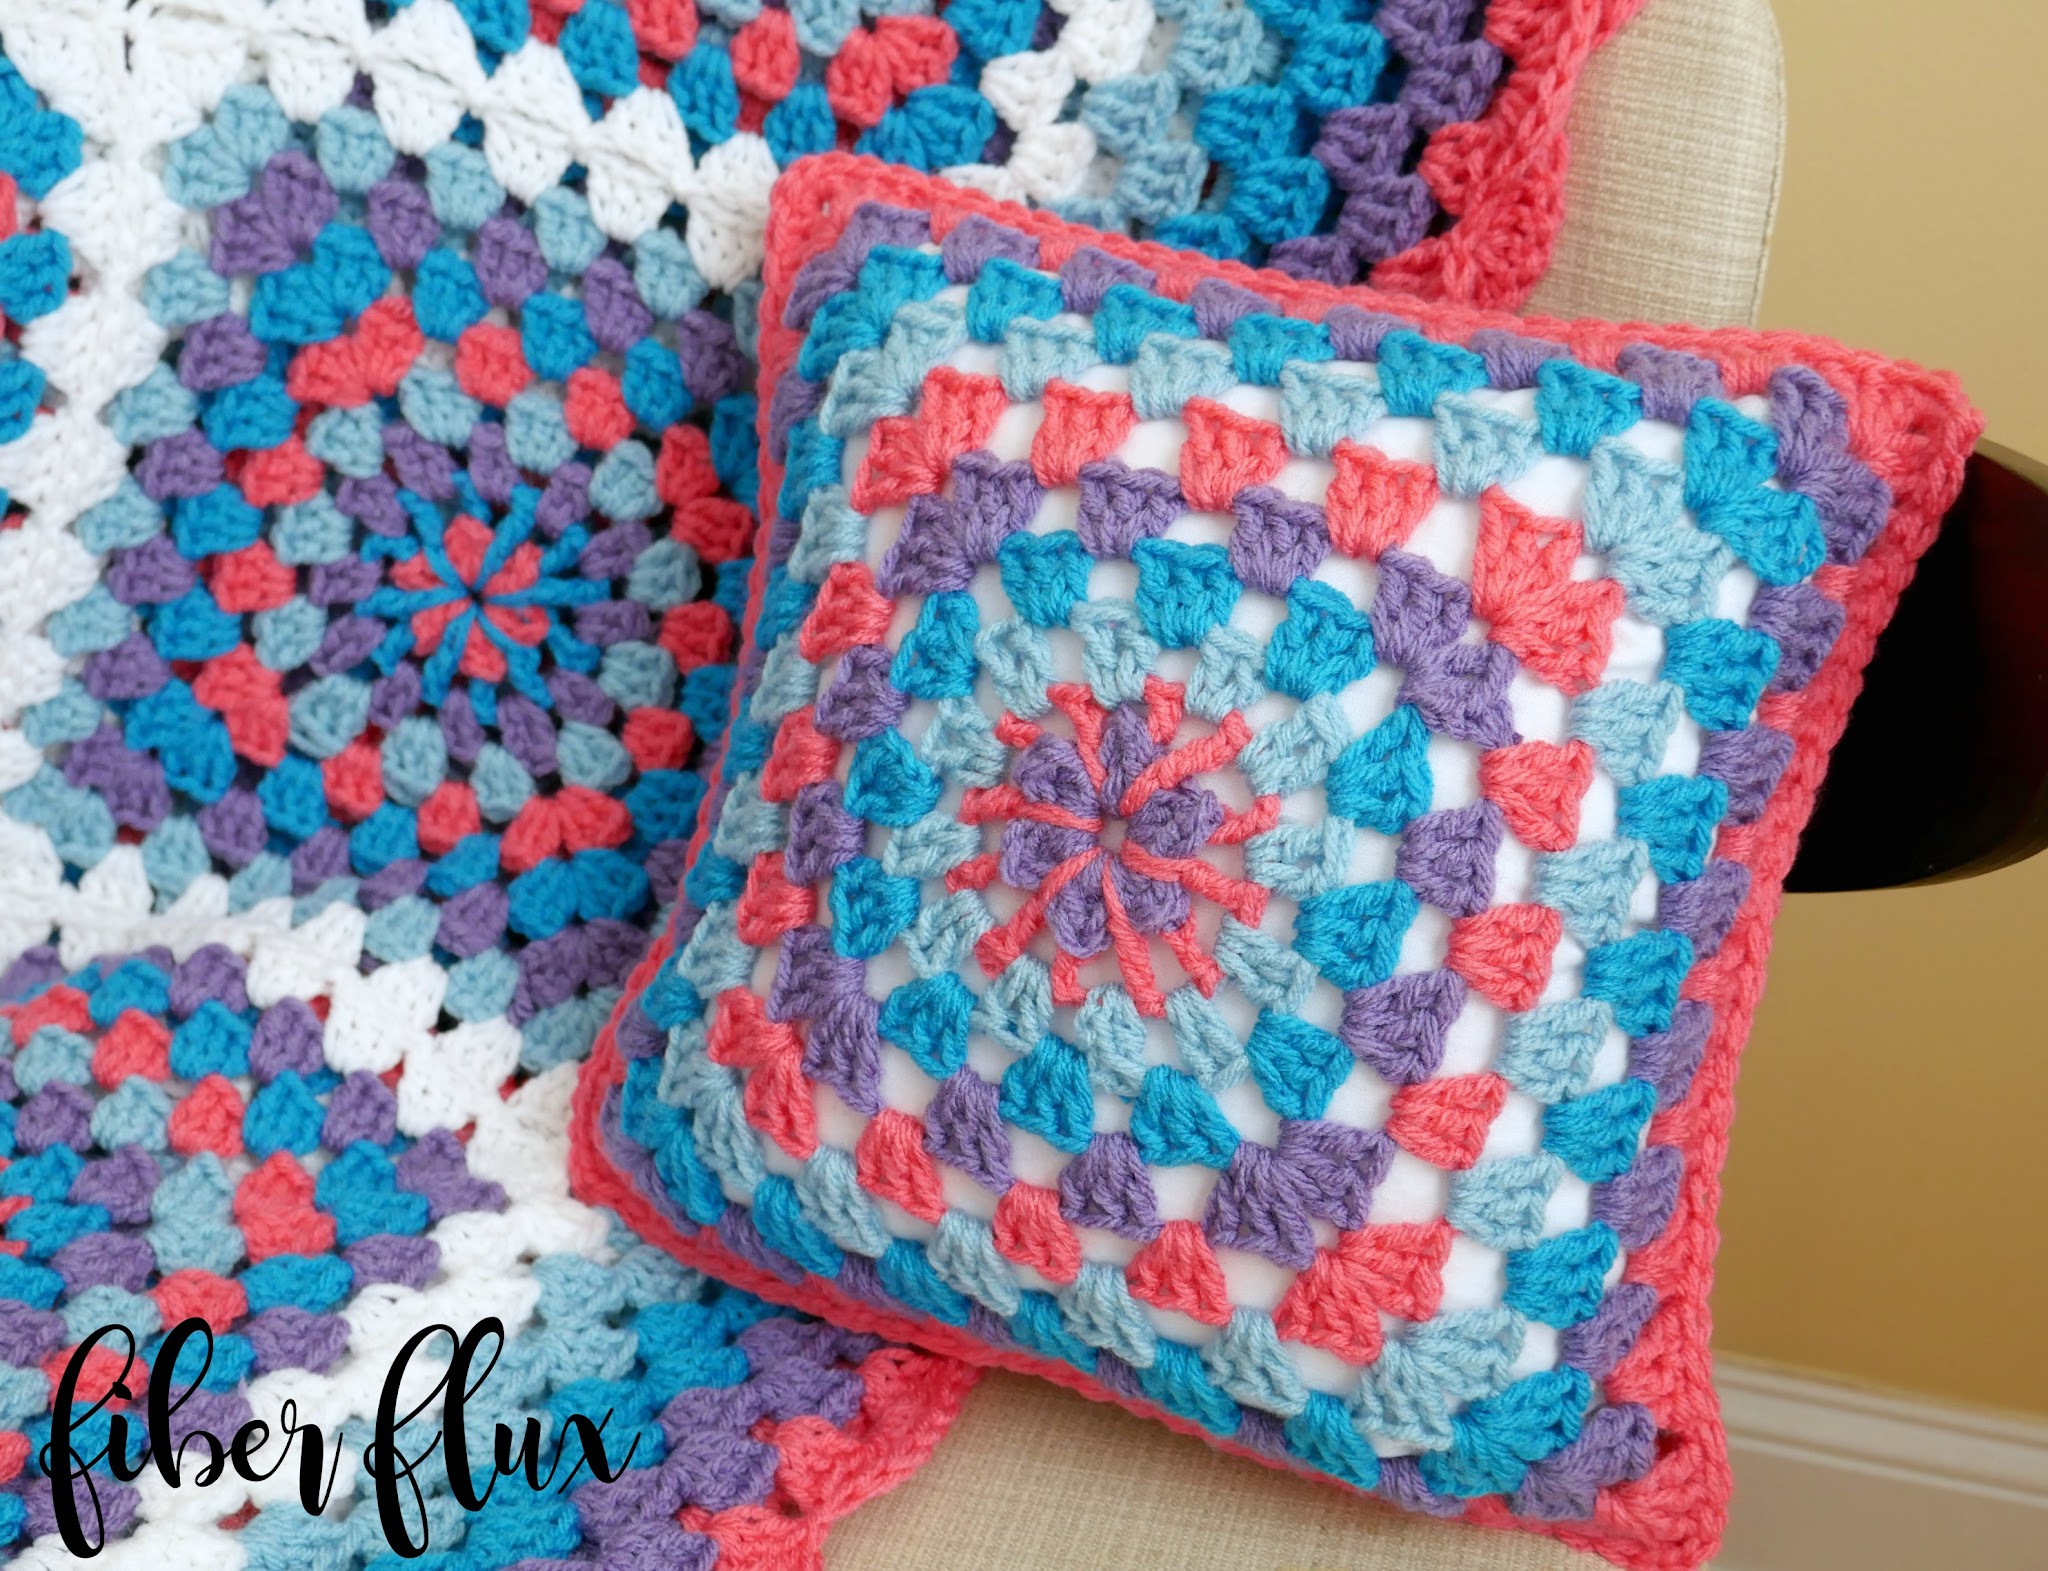
Can you guess what is is yet? Yes!!! A pretty throw pillow!
Just joining us? Scroll down to the schedule below where you’ll find links to the other parts of the CAL!
Add the pillow to your Ravelry queue by clicking on the button below:

Add the blanket to your Ravelry queue by clicking on the button below:

*This is a self-paced project, so definitely go at the speed you feel most comfortable. The instructional videos and posts will be up forever and you will always be able to go back and watch again and again!
Because there are those of you who prefer the written version and those who prefer a video tutorial, below are both. Either way, be sure to check out the video for some helpful tips as you are working on the project. I did a simple single crochet border, but feel free to crochet something fancier!
Here’s this week’s CAL video:
(Can’t see the video? Click here!)
Tropical Getaway Throw Pillow Pattern:
Part 1: Granny Squares (make 2)
Ch 4, join with a sl st in the furthest ch from hook to form ring.
Round 1: ch 3, then work 2 dc, then a sl st into the center of the ring. Work *(3 dc, sl st) five times for a total of 6 petals. Join with a sl st to close round.
Round 2: Tie on new color onto the back loops at the top of one of the petals. Insert your hook (same place at the top of petal) as if to work a back post stitch and ch 3 (working it this way will make the chain look more consistent with the other stitches). Ch 1, then in the next space (in between petals) work a tr into the center of the ring. Ch 1, then work a bpdc into the center most dc of the next petal. Continue in this manner around the circle, working a tr, ch 1 into the center of the ring (in between petals), then a bpdc, ch 1 in center dc of each petal. Join to close round with a sl st.
Round 3: Tie on a new color into any space and ch 3. In the same space, work a dc, ch 1. Work 2 dc, ch 1 in each space around. Join to close round with a sl st.
Round 4: Tie on a new color into any space and ch 3. In the same space, work a 2 dc, ch 1. Work 3 dc, ch 1 in each space around. Join to close round with a sl st.
Round 5: Tie on a new color into any space and ch 3. In the same space, work (2 dc, ch 1, 3 dc, ch 1) (this will create first corner of the square). In the next space, work 3 dc, ch 1 (this will create the first side of the square. In the next space, (work 3 dc, ch 1) to make the next side. In the next corner, work 3 dc, ch 1, 3 dc, ch 1). Continue in this manner, working corner, side, side, corner, side, side, etc. Join to close round with a sl st.
Round 6: Repeat round 5, for this round there will be 3 side groups in between the corners on all four sides.
Round 7: Repeat round 5, for this round there will be 4 side groups in between the corners on all four sides.
Round 8: Repeat round 5, for this round there will be 5 side groups in between the corners on all four sides.
Repeat as many rounds as necessary as you need to cover your pillow…be sure you make your squares large enough to be able to wrap around the sides of the pillow as well.
Pillow Assembly:
Sandwich squares together so right sides are facing outward. Beginning at the top left corner space, work a ch 1, then 3 sc the corner space. Continue down the side of the pillow, working a sc in between each dc and each ch 1 space. When you get to the corner spaces, work 3 sc in each corner space. Seam along left side, then the bottom, then up the right side. Leave the top unseamed and place pillow form inside. Continue across the top, join to close with a slip stitch. Weave/trim any ends that remain.
Let’s take a peek at the CAL schedule, shall we?
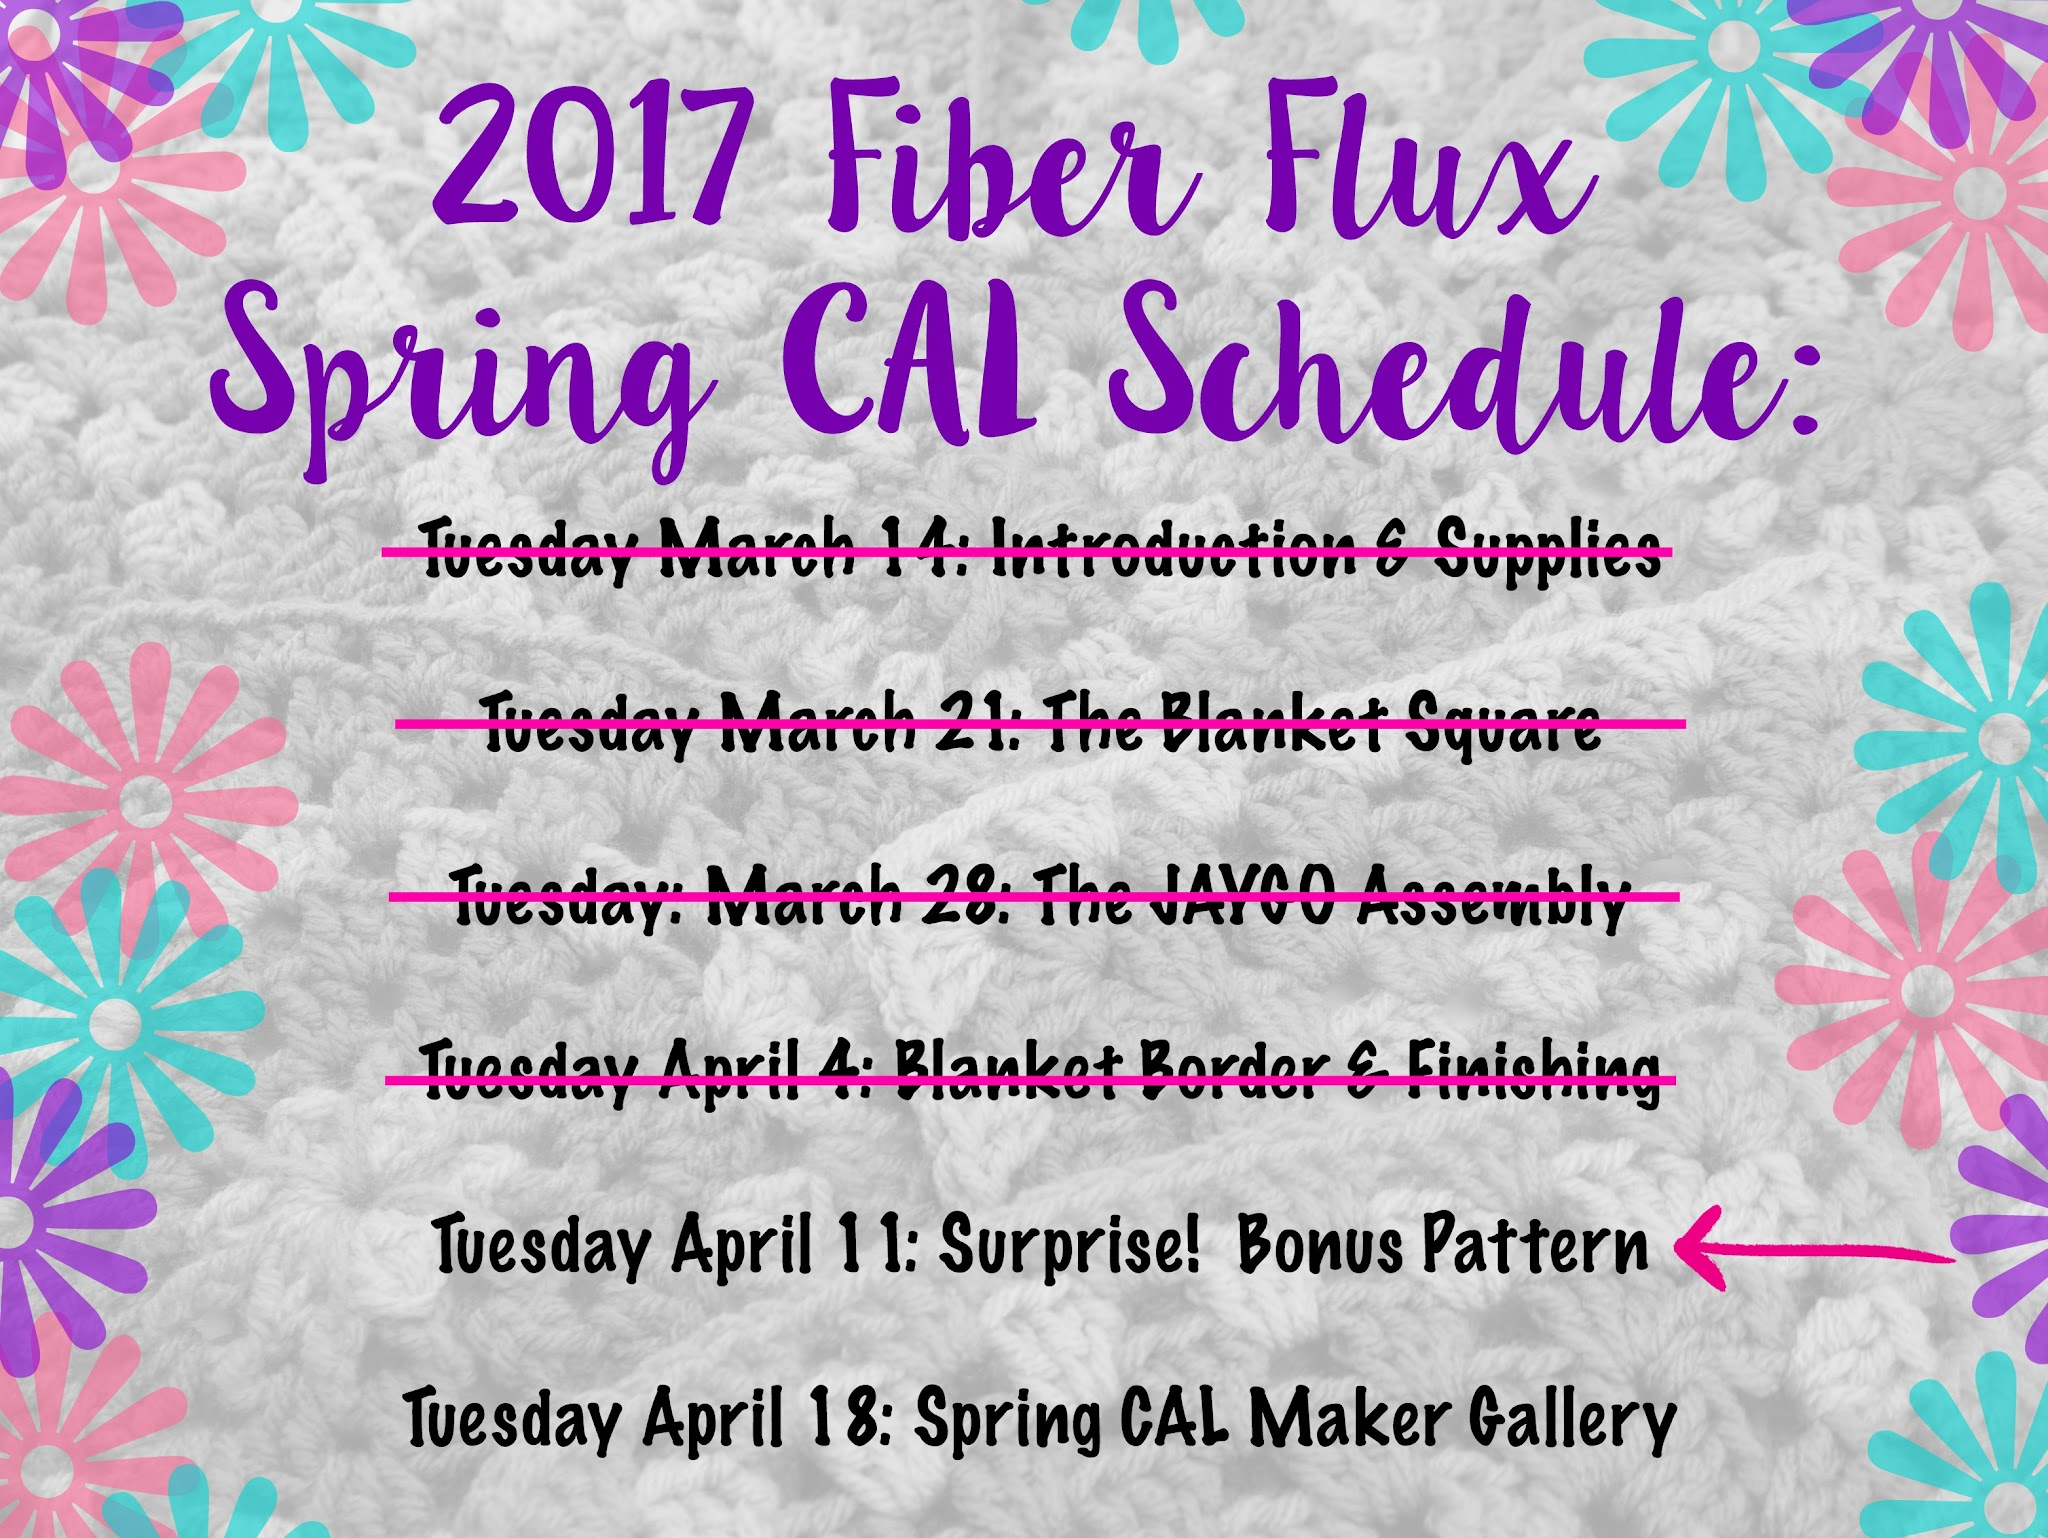
Tuesday March 14: Introduction to the CAL, the project, sizing options, and supplies neededTuesday April 4 : How to add an edging to “frame” in your squares, finish work on the blanket.- Tuesday April 11(that’s today!): Surprise! Today there will be a special surprise bonus pattern to go along with your blanket.
- Tuesday April 18: I will feature our Maker Gallery…so send me your work! This can be single motifs, work in progress, or finished pieces too! We want to see it all!
Last part…let’s connect! You can connect at any of the social media outlets below:


Also, I have set up a special group for us on Ravelry, the “Fiber Flux CAL Group” There is a special welcome area, so please hop on and introduce yourself. You can get info, ask questions, help each other, see what everyone is doing, and show off your work too!

Click HERE to visit and join the group!
I am LOVING all of your beautiful creations…please keep sharing those pictures and above enjoy, take some time to relax with your hook, and have fun!

© Jennifer Dickerson 2017
For more fun projects and pretty patterns, be sure to follow Fiber Flux on Google+, Facebook, Twitter, and Pinterest for the latest updates!

Visit the Fiber Flux Yarn Shop…lovely yarn & great prices!


 (Affiliate links, enjoy these awesome products and thanks as always for your support!)

