
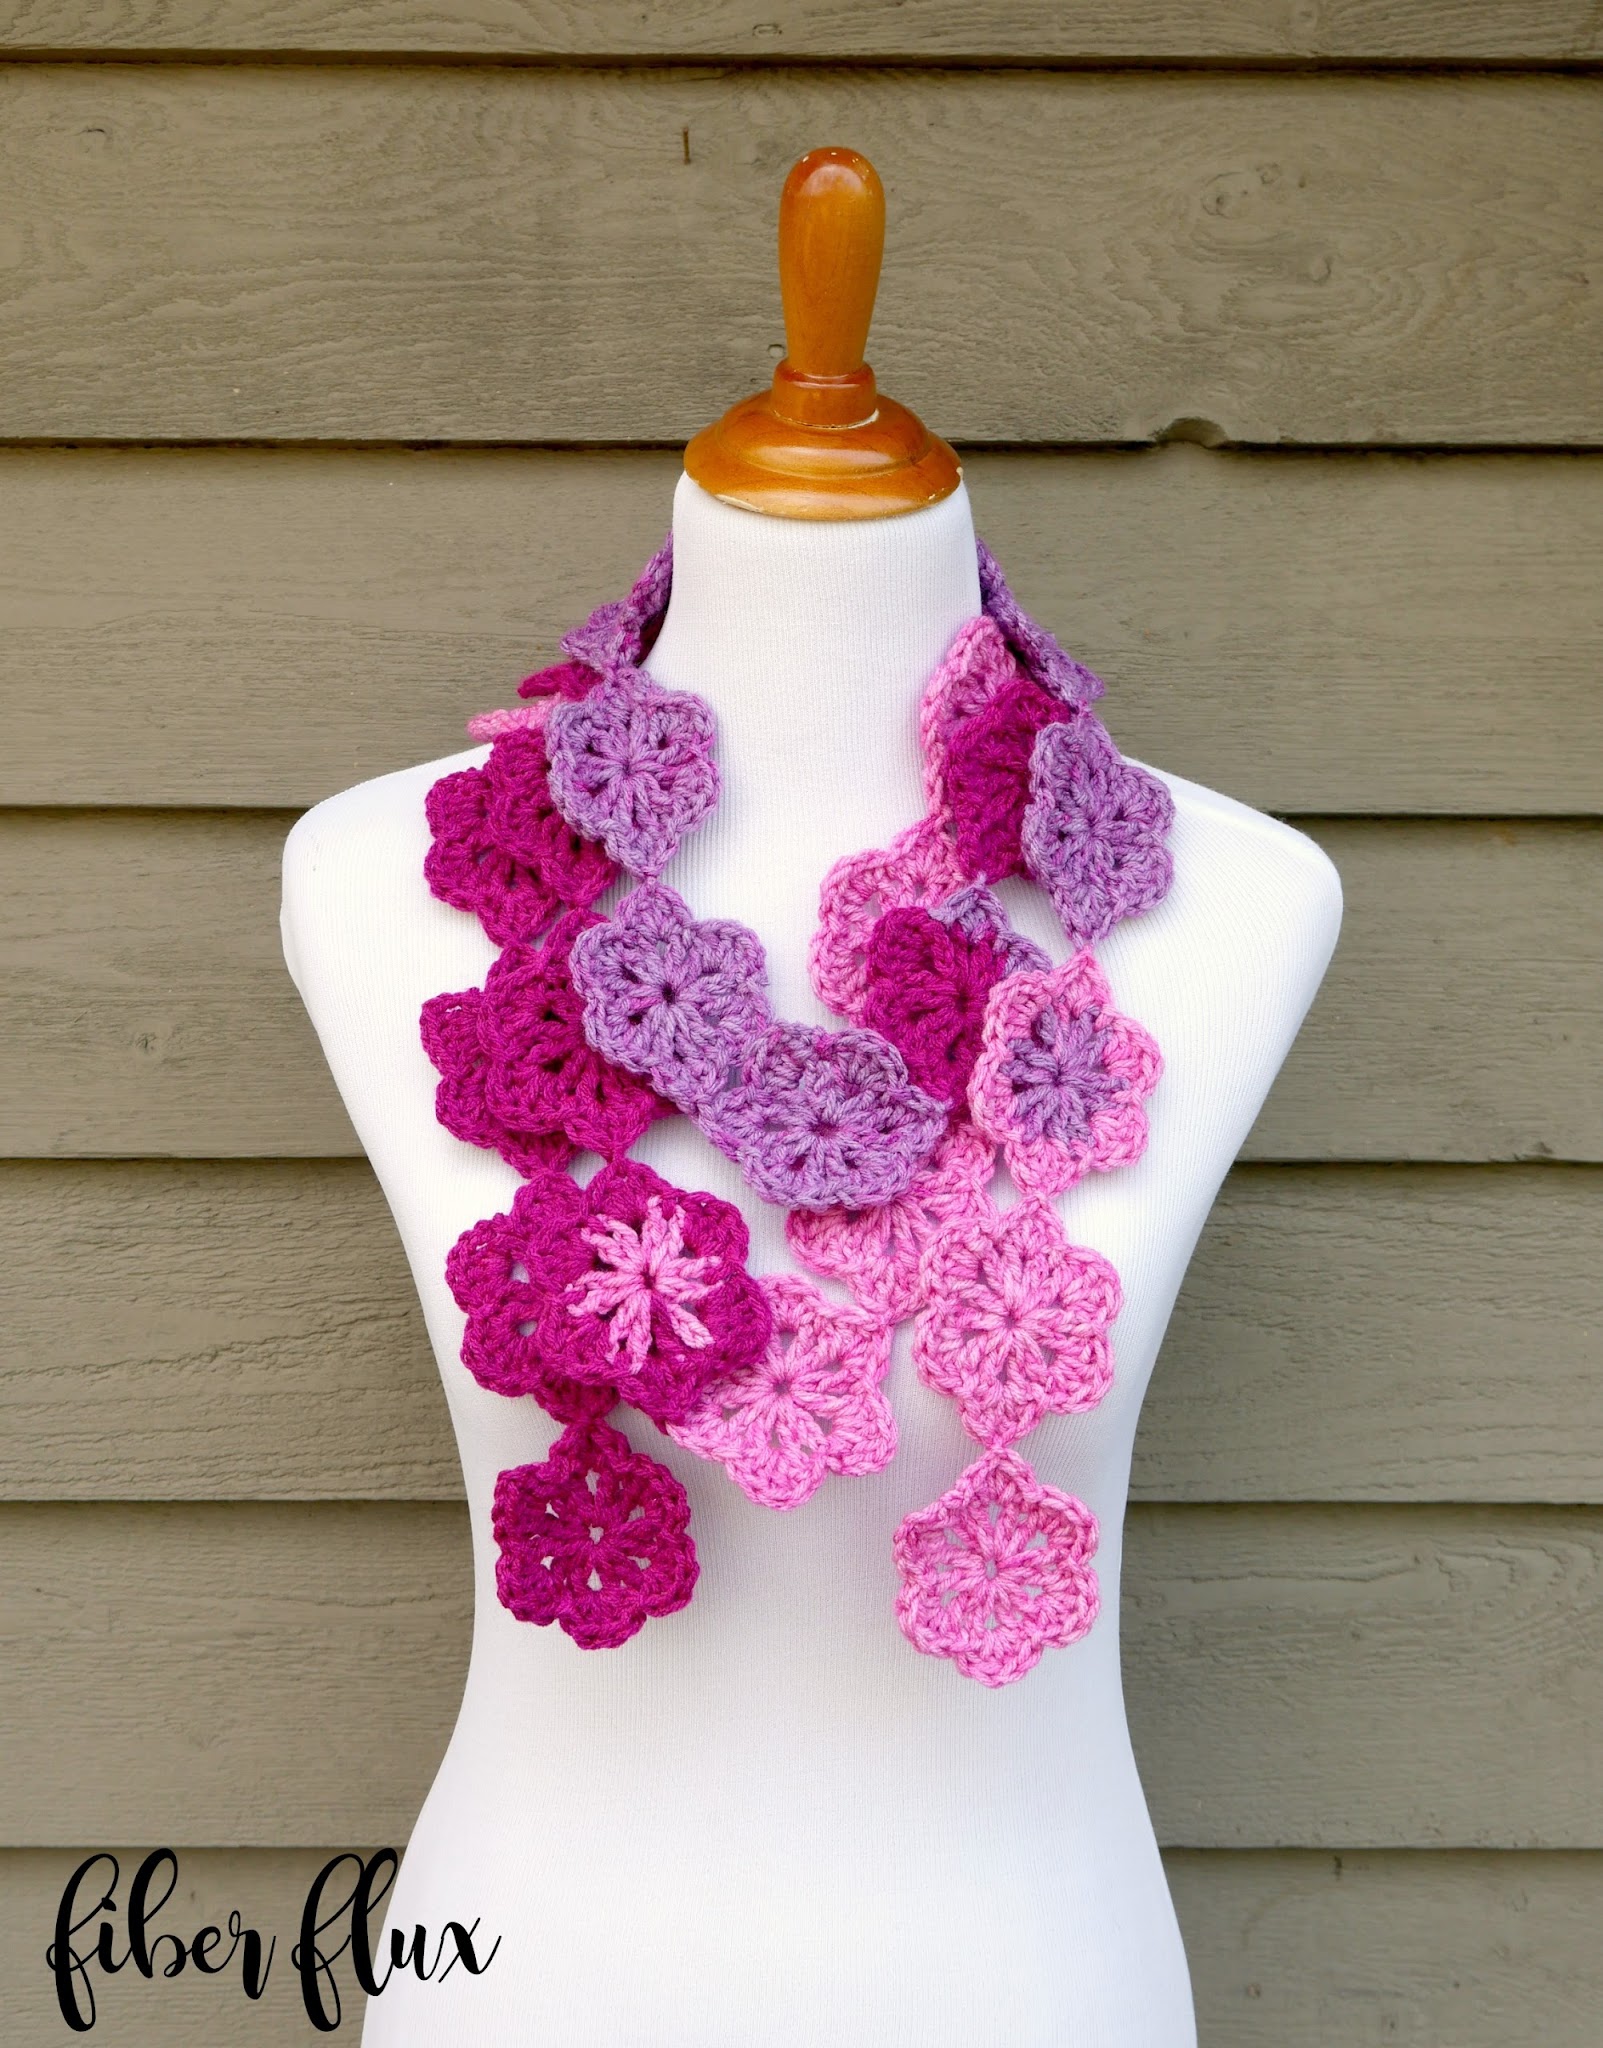
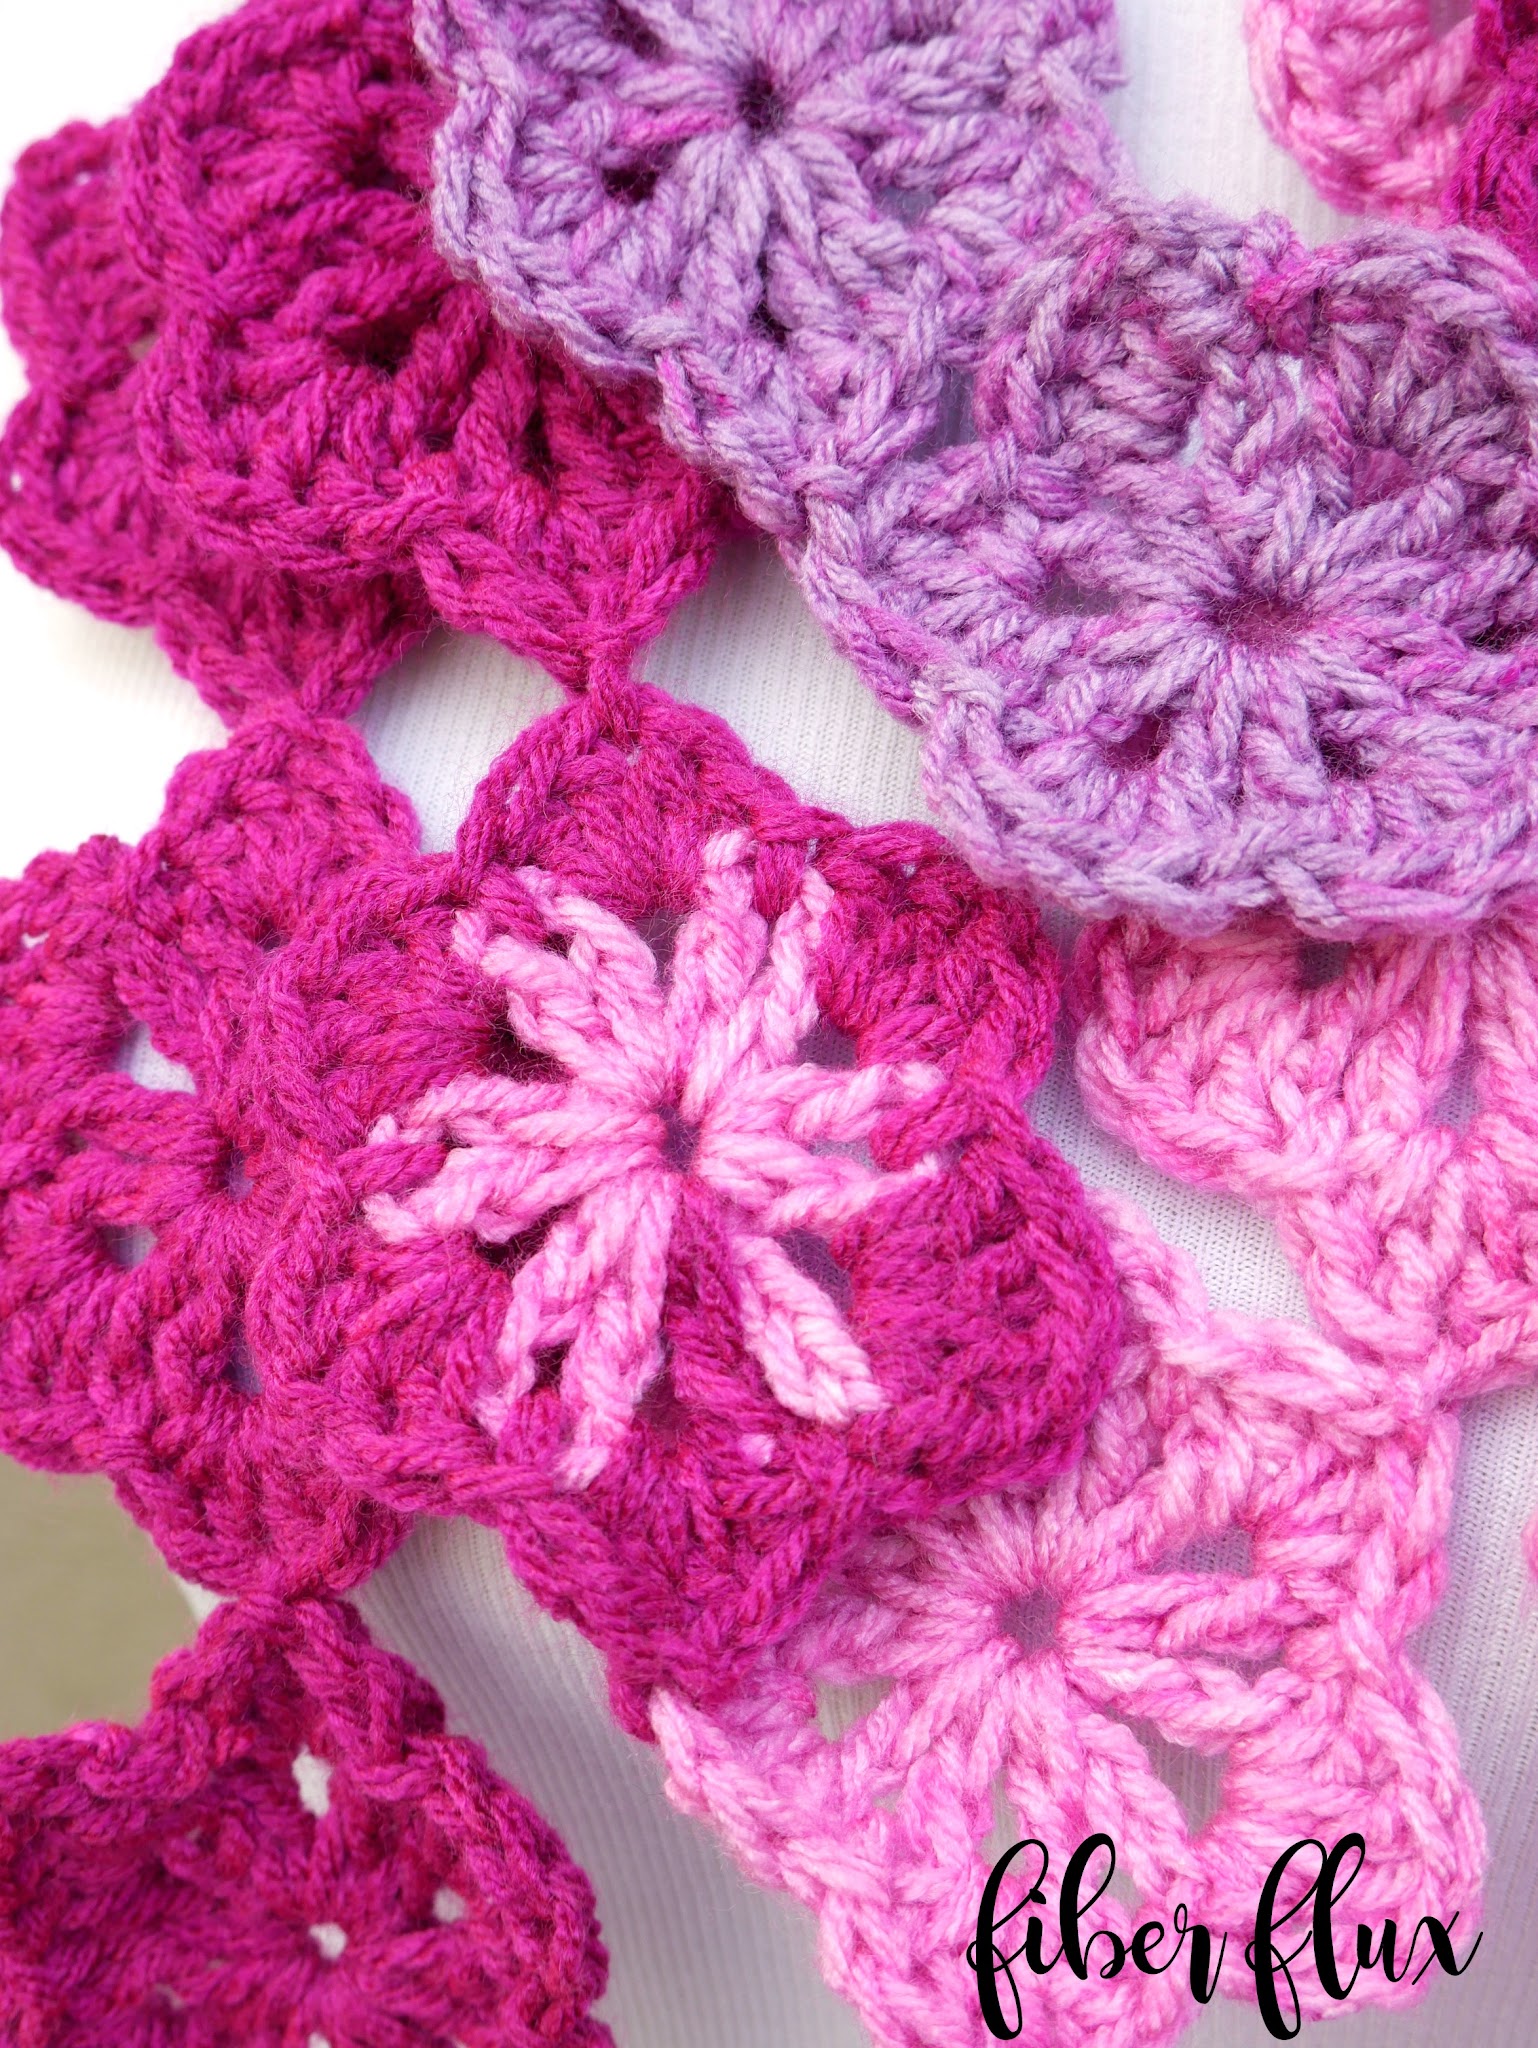
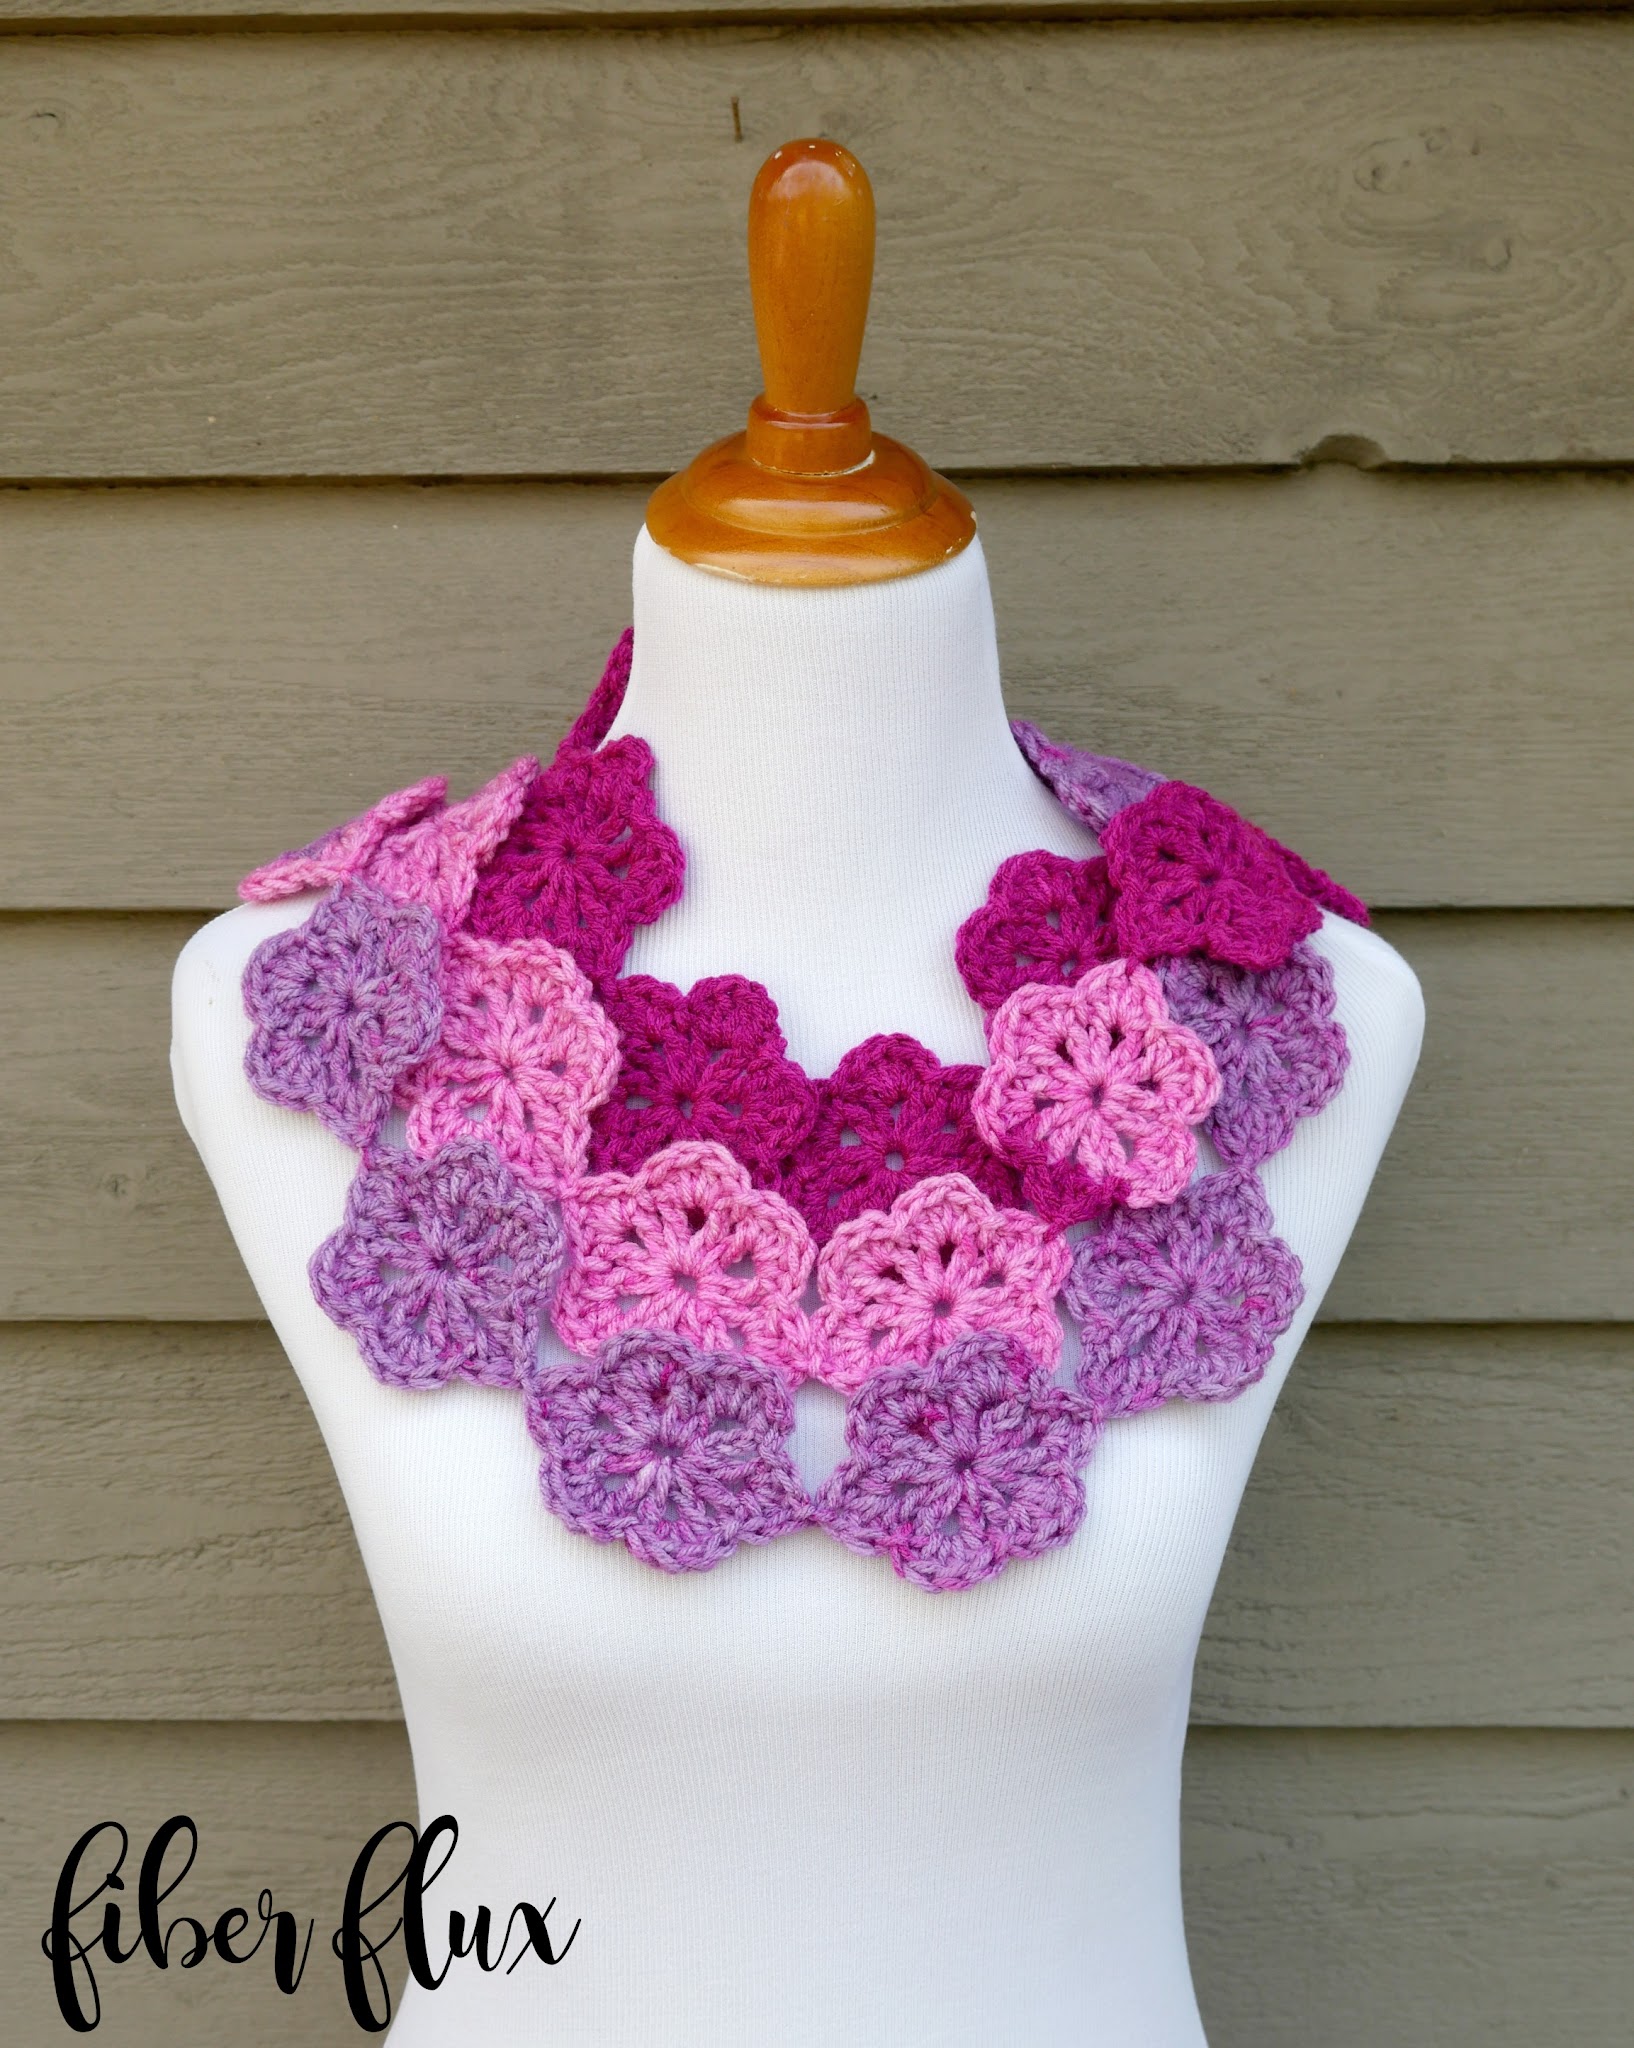
The Maui Blossom Scarf is like a fresh tropical breeze! Gorgeous blossoms will cascade around your neck like a Hawaiian lei and a generous length can be styled in lots of ways. This scarf is super easy to crochet too…flowers are worked in just two rounds using the join as you go method (JAYGO).
Need extra help? There’s a full video tutorial below too!
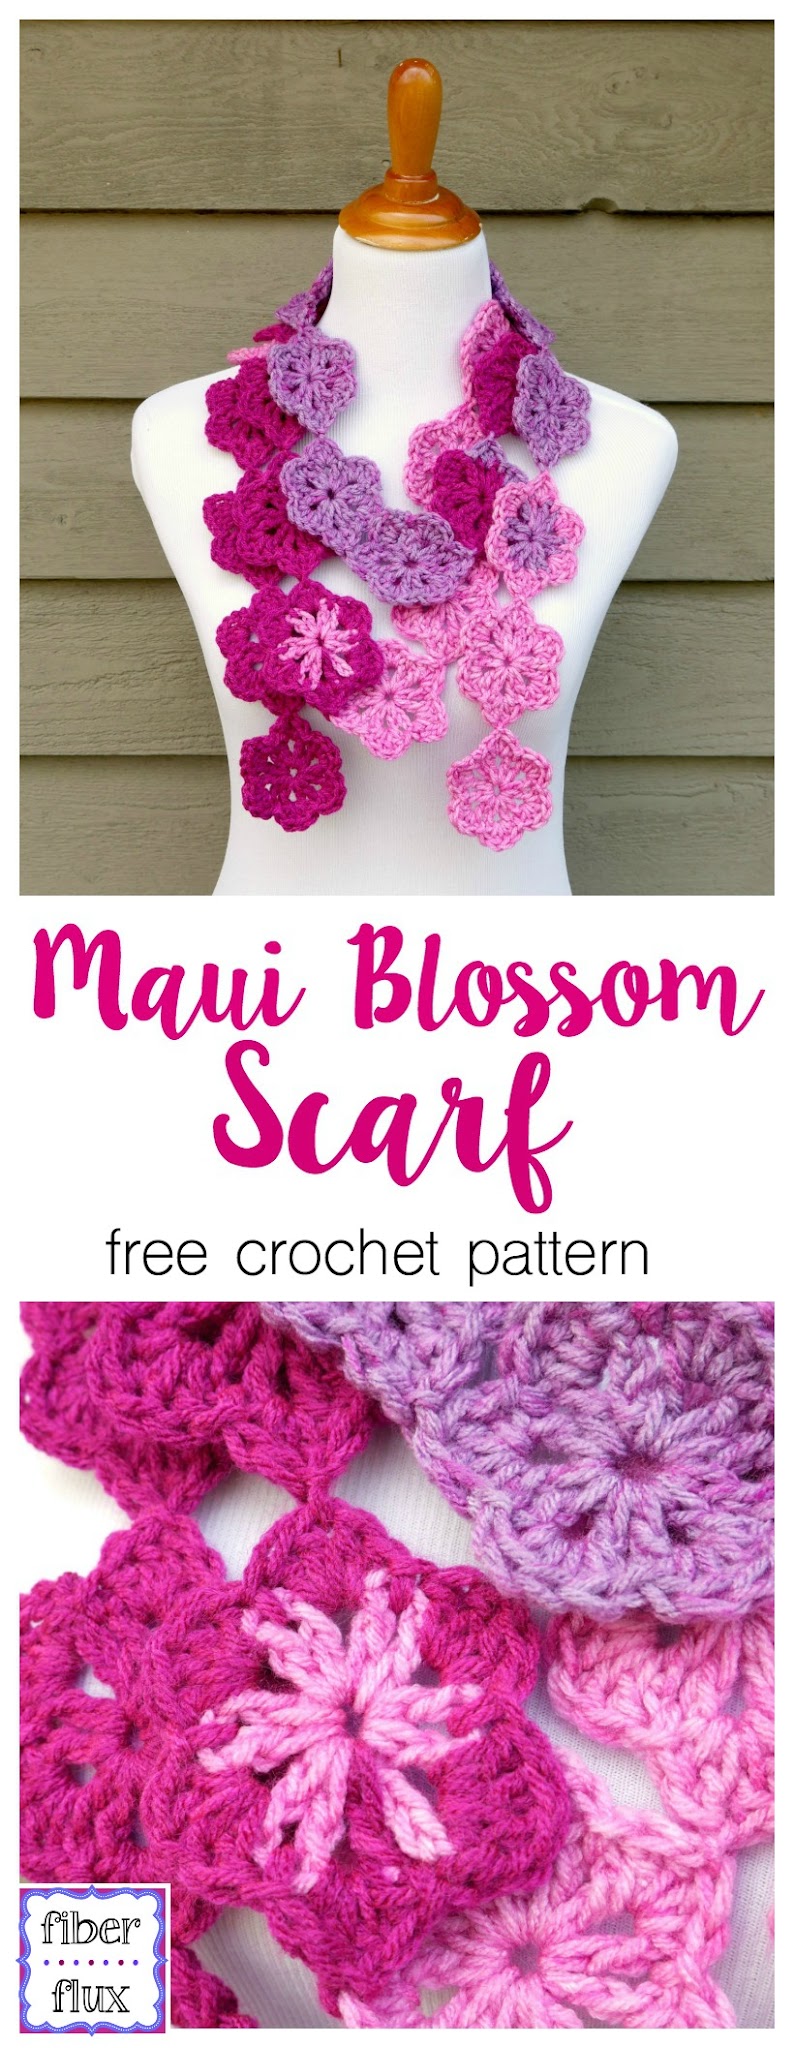
Maui Blossom Scarf
By Jennifer Dickerson
👉Get the ad-free crochet pattern PDF from my shop here!👈
Click below to watch a full video tutorial on how to make this project:
(Can’t see the video? Click here!)
Materials:
-
5.5 mm “I” crochet hook
-
1 Cake of Sweet Roll by Premier Yarns in “Raspberry” (note: if you need to substitute yarn look for a medium/4 on the yarn weight scale and a yarn that recommends the 5.5 mm I crochet hook)
-
Tapestry Needle
-
Scissors
-
Ruler or tape measure (optional)
Sizing:
-
3.5 inches wide
-
120 inches long
-
Each flower is 3.5 inches tall and 3.5 inches wide
Abbreviations and Tutorial Links:
Part One-Instructions for first flower:
Ch 4, join in the furthest ch from the hook with a sl st to create a ring.
Round 1: ch 4, then work (dc, ch 1) 11 times into the center of the ring.
Round 2: Slip stitch into the first space to get to the right spot, then ch 3. In the space work (3 dc, ch 1). *Slip stitch in the next space, then work (4 dc, ch 1) in the next space. Repeat from * to end of round and join to close round with a slip stitch in the chain at the base of the first petal.
Part Two-Instructions for second flower and every flower thereafter:
Note: each flower after the first flower is joined onto the scarf on round 2 using the join as you go method.
Ch 4, join in the furthest ch from the hook with a sl st to create a ring.
Round 1: ch 4, then work (dc, ch 1) 11 times into the center of the ring.
Round 2: Slip stitch into the first space to get to the right spot, then ch 3. In the first space work (3 dc, ch 1). *Slip stitch in the next space, then work (4 dc, ch 1) in the next space. Repeat from * until just two spaces remain. In the next space work 2 dc, then you’re ready to join your flower onto the previously made flower(s). Join into the previously made flower by working a slip stitch into the center of one the petals (in center of the 4 dc that make up each petal). Then work 2 more dc to complete the petal. Work a sl st into the last space, then join to close round with a slip stitch in the chain at the base of the first petal. If you’ve never done a project where you join as you go, I highly recommend checking out the video, where I do each part of the scarf step by step.
Repeat part two for the remaining flowers (see pictorial below) until the scarf is as long as you’d like for it to be (mine had a finished length of 120 inches). Weave in any ends that remain. If you like to block your scarf a little, proceed below for instructions/videos.

If your flowers are looking a little curly, you can block them to flatten/straighten them out a bit. Below are two videos to help you with blocking depending on the yarn you used for your scarf…
If you used acrylic yarn, you can gently steam block you flowers:
(Can’t see the video? Click here!)
If you used natural fibers (wool, alpaca, bamboo, cotton, etc) you can steam block (see above) or wet block your pieces, bee below for the full tutorial on wet blocking:
(Can’t see the video? Click here!)
Happy stitching lovelies!

© Jennifer Dickerson 2017
For more fun projects and pretty patterns, be sure to follow Fiber Flux on Facebook, Twitter, and Pinterest for the latest updates!


I've been looking for something gorgeous to make with my sweet rolls. This is a must do. Thanks Jennifer!
I made this with thicker fuzzy yarn for my kiddo and she loves it. Is there a way to add a border to strengthen the joints?