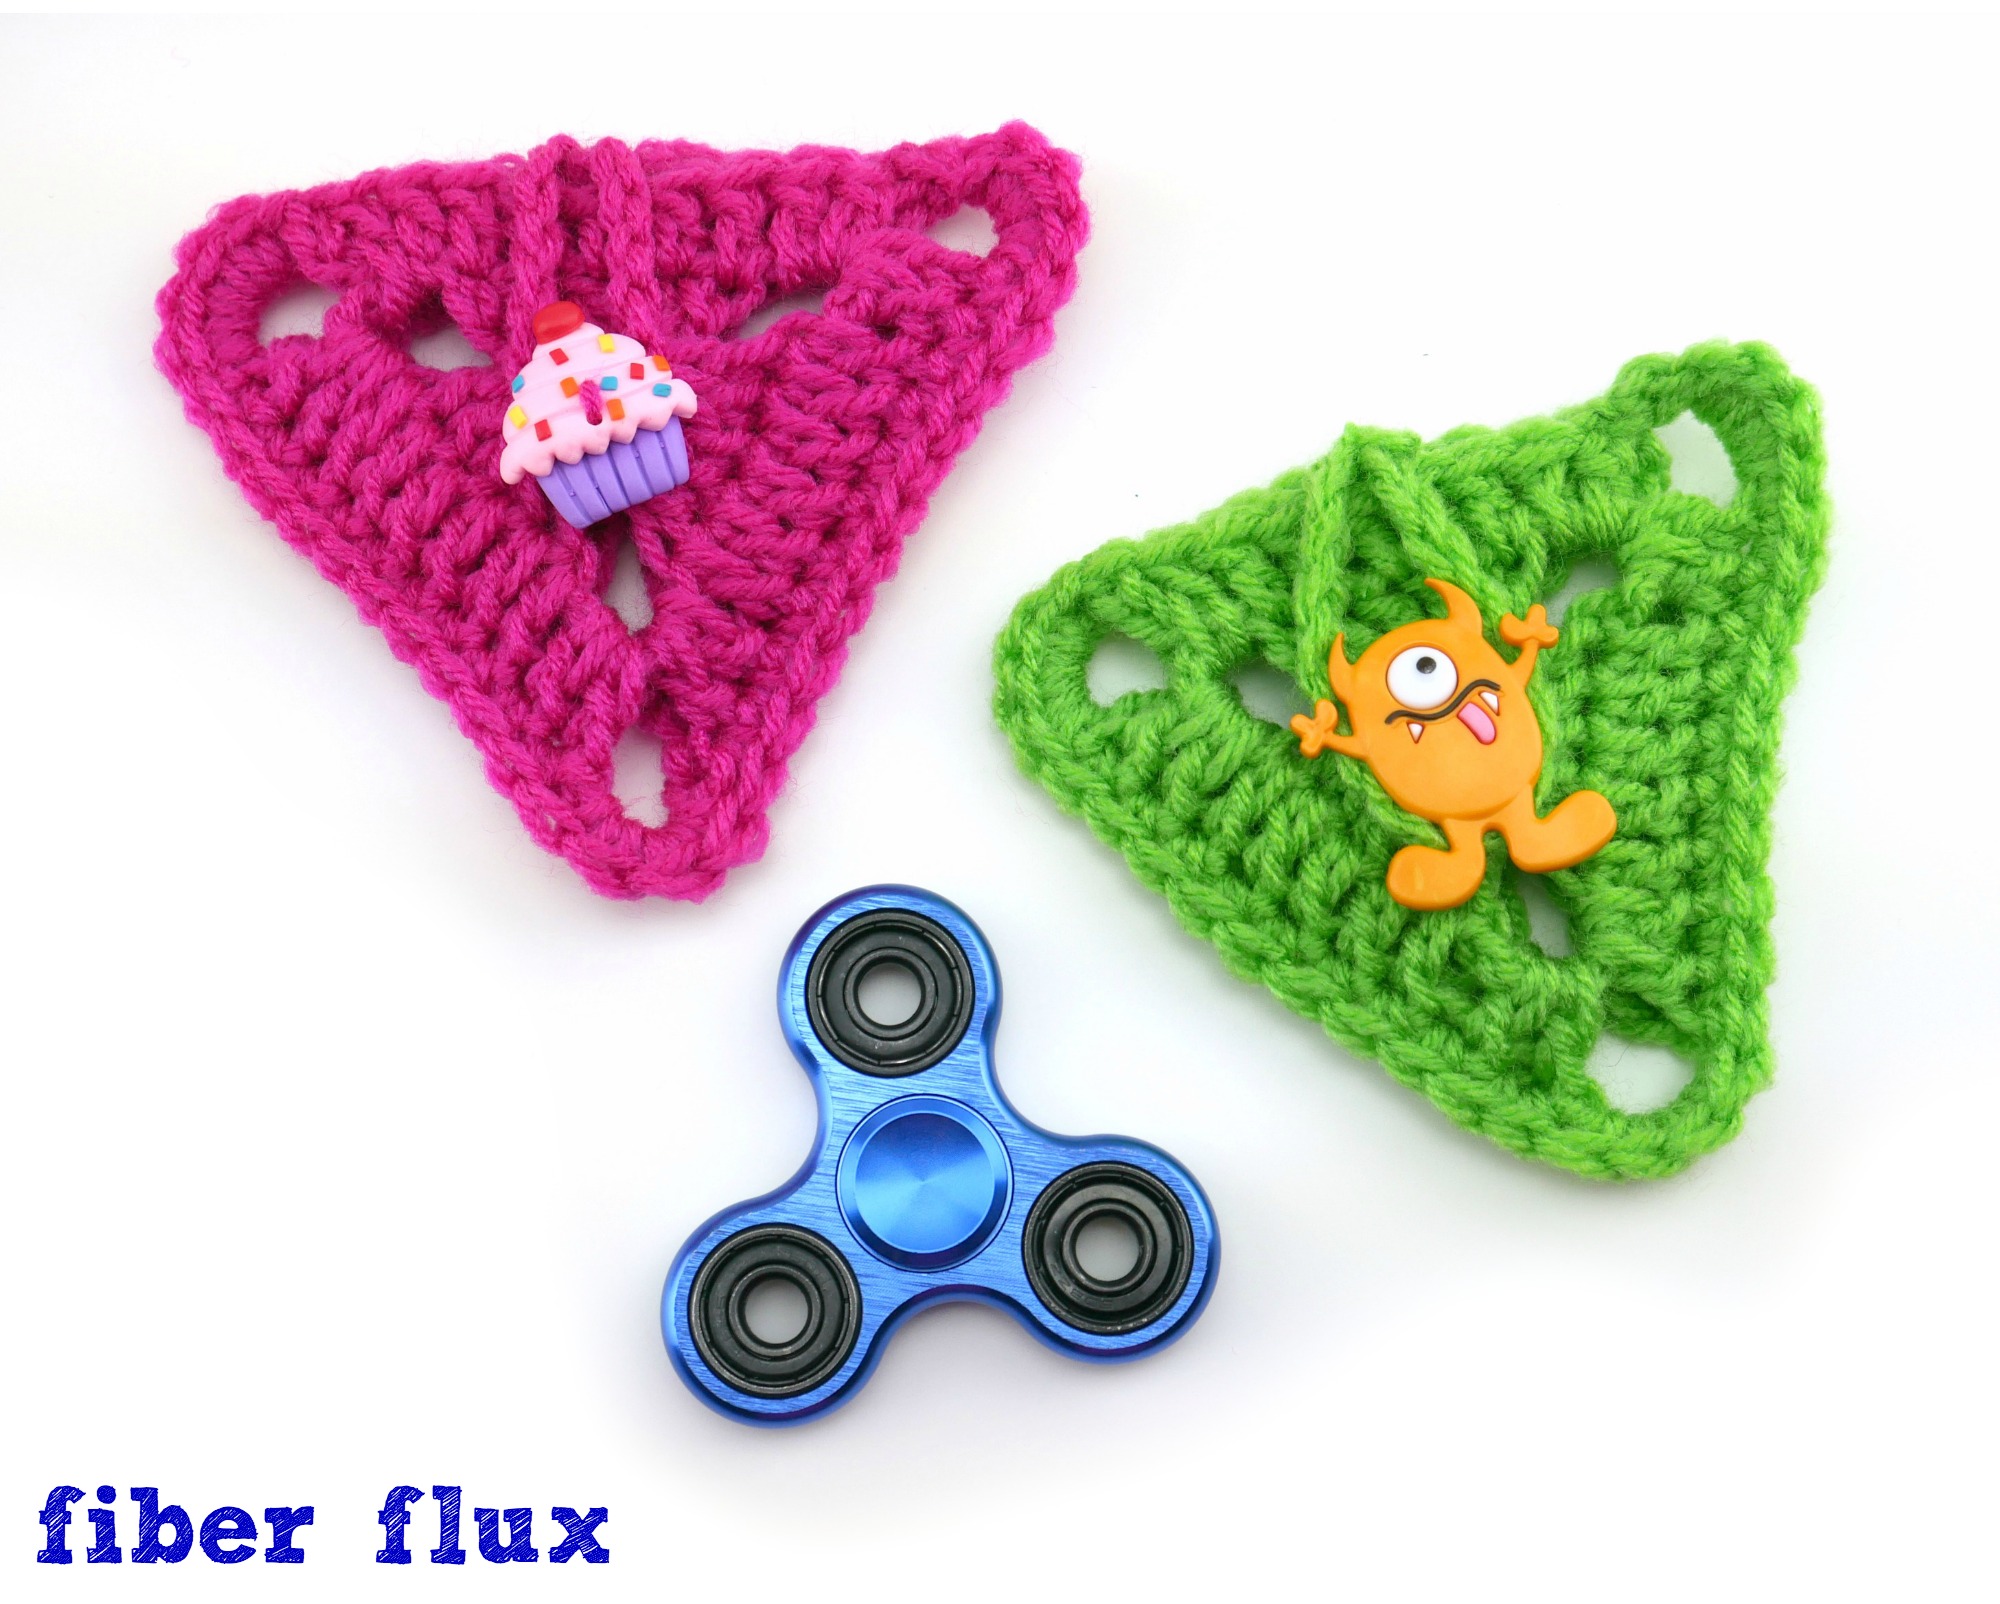
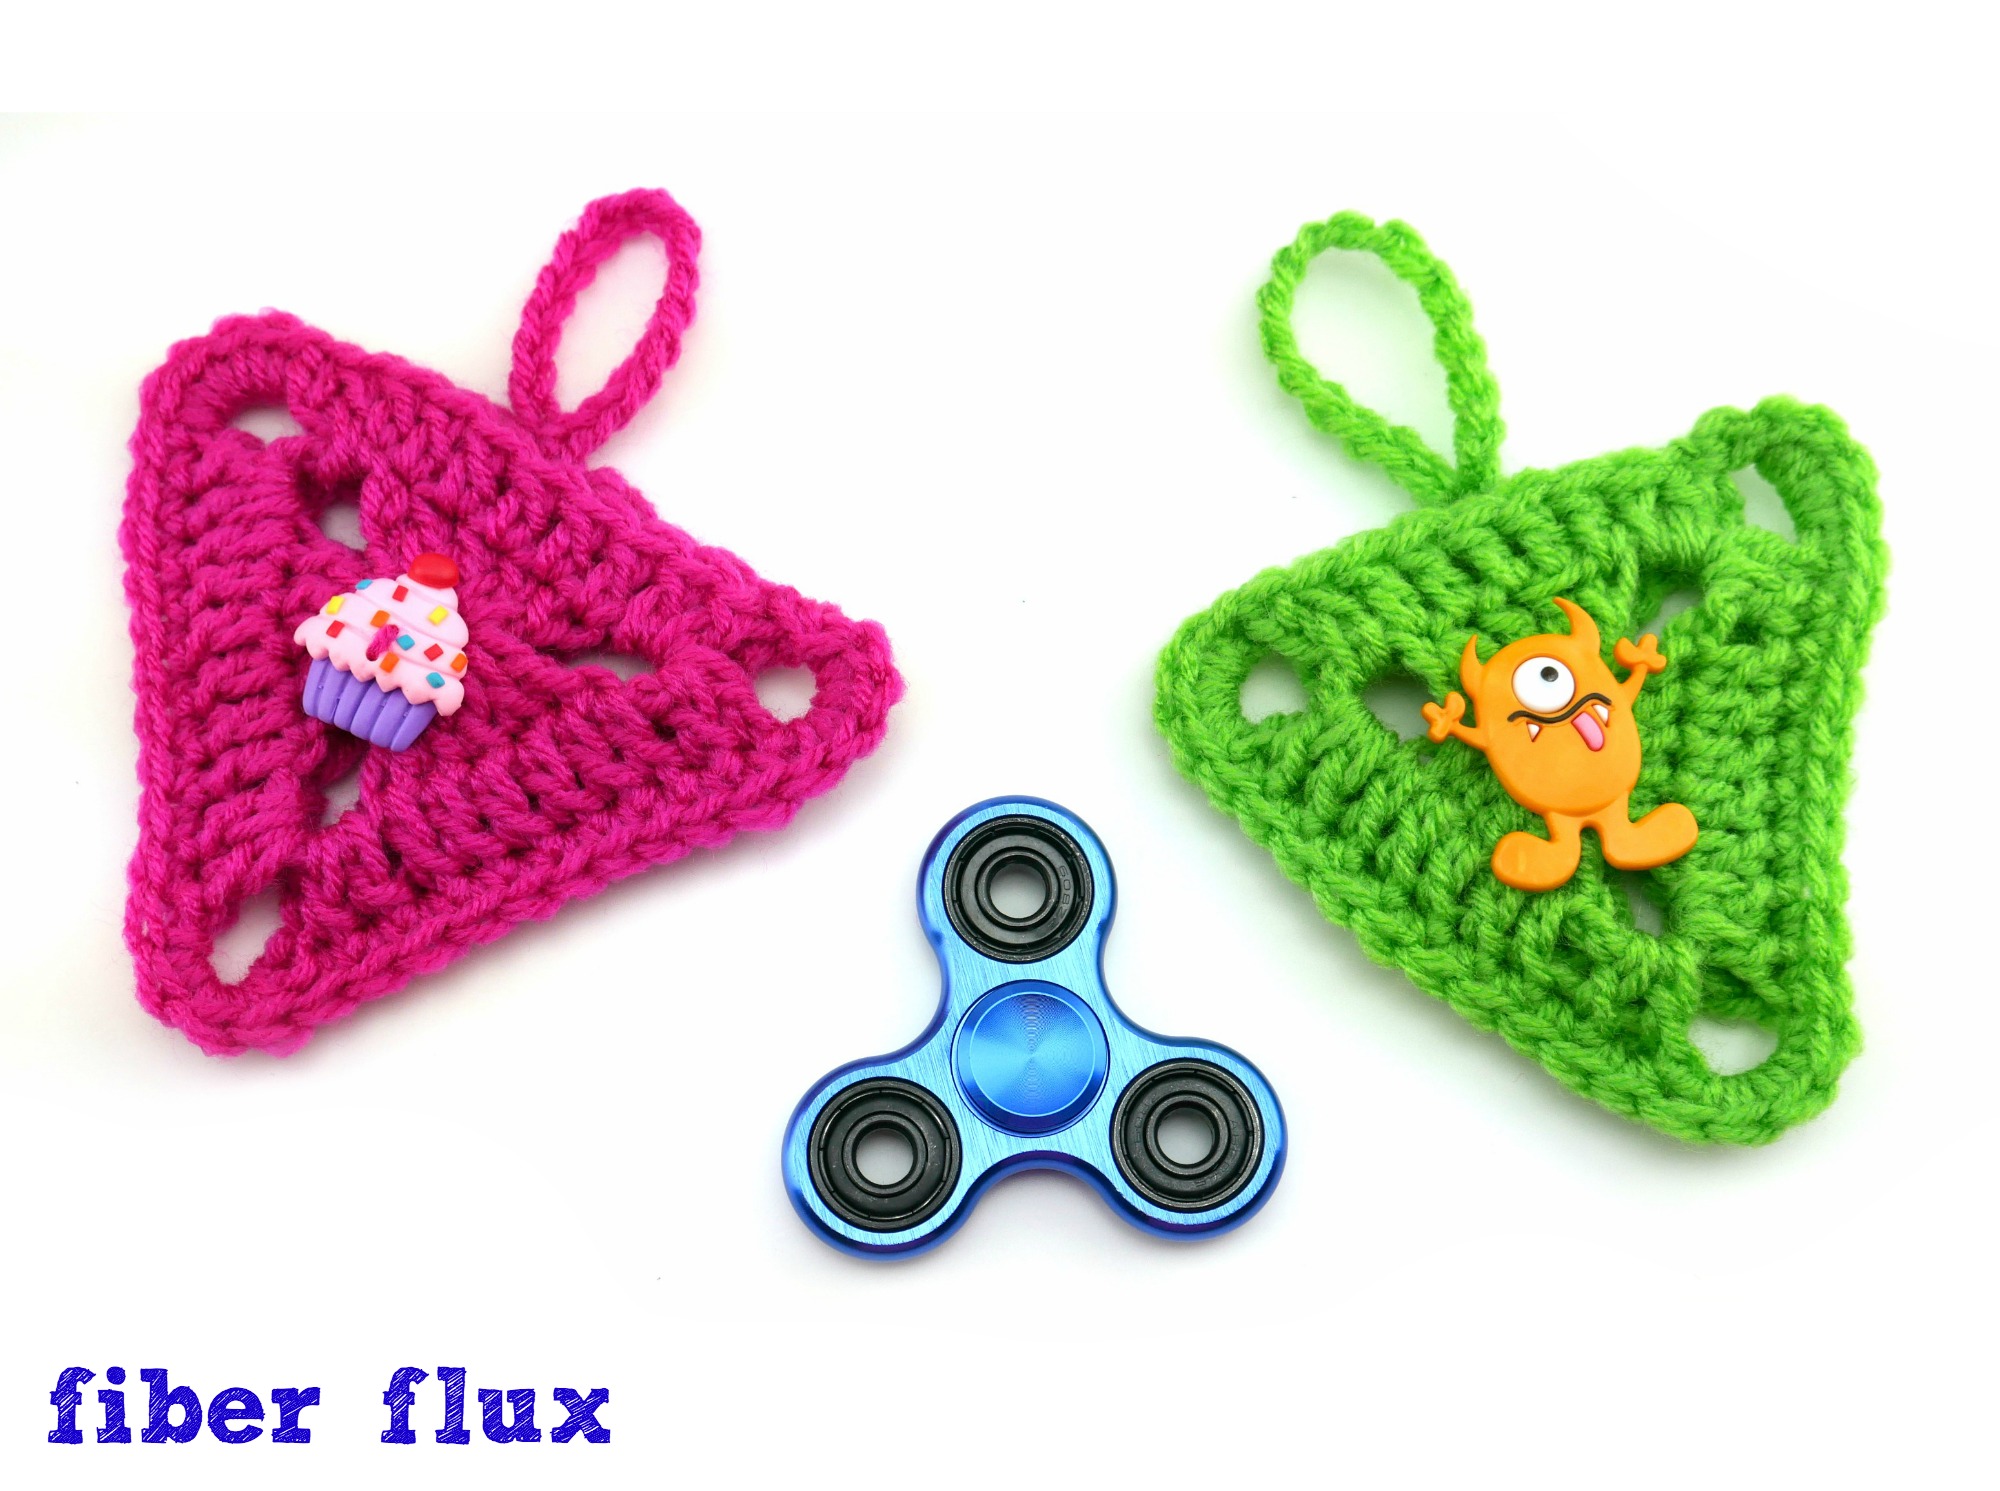
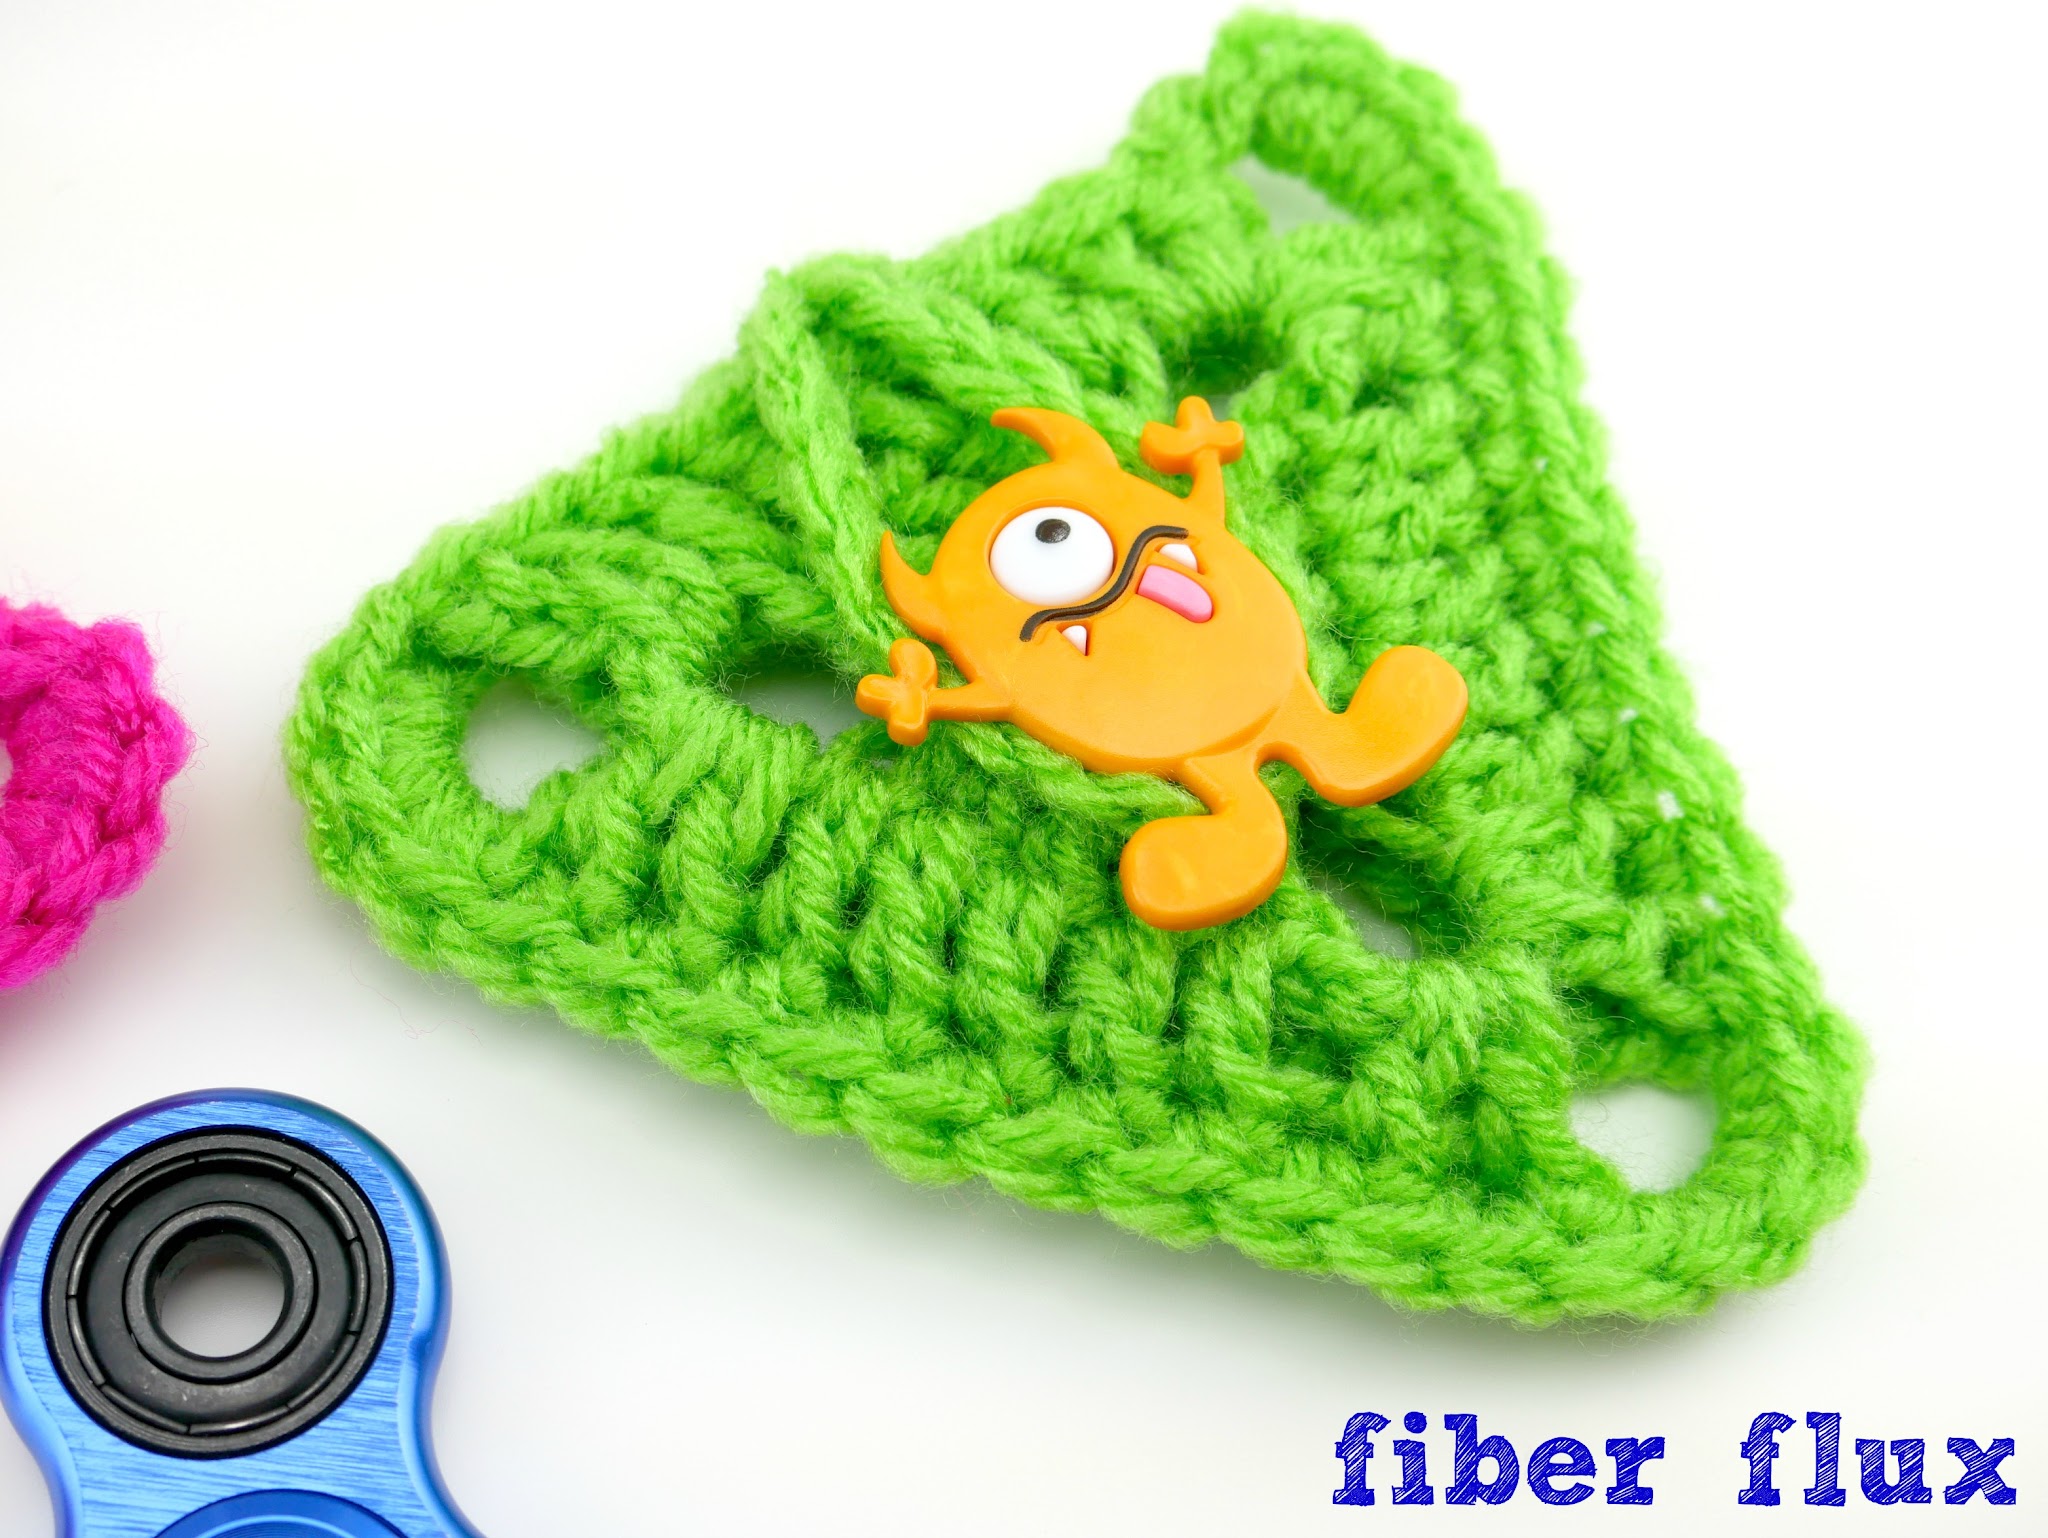
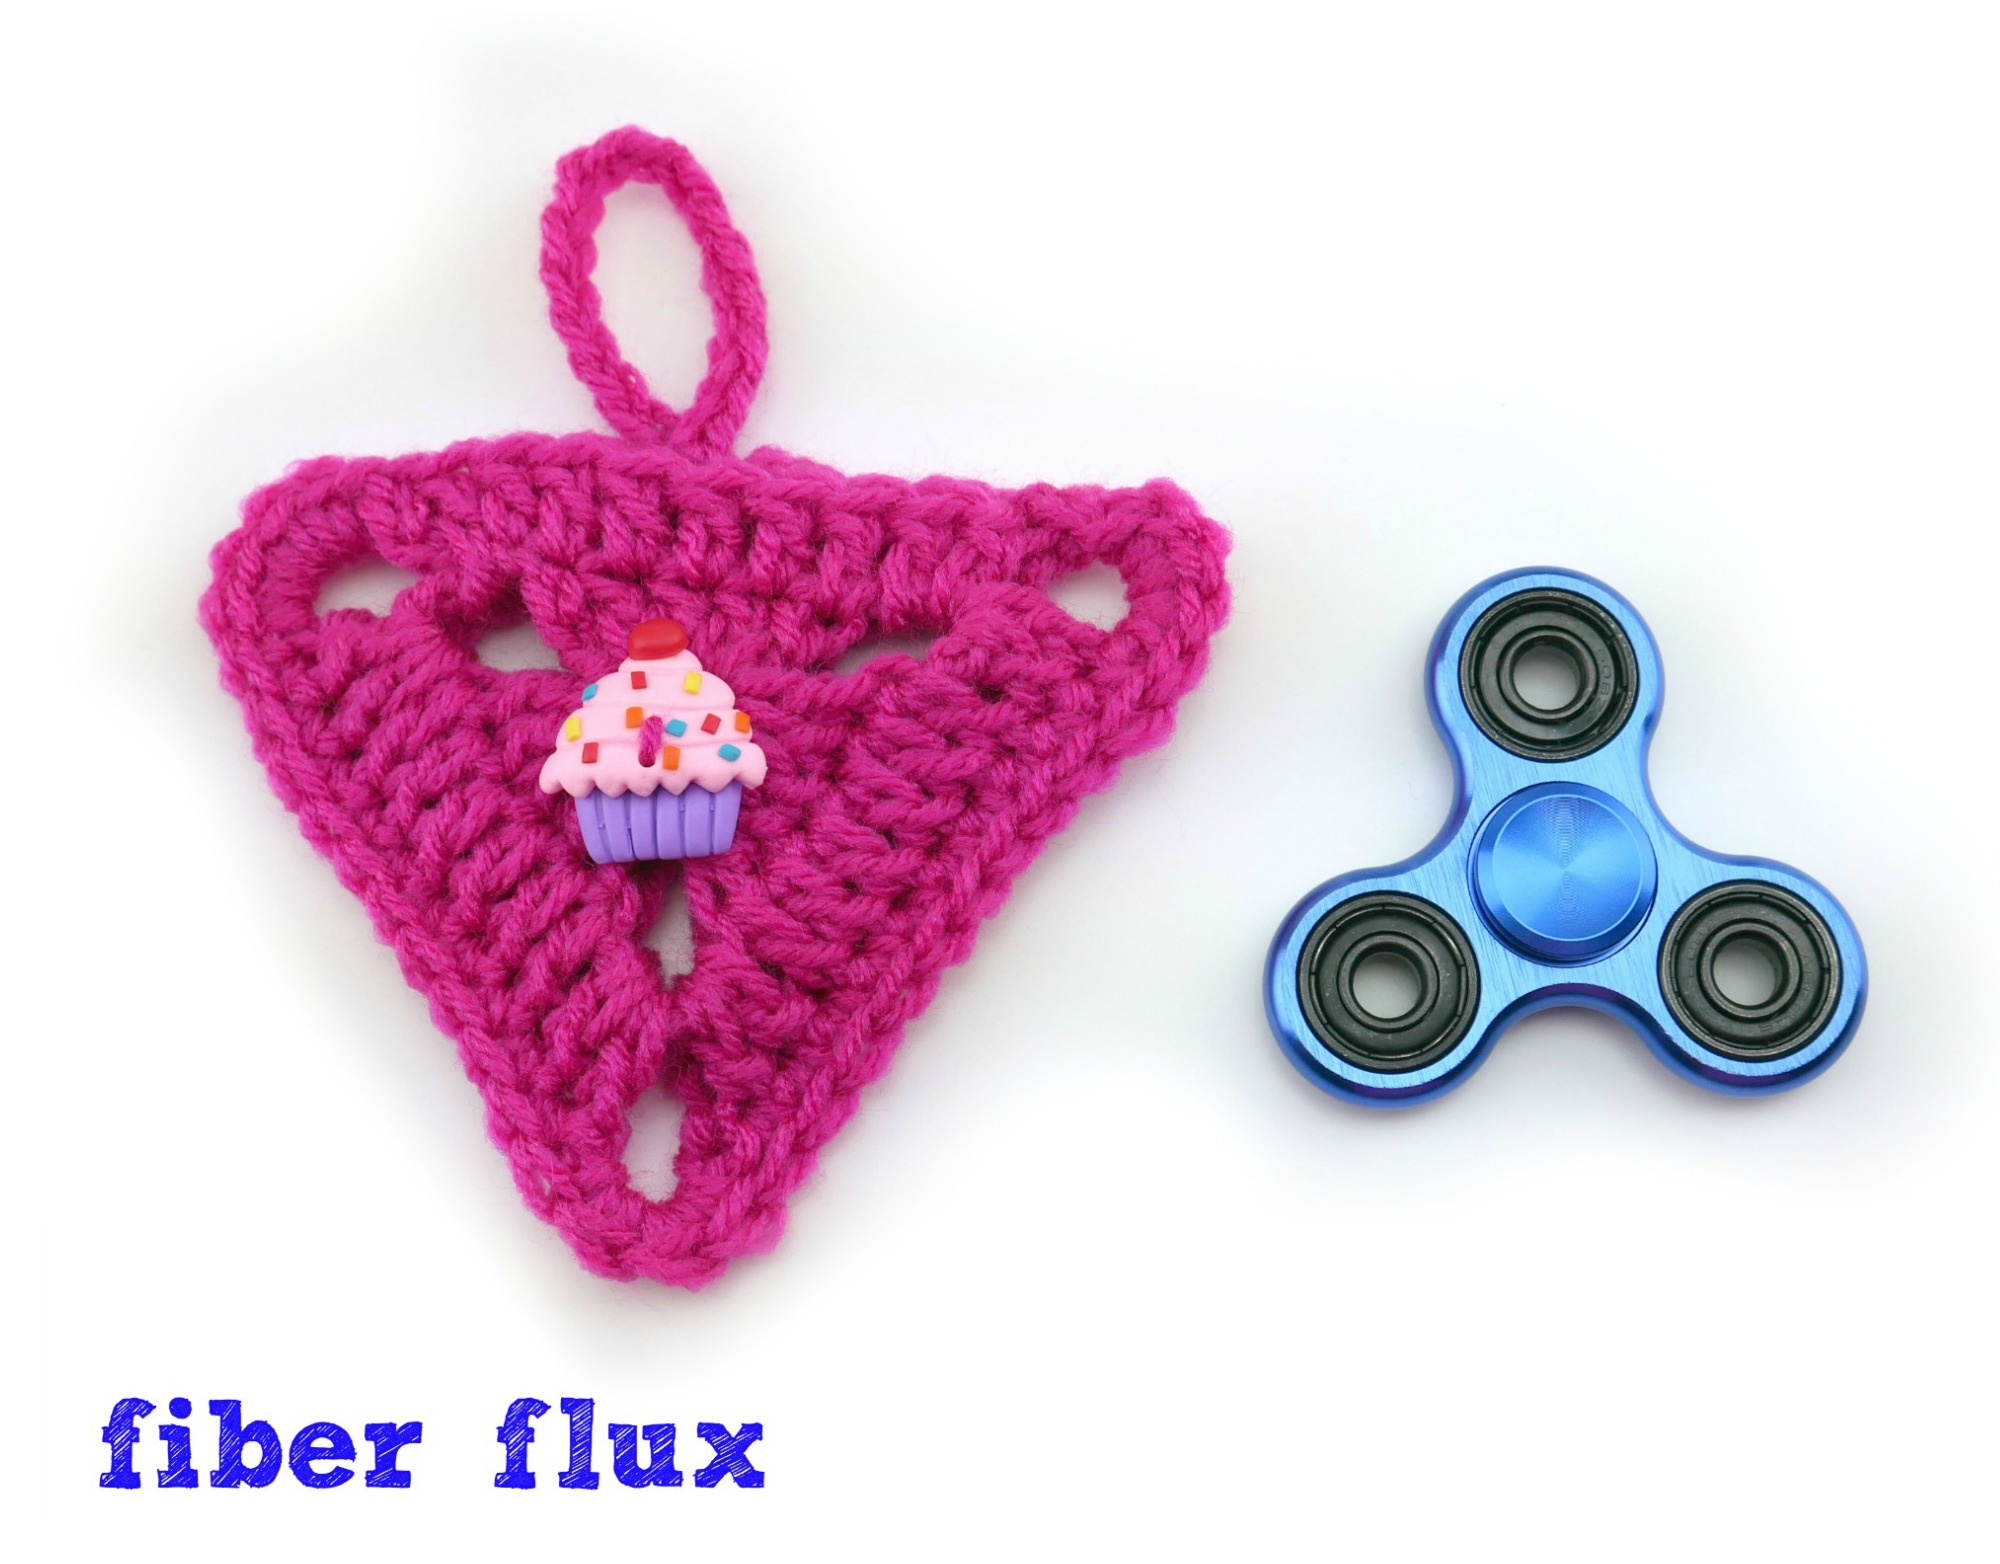
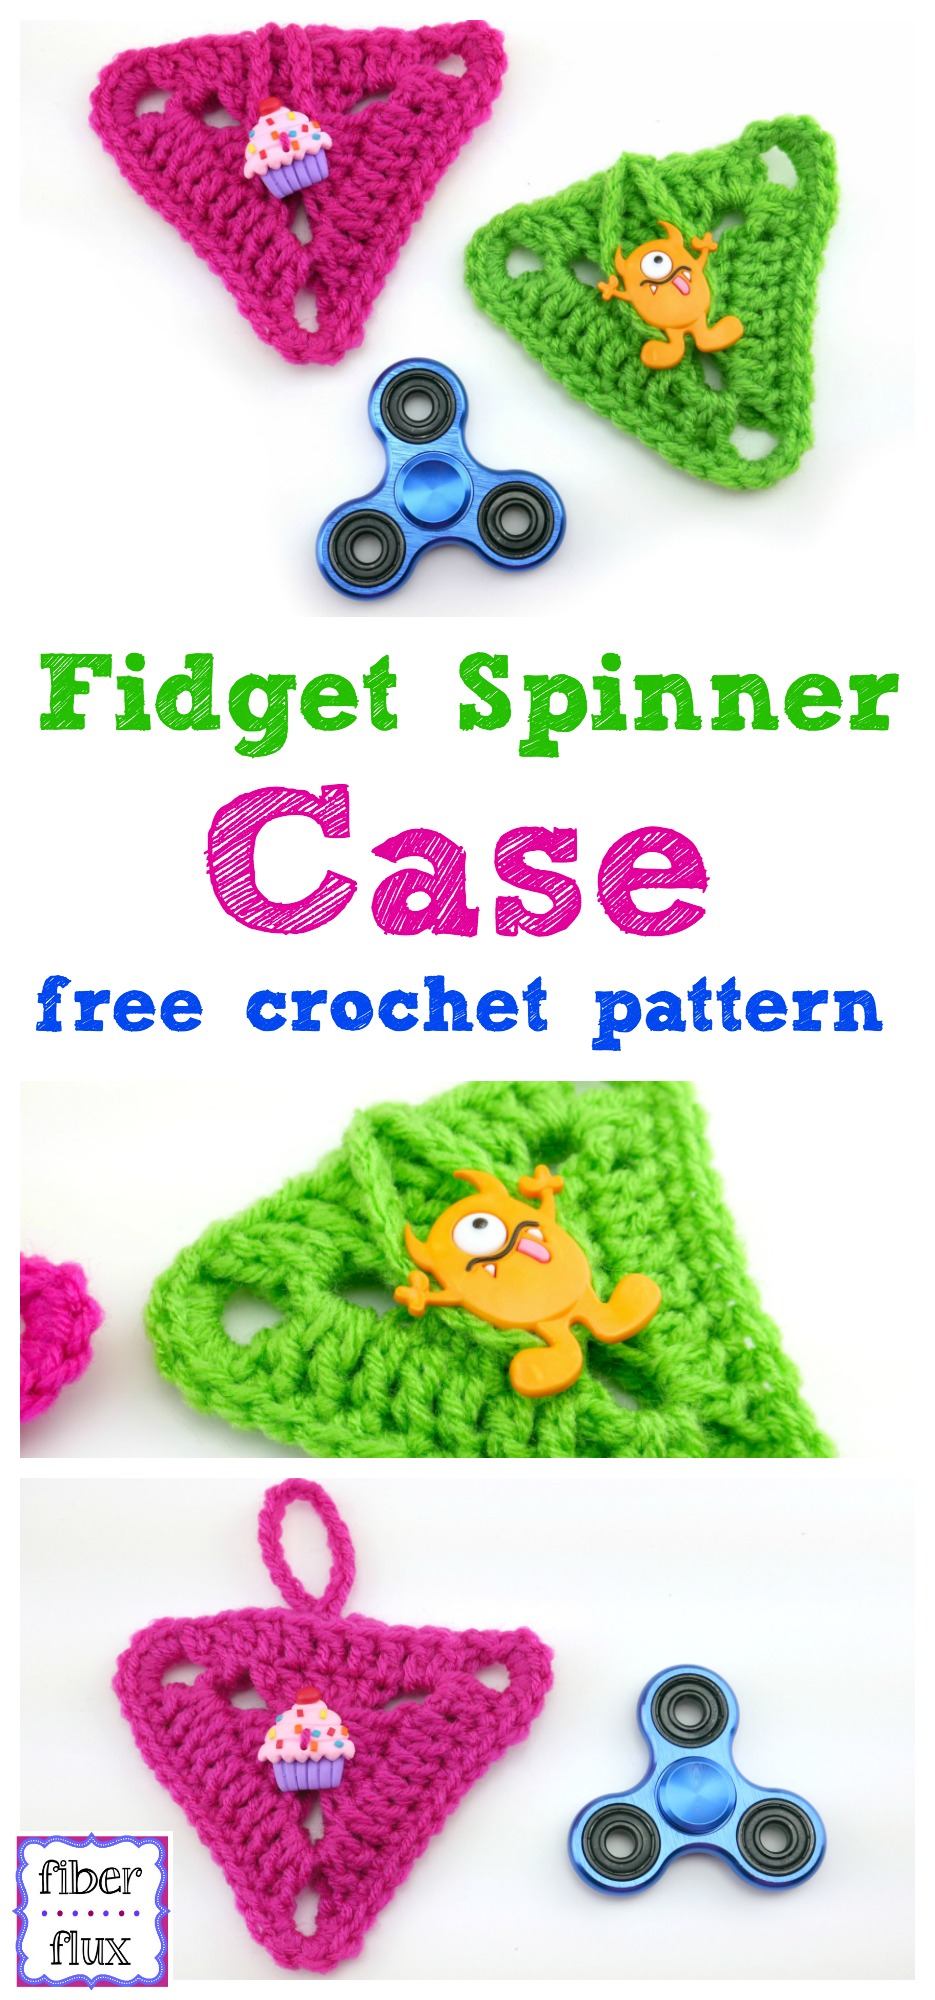
Fidget spinners are all the rage these days. Crochet this cute case with a fun button to keep your spinner inside in no time flat! This is a perfect project for using up yarn odds and ends and a special button too!
Need a little help? There’s a full video tutorial below too!
Let’s connect!
Fidget Spinner Case
By Jennifer Dickerson
Click the button below to add this project to your Ravelry queue:
Click below to watch a full video tutorial on how to make this project:
(Can’t see the video? Click here!)
Materials:
-
5.5 mm “I” crochet hook
-
Worsted weight acrylic yarn of your choice (I used Red Heart Super Saver in “Spring Green” and “Shocking Pink”
-
Large Button
-
Tapestry Needle
-
Scissors
Abbreviations and Tutorial Links:
Instructions for triangle (make 2):
Ch 6, join in ch furthest from hook with a sl st to form a ring.
Round 1: Ch 8, then into the center of the ring, work (5 dc, ch 5) two times. Then work 4 dc into the center of the ring. To close the round, work a sl st into the third ch of the ch-8 from the beginning of the round.
Round 2: Slip stitch over to the first corner space. Ch 8, then work 2 dc in the corner space. Work a dc in each stitch along the side of the triangle (dc stitches worked along the sides of the triangle). When you reach the next corner space, work 2 dc, ch 5, 2 dc. Work a dc in each stitch along the next triangle side (dc stitches worked along the sides of the triangle). Work the next corner the same way as before, 2 dc, ch 5, 2 dc, then work the final side by working a dc in each stitch across. To complete round, work a dc in the corner space where round was started, then, work a sl st into the third ch of the ch 8 from the beginning of the round.
*Note: After you make the second triangle, do not fasten off and continue below for seaming instructions.
Finishing & Assembly:
Sandwich the two triangles together. Beginning at the first corner space, work 4 sc in the corner, then a single crochet in each side stitch (be sure to incorporate both layers!), work 4 sc in the next corner space, then a sc in each side stitch. Finish up by working 4 sc in the last corner space, then work a slip stitch in the same space to finish off the seam. Fasten off and weave in any ends. Just be sure when you seam the top is open to be able to put the spinner inside.
With a matching piece of yarn, sew a button to the middle center of the case. To make the button loop, tie yarn into the top back center stitch of the case. Chain the needed length for your particular button (I did 18 chains). Fasten off and sew the end into the chain base.
© Jennifer Dickerson 2017
For more fun projects and pretty patterns, be sure to follow Fiber Flux on Google+, Facebook, Twitter, and Pinterest for the latest updates!
Visit the Fiber Flux Yarn Shop…lovely yarn & great prices!


 (Affiliate links, enjoy these awesome products and thanks as always for your support!)





Thank you for this project! I think it will be a hit. Where did you get your buttons? I was looking for an affiliate link.
Thank you for this fantastic and free pattern!
What size hole are the buttons you used?
Thank you.