
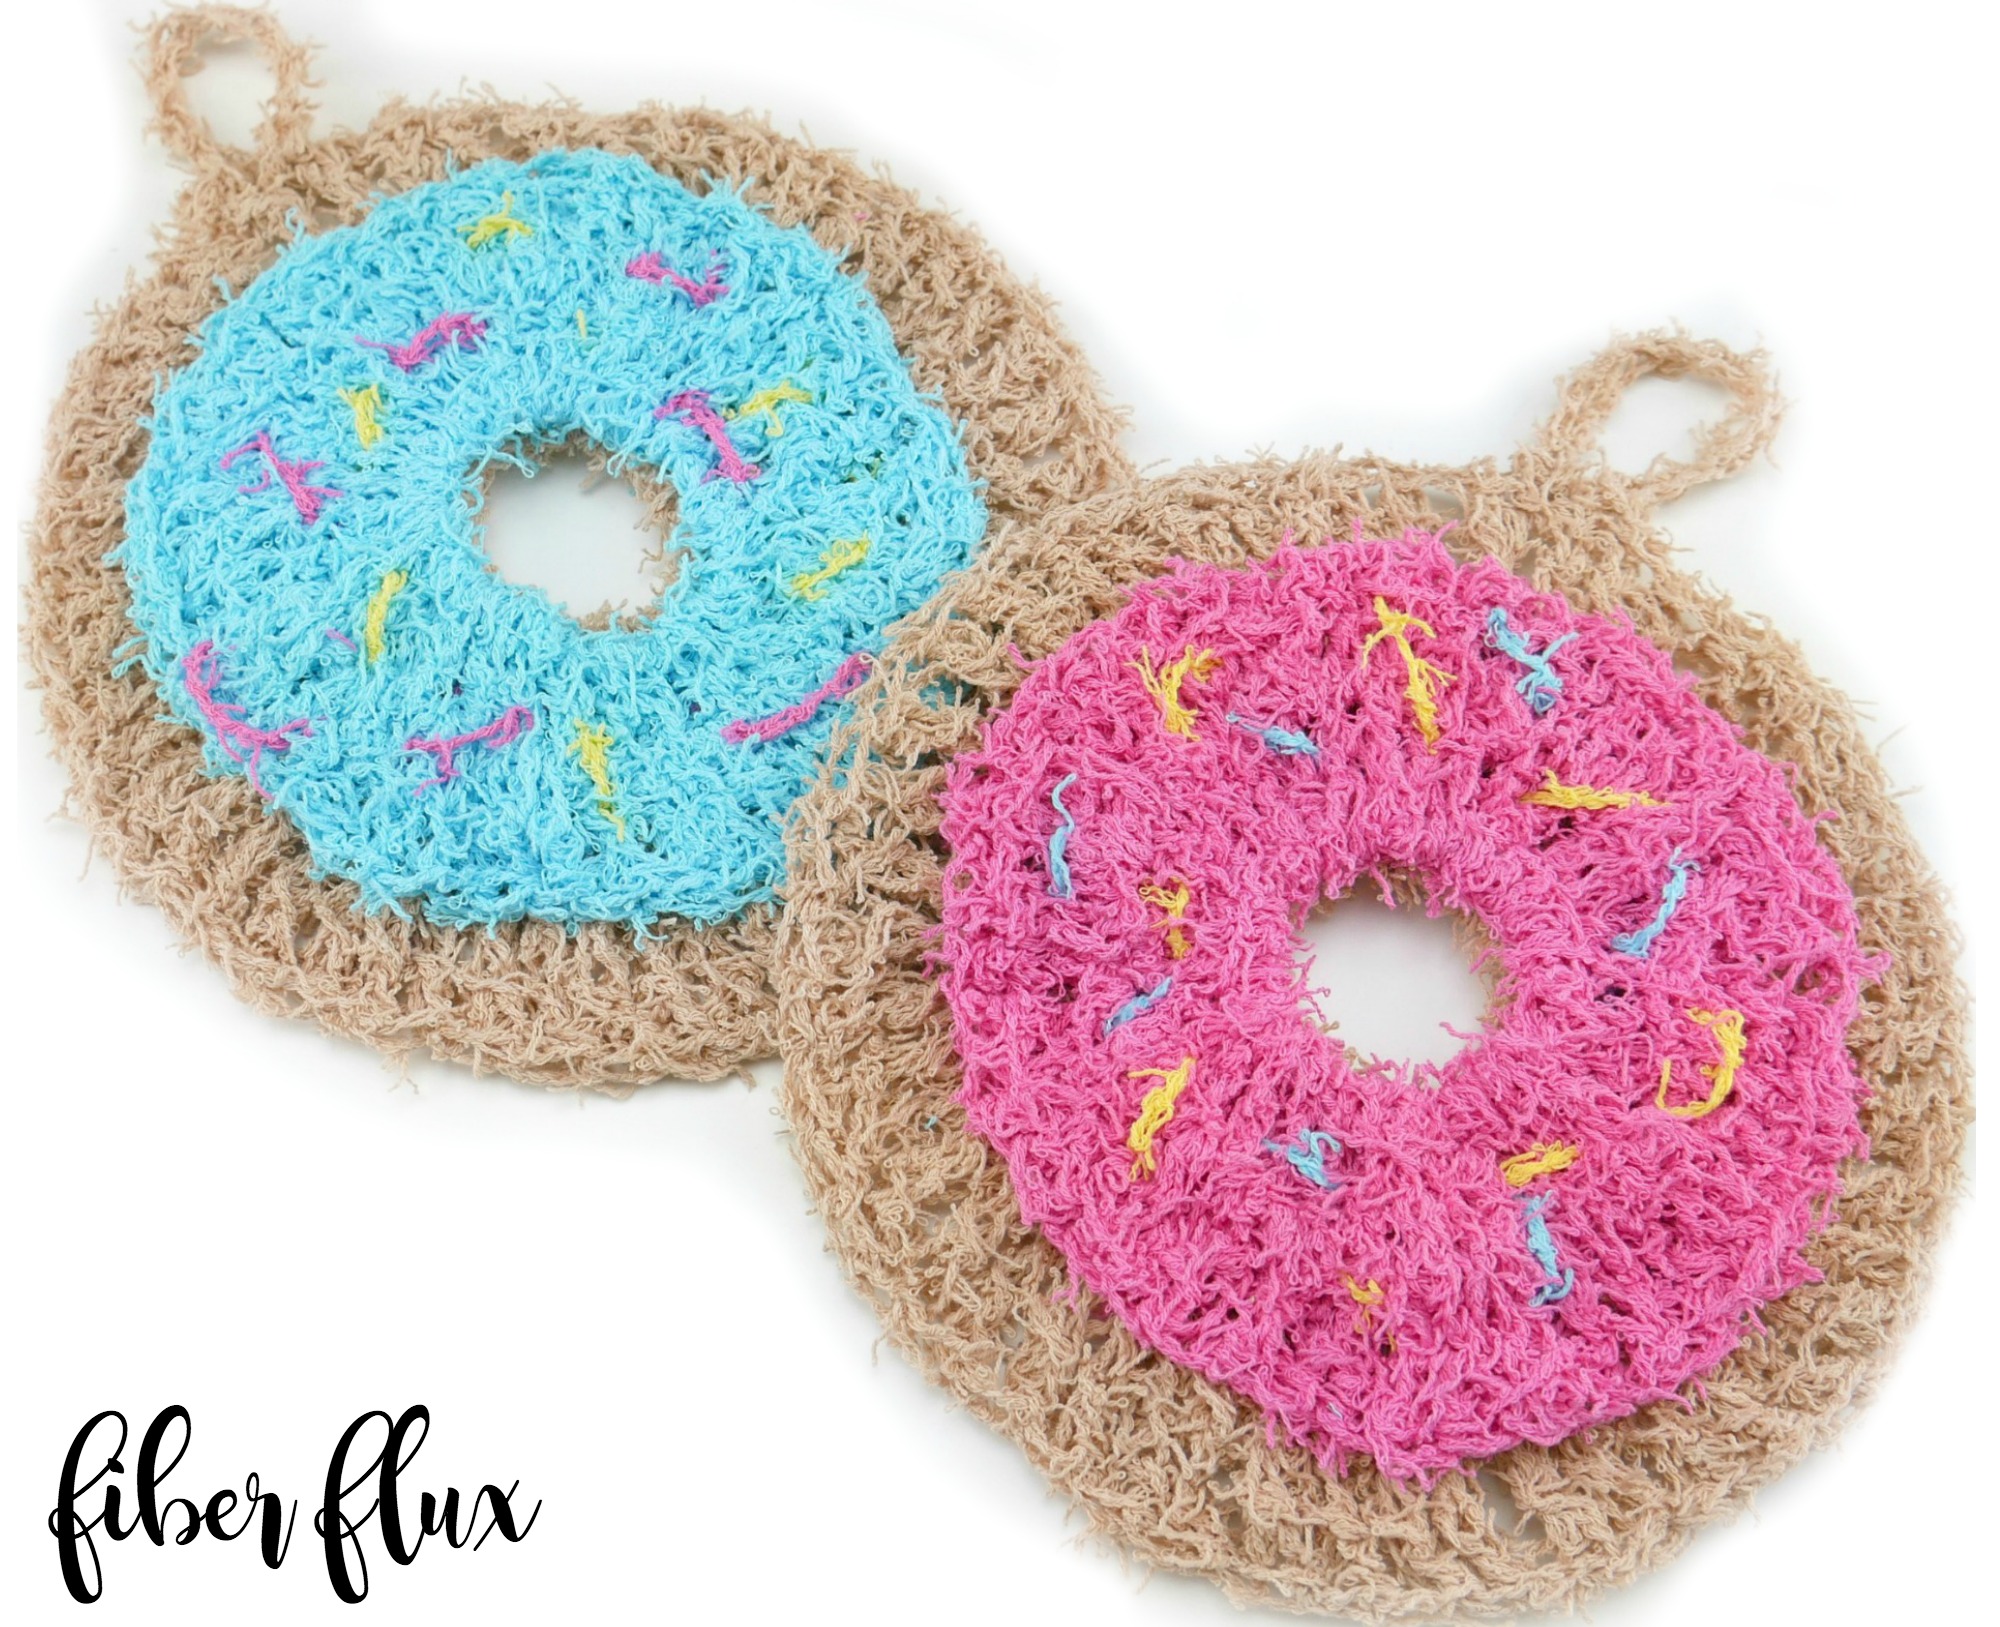
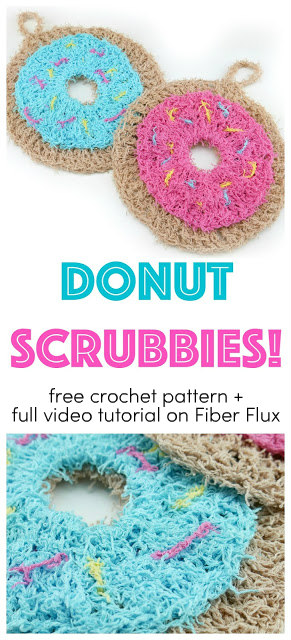
Donuts…yay! These fun donut scrubbies are super simple to make and perfect for both bath and kitchen! Work a few up to make a set for your home and they also make great gifts too!
Need a little help? There’s a full video tutorial below too!
Let’s connect!


Donut Scrubbies
By Jennifer Dickerson
👉Get the ad-free pattern PDF from my shop here!👈
Click the button below to add this project to your Ravelry queue:

Click below to watch a full video tutorial on how to make this project:
(Can’t see the video? Click here!)
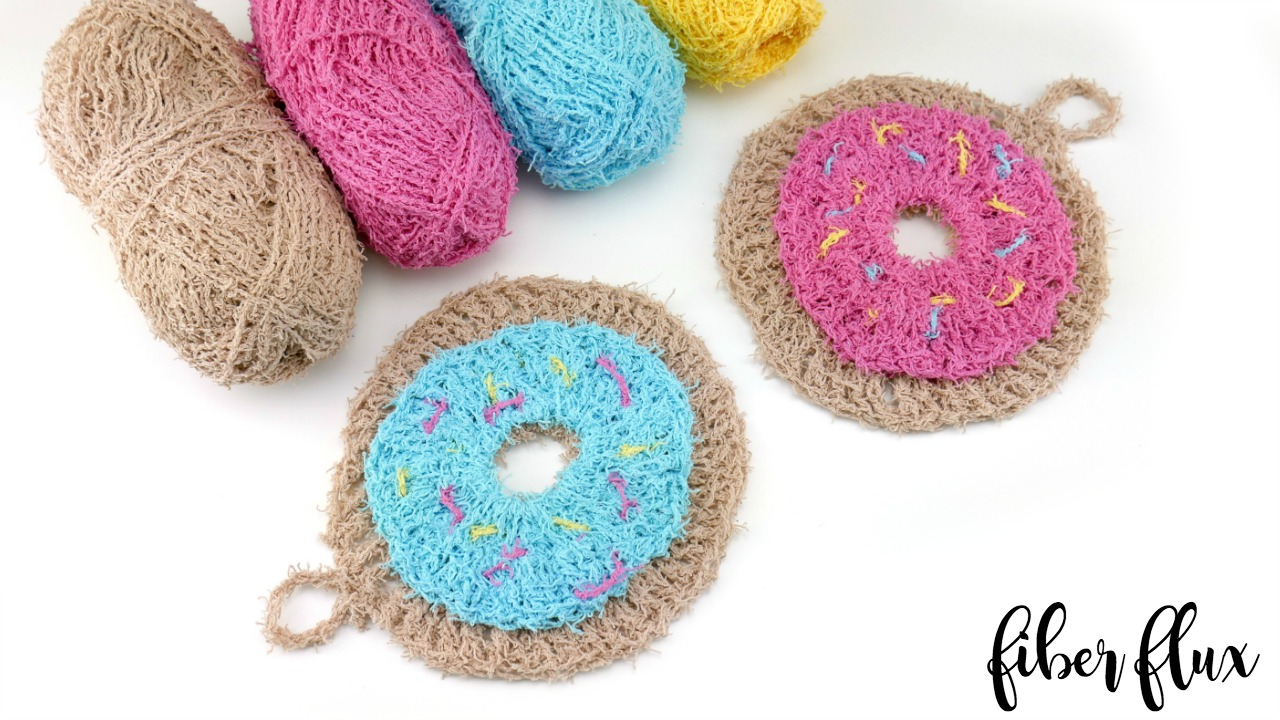
Materials:
-
5.5 mm I crochet hook
-
2 colors of Scrubby Cotton from Red Heart (I used “Tan” and “Tulip Pink” for the pink frosting, “Lemony” for the yellow frosting (featured in the video tutorial), and “Caribbean” for the blue frosting. I also used all three frosting colors for the sprinkles too.
-
Tapestry Needle
-
Scissors
Sizing:
-
6 inches across
Abbreviations and Tutorial Links:
Instructions for donut bottom (worked in tan):
Ch 10, join in the chain furthest from the hook with a slip stitch to create a circle
Note: If you prefer to use the Magic Ring technique, please feel free to do this instead.
Round 1: ch 4, then work 32 treble crochet into the center of the ring. Join with a sl st to close the round.
Round 2: ch 4, work a tr in the first space, then 2 tr in each space around. Join with a sl st to close the round.
To make a hanging loop, ch 8 then work a slip stitch into the stitch at the base of the chain.
Fasten off and weave in any ends that remain.
Instructions for donut icing top (worked in blue or pink):
Ch 12, join in the chain furthest from the hook with a slip stitch to create a circle.
Note: If you prefer to use the Magic Ring technique, please feel free to do this instead.
Round 1: ch 3, then work 32 dc into the center of the ring. Join with a sl st to close the round.
Round 2: ch 3, work a dc in the first space, then 2 dc in each space around. Join with a sl st to close the round.
Fasten off and weave in any ends that remain.
Assembly & Finishing:
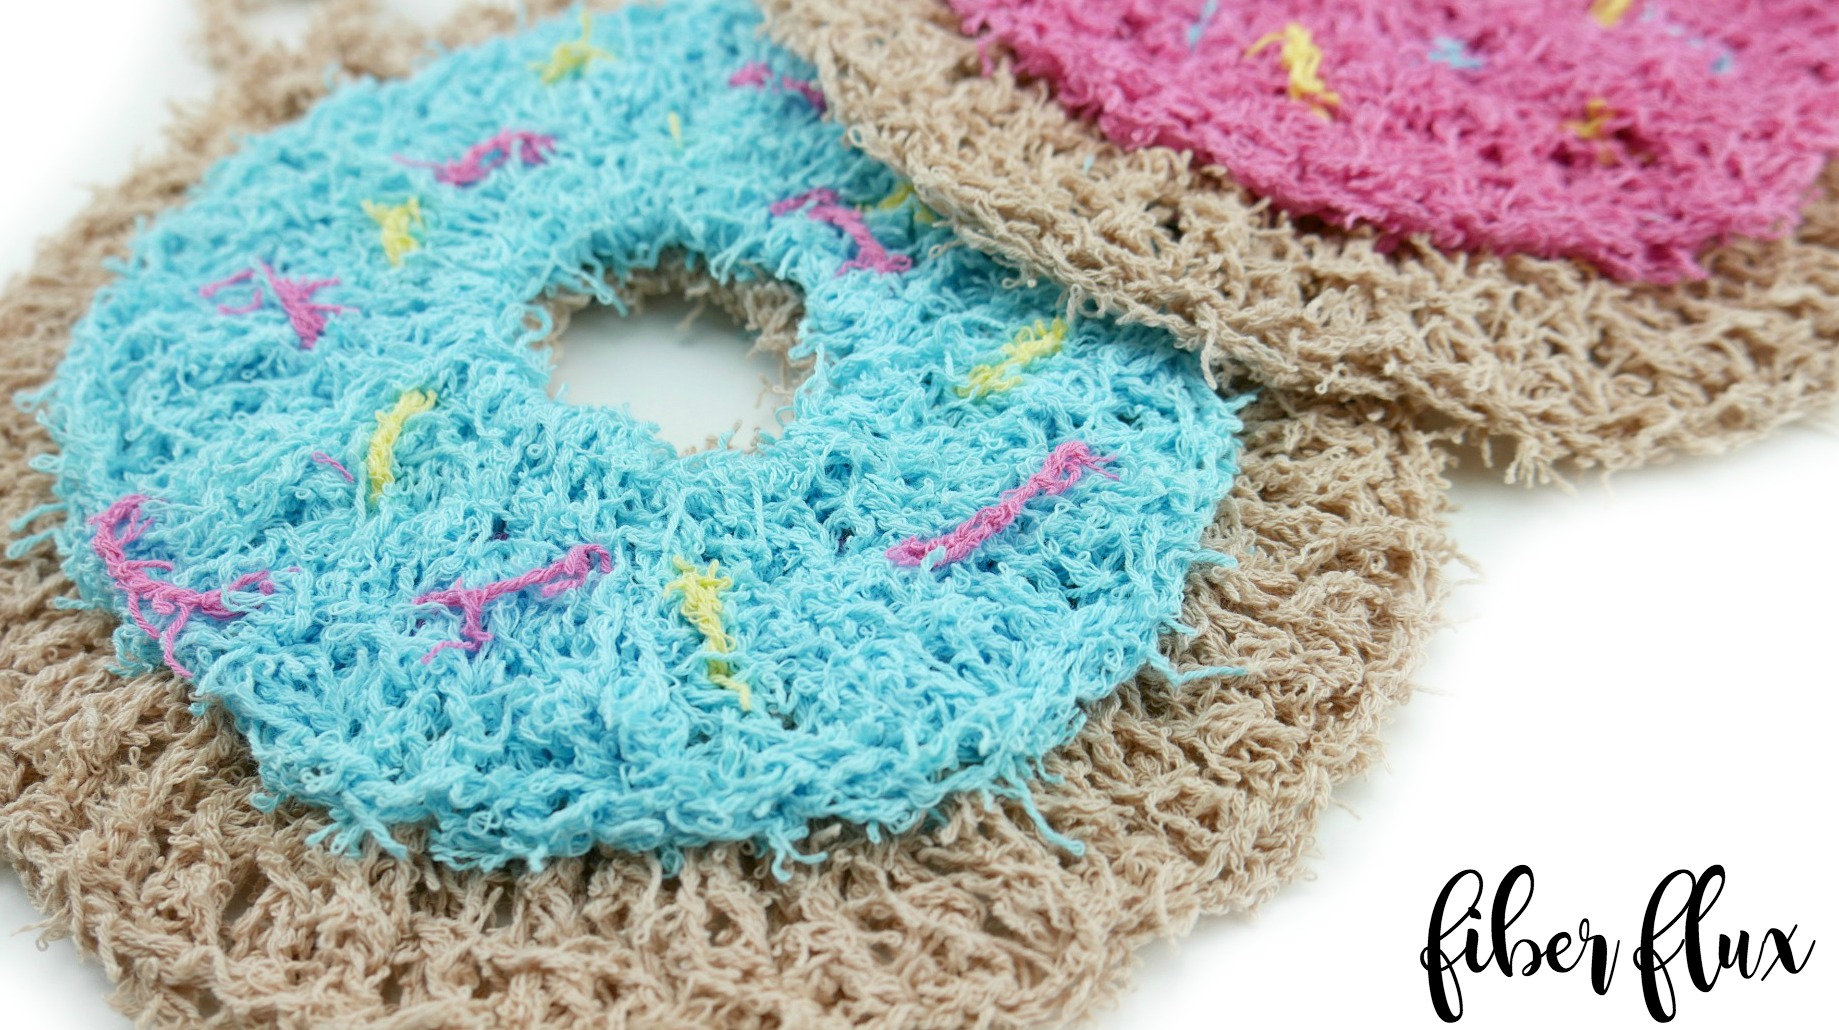
Add sprinkles with different colors of yarn with a tapestry needle using the running stitch. Try to make them go in different directions and make them look as random as possible for a more realistic look. Sandwich both layers together and sew layers together using a matching piece of icing yarn. Weave in any ends that remain.

© Jennifer Dickerson 2017
For more fun projects and pretty patterns, be sure to follow Fiber Flux on Facebook, Twitter, and Pinterest for the latest updates!


oh my gosh, this is the cutest pattern. Wish I saw this while I was selling the scrubbies I was making.
I love this pattern! I'm going to make some spa gift boxes for the little girls in my life and use these inside 🙂
Completely adorable, thank you so much for sharing!
perfect job