
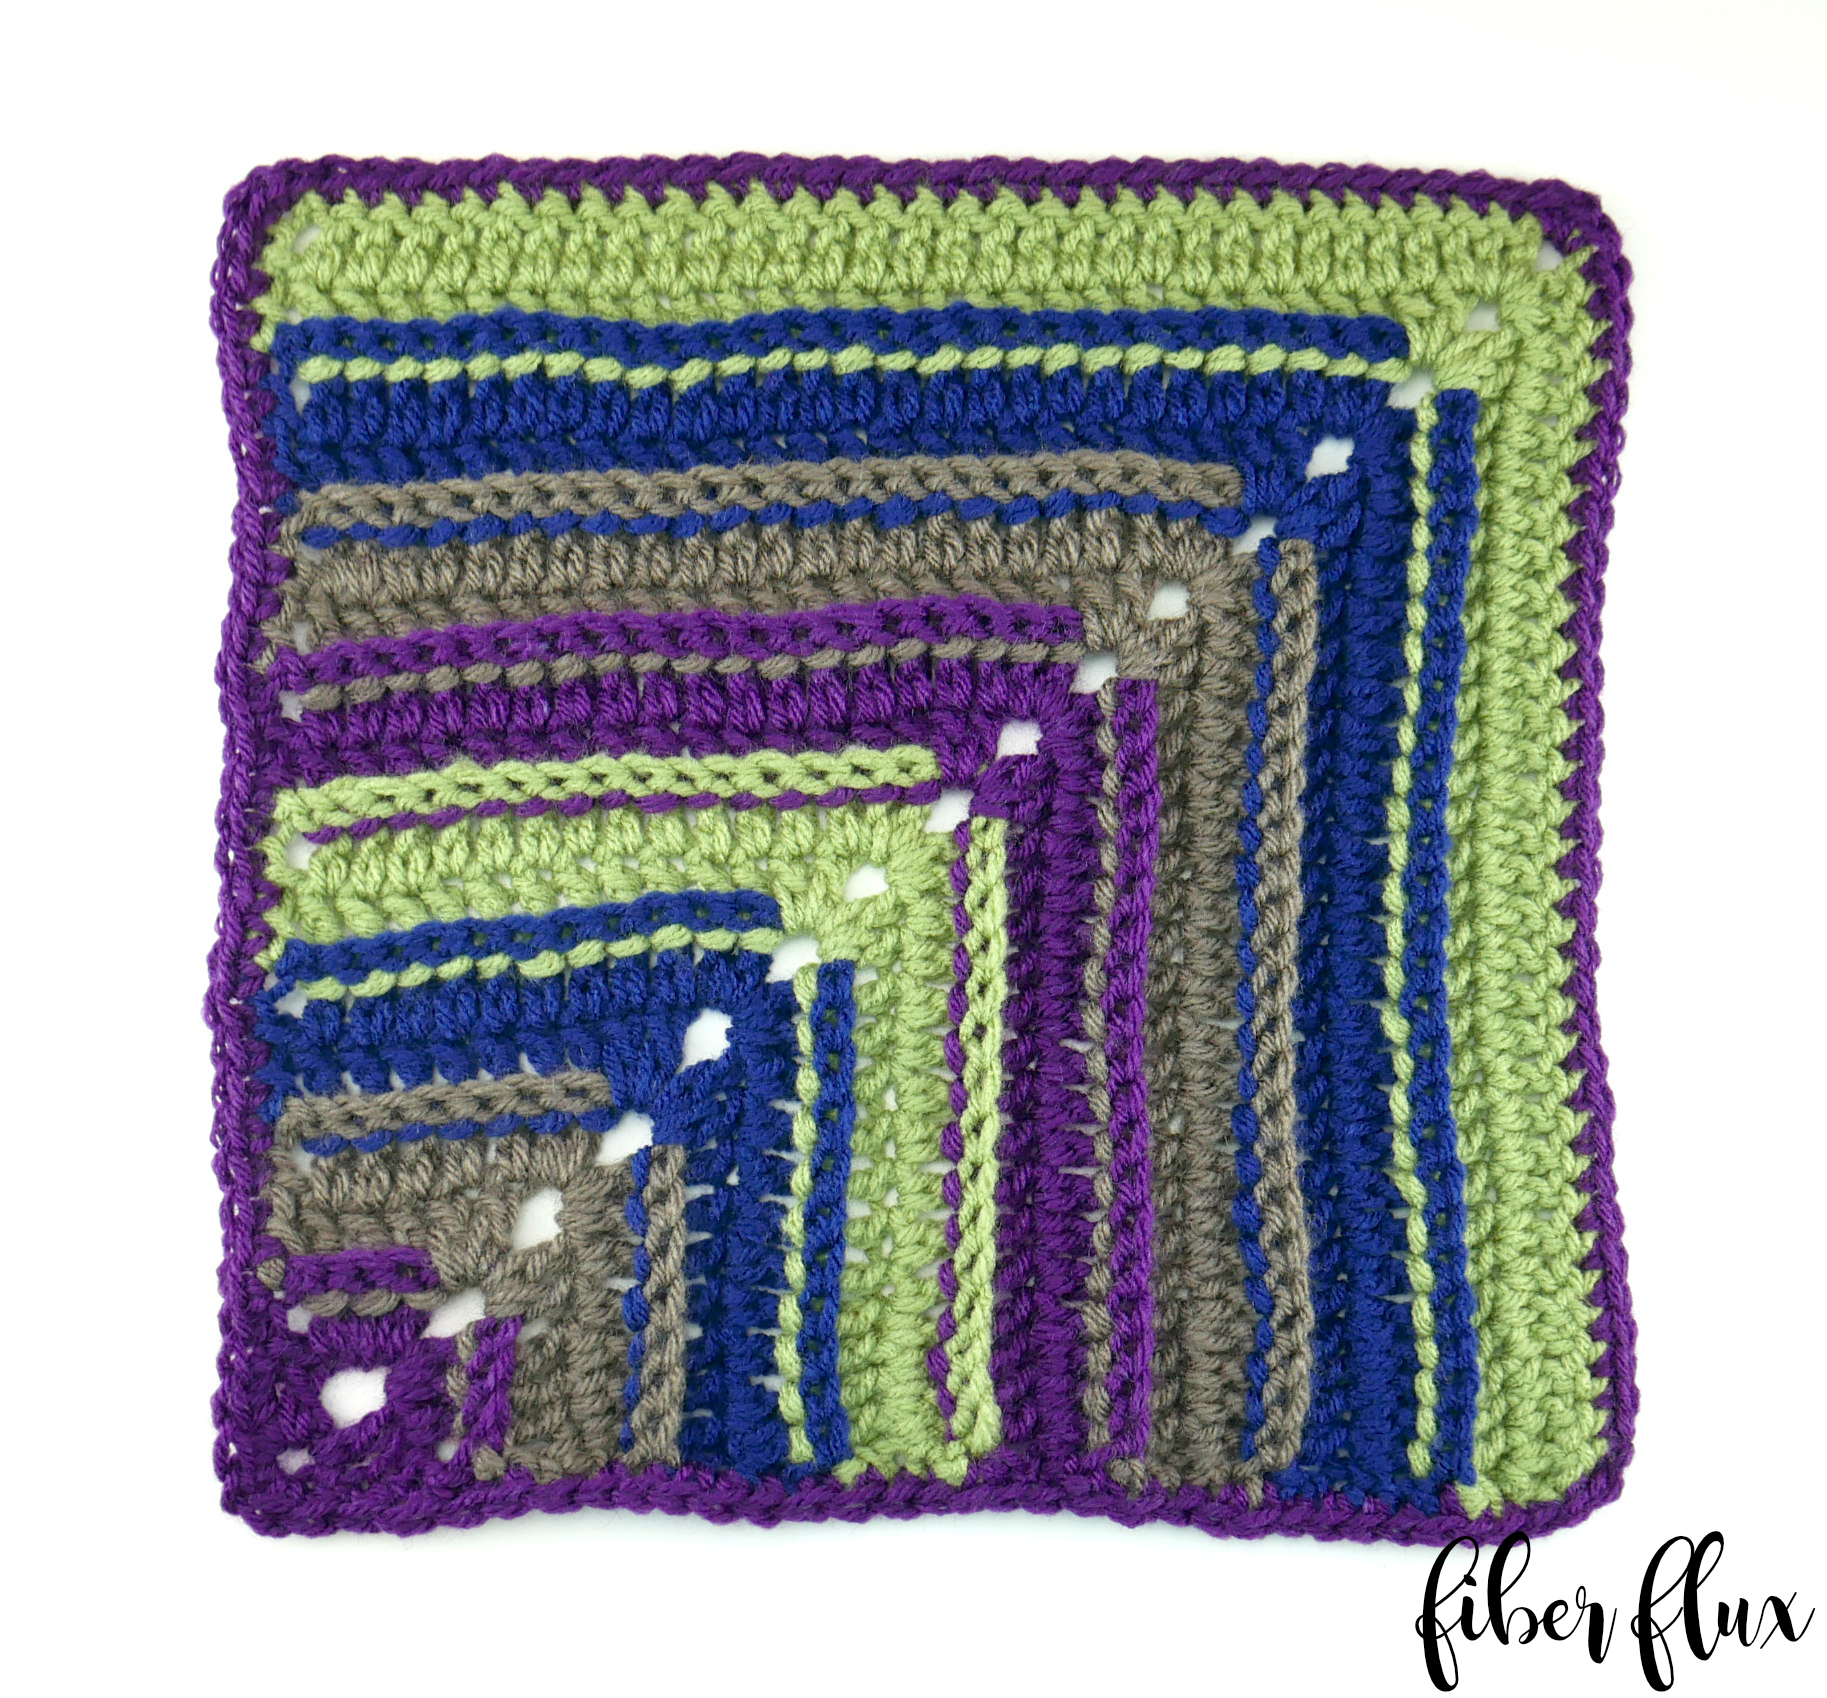
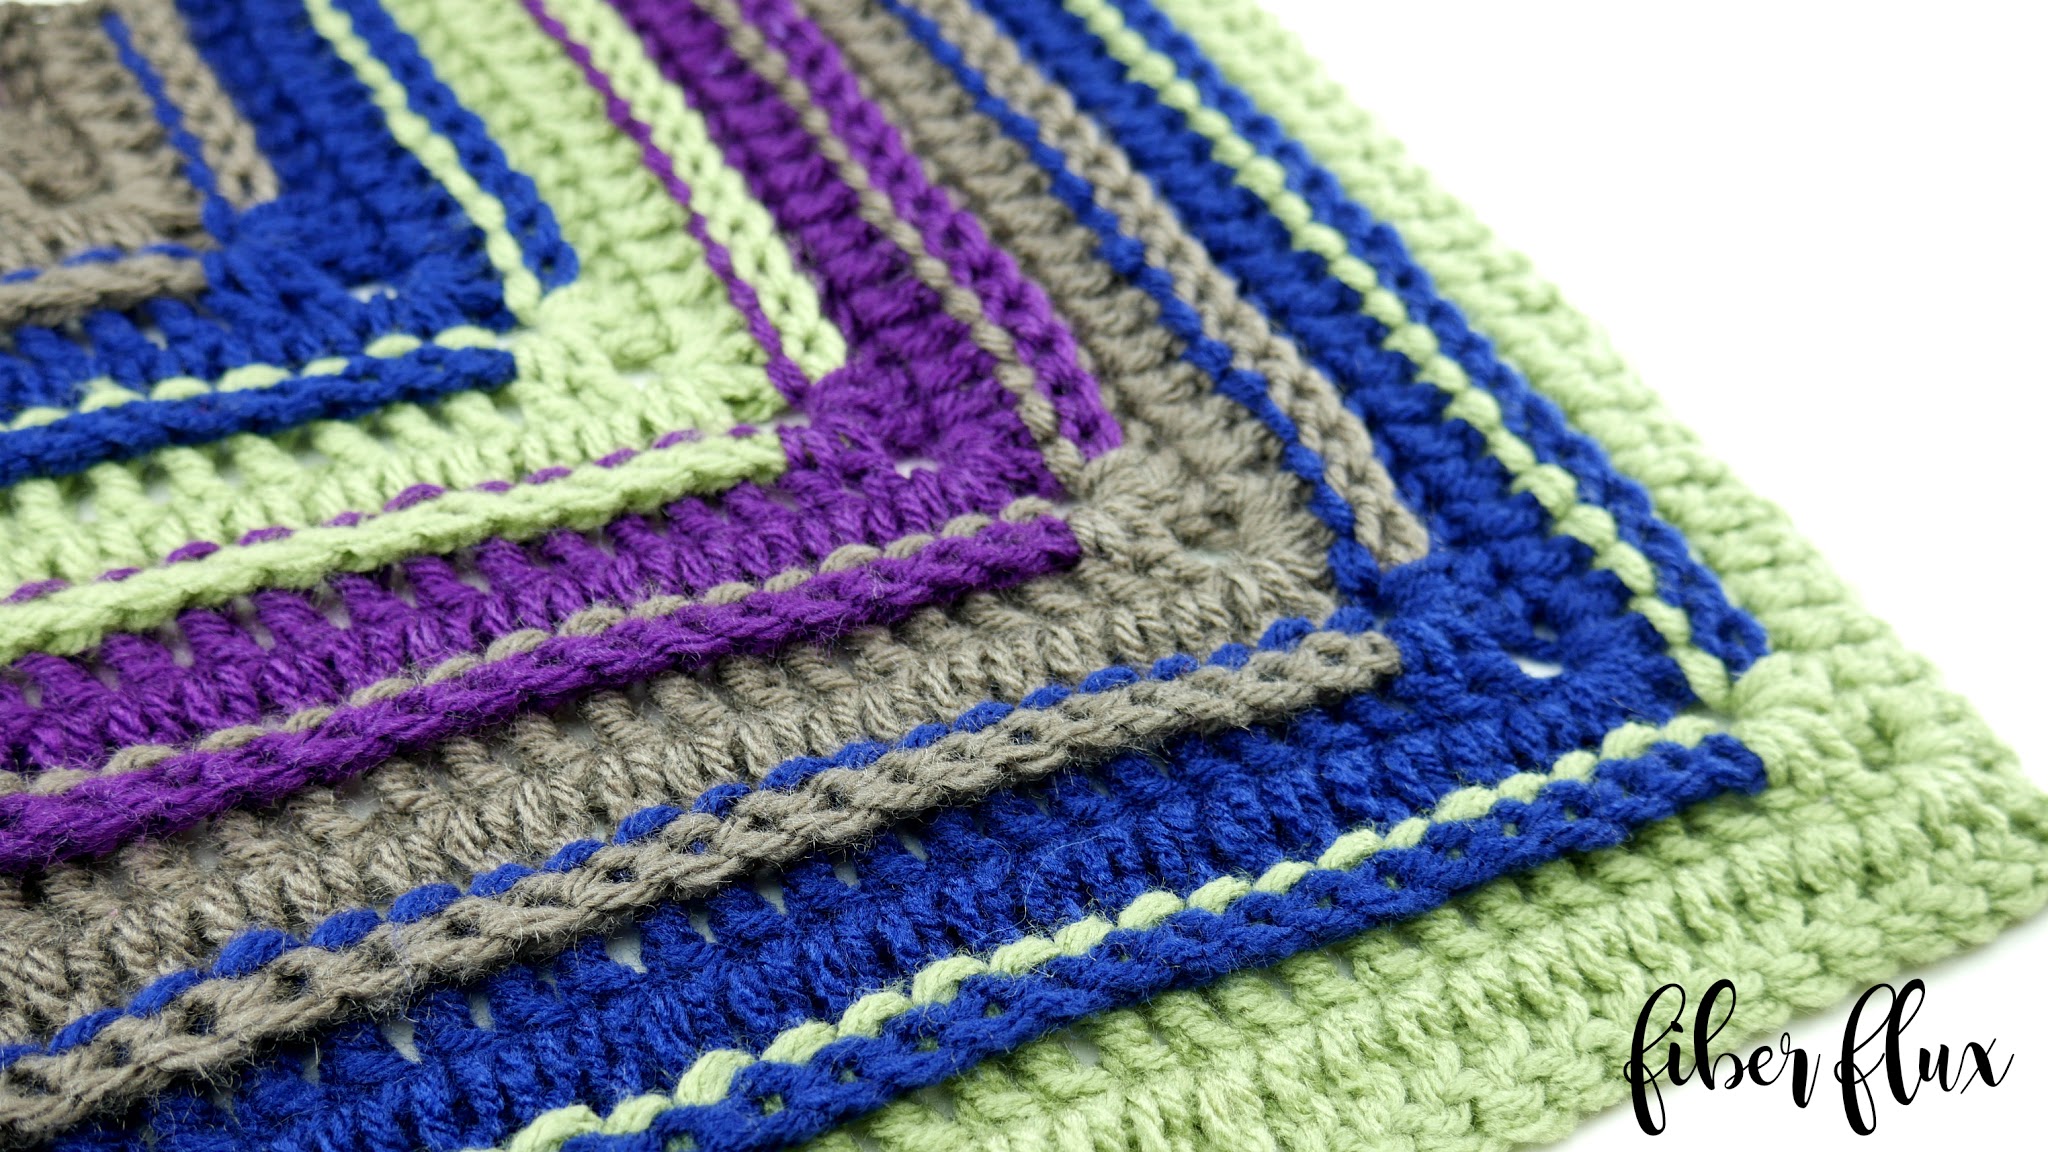
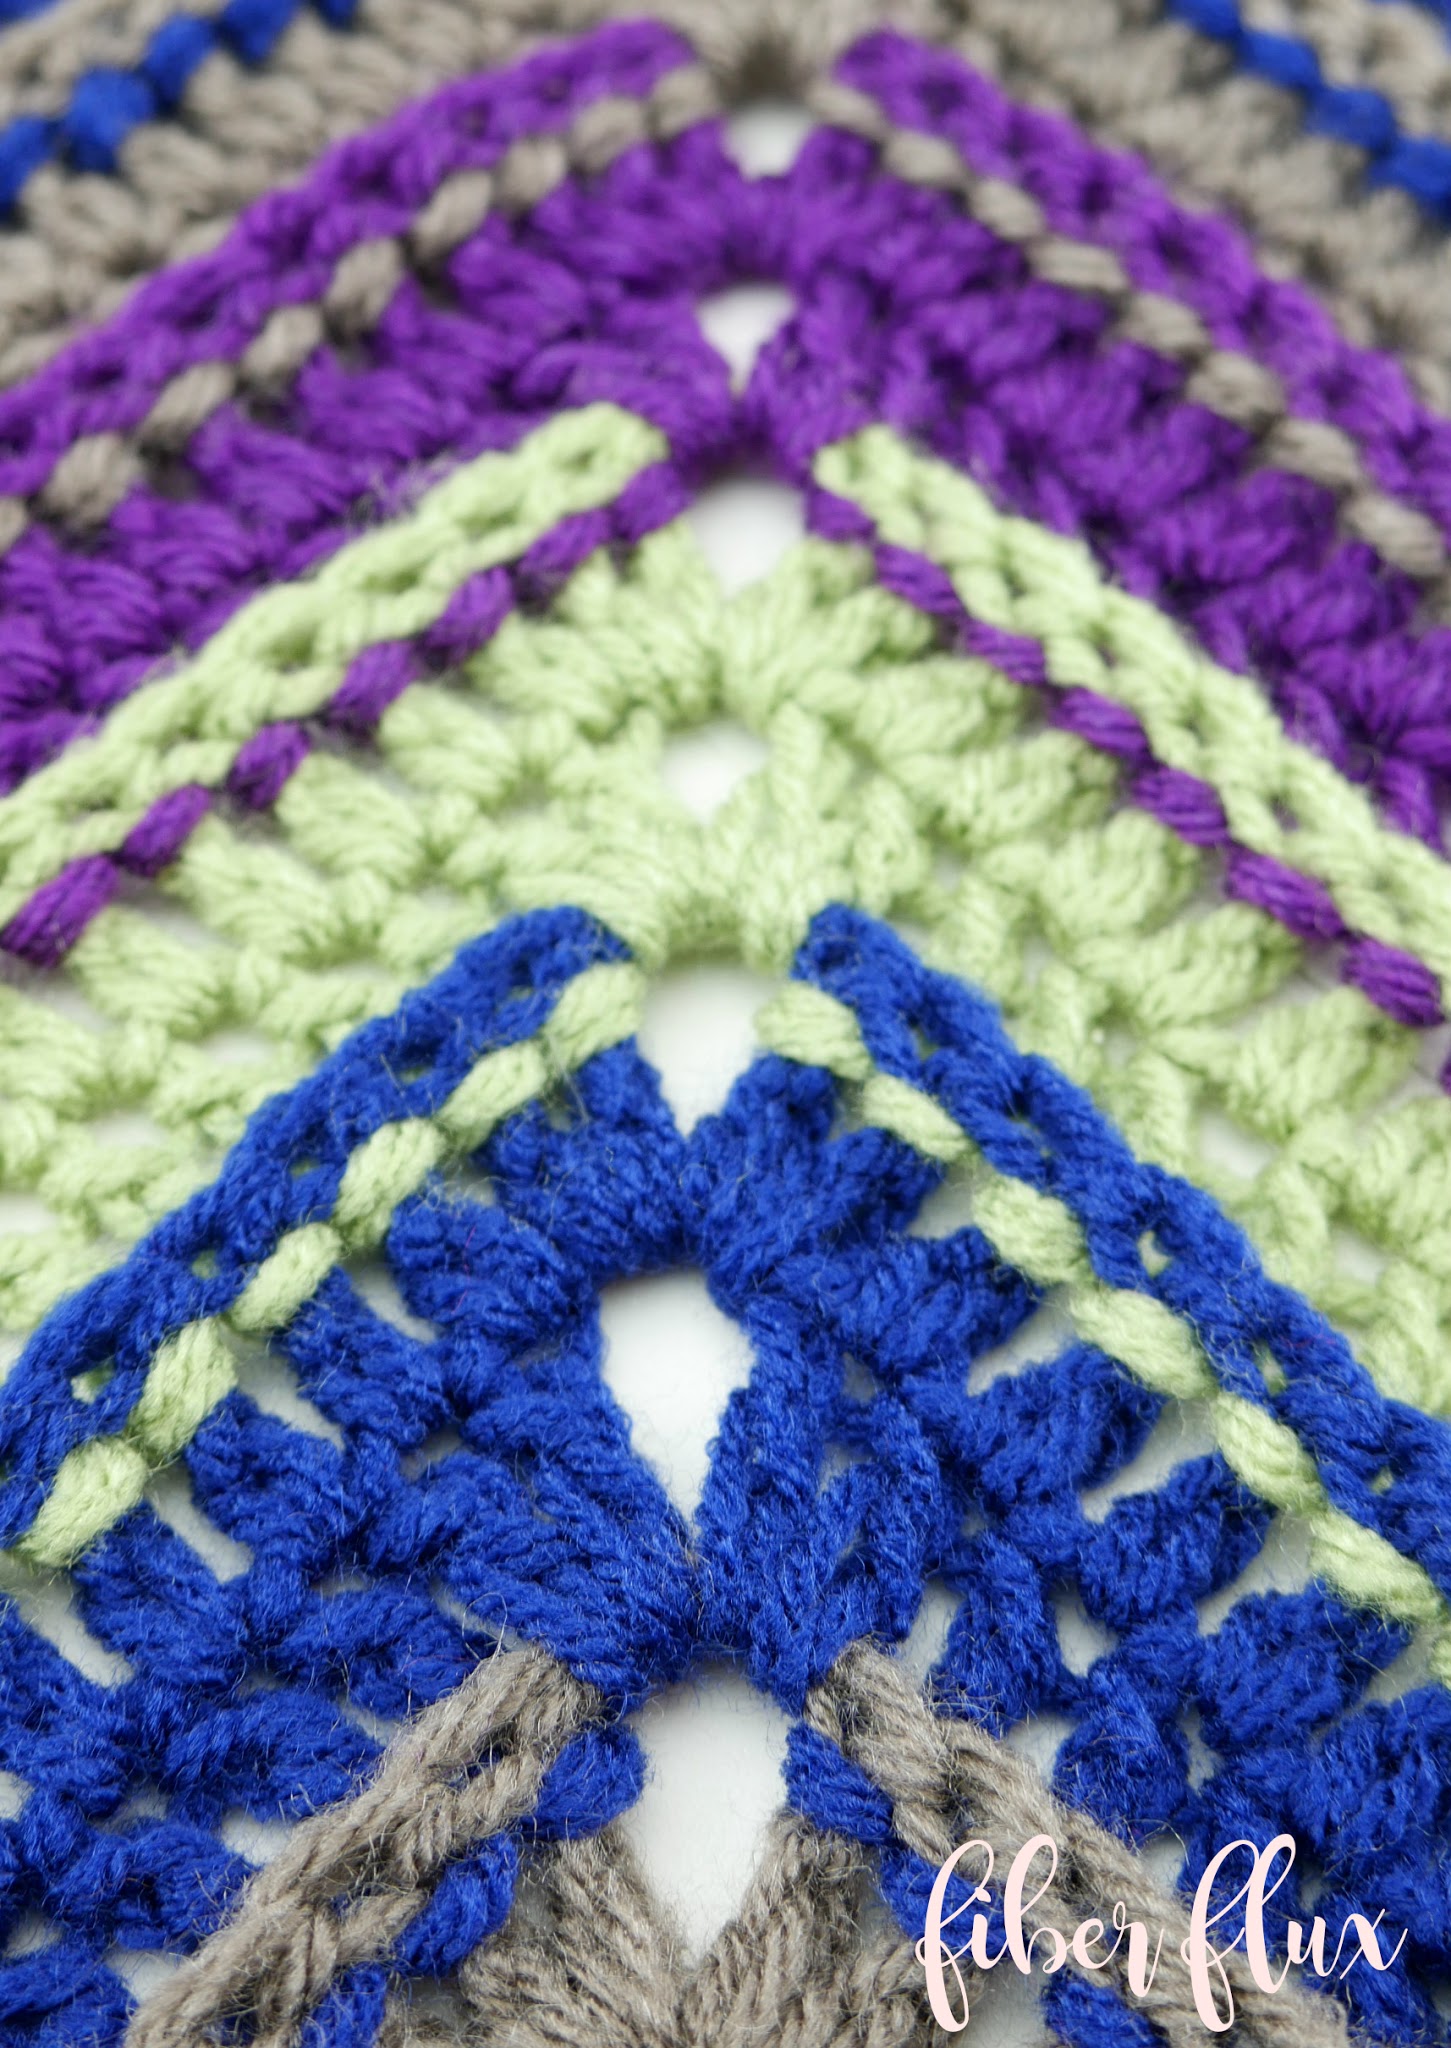
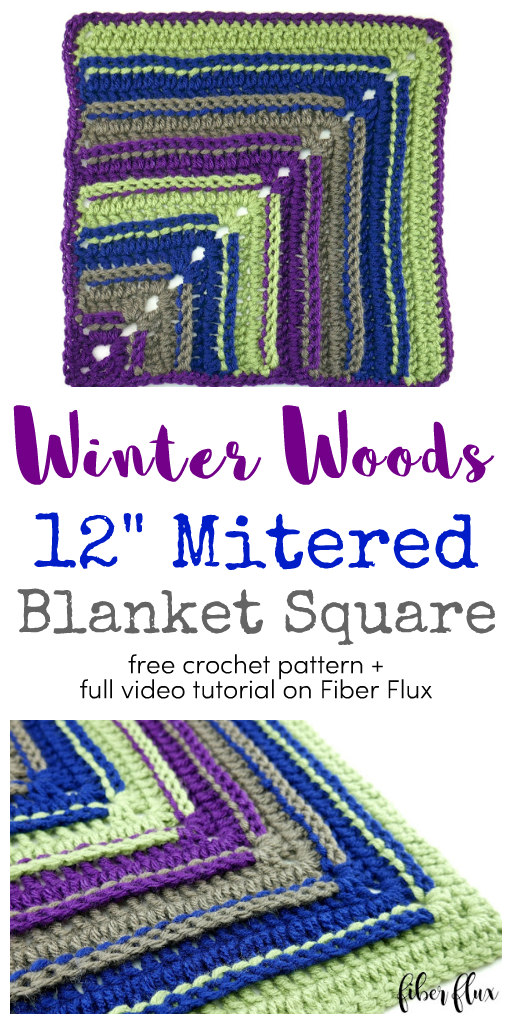
As the weather cools down, I’m in the mood for a blanket project! Don’t you love making projects that keep you warm while you’re making them? The Winter Woods Square is a 12 inch mitered blanket square that can either be made with more squares for an interesting geometric blanket or made into one large square for a truly unique statement. Alternating colors are worked to show off those fun textured post stitches. The square has a detailed appearance, but I promise it is super easy and once you get the first few rows down pat, you can make it as big as you like!
Ready to get going and need a little help? Scroll down for a full video tutorial where I’ll walk you through stitch by stitch!
Let’s connect!


Winter Woods 12″ Mitered Blanket Square
By Jennifer Dickerson
Click the button below to add this project to your Ravelry queue:

Click below to watch a full video tutorial on how to make this project:
(Can’t see the video? Click here!)
Love video tutorials? Click here to subscribe to the Fiber Flux YouTube channel for more stitchy fun!
Materials:
- 6.0 mm “J” crochet hook
- Worsted weight (size 4, medium weight) I used Lion Brand Vanna’s Choice in Dusty Green, Eggplant, Navy, and Taupe
- Tapestry Needle
- Scissors
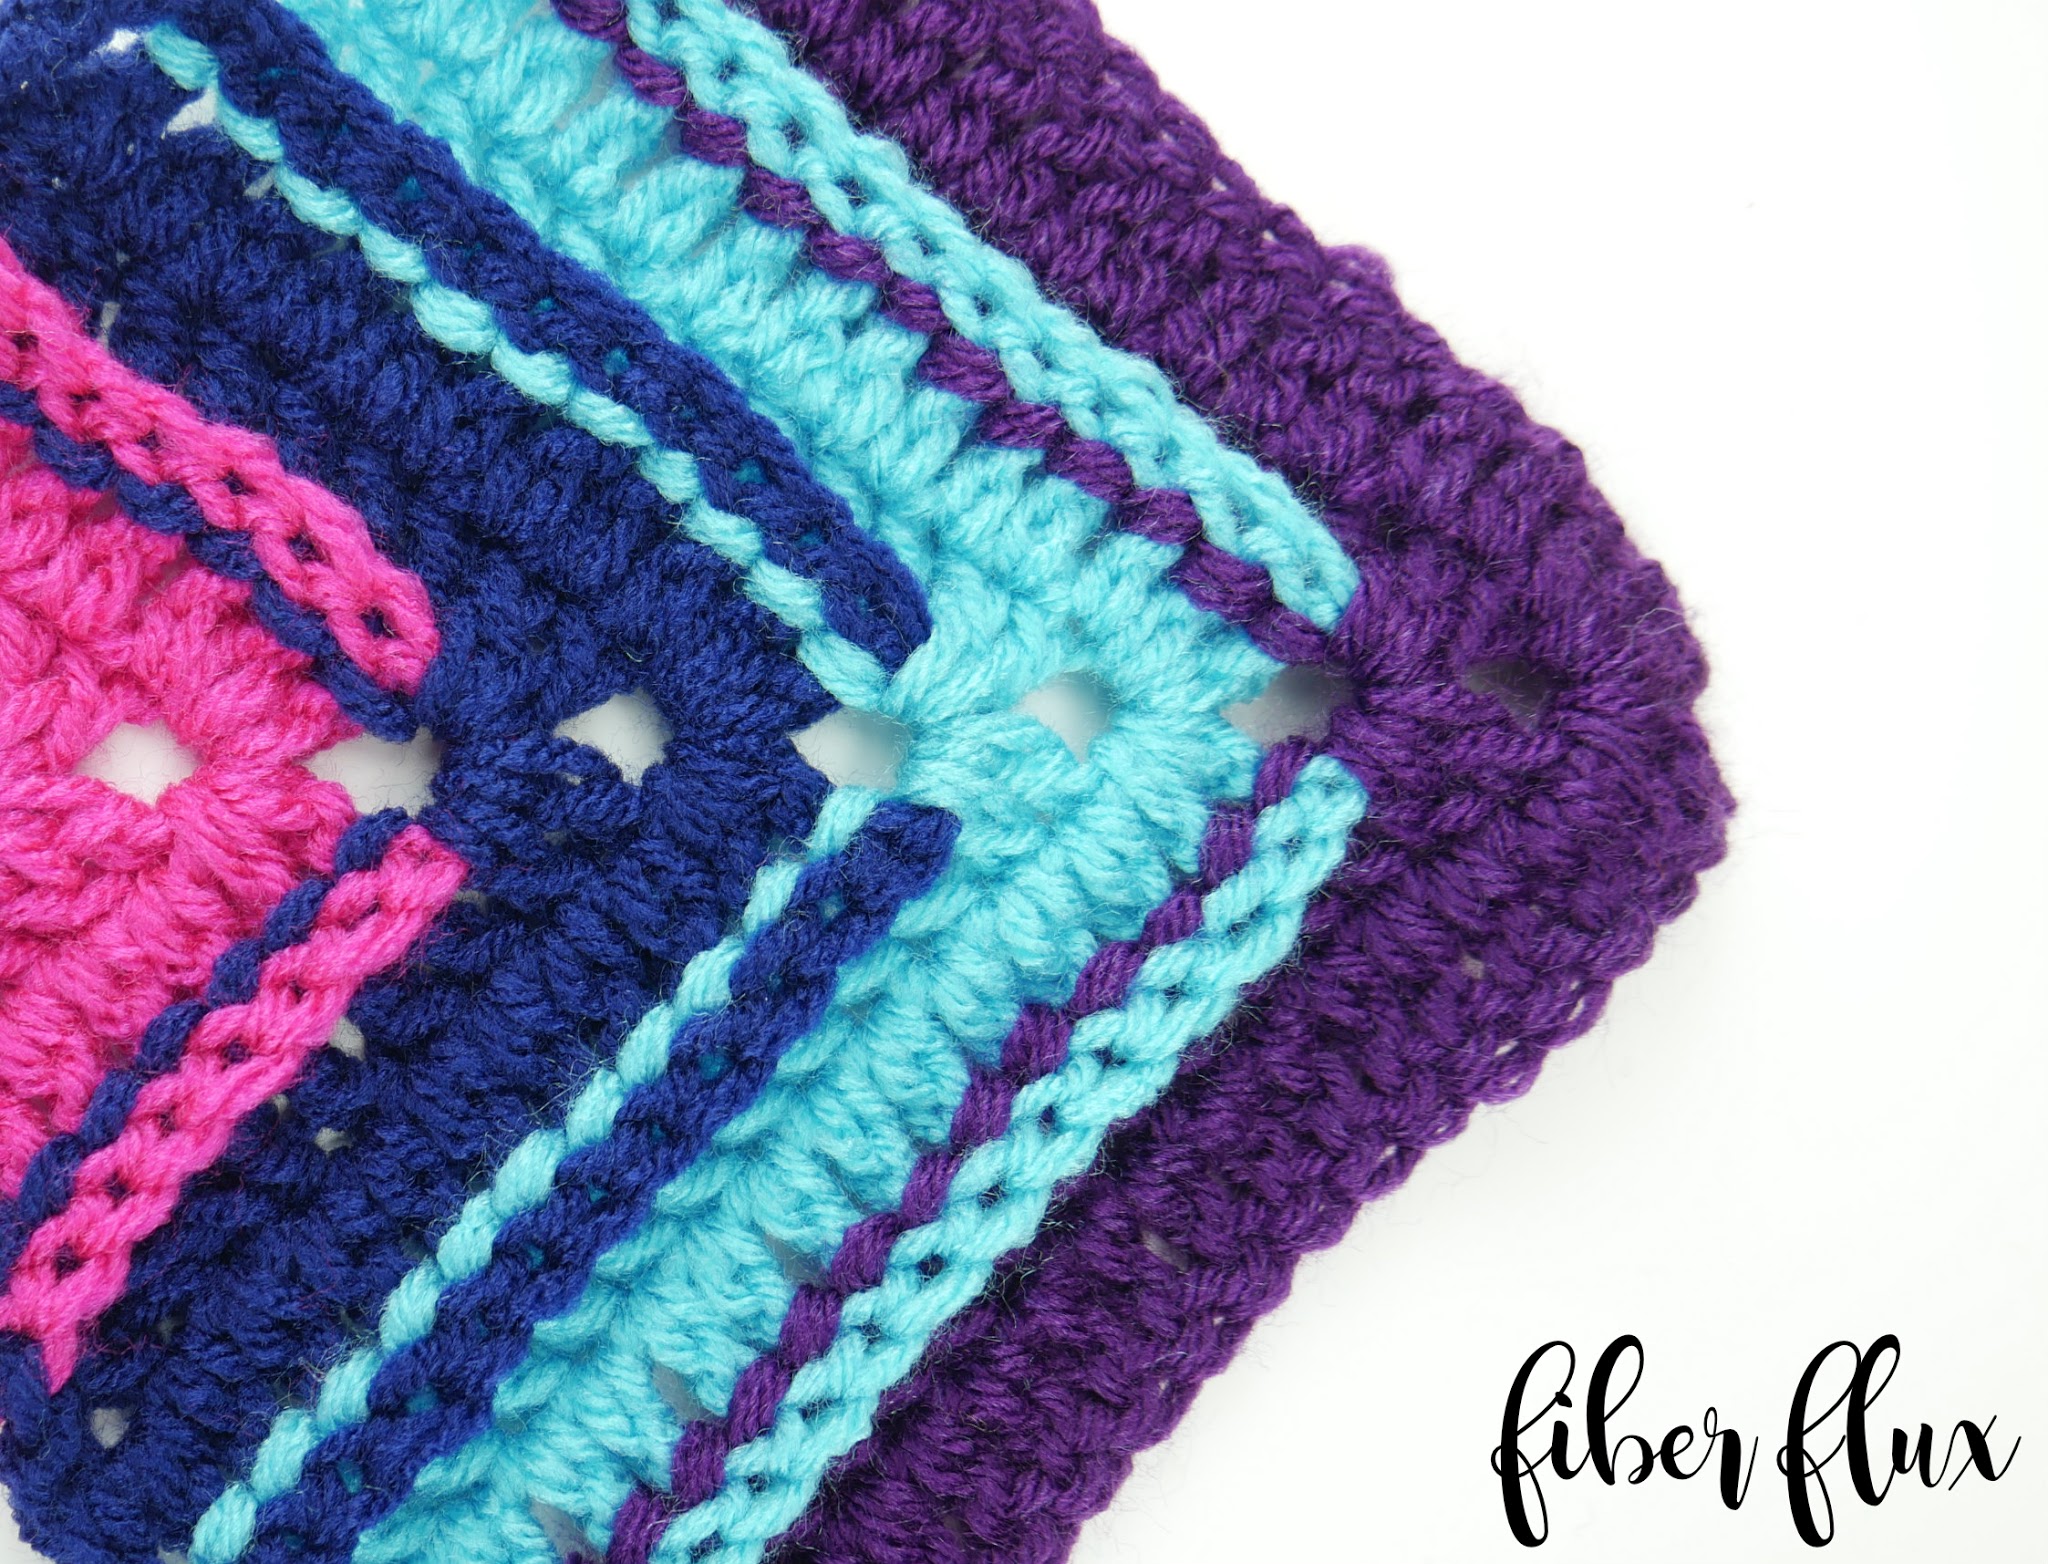
To see the square worked in a different color palette, check out the video tutorial too!
Sizing:
- 12 inches tall
- 12 inches wide
Abbreviations and Tutorial Links:
- Chain (ch)
- Slip Stitch (sl st)
- Double Crochet (dc)
- Back Post Double Crochet (bpdc)
- Front Post Double Crochet (fpdc)
Instructions:
Ch 4, join in the ch furthest from the hook to create a ring.
Note: I switched colors after each round. Also, if you prefer to use the magic ring technique, please feel free to do this instead. For multicolor squares such as this one, weaving in your ends as you go will give a nice neat look and save you a ton of time too!
Row 1: Ch 3, then work a dc, ch 2, 2 dc into the center of the ring.
Row 2: Ch 3 and turn. Work a dc into the next st, then (2 dc, ch 2, 2 dc) into the corner space (ch 2 space from the previous row). Work a dc into the next st, then a dc into the top of the turning chain.
Row 3: Ch 3 and turn. Work a bpdc into the next 3 sts, then (2 dc, ch 2, 2 dc) into the corner space (ch 2 space from the previous row). Work a bpdc into the next 3 sts, then a dc into the top of the turning chain.
Row 4: Ch 3 and turn. Work a dc into the next 5 sts, then (2 dc, ch 2, 2 dc) into the corner space (ch 2 space from the previous row). Work a dc into the next 5 sts, then a dc into the top of the turning chain.
Row 5: Ch 3 and turn. Work a bpdc into the next 7 sts, then (2 dc, ch 2, 2 dc) into the corner space (ch 2 space from the previous row). Work a bpdc into the next 7 sts, then a dc into the top of the turning chain.
Row 6: Ch 3 and turn. Work a dc into the next 9 sts, then (2 dc, ch 2, 2 dc) into the corner space (ch 2 space from the previous row). Work a dc into the next 9 sts, then a dc into the top of the turning chain.
Row 7: Ch 3 and turn. Work a bpdc into the next 11 sts, then (2 dc, ch 2, 2 dc) into the corner space (ch 2 space from the previous row). Work a bpdc into the next 11 sts, then a dc into the top of the turning chain.
Row 8: Ch 3 and turn. Work a dc into the next 13 sts, then (2 dc, ch 2, 2 dc) into the corner space (ch 2 space from the previous row). Work a dc into the next 13 sts, then a dc into the top of the turning chain.
Row 9: Ch 3 and turn. Work a bpdc into the next 15 sts, then (2 dc, ch 2, 2 dc) into the corner space (ch 2 space from the previous row). Work a bpdc into the next 15 sts, then a dc into the top of the turning chain.
Row 10: Ch 3 and turn. Work a dc into the next 17 sts, then (2 dc, ch 2, 2 dc) into the corner space (ch 2 space from the previous row). Work a dc into the next 17 sts, then a dc into the top of the turning chain.
Row 11: Ch 3 and turn. Work a bpdc into the next 19 sts, then (2 dc, ch 2, 2 dc) into the corner space (ch 2 space from the previous row). Work a bpdc into the next 19 sts, then a dc into the top of the turning chain.
Row 12: Ch 3 and turn. Work a dc into the next 21 sts, then (2 dc, ch 2, 2 dc) into the corner space (ch 2 space from the previous row). Work a dc into the next 21 sts, then a dc into the top of the turning chain.
Row 13: Ch 3 and turn. Work a bpdc into the next 23 sts, then (2 dc, ch 2, 2 dc) into the corner space (ch 2 space from the previous row). Work a bpdc into the next 23 sts, then a dc into the top of the turning chain.
Row 14: Ch 3 and turn. Work a dc into the next 25 sts, then (2 dc, ch 2, 2 dc) into the corner space (ch 2 space from the previous row). Work a dc into the next 25 sts, then a dc into the top of the turning chain.
Row 15: Ch 3 and turn. Work a bpdc into the next 27 sts, then (2 dc, ch 2, 2 dc) into the corner space (ch 2 space from the previous row). Work a bpdc into the next 27 sts, then a dc into the top of the turning chain.
Row 16: Ch 3 and turn. Work a dc into the next 29 sts, then (2 dc, ch 2, 2 dc) into the corner space (ch 2 space from the previous row). Work a dc into the next 29 sts, then a dc into the top of the turning chain.
Note: Depending on your personal tension and yarn used, there may be variations in height and width of your square, if you need your square to be a little bigger, just repeat rounds 15 and 16 as needed (only change is that with each additional round there will be more side stitches to work as the square grows, corners are always worked the same way).
*To add a simple border to your square, simply work a sc all the way around the square, working a (sc, ch 1, sc) in each corner.
Need help with a simple border? Check out the video below!
(Can’t see the video? Click here!)
Fasten off, weave in all ends, and block if needed. I lightly steam blocked my square to get the corners nice and sharp. Also, when working with post stitches as we did for the sides, they’ll want to pull in a bit. Lightly blocking your work will help with this. If you’re using acrylic yarn, try this technique:
For natural fibers, a heavier wet blocking works well:

© Jennifer Dickerson 2017
For more fun projects and pretty patterns, be sure to follow Fiber Flux on Google+, Facebook, Twitter, and Pinterest for the latest updates!

Visit the Fiber Flux Yarn Shop…lovely yarn & great prices!


 (Affiliate links, enjoy these awesome products and thanks as always for your support!)

