
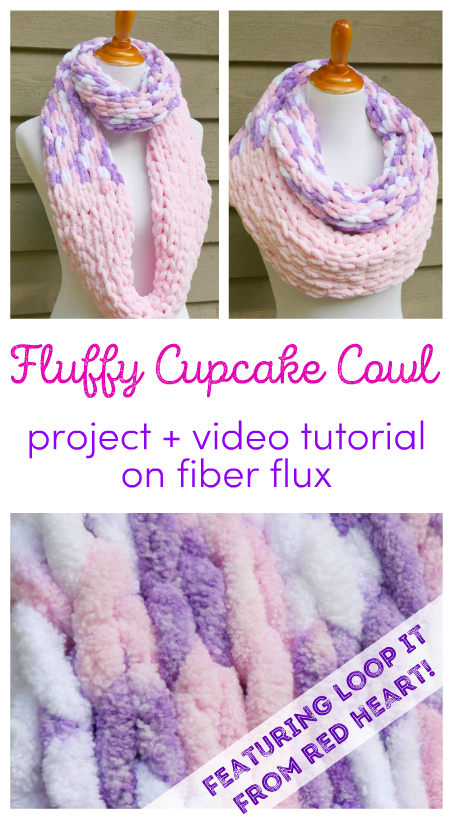
Do you Loop It? I recently had the opportunity to try this fun new yarn from Red Heart…So much fun! Loop It is a new yarn on the market that allows makers to use just their hands to create projects…no needles and hooks required!
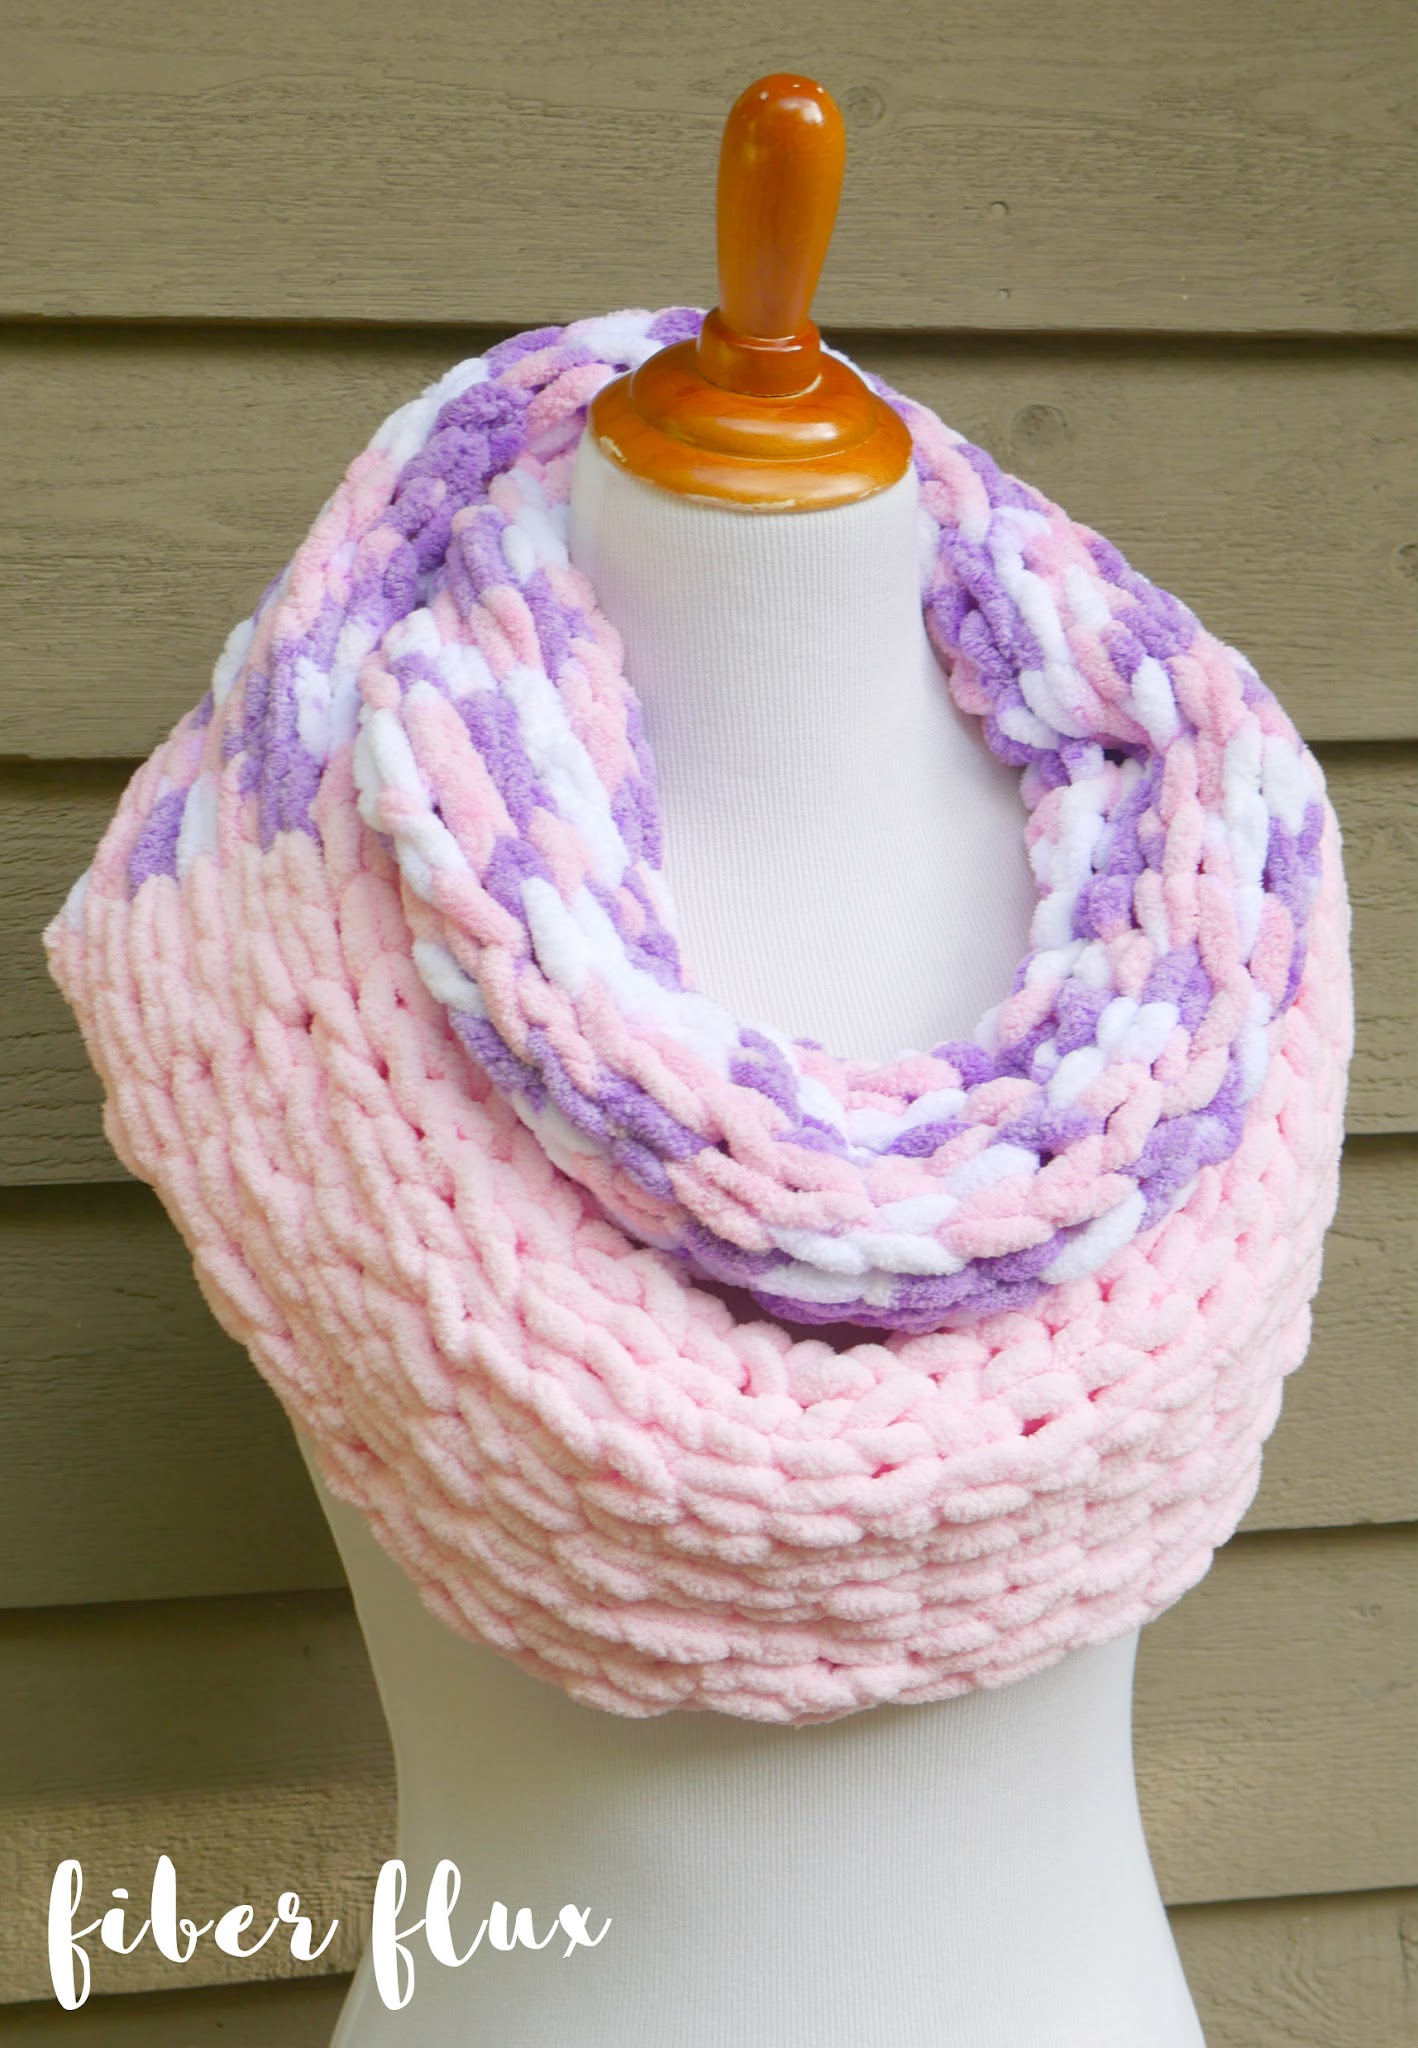
The Fluffy Cupcake Cowl is a super easy project that will introduce you to making items with Loop It yarn…You can make it into a traditional scarf OR seam it together to create a cowl too. And let me tell you…it is soft as a cloud! I’ve created a full video tutorial to walk you through step by step, from getting started, to working the “knit” stitch, to binding off, and finally seaming it together to create the cowl. Come Loop It with me!!
Let’s connect!


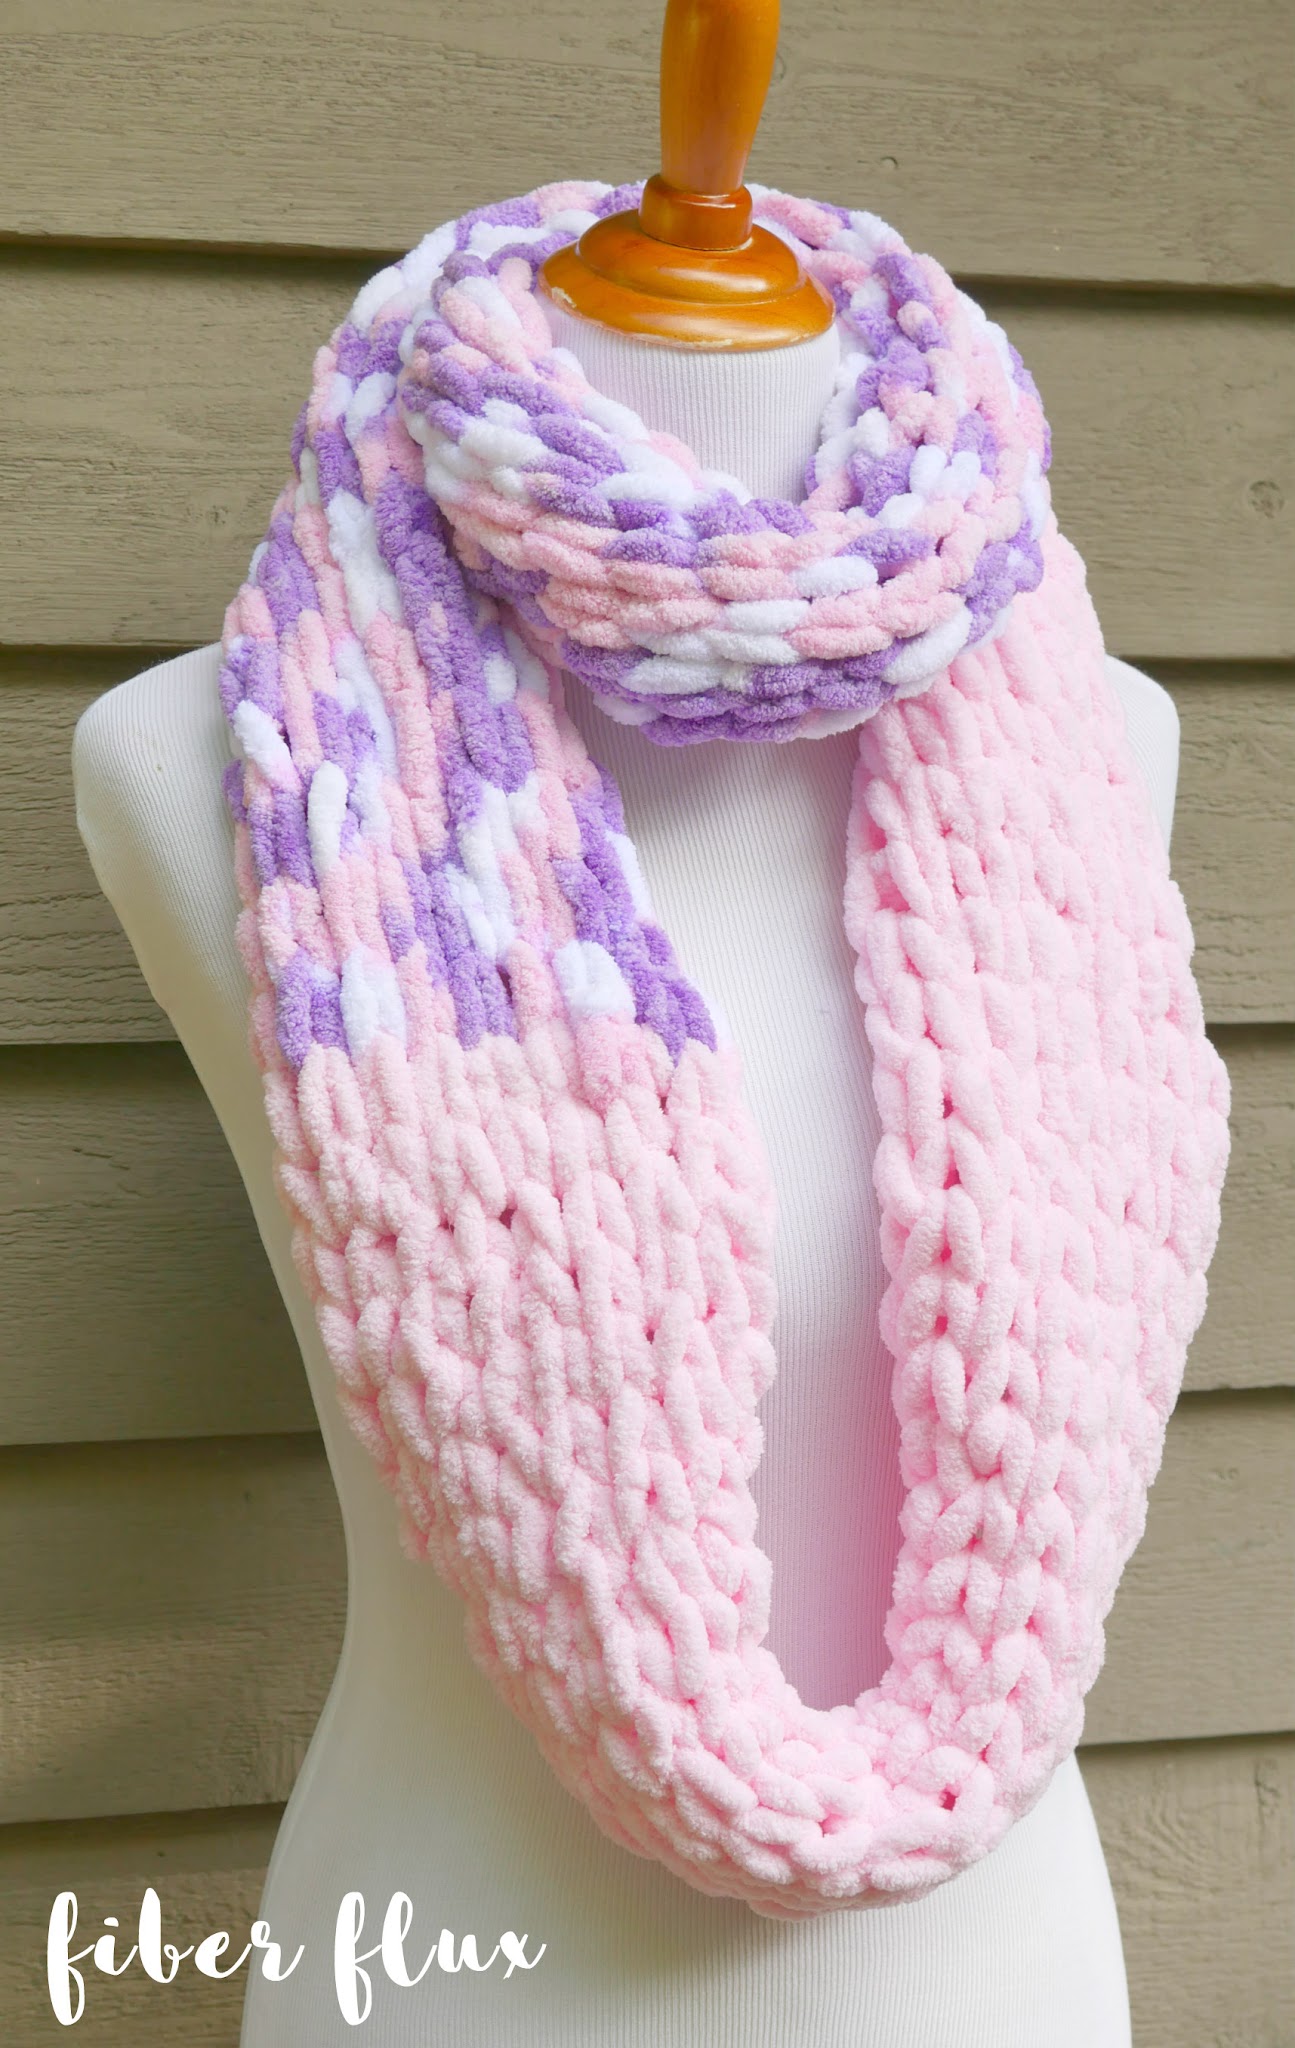
Fluffy Cupcake Cowl
By Jennifer Dickerson
Click the button below to add this project to your Ravelry queue:
Click below to watch a full video tutorial on how to make this project:
Love video tutorials? Click here to subscribe to the Fiber Flux YouTube channel for more stitchy fun!
Materials:
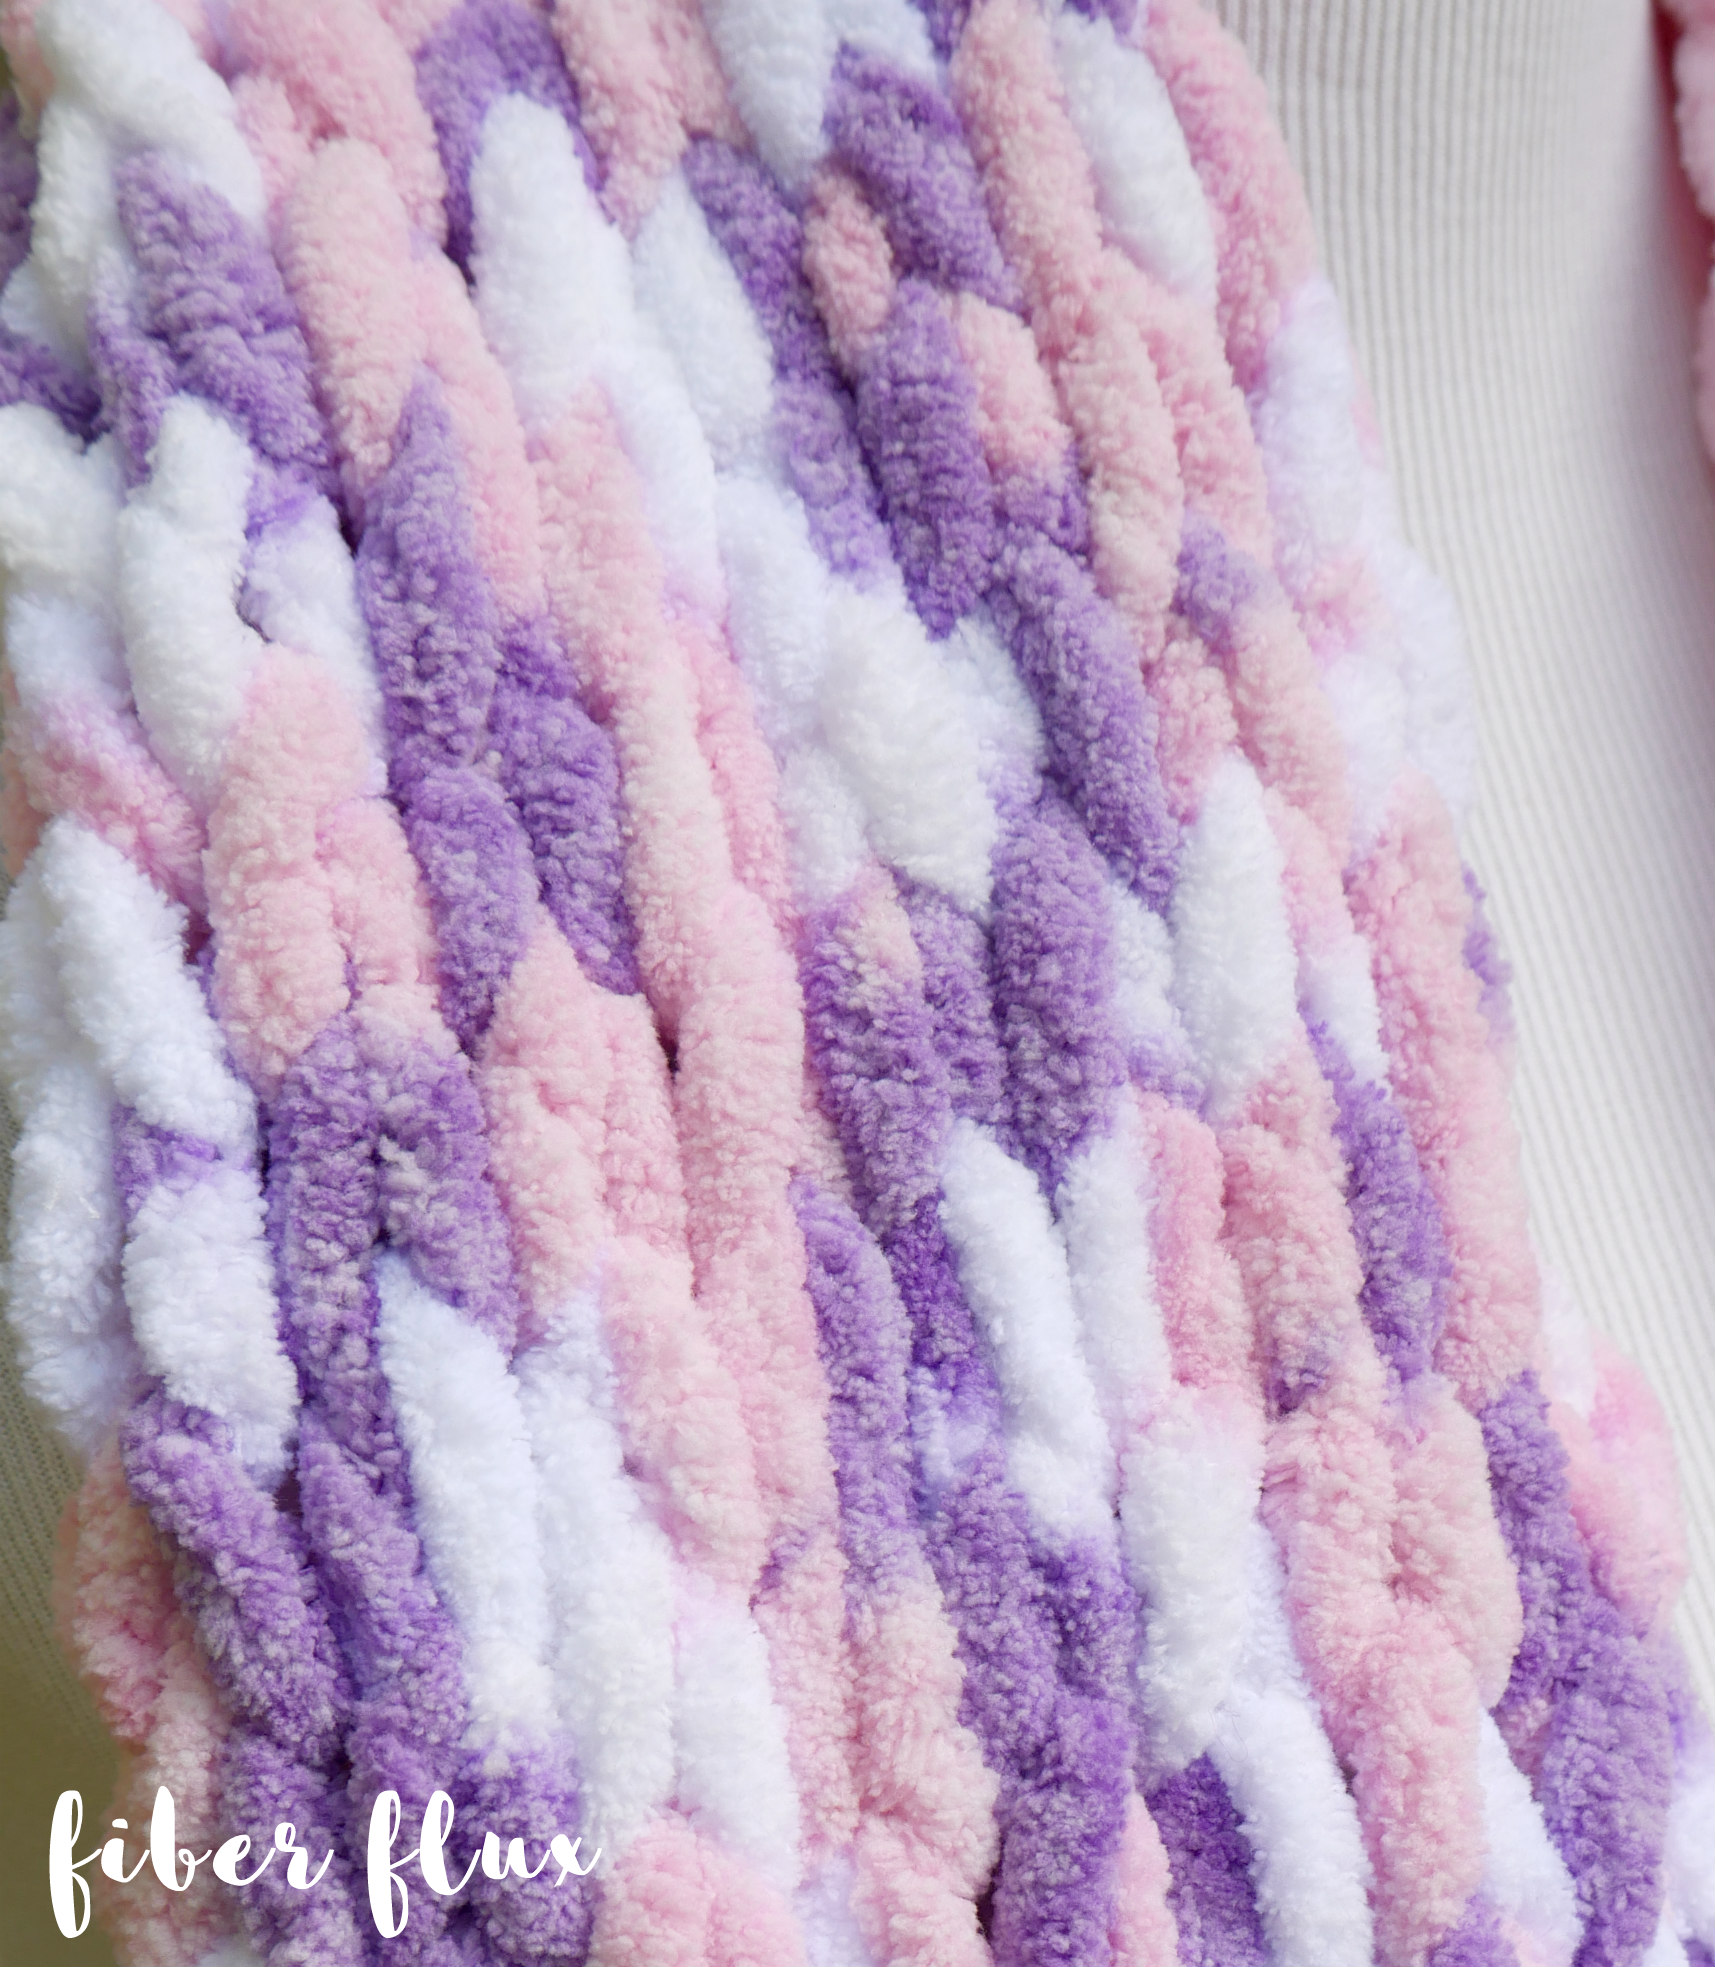
- 2 Balls of Loop It from Red Heart (I used the “Tickled Pink and Purple” and “In The Pink”
- Scissors
- That’s it!!
Get yarn for this project here!

(Affiliate link)
Sizing:
- 7 inches wide
- 72 inch circumference
IMPORTANT: Before you begin, I highly recommend checking out the video first, it will walk you through the entire project from start to finish.
Getting Started (Cast On) and Working First Row:
- Step 1: Create a tail by snipping the first three loops of the yarn.
- Step 2: Lay out the strand with 10 loops across. (If you need your piece to be narrower, use less loops, wider use more loops)
- Step 3: Using the next loop (11th loop on the strand) pass it through the first loop on the row. For the “knit stitch” look be sure to pass it through the back of the loop on the row.
- Step 4: Continue across, adding a loop to each loop of the row until you get to the end.
- Step 5: Without turning or flipping your work, start a new row by adding a loop to each loop of the row.
- Repeat for as long as you’d like for your cowl/scarf to be. When you need to add a new ball of yarn or a new color, move to the next section below.
Joining On A New Ball:
- Step 1: With the remaining strand, create a tail by snipping 2-3 loops. Leave 3 loops unworked.
- Step 2: With the new yarn, create a tail by snipping 2-3 loops to create a tail. Lay the yarn out parallel to the project.
- Step 3: Work the first few loops of the row incorporating both the old yarn loops and new yarn loops (you will be pulling two loops through each loop on the row). Then proceed as normal for the rest of the row and rest of the piece. When you are ready to finish (bind off), move to the section below.
Finishing (Bind Off):
- Step 1: Leaving a yard or so of yarn (some to bind off, some to seam if desired), work the first two loops of the row.
- Step 2: Next, put the last loop worked and pass it through the first loop worked.
- Step 3: Work the next loop, then pass it through the first loop.
- Repeat across until one loop remains. Cut the yarn, leaving 2-3 loops (save the rest for seaming later) and snip the remaining loops open. Pass the tail through the last loop and very gently tighten.
Seaming (optional if you want to create a cowl):
- Step 1: Take a length of remaining yarn (enough to seam the ends) and snip open all of the loops. Turn the scarf inside out and sandwich the ends together. Lining up the edges, sew the edges together with your fingers. Fasten with a sturdy knot to secure. Weave in any ends with your fingers that remain and trim as needed.
© Jennifer Dickerson 2018
For more fun projects and pretty patterns, be sure to follow Fiber Flux on Google+, Facebook, Twitter, and Pinterest for the latest updates!

Visit the Fiber Flux Yarn Shop…lovely yarn & great prices!


 (Affiliate links, enjoy these awesome products and thanks as always for your support!)

