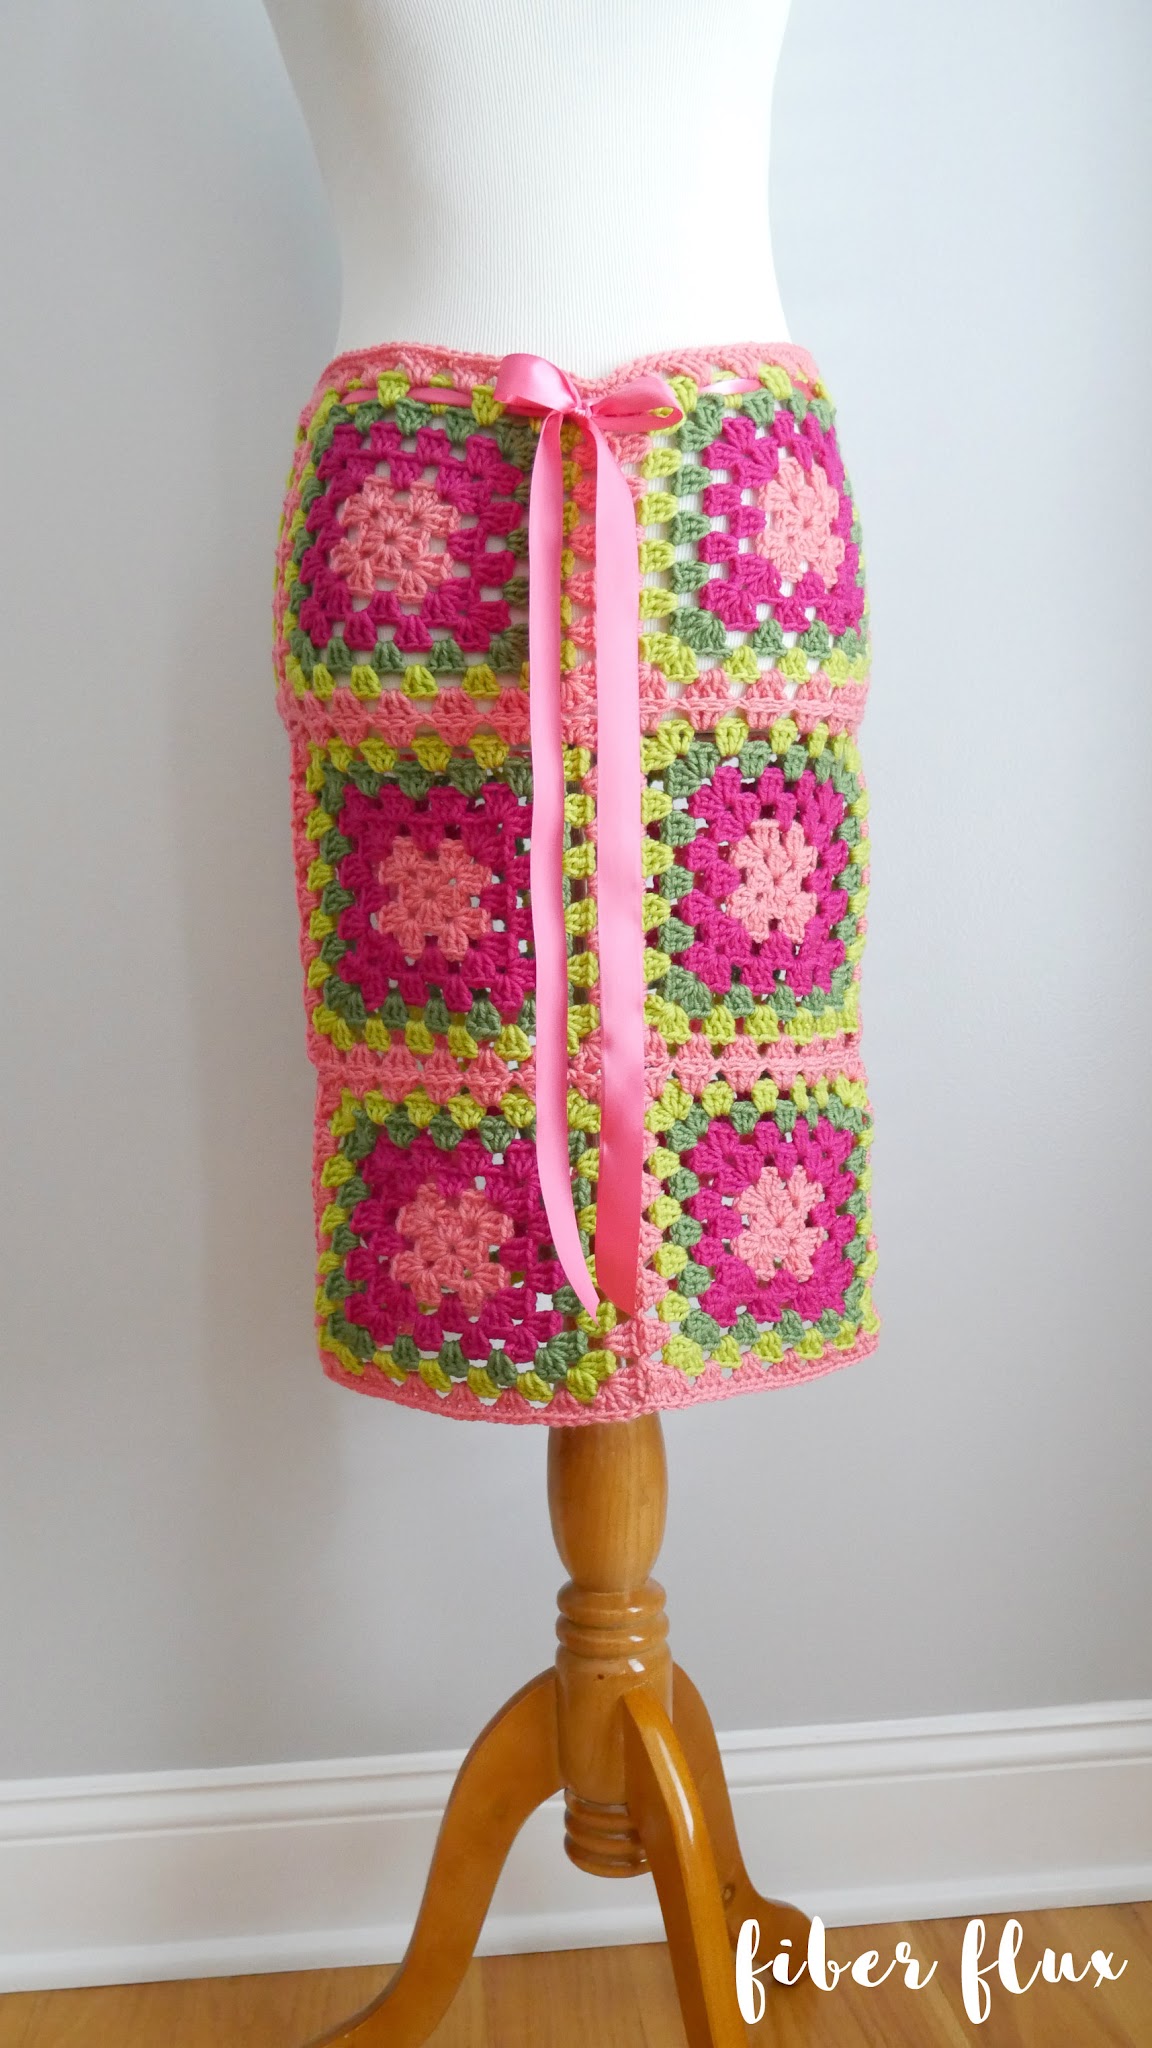
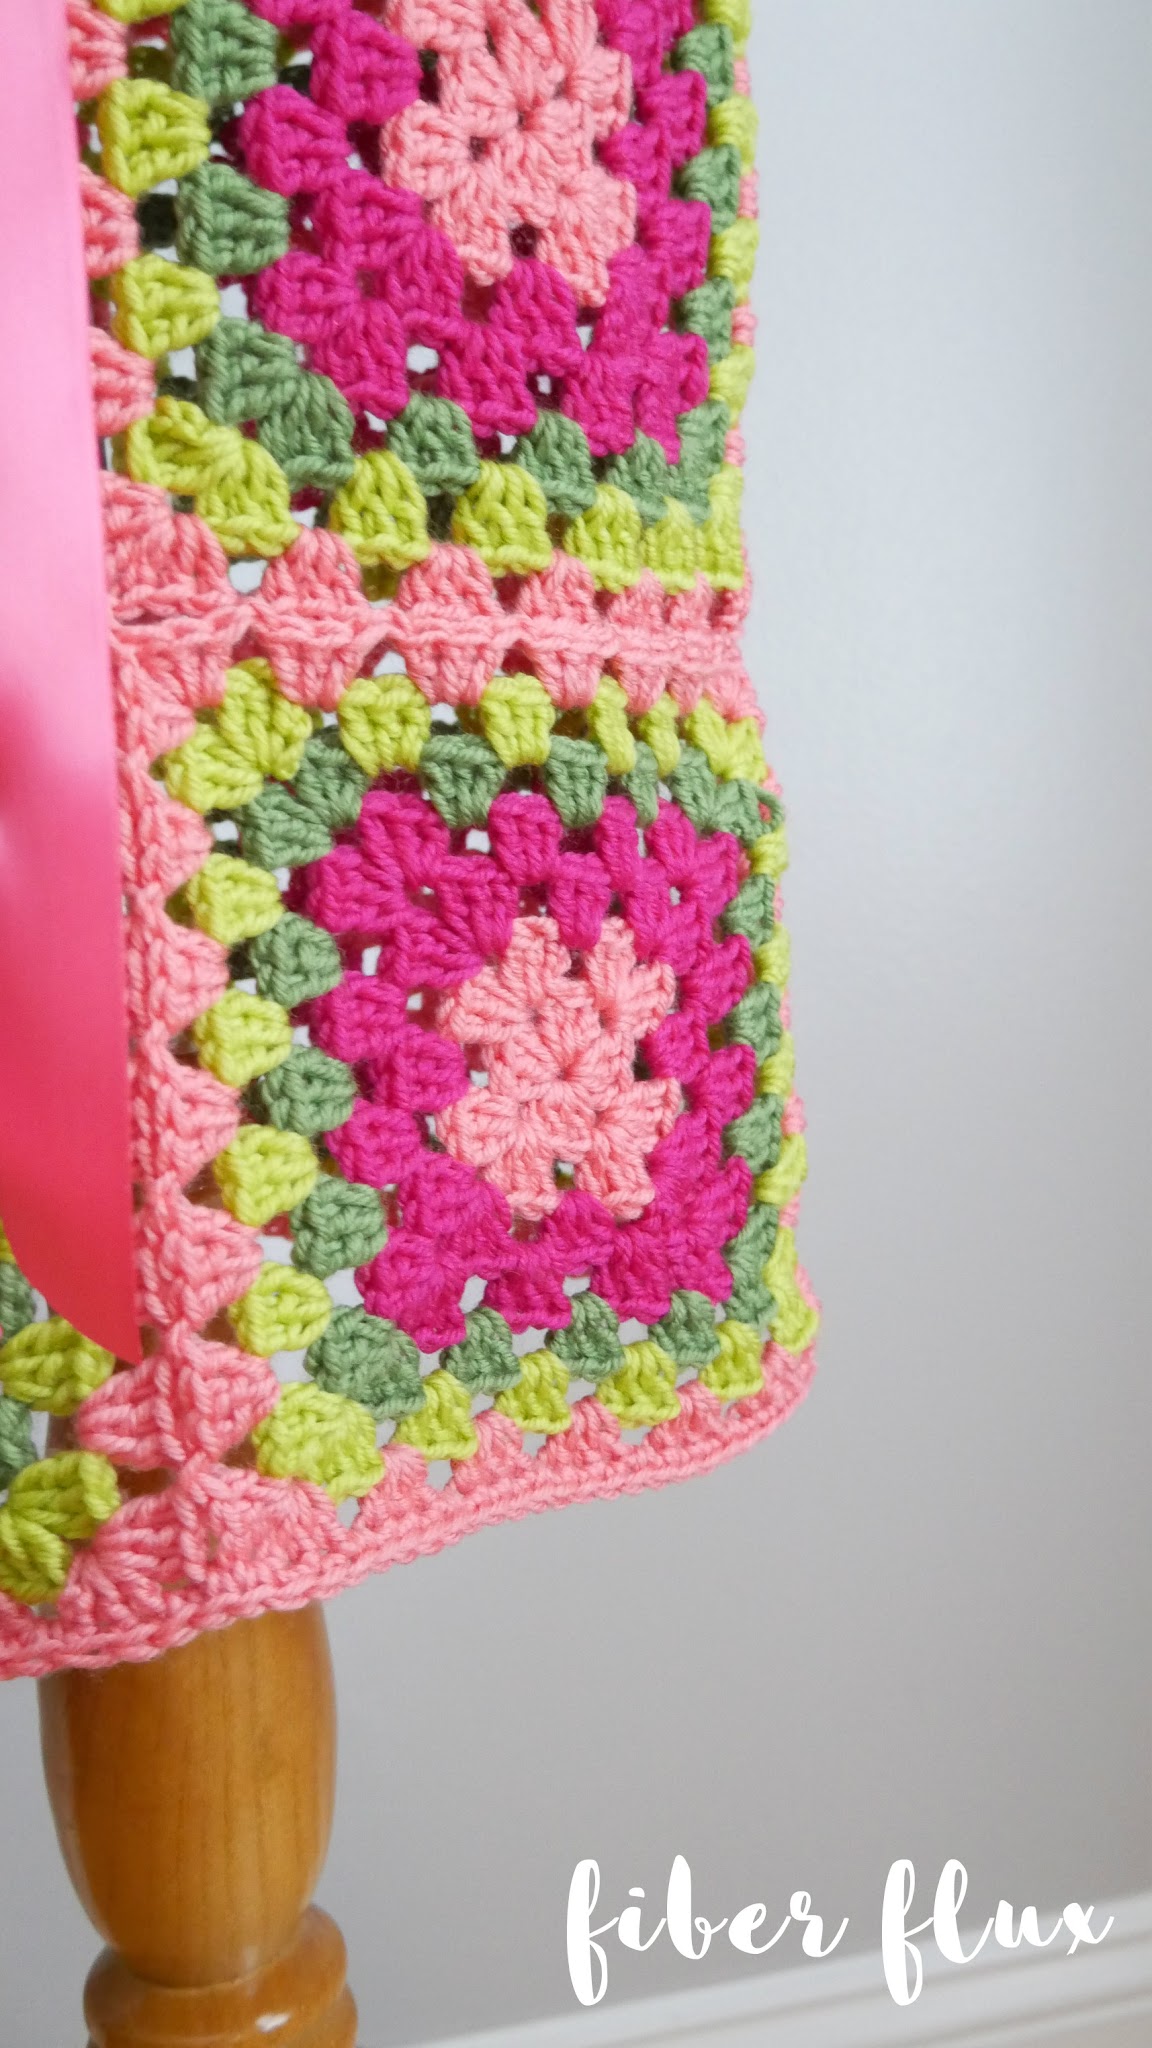
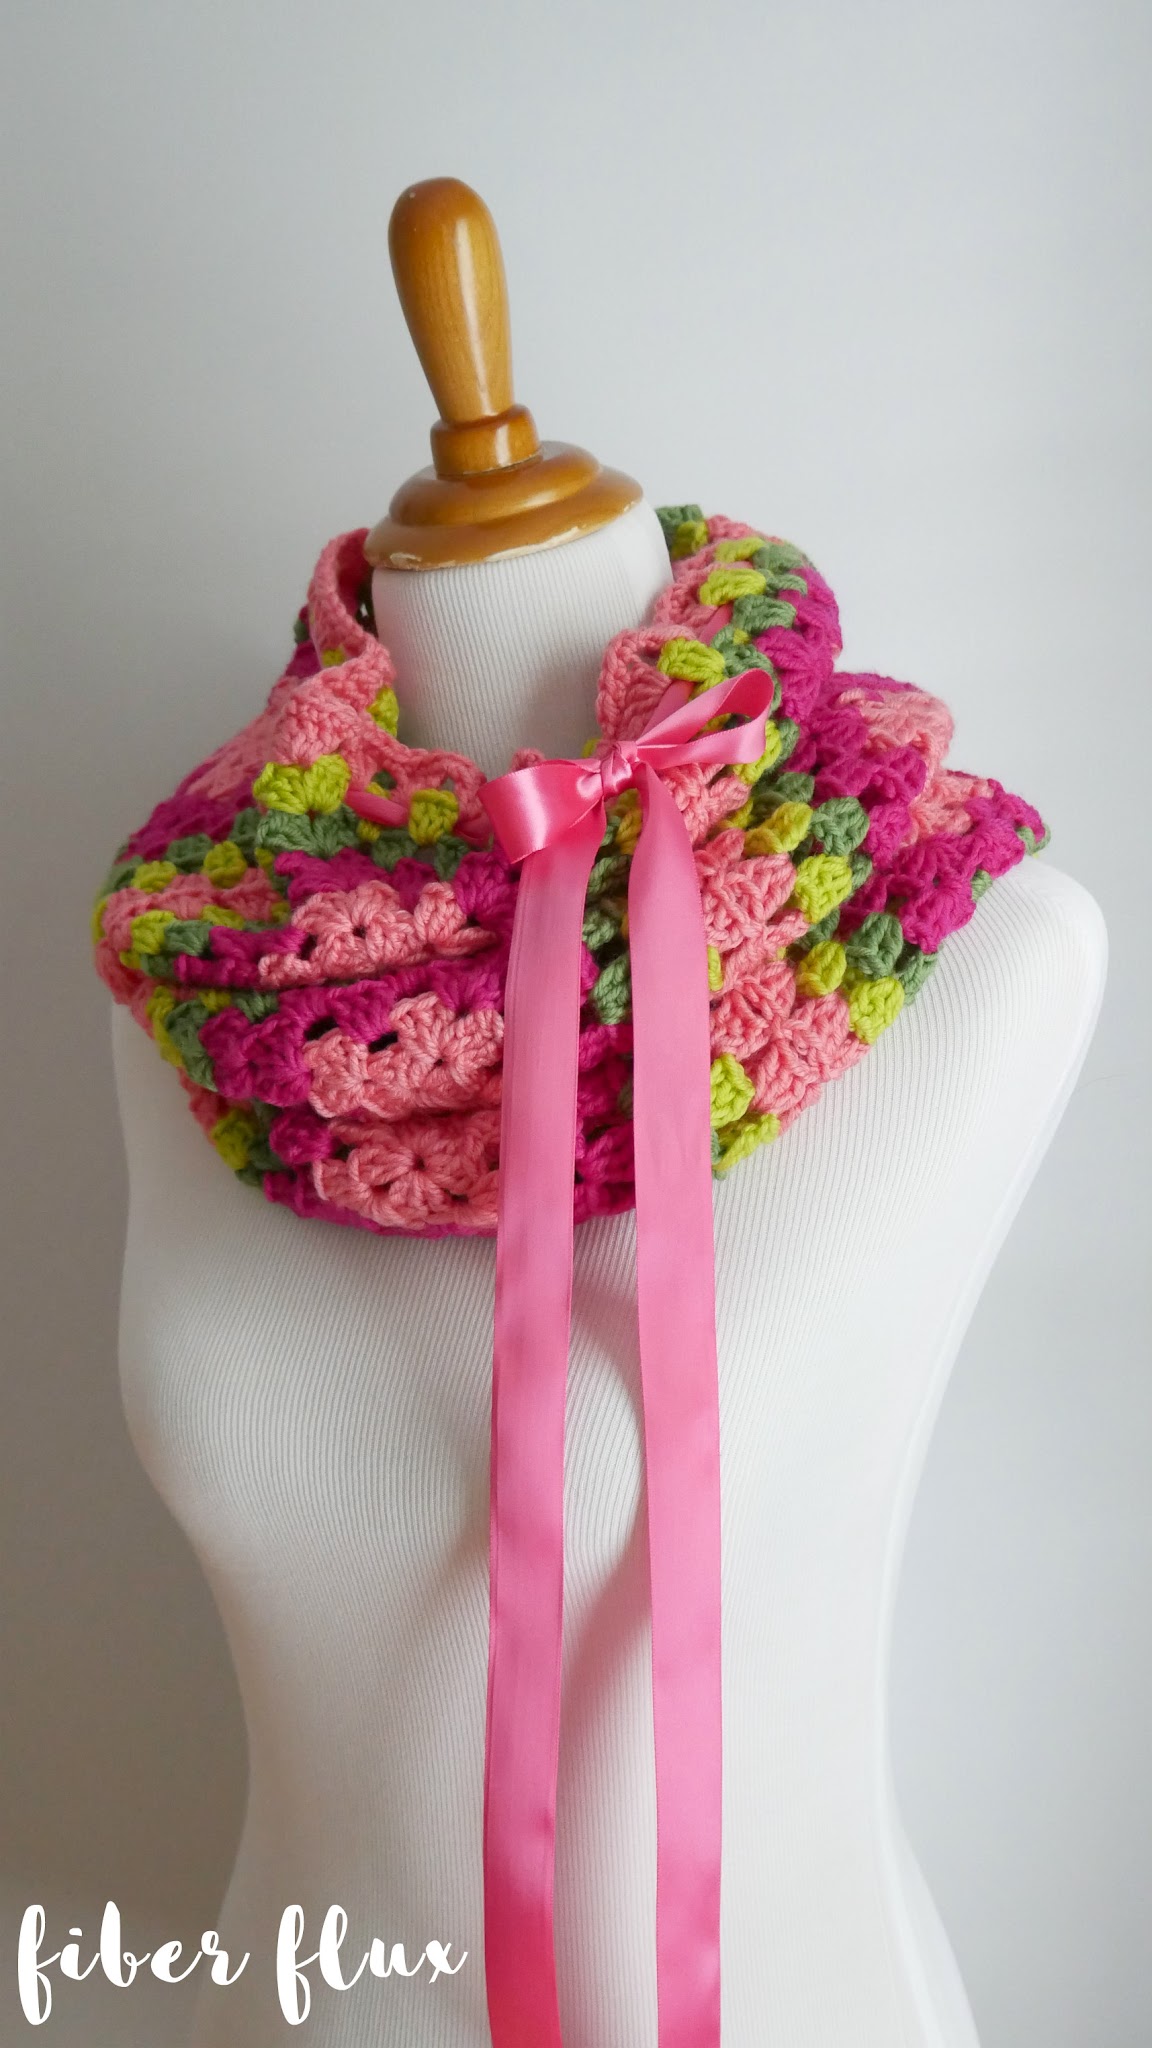
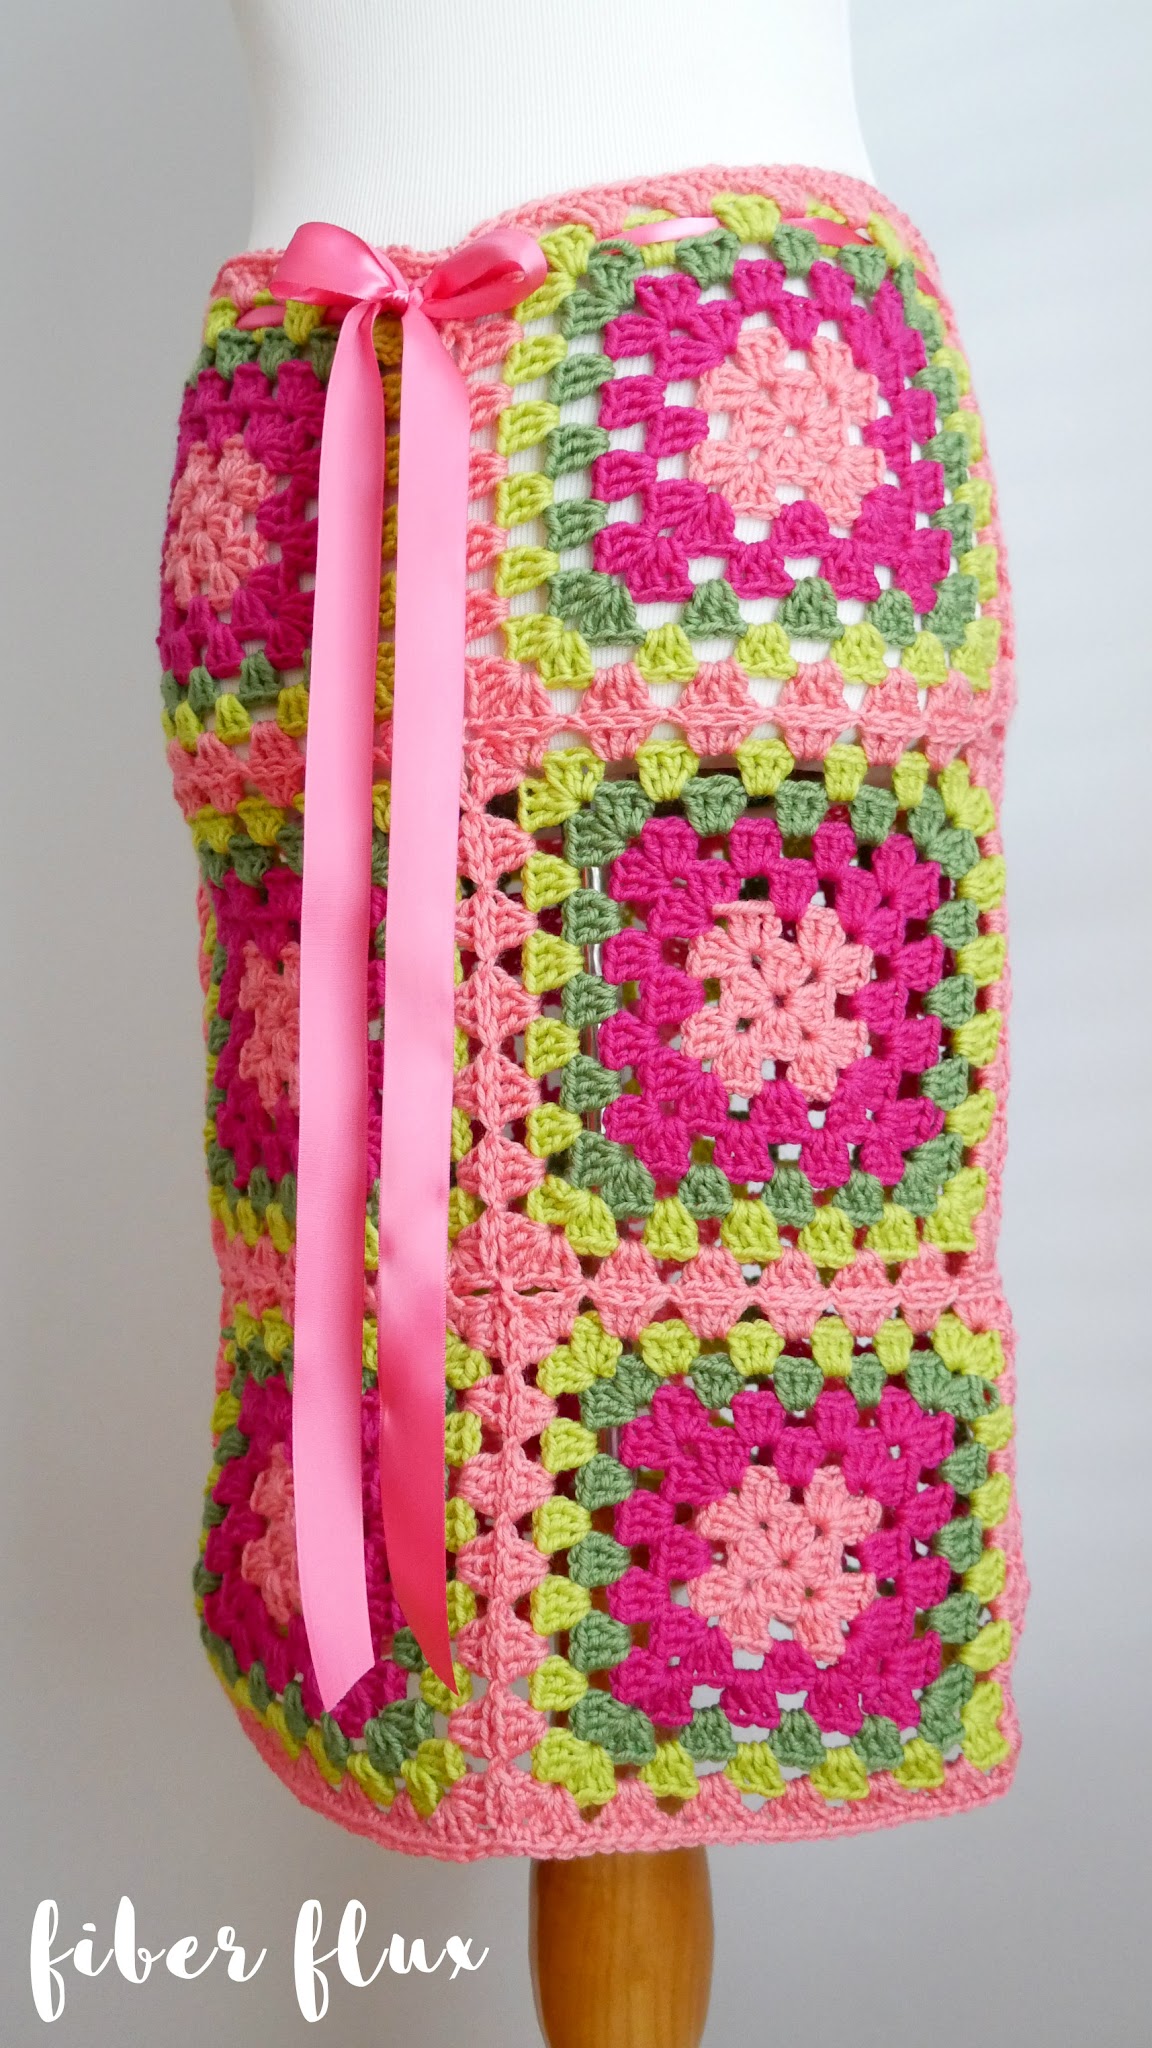
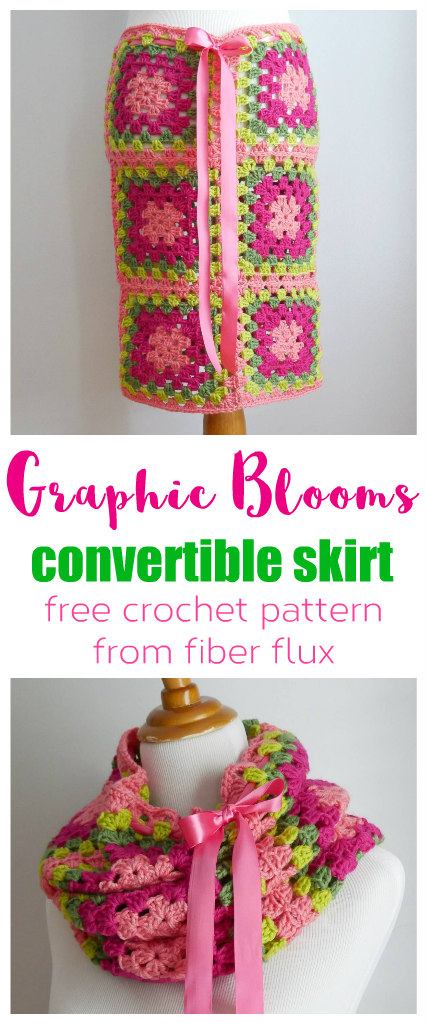
The Graphic Blooms Convertible Skirt is a cute and super fun garment that can be turned into a gorgeous cowl too! Easy to stitch granny squares are joined using the join as you go technique (JAYGO) and finished off with a fabulous satin ribbon tie. Customize your skirt however you like, color and size possibilities are endless!
I designed this skirt as part of the Marly Bird Chic Sheep Designer Blog tour…so much fun! Click here to see all of the gorgeous patterns on the tour! Have you tried Chic Sheep yet? It is so squishy and fabulous! I thoroughly enjoyed playing with this yarn!
Let’s connect!
Graphic Blooms Convertible Skirt
By Jennifer Dickerson
Click the button below to add this project to your Ravelry queue:
Click below to see the full video tutorial:
Materials:
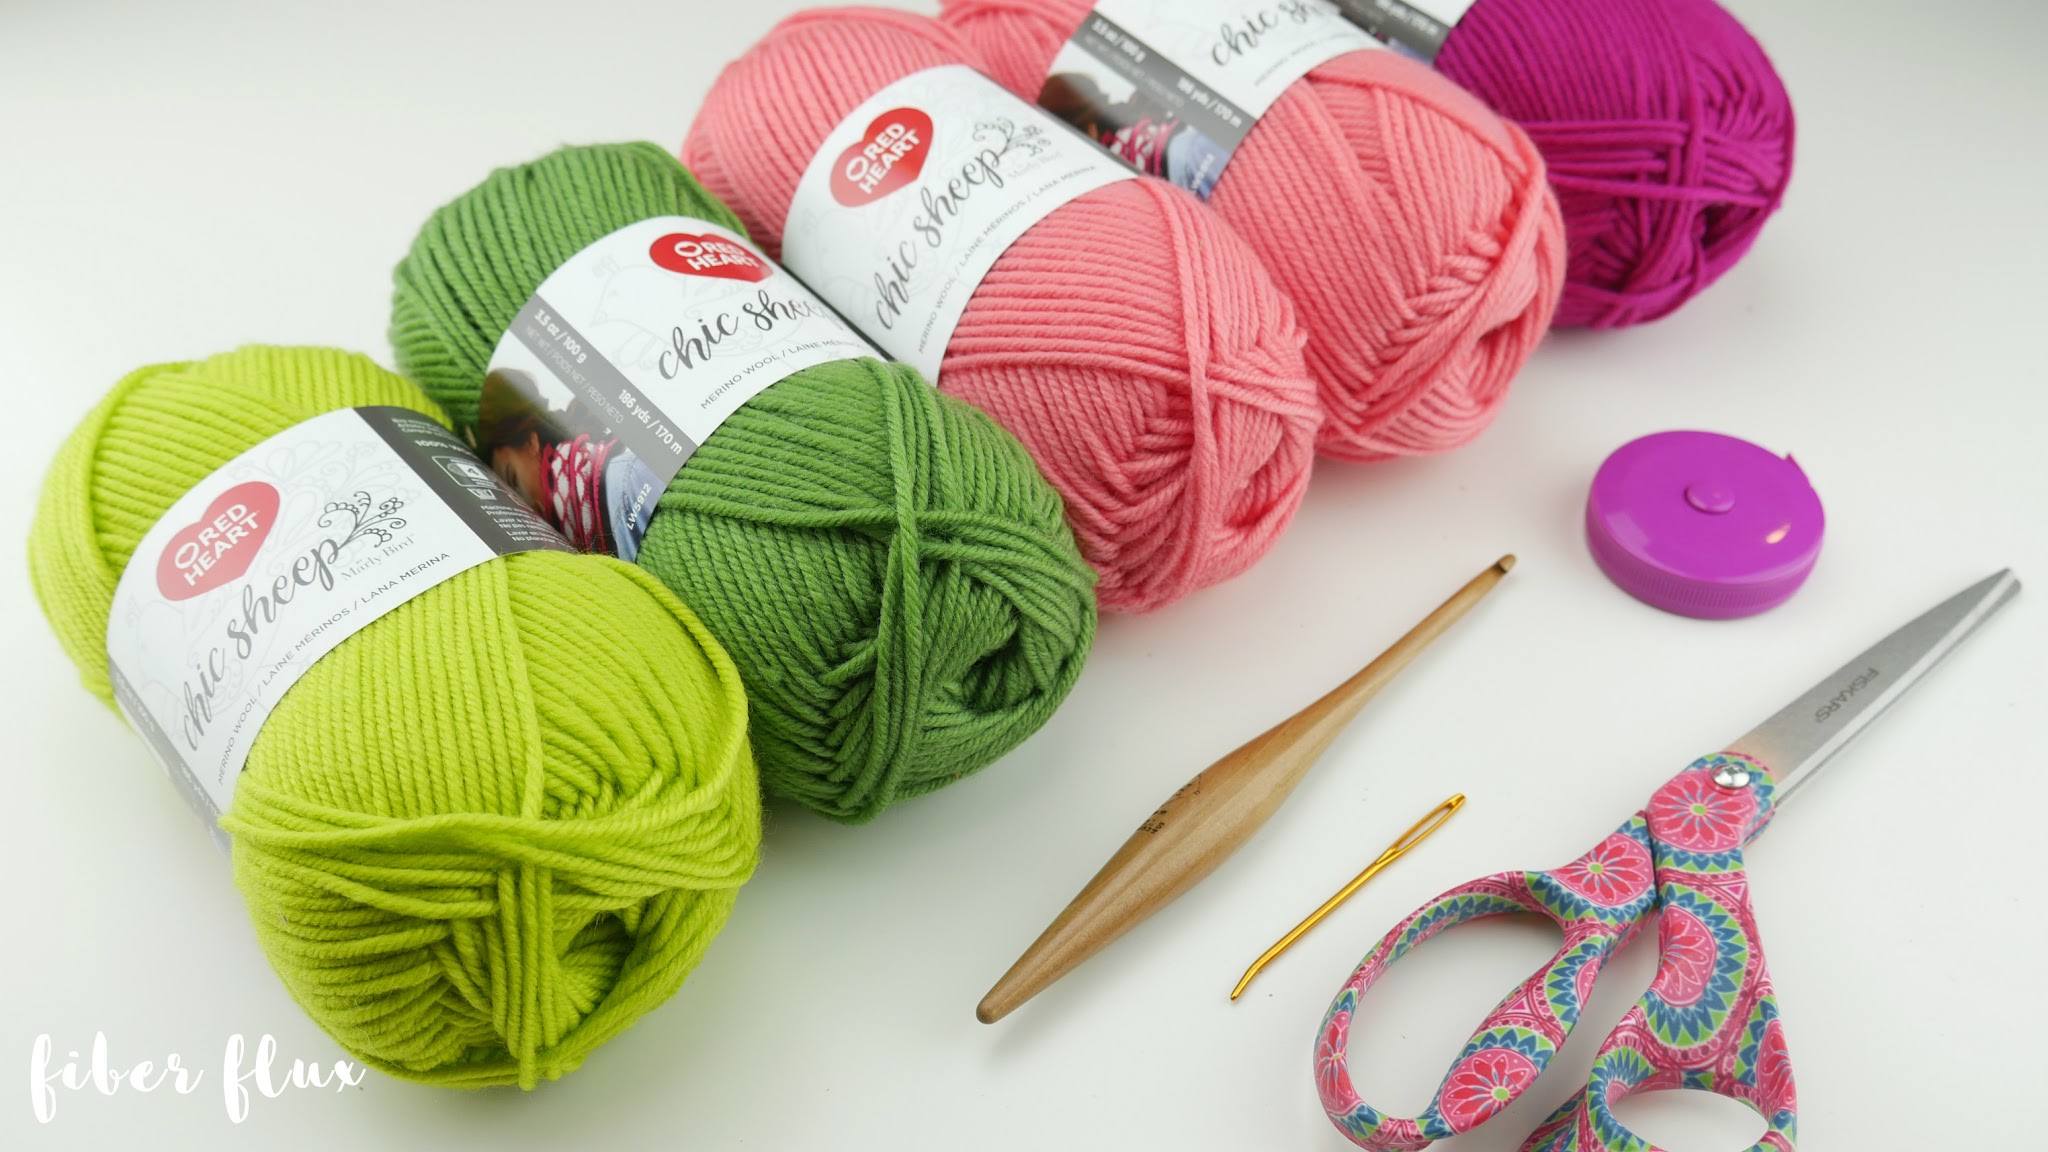
- 5.0 mm “H” crochet hook
- 5 balls of Chic Sheep Red Heart (I used the “Mai Tai” “Polo” “Dragonfruit” and “Green Tea” colorways – 2 balls of Mai Tai, 1 ball of the other colors.
- Ribbon (you can also create a crochet chain for the tie instead if you like)
- Tapestry Needle
- Scissors
- Measuring Tape
Learn more about Chic Sheep yarn here:
Get yarn for this project here!
(Affiliate link)
Sizing:
*Note: Squares can be made as large or as small as you like, increasing or decreasing the number of rounds. Also, you can make as many squares around AND as many tall. You could make a mini skirt, or make it skim the floor if you like! Measure around the largest part of the hip and make your tube the same circumference. From there build it as tall or short as needed. I made mine for someone using their specific measurements, here is the sizing of the skirt in the photos:
- 14 inches wide and 22 inches tall
Abbreviations and Tutorial Links:
Granny Square Instructions:
Note: Feel free to do any color sequence you like, but if you want to replicate the squares as shown, here’s what I did:
Round 1: Mai Tai
Round 2: Mai Tai
Round 3: Dragonfruit
Round 4: Dragon Fruit
Round 5: Polo
Round 6: Green Tea
Round 7: Mai Tai (JAYGO round)
Chain 4, join into a ring with a slip stitch.
Note: If you prefer to use the magic ring technique, please feel free to do this instead.
Round 1: Chain 4, work (3 dc into center of ring, chain 1) 3 times, then 2 dc into center of ring. Join to close with a slip stitch.
Round 2: To work the corner of round 2, first chain 3, then 2 dc in same space, then chain 1, then 3 dc in the same space…first corner done! Then chain 1, then work the next corner by working 3 dc in next space, chain 1, then 3 dc in same space, chain 1, repeat two more times to complete the round.
Round 3: Work the corner in the same manner as the previous round: chain 3, 2 dc in same space, chain 1, 3 dc in same space, chain 1. To work the sides, simply work 3 dc in the next space then chain 1…repeat until you reach a corner again.
Rounds 4-6: Repeat round, but for each round each side of the square will have an extra 3dc cluster. This is how the square grows in size with each round.
(note-read the JAYGO part below before beginning round 7. The first square you’ll do rounds 1-7, and each square thereafter you work rounds 1-6, then work round 7 joining it to the other squares): Work the corner in the same manner as the previous round: chain 3, 2 dc in same space, chain 1, 3 dc in same space, chain 1. To work the sides, simply work 3 dc in the next space then chain 1…repeat until you reach a corner again.
Fasten off and weave in any ends that remain.
How To Join Squares Together (JAYGO/Join As You Go):
Note: It really helps to keep everything flat as you work, I like to lay mine on a table or lap as I go. Also be sure the right side (side that faced up as you stitched up your squares) is facing upward.
Part 1: The Very First Square (worked independently, nothing is joined to this one yet)
Tie on the round 7 color into any corner space of a square you’ve previously made and ch 3. In the same space, work (2 dc, ch 1, 3 dc). In each side space work (3 dc, ch 1). Repeat for each side space until you reach the next corner. In the corner space work (3 dc, ch 1, 3 dc). Continue around the square in this manner, working the side and corners the same way, then join with a slip stitch to close the round. Fasten off yarn.
Part 2: Joining The Second Square
Grab a second square and tie on the round 3 color into any corner space of a square you’ve previously made and ch 3. In the same space, work (2 dc, ch 1, 3 dc). In each side space work (3 dc, ch 1) You’ll have 6 side spaces if you made the same number of rounds as mine. Repeat for each side space until you reach the next corner…this is where we’ll make our first join. In the corner space work 3 dc. Instead of the ch 1, work a slip stitch into the other square’ corner space, then work 3 dc back into the square. As you continue down the side of the square, work a slip stitch into the other square instead of a ch 1, and 3 dc into the side spaces of the square. When you get to the next corner, work 3 dc, slip stitch into the other square’s corner space, then 3 dc into the corner to finish the joining. Work the rest of the square the way you normally would (3 dc, ch 1in each of the side spaces and 3 dc, ch 1, 3 dc in the corner). Join with a slip stitch to close round, fasten off yarn and you’re ready to join another square!
Part 3: Joining Subsequent Squares
As you join the rest of your squares, you’ll basically be repeating part 2 (see above), except the only difference being that sometimes there will be an area where you’ll be joining into a corner that has two or three squares (instead of simply joining into another square). In this case make you slip stitch join in the spaces between the squares (not the corner space). Always go directly across in your join to avoid it being off center. To see this join inaction in greater detail, be sure to check out the video. In the video, I join two sqaures together, then three, then four squares, showing all possible joining scenarios that may arise as you work on your blanket. The rule of thumb is that when you are no joining, work a ch 1. When you get to a spot that requires a join, simply replace the ch 1 with a slip stitch into the other square.
*Important: If you have never tried the JAYGO technique, I highly recommend the video.
Add a single crochet edge (top and bottom of the skirt):
Using the same color as your joining round, work a sc into each corner space. Work around thetop edge of the piece, working a sc into each stitch around and into each space as well. Join with a slip stitch at the beginning to close round.
Finishing:
- Along the top edge, weave in ribbon (or a crochet chain) as shown to create a tie sash.
- Weave in any ends. Fabulous!
Want to line your skirt? Check out this visual tutorial here!
© Jennifer Dickerson 2018
For more fun projects and pretty patterns, be sure to follow Fiber Flux on Google+, Facebook, Twitter, and Pinterest for the latest updates!
Visit the Fiber Flux Yarn Shop…lovely yarn & great prices!


 (Affiliate links, enjoy these awesome products and thanks as always for your support!)
© Jennifer Dickerson 2018
For more fun projects and pretty patterns, be sure to follow Fiber Flux on Google+, Facebook, Twitter, and Pinterest for the latest updates!
Visit the Fiber Flux Yarn Shop…lovely yarn & great prices!


 (Affiliate links, enjoy these awesome products and thanks as always for your support!)







This comment has been removed by a blog administrator.
This comment has been removed by a blog administrator.
This comment has been removed by a blog administrator.