

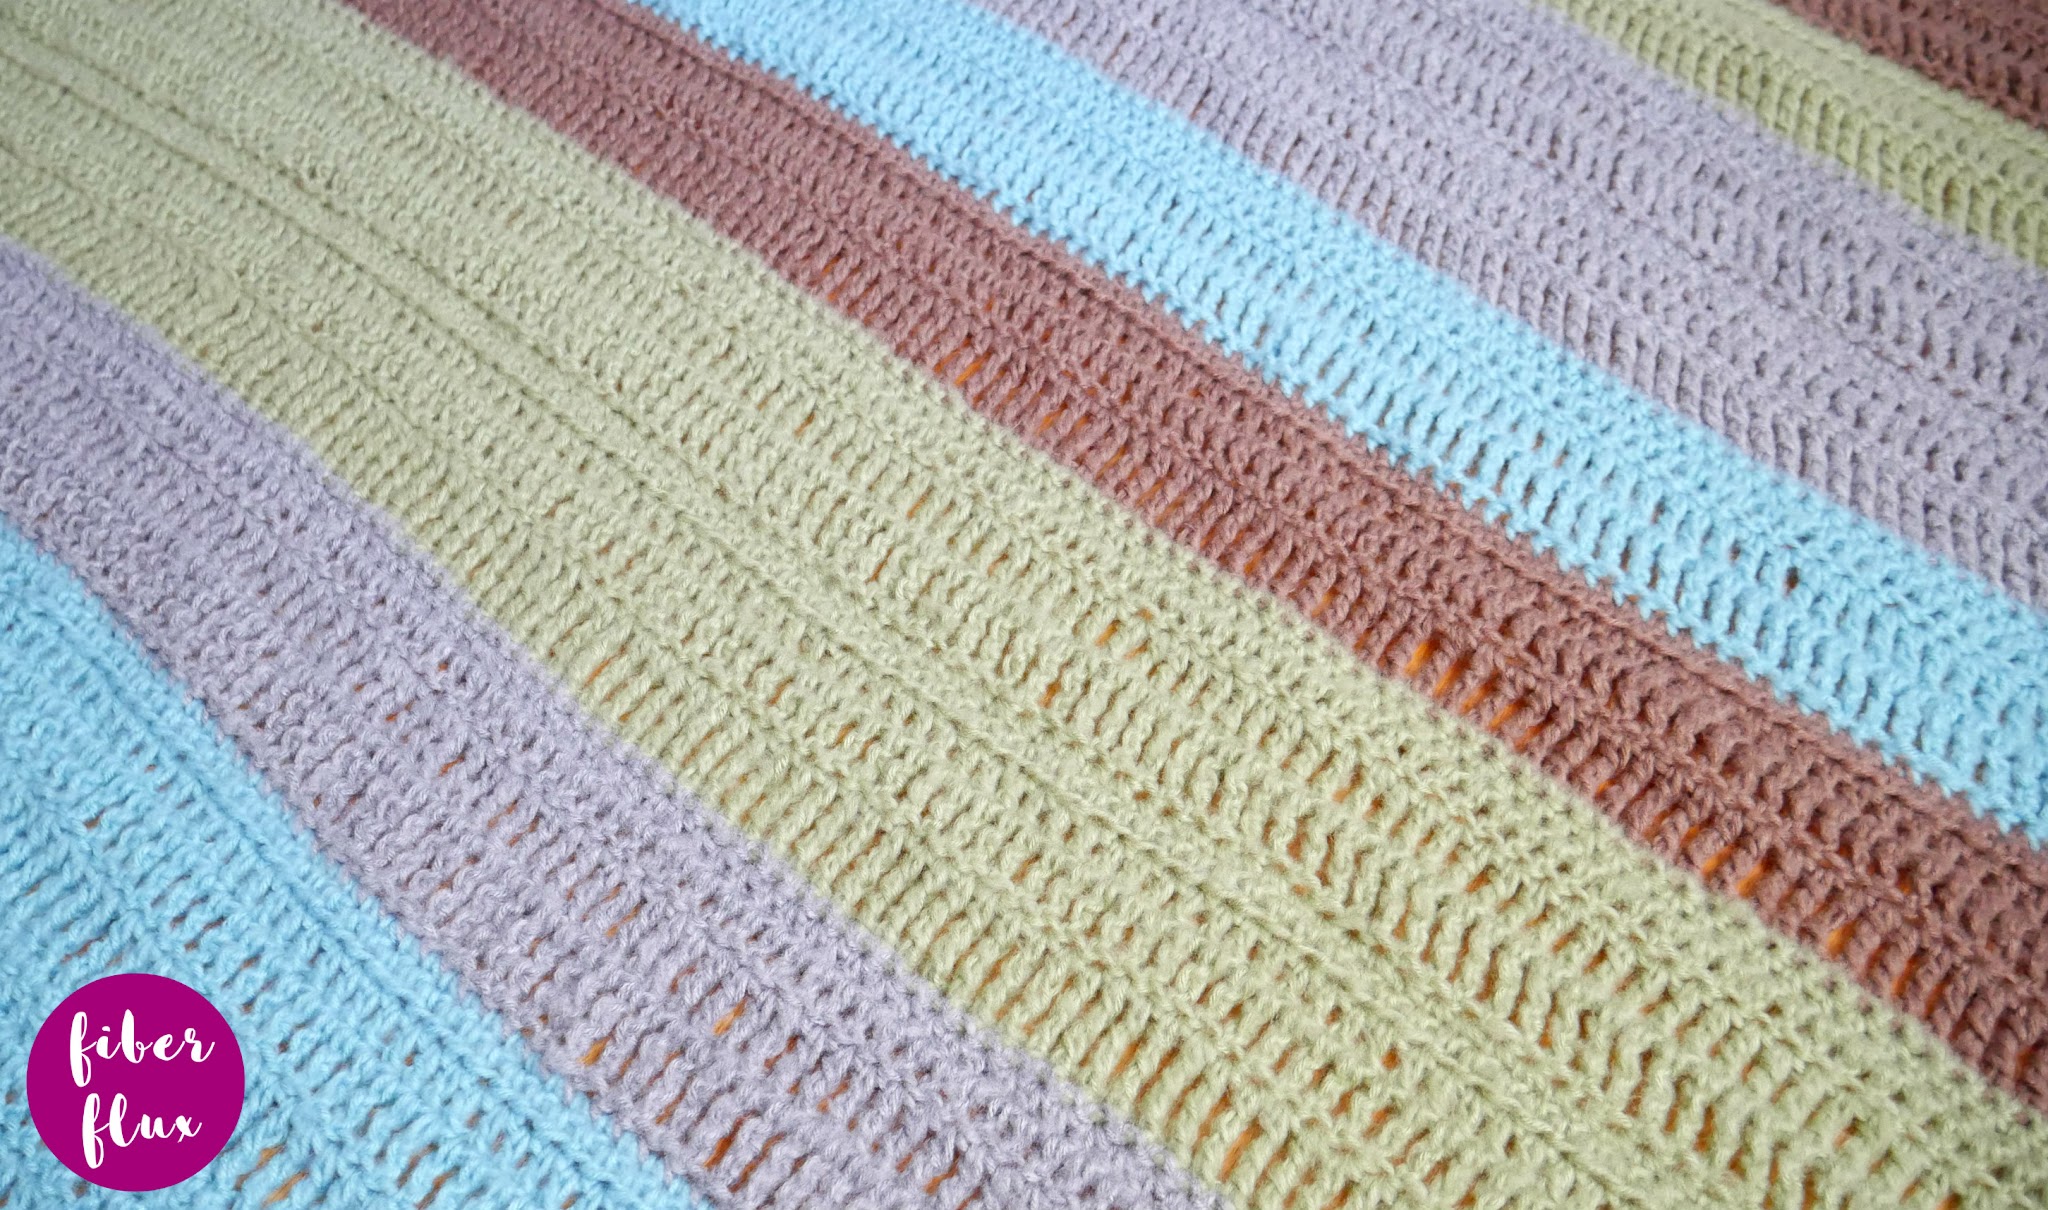
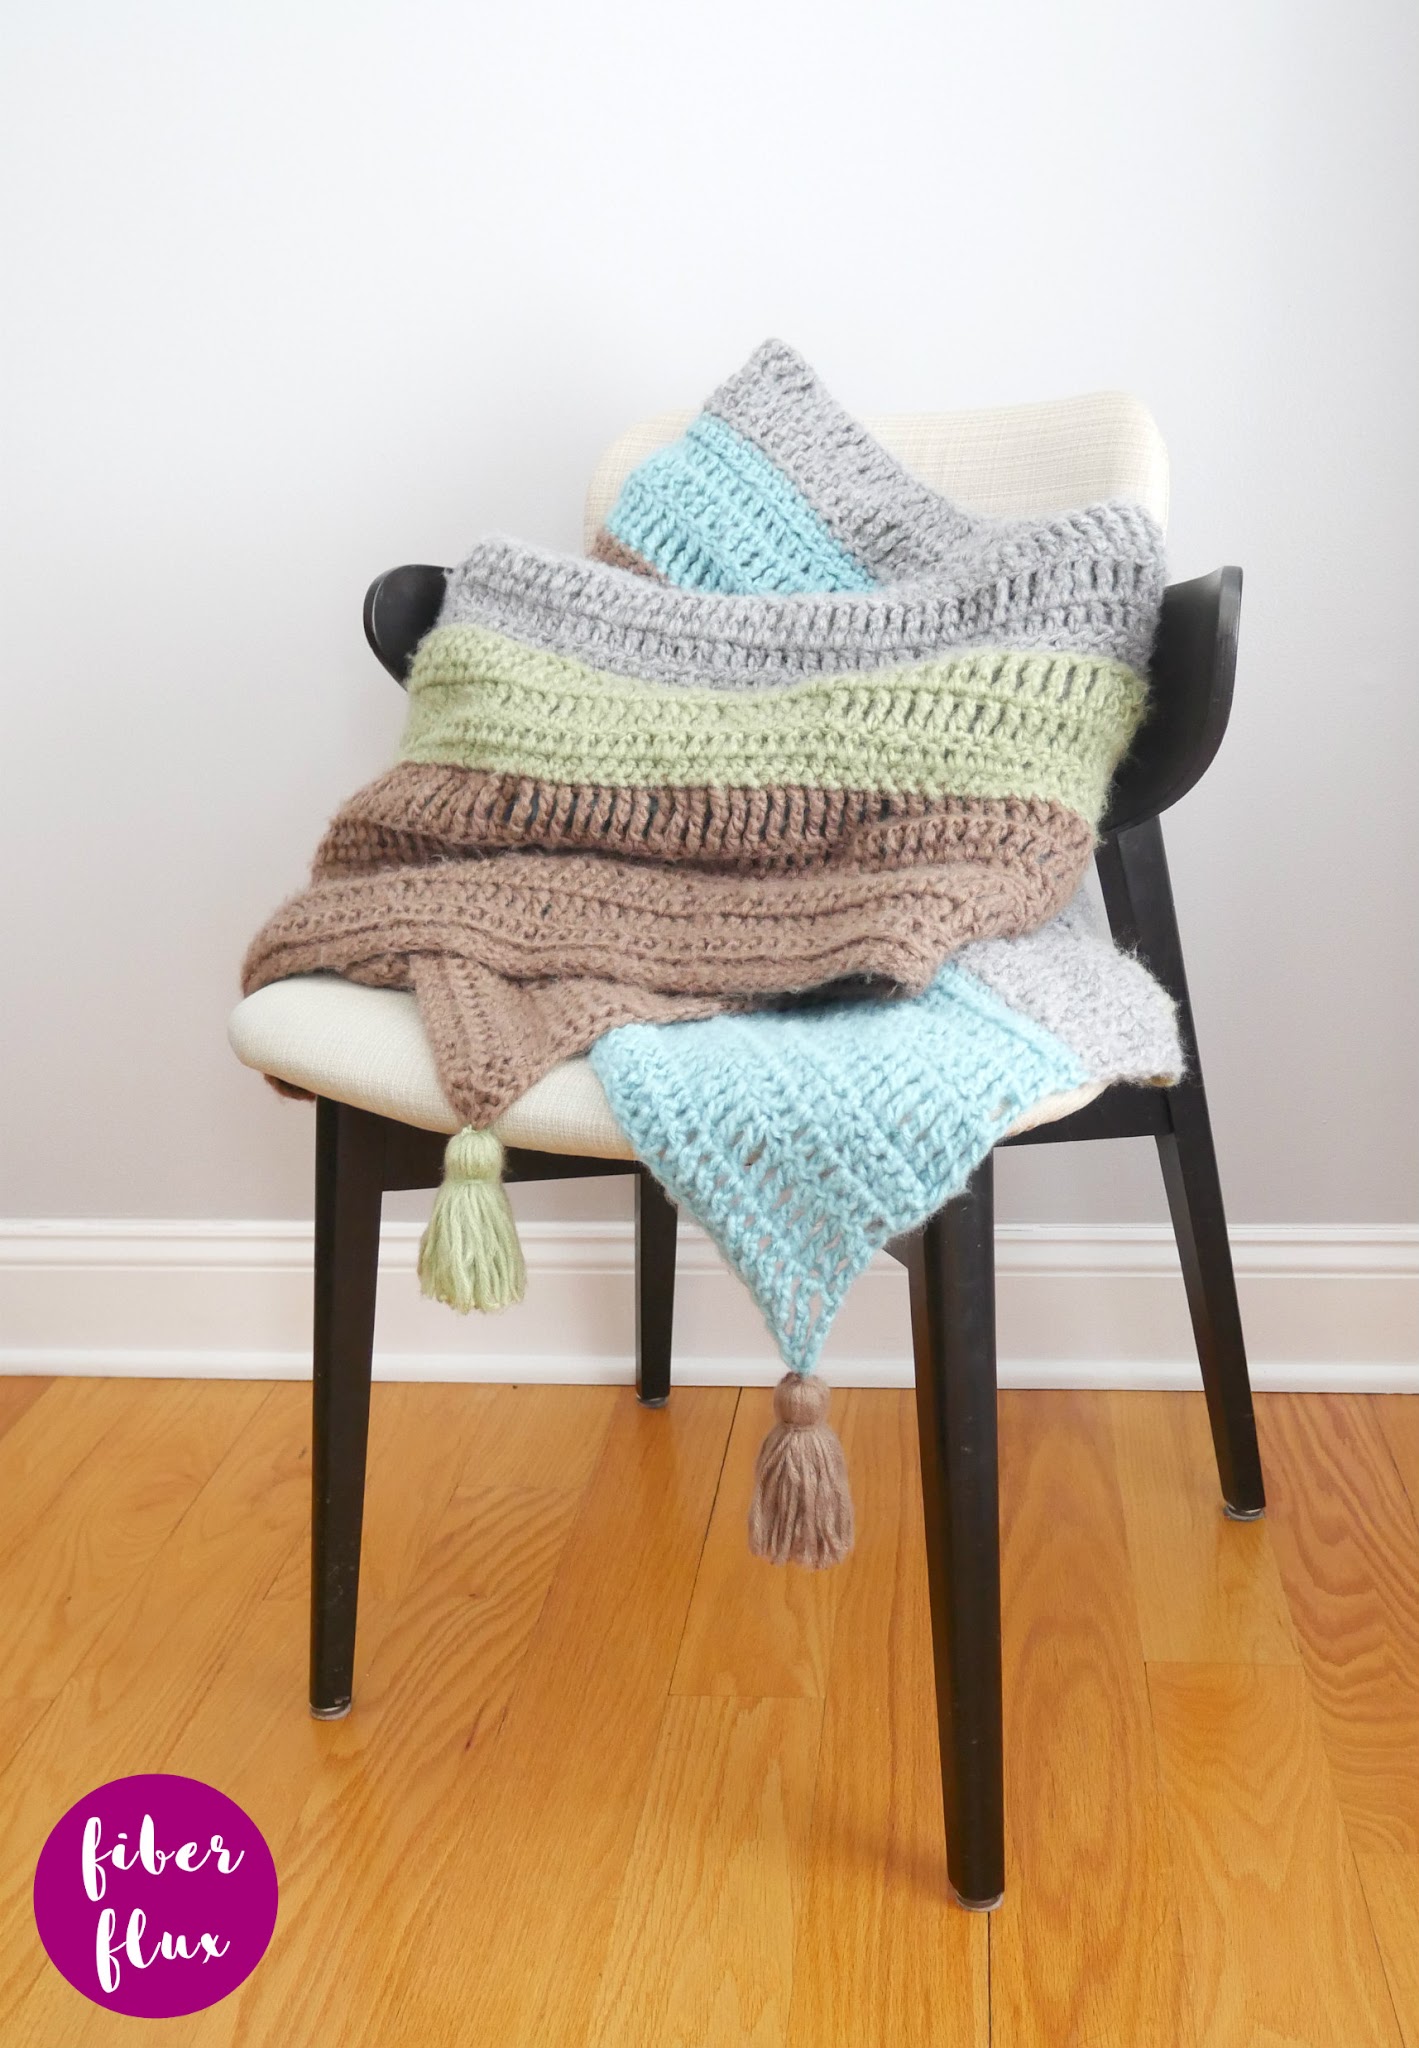
The Easy Beginner Striped Crochet Throw is the ultimate learn to crochet pattern. Stitched up in an array of beginner stitches (sc, hdc, dc, tr, and dtr), this throw will not only introduce you to easy stitches, but give you lots of practice too!
Stripes of cozy, fuzzy yarn make this a cozy but lightweight blanket and it is finished off beautifully with fun tassels!
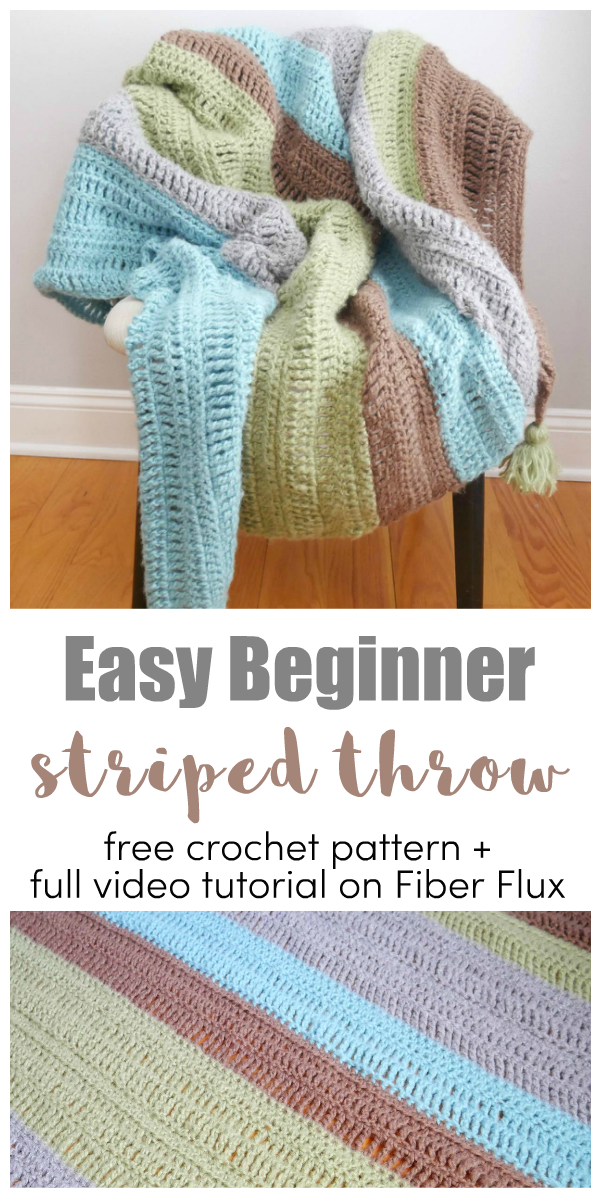
Need a little help? There’s a full video tutorial below!
Watch a full video tutorial on how to make this project:
Love video tutorials? Click here to subscribe to the Fiber Flux YouTube channel for more stitchy fun!
Get the ad-free crochet pattern PDF from my shop here!
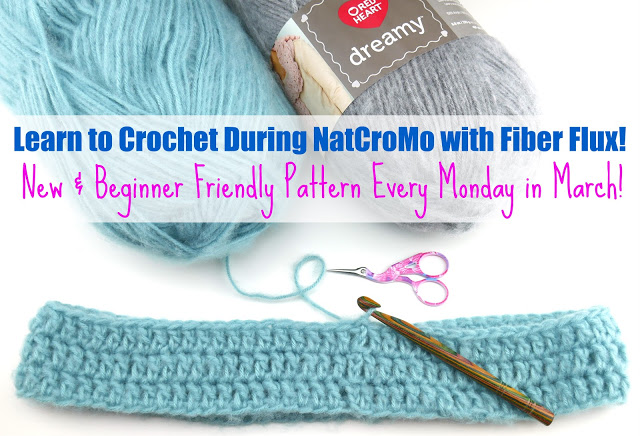
This project is part of the Learn To Crochet With Fiber Flux Series! See below to see more projects in this series:
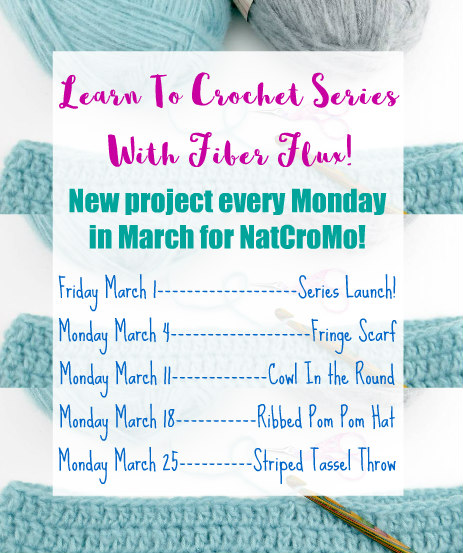
In case you missed the other easy beginner projects:
Materials:
- K (6.5 mm) crochet hook
- 4 Balls of Dreamy yarn by Red Heart (each ball is 466 yards, I used the “Aqua” “Dark Taupe” “Celery” and “Gray” colorways)
- Tapestry Needle
- Scissors
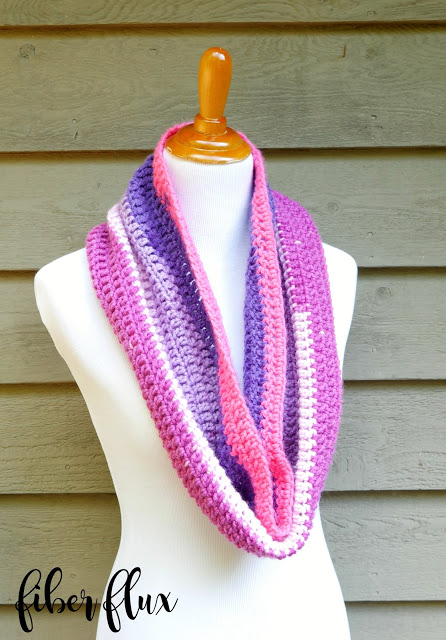
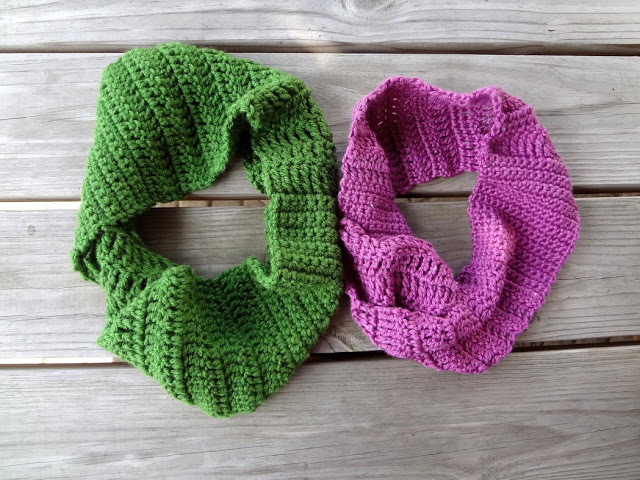
Check out these two beginner patterns too! Absolute Beginner Cowl & Crochet Class Cowl:
Sizing:
- 50 inches tall
- 75 inches wide
- Tassels are 3 inches tall
Abbreviations and Tutorial Links:
- Chain (ch)
- Single Crochet (sc)
- Half Double Crochet (hdc)
- Double Crochet (dc)
- Treble Crochet (tr)
- Double Treble Crochet (dtr)
Instructions:
Ch 150 (if you want to make the width narrower or wider, simply add or subtract chains as needed).
Row 1: Work a sc in the second ch from the hook. Work a sc in each ch across. (note: When row 1 gets repeated in subsequent rows, instead ch 1 and turn, then work a sc in each stitch across, then a sc in the top of the turning chain)
Row 2: Ch 2 and turn. Work a hdc in each stitch across, then a hdc in the top of the turning chain.
Row 3: Ch 3 and turn. Work a dc in each stitch across, then a dc in the top of the turning chain.
Row 4: Ch 4 and turn. Work a tr in each stitch across, then a tr in the top of the turning chain.
Row 5: Ch 5 and turn. Work a dtr in each stitch across, then a dtr in the top of the turning chain.
Repeat rows 1-5 until throw is approximately 50 inches tall or desired height.
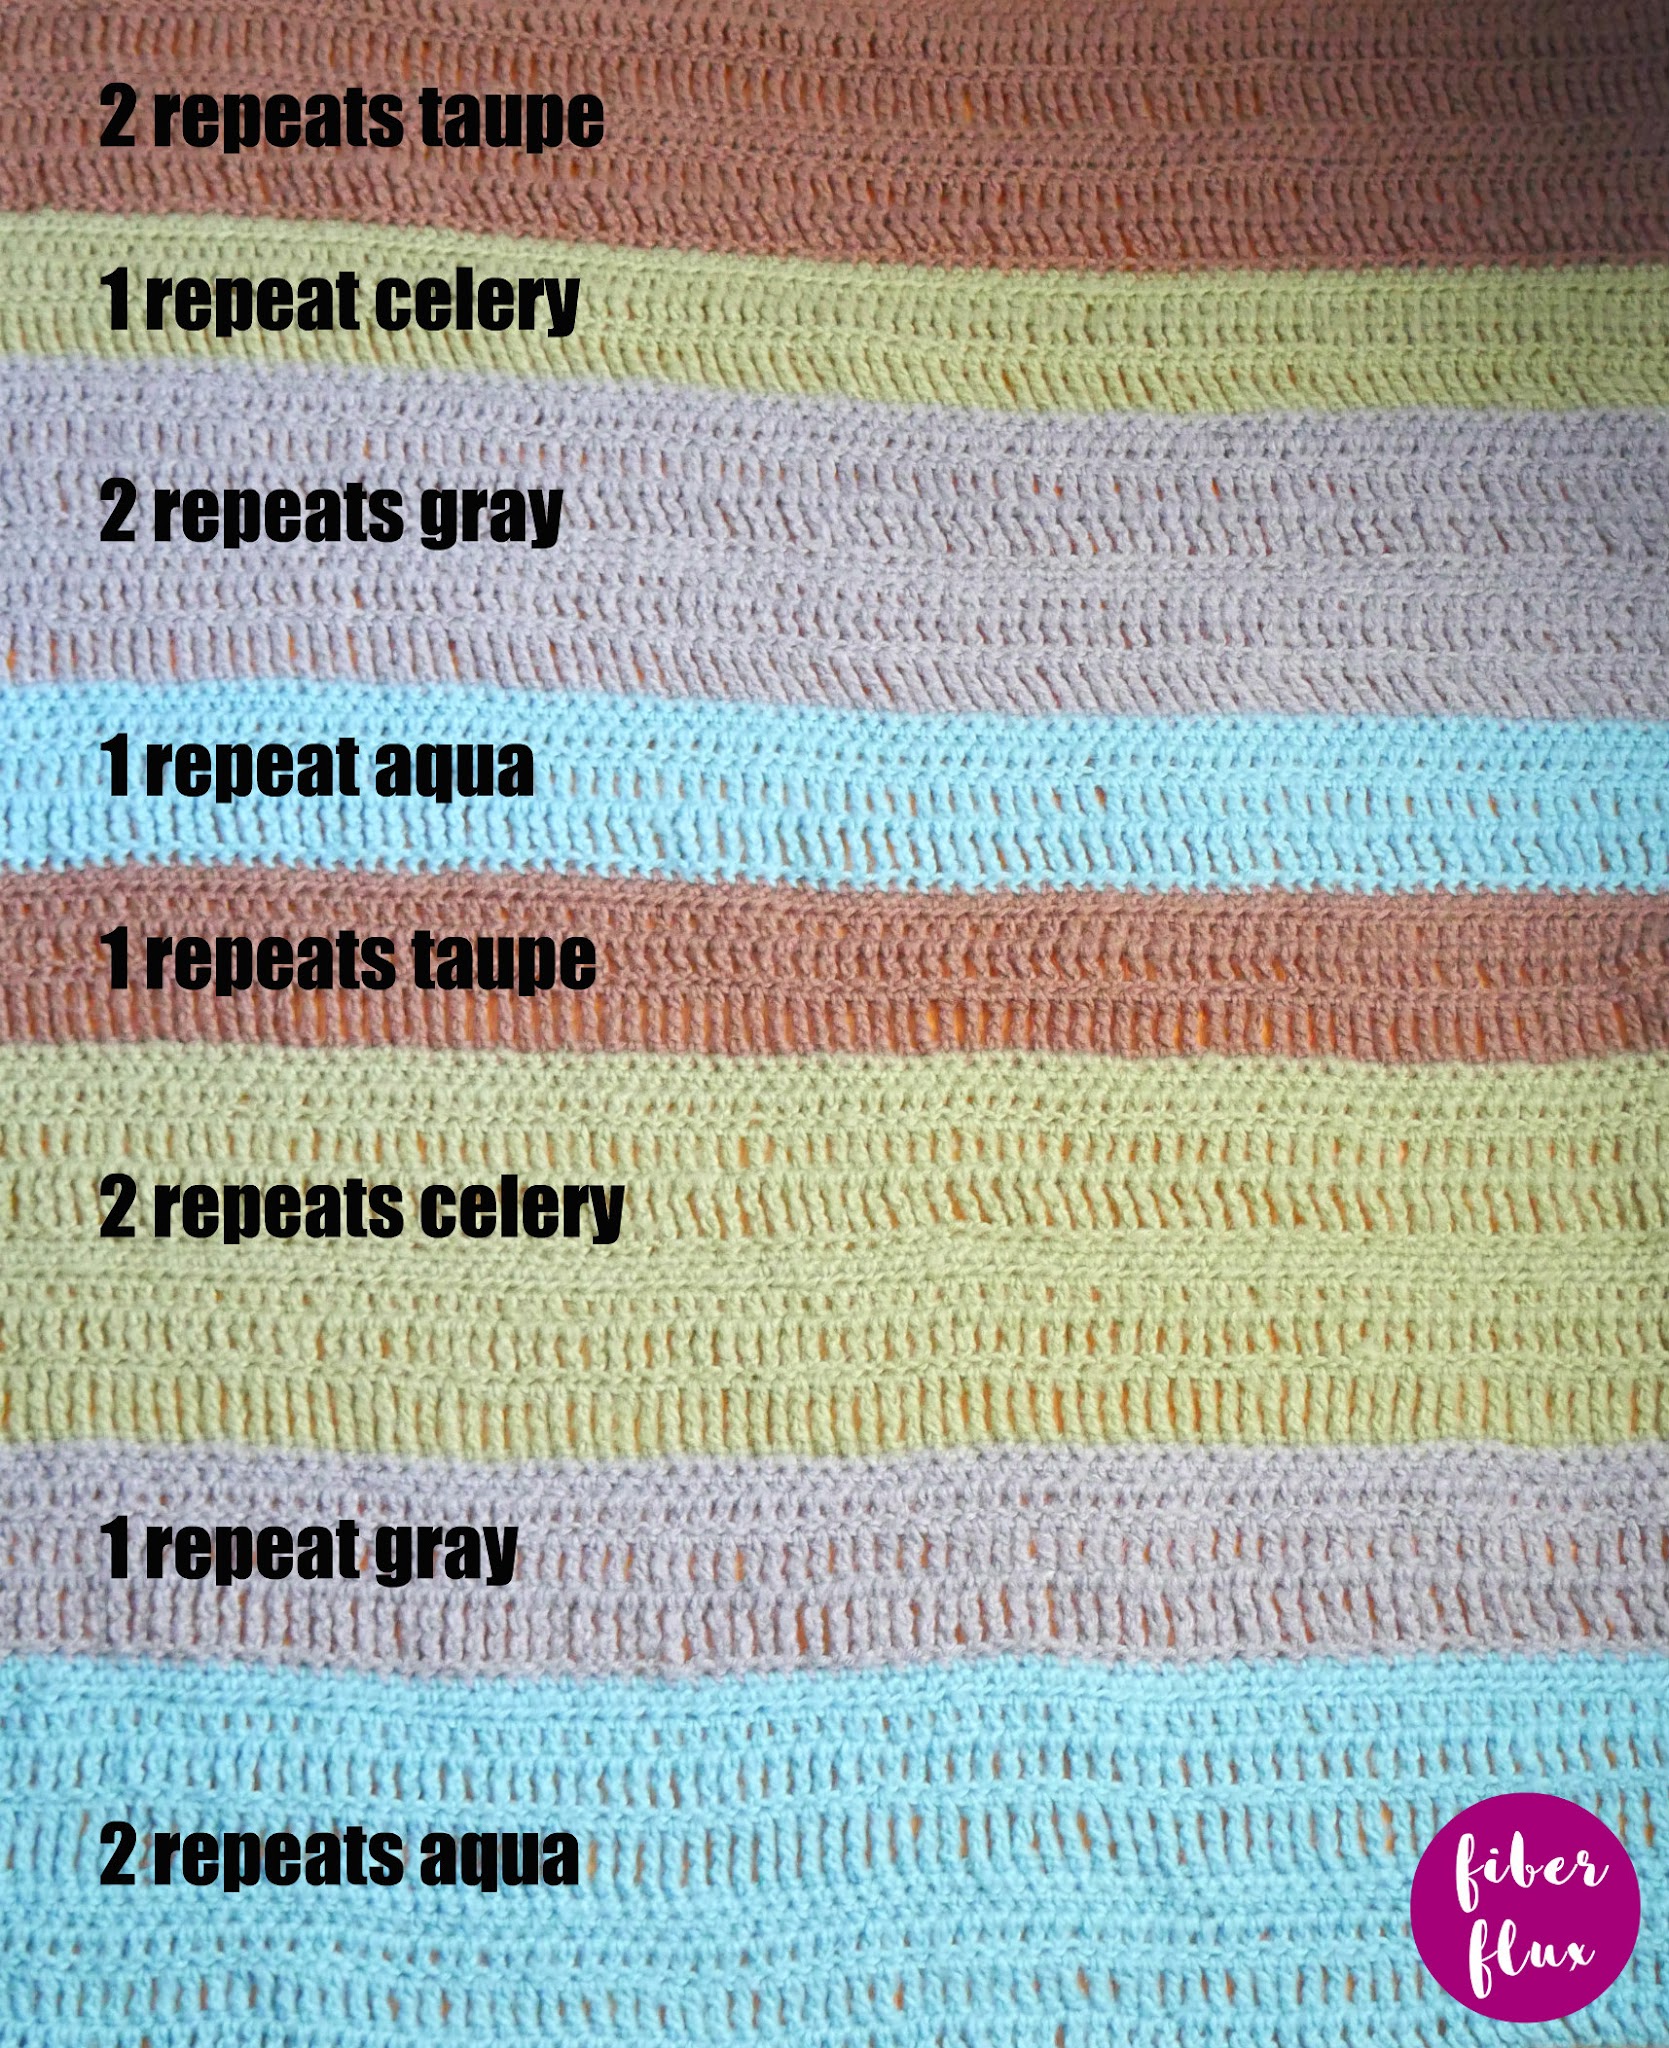
Note: check out the graphic below to see how I did the striping repeats or create your own!
Finishing:
Weave in all ends. Add a tassel to each corner of the blanket using yarn leftovers. For each tassel, I did 40 wraps of yarn around all 4 fingers. If you have never made a tassel, check out the video where I show you step by step how to both make and attach them.
If you need a little extra help be sure to check out the video and follow along with me step by step! Enjoy your beautiful easy beginner striped crochet throw


Thas for all the fun patterns..we need to do this again..always enjoy your patterns and how you teach us slow and easy
Brilliant!❤❤❤❤❤❤❤❤❤
Hi there, thank you for this tutorial, what size is the yarn please? Thanks!
I'm pretty sure it's a size 4 yarn
Hi, I believe it's a size 4 yarn. I love the colors Jennifer chose 🙂