
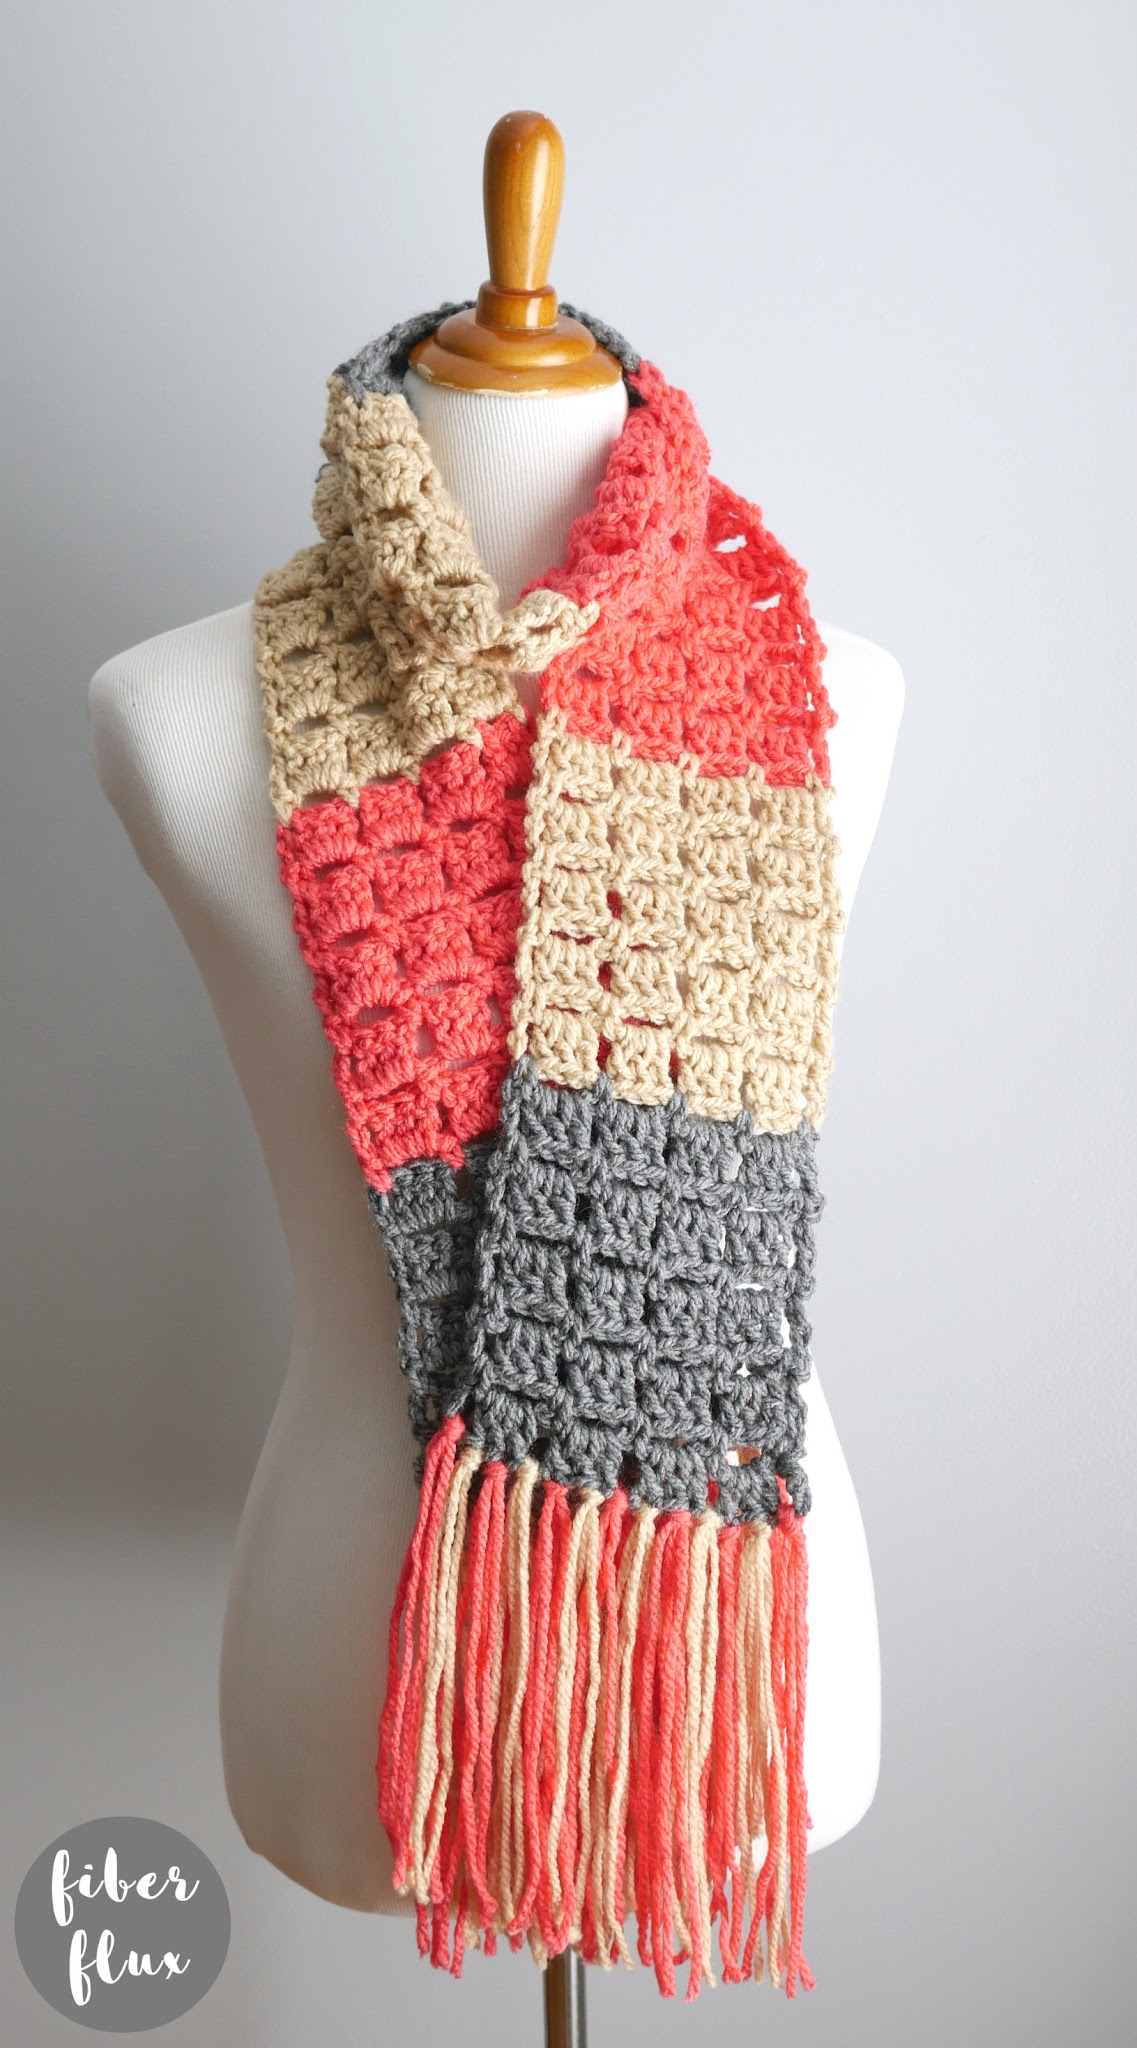
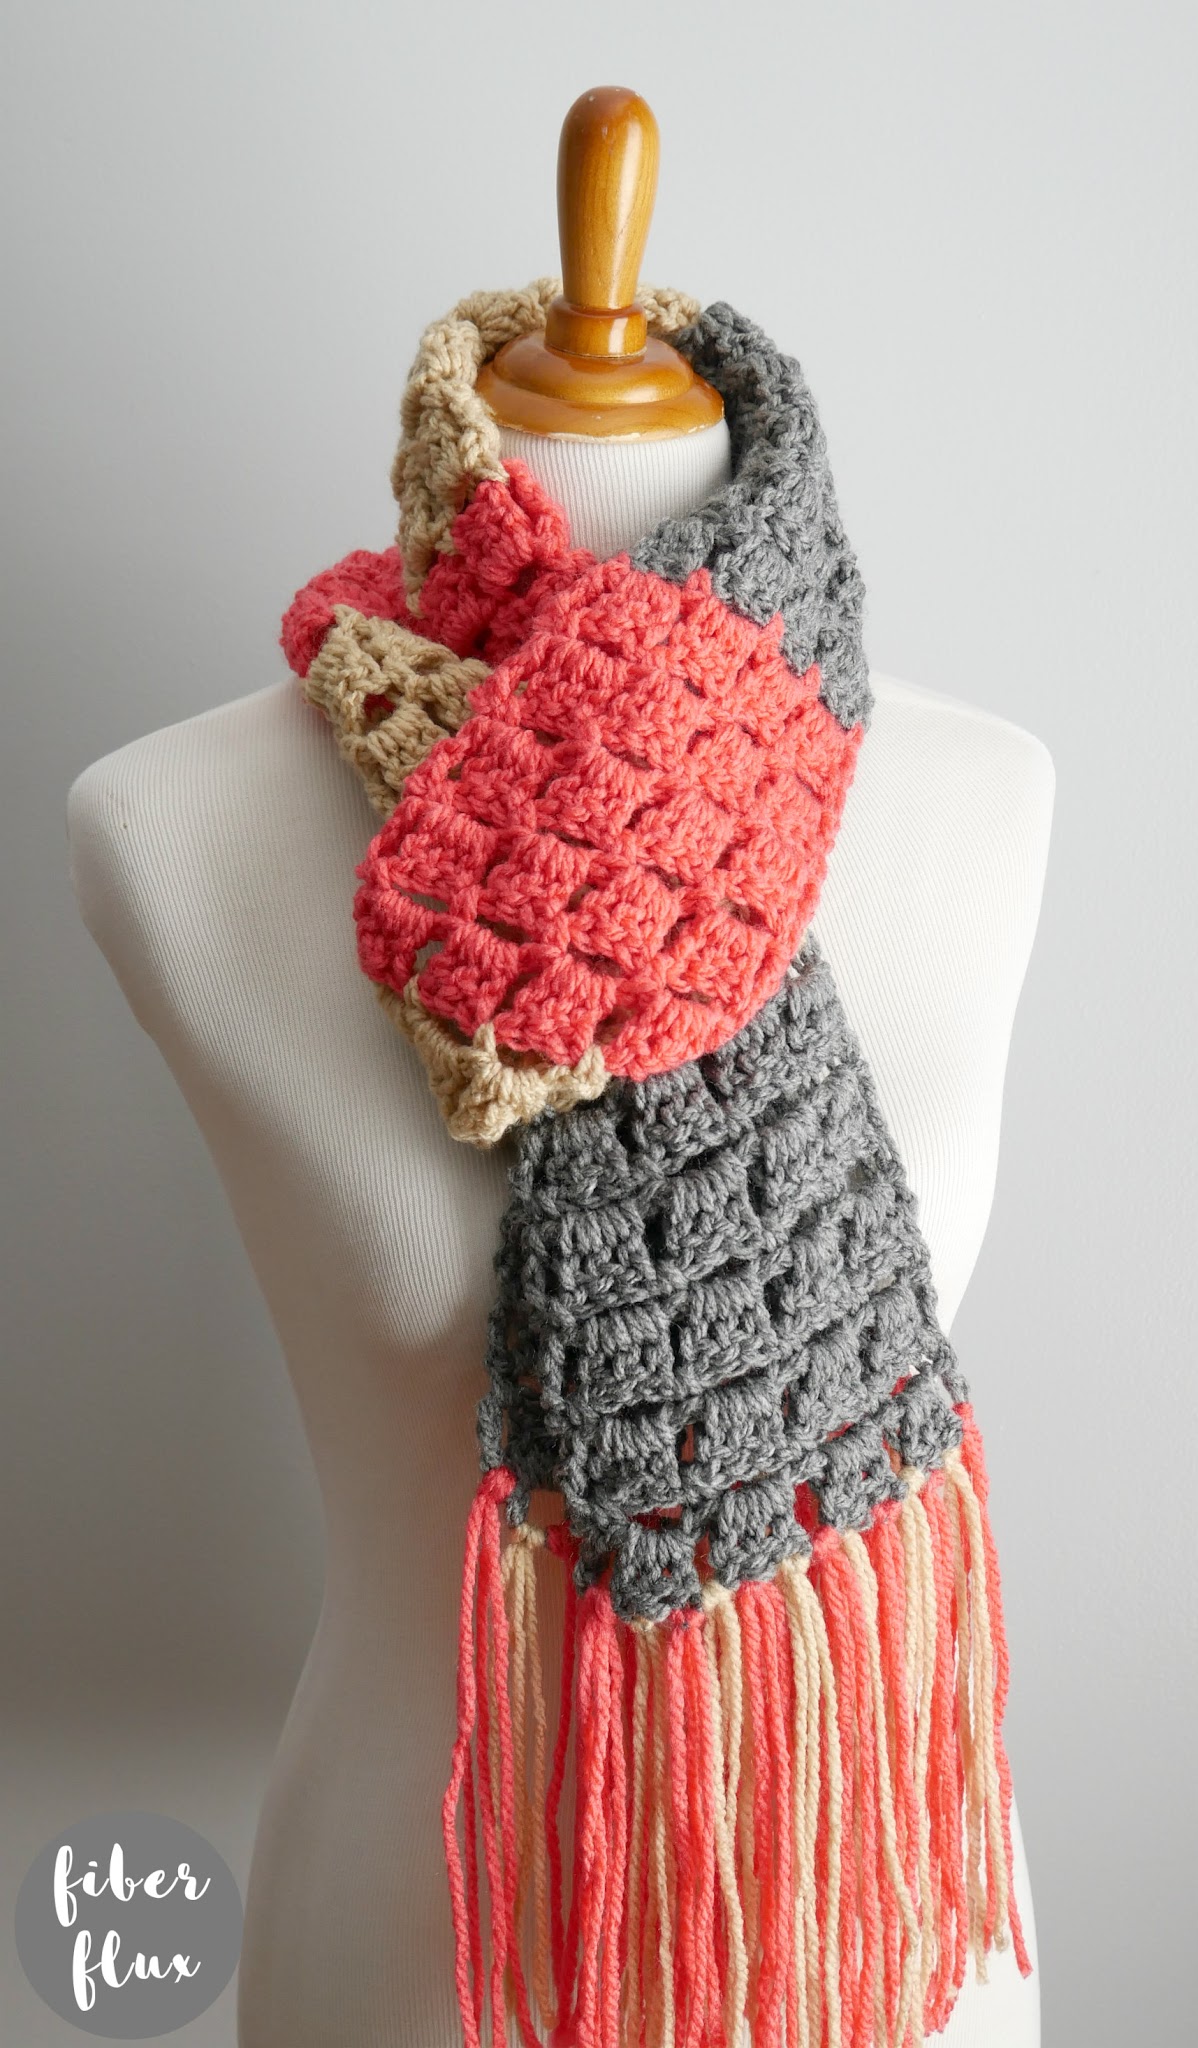
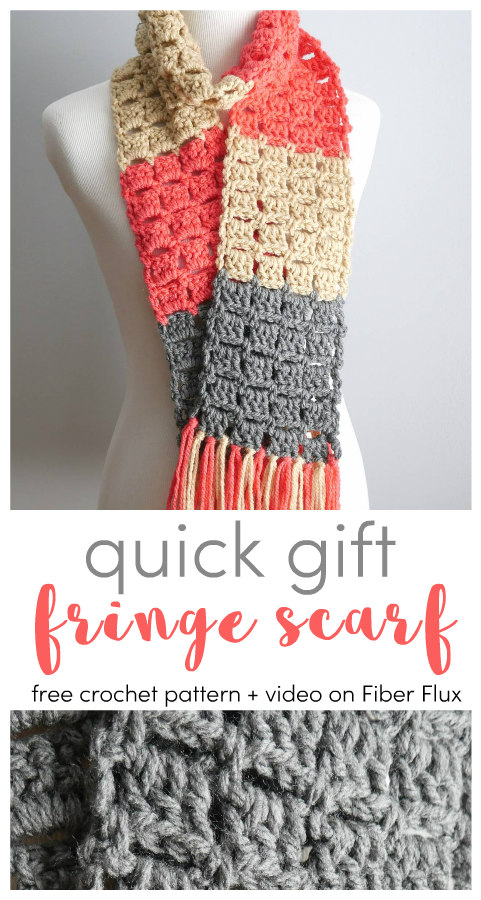
The Quick Gift Crochet Fringe Scarf is perfect for just about anyone on your list! Fun colors can be customized for the gift recipient’s favorites or make it special to match their winter coat too. Optional fringe adds a little extra as well!
Get the ad-free crochet pattern PDF from my shop here!
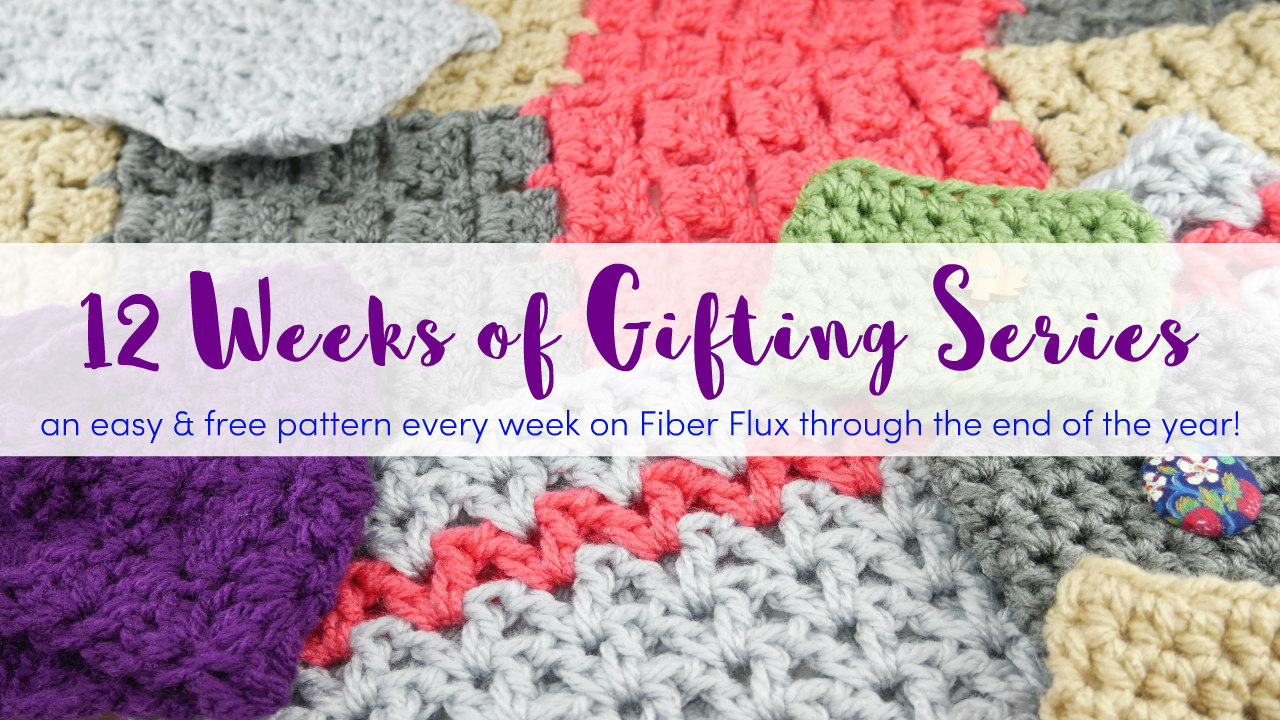
This project is part of the 12 Weeks of Gifting Series! Each week from NOW to the end of December, I’ll be sharing a new pattern for something that is super easy and super quick to whip up. We’ll be using the same yarn and same hook size for every single project, just switching up the colors a bit. Many of these projects can be made in just one sitting too!
With the holiday season fast approaching, sometimes it’s hard to squeeze in the time needed to make handmade gifts for everyone on your list! No worries, our 12 Weeks of Gifting Series to the rescue! Click the link below for the full directory of projects:
Need a little help? There’s a full video tutorial below for this project too!
Watch a full video tutorial on how to make the Quick Gift Crochet Fringe Scarf:
Love video tutorials? Click here to subscribe to the Fiber Flux YouTube channel for more stitchy fun!
Materials:
- L (8.0 mm) crochet hook
- Red Heart Super Saver Chunky (Colors shown are “Flamingo” “Gray Heather” and “Buff”) Note: You will have leftovers from each skein.
- Tapestry Needle
- Scissors
- Tape Measure
Sizing:
- 70 inches long (without fringe)
- 6 inches wide
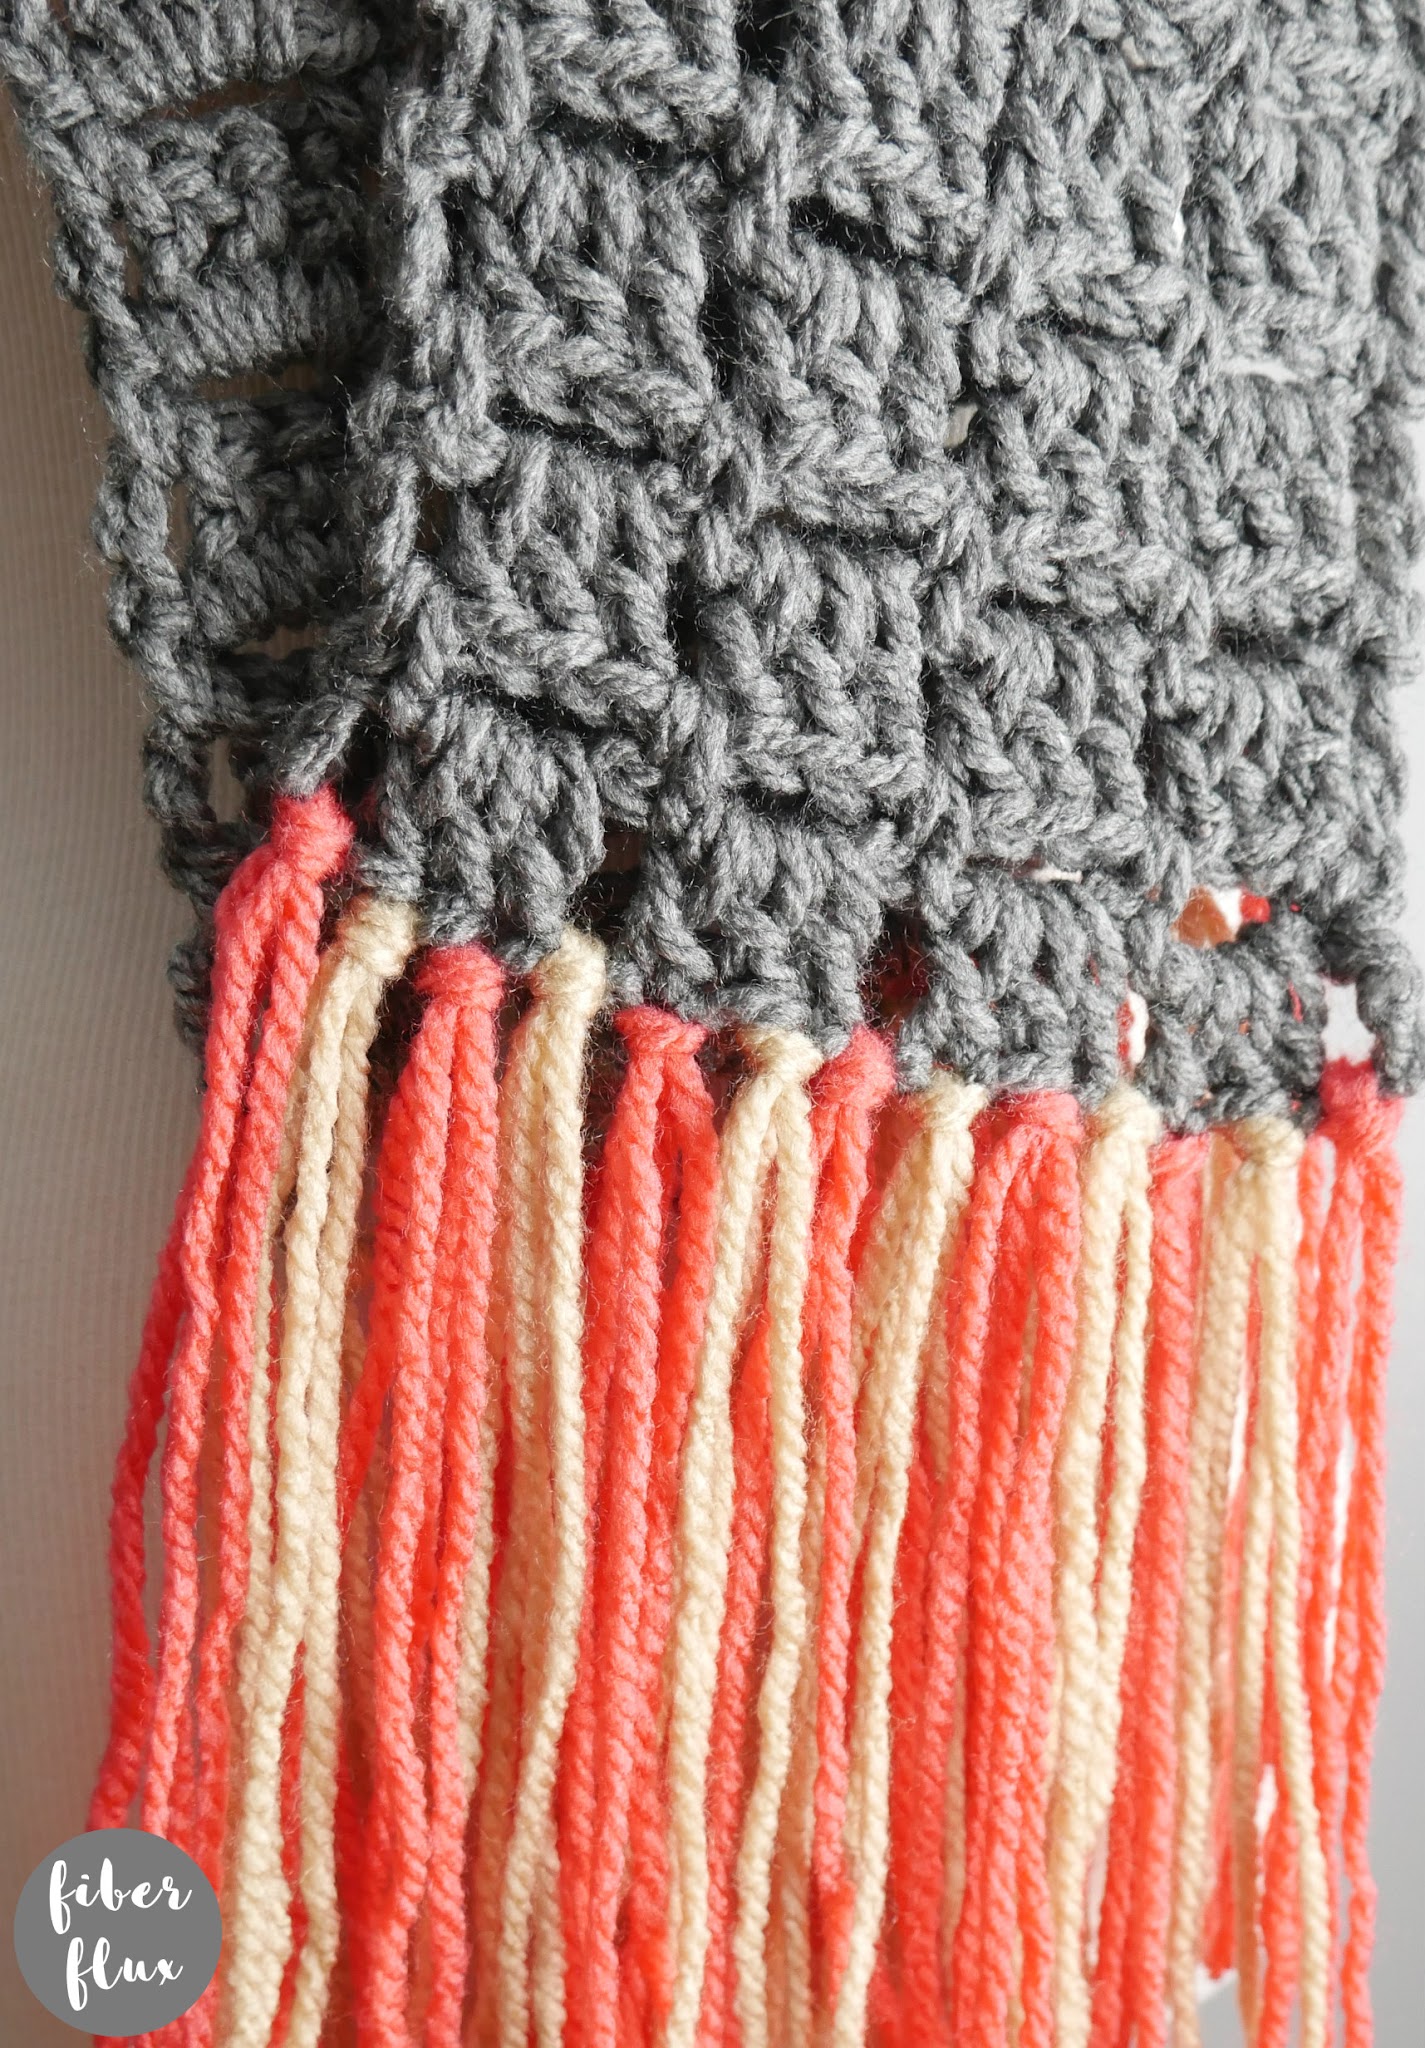
- Fringe is 8 inches long on either end of the scarf, adding an additional 16 extra inches of total length to the scarf.
Abbreviations and Tutorial Links:
Instructions:
Ch 18
Row 1: In the second ch from the hook, work a sc. *Ch 3, skip 3 ch, sc in next ch, rpt from * to end of row.
Row 2: Ch 3 and turn. *Work 3 dc, ch 1 in the ch 3 sp from the previous row. Rpt from * in each ch 3 sp across. 1 dc in the turning chain.
Row 3: Ch 1 and turn. In the first space, work a sc. *Ch 3 and work a sc in the ch 1 space (in between the groups of 3 dc from previous row), 1 sc in the turning chain.
Repeat rows 2 and 3 until scarf is desired length (I made mine about 70 inches long)
Weave in any ends that remain.
To add fringe (optional) Measure a length of yarn 10 inches long. Pull another 10 inches and fold in half, then fold in half again. Using your hook as a helper, loop it into any stitch along the bottom edge of the scarf. Pull the ends through the loop and pull gently to tighten. Repeat across on both ends of the scarf. Trim edges in a straight line to neaten them up and you’re finished!
Also we have two special communities for our CAL makers! Each has a welcome area/thread, so please hop on and introduce yourself. You can get info, ask questions, help each other, see what everyone is doing, and show off your work too!

Also, don’t forget to use the hashtag, #fiberfluxcal to share your work on social media!


Have you ever done a mini Christmas stocking (sock) tutorial?
I am trying to get this scarf done, but life keeps getting in the way. I have five days off coming up and before anything, even house work, I am going to get this done. I love all the projects so much❤
This comment has been removed by a blog administrator.
I absolutely love this pattern. I have only made about twelve inches of my scarf but I love it. Thanks.
Hi this is a great project. What is the name of the pattern?
This comment has been removed by a blog administrator.
If I am using thinner yarn or I want my scarf to be wider, what is the multiple of stitches to add?
I used multiples of 3 and it worked out fine.
This comment has been removed by a blog administrator.
How would i make it wider?