
![]()
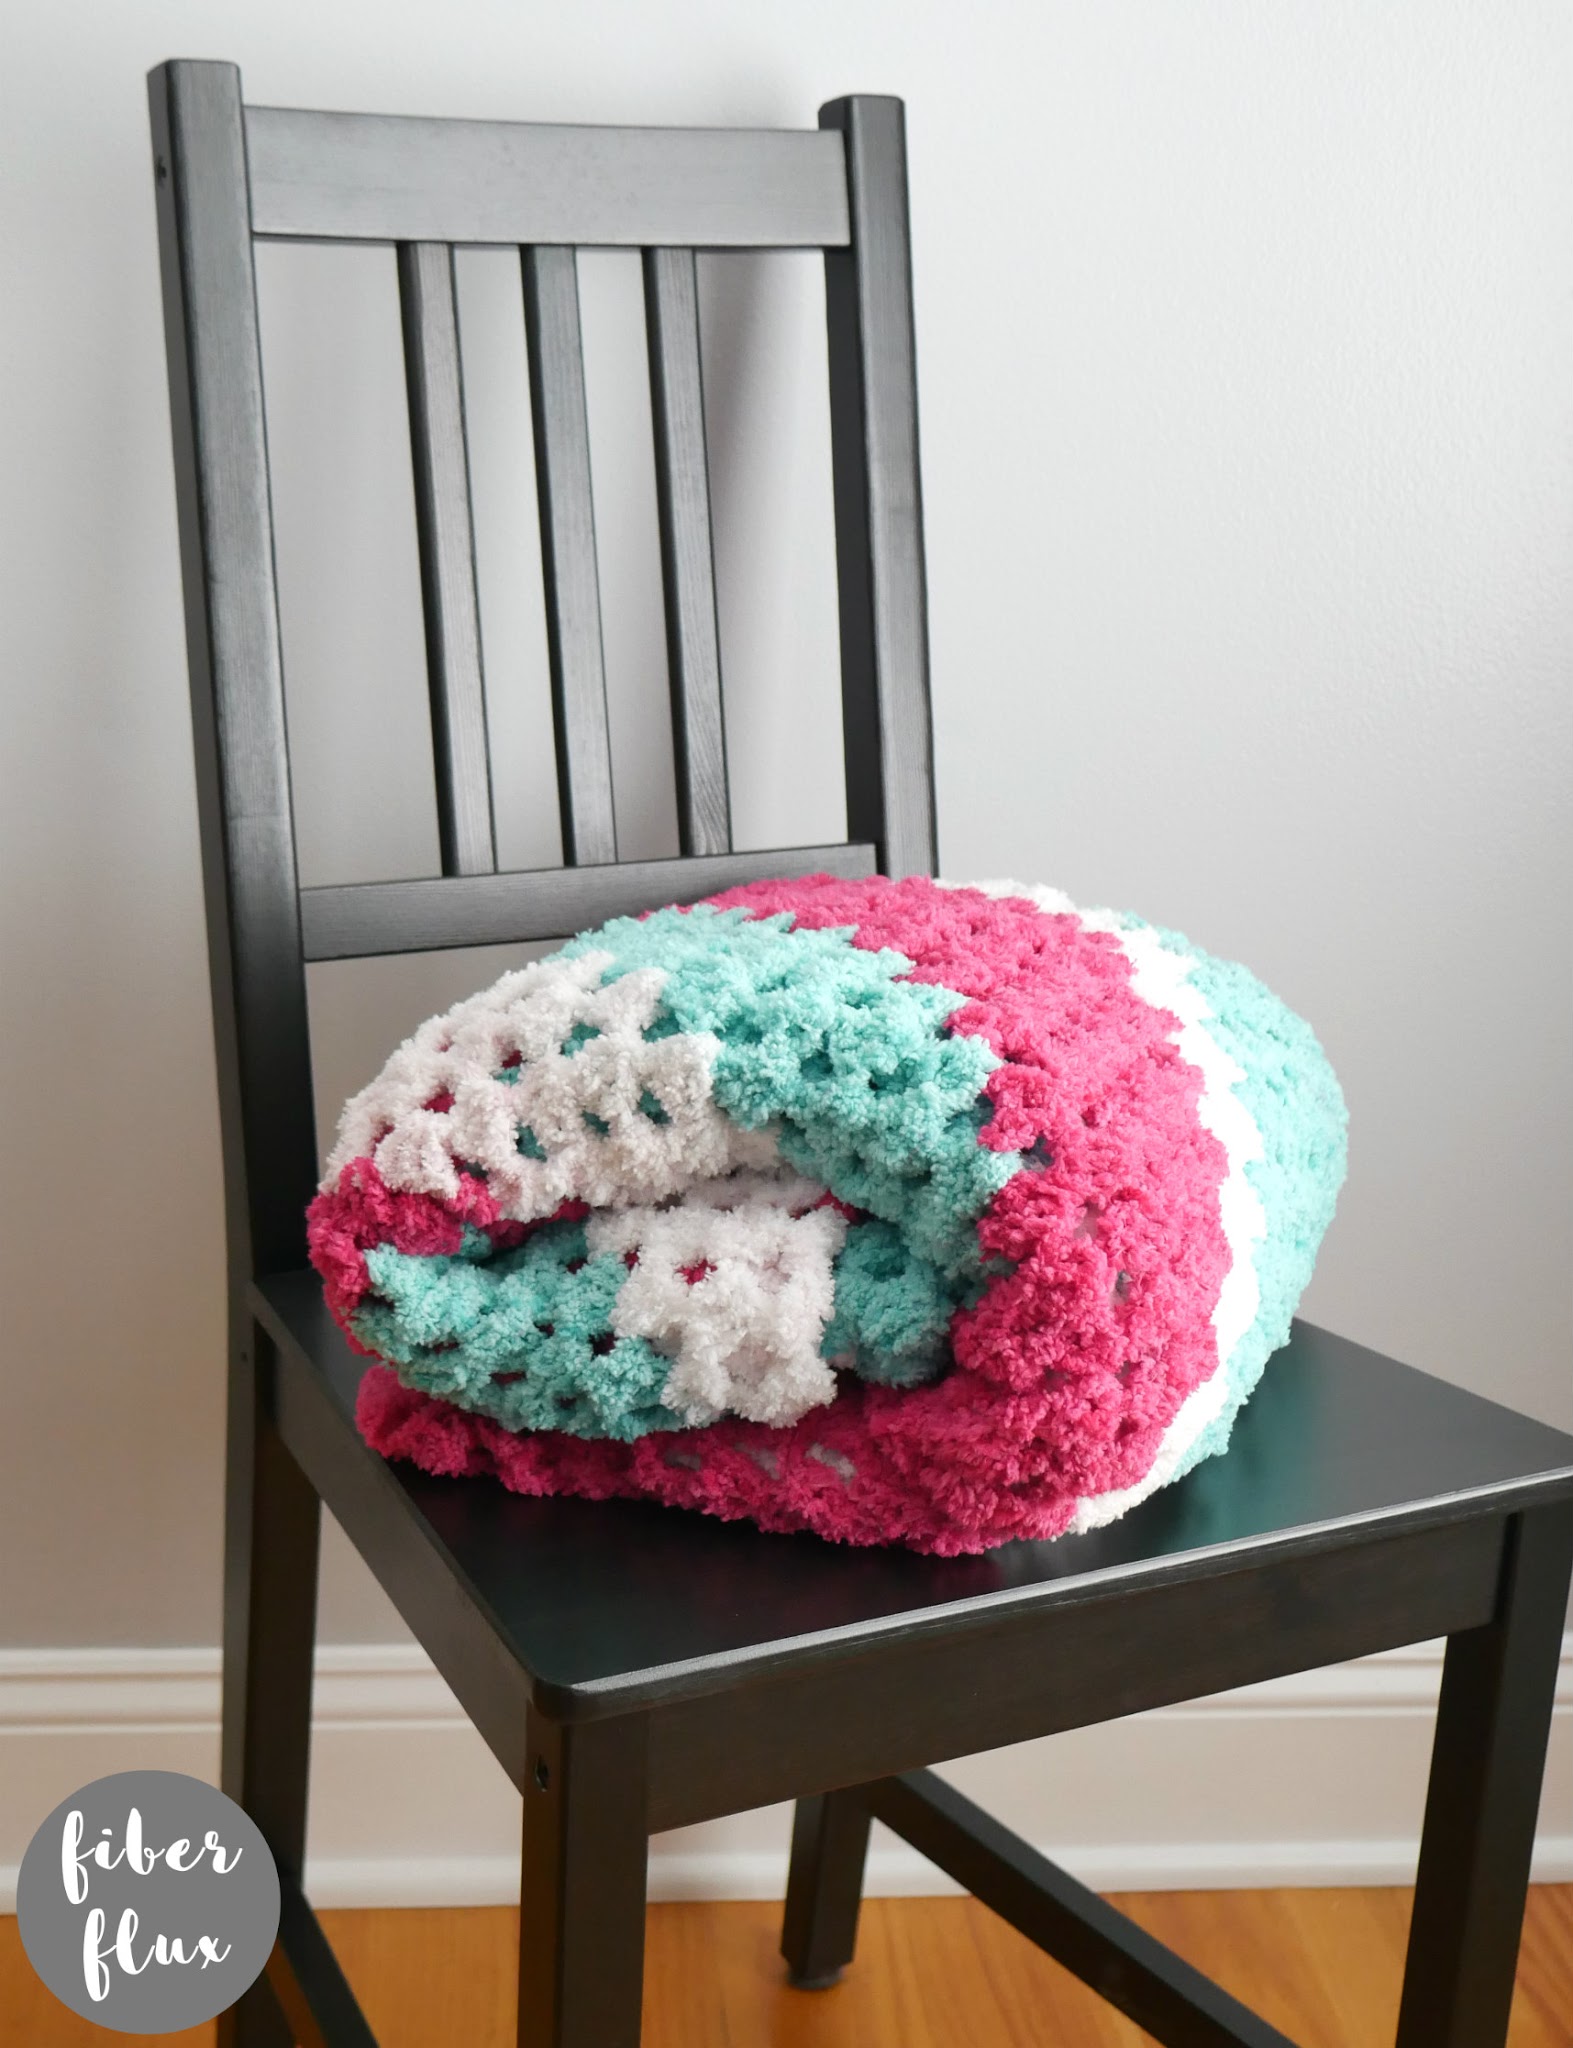
The Fluffy Granny C2C Blanket is a fabulously lofty blanket for chilly days and nights. Fluffy, yet light weight yarn is worked up corner to corner style in the timeless granny stitch…fun to stitch and super easy too!
👉Get the ad-free crochet pattern PDF from my shop here!👈
![]()
Click below to watch a full video tutorial on how to make this project:
Queue up on Ravelry by clicking the button below:
 Love video tutorials? Click here to subscribe to the Fiber Flux YouTube channel for more stitchy fun!
Materials:
- I (5.5 mm) crochet hook
- 4 cakes of Fleece Hugs by Red Heart, each is 415 yards (I used the “Lilies” colorway) *Note: I removed the green sections of each of my cakes. If you use 4 entire cakes, your blanket might be a little larger than mine!
- Tapestry Needle
- Scissors
- Tape Measure
Sizing:
- 60 inches wide
- 60 inches tall
Wondering what size to make your blanket? Here is a handy chart of blanket sizes to get you started! Note: This blanket is square, and most of the sizes on this chart are rectangles, but it still will give you a good idea.
![]()
Abbreviations and Tutorial Links:
Instructions For C2C Increase Portion:
Chain 6, then work a sl st into the furthest ch from the hook to create a ring.
Row 1: Ch 4 (counts as a dc, ch 1), then work 3 dc into the ring. Then ch 1, then work a dc into the center of the ring.
Row 2: Ch 4, then work (3 dc, ch 1) into the first ch 1 space of the row. Work (3 dc, ch 1, 1 dc) into the last ch 1 space of the row.
Row 3: Ch 4, then work (3 dc, ch 1) into the first ch 1 space of the row. Work (3 dc, ch 1) into each ch 1 space across. Then work (3 dc, ch 1, 1 dc) into the last ch 1 space of the row.
Repeat row 3 until your blanket is roughly half the size you’d like it to be (or you’ve used half of your yarn), then continue onto the next section to begin the decrease part.
Important! Be sure the number of rows for your increase is an EVEN number before you begin the decrease. I worked a total of 52 rows before decreasing.
Instructions for C2C Decrease Portion:
Row 1: Ch 4, then skip the first ch 1 space. Work (3 dc, ch 1) in each ch 1 space across until just before the last space (turning chain space). Instead of working into this space, work a dc into the top chain of the turning chain.
Repeat row 1 of the decrease until just a top point remains. Fasten off and weave in ends that remain. Note: if the top is challenging for you, be sure to check out the video for this part (or any other part) to see me walk through it step by step!
Weave in any ends that remain and you’re finished!
![]()

© Jennifer Dickerson 2019
For more fun projects and pretty patterns, be sure to follow Fiber Flux on Facebook, Instagram, Twitter, and Pinterest for the latest updates!


Cool pattern! Thank you! I haven't tried this yarn yet, might try it with Pipsqueak Stripes though. Thanks for the tutorial!
💕 i will be using this pattern thank you 🙏🏼
Hello, how does the pattern works for a wheelchair blanket?
I would appreciate suggestions to making a blanket with only 3balls as I plan on making 10 for grandkids for Christmas! Thanks very much!