

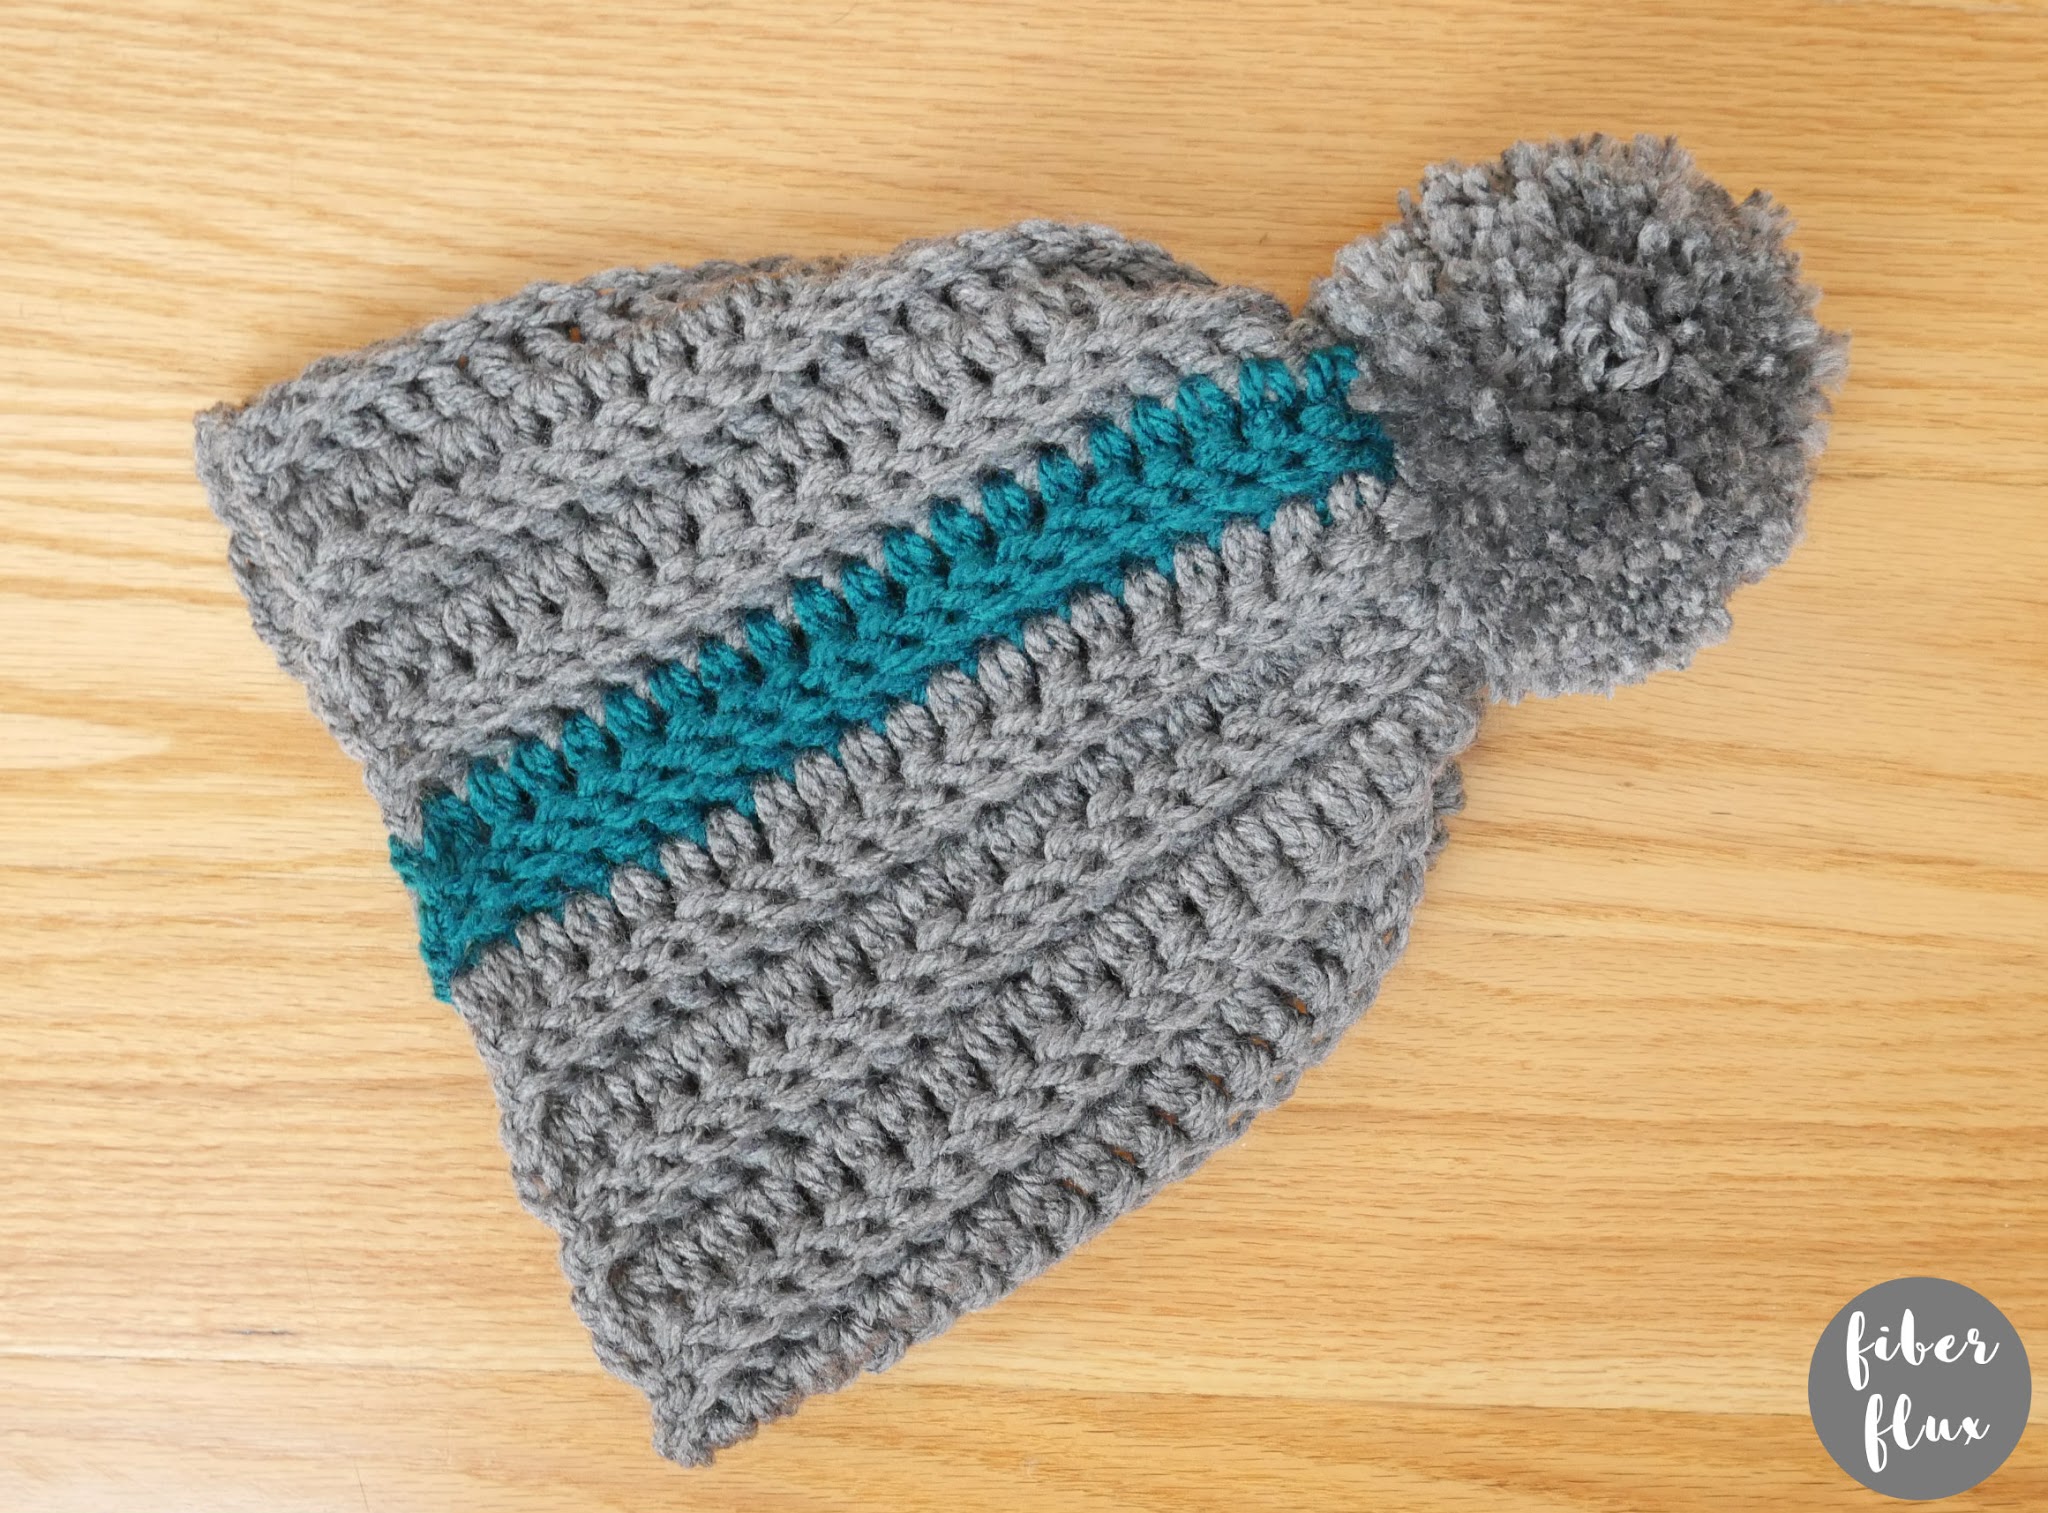
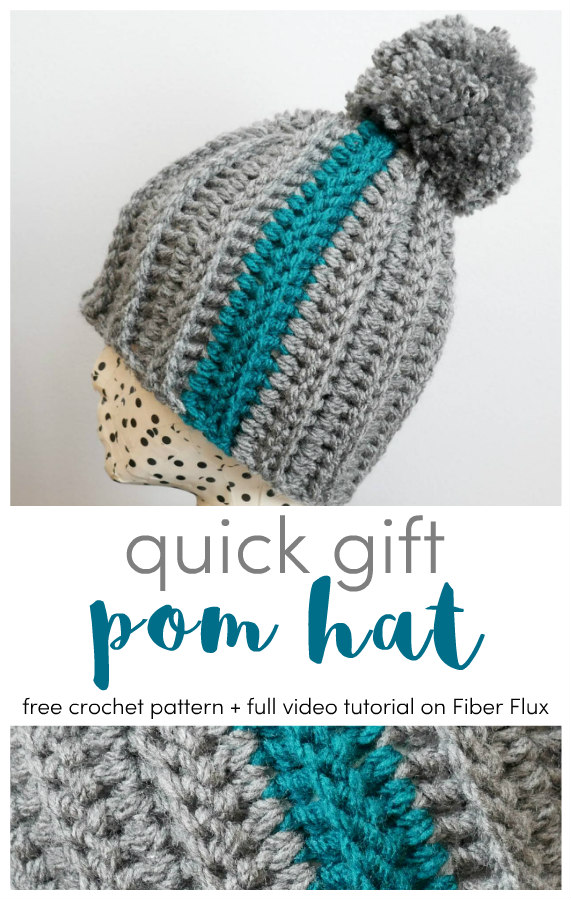
The Quick Gift Crochet Pom Hat is a super easy, lightning fast project that has a fabulously fluffy pom pom and fun stripe of color too! Make it by itself or pair it up with a fun scarf for a pretty set!
This project is part of the 12 Weeks of Gifting Series! Each week from NOW to the end of December, I’ll be sharing a new pattern for something that is super easy and super quick to whip up. We’ll be using the same yarn and same hook size for every single project, just switching up the colors a bit. Many of these projects can be made in just one sitting too!
With the holiday season fast approaching, sometimes it’s hard to squeeze in the time needed to make handmade gifts for everyone on your list! No worries, our 12 Weeks of Gifting Series to the rescue! Click the link below for the full directory of projects:
Watch a full video tutorial on how to make this project:
Subscribe to the Fiber Flux YouTube channel for more stitchy fun!
Get the ad-free crochet pattern PDF from my shop here!
Materials:
- L (8.0 mm) crochet hook
- Red Heart Super Saver Chunky (Colors shown are “Gray Heather” and “Real Teal”) Note: You will have leftovers from each skein.
- Tapestry Needle
- Scissors
- Tape Measure
Sizing:
- 9 inches tall
- 20 inches circumference
- Pompom is 4 inches tall
Abbreviations & Tutorial Links:
- Chain (ch)
- Double Crochet (dc)
- Back Post Double Crochet (bpdc)
Instructions:
Ch 34 (Note: to make you hat taller or shorter, you can add or subtract chains as needed.
Row 1: In the fourth ch from the hook, work a dc. Work a dc in each ch across.
Row 2: Ch 3 and turn. Work a bpdc in each st across. Work a dc in the top chain of the turning chain.
Row 3: Ch 3 and turn. Work a dc in each st across. Work a dc in the top chain of the turning chain.
Repeat rows 2 and 3 until hat rectangle is desired circumference. You can try it on as you go if that helps you to get the perfect size! I worked rows 2 and three for about 18-20 inches. Also, if you like, you can work a few rows of a different color too (totally optional–I worked two rows of the teal color).
Assembly & Finishing:
Turn rectangle inside out (ribs facing inward) and sandwich the starting edge and ending edge together and whip stitch them together with a matching piece of yarn. With hat still inside out, work a running stitch along the top edge of the hat, with a matching piece of yarn. Draw tightly to close up the top of hat. Weave in any ends that remain.
To make a pompom, cut a piece of yarn about 12-18 inches long. Wrap yarn about 200-250 times around your hand. Tie tightly in the center of the “bundle” and cut all loops, keeping the two ends long (to attach to hat later). Trim ends to give your pom pom a “hair cut” until the pompom is more compact and neat looking. Tie onto top of hat and weave in all ends that remain. Your Quick Gift Crochet Pom Hat is ready to wear or gift!


Hello I was just wondering when you are going to make the scarf that goes with the hat Quick Grafting pom-pom hat