
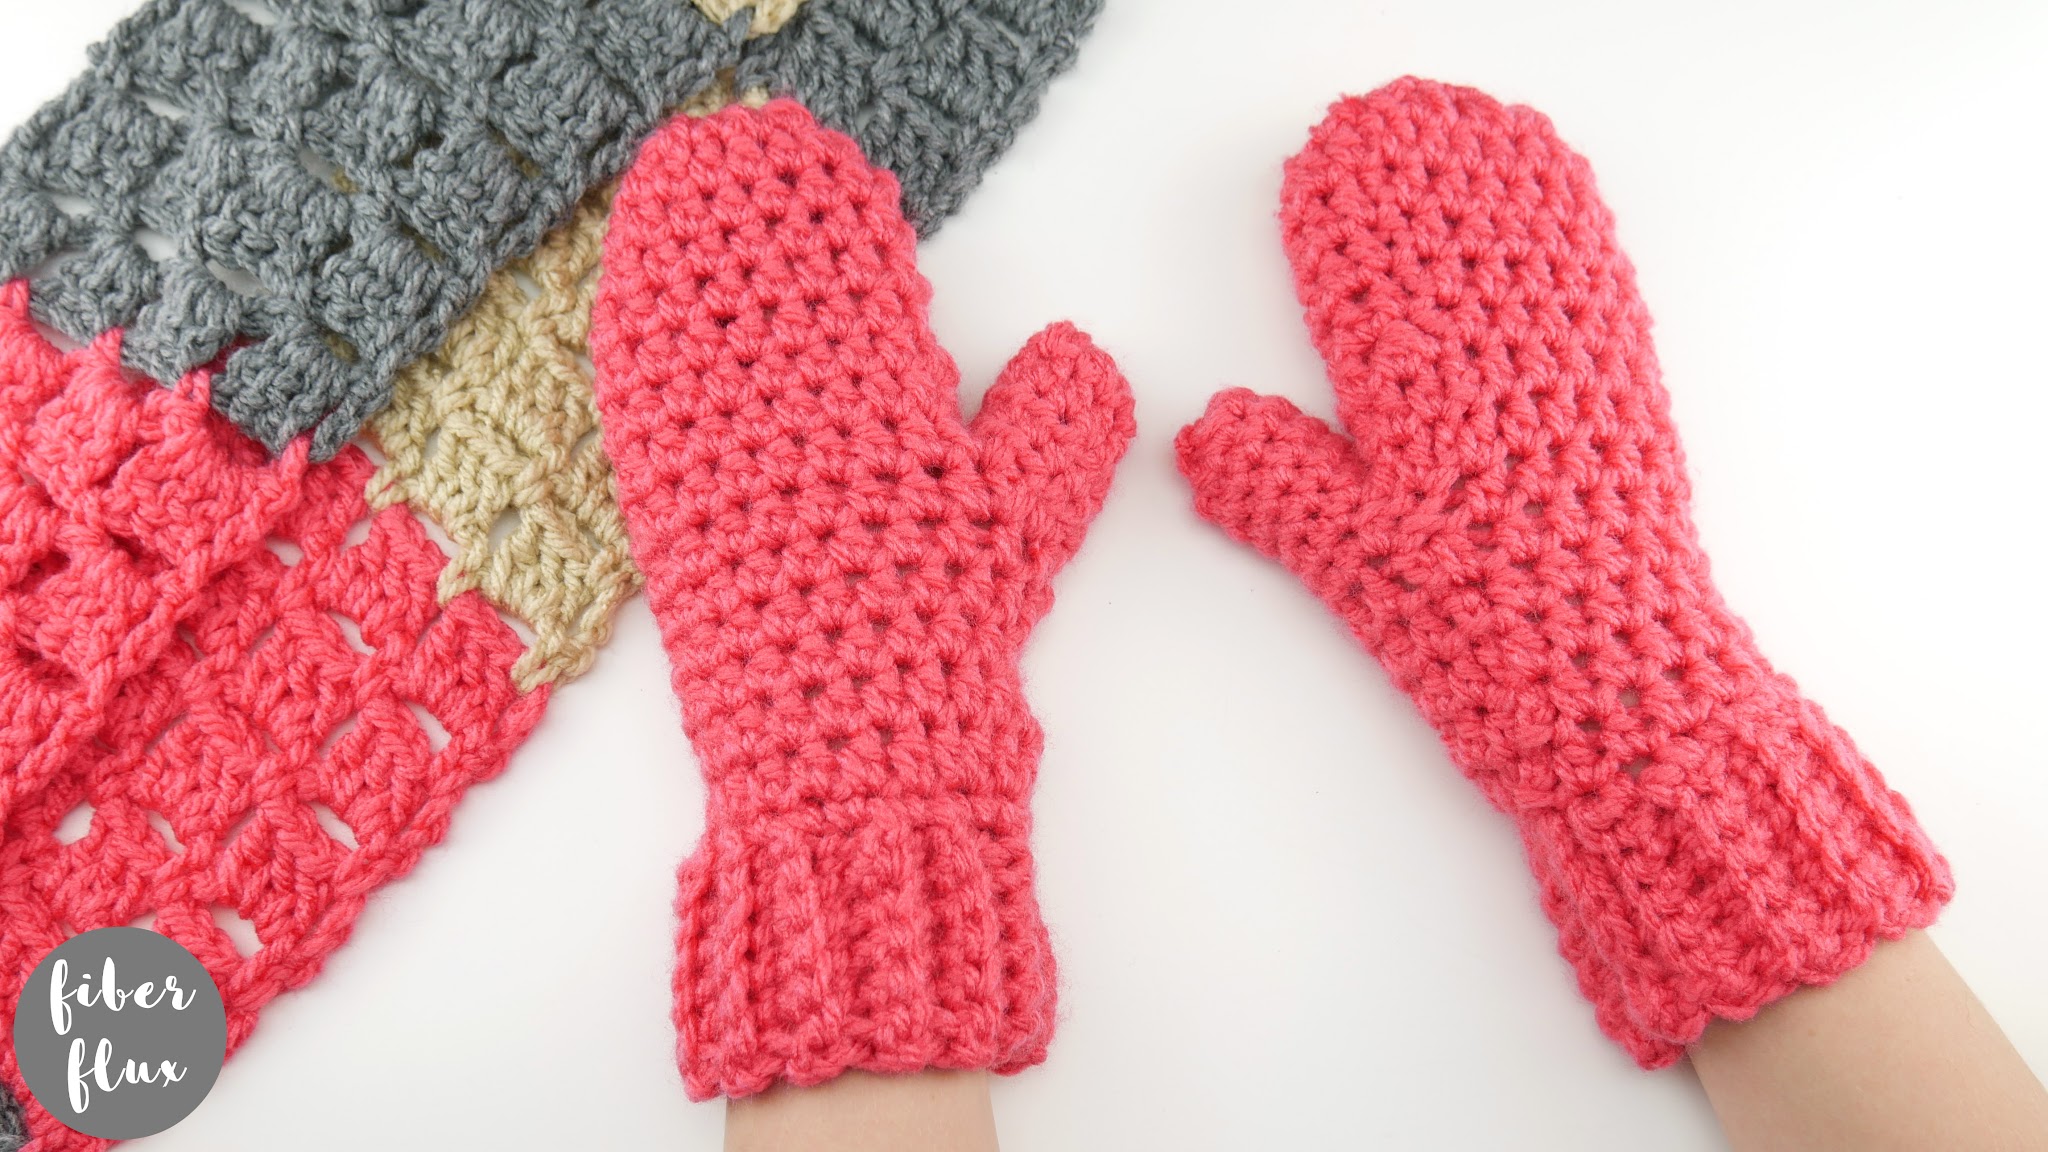
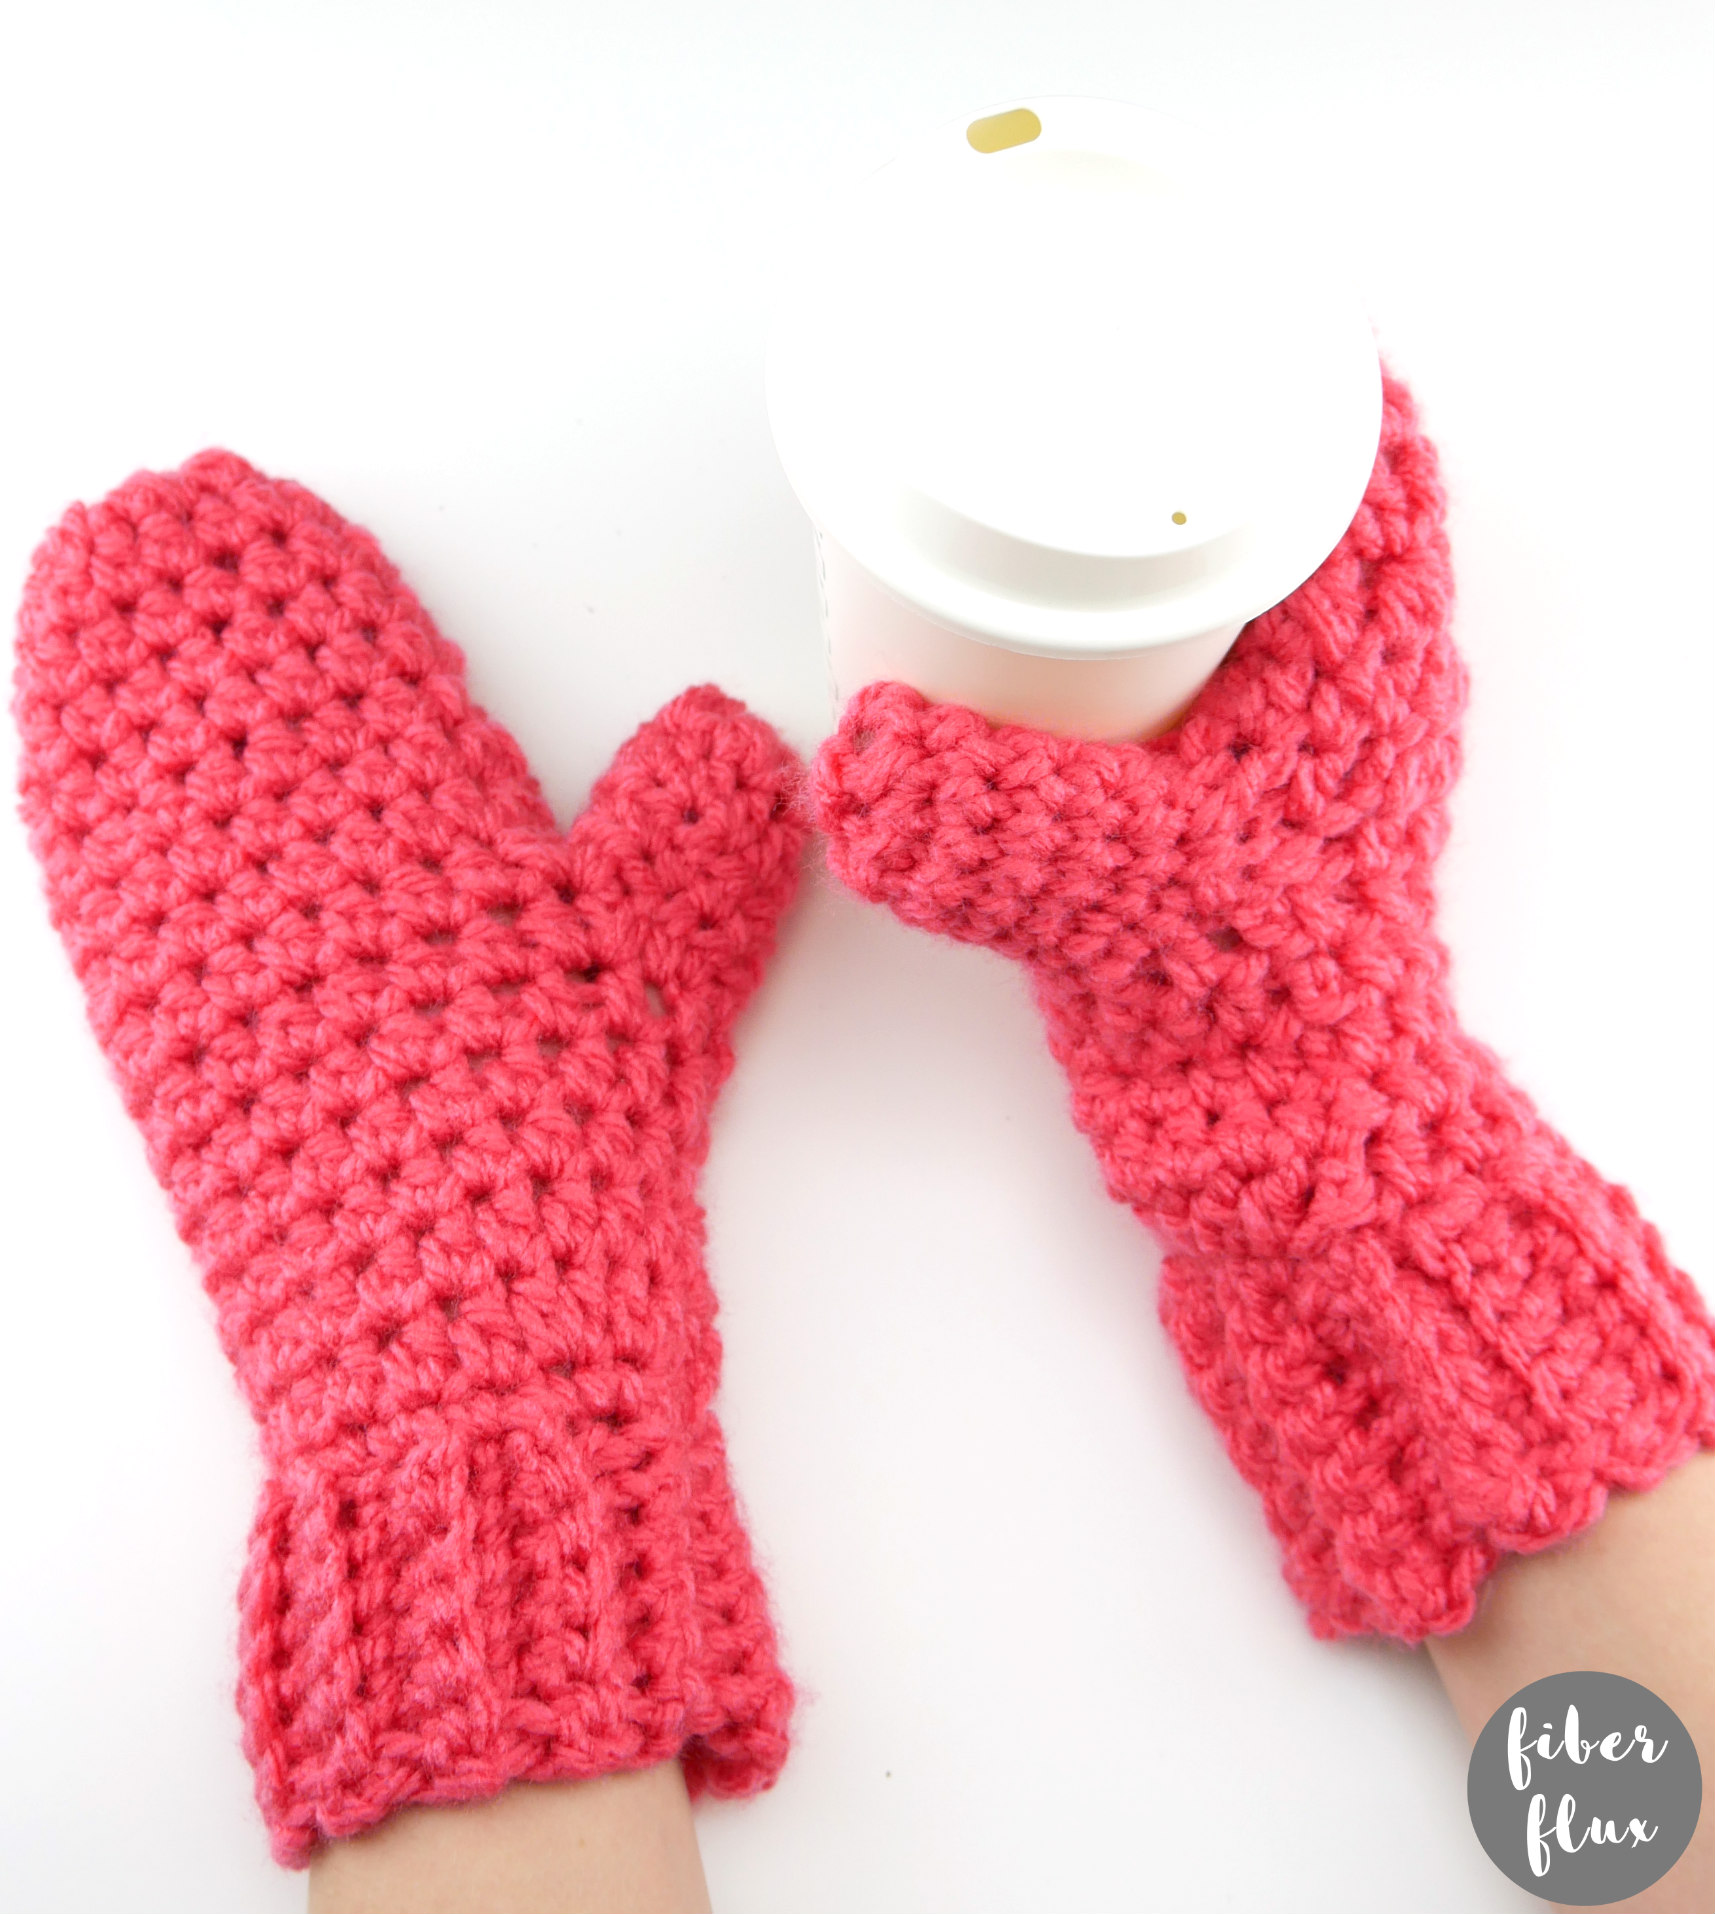
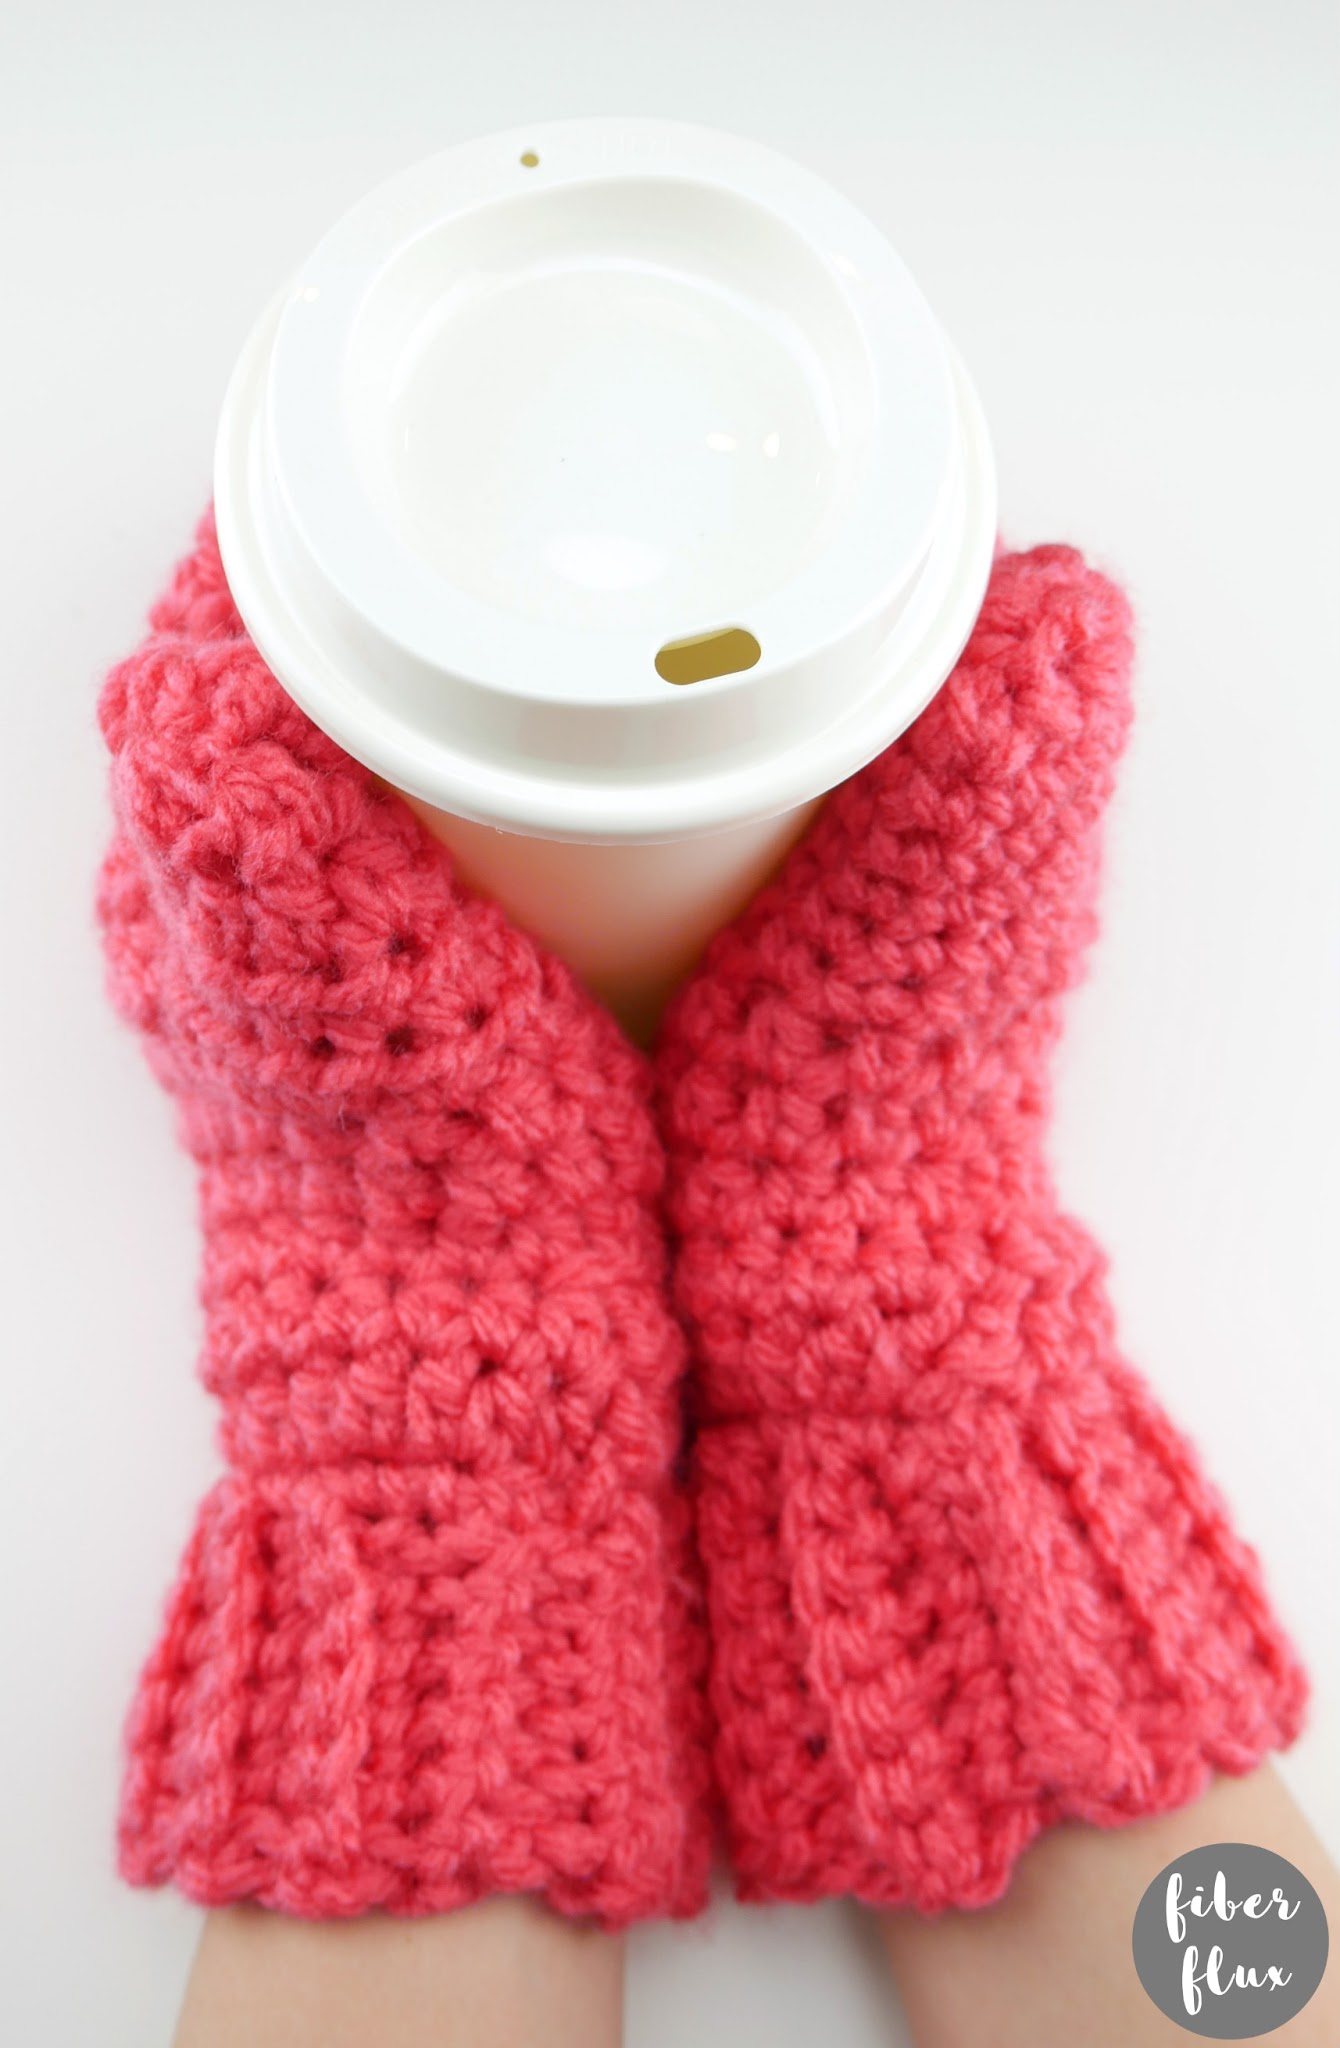
The Quick Gift Crochet Mittens are fast, fun, and festive! They begin with a simple ribbed cuff, and are worked upward with easy as pie stitches. Make some in a solid color like I did, or get creative with stripes or variegated yarns too!
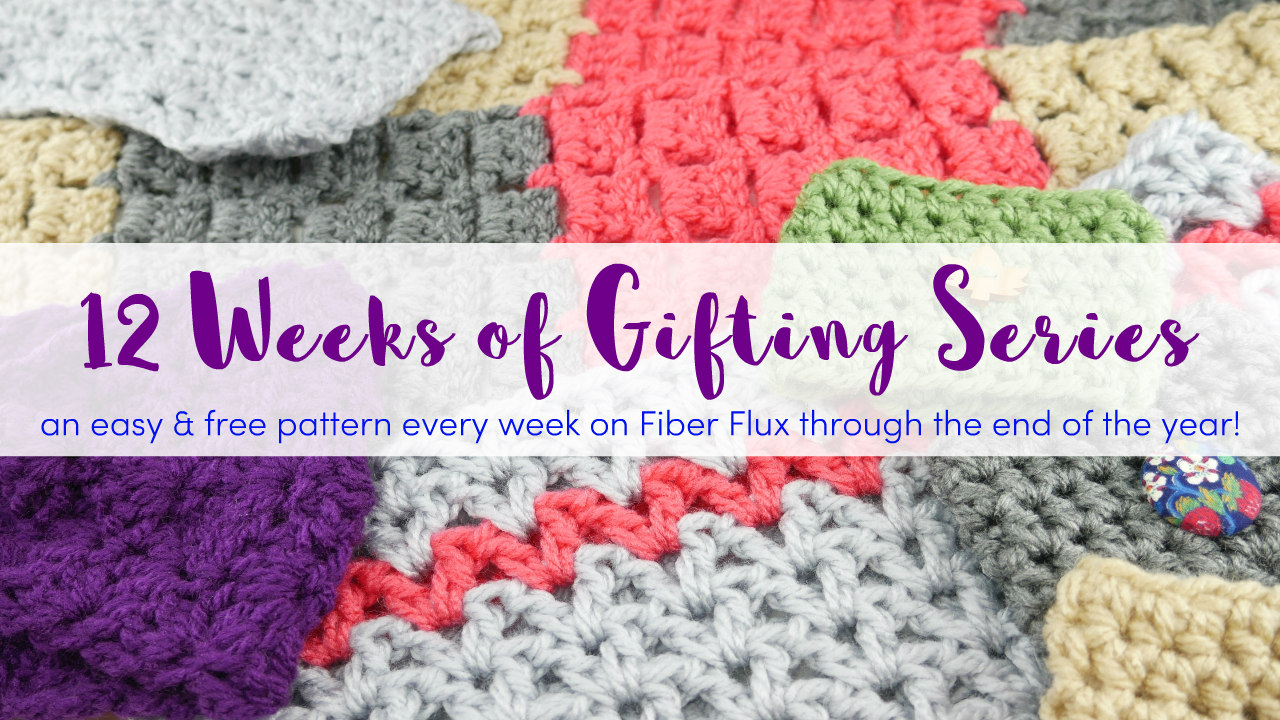
This project is part of the 12 Weeks of Gifting Series! Each week from NOW to the end of December, I’ll be sharing a new pattern for something that is super easy and super quick to whip up. We’ll be using the same yarn and same hook size for every single project, just switching up the colors a bit. Many of these projects can be made in just one sitting too!
With the holiday season fast approaching, sometimes it’s hard to squeeze in the time needed to make handmade gifts for everyone on your list! No worries, our 12 Weeks of Gifting Series to the rescue! Click the link below for the full directory of projects that go great with the Quick Gift Crochet Mittens!
Need a little help? There’s a full video tutorial below for this project too!
Watch a full video tutorial on how to make the Quick Gift Crochet Mittens:
Love video tutorials? Subscribe to the Fiber Flux YouTube channel for more stitchy fun!
Get the ad-free crochet pattern PDF from my shop here!
Materials:
- L (8.0 mm) crochet hook
- 1 skein Red Heart Super Saver Chunky (Color shown is “Flamingo”)
- Tapestry Needle
- Scissors
- Tape Measure
Sizing:
- 11 inches tall
- 4 inches wide
Abbreviations and Tutorial Links:
Part 1-Cuff of mitten:
- Ch 8
- Row 1: Work a sc in the (blo) back loops only
- Row 2: Ch 1 and turn. Work sc in the (blo) back loops only in each stitch across the row, and in the blo of the turning ch.
- Repeat row 2 until the piece is approximately 8 inches long, the sandwich ends together and work a slip stitch in each stitch across (be sure to include both layers). This will create the “tube” shape for the mitten cuff. Do not fasten off and continue below.
- To set up the hand part of the mitten, along the top edge of the cuff, work a sc in each st (or hole). Be sure there are 16 sc around the edge of cuff. You may have to double up in a stitch or two if needed to get an accurate count. Working this round in same color as cuff makes it look a little neater but not necessary.
Part 2-hand part of mitten:
- Round 1: Ch 2, then work a hdc in the first stitch. Work 2 hdc in the next st, then 2 hdc into the next stitch. Then work a hdc in each stitch in each stitch around. Join to close round with a slip stitch.
- Round 2: Ch 2, then work a hdc in the first stitch. Work 2 hdc in each stitch around. Join to close round with a slip stitch.
- Round 3: Repeat round 2.
- Round 4:Repeat round 2.
- Round 5: Repeat round 2.
- Round 6 (thumb hole round): Ch 2, then work a hdc in the first stitch then ch 3. Skip the next three sts. *Work a hdc in the next st and in each stitch around. Rpt from * to end of rd. Join to close round with a slip stitch.
Note: to make the thumb opening bigger on your mitten, try working a ch 4, then skipping 4 stitches. If you do this for round 7, just add 4 hdc into the space instead.
- Round 7: Ch 2, then work a hdc in the first stitch then work 3 hdc in the ch 3 space from the previous round. *Work a hdc in the next st and in each stitch around. Rpt from * to end of rd. Join to close round with a slip stitch.
- Round 8: Ch 2, then work a hdc in the first stitch. Work a hdc in each stitch around. Join to close round with a slip stitch.
- Round 9: Ch 2, then work a hdc decrease over the next two sts. Then work a hdc decrease over the next two sts. Work a hdc in each remaining stitches around. Join to close round with a slip stitch.
- Round 10: Ch 2, then work a hdc in the first stitch. Work a hdc in each stitch around. Join to close round with a slip stitch.
- Round 11: Ch 2, then work a hdc in the first stitch. Work a hdc in each stitch around. Join to close round with a slip stitch.
- Round 12: Ch 2, then work a hdc in the first stitch. Work a hdc in each stitch around. Join to close round with a slip stitch.
- Round 13: Ch 2, then work a hdc in the first stitch. Work a hdc in each stitch around. Join to close round with a slip stitch.
*Note: Repeat round 13 as much as needed to increase the overall height of the mitten.
- Round 14: Ch 2, then *work a hdc decrease over the next two sts. Repeat from * around. Join to close round with a slip stitch.
- Round 15: Ch 2, then *work a hdc decrease over the next two sts. Repeat from * around. Join to close round with a slip stitch.
Part 3-thumb part of mitten:
- Tie yarn into any stitch in the thumb hole opening.
- Round 1: Ch 1, then work 12 sc around the thumb hole opening. You may have to double up in a stitch or two if needed to get an accurate count. Also, be sure to go into the more narrow areas for parts, as to not create any gaps to keep the cold air out.
- Round 2: Ch 1, then work 12 sc around, join with a sl st to close.
- Round 3: repeat round 2.
- Round 4: repeat round 2.
- Round 5: repeat round 2.
*Note: Repeat 5 as needed to increase the height of the thumb.
- Round 6: Ch 1, *sc, then sc2tog over the next two sts, rpt from * to end of rd.
- Round 7: repeat rd 6.
Part 4-Finishing:
- Turn mitten inside out. With a tapestry needle, weave in the top end of the mitten by threading it around the small opening at the top and pulling tight to close. Secure with a knot and weave in the end. Repeat for thumb top too. Weave in any ends that remain. Turn mitten right side out.
- Repeat these steps for second mitten!

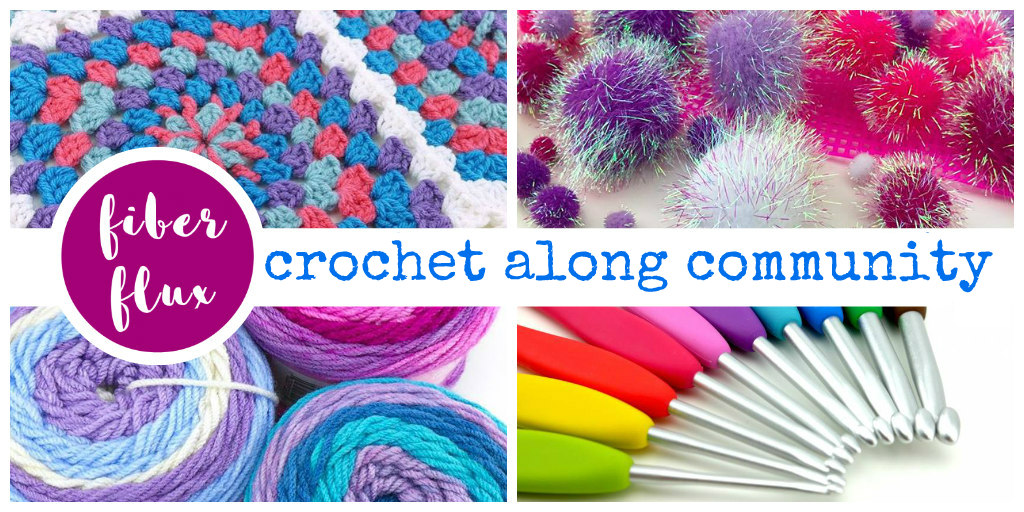
Be sure to check out our two special communities for our CAL makers! Each has a welcome area/thread, so please hop on and introduce yourself. You can get info, ask questions, help each other, see what everyone is doing, and show off your work too!
Click HERE to join the Facebook group!

Click HERE to visit and join the Ravelry group!
Also, don’t forget to use the hashtag, #fiberfluxcal to share your work on social media!


This comment has been removed by a blog administrator.
For Round 2 in Part 2 (hand part of mitten), on your written pattern it says to work 2 HDC in each stitch around. However in your video you are only showing 1 HDC in each stitch. I am assuming it is just 1 HDC since it would be wonky as 2 HDC in each stitch. Thanks!
Do you have patterns for kids mittens using the same kind of yarn? I love your videos.
You need to change the pattern for the main mitten, round 2 days to do 2 hdc per stitch rather than 1.
I Love this pattern and tutorial, I made a pair of mittens for the first time for my sister she Loves them. How can I down size this for a child 10 years of age ?
I Love this pattern can you please tell me how to adjust this patternto make mittens for my 10 year old Grandchild.