
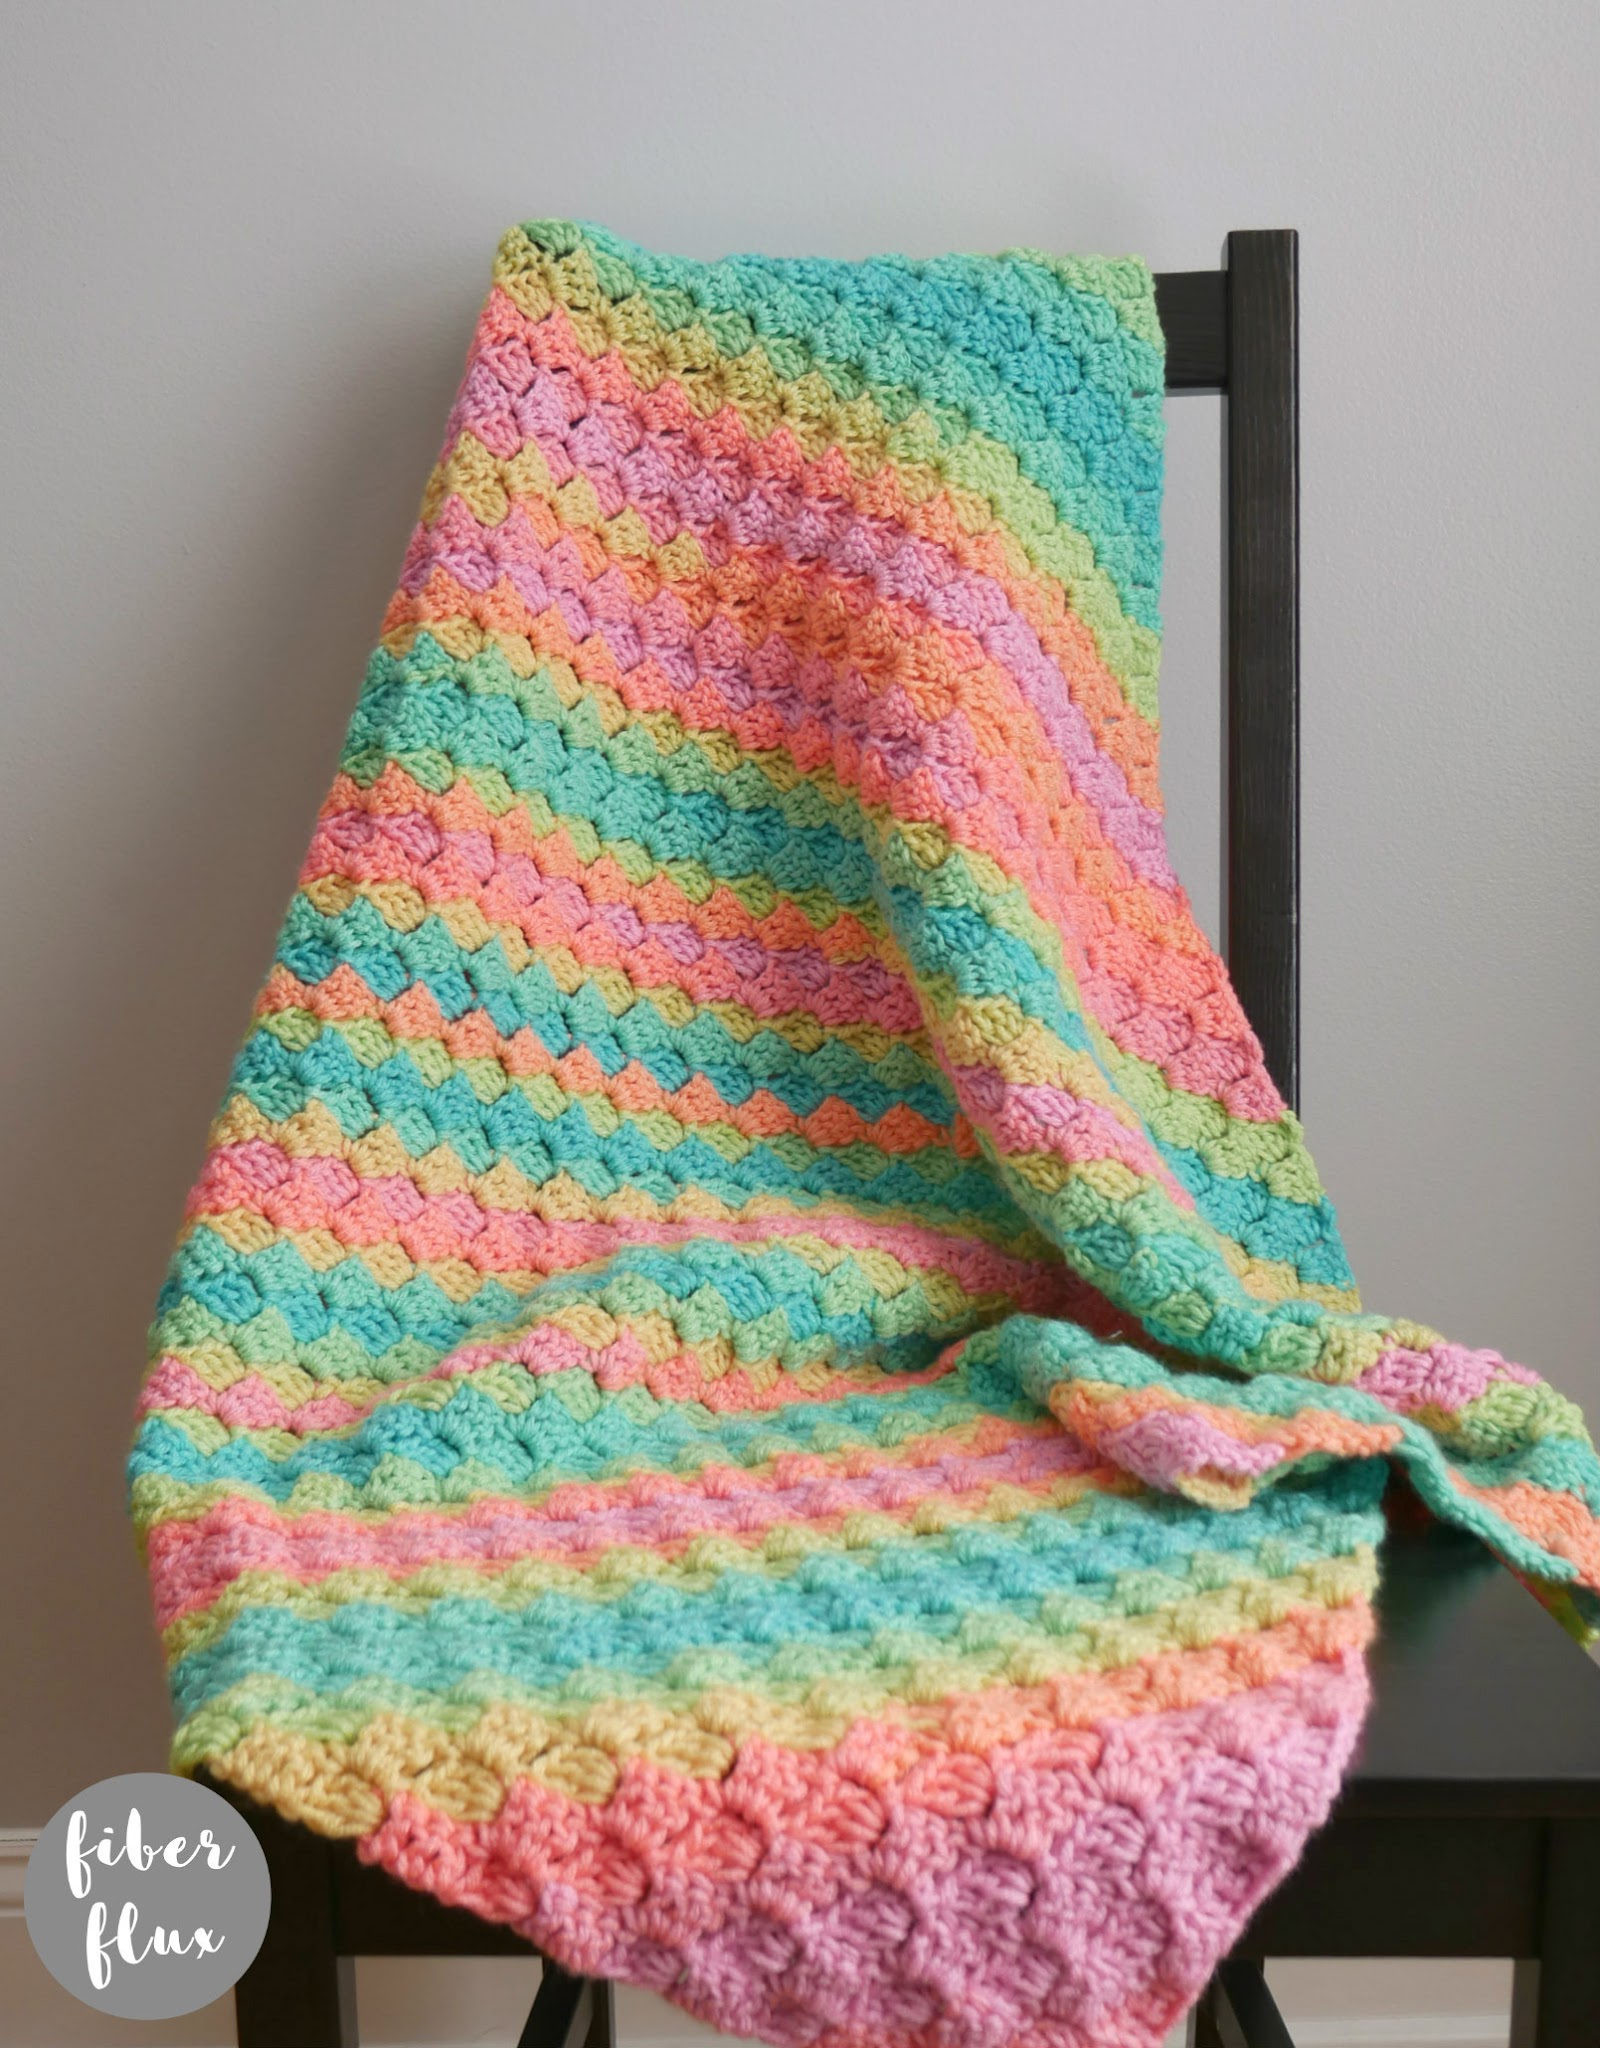
The Rainbow Sherbet Crochet Blanket is bursting with rainbow goodness and not only is it fun to make, it also makes a gorgeous gift too! Need it in a bigger size? Be sure to scroll down for my blanket sizing chart, plus check out the instructions below to make it any size you need! Are you ready to crochet the happiest blanket ever?

Watch a full video tutorial on how to make the Rainbow Sherbet Crochet Blanket:
Love video tutorials? Click here to subscribe to the Fiber Flux YouTube channel for more stitchy fun!
Materials:
- J (6.0 mm) crochet hook
- 4 Skeins Red Heart Super Saver Stripes (I used the “Retro Stripe” colorway
- Tapestry Needle
- Scissors
- Tape Measure
Sizing:
- 36 inches wide
- 36 inches tall
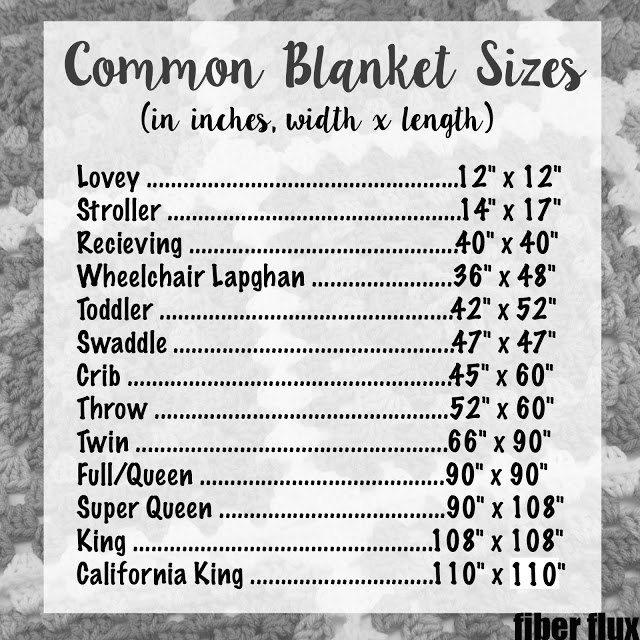
Note: To change the size of your blanket, work the increase portion until blanket is roughly 1/2 the size you’d like it to be. The chart below has some common blanket sizes:
*Note: I broke down the rows into more detailed steps in case you have never tried this technique. If you need some extra help, the video breaks it down stitch by stitch!
Increase portion of the blanket (Use 1/2 of your yarn):
- Step 1: Ch 6
- Step 2: dc into the 4th ch from the hook.
- Step 3: Work a dc into the next 2 ch.
- Step 4: Ch 6
- Step 5: Work a dc into the 4th ch from the hook and in each of the next 2 ch.
- Step 6: Slip stitch into the 3rd dc stitch to join the two blocks together OR some people prefer to slip stitch into the turning chain or turning chain space to join. It really is a preference, do what you like best…each way of joining will look very similar. Just be sure as you’re doing all of this the tail (from where you began) is facing downward. You might have to turn it a bit to get it in the right spot.
- Step 7: Ch 3
- Step 8: Work 3 dc into the turning chain space.
- Repeat steps 4 through 8 to complete the first half of your blanket, using roughly half of your yarn. If you need to see more rows, I work a few more in the video.
Decrease portion of the blanket (use remaining 1/2 of the yarn):
- Step 1: When finished working the row, turn your work.
- Step 2: Work a slip stitch in each of the next three dc. (see tip below for changing colors on a new row)
- Step 3: Work a slip stitch into the turning chain space.
- Step 4: Ch 3
- Step 5: Work 3 dc into the turning chain space.
- Step 6: Slip stitch into the 3rd dc stitch to join the two blocks together OR some people prefer to slip stitch into the turning chain or turning chain space to join. It really is a preference, do what you like best…each way of joining will look very similar. Just be sure as you’re doing all of this the tail (from where you began) is facing downward. You might have to turn it a bit to get it in the right spot.
- Step 7: Ch 3
- Step 8: Work 3 dc into the turning chain space.
- Repeat steps 4 through 8 to complete the remainder of your row. When you begin a new row, begin at step one again. As you decrease, you will eliminate a block from each row.
- Weave in any ends that remain.


Yes please give directions for rectangal. I would love to make a throw.
Thanks so much.
This is a beautiful pattern, Jennifer, and you have explained it so well. The video was especially helpful. I've started my blanket in the same yarn, but with the Parrot Stripe colourway!It grows so quickly too! I'd love to have the instructions for a rectangular blanket in this stitch!
This comment has been removed by a blog administrator.
this is my go to pattern for blankets now…making a queen size with the bernat blanket yarn as a bedspread for my 18 yr old grand-daughter…loved ur tutorial n plz do one for rectangular as i had to wonder a bit to do mine….lol…love the way you teach!!
I would love the pattern for the rectangle blanket it's such a beautiful blanket I would love to make it thank you for your time
THANK YOU SOO MUCH for this pattern. I appreciate that you have broken it down for you to read the stitch. I have seen this pattern before. But have not been able to pick it up. THANK YOU again.❤️❤️
Hi Jen love this pattern. I am new to CtC so why are there big holes between?