
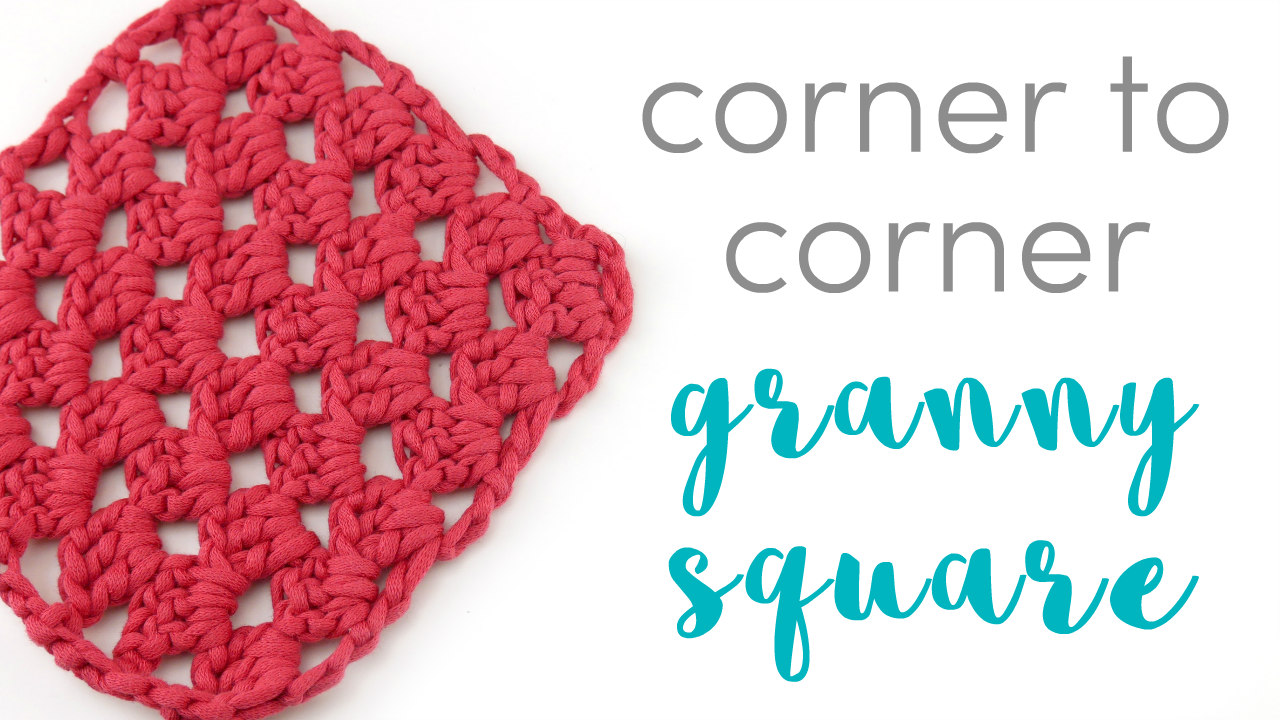
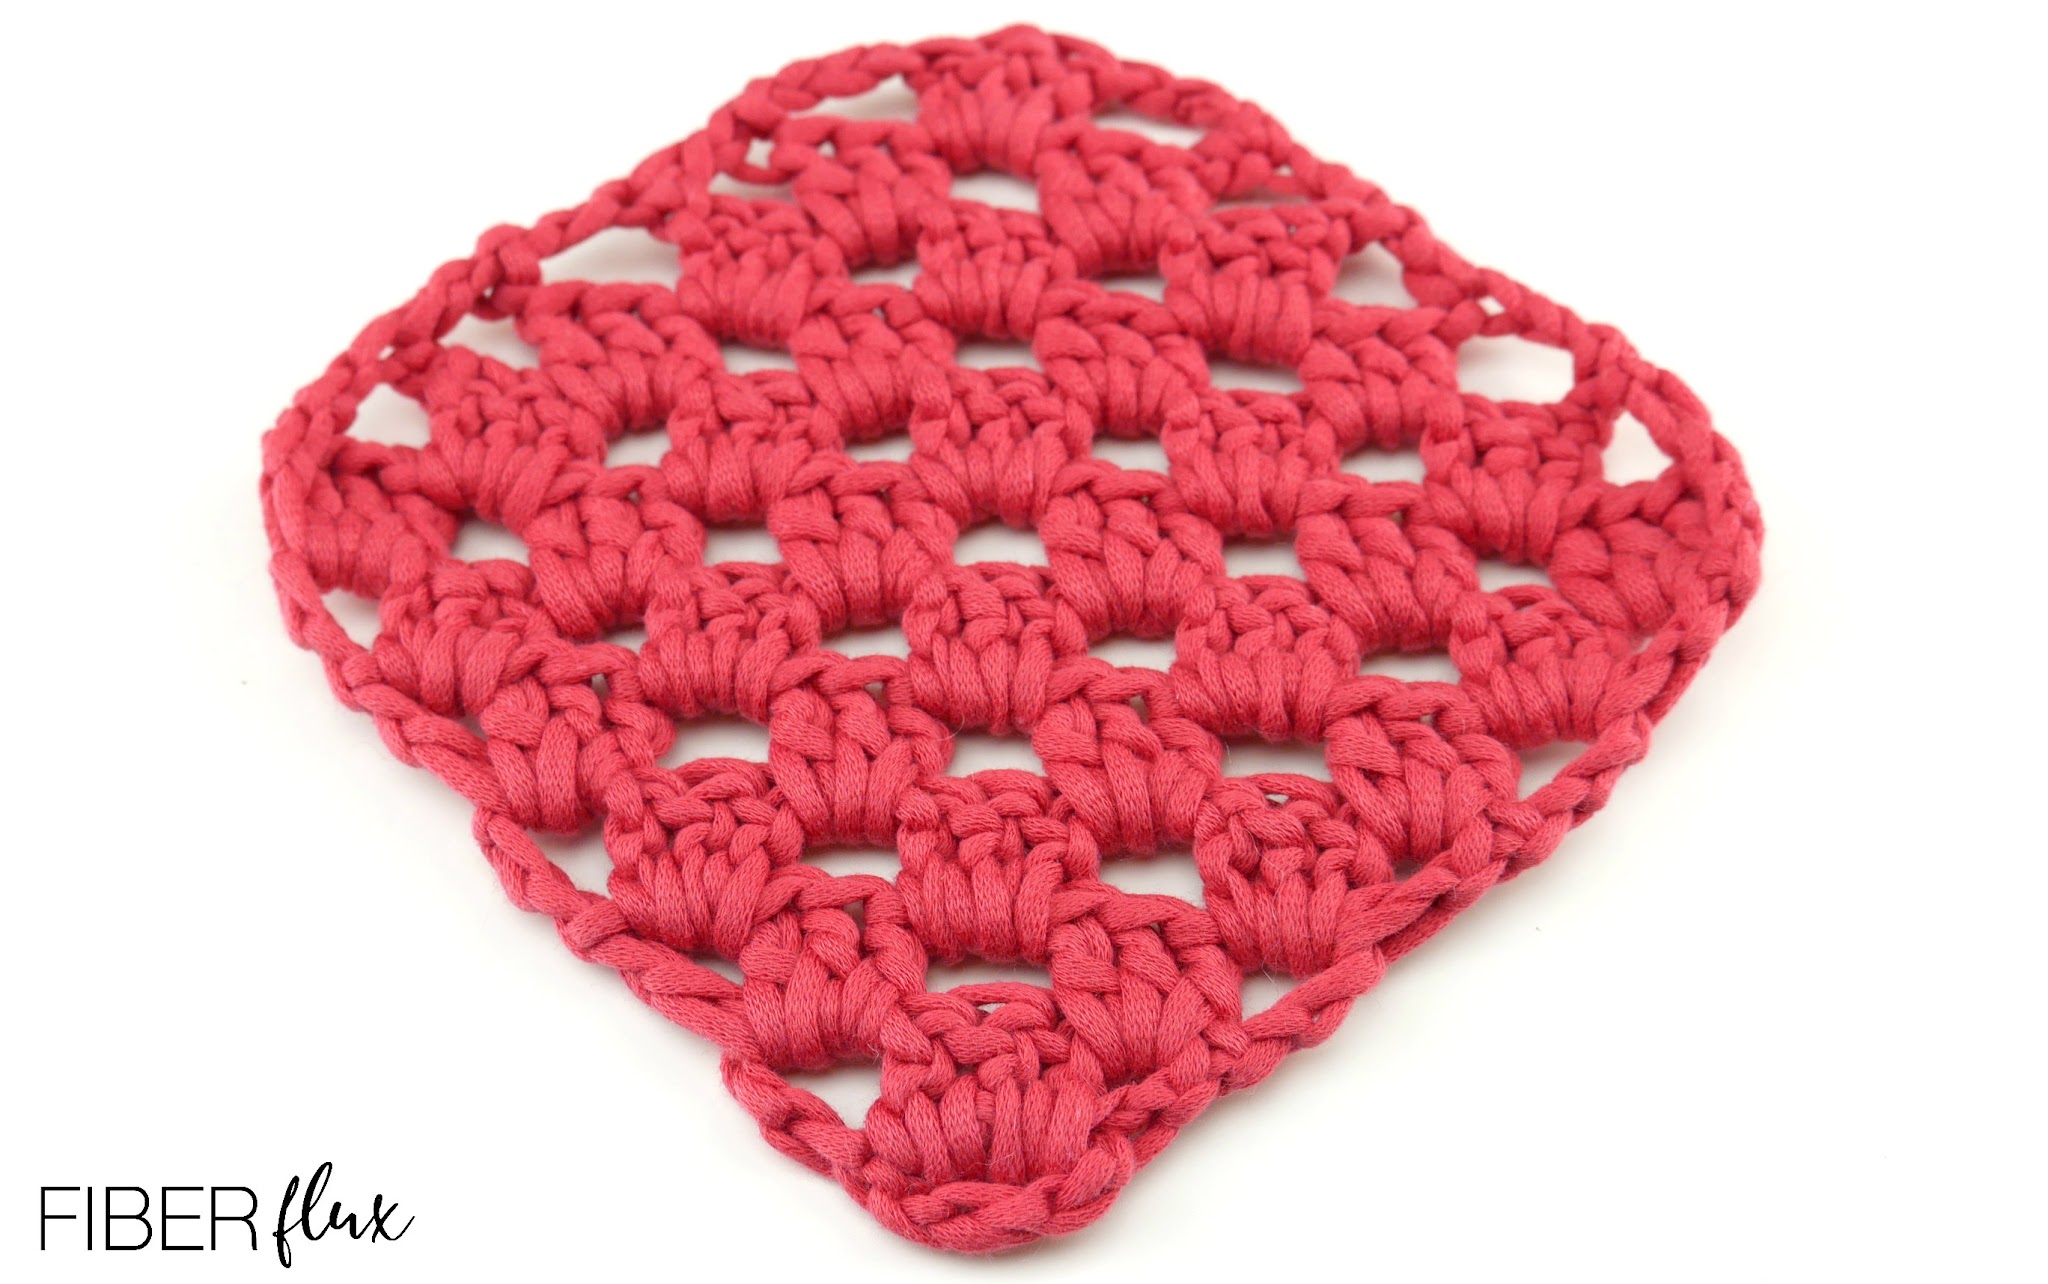
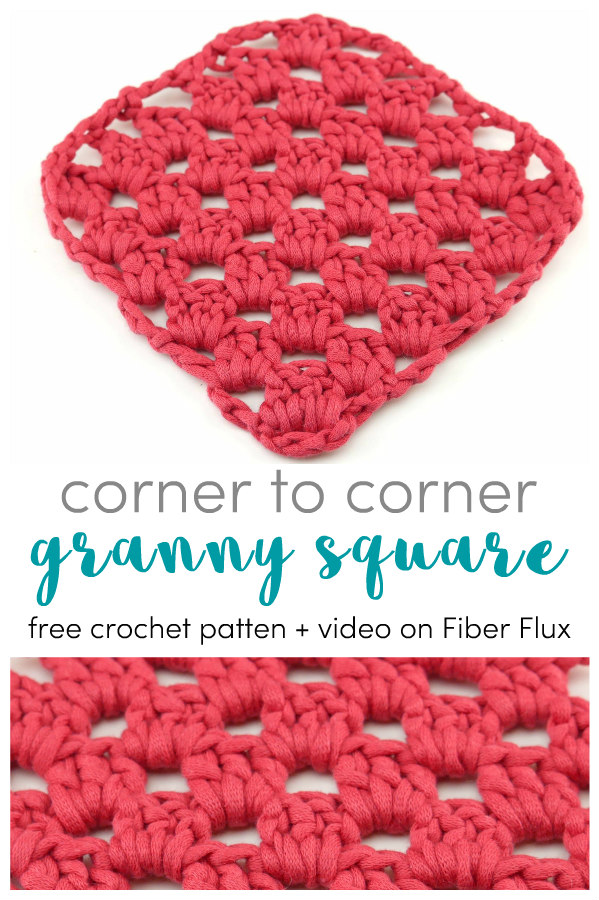
The Corner to Corner Crochet Granny Square (or C2C granny square for short) is a fun spin on the classic crochet granny square. Crocheted from the bottom point upward, it is increased on the diagonal, then decreased to the top point. Fun to make and can be used for blankets, dishcloths and lots more! This has been a popular request and I am so excited to share the written pattern and video with you!
Watch a full video tutorial on how to make this square:
Love video tutorials? Click here to subscribe to the Fiber Flux YouTube channel for more stitchy fun!
Instructions For C2C Increase Portion:
Chain 6, then work a sl st into the furthest ch from the hook to create a ring.
Row 1: Ch 4 (counts as a dc, ch 1), then work 3 dc into the ring. Then ch 1, then work a dc into the center of the ring.
Row 2: Ch 4, then work (3 dc, ch 1) into the first ch 1 space of the row. Work (3 dc, ch 1, 1 dc) into the last ch 1 space of the row.
Row 3: Ch 4, then work (3 dc, ch 1) into the first ch 1 space of the row. Work (3 dc, ch 1) into each ch 1 space across. Then work (3 dc, ch 1, 1 dc) into the last ch 1 space of the row.
Repeat row 3 until your square is roughly half the size you’d like it to be (or you’ve used half of your yarn), then continue onto the next section to begin the decrease part.
Important! Be sure the number of rows for your increase is an EVEN number before you begin the decrease. I worked a total of 6 rows in the square pictured before decreasing.
Instructions for C2C Decrease Portion:
Row 1: Ch 4, then skip the first ch 1 space. Work (3 dc, ch 1) in each ch 1 space across until just before the last space (turning chain space). Instead of working into this space, work a dc into the top chain of the turning chain.
Repeat row 1 of the decrease until just a top point remains. Fasten off and weave in ends that remain. Note: if the top is challenging for you, be sure to check out the video for this part (or any other part) to see me walk through it step by step!
Weave in any ends that remain and you’re finished!


Not sure why, but I have not been able to move these patterns to my Ravelry. Is anyone else having this issue? Do I need to change something in my emails? Thanks.