
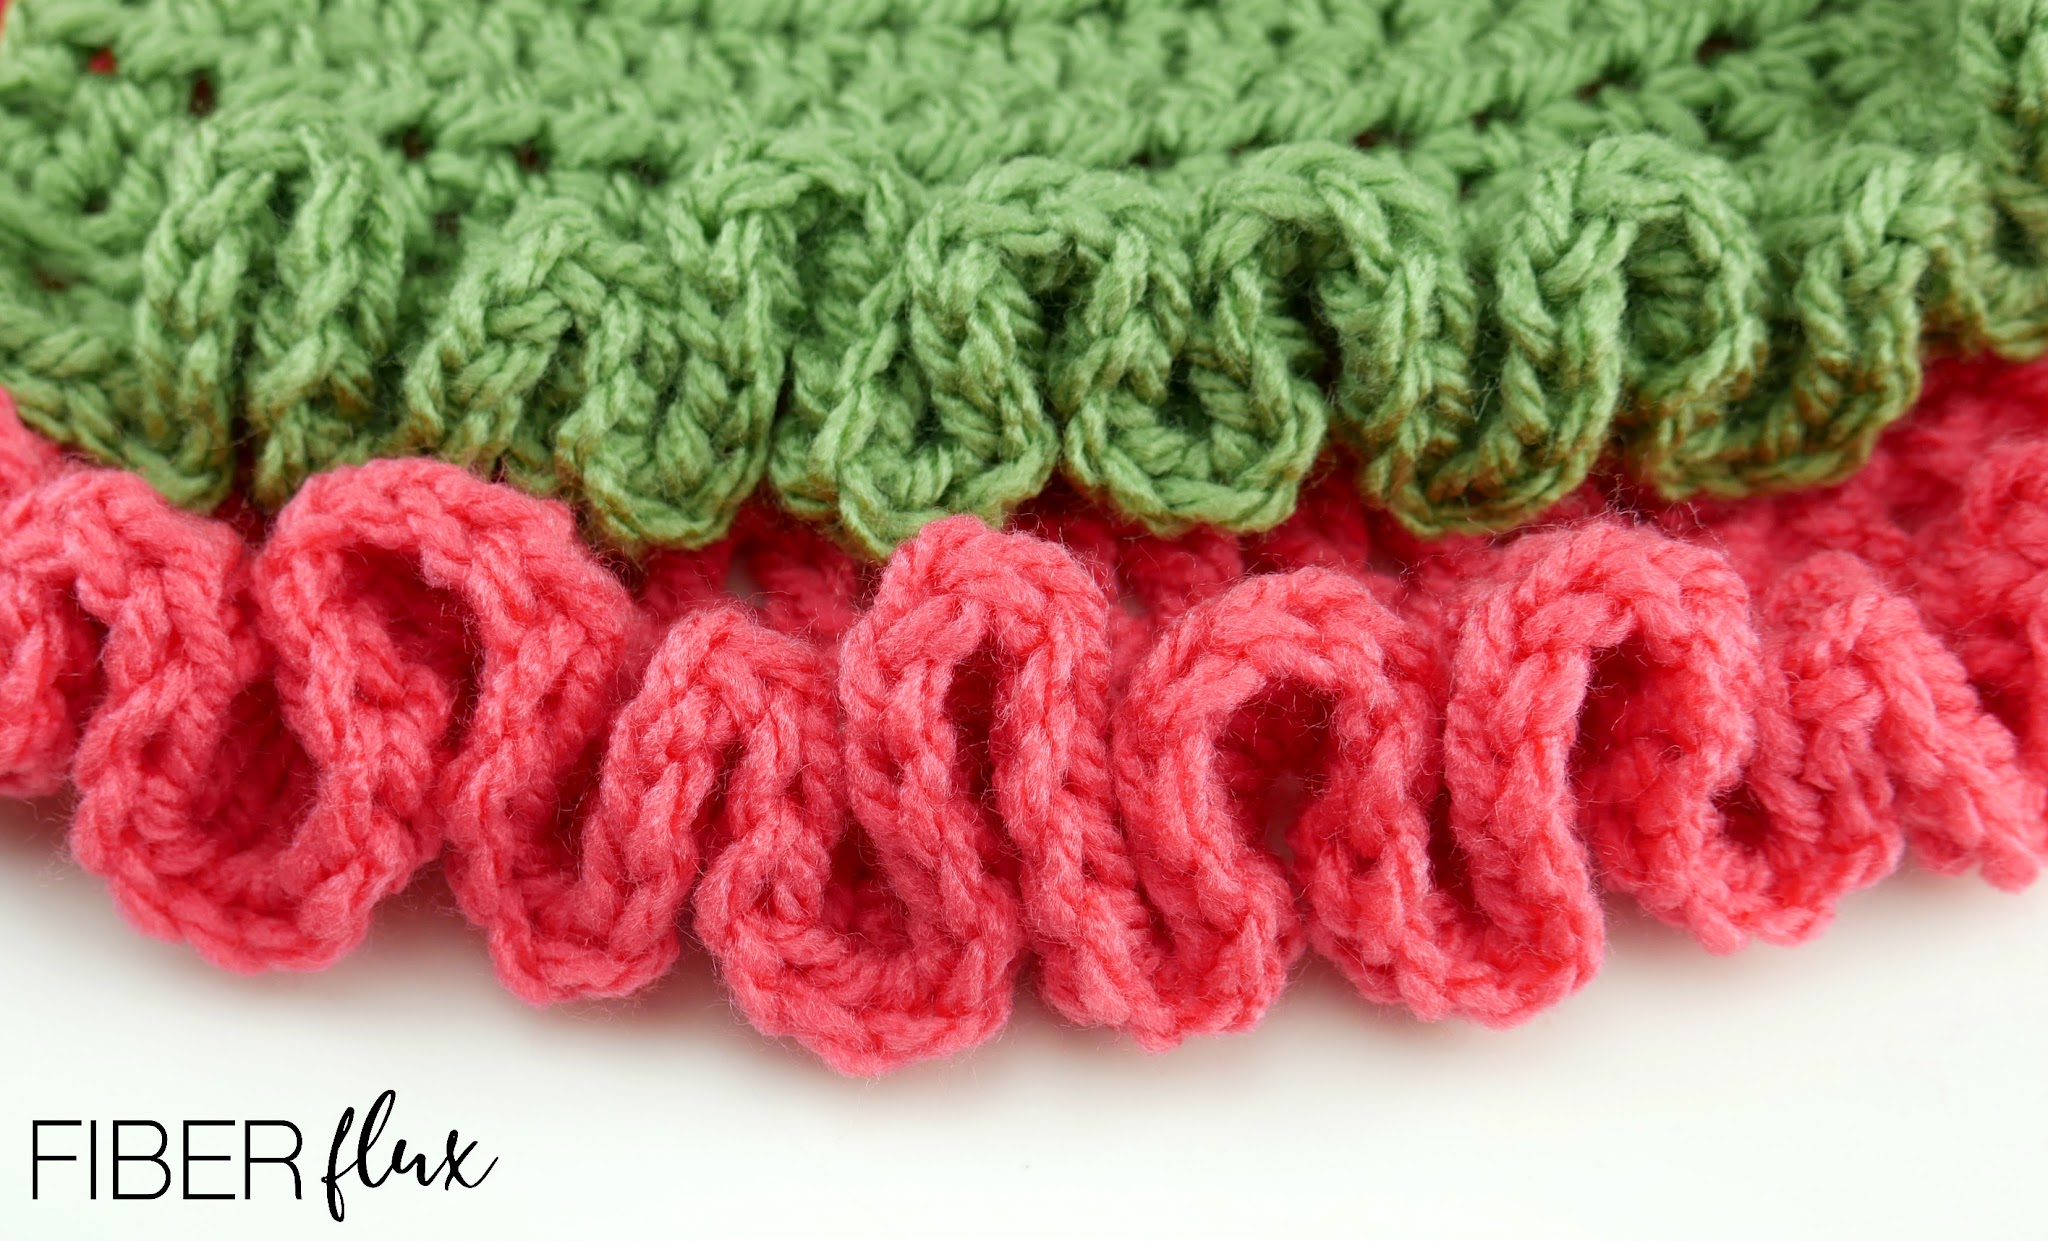
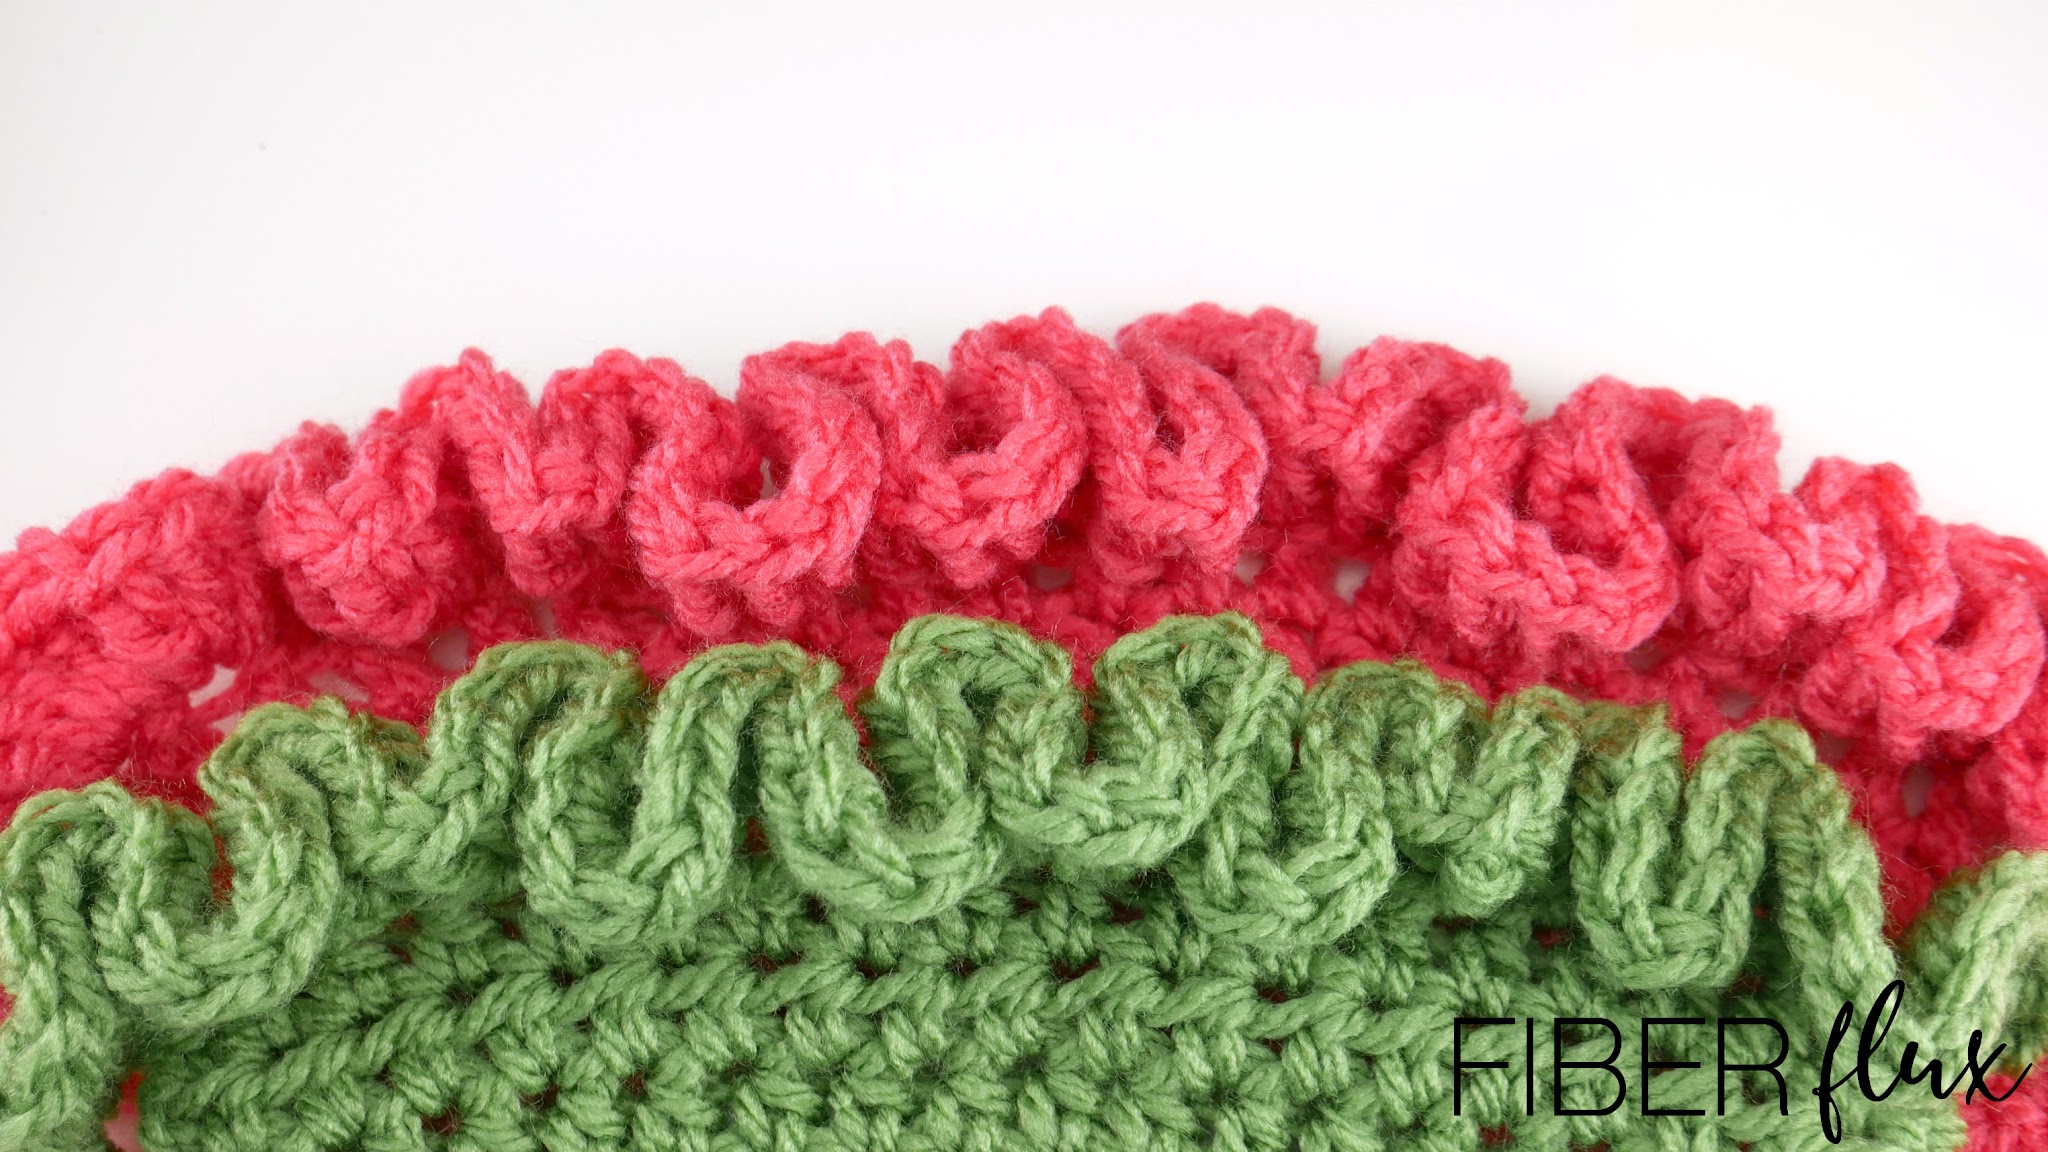
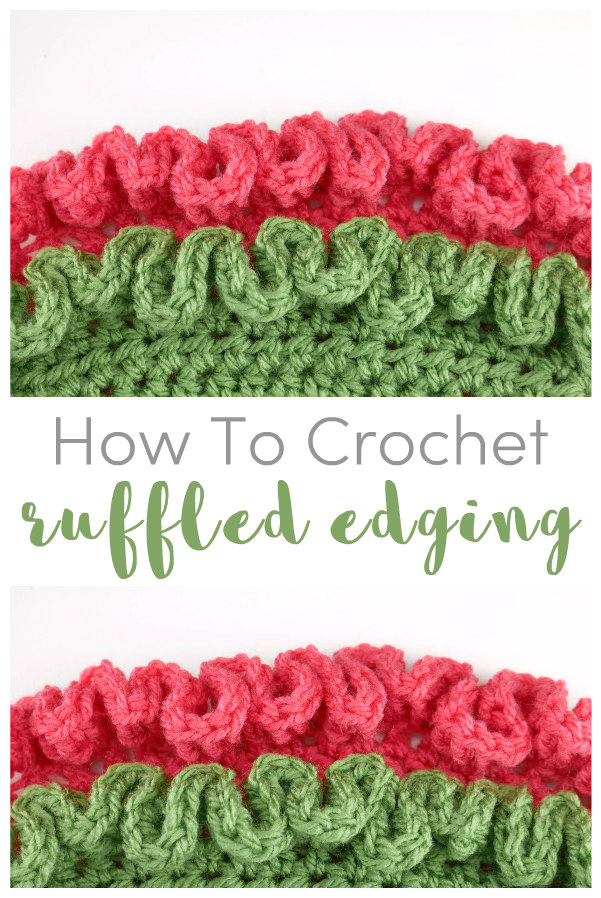
Crochet ruffle edging is a fun and easy way to add some beautiful texture edging to any crochet project. Worked in simple stitches, you can add them to the bottom of a skirt, a blanket, garment and lots more!
Get the full video tutorial here:
Love video tutorials? Click here to subscribe to the Fiber Flux YouTube channel for more stitchy fun!
Instructions:
At the beginning of the row or round, ch 3 (counts as the first dc of the row).
Then in the first stitch, work 5 dc.
In each stitch after, work 6 dc in each stitch. If working ruffles in the round, join with a slip stitch in the third chain up (ch 3 at the beginning of the round) to close round.
Note: For less dense ruffles, work less stitches in each stitch. For more dense ruffles, try squeezing more stitches into each stitch. You can experiment to see what ruffle look you like the best!
After you’re finished, you may need to shape and fluff up your ruffles a bit. Try adding them to a garment like a sweater or sleeve edge, or perhaps for a fun blanket edging too!
Weave in any ends that remain and you’re finished making your crochet ruffle edging!


I’m going to try this on a blanket. How do I go around the corners?
You are fabulous❣️ I have trouble following directions usually, both verbal and written, but your demonstration along with your explanation as you went along was outstanding❣️🤩 I cannot wait to experiment with this crochet style for the end on the sweaters I'm making for my little doggies. THANK YOU VERY MUCH. 🐶💝
A question, please. Is the ruffle attached to the sweater after crocheting the sweater is completed? So, crochet the ruffle separately???