
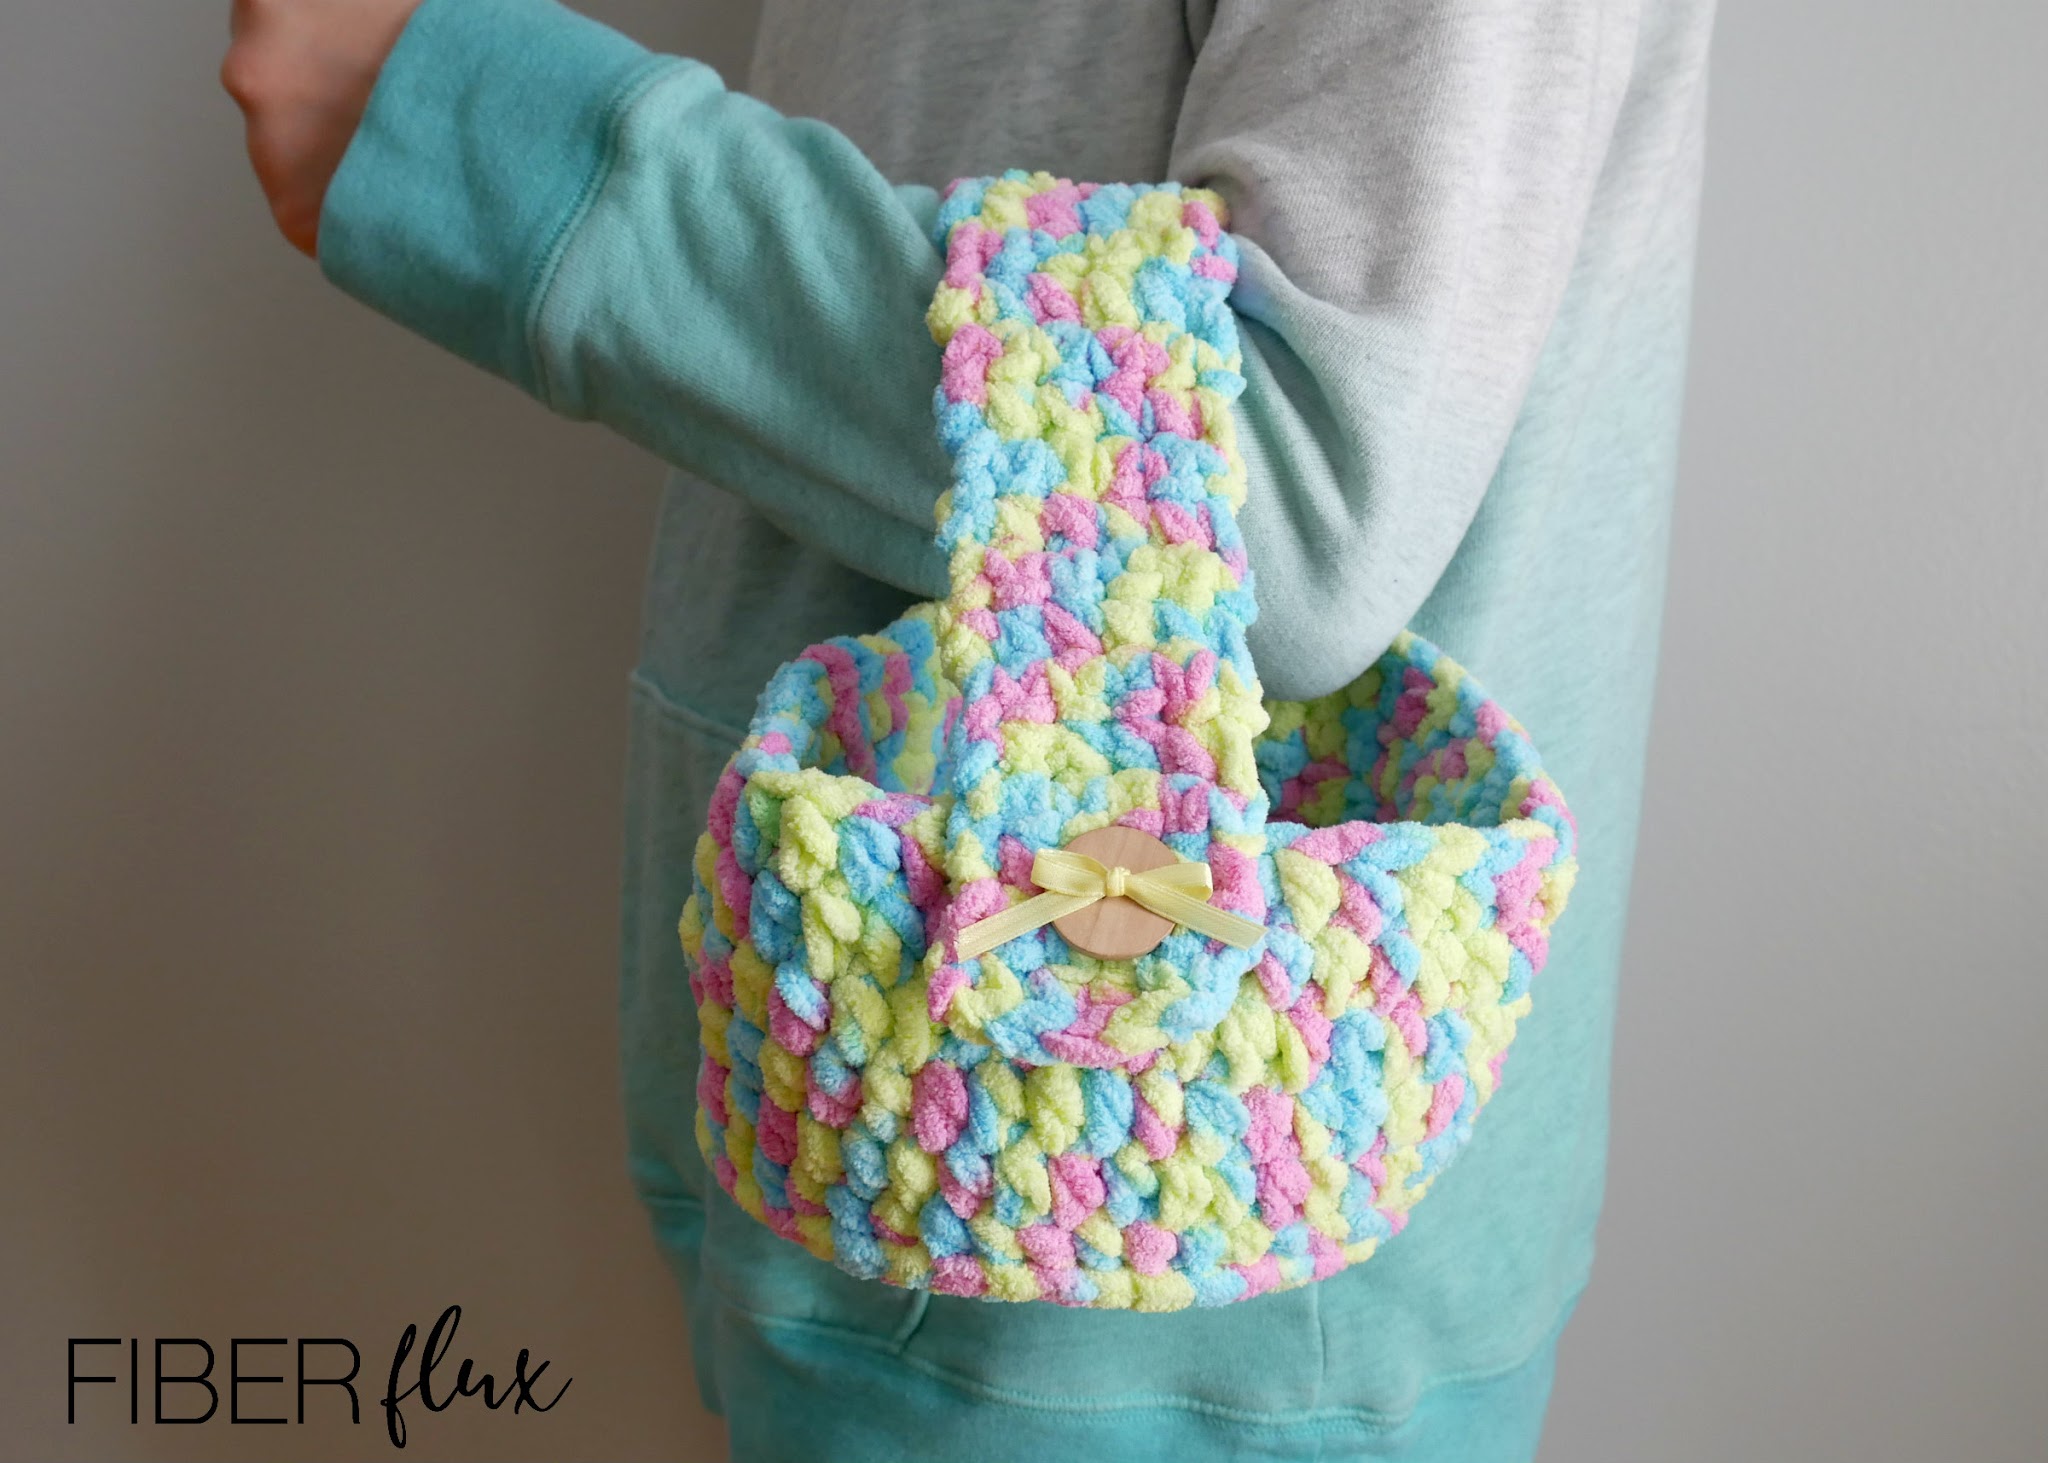
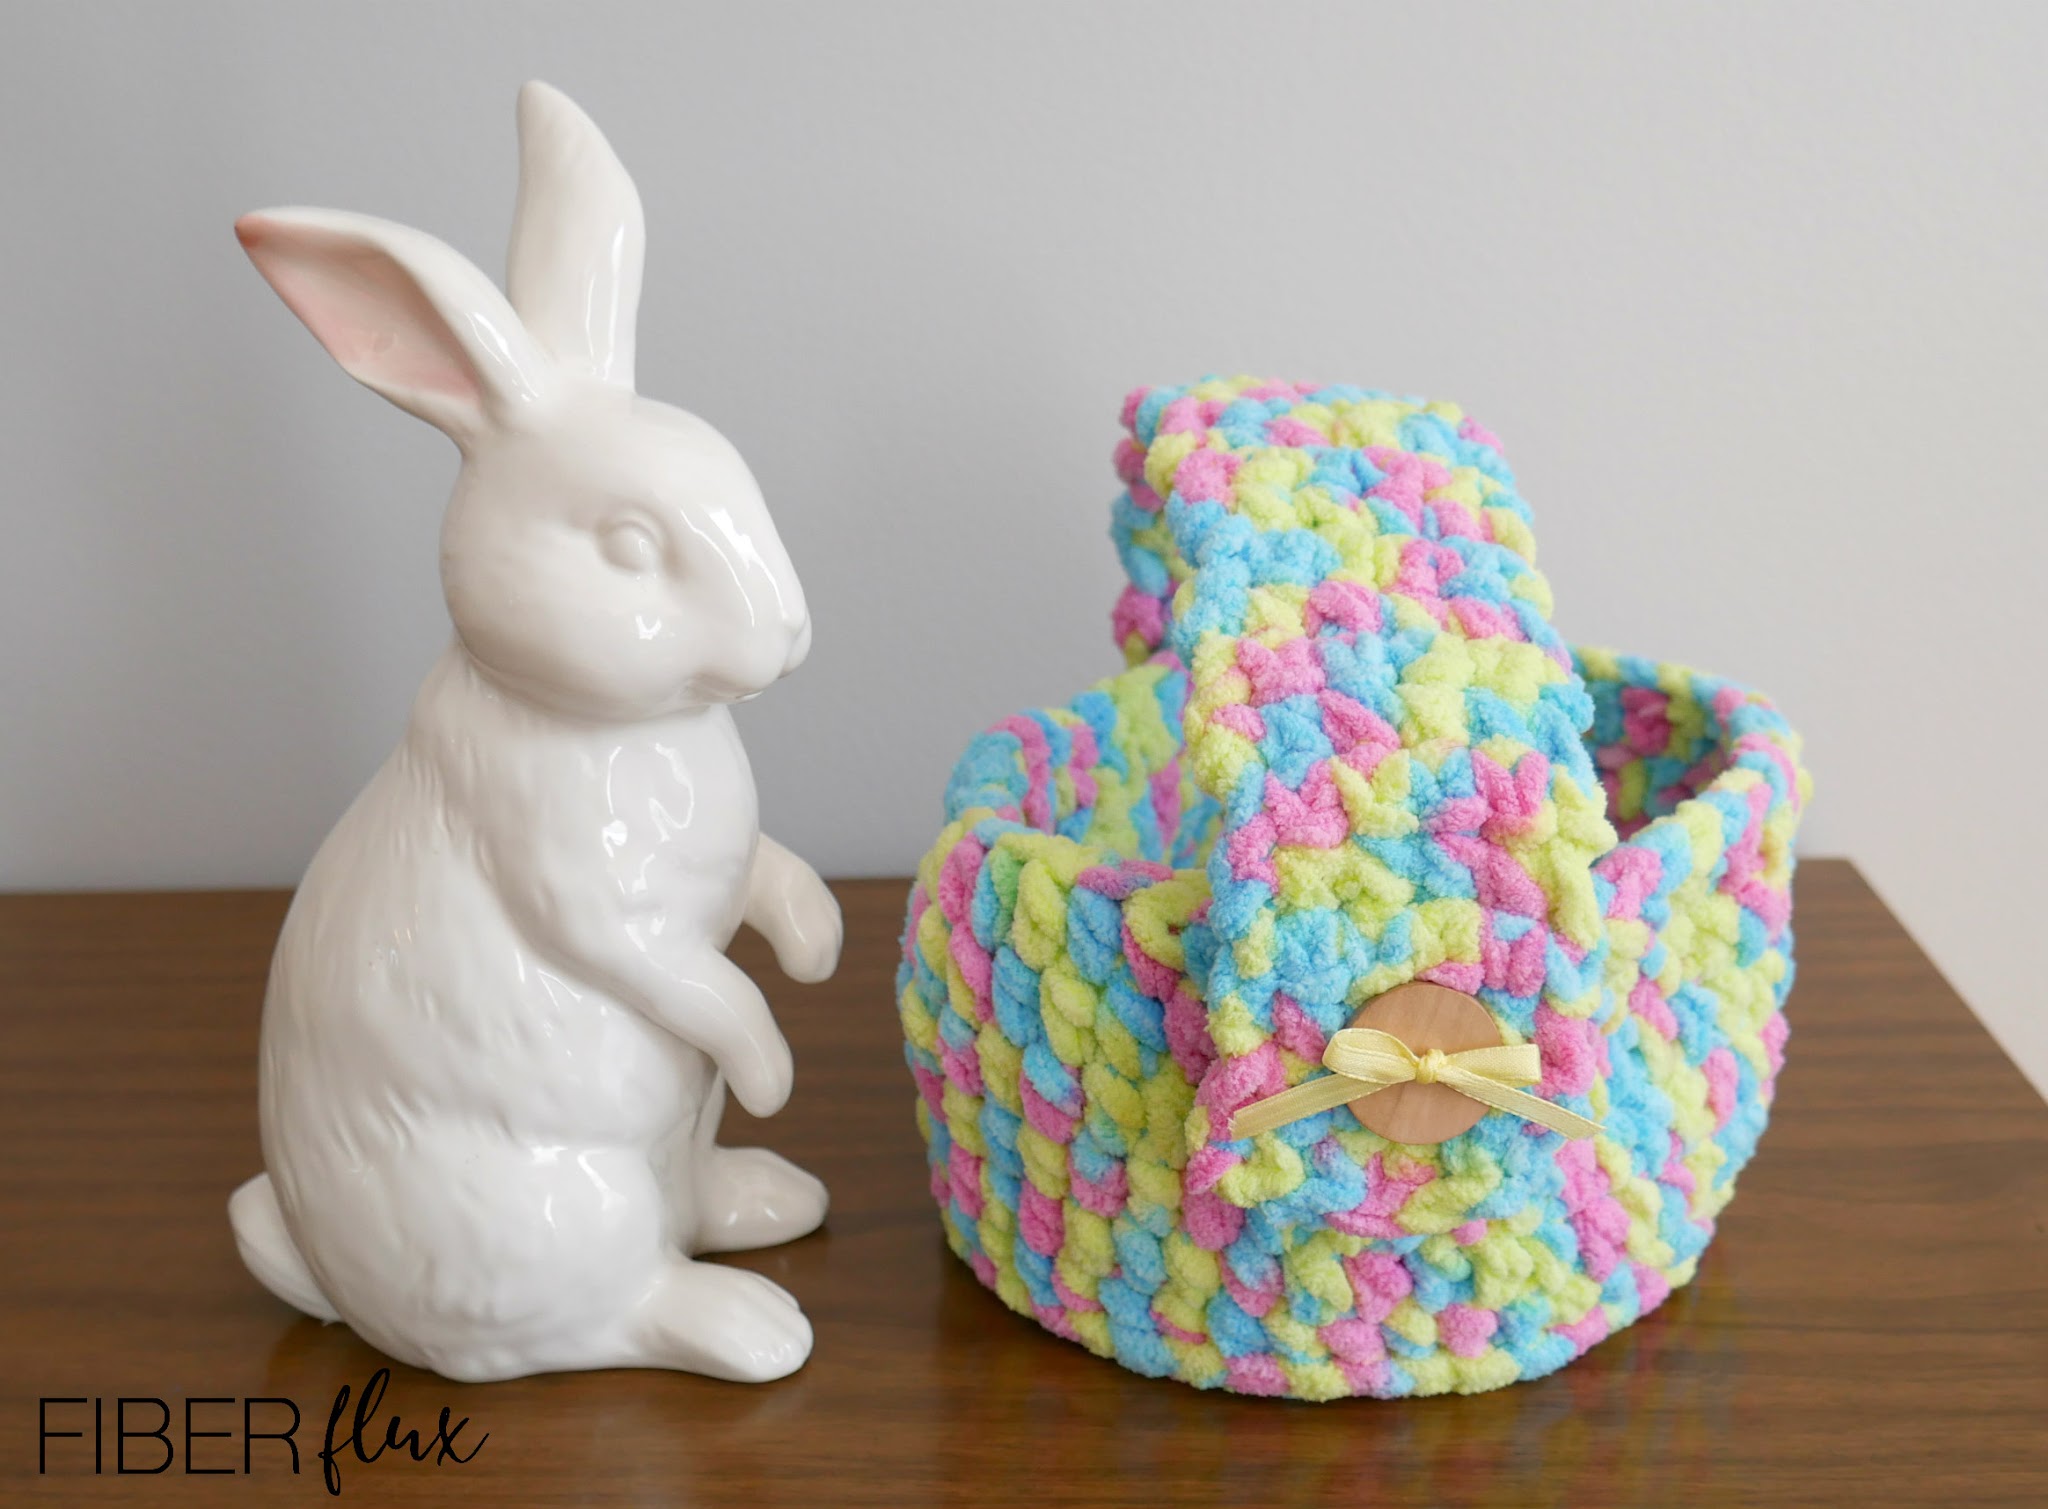
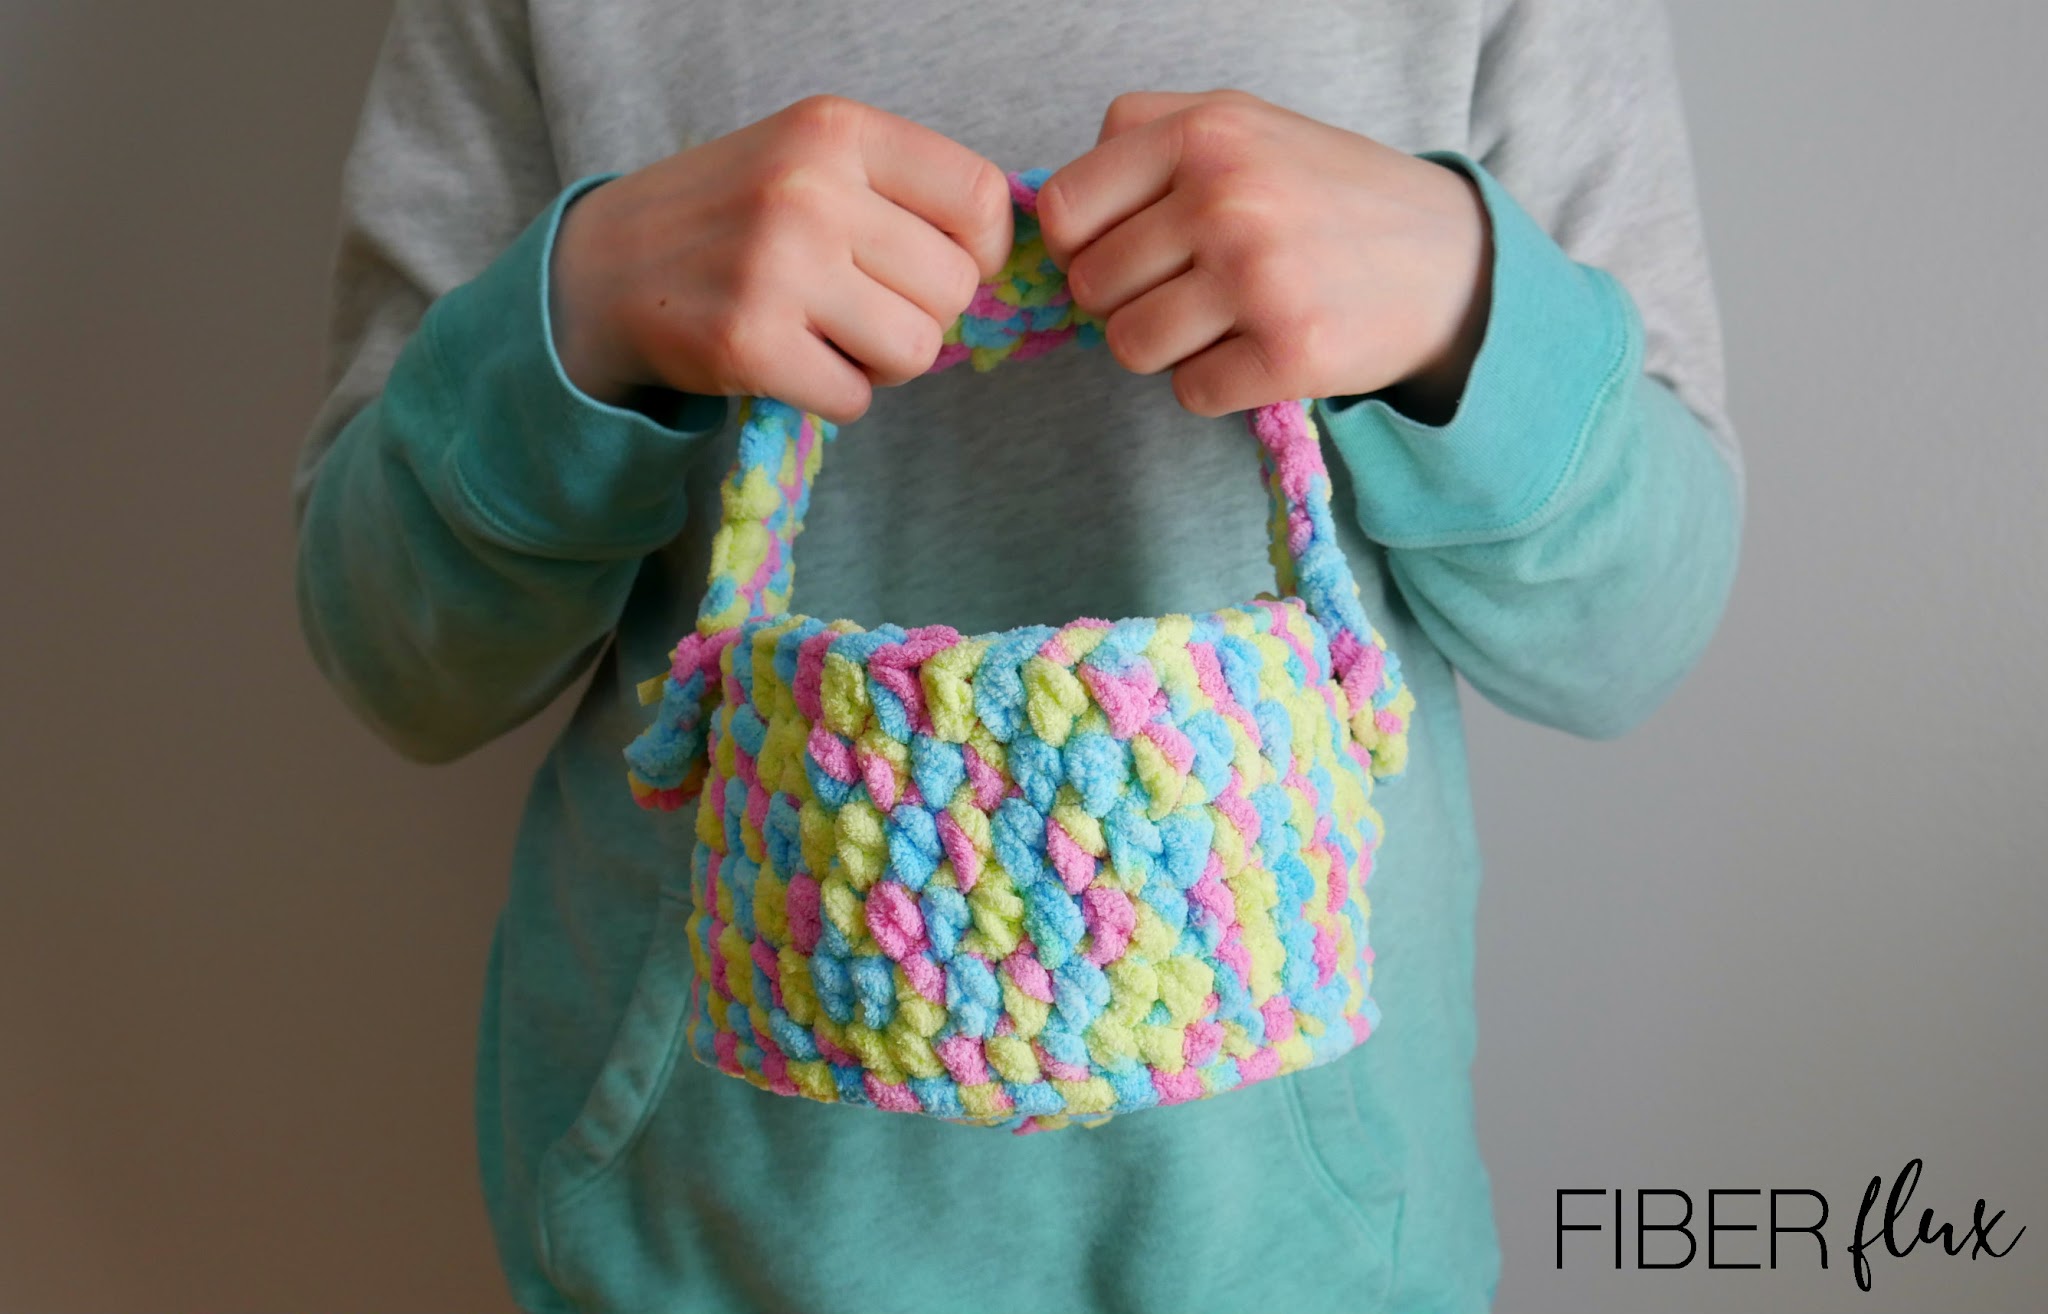
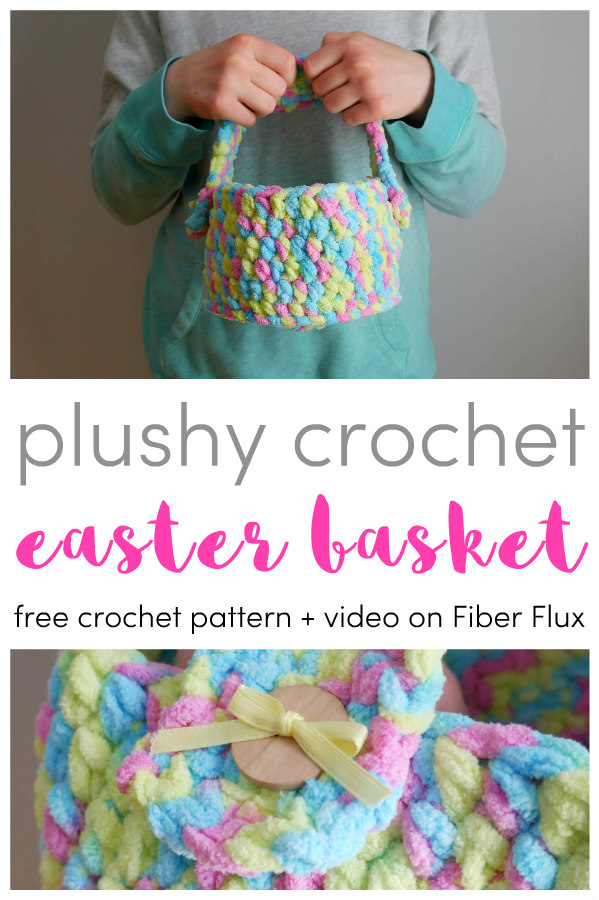
The Plushy Watercolor Crochet Easter Basket is a pretty little basket that can be used to fill with treats, add some springy decor to your space, or accompany you on an egg hunt! Crocheted up super fast with squishy yarn and a big hook, it also features a removable buttoned-on handle that makes it easy to swivel around to move it out of the way or remove it all together for a completely different look!
Watch a full video tutorial on how to make the Plushy Watercolor Crochet Easter Basket:
Love video tutorials? Click here to subscribe to the Fiber Flux YouTube channel for more stitchy fun!
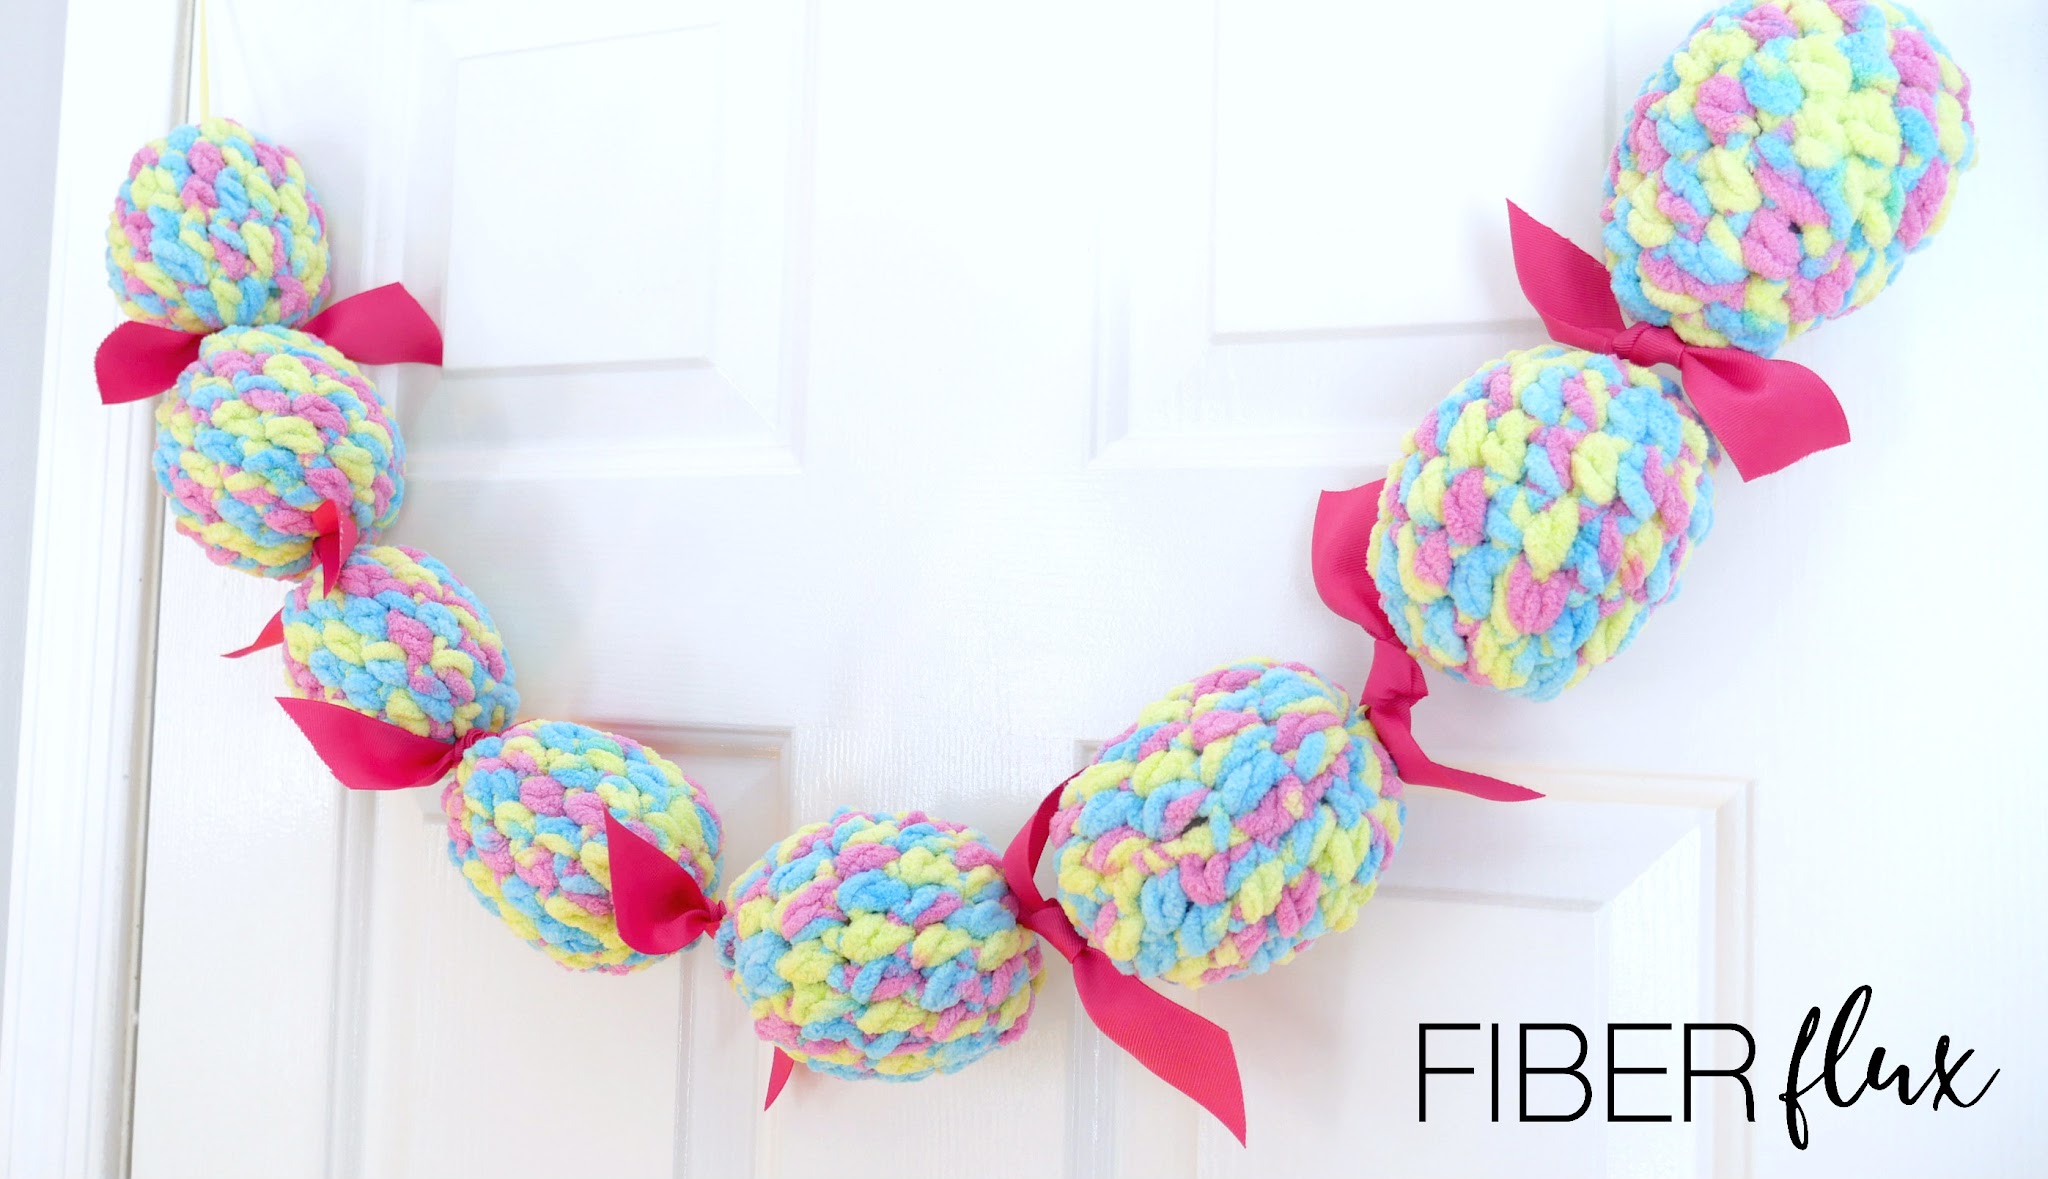
Check out the Plushy Watercolor Easter Eggs + Garland pattern too!
Materials:
- L (8.0 mm) crochet hook
- 1 ball of Bernat Baby Blanket (I used the “Jelly Beans” colorway) *Note: I did not use the full ball of yarn…try making some matching eggs with the leftovers!
- 2 buttons
- Tapestry Needle
- Scissors
- Tape Measure
Looking for awesome yarn and hooks for this project? Get them all and lots more here!
Sizing:
- 22 inch circumference
- 7 inches across bottom of basket
- handle is 15 inches long
Instructions for Basket:
- Ch 4, join in the furthest ch from the hook to make a ring.
- Round 1: Ch 2, then work 11 hdc into the center of the ring. Join to close round with a sl st.
- Round 2: Ch 2, then work 2 hdc into each st around. Join to close round with a sl st.
- Round 3: Ch 2, then work a hdc into the first st. *Work 2 hdc into the next st, then a hdc into the next st. Repeat from * around. Join to close round with a sl st.
- Round 4: Ch 2, then work a hdc into the first st. *Work a hdc into the next st, a hdc into the next st, then two hdc into the next st. Repeat from * around. Join to close round with a sl st.
- Round 5: Ch 2, the work a bphdc (back post half double crochet) in each st around. Join to close round with a sl st. Note: if you are not familiar with the bphdc, check out the video, where I show it nice and slow!
- Rounds 6-10: Ch 2, the work a hdc in each st around. Join to close round with a sl st.
Instructions for Handle:
- Ch 6
- Row 1: Work a sc into the second ch from the hook. Work a sc in each ch across.
- Row 2: Ch 1 and turn. Work a sc in each st.
- Row 3: Ch 1 and turn. Work a sc in each of the first two stitches. Ch 1, skip the next stitch, then work a sc in each of the next two stitches.
- Row 4: Ch 1 and turn. Work a sc in each of the next two stitches, then work a sc in the ch 1 space, then work a sc in each of the next two stitches.
- Row 5-23: Ch 1 and turn. Work a sc in each st. Note: you can increase or decrease the number of these rows to change the size of your handle.
- Row 24: Ch 1 and turn. Work a sc in each of the first two stitches. Ch 1, skip the next stitch, then work a sc in each of the next two stitches.
- Row 25: Ch 1 and turn. Work a sc in each of the next two stitches, then work a sc in the ch 1 space, then work a sc in each of the next two stitches.
- Row 26: Ch 1 and turn. Work a sc in each st.
Assembly & Finishing:
- Weave in any ends that remain on basket and handle.
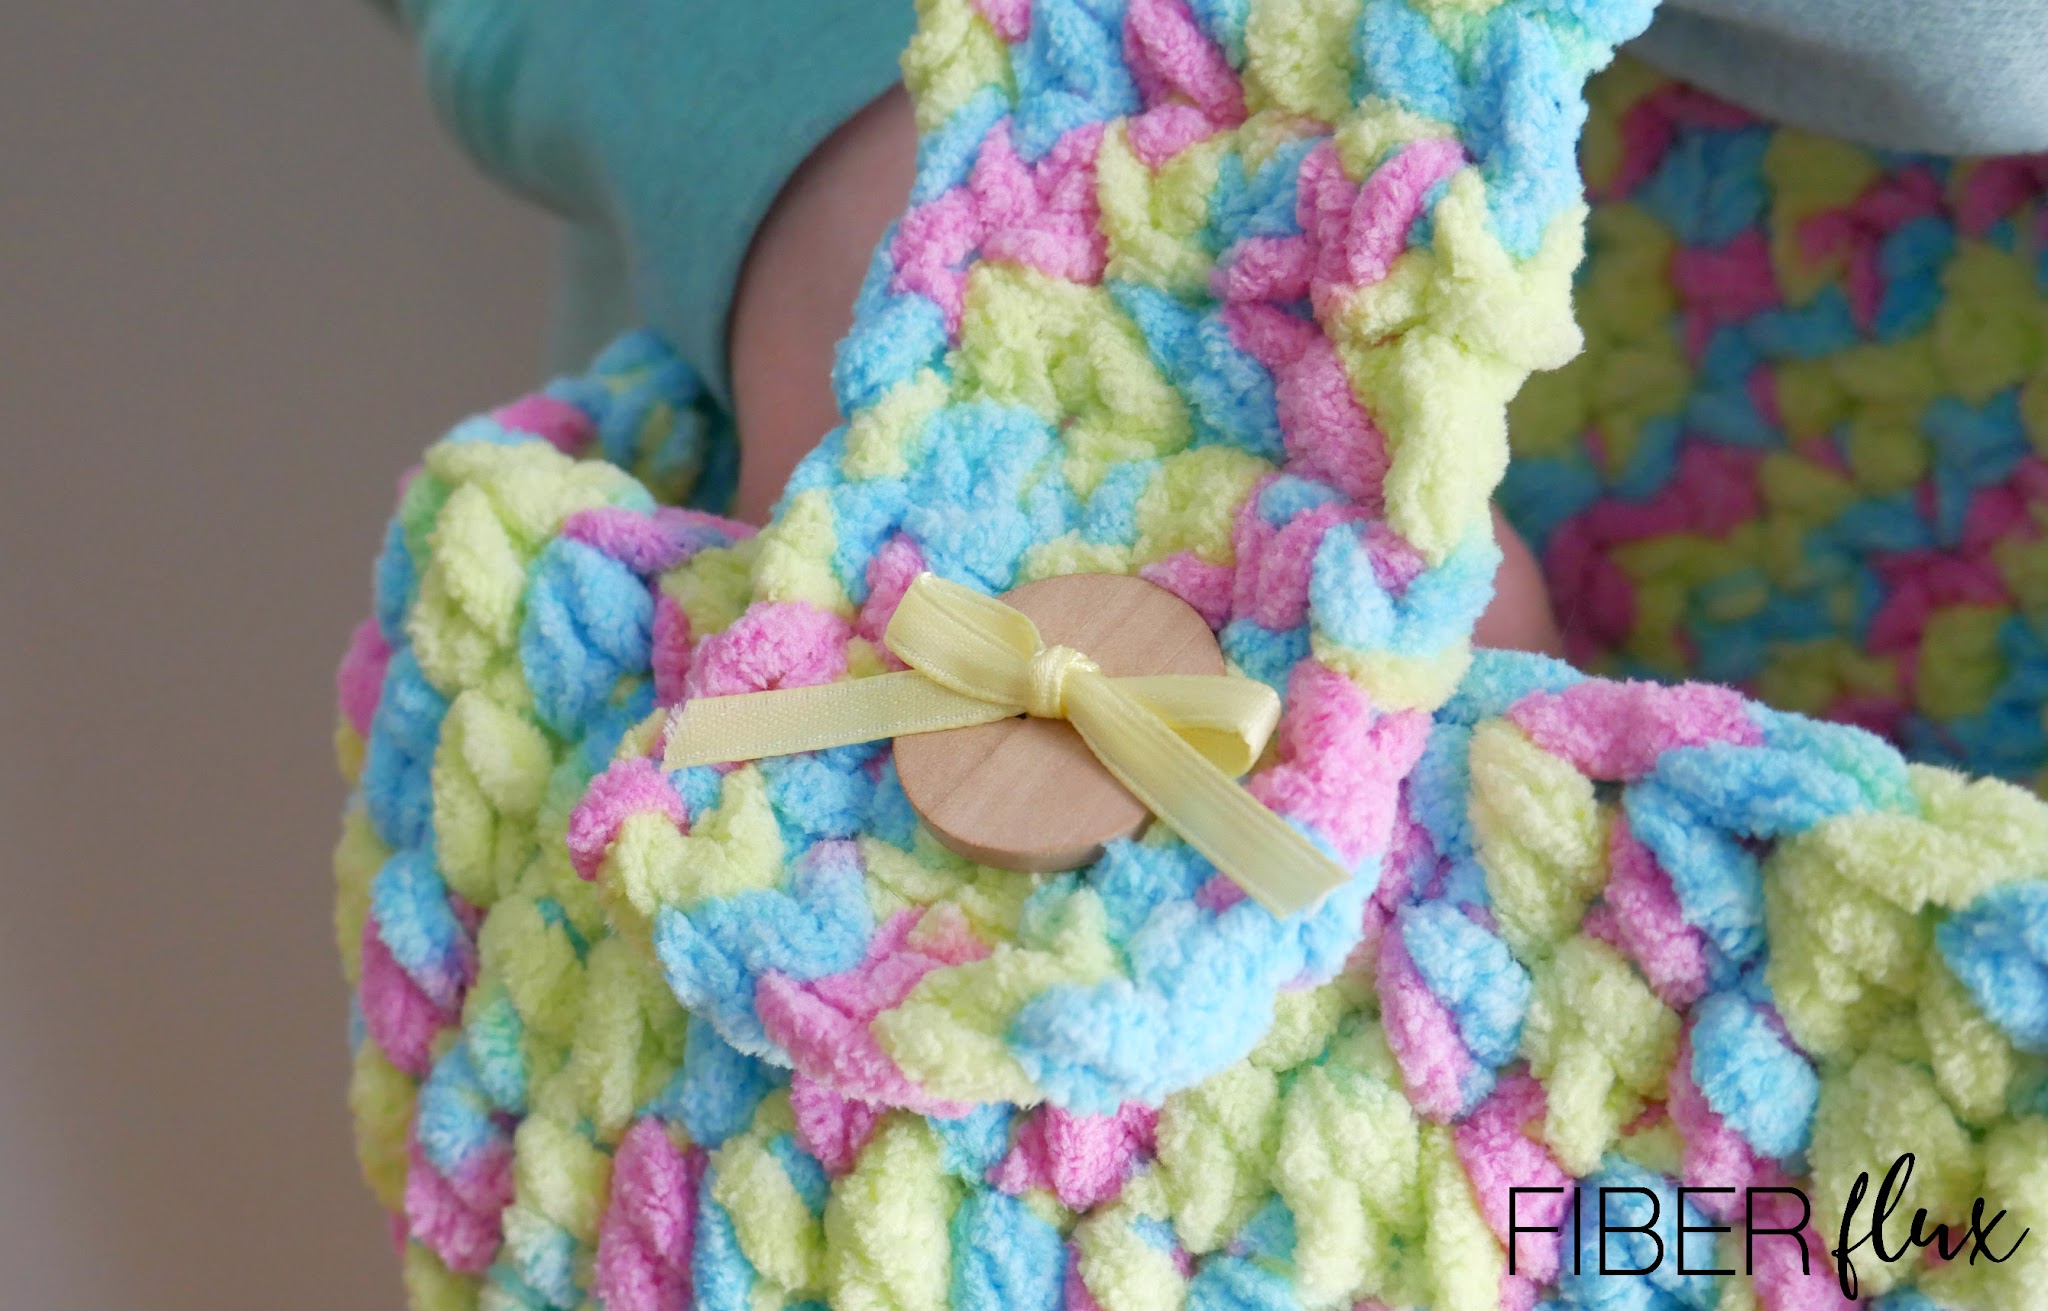
- Sew a button to either side of top part of basket using a matching piece of yarn.
- Alternatively you can tie a button on with a bow with a piece of scrap piece of matching ribbon for a fancier look (see photo above for example).
- Button the handle onto the basket and it is ready to fill up!


This comment has been removed by a blog administrator.