
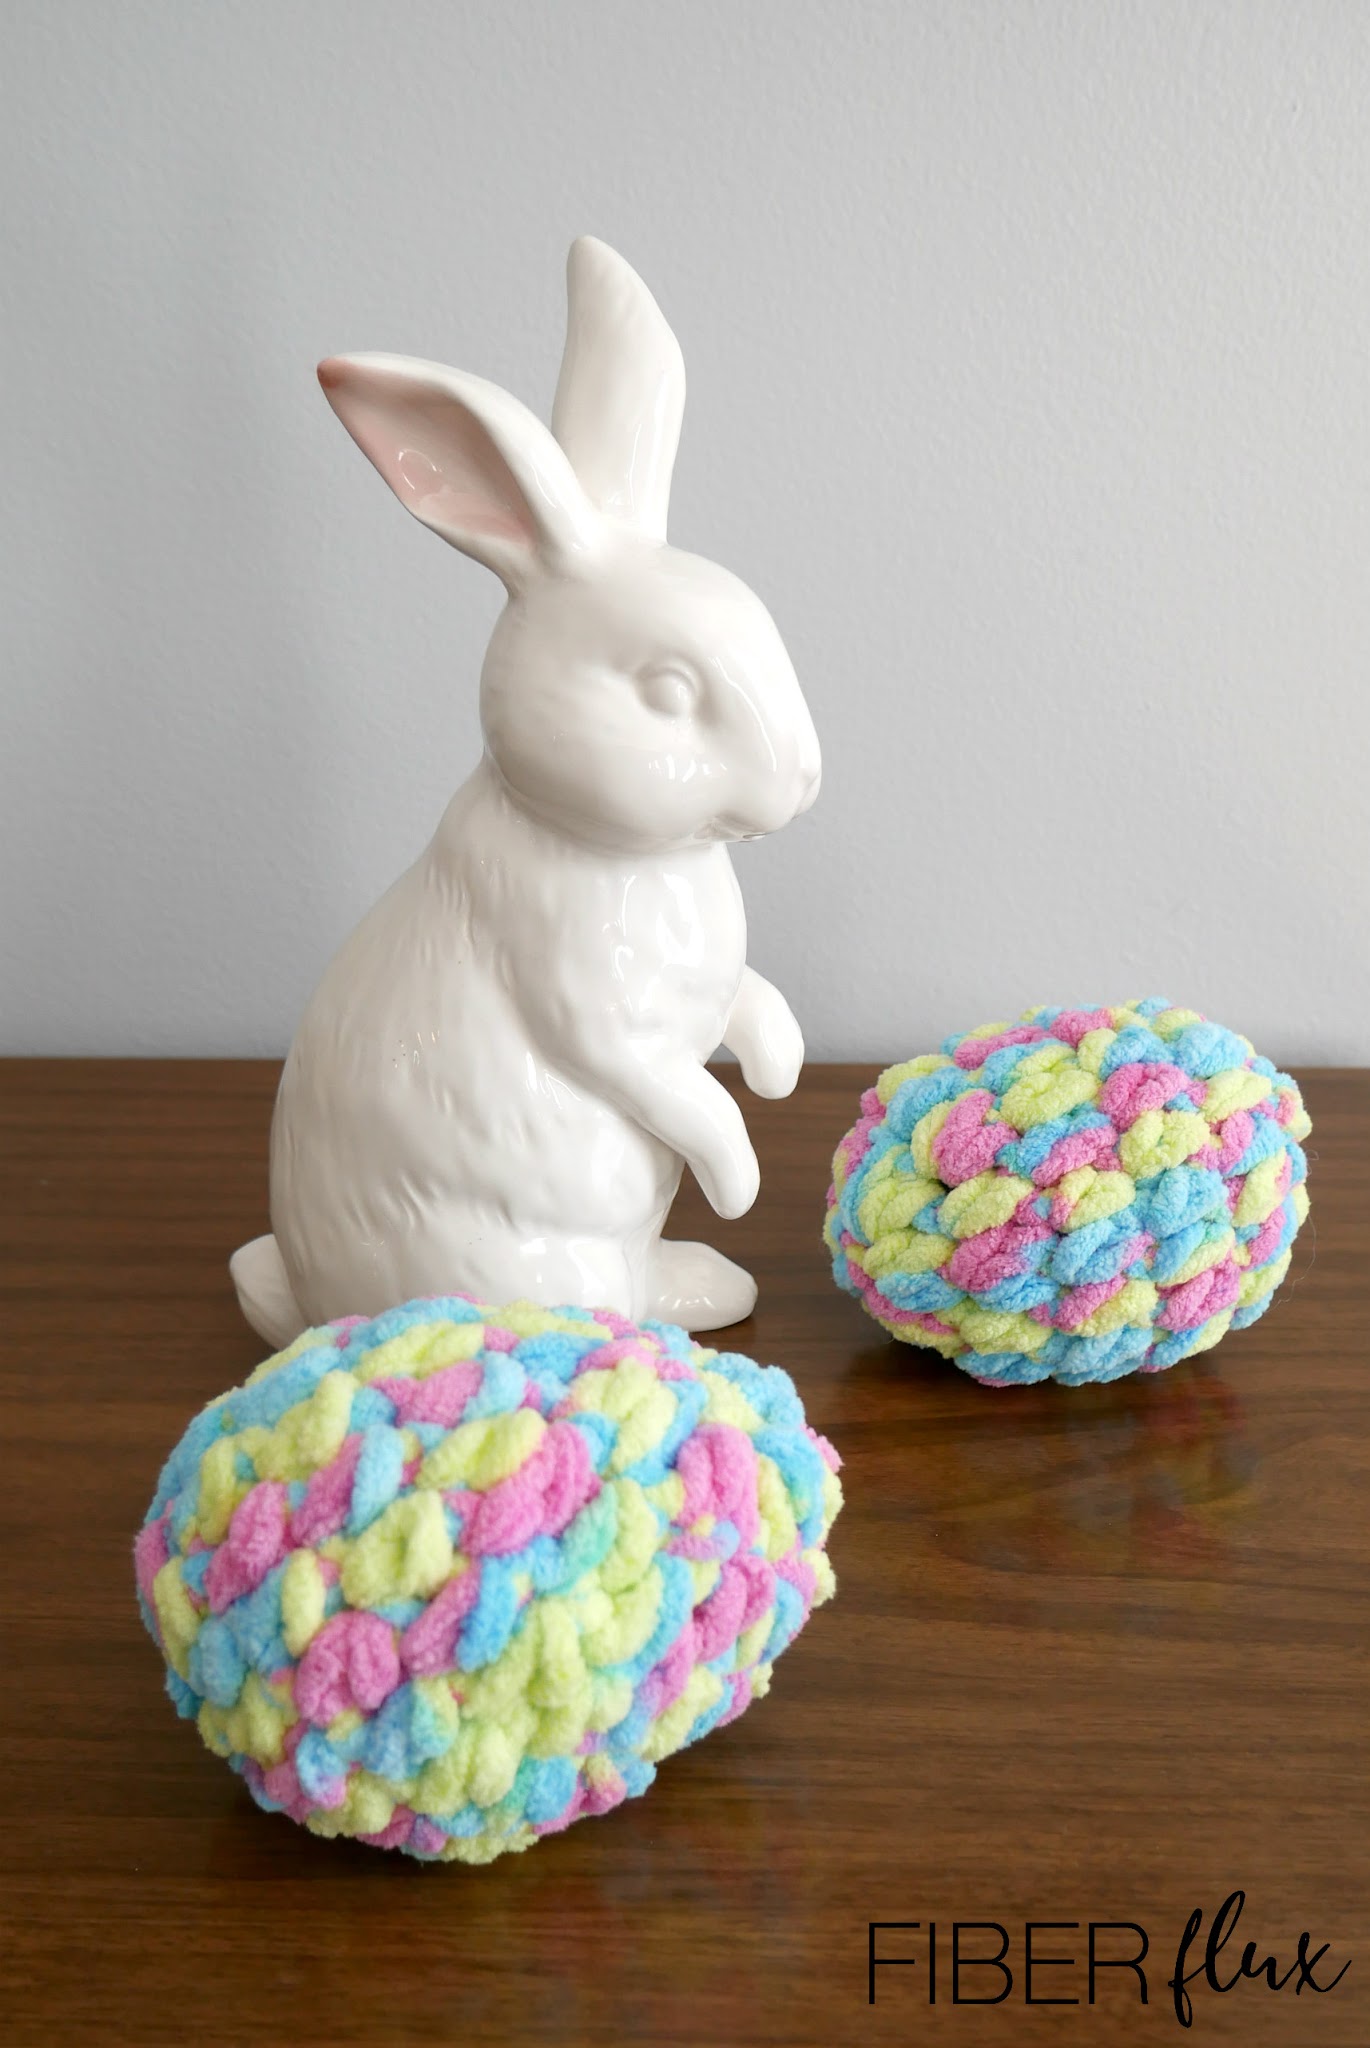
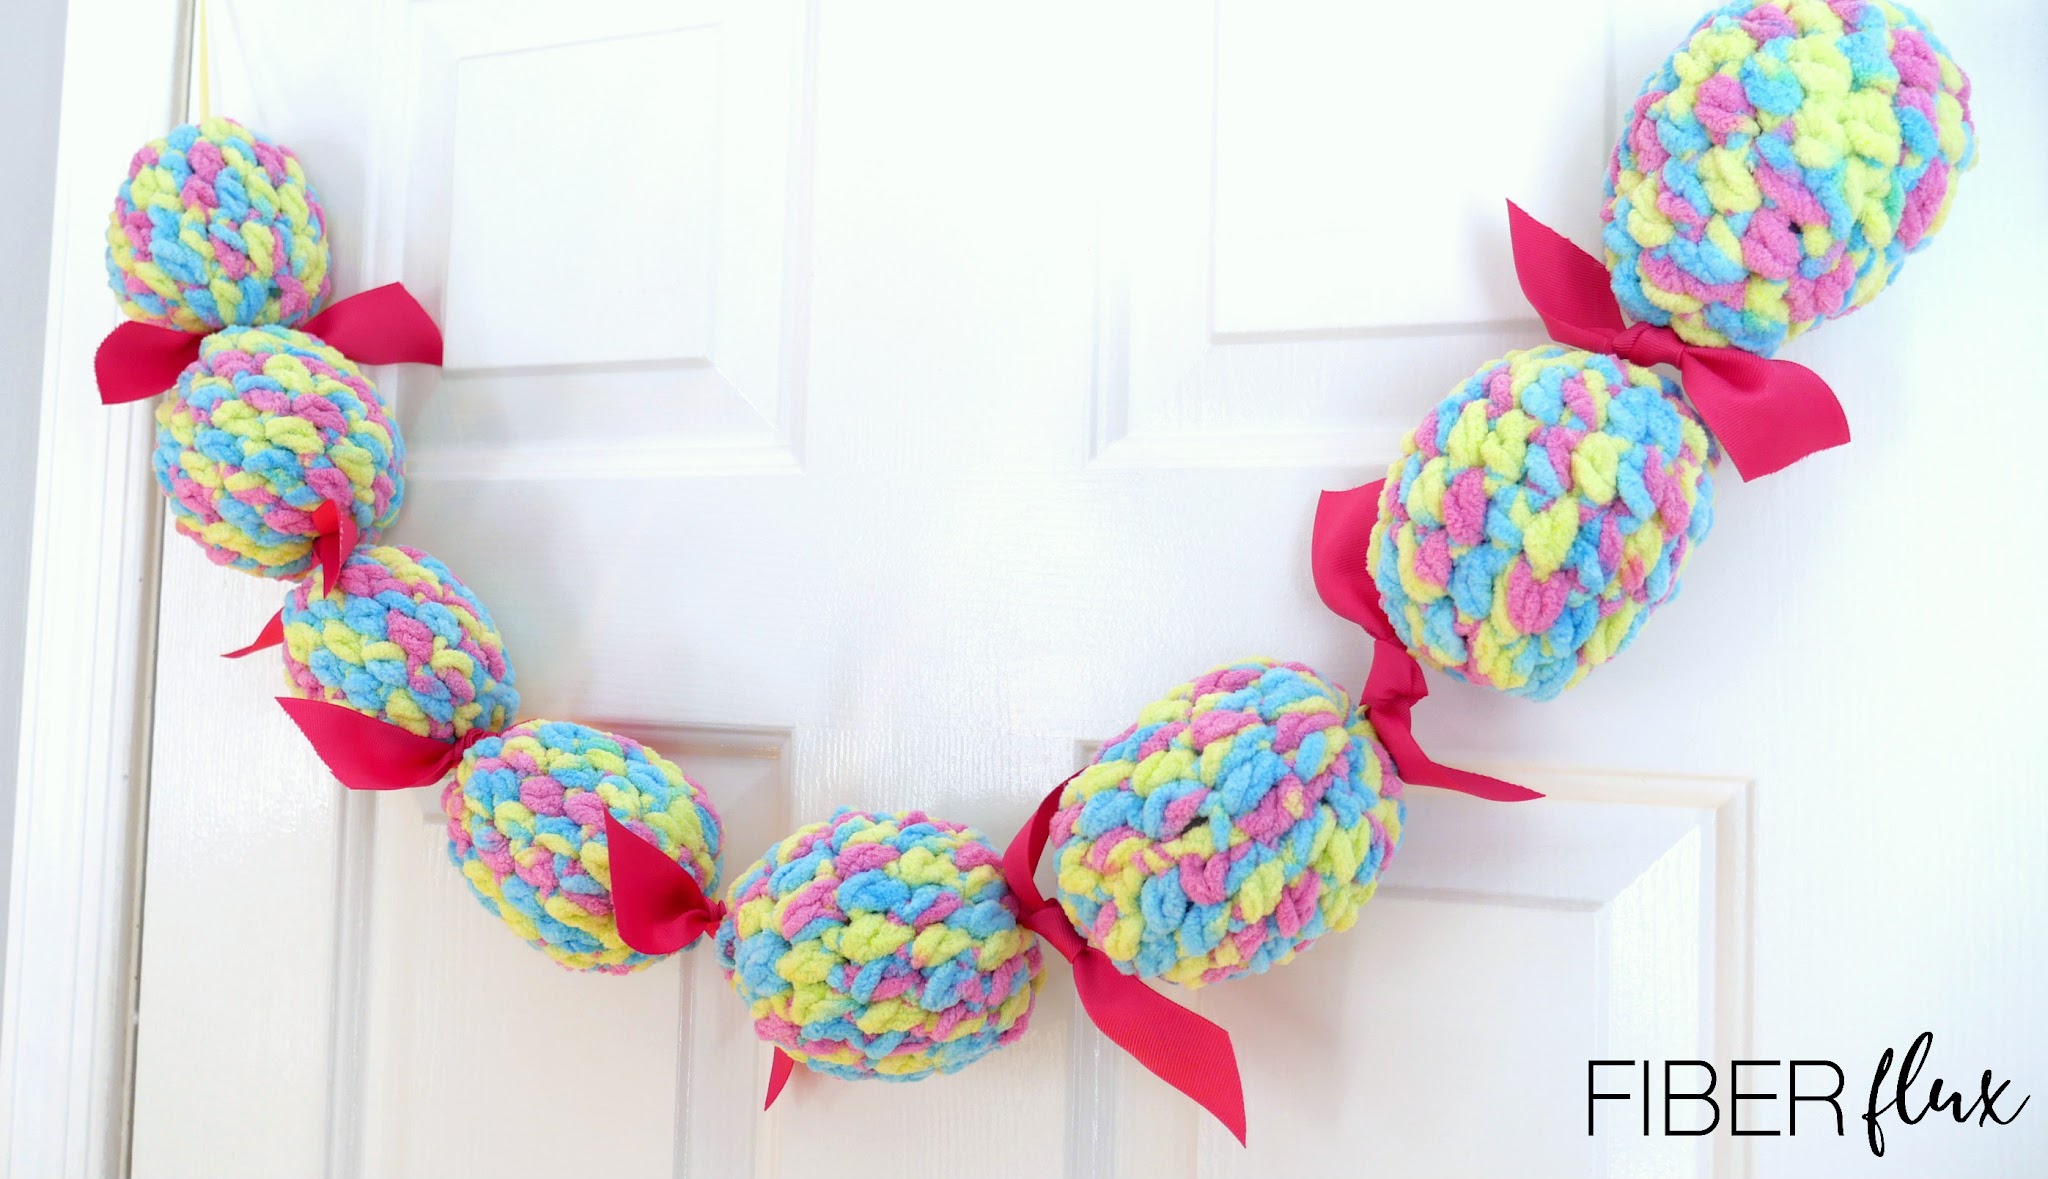
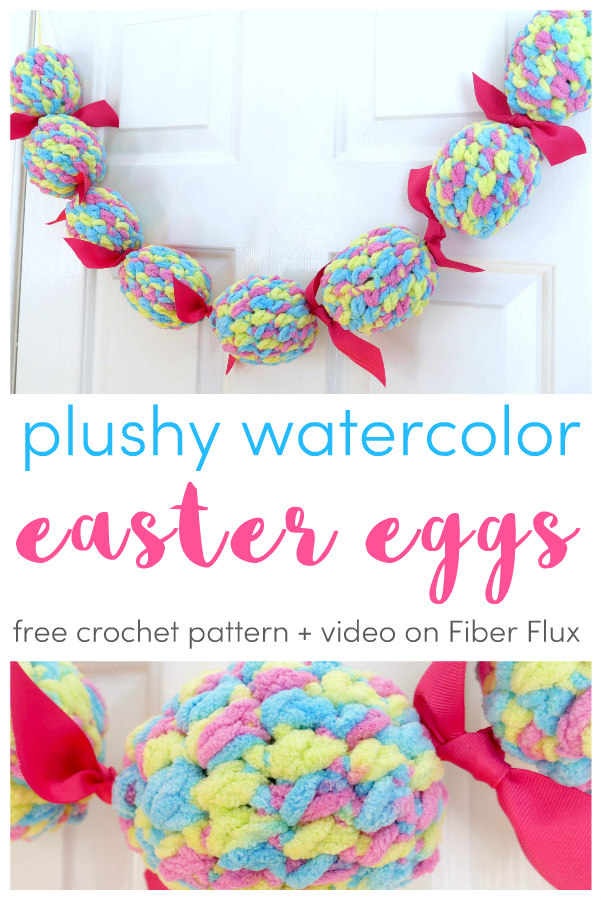
The Plushy Watercolor Easter Eggs are a fun little springy crochet project! Set them in a basket, hide them around the house, or string them up into a beautiful garland like I did (garland instructions and video down below). Completed in just 6 rounds, you can whip up a bunch of them with just one ball of yarn too. I love that these sweet eggs add a little springtime cheer to the home…fun!
Want a little help? There’s a full video tutorial below too!
Plushy Watercolor Easter Eggs
By Jennifer Dickerson
Click the button below to add this project to your Ravelry queue:

Click below to watch a full video tutorial on how to make this project:
Love video tutorials? Click here to subscribe to the Fiber Flux YouTube channel for more stitchy fun!
Materials:
- L (8.0 mm) crochet hook
- 1 ball of Bernat Baby Blanket (I used the “Jelly Beans” colorway) *Note: You can get lots and lots of eggs with just one ball of this yarn.
- Tapestry Needle
- Scissors
- Tape Measure
- Poly Fill to stuff the eggs (you can also use yarn or fabric scraps, cotton balls, or even repurpose some plastic bags too!
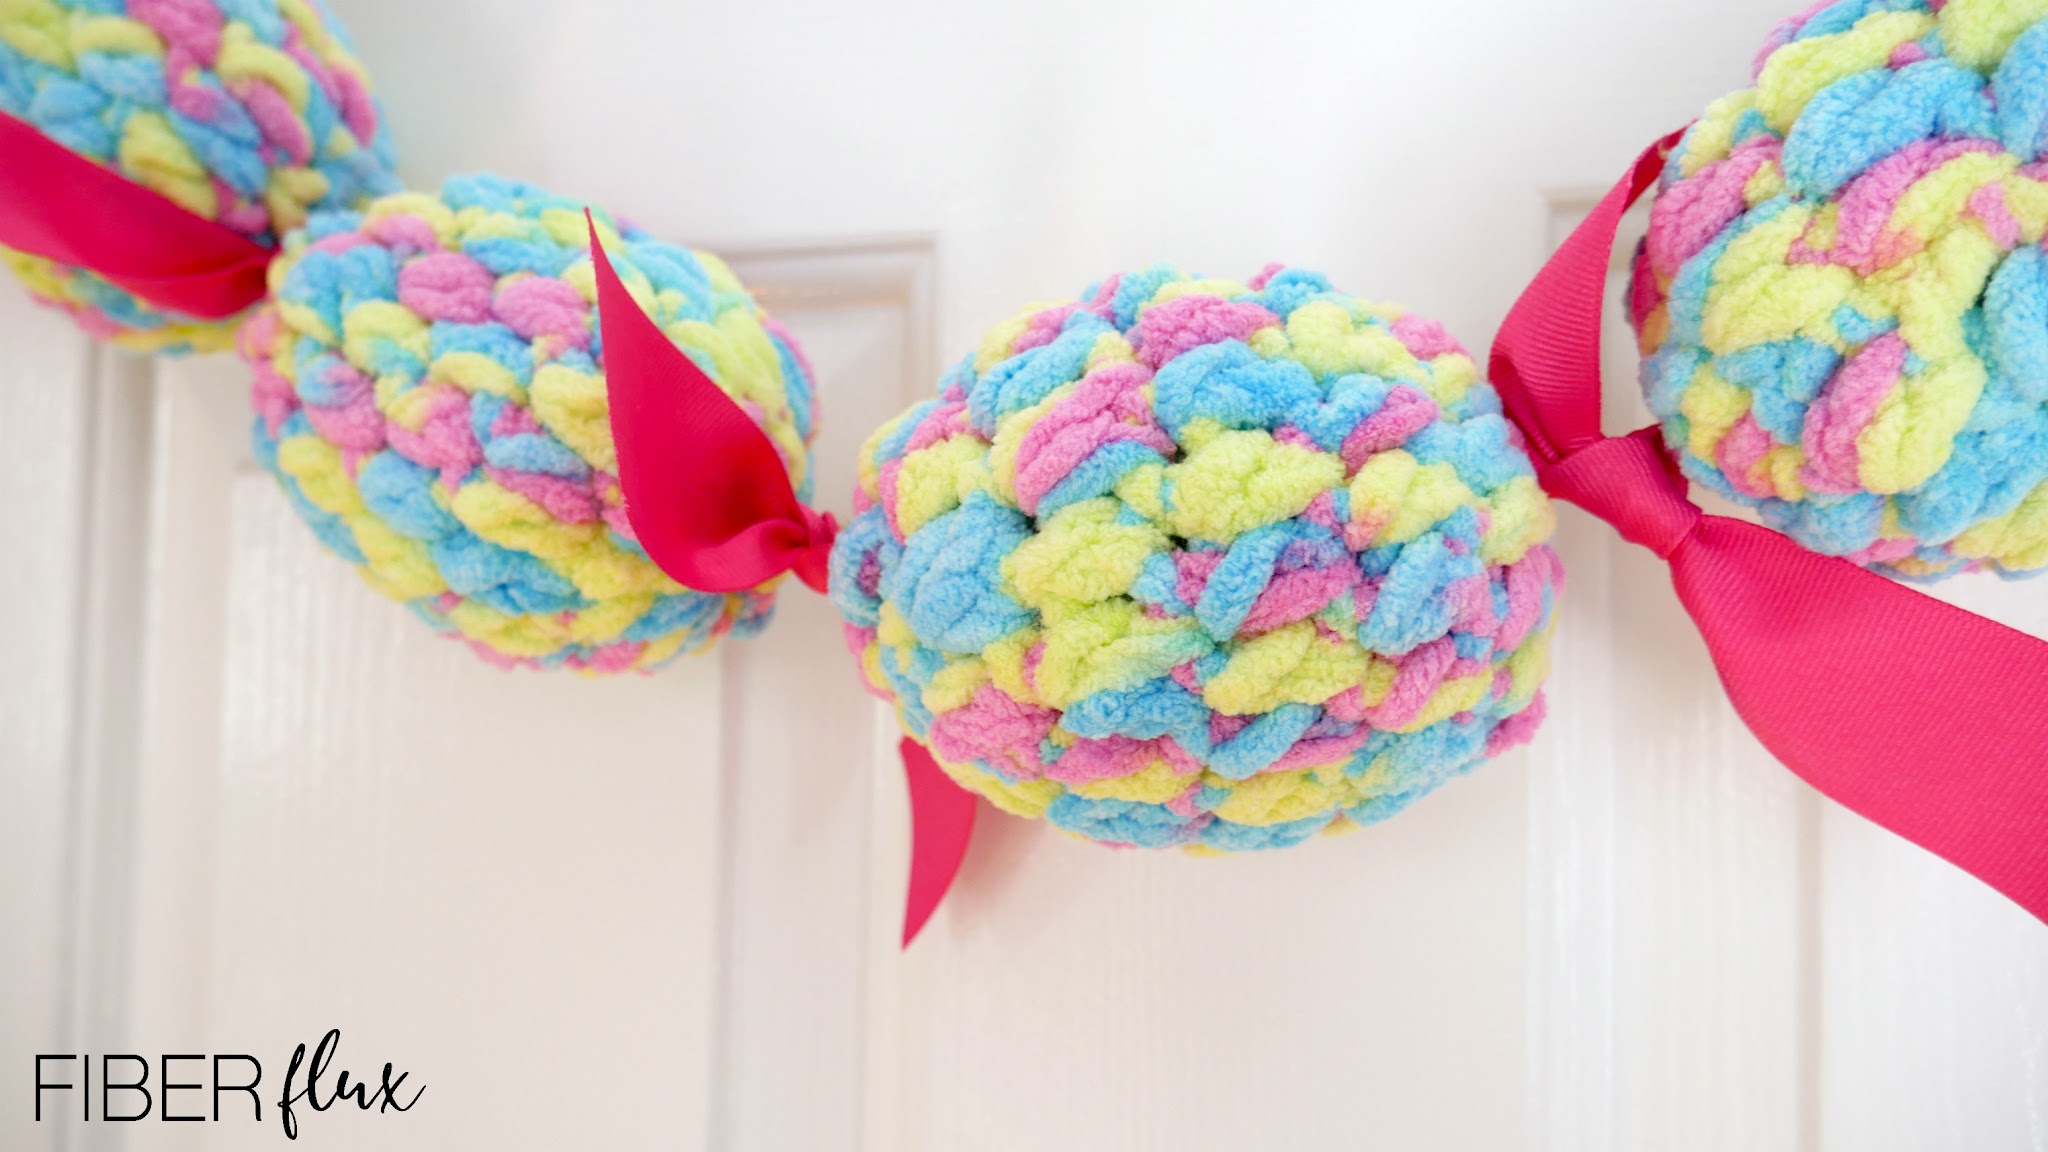
- Optional ribbon if you choose to make your eggs into a garland. I used narrow satin ribbon to string them up and wide grosgrain ribbon (pink ribbon shown is 1.5 inch grosgrain) to tie in between the eggs.
Sizing for each egg:
- 11 inch circumference
- 5 inches long
Instructions:
Ch 4, then join with a slip stitch in the chain furthest from the hook to make a ring.
Round 1: Ch 2, then work 11 hdc into the center of the ring. Join to close round with a slip stitch.
Round 2: Ch 2, then *work a hdc into the first stitch. Work 2 hdc into the next stitch. Repeat from * around. Join to close round with a slip stitch.
Round 3: Ch 2, then work a hdc into each stitch around. Join to close round with a slip stitch.
Round 4: Ch 2, then work a hdc into each stitch around. Join to close round with a slip stitch.
Round 5: Ch 2, then *work a hdc2tog across the first two stitches. Work a hdc into the next stitch. Repeat from * around. Join to close round with a slip stitch.
Round 6: Ch 2, then *work a hdc2tog across the first two stitches. Work a hdc into the next stitch. Repeat from * around. Join to close round with a slip stitch.
Fasten off leaving a long tail. Stuff egg with poly fill or filling of your choice into the small hole at the top of the egg. With a tapestry needle and the tail, seam up the top and pull tightly to close hole shut. Weave in any ends and you’re finished!
Instructions for Garland:
Thread a long piece of narrow ribbon with your tapestry needle and run it through the middle of each egg. I chose to string them from top to bottom, but if you like you can string them so that they are upright too.
Cut a piece of wide ribbon (6-8 inches long) and tie in between each egg for a little extra contrast and texture. Trim even and neatly at an angle for a finished look.
You can slide both the eggs and ribbon ties into position for hanging. I chose to have mine snugly together (touching) for a more compact look. However, you can spread things out for a more open look too.
Hang using ribbon ends on a mantle, window, mirror, plain wall, etc.

© Jennifer Dickerson 2020
For more fun projects and pretty patterns, be sure to follow Fiber Flux on Facebook, Instagram, Twitter, and Pinterest for the latest updates!


Those are really cute.