
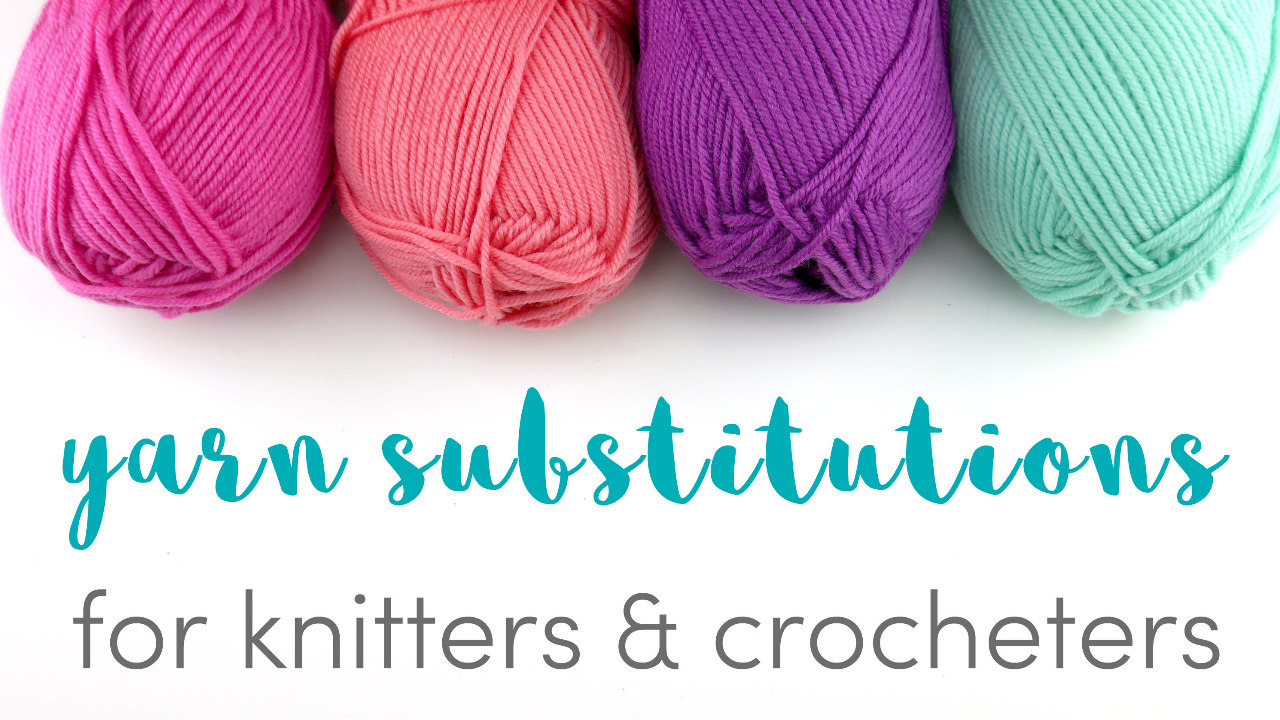
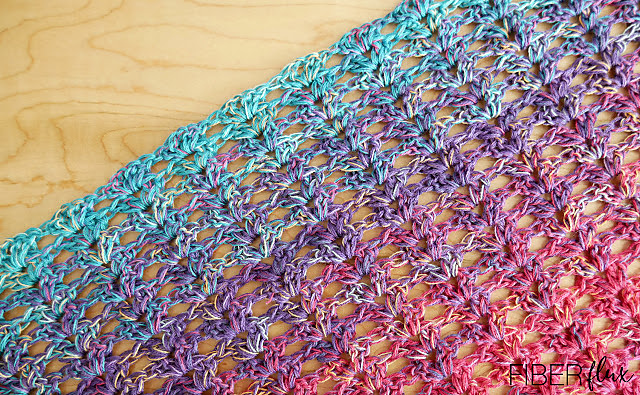
I’ve gotten many questions lately about substituting yarn from both crocheters and knitters alike. Being indoors these past few weeks, we are relying on our yarn stashes more and more to satisfy our crochet time and still be able to complete beautiful crochet projects with what we have on hand. Often though we find the perfect pattern only to discover that we may not have the yarn called for in the pattern! No worries at all…here are a few tips to help you substitute yarn for your next project. Happy stitching lovelies!
1. Get to know your yarn labels. Having a good understanding of yardage, yarn weight, recommended hook/needle size, dye lots, etc will go a long way in assisting you in your quest for the perfect yarn. Try storing your yarn by weight for easy access to what you need. Not sure how to decipher and use the information on there? No worries! Keep reading and we’ll get into each of these items in more detail.
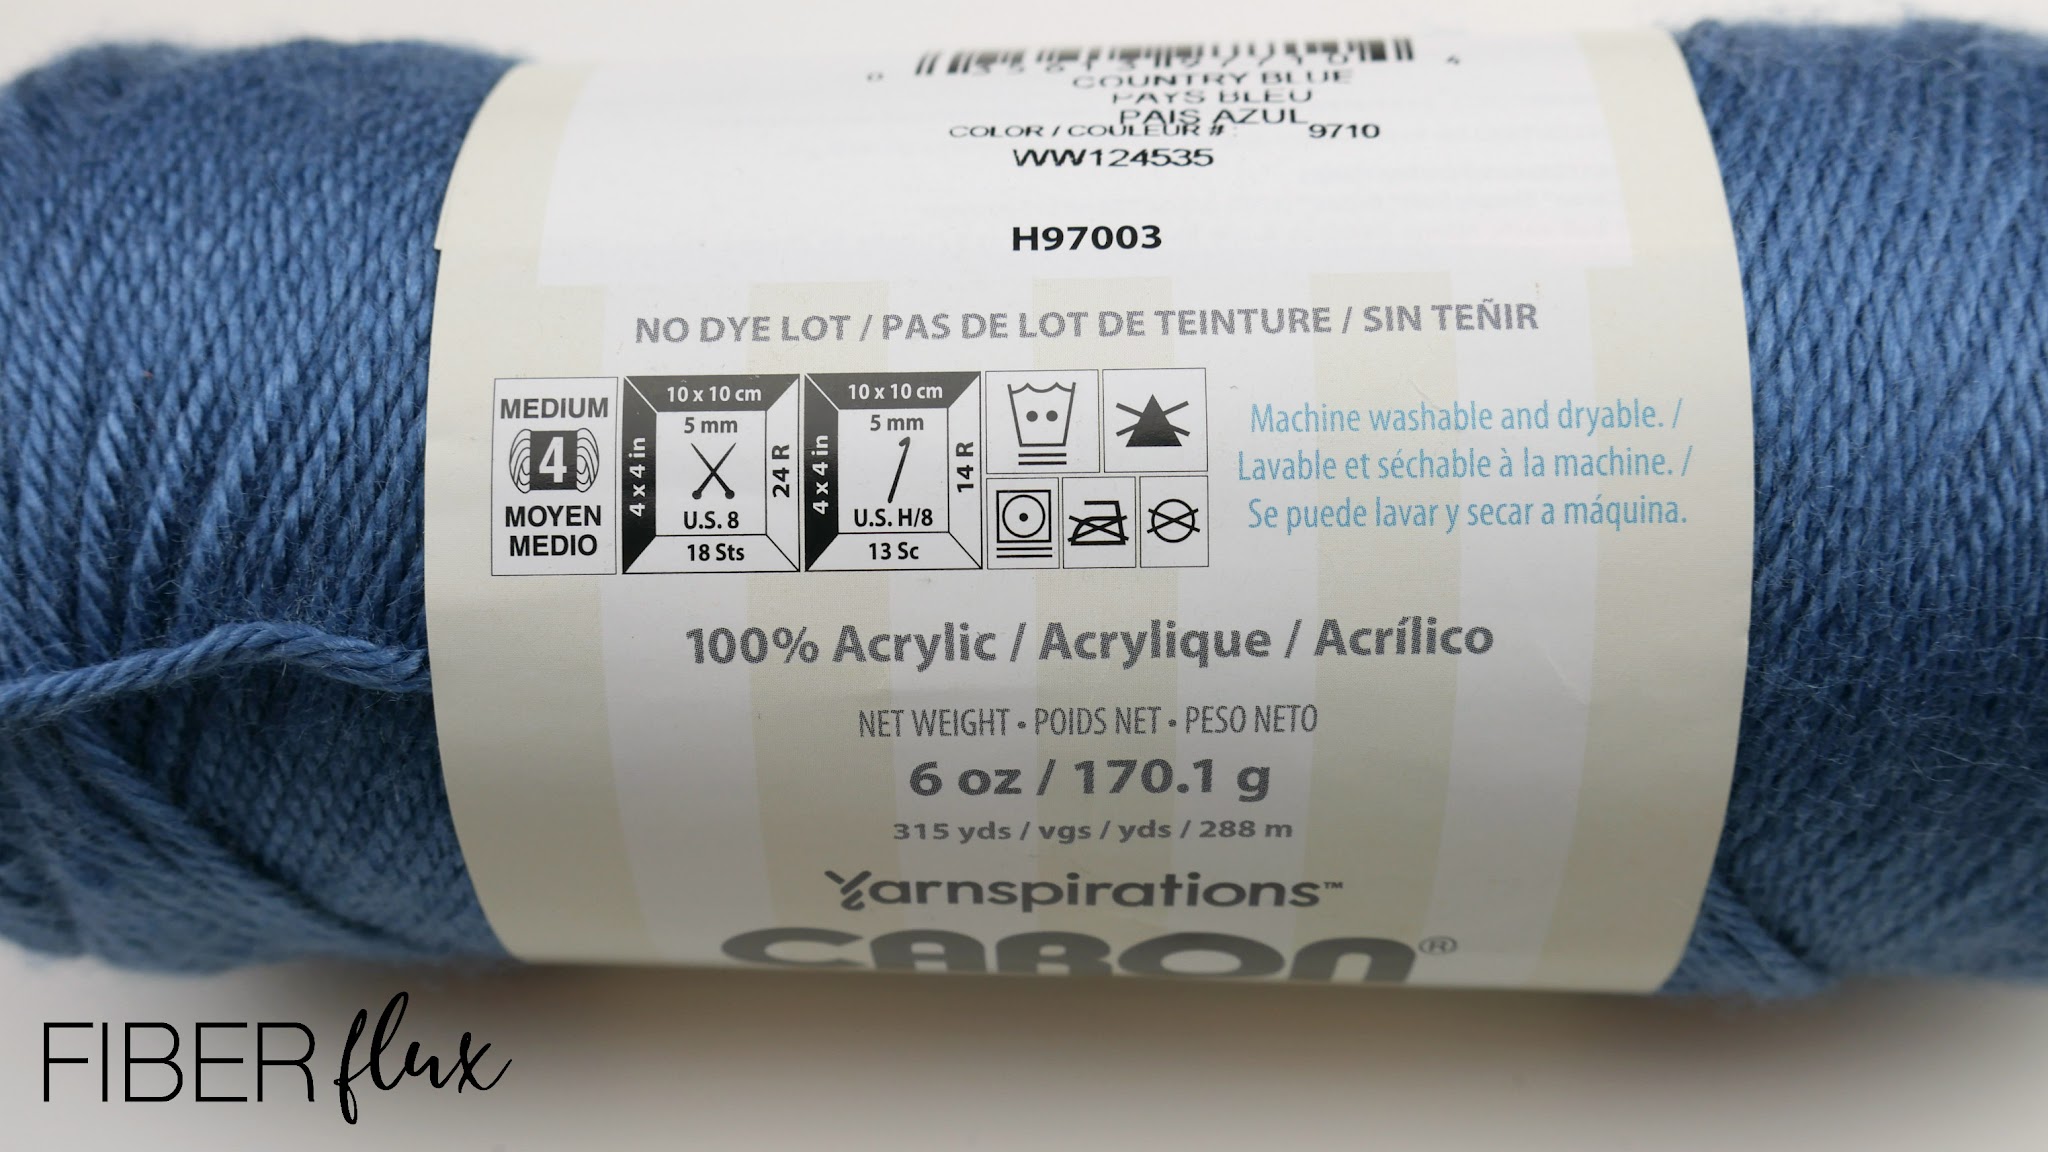
2. Match yarn weights per the Craft Yarn Council’s Standard Yarn Weight System. This is the standard systems pretty much most (if not all) yarn companies use to classify and categorizes yarn weights. Using a handy 0-7 system, it ranges from yarn as fine as “lace” weight (0) and as thick as “jumbo” weight (7). When you need to substitute, try sticking to the same number as the yarn called for in the pattern as well. This number can be found on the yarn label…here’s an example of the standard symbol used:

3. Match recommended hook/needle size for the yarn. If your pattern recommends an “H” hook for example, look for a yarn in your stash that also recommends an “H” hook too. Here’s an example of what it will look like on the label: (needle recommendation on the left, hook recommendation on the right):

4. Look for a similar texture of yarn. Often yarn textures will change the entire look of a finished project. A smoother strand will have more stitch definition than something fluffier, more textured, or with a “halo” around the central strand. You may love the difference and choose to use it as a design element, but if you are trying to get the same look as the finished design from the pattern, it may help to match up those yarn textures for a similar look.
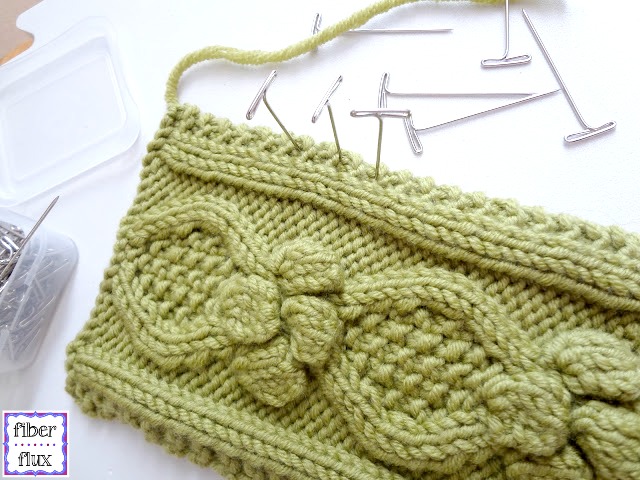
5. Knit/crochet a “test” swatch. Often making a little sample of your project, called a swatch will give you a very good idea of how the yarn will behave as you work up your project. For best results, use the stitches from your pattern (lace, cables, etc). The idea is to mimic the project conditions for the best idea of how it will look. If you are calculating gauge, I use this super simple (inexpensive) metal gauge ruler:
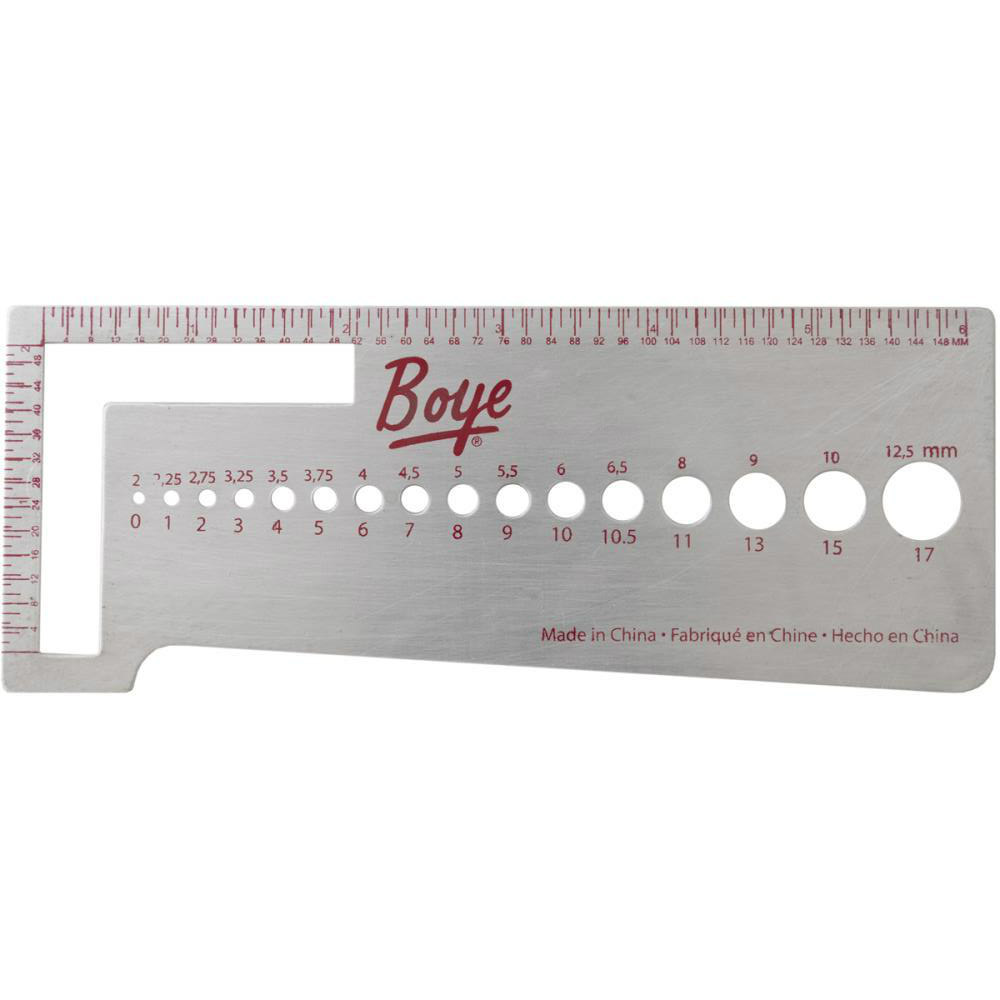
Simply hold it over a section of your project and count the number of stitches in the box. If your pattern has gauge information (some patterns do, some don’t) you can use this information to guide you in your yarn substitutions as well.
6. Consider the fiber content. Even if you have the yarn weights and recommended hook/needle sizing matched up, yarn fibers have different drape, behave differently, some are more stiff, etc. For example, a silk yarn will have a much more flexibility and slip than a sturdy cotton would. If you are ok with this, awesome, but just be aware of how different fibers have differing sturdiness, drape, grip on the hook/needle, etc.
7. Consider wraps per inch. Wraps per inch or WPI for short is calculated by wrapping yarn around a ruler for one inch (with no gaps in the wrap) and counting the wraps. If you’re not sure about the original yarn from the original pattern, check Ravelry for more information. Be forewarned though, this data is not always present in the database for all yarns they have listed.
8. Try multi-stranding it! Does your pattern call for a bulky yarn but you have none on hand? Try holding two or more strands together to mimic and create a new yarn weight. This takes a bit of experimentation, but I find swatching first is the most helpful to see if it stitches up how you want.
9. Don’t be afraid to switch things up! Often in theory a yarn + hook/needle might be the perfect replacement…until you start working up the pattern. Try adjusting the hook/needle a size or two if needed. Or, try more than one yarn and compare. When I’m creating designs, I often choose my second, third (or fourth) yarn experiment and go with that. Often my first choice is not my favorite. Sometimes the perfect substitute just needs to be discovered through trial and error (emphasis on the error!) Experiment to your heart’s content!
10. Don’t forget dye lots and yardage. So, you’ve found the perfect yarn…yay you! Now let’s talk dye lots. Some yarn does not have dye lots, which certainly makes things easier, but many, many yarns do. Check out the little number by “dye lot” on your yarn label and make sure they are the same. Different dye lots of yarn can give inconsistent coloring to a finished piece. OK, yardage…be sure you have enough of it for the full project too. Short on one color but have several colors of the same/similar yarn? Add striping as a design element to your project.
Bonus tip!!! Don’t want to mess with all of that stuff? Just need a quick answer? Try easy tools like the “Yarnsub” tool. Simply type the yarn in to the box, hit the search button and it will look up yarn for you! Click here to check it out! I will sometimes use tools like this as a starting point and then do my own investigations from there, but if you’re really perplexed, this can be very helpful!
I hope these tips help you in your yarn adventures! Keep sharing your Fiber Flux projects using the #fiberflux hashtag and tag me on social media too!
© Jennifer Dickerson 2020
For more fun projects and pretty patterns, be sure to follow Fiber Flux on Facebook, Instagram, Twitter, and Pinterest for the latest updates!


I love the yarn on this post, but with acrylic yarn I wonder if it will get stiff and crunchy like my grandmothers quilt did. What is the best yarn for washability and non pilling? Thanks!
Thank you so much for sharing this! I have to substitute all the time because I'm allergic to wool and frequently can't use the suggested yarn, so these tips will be really useful.
Sometimes you just have to test it out. Even when you test the gauge the outcome isn't always what you hoped for as I found out this week but I found another yarn that worked fine. You just have to have a little patience.
Jennifer, thank you for such a fun project. I have been wanting to make the 'rent shawl' from Outlander but everything was in knit rather than crochet. Yay for FiberFlux. I ultimately would like a little tighter texture but without it being a super dense long project. Do you recommend just going down in hook size and match appropriate yarn? Then swatch to get the correct size? I'm fairly new and love to experiment BUT get discouraged with disastrous flops after so much effort. Thanks for your input.
Good info! Thanks!
Thank you.