
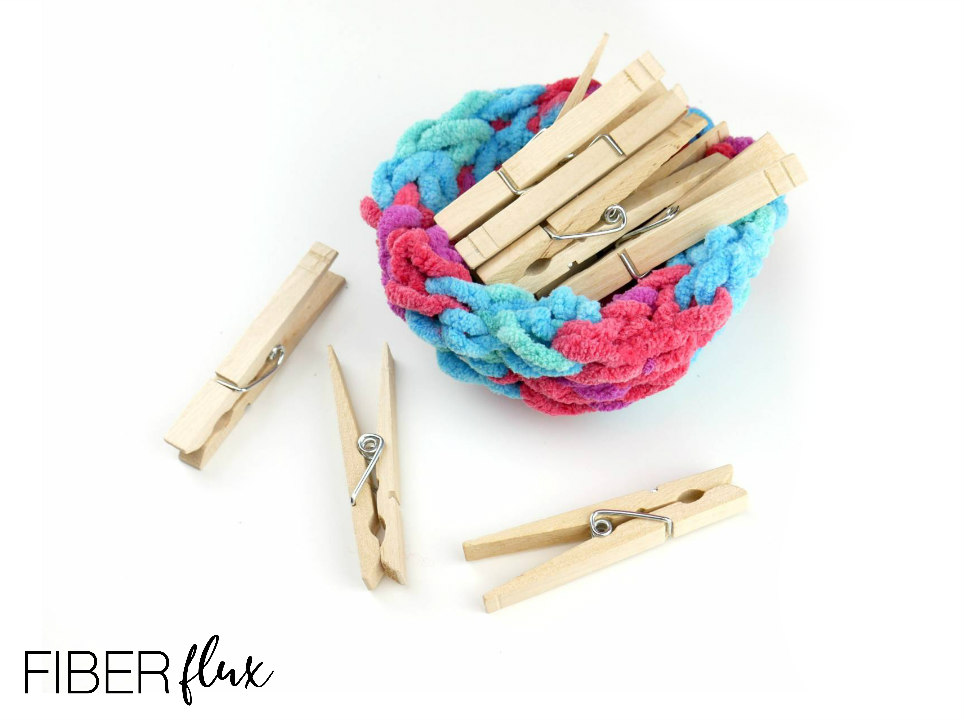
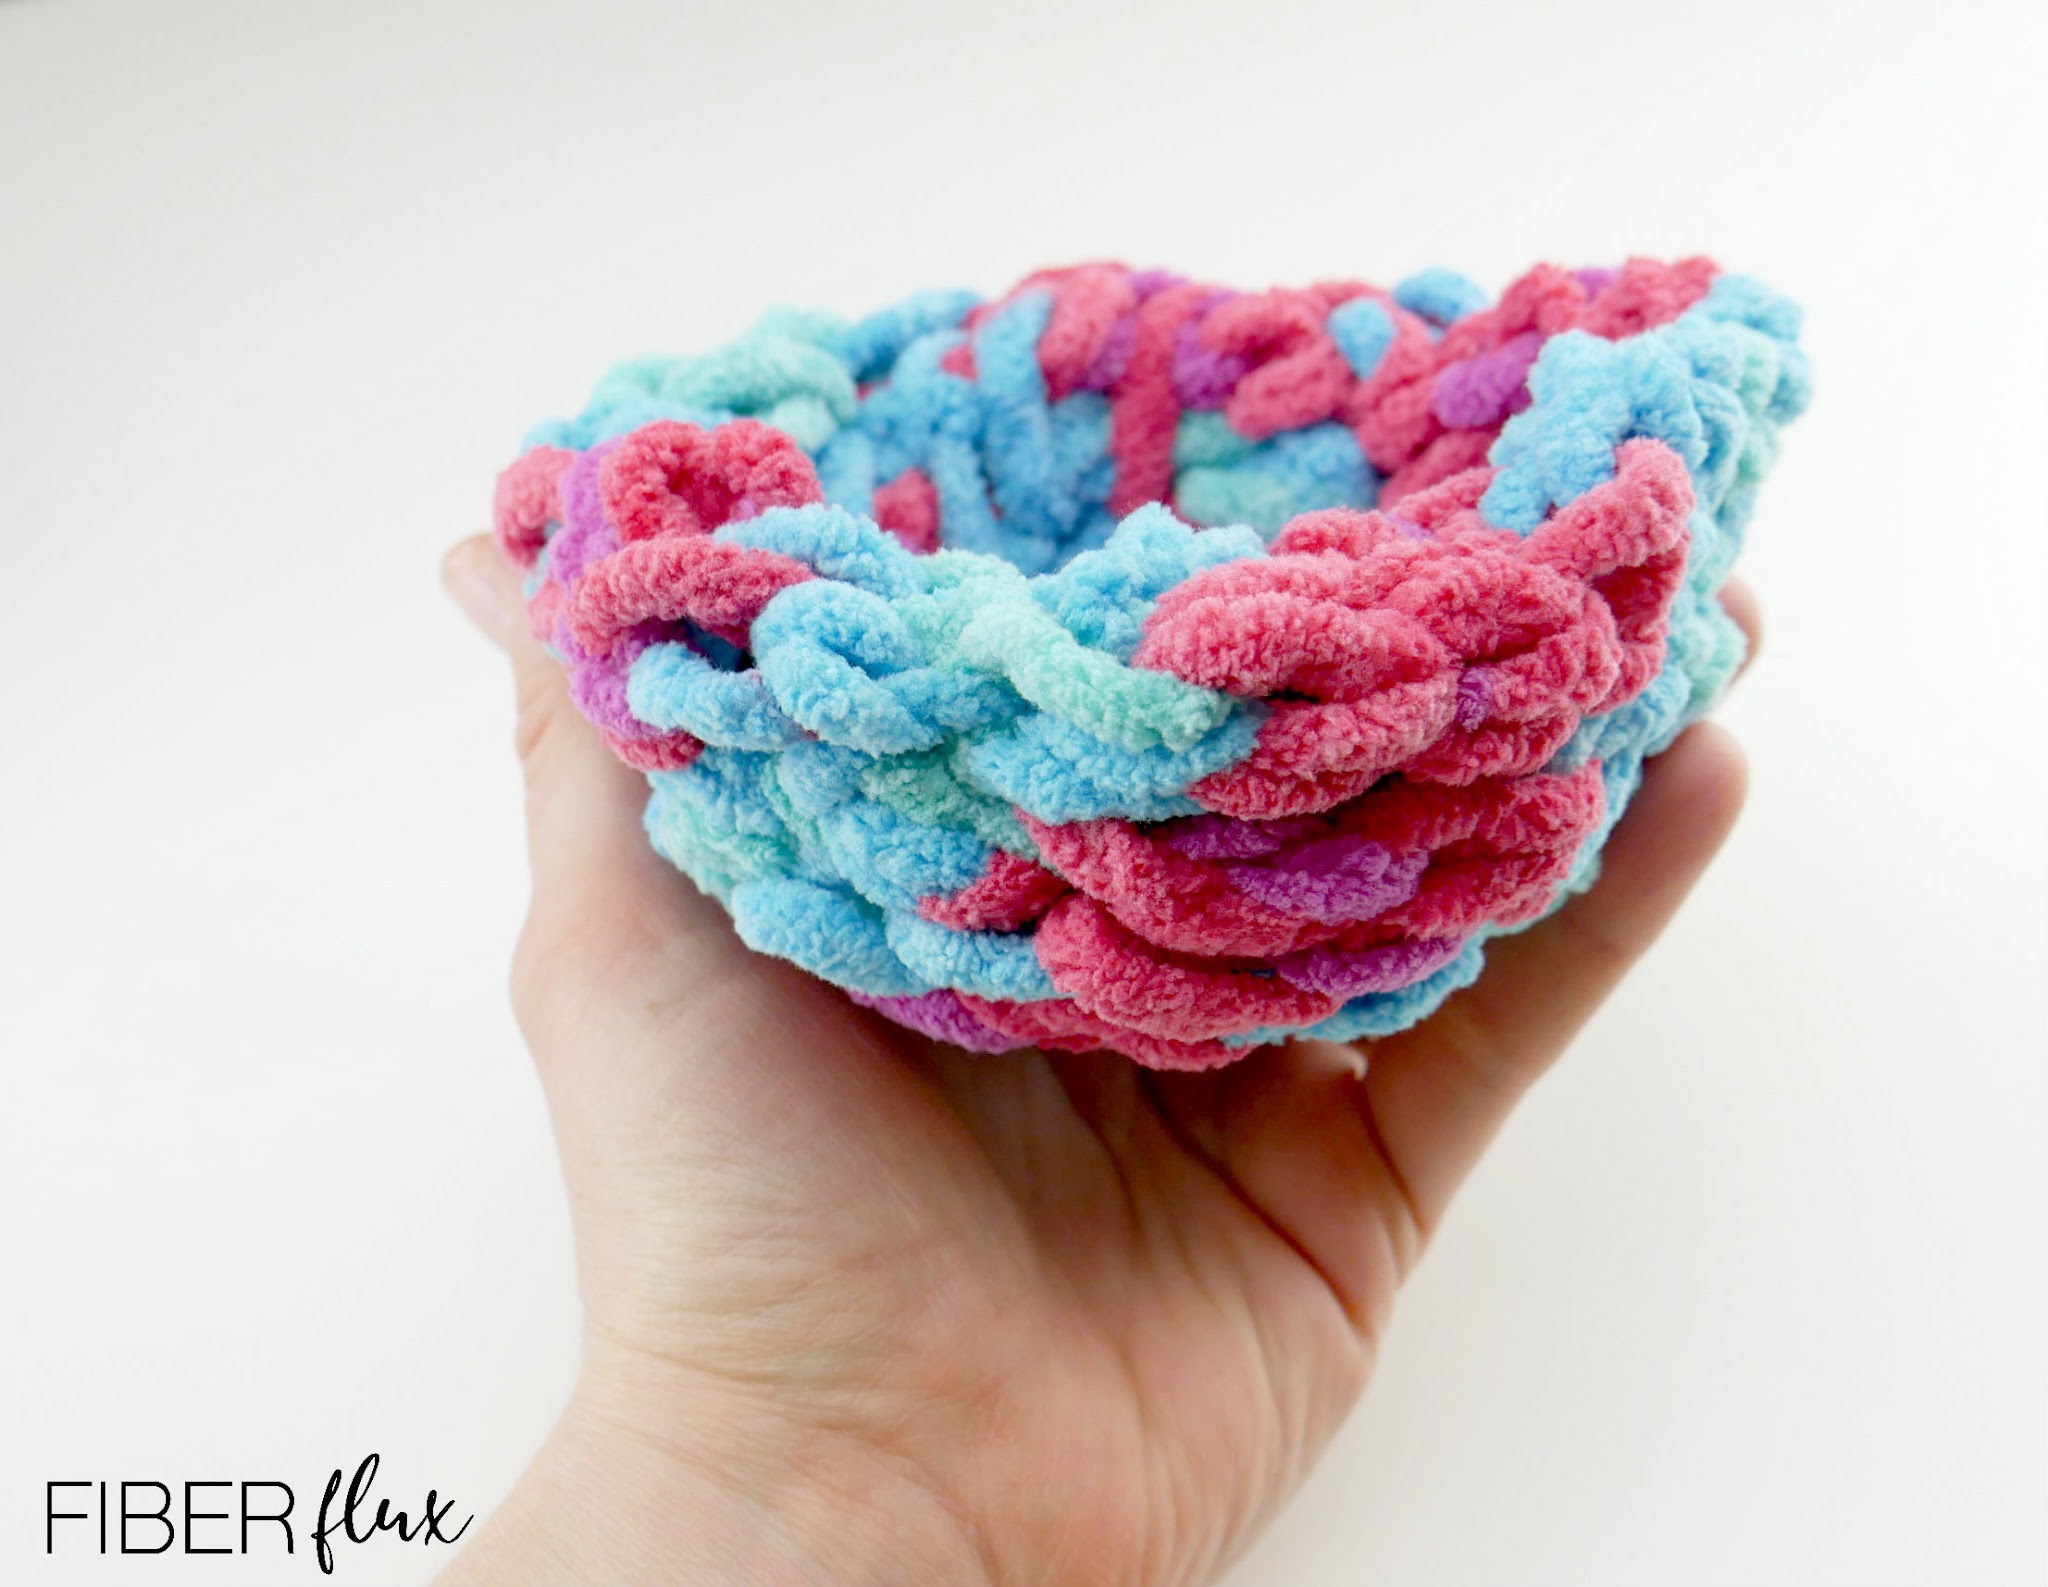
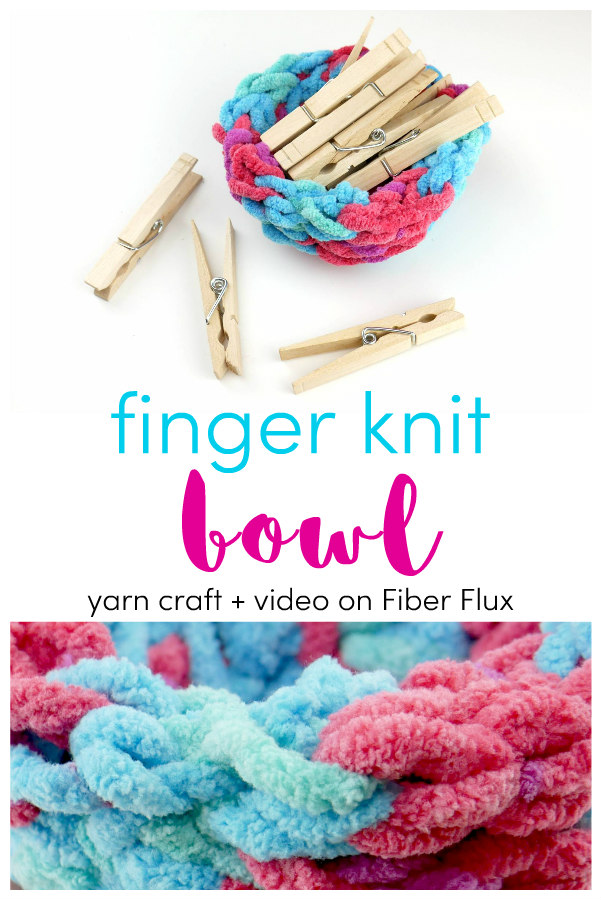
Finger knitting is a fun and relaxing yarn craft that makes a pretty rope. You can coil this rope up to make a neat bowl and lots of other things. This bowl is a pretty way to keep small items organized too!
Want a little help? There’s a full video tutorial below too!
Finger Knit Bowl
By Jennifer Dickerson
Click below to watch a full video tutorial on how to make this project:
Love video tutorials? Click here to subscribe to the Fiber Flux YouTube channel for more stitchy fun!
Materials:
- Super Bulky/6 yarn (I used Sweet Home from Red Heart in the “Calypso” colorway) Note: if you do not have super bulky yarn on hand, try holding a few strands of a thinner yarn together.
- Large tapestry needle
- Scissors
Instructions:
Note: If you have never finger knit, I highly recommend the video!
- With the palm of your left hand facing you, hold the yarn in your left hand and let the strand hang down toward you. Leave a long tail for seaming later.
- Using your four fingers as “pegs” on a loom, Begin wrapping yarn over and under each finger back and forth until you have two loops on each finger.
- Next, starting with the left finger and working over to the right, lift the bottom loop on the finger up, over, and off the finger. Repeat for each finger.
- Wrap yarn around the fingers once more, so two loops are on each finger again.
- Repeat step 3.
- Continue repeating steps 3 and 4 until you have a nice long rope. I made mine about 50 inches long.
- Cut the yarn, leaving a long tail (we’ll use that for seaming later).
- Wrap your rope into a flat coil shape (kind of like a circular rug) and with your needle, use the center tail to stitch it together in sort of a zig zag pattern, working from inward and out towards the center with each pass. No worries if it is flat looking right now, we’ll give it the bowl its shape in the next step. I found it was helpful to to lay it flat on a table while seaming this part.
- Be sure your bowl has no openings or holes it in. If you discover an opening in the bowl, stitch it together with the same tail.
- Fasten off with a secure knot.
- Using the outside remaining tail, run the yarn with the needle along the top edge. After this part, gently pull the tail tighter. This will tighten and bring up the sides of the bowl to give it its “walls”
- Fasten off with a secure knot and weave in any ends that remain.
Happy yarn crafting!

© Jennifer Dickerson 2020
For more fun projects and pretty patterns, be sure to follow Fiber Flux on Facebook, Instagram, Twitter, and Pinterest for the latest updates!


This comment has been removed by a blog administrator.
This comment has been removed by a blog administrator.