
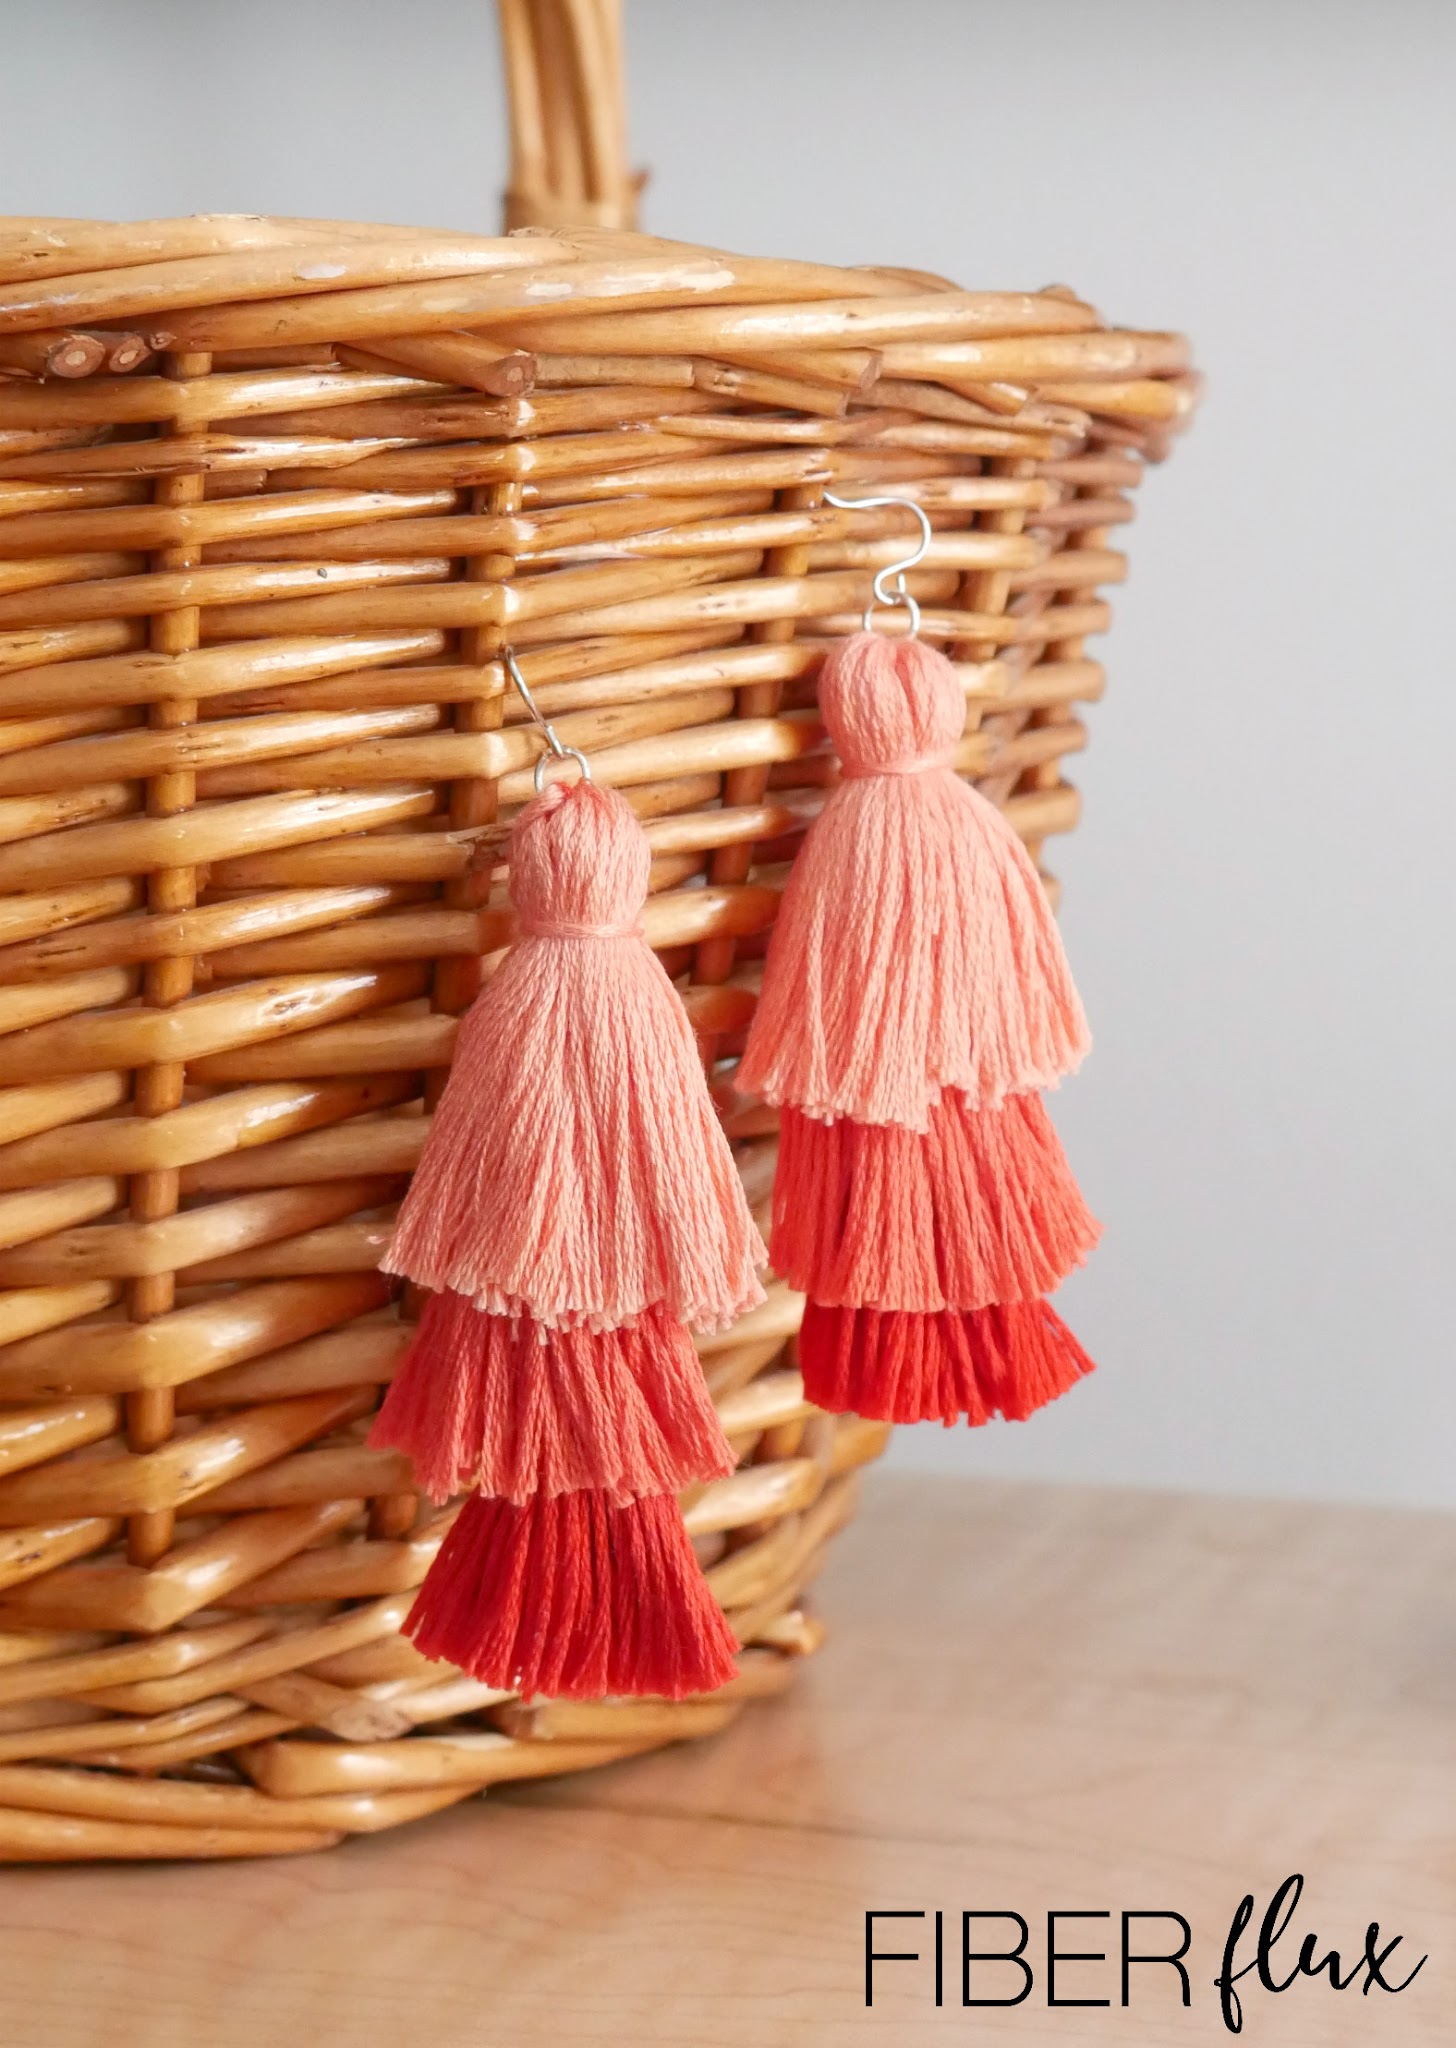
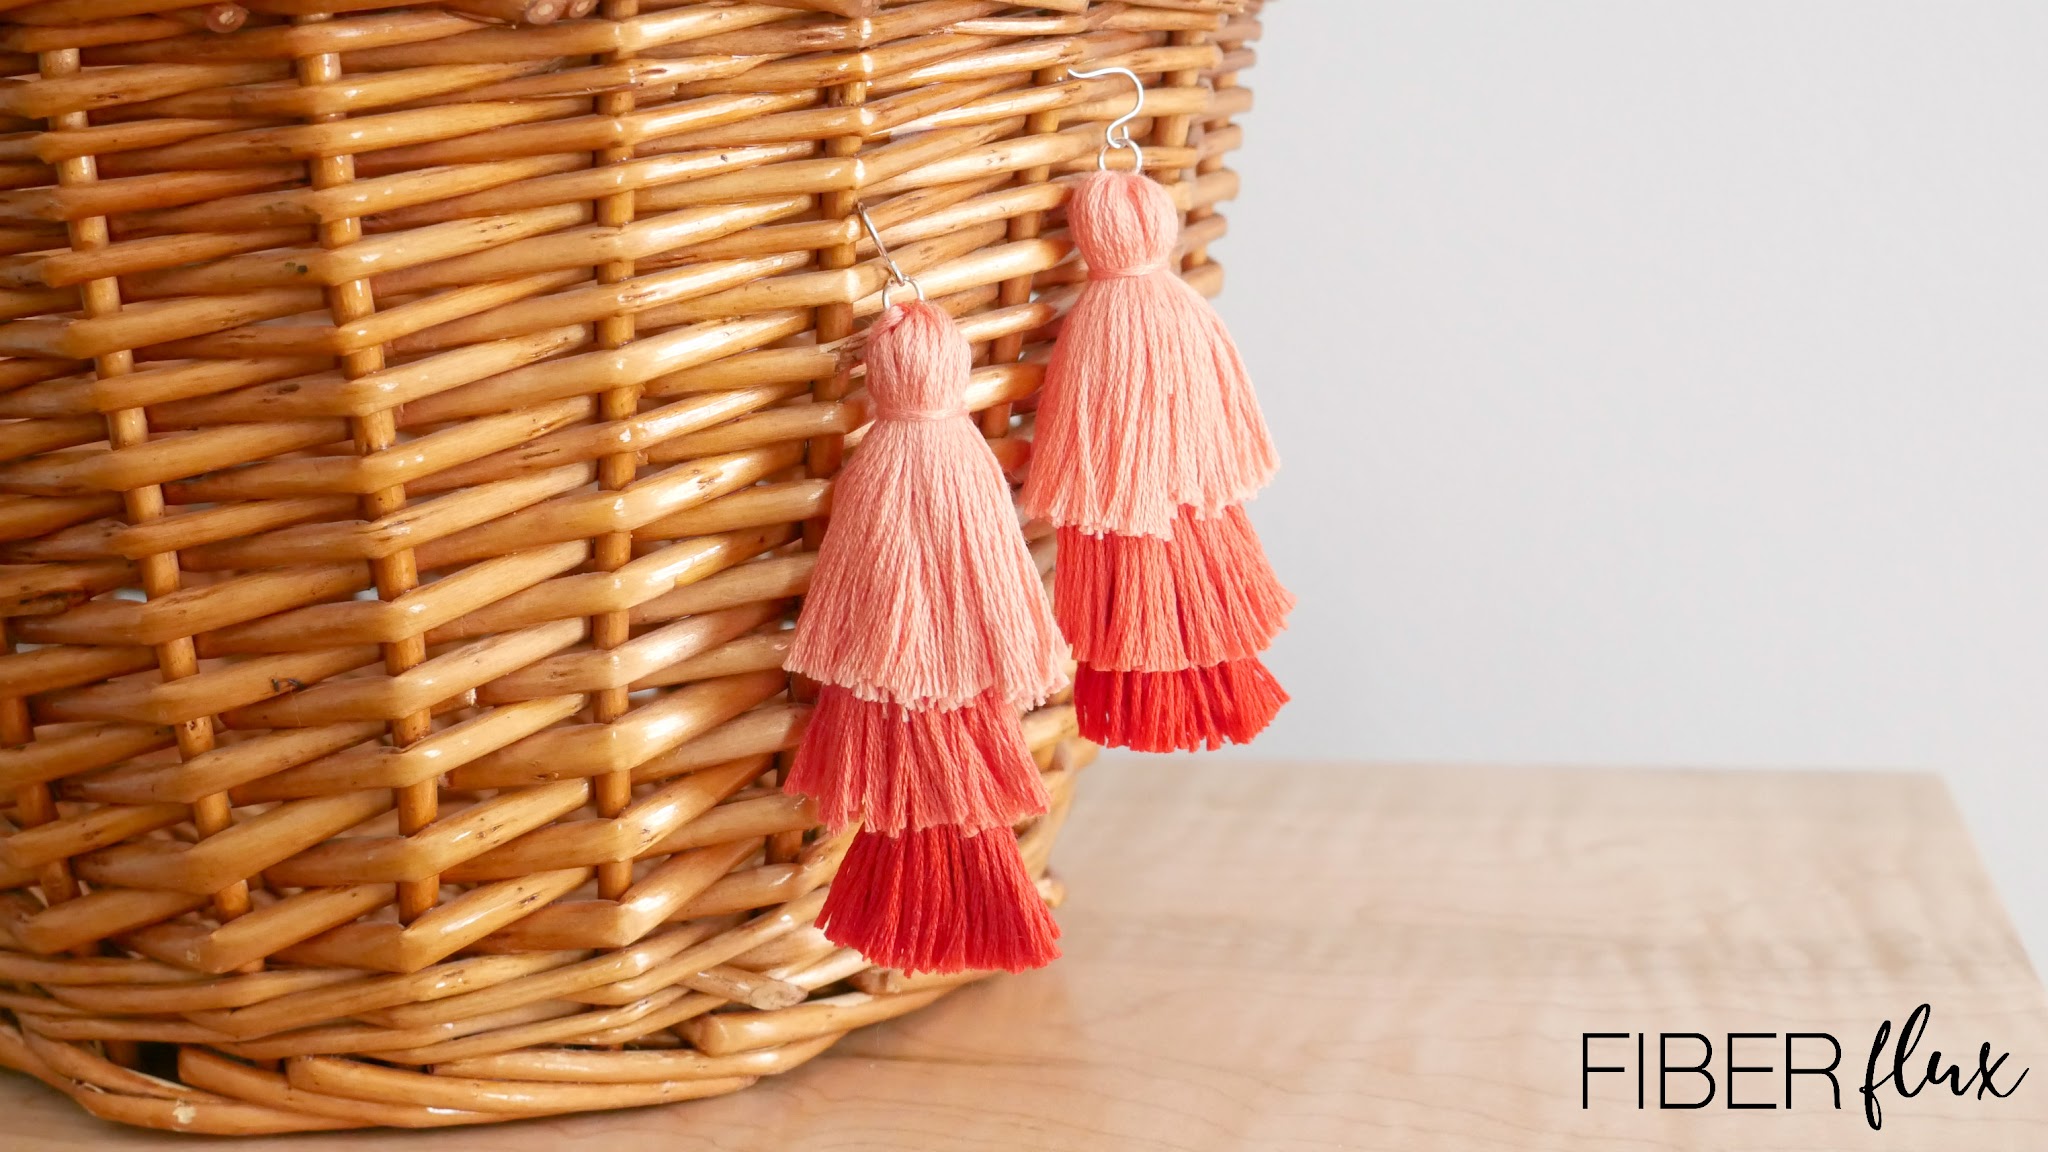
I have been wanting to make a pair of these tiered tassel style earrings for so long! I’ve seen them sold in clothing stores and wanted to make them with a fun gradient using some simple materials…done and done! Makes a super fast and easy little wearable, so treat yourself or someone special too!
Want a little help? There’s a full video tutorial below too!
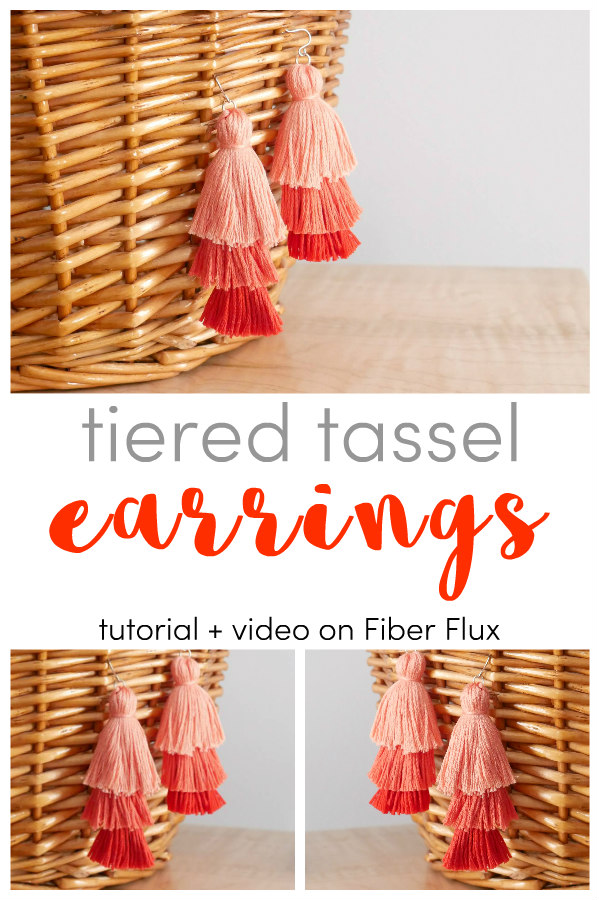
Tiered Tassel Earrings
By Jennifer Dickerson
Click below to watch a full video tutorial on how to make this project:
Love video tutorials? Click here to subscribe to the Fiber Flux YouTube channel for more stitchy fun!
Materials:
- 6 skeins cotton embroidery floss, 2 skeins of each color (you’ll need a full skein, per tassel for a total of 6 tassels) I used DMC cotton floss in #352, #351, and #349.
- Jewelry pliers (I like using two pair, but one is fine too)
- Scissors
- Small tapestry needle
- 2 Earwires/french hooks
- 2 jump rings
- Optional: a small amount of clear glue to “set” the knots to keep them from coming apart.
Sizing:
- Earrings as shown are approximately 3.5 inches tall, size may vary depending on how you cut the fringe length you choose.
Instructions:
- For each tassel (total of 6) Pull a piece of embroidery floss from your skein about 12 inches long, then cut in half.
- With the remaining skein, carefully slide the paper sleeves off of the skein.
- Fold the skein in half.
- Tie the first piece of floss around the top fold of the bundle.
- Tie the second piece around the top part of the bundle to create the tassel shape.
- If you have floss sticking out, use your tapestry needle to tuck in the ends.
- Cut the bottom loops of the tassel and set aside (don’t trim shorter yet).
- Repeat these steps for the rest of the tassels.
- Lay tassels in a row and cut the bottom so that they are all the same length.
- Working from the bottom tassel up, thread the top floss pieces of the tassel you want to be on the bottom and run it up through the bottom of the second tassel. Tie at the top to secure.
- Repeat with the second tassel by running it up into the top tassel. Tie at the top to secure.
- Once all three of the tassels have been secured together, weave in any strands that remain into the center of the tassel.
- Carefully pry the jump ring open and place it onto the top of the tassel.
- Add the ear hook/wire to the jump ring as well.
- Using pliers, carefully close the jump ring.
- Smooth out the tassels as needed and they’re all ready to wear!

© Jennifer Dickerson 2020
For more fun projects and pretty patterns, be sure to follow Fiber Flux on Facebook, Instagram, Twitter, and Pinterest for the latest updates!


Thanks so much for this tutorial! While I love doing hand embroidery, I picked up more embroidery floss (from our local thrift store) than I can use. Lately I have been searching for other fun projects to do using floss. This one fits the bill!
This comment has been removed by a blog administrator.