
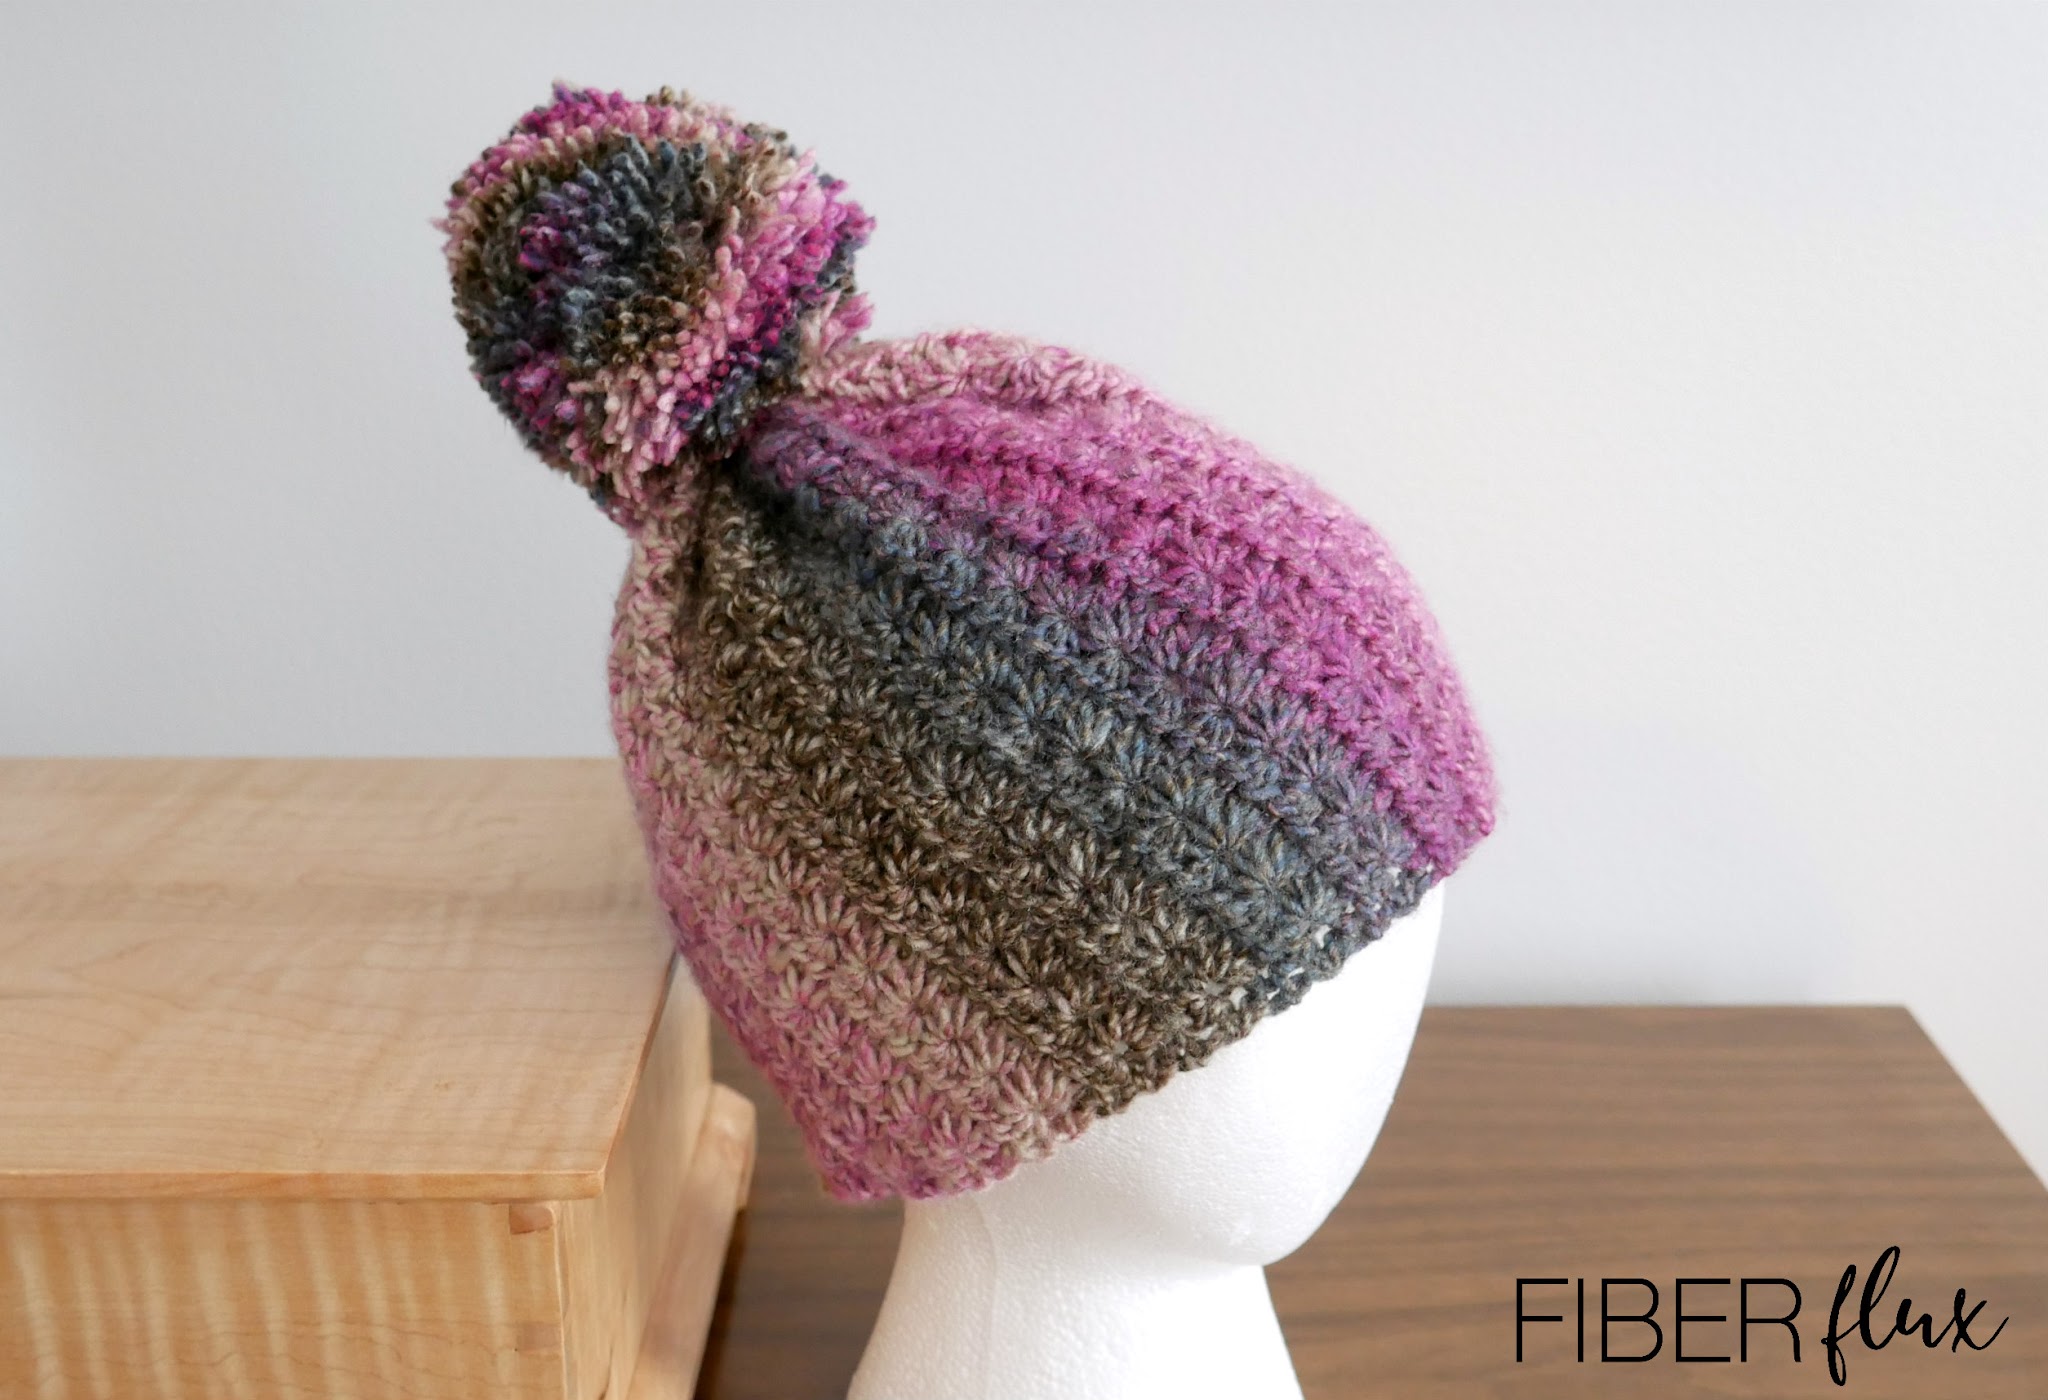
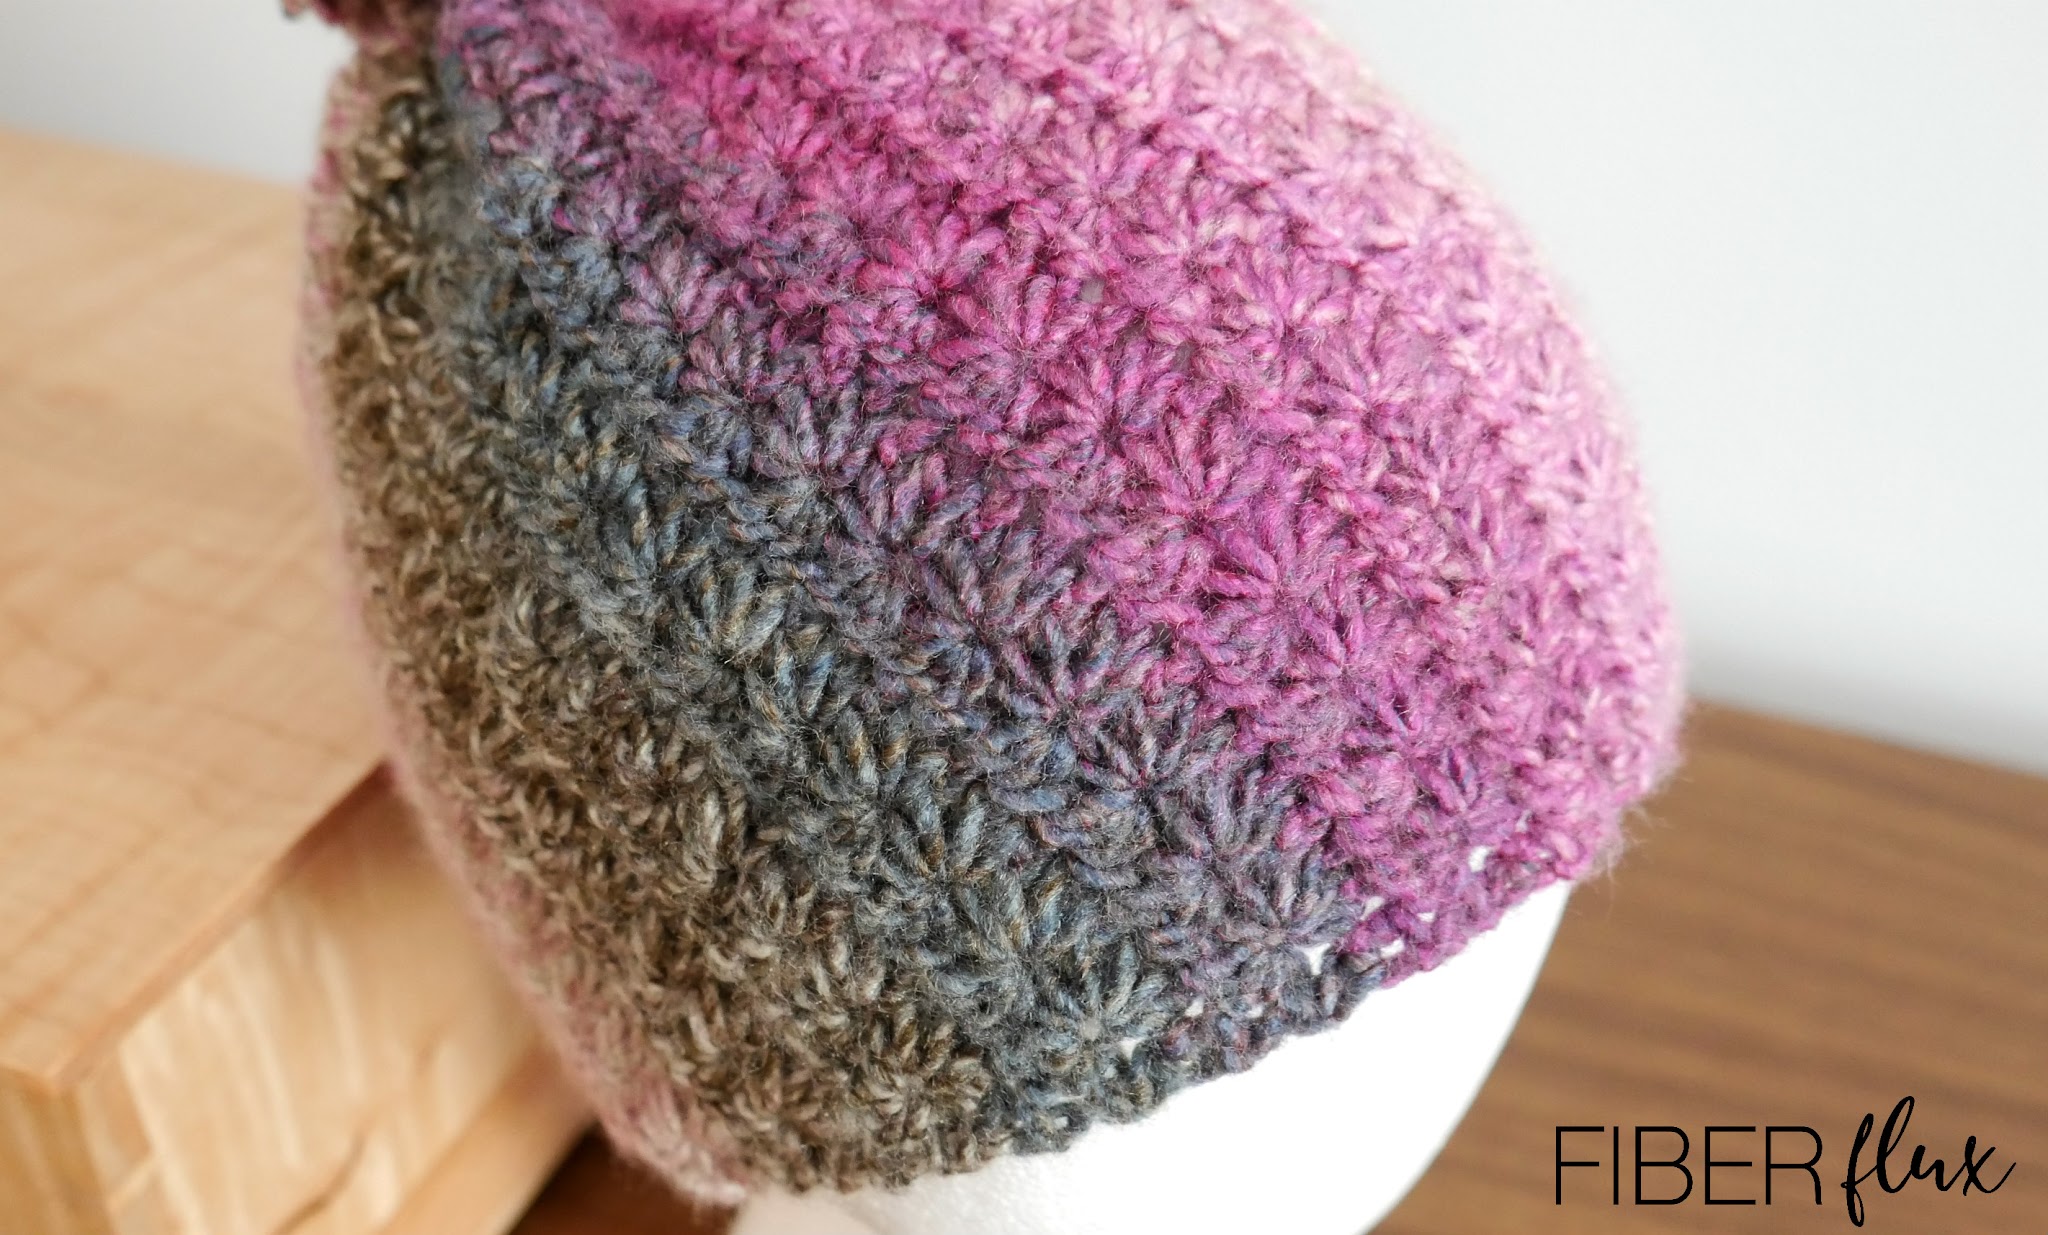
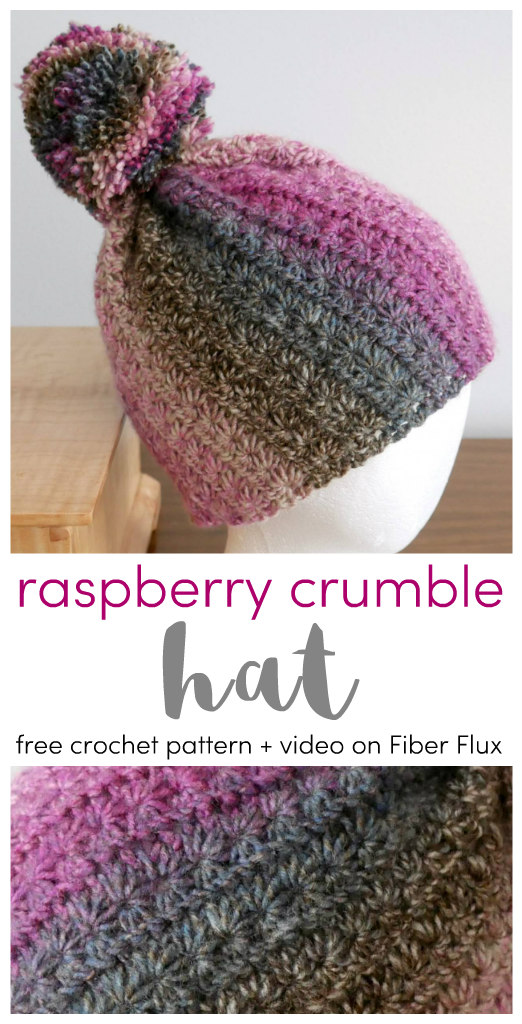
The Raspberry Crumble Crochet Hat is a gorgeous star stitch hat, crocheted in a lovely, striped heathered yarn. Elegant rows of this beautifully textured stitch are highlighted by the self striping yarn, showing off the hat’s fun to make stitch work beautifully!
Watch a full video tutorial on how to make this project:
Love video tutorials? Click here to subscribe to the Fiber Flux YouTube channel for more stitchy fun!
Get the ad-free crochet pattern PDF from my shop here!
Materials:
- 6.0 mm J crochet hook
- 1 cake of Ferris Wheel by Lion Brand, “Wild Violets” colorway, if you need to substitute yarn, 270 yards/247 meters of a medium/4 on the yarn weight scale will work well.
- Tapestry needle
- Scissors
- Tape measure
Finished Sizing:
- 9 inches tall
- 20 inch circumference
- Pom pom is about 3.5 inches tall
Note: hat size can be customized, see instructions below for more info.
Pattern Notes:
- The Raspberry Crumble Crochet Hat is constructed by working a rectangle, seaming up the sides, then cinching the top.
- Starting chain determines height of the hat, number of rows worked determines circumference of hat.
- sc5tog: Insert hook in stitch or chain (depending on the row you’re on), yarn over, pull loop through, *insert hook in next stitch, yarn over, pull loop through, repeat from * 4 times total, yarn over, pull through 6 loops on hook.
- If you are unfamiliar with the star stitch, I highly recommend the video, where I demonstrate everything completely, stitch by stitch.
- You may also notice your rectangle has a slant to it, this is ok! It will give the hat a beautiful “swirl” design when completed.
- Love the Raspberry Crumble Crochet Hat? Check out the other hats in my pattern library!
Instructions:
Ch 35 (any odd number will work, also after row 1 is completed it will draw in a bit-my starting chain was about 10 inches, but after a few rows it became 9 inches just to give you an idea of the change)
Row 1:
sc5tog from 2nd chain, ch 1, *sc5tog from ch 1 (pull up first loop from “eye” of the star, pull up next loop from in between last two spikes worked, pull up next loop from last chain worked, pull up next loop from next chain, pull up loop from next chain (6 loops on the hook). Yarn around hook, bring through all 6 loops, then ch 1. Repeat from * until you have 1 chain left, then work 1 hdc in that last ch.
Row 2:
Ch 2 and turn. *Work 2 hdc in each ch 1 (“eye” of the star) from previous row. Repeat from * across the row, 2 hdc in the last stitch.
Row 3:
Ch 3 and turn. sc5tog from 2nd chain (bring up a loop in second ch from the hook, bring up a loop in third ch from the hook, bring up a loop from the first stitch, bring up a loop from each of the next three stitches (6 loops on the hook), yarn around hook and bring through all 6 loops, then ch1. Now work the row as we similarly did in row 1…*sc5tog from ch 1 (pull up first loop from “eye” of the star, pull up next loop from in between last two spikes worked, pull up next loop from last stitch worked, pull up next loop from next stitch, pull up loop from next stitch (6 loops on the hook). Yarn around hook, bring through all 6 loops, then ch 1. Repeat from * until you have 1 chain left, then 2 hdc in that last ch.
Repeat rows 2 and 3 until rectangle is desired hat circumference, ending on row 2 (I made mine about 20 inches long). You may notice there may be a slant to your rectangle, this is ok, and will give the finished hat a beautiful “swirl” effect. Fasten off, leaving a length of tail about 24 inches long-we’ll use this to cinch up the top of the hat later.
Assembly/Finishing:
- Seaming-Cut a piece of yarn about 18-24 inches long and turn rectangle inside out (stars facing inward) and line up the starting edge to the last row edge worked. Again, you may have a slanted edges, but this is ok. Next, thread a tapestry needle and work a whip stitch into both layers of each stitch across, all the way across the row. As you work your slip stitch seam, be sure edges stay lined up as your work. Weave in ends.
- Cinching the top-Using the long tail that you left earlier, thread a tapestry needle and weave in and out all the way around the top edge of the hat around the top edge of the tube. Pull ends tightly to cinch up the hat and tie a strong knot to secure.
- Making the pompom-Cut a piece of yarn about 12-18 inches long. Wrap yarn around all four of your fingers (I wrapped mine about 350 times). Slip bundle carefully off of your hand, then tie the strand of yarn around the bundle. Tie tightly. Cut all loops from your pompom, leaving the two long strands to act as a “handle”. Trim pompom down to give it a neat, dense look, leaving the two long ends. Tie pompom to the top of hat with a strong knot and trim ends from the inside of hat.


I'm not finding the video.
I'm not finding the video button.
This is a beautiful hat, stitches, color, everything!
Love this hat! I have it in Ravelry, I can't find anything to download and print. Could you please help me?
Is there a printable version?