
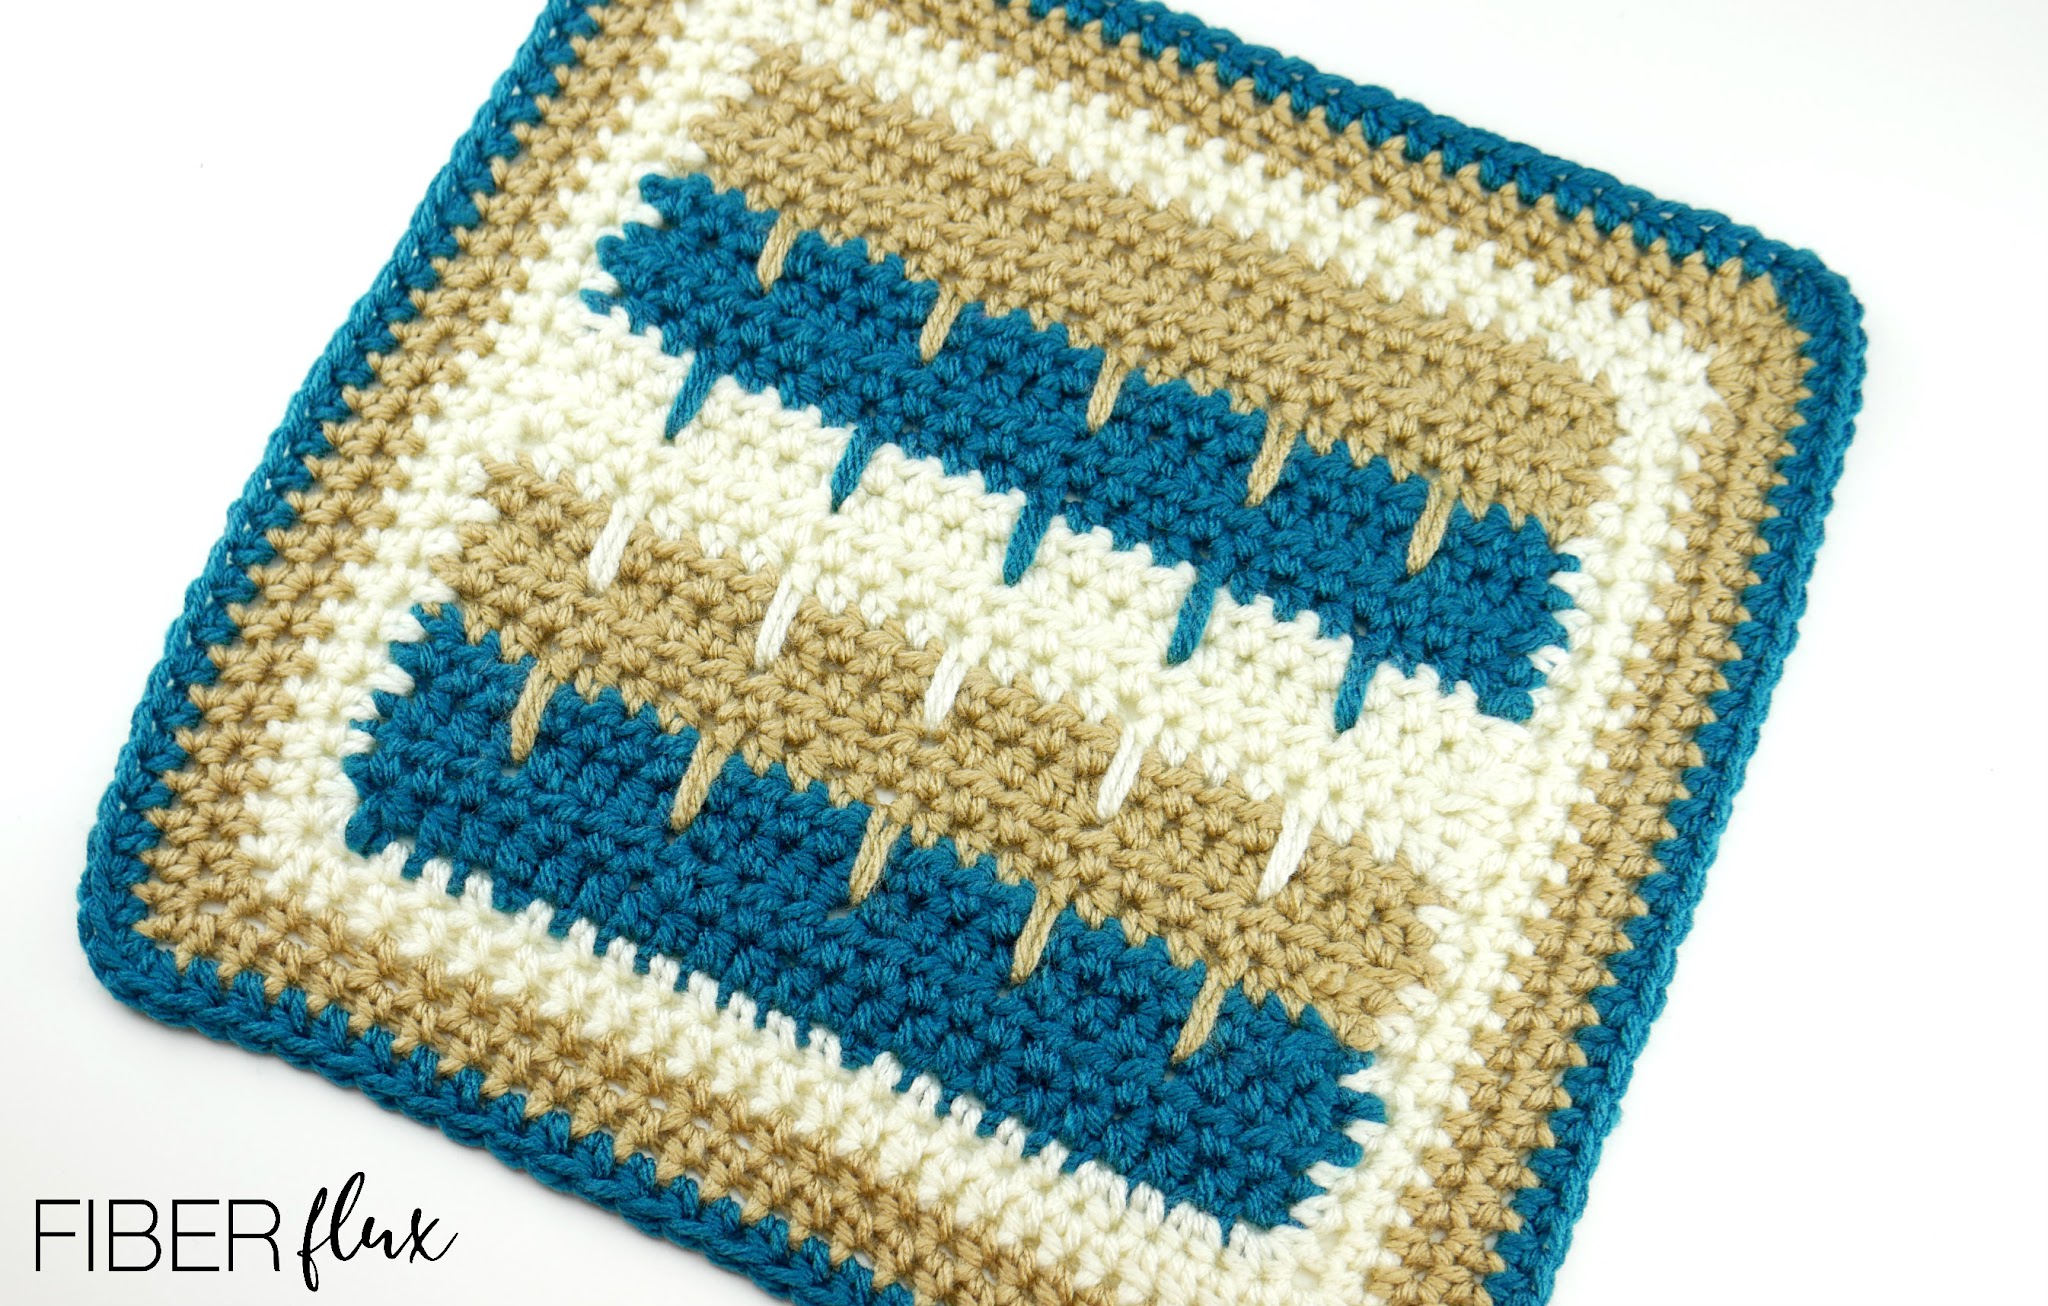
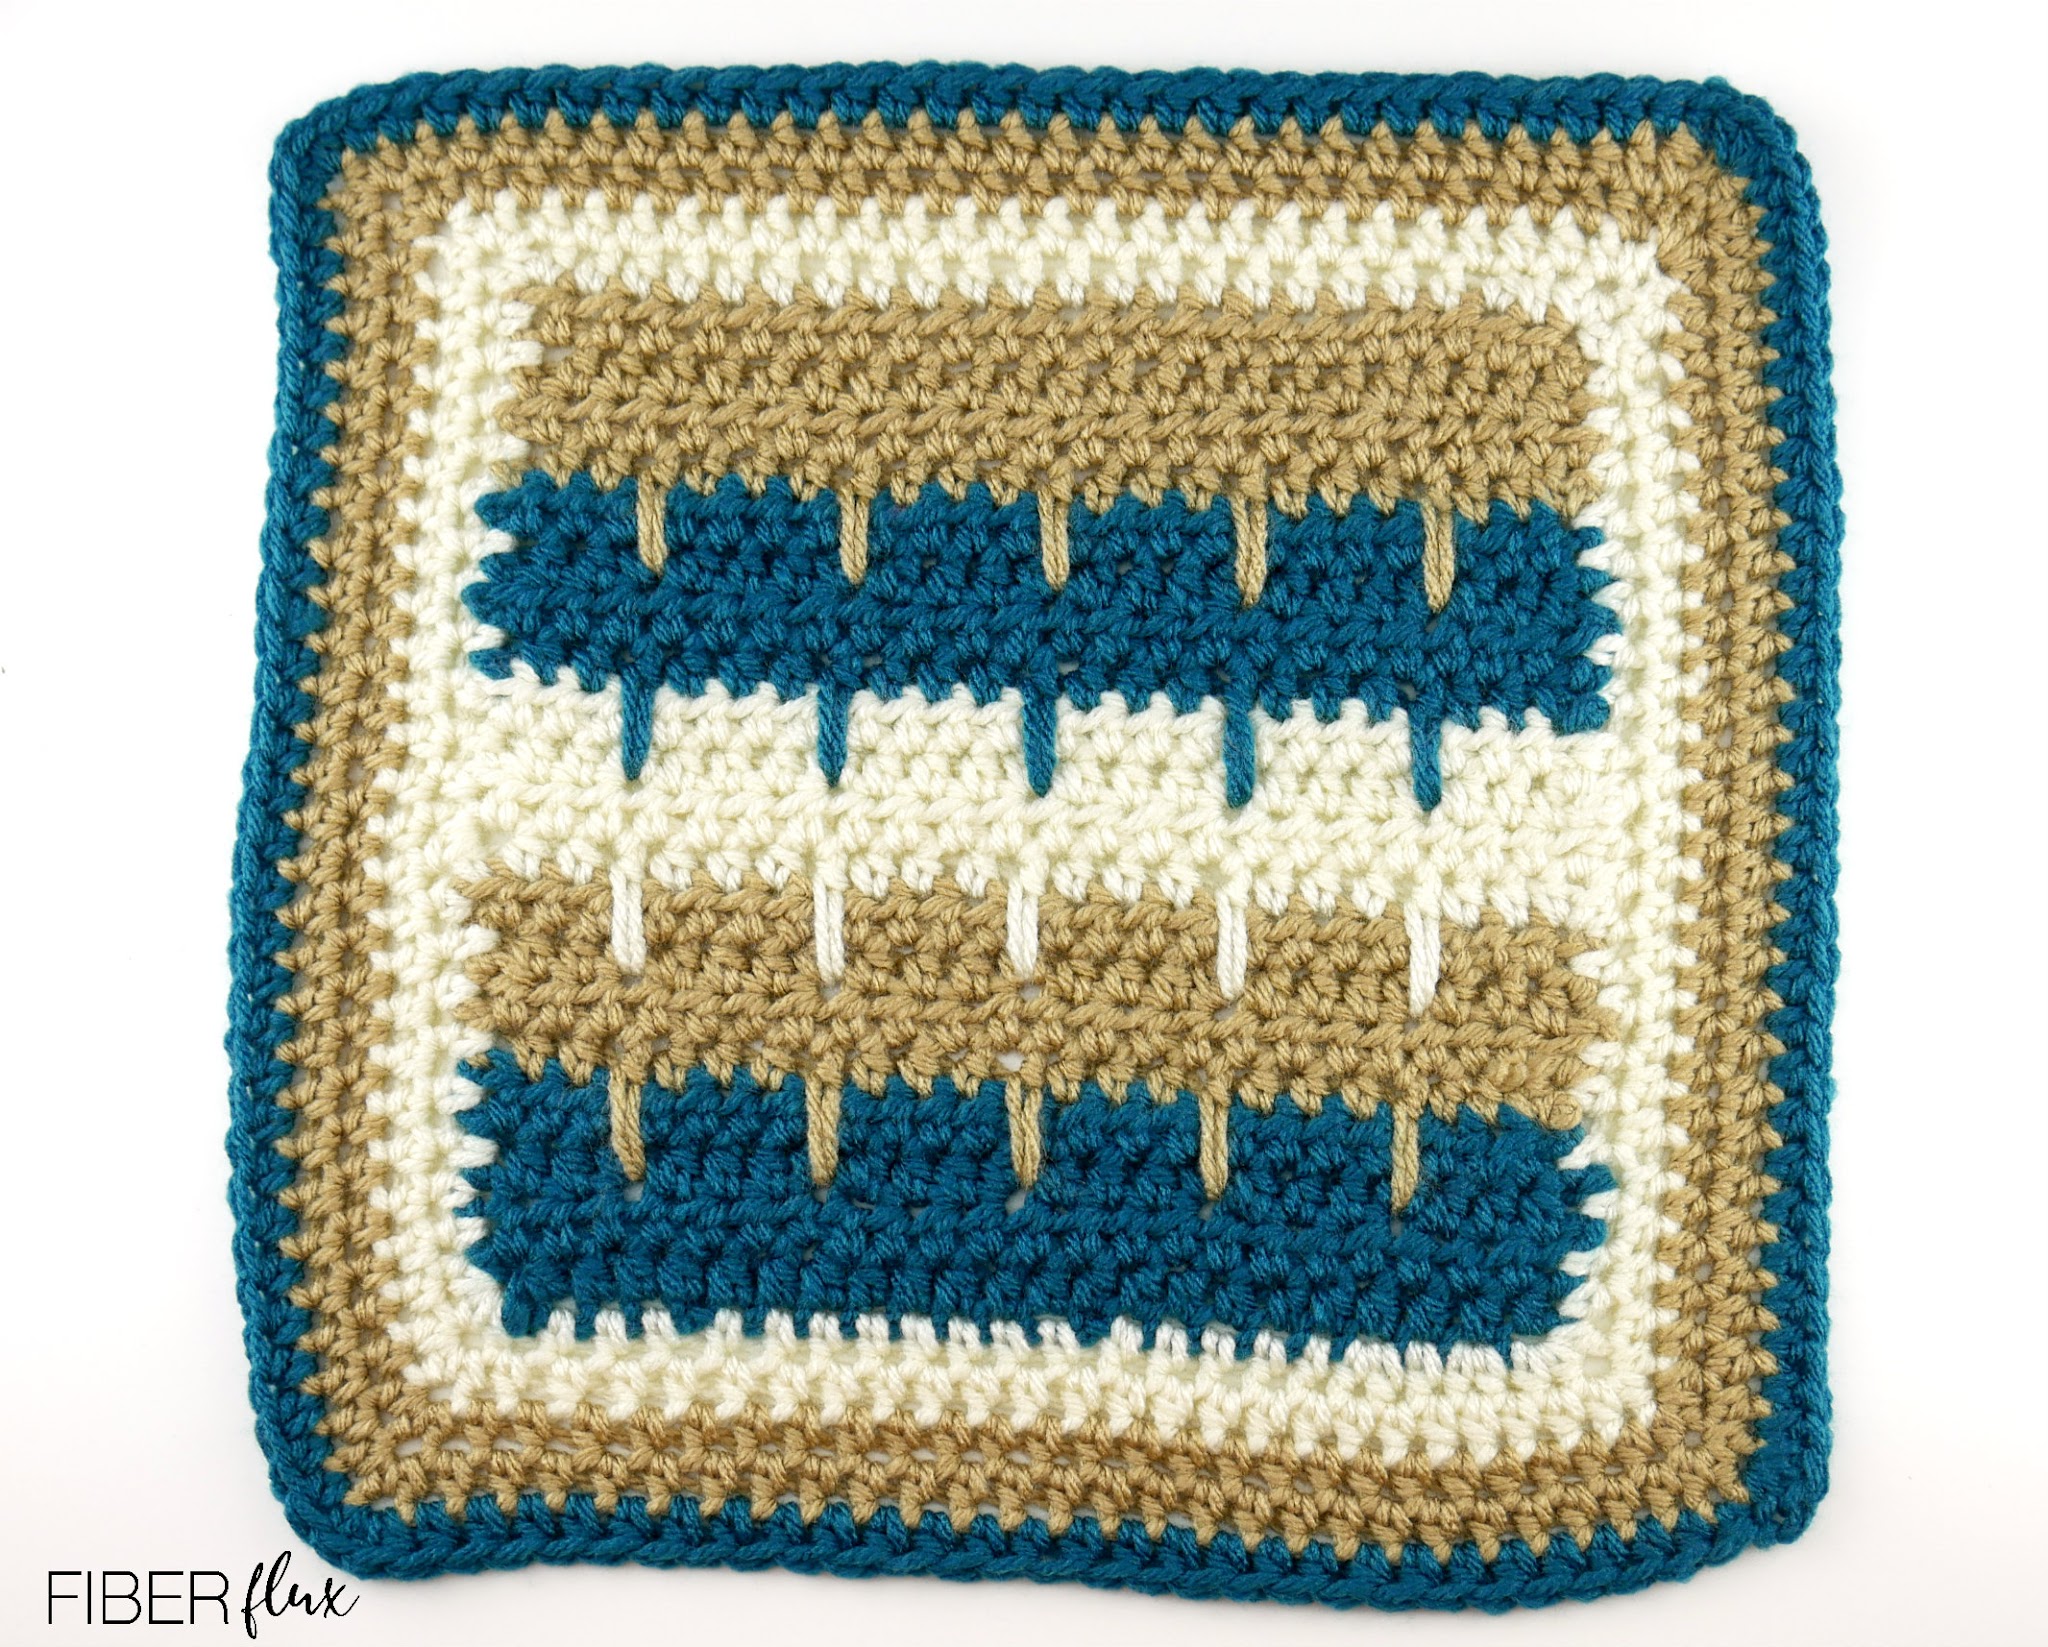
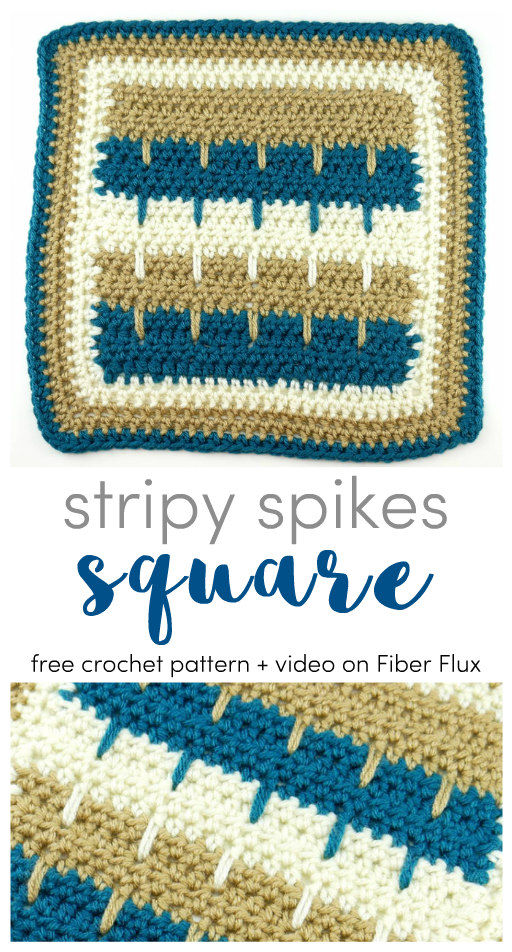
The Stripy Spikes Blanket Square is a fun to make and easy square that can be joined together with other squares to make a blanket, joined in a long row to make a scarf, or even stitched up in cottony yarn to make a pretty dishcloth!
Want a little help? There’s a full video tutorial below too!
Stripy Spikes Blanket Square
By Jennifer Dickerson
Click the button below to add this to your Ravelry queue:
Click below to watch a full video tutorial on how to make this project:
Love video tutorials? Click here to subscribe to the Fiber Flux YouTube channel for more stitchy fun!
Materials:
- 6.0 mm J crochet hook
- Medium /4 weight yarn (I used Red Heart With Love in “Tan” “Mallard” and “Aran”)
- Tapestry needle
- Scissors
- Tape measure
Finished Sizing:
- 12 inches tall
- 12 inches wide
Note: square size can be adjusted depending on the number of border rounds worked.
Blocking your piece (optional):
- Steam blocking (recommended for synthetic fibers, lighter block)
- Wet blocking (good for natural fibers, a heavier block)
Instructions for center part of square (worked in rows):
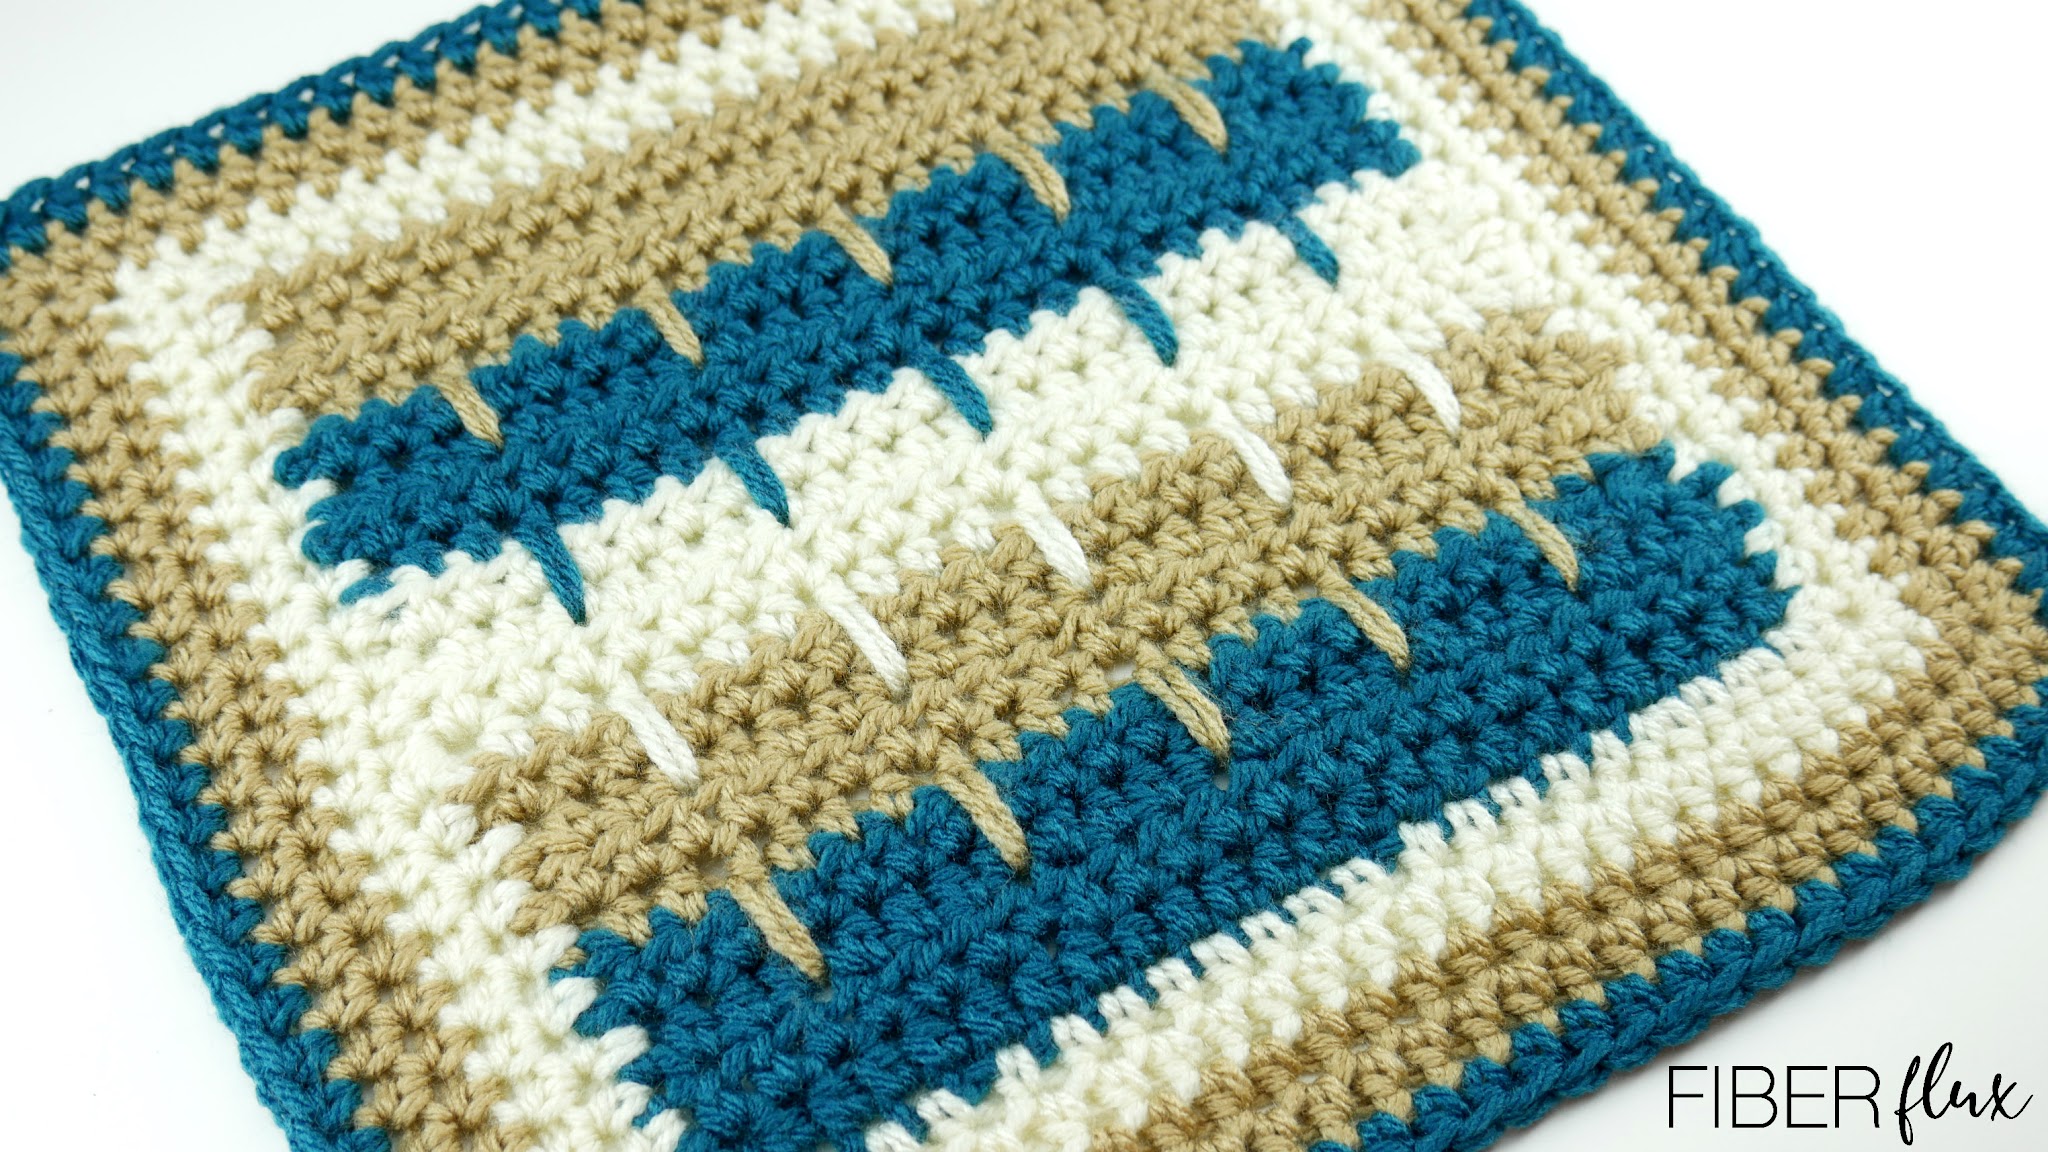
Special notes: to work the hdc spike stitch (row 5), wrap yarn around hook, insert the hook two rows down from the stitch, wrap yarn around hook and bring up a loop, wrap yarn around hook and bring through all three loops. Keep your tension a little looser than normal when your work this stitch to keep the stitches from pulling.
Ch 24
Row 1: In the second ch from the hook, work a hdc. Work a hdc in each ch across.
Row 2: Ch 2 and turn. Work a hdc in the first stitch and in each stitch across. Work a hdc into the turning chain space at the end of the row.
Row 3: Repeat row 2.
Row 4: Repeat row 2.
Row 5: (switch colors for this row) *Work a hdc into each of the first three stitches, the work a hdc spike stitch (see special notes above on how to work this stitch) into the next stitch. Repeat from * across. Then work a hdc into the turning chain space.
Repeat rows 2-5 until the square has the same width and height, then move down to the next section.
Instructions for the border part of the square (worked in rounds):
Round 1: Tie yarn into the upper right corner of the square. Ch 2 (counts as a hdc) then work 2 hdc into the same stitch. Work a hdc in each st across (I had 21 stitches across, but your count may be different). Work 3 hdc in the corner stitch, then work the same number of hdc stitch as the first side along the side. Work 3 hdc into the next corner, then work the same number of hdc stitch as the first side along the side. Work 3 hdc into the next corner, then work the same number of hdc stitch as the first side along the side. Join to close the round with a slip stitch in theat topmost chain from the starting chain at the beginning of the round.
Note: To keep your border even and square shaped, be sure to have the same number of stitches along each side (I had 21 stitches per side, but your count may be different.)
Round 2: If you want to switch colors, tie yarn into the centermost hdc stitch of the corner. If you want to keep the same color, slip stitch over to the centermost hdc stitch of the corner. Ch 2 (counts as a hdc) then work 2 hdc into the same stitch. Work a hdc in each st across. Work 3 hdc in the corner stitch, then work a hdc in each stitch across. Work 3 hdc into the next corner, then work a hdc in each stitch across. Work 3 hdc into the next corner, then work a hdc in each stitch across. Join to close the round with a slip stitch in theat topmost chain from the starting chain at the beginning of the round.
Repeat round 2 as many times as you like to get the size square you need.
I worked round 2 four times to get the 12 inch square size.
Weave in and ends and you’re finished!

© Jennifer Dickerson 2020
For more fun projects and pretty patterns, be sure to follow Fiber Flux on Facebook, Instagram, Twitter, and Pinterest for the latest updates!

