
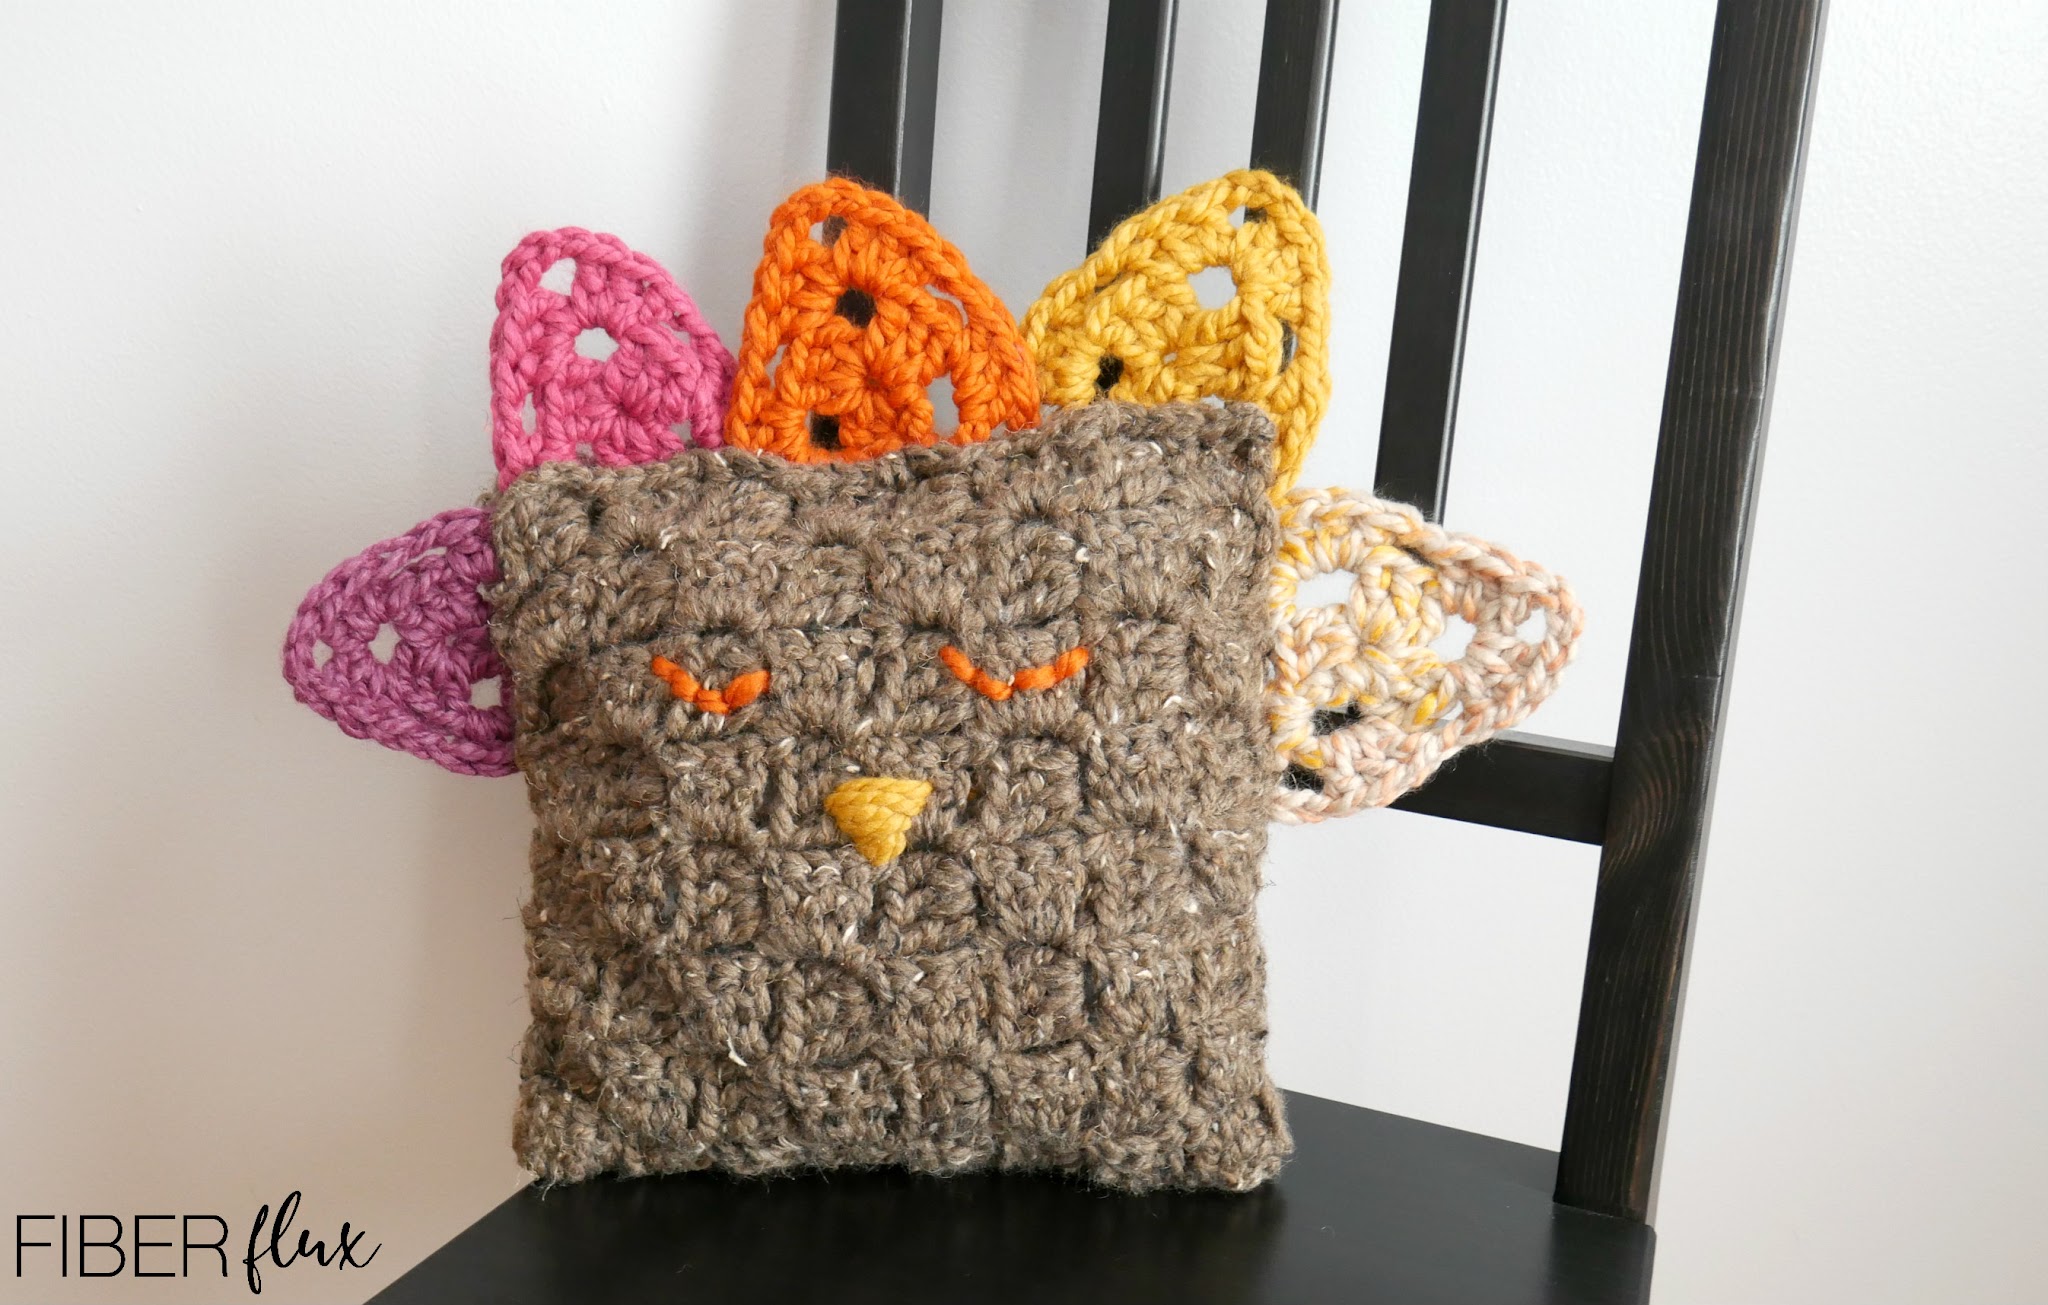
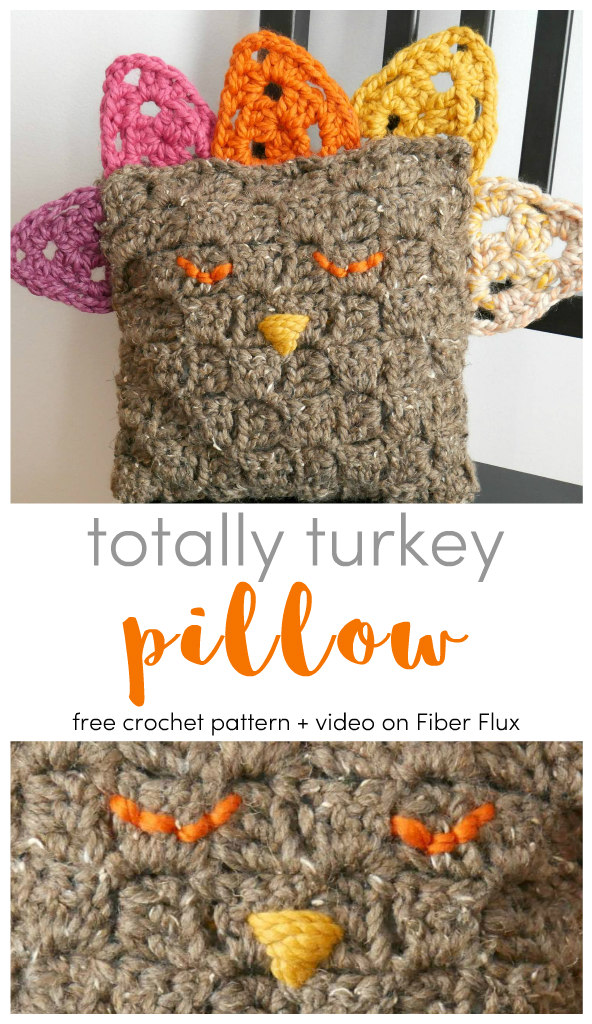
The Totally Turkey Pillow is a fun and easy to make pillow that is the perfect addition to your Thanksgiving decor! Super bulky yarn makes the pillow stitch up very quickly and you can have fun using up different yarn scrap colors for the beautiful feathers!
Want a little help? There’s a full video tutorial below too!
Totally Turkey Pillow
By Jennifer Dickerson
Click the button below to add this to your Ravelry queue:
Click below to watch a full video tutorial on how to make this project:
Love video tutorials? Click here to subscribe to the Fiber Flux YouTube channel for more stitchy fun!
Materials:
- 9.0 mm N crochet hook
- Wool Ease Thick & Quick by Lion Brand Yarn (I used “Barley” “Pumpkin” “Raspberry” “Mustard” “Spice Market” and “Eggplant” if you need to substitute yarn, any super bulky/6 on the yarn weight scale will work great.
- Tapestry needle
- Scissors
- Tape measure
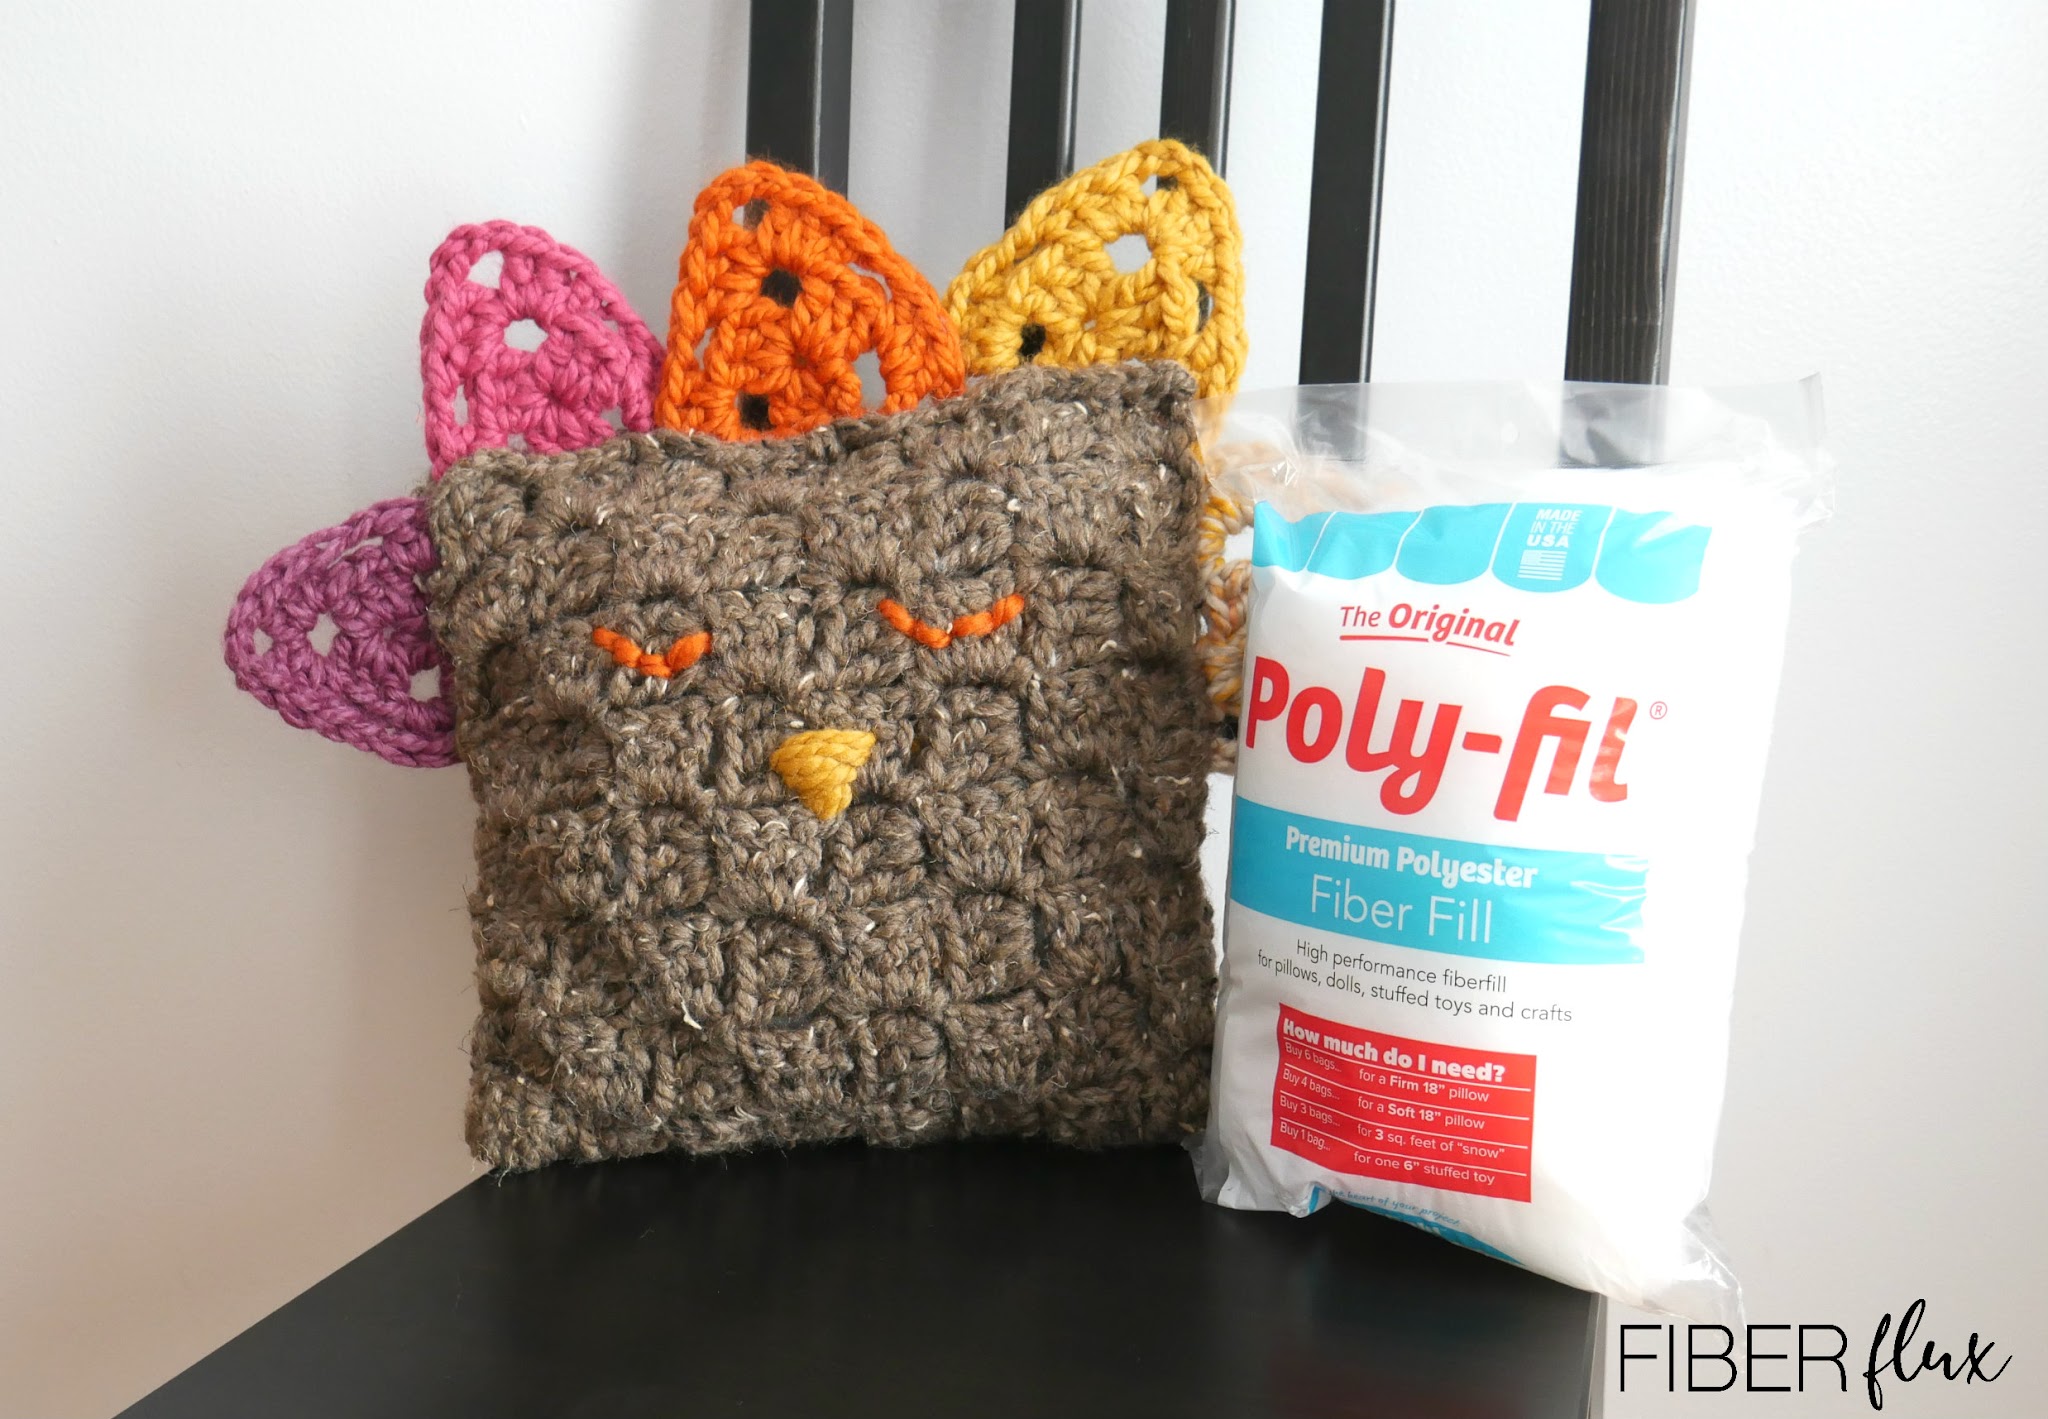
- Poly-Fill (polyester fiber fill)
Special thanks to the Fairfield company for providing the Poly-Fill for this pillow! This month they are celebrating their 80th anniversary and I am so excited to be sharing this project along with lots of other bloggers to celebrate!
Finished Sizing:
- Pillow without feathers is 12 inches tall and 12 inches wide
- Pillow with feathers is about 15 inches tall and 20 inches wide
Pattern notes:
- Pillow is constructed as a corner to corner rectangle.
- Feathers are granny triangles.
Pillow Instructions For C2C Width Increase Portion:
Row 1: Ch 6, then work a dc into the 4th ch from the hook. Work a dc into each of the next 2 ch.
Row 2: Ch 6. Work a dc into the 4th ch from the hook and in each of the next 2 ch. Slip stitch into the 3rd dc stitch to join the two blocks together. You’ll need to flip the block a bit to get to the right spot. Just make sure your tail is pointing downward and you’ll be in the right position. Ch 3, then work 3 dc into the turning ch space.
Row 3: Ch 6 (you may need to turn things a bit so that the tail is facing downward again). Work a dc into the 4th ch from the hook and in each of the next 2 ch. Slip stitch into the turning chain space of the next block to join the two blocks together. You’ll need to flip the block a bit to get to the right spot. Just make sure your tail is pointing downward and you’ll be in the right position. *Ch 3, then work 3 dc into the turning ch space and slip stitch into the turning chain space to join the two blocks together. Repeat from * across. When you work the last block, you won’t need to slip stitch it into anything, simply move onto the next row.
Repeat row 3 until your pillow is the width you’d like it to be (pillow pictured in 12 inches wide), then move on to part 2.
Pillow Instructions For C2C Height Increase Portion:
Note: To keep me from getting my sides mixed up, I placed a stitch marker on the side where I decreased.
Row 1: Ch 6, then work a dc into the fourth ch from the hook. Work a dc in each of the next two chains, then join with a slip stitch to connect the two blocks together. Work (3 dc, ch 1) and join blocks with a slip stitch in each ch 1 space across until just before the last space (turning chain space). At the end of the row, join into the last block with a slip stitch. Turn and work a slip stitch in each stitch across the first block of the row. Continue across the row in this manner, working the increase at the beginning of the row and decreasing (where stitch marker is) at the end of the row.
Repeat until the rectangle is as tall as you like (about double what the pillow height will be, I worked my height to about 24 inches tall.
Pillow Instructions for C2C Decrease Portion:
Row 1: Turn the work and slip stitch in each stitch across the first block, and slip stitch into the turning chain space. *Ch 3, then work 3 dc into the turning ch space. Join into the next block with a slip stitch. Repeat from * to end of row.
Repeat row 1 of the decrease until just a top point remains. Fasten off and weave in ends that remain. Note: if the top is challenging for you, be sure to check out the video for this part (or any other part) to see me walk through it step by step!
Weave in ends.
Instructions for granny triangle feathers:
I made 5 feathers in different colors.
Ch 4 and join in the chain furthest from the hook with a slip stitch to form a ring.
Round 1: Ch 6 then work 3 dc into the ring, then ch 3. Work 3 dc, ch 3 once more then work 2 dc into the center of the ring (where the ch 6 was made at the beginning of the round). Join to close round with a slip stitch in the third chain of the beginning chain of the round. Note: The 6 chains at the beginning of the round–3 count as a dc, the other 3 count as the ch-3 space.
Round 2: Slip stitch over to the first corner space you come to. Chain 6 then in the first corner space, work 3 double crochet, then chain 1. In the next corner space, work (3 dc, ch 3, 3 dc). Then ch 1 and work (3 dc, ch 3, 3 dc) in the next corner space, then ch 1. In the last corner space (same space where you began) work 2 dc, then join with a slip stitch to close round.
Weave in ends.
Assembly & finishing the pillow:
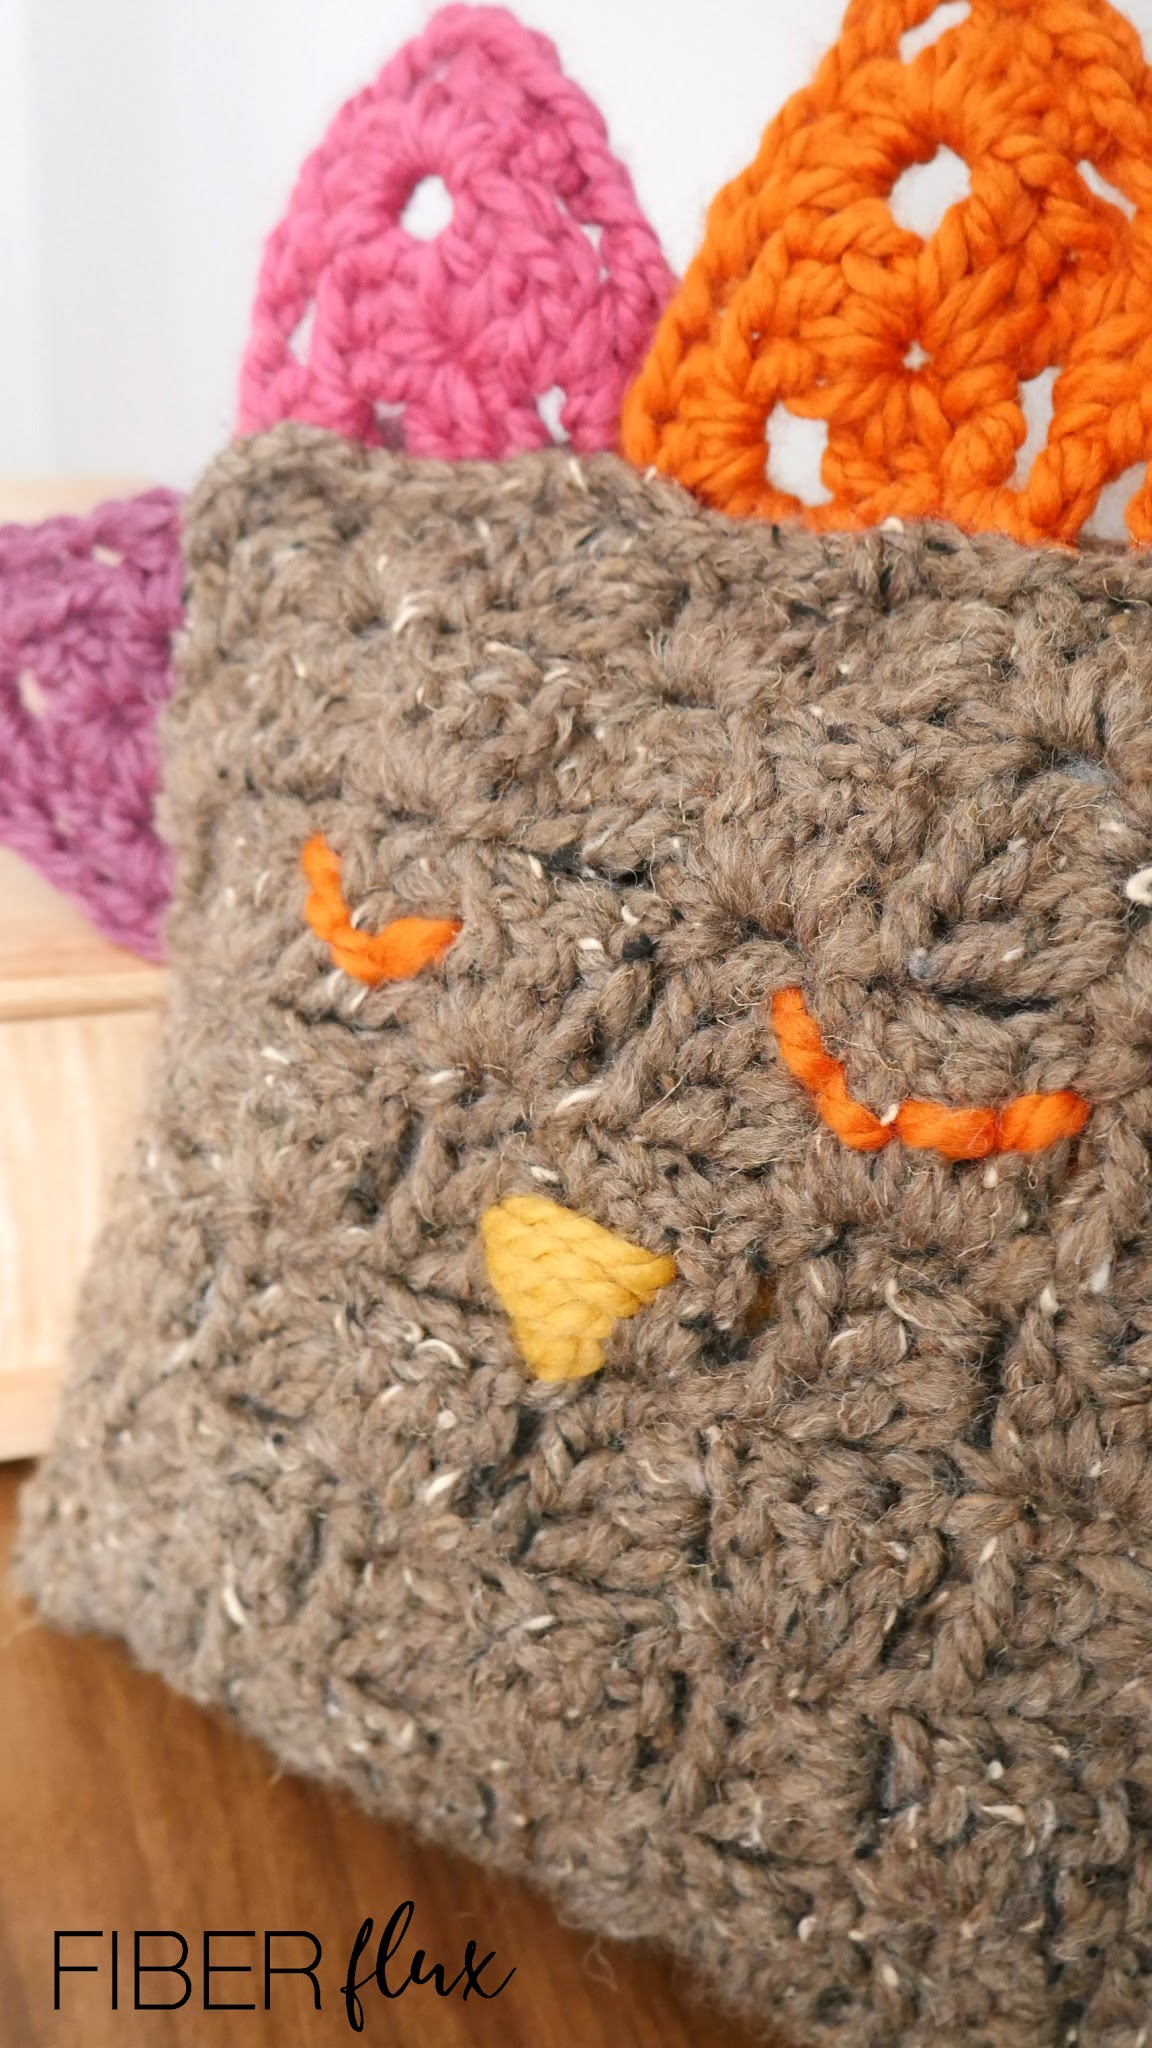
- Embroidering the turkey’s face-Embroider two half circle shapes for eyes with a piece of scrap yarn (I used orange yarn). Next, embroider a triangle shape to create the turkey’s beak (I used yellow yarn). If you need help with this part, check out the video!
- Seaming and Stuffing-with a matching piece of yarn that matches the pillow color, seam pillow around edges, incorporating feathers as shown in the photos. If you need to you can stitch the feathers down first, then sew the pillow together. Leave a small opening in the pillow, stuff with filling, then continue seaming shut. Weave in tail.

© Jennifer Dickerson 2020
For more fun projects and pretty patterns, be sure to follow Fiber Flux on Facebook, Instagram, Twitter, and Pinterest for the latest updates!


This comment has been removed by a blog administrator.
This comment has been removed by a blog administrator.