
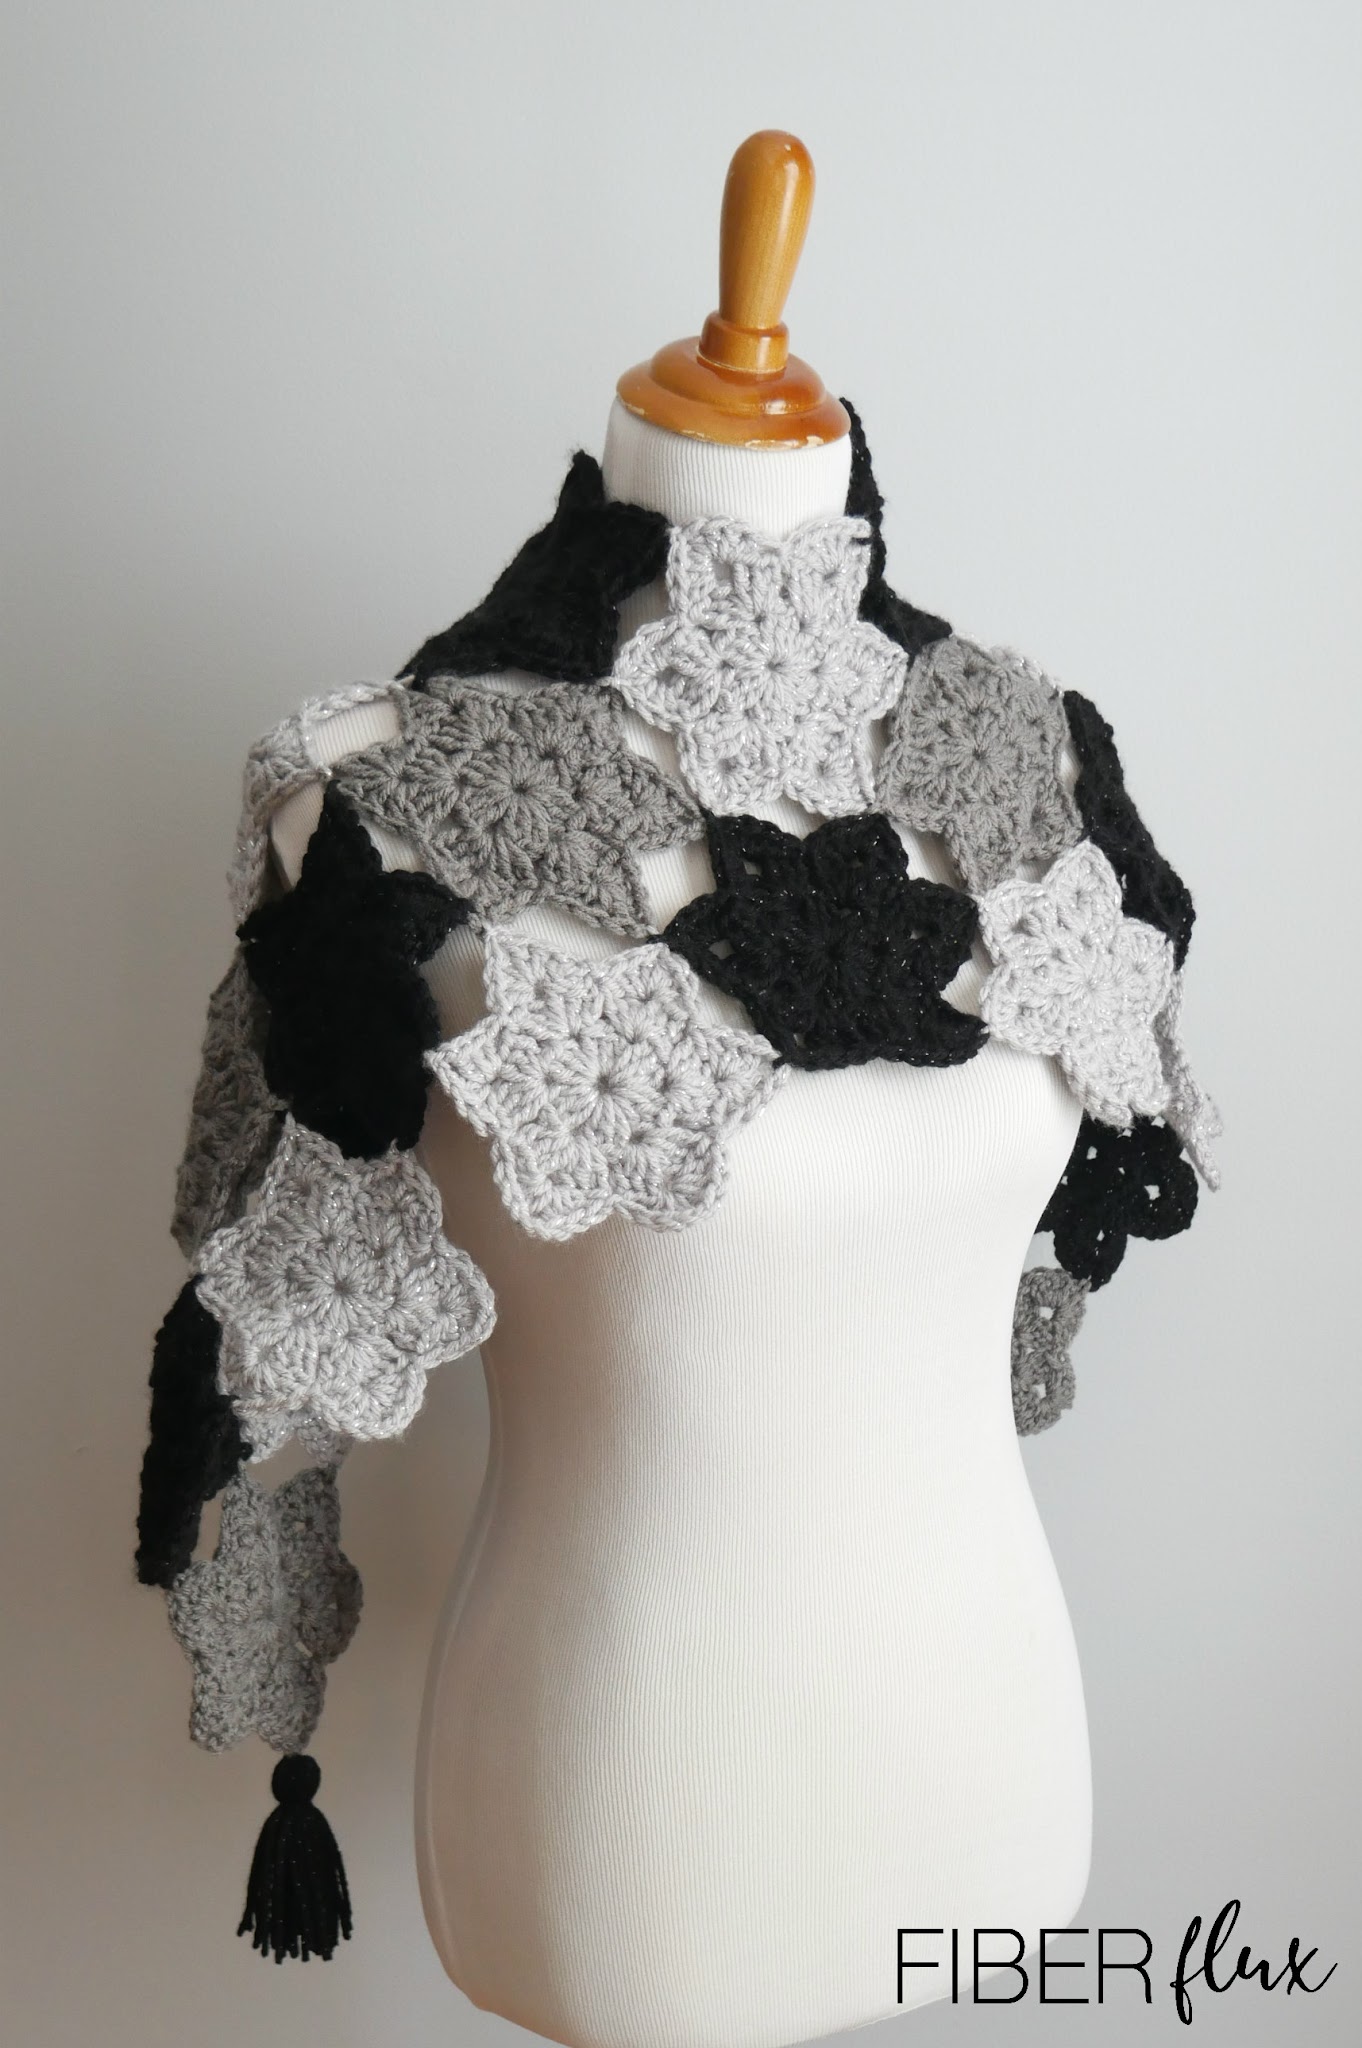
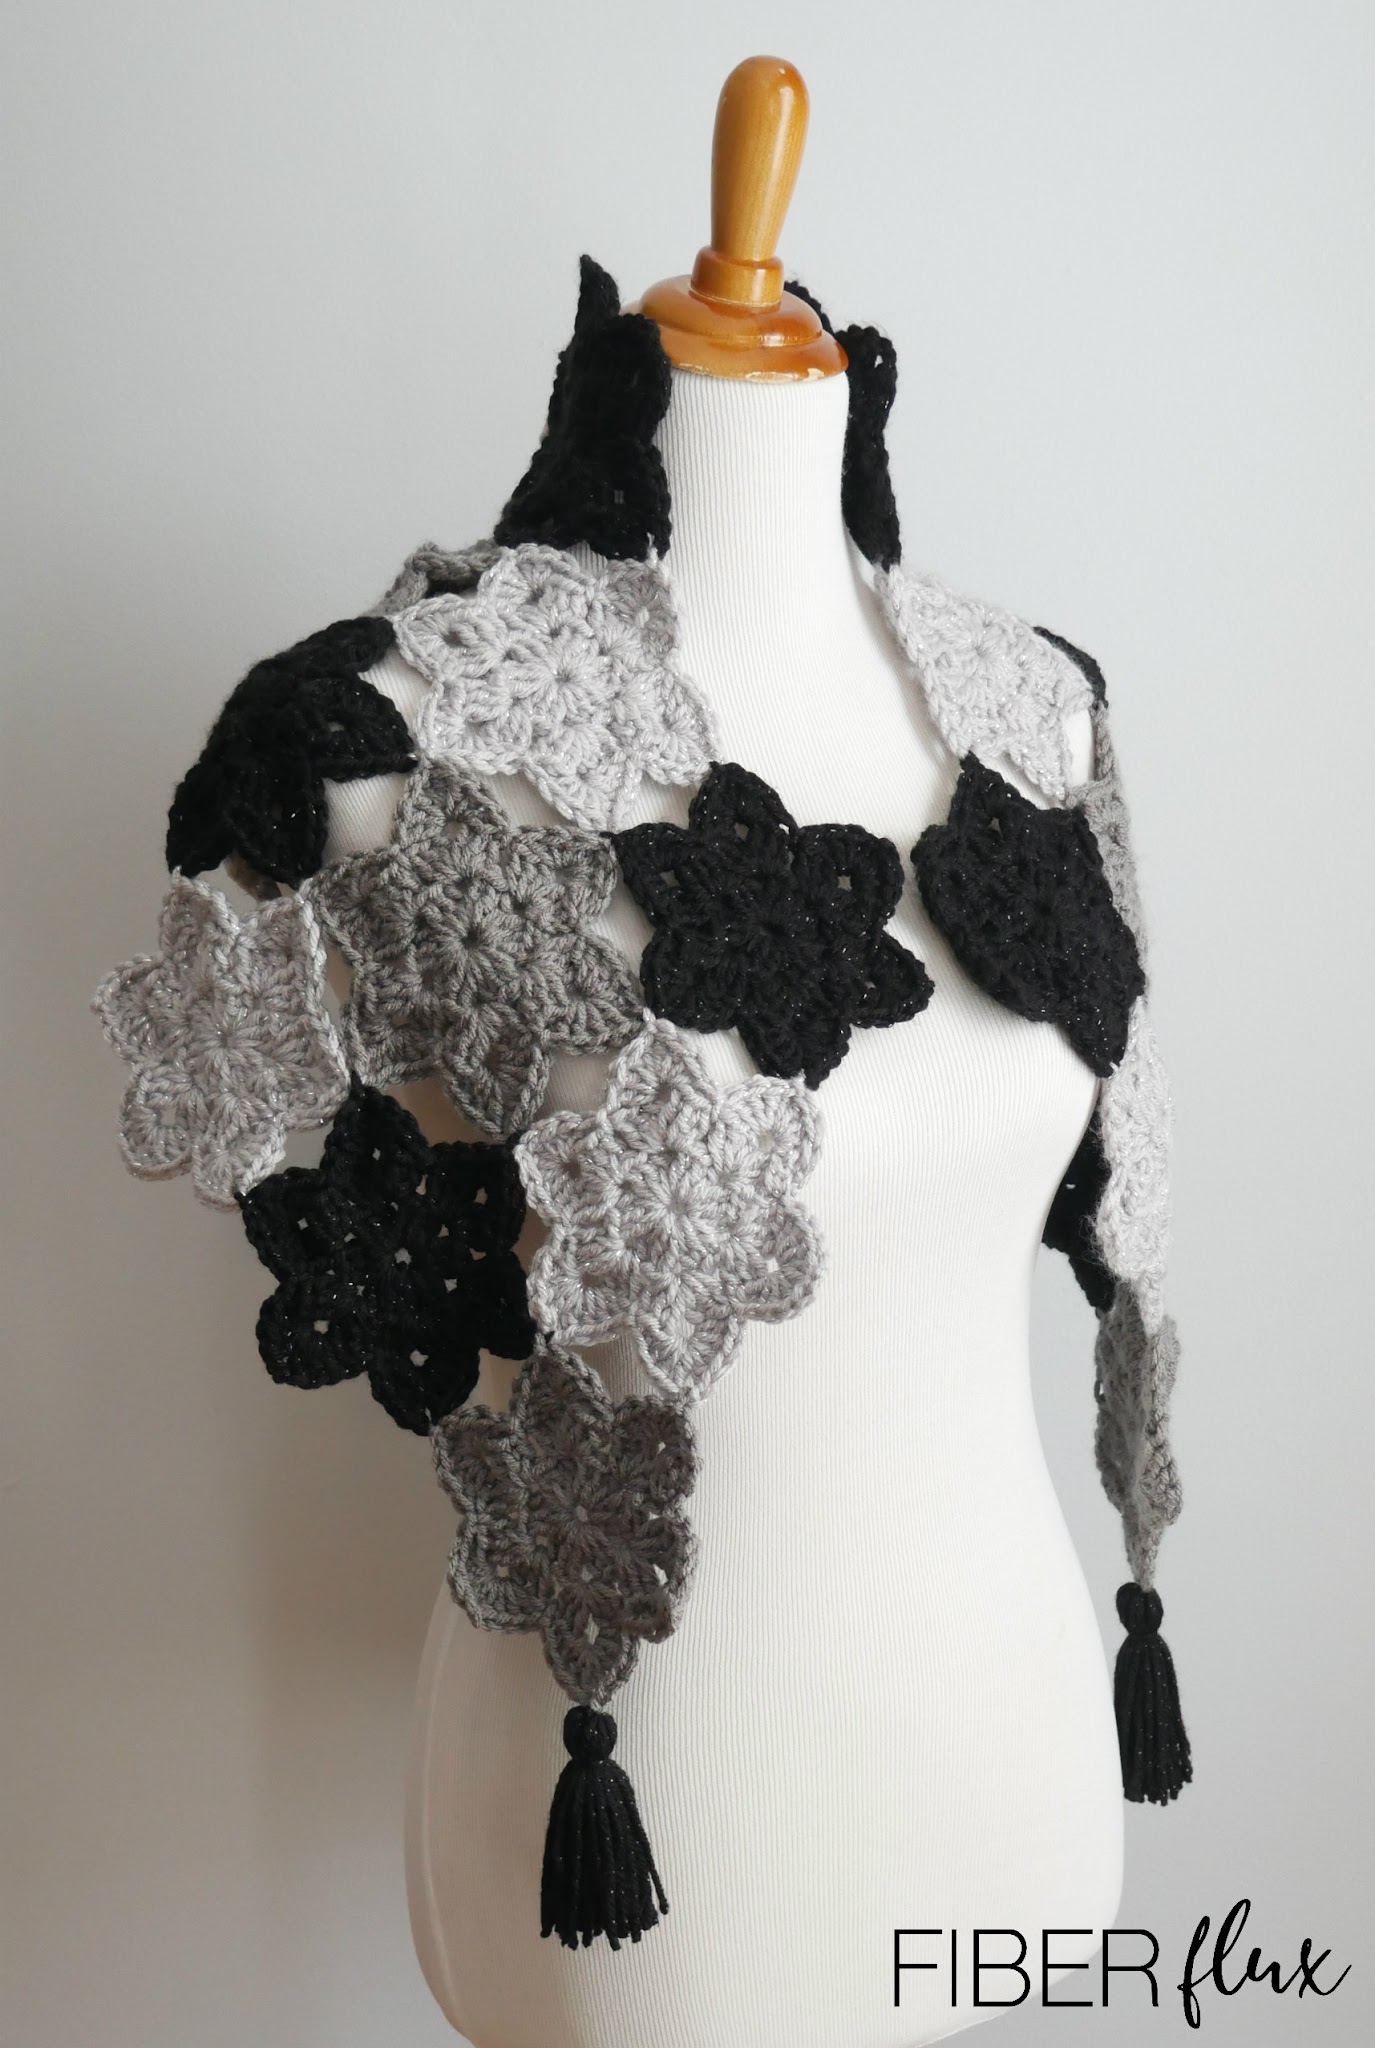
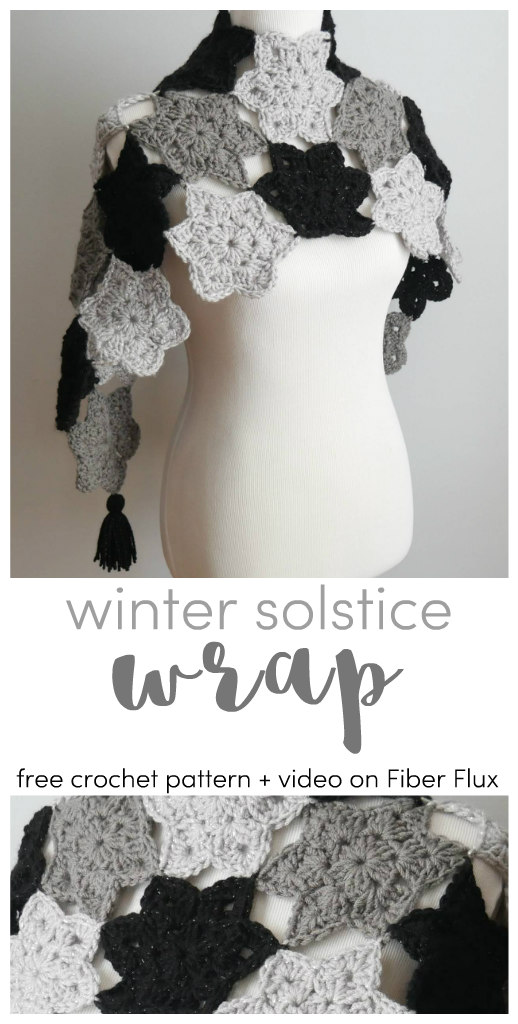
The Winter Solstice Crochet Wrap is a gorgeous, elegant shawl that feels extra special like wrapping yourself in the night sky. Easy six pointed stars made in sparkly yarn are joined as you go to make this and quick project too!
Get the ad free crochet pattern PDF from my shop here!
Watch a full video tutorial on how to make the Winter Solstice Crochet Wrap:
Love video tutorials? Click here to subscribe to the Fiber Flux YouTube channel for more stitchy fun!
Materials:
- 6.5 mm K crochet hook
- 400 yards of #4/medium weight yarn (I used Red Heart With Love in “light gray metallic” “Pewter” and “Black Metallic”)
- Tapestry needle
- Scissors
- Tape measure
- Stitch marker or scrap piece of yarn
Finished Sizing:
- 15 inches wide
- 54 inches long
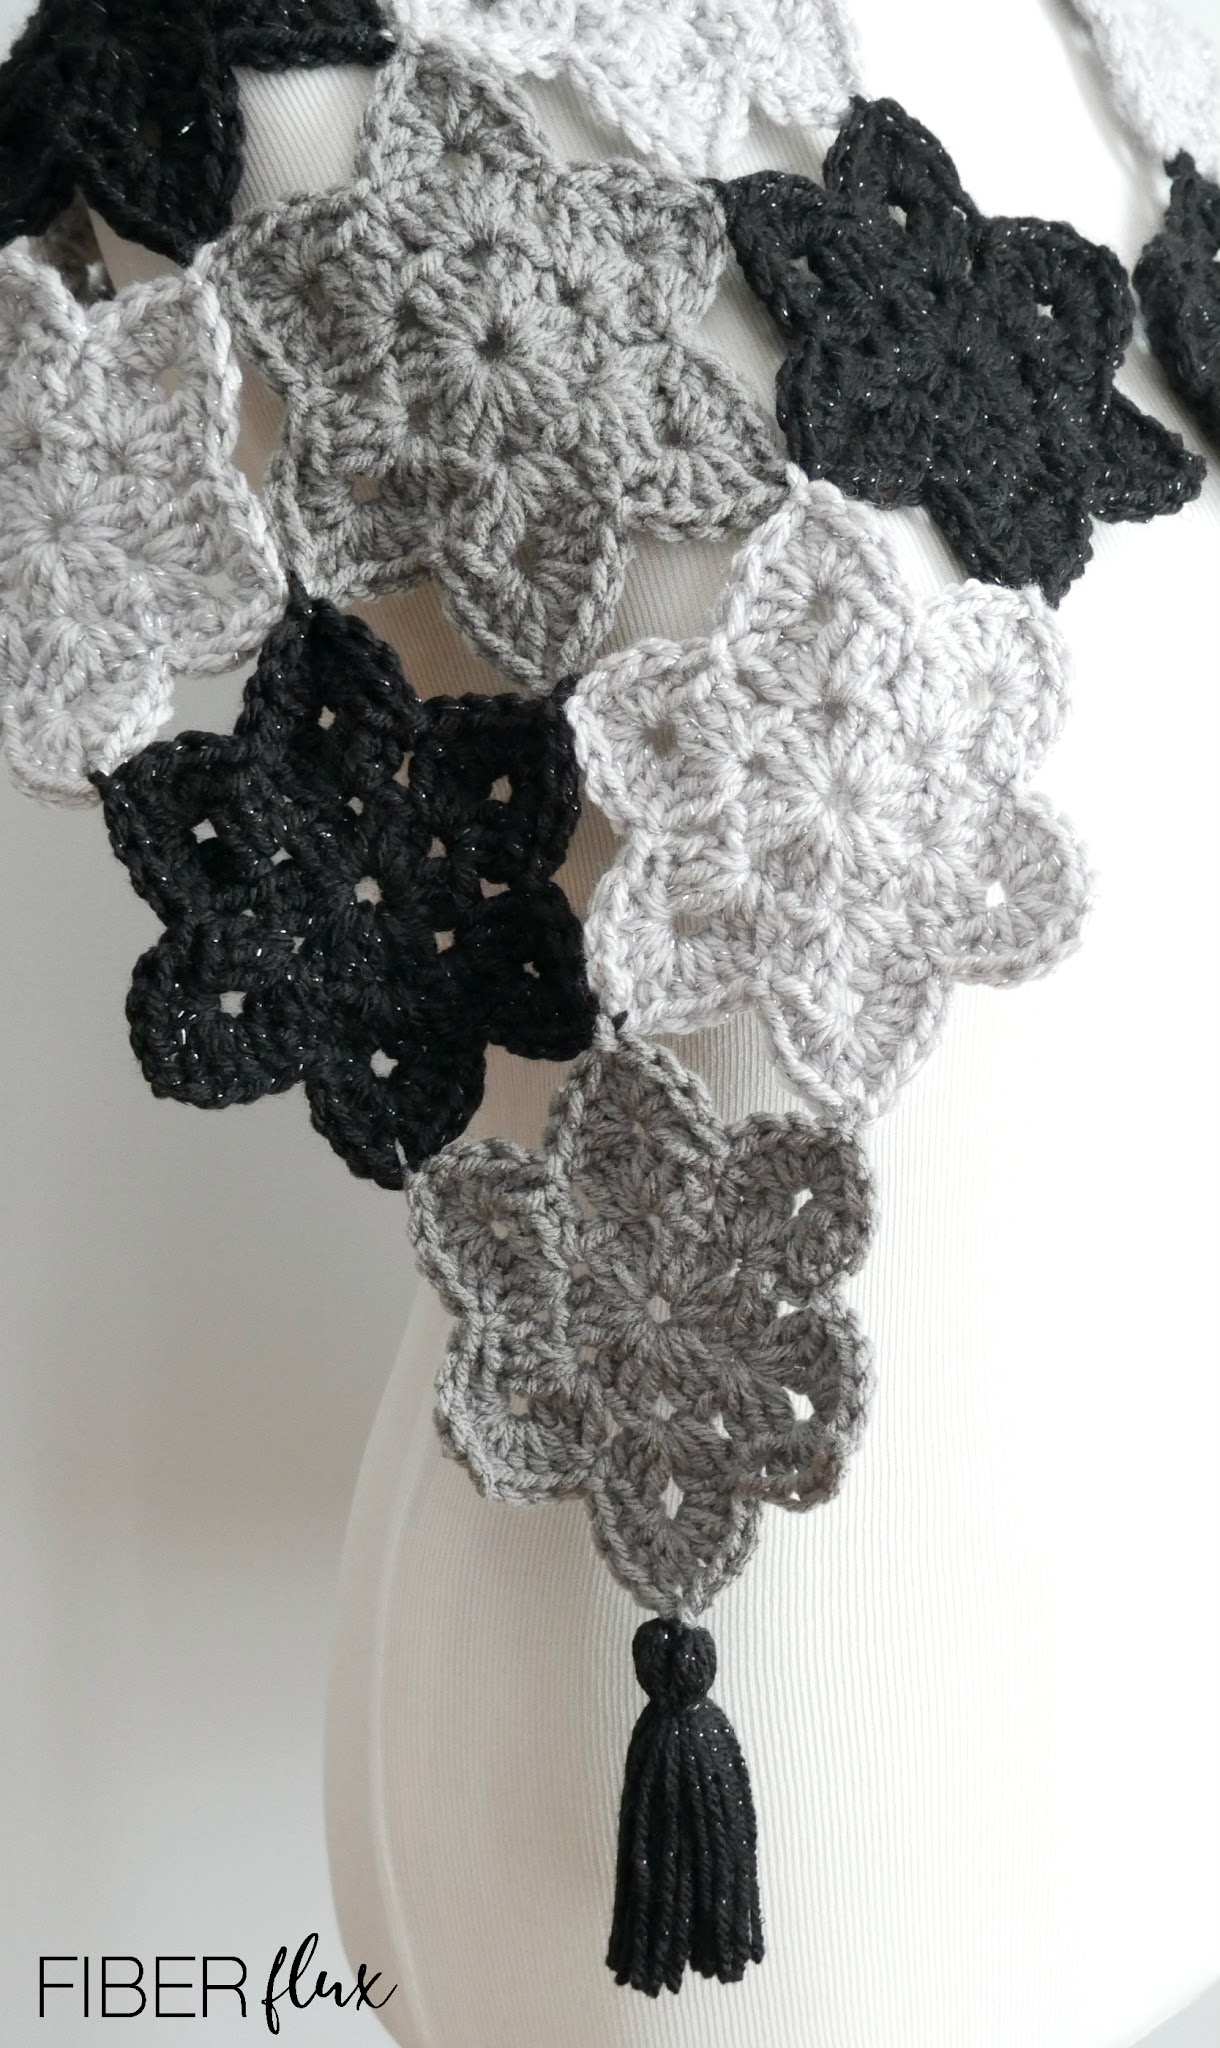
- Stars are each about 5 inches wide
- Tassels are each about 4 inches long
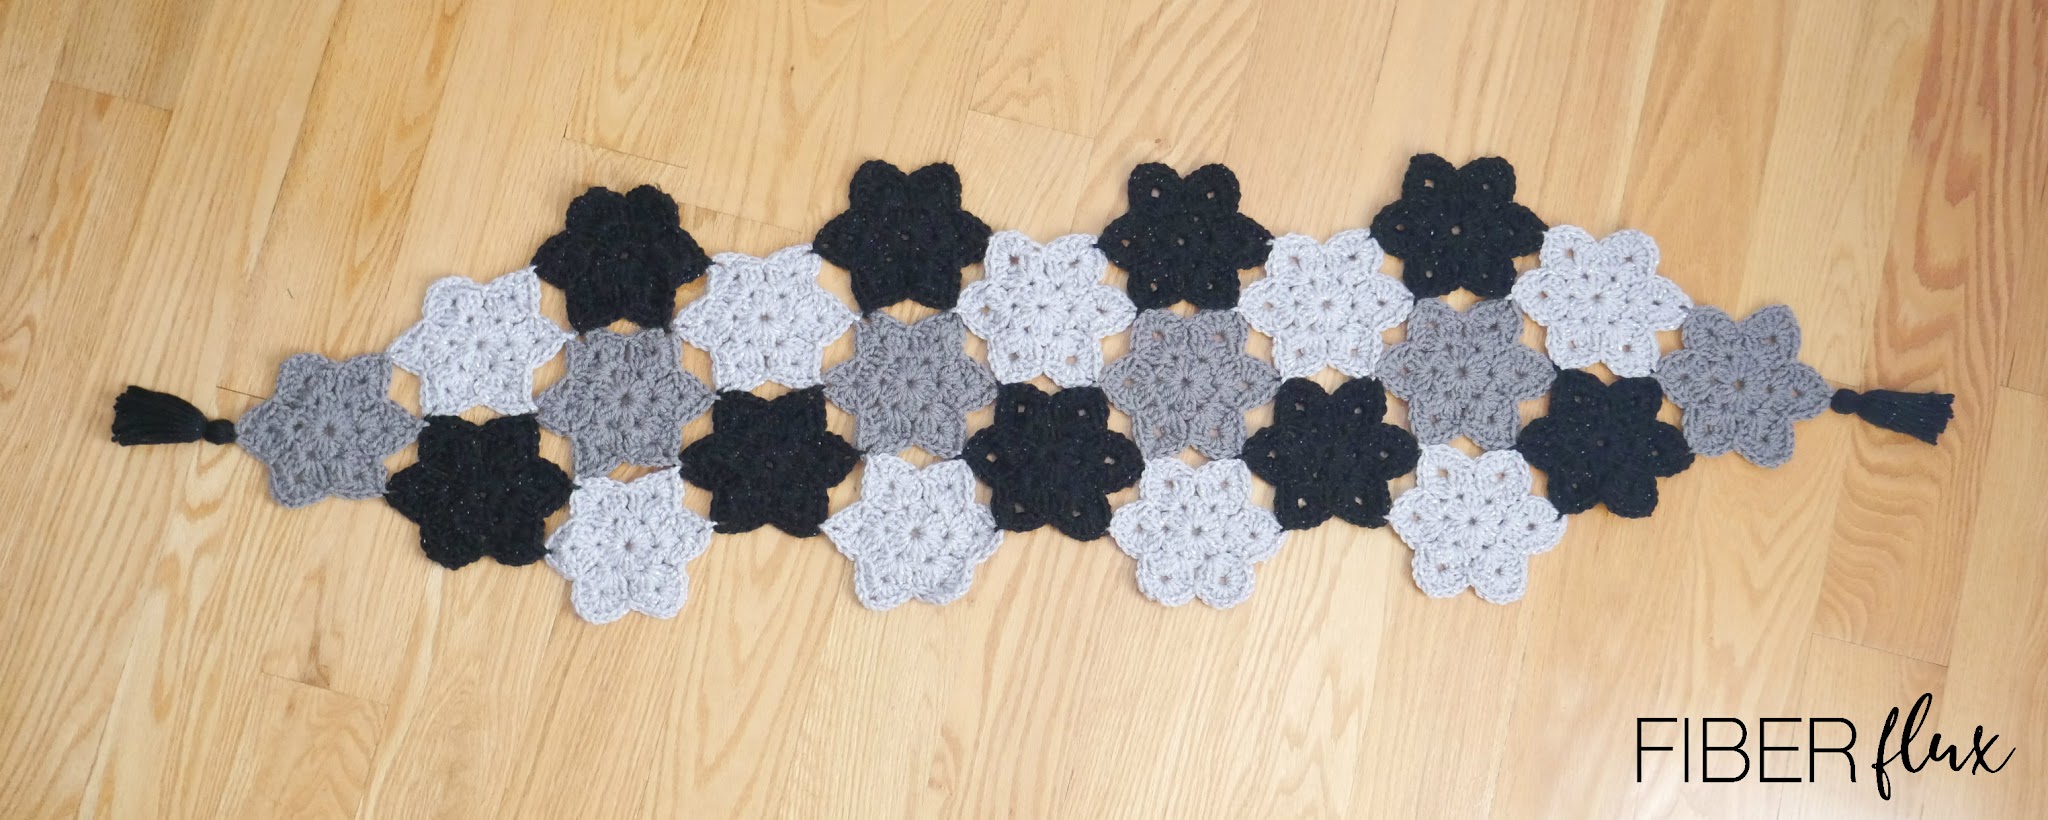
Before we get started, here is a photo of the wrap in its entirety so you can see how I laid out of the stars and arranged the colors:
Pattern Notes:
Wrap as pictured has 24 stars (9 light gray, 6 dark gray, 9 black)
Instructions:
Part 1-The First Star
Ch 4, the join with a skip stitch in the furthest ch from the hook to create a ring.
Round 1: Ch 3, then work 2 dc into the center of the ring. *ch 1, then work 3 dc into the center of the ring. Repeat from * around 4 more times. Join with a slip stitch in the top chain where you started the round.
Note: If changing colors, cut the yarn and tie new color into any ch 1 space. If not changing colors, slip stitch over to the next ch 1 space.
Round 2: Ch 3, then work (2 dc, ch 2, 3 dc) into the ch 1 space. *Work (3 dc, ch 2, 3 dc) in the next ch 1 space. Repeat from * around four more times. Join with a slip stitch in the top chain where you started the round.
Note: If changing colors, cut the yarn and tie new color into any of the points (not a star shape yet at this point). If not changing colors, slip stitch over to the nearest point.
Round 3: Ch 3, then (work 3 dc, ch 2, 4 dc) *Work a slip stitch into the next (side) space, then work (4 dc, ch 2, 4 dc) into the next (point) space. Repeat from * around until your star has 6 points. Join with a slip stitch in the top chain where you started the round.
Weave in ends.
Part 2-The Rest of The Stars
To join the next stars, follow the photo diagram above for placement. Where each star joins at its points, slip stitch the points together instead of working the chain at the join point. If you have never tried the JAYGO (join as you go) technique, you can follow along with me in the video! Also, working on a flat surface is very helpful too.
Fasten off and weave in any ends that remain.
If you’d like to add tassels at either end, cut two pieces of yarn each about 12 inches long and set aside. Wrap the same color yarn around all four fingers 20 times. Carefully slip the yarn off of your fingers and tie the bundle at the top. Using the second piece of yarn, tie it around the top part of the bundle. Trim the bottom straight across. Tie a tassel at either end of the wrap.


I loved this pattern, I watched it last night, now I'm wearing all red for Christmas and I wanted some other color so I did red, green and sparkle white and omg it came out so nice would like to send photo to you to give you credit for your great tutorial, please tell me how I can do that and thank you for such a pattern beautiful. ❤