
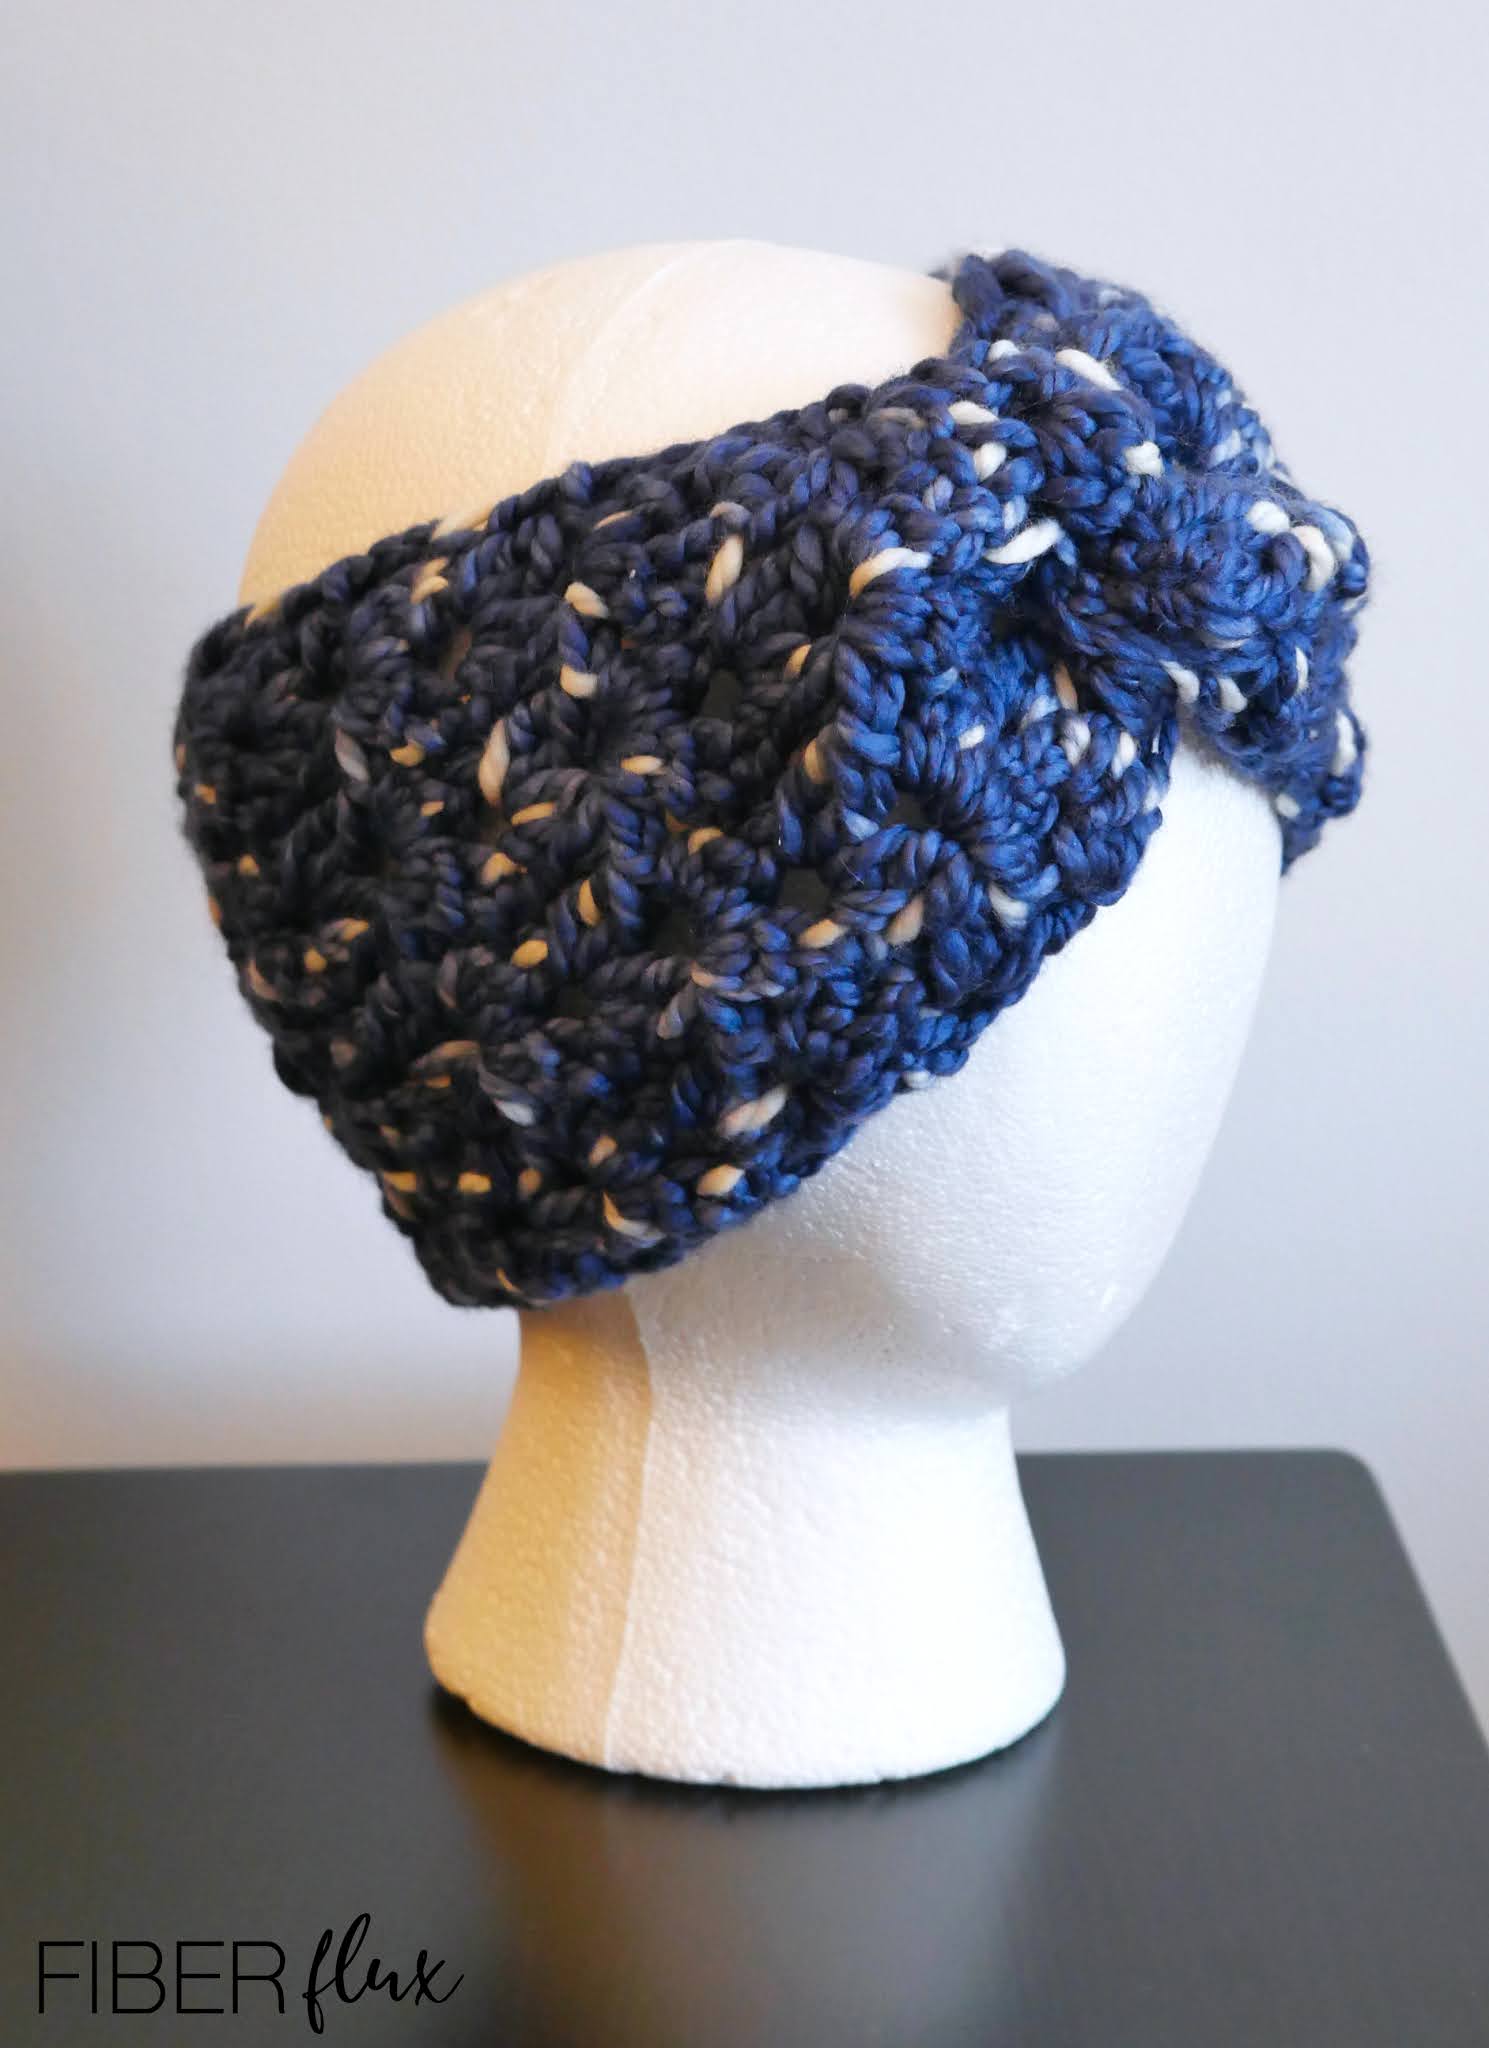
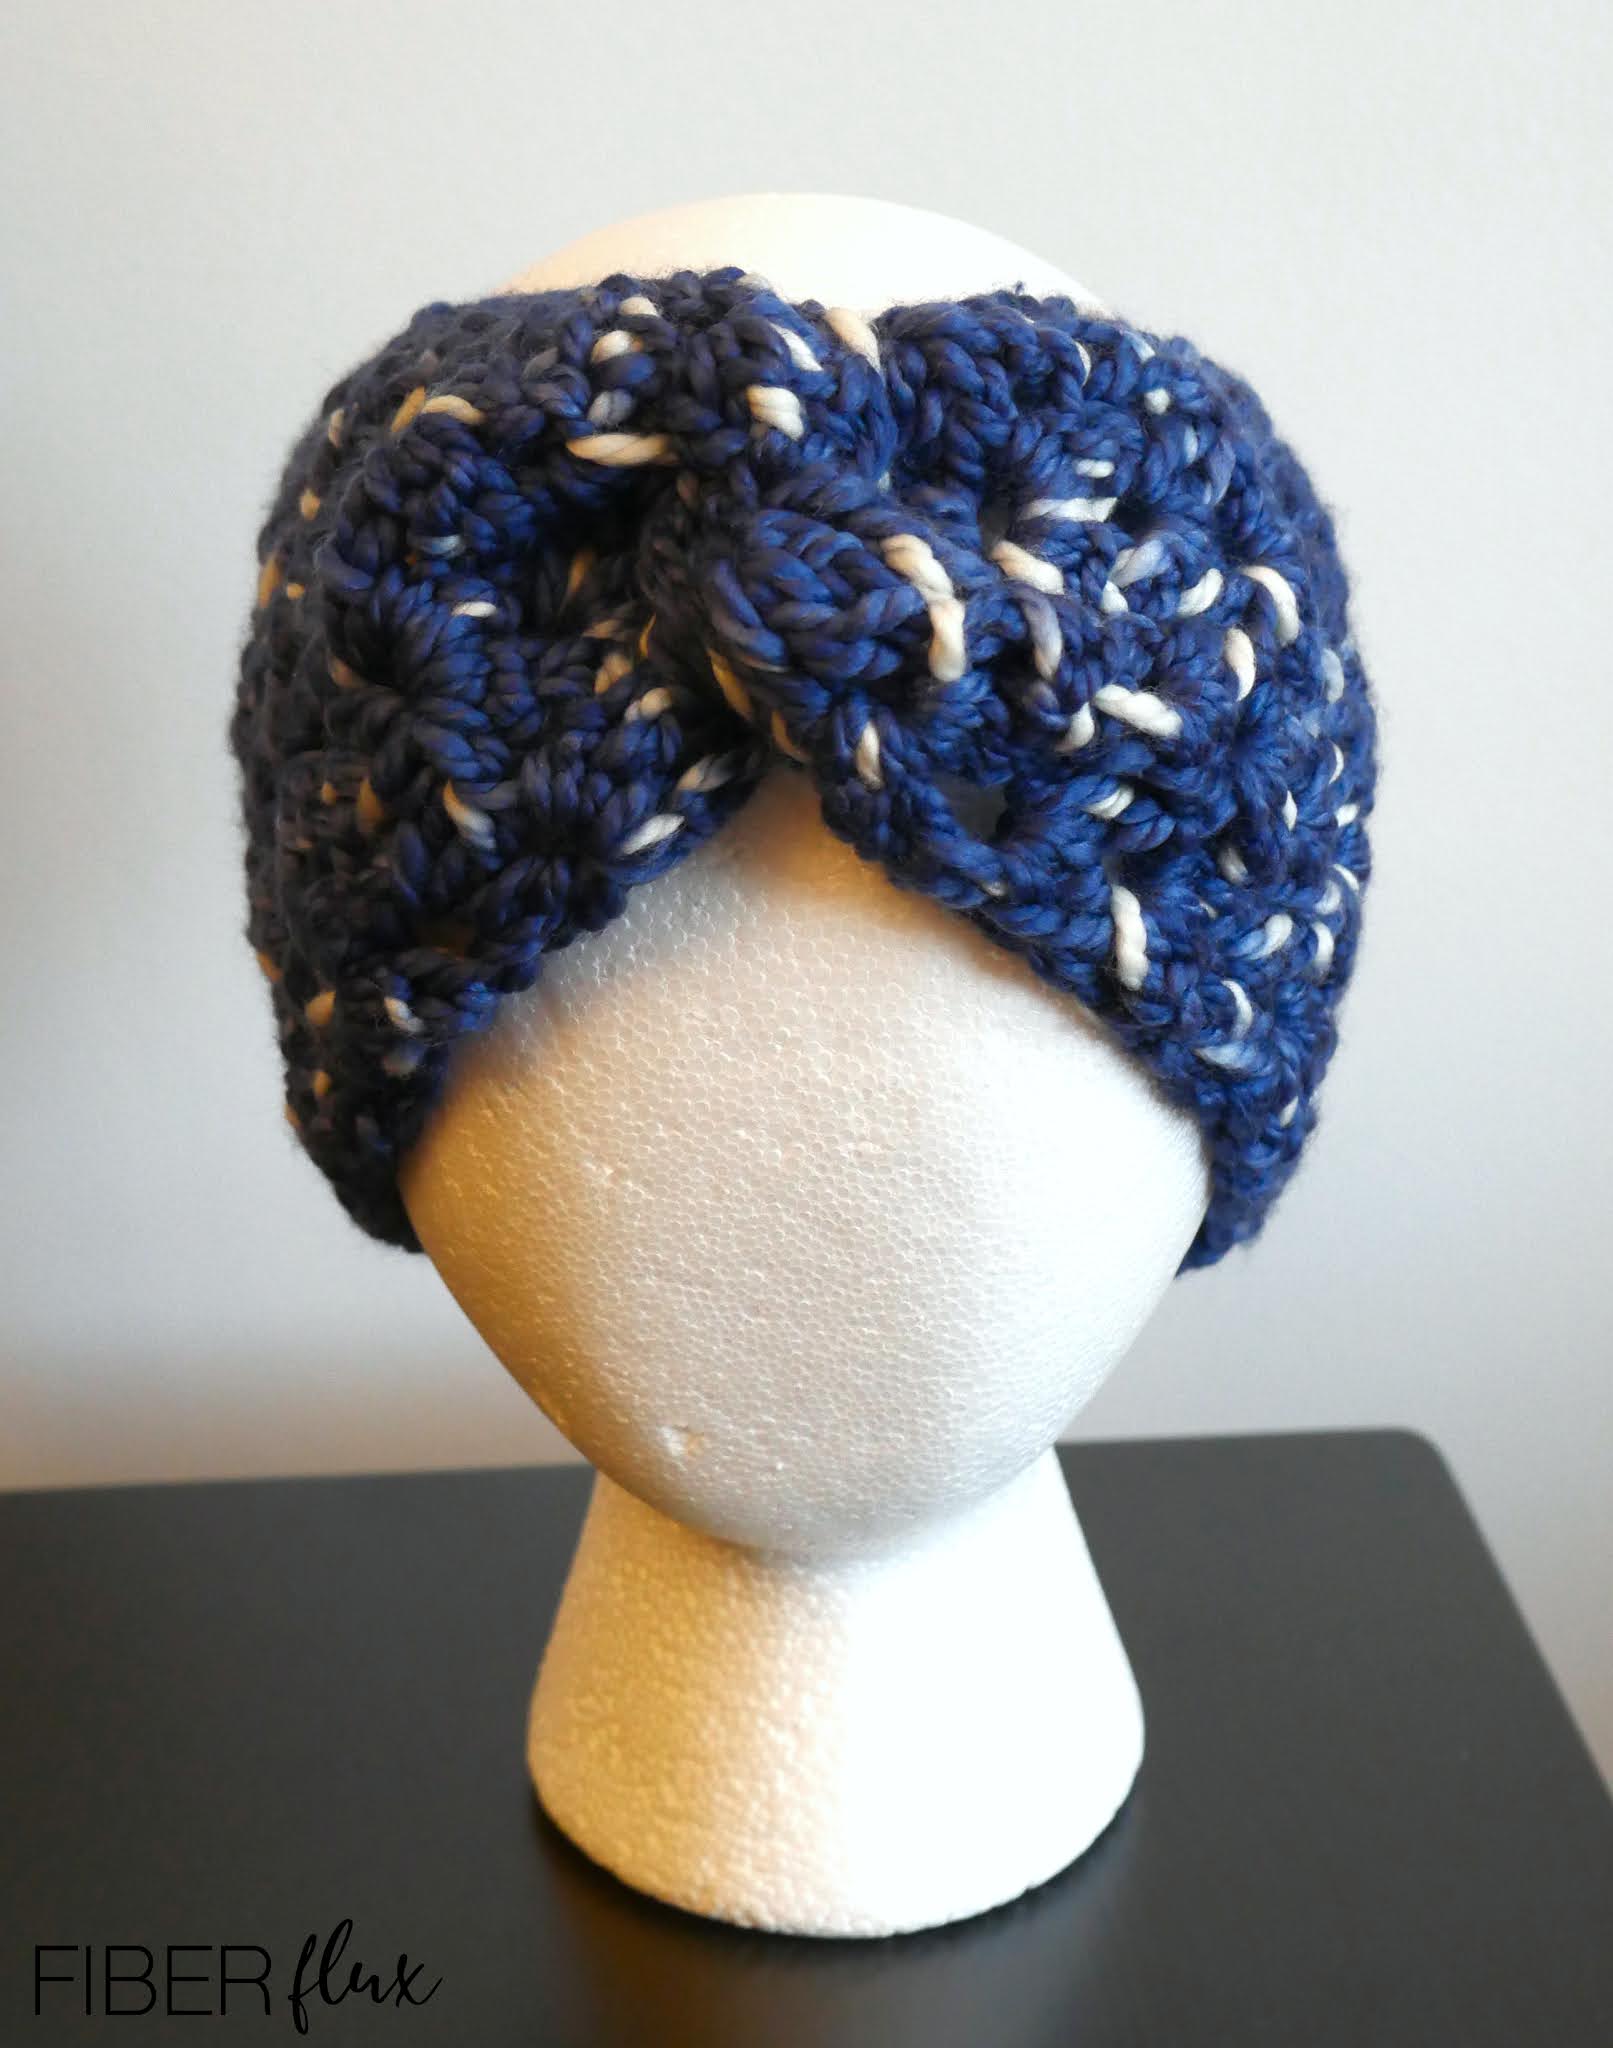
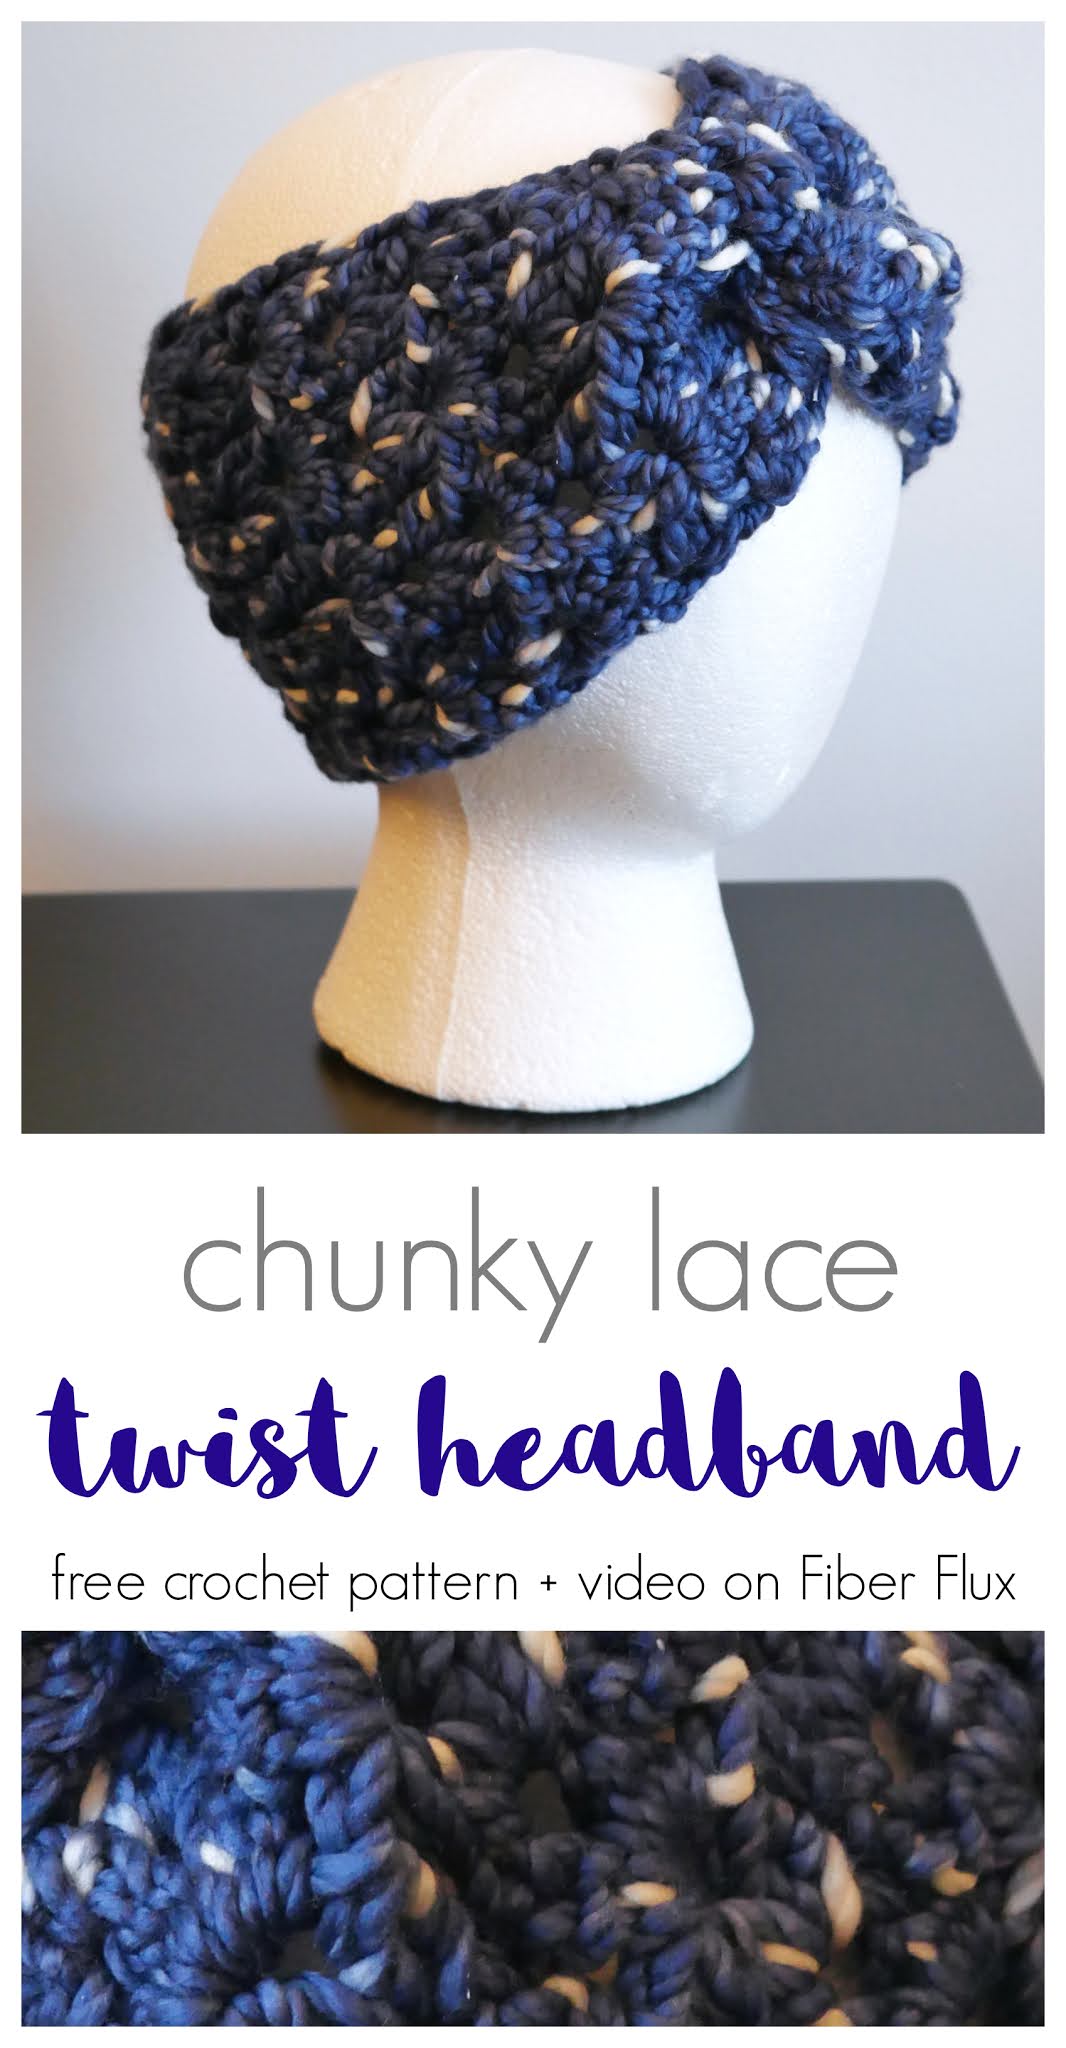
The Chunky Lace Twist Crochet Headband is a beautiful little project that is perfect for a special skein of yarn. The cluster V stitch gives it elegance, and the lovely twist at the top is pretty and very easy to do!
Watch a full video tutorial on how to make this project:
Love video tutorials? Click here to subscribe to the Fiber Flux YouTube channel for more stitchy fun!
Get the ad-free crochet pattern PDF from my shop here!
Materials:
- 6.5 mm K crochet hook
- 109 yards of bulky weight yarn, I used Indigo Shibori SuperChunk Bulky Yarn by Global Backyard
- Tapestry needle
- Scissors
- Tape measure
Finished Sizing:
- 5 inches tall
- 20 inch circumference

Instructions:
Note: If you have never done this stitch, be sure to check out the video, where I walk you through step by step!
Also, because of the number of steps involved for this stitch, I’ve divided each step as a bullet point.
Ch 15 (multiple of 3)
Row 1:
- Begin in the 5th chain from the hook.
- Wrap yarn around hook and bring up a loop (3 loops on the hook).
- Wrap yarn around hook and bring it through the first two loops on the hook (2 loops on the hook).
- Wrap yarn around hook and bring up a loop from that same chain (4 loops on the hook).
- Wrap yarn around hook and bring it through the first two loop on the hook (3 loops on the hook).
- Wrap yarn around hook and bring it through all three loops.
- Chain 2
- Then working into that same chain, wrap yarn around hook, bring up a loop (three loops on the hook).
- Wrap yarn around hook and bring it through the first two loops (two loops on the hook).
- Wrap yarn around hook and go back into the same chain and bring up a loop (4 loops on the hook).
- Wrap yarn around hook and bring it through the first two loops (3 loops on the hook)
- Wrap yarn around hook and bring it through all three loops.
- Skip two chains and then repeat steps 2-12.
- Repeat across, working steps 2-12 until one chain remains.
- Work a dc into the last chain.
Row 2:
- Ch 3 and turn.
- Working into the chain 2 spaces from the previous row, repeat steps for the cluster v stitch from row 1 (instead of working into the chains, you’ll work into the chain 2 spaces all the way across).
- To finish off the row, work a dc into the turning chain space.
- Repeat row 2 for desired height. I worked mne until 20 inches long.
Finishing & Assembly:
- If you want cylinder shaped headband, simply seam across.
- For a twist in the headband, bring the ends together and fold ench end in half. Place them together like two interlocking “C” shapes.
- Seam through all four layers and fasten off.
- Weave in any ends that remain.
- Turn headband right side out and your Chunky Lace Twist Crochet Headband is ready to wear!


This comment has been removed by a blog administrator.