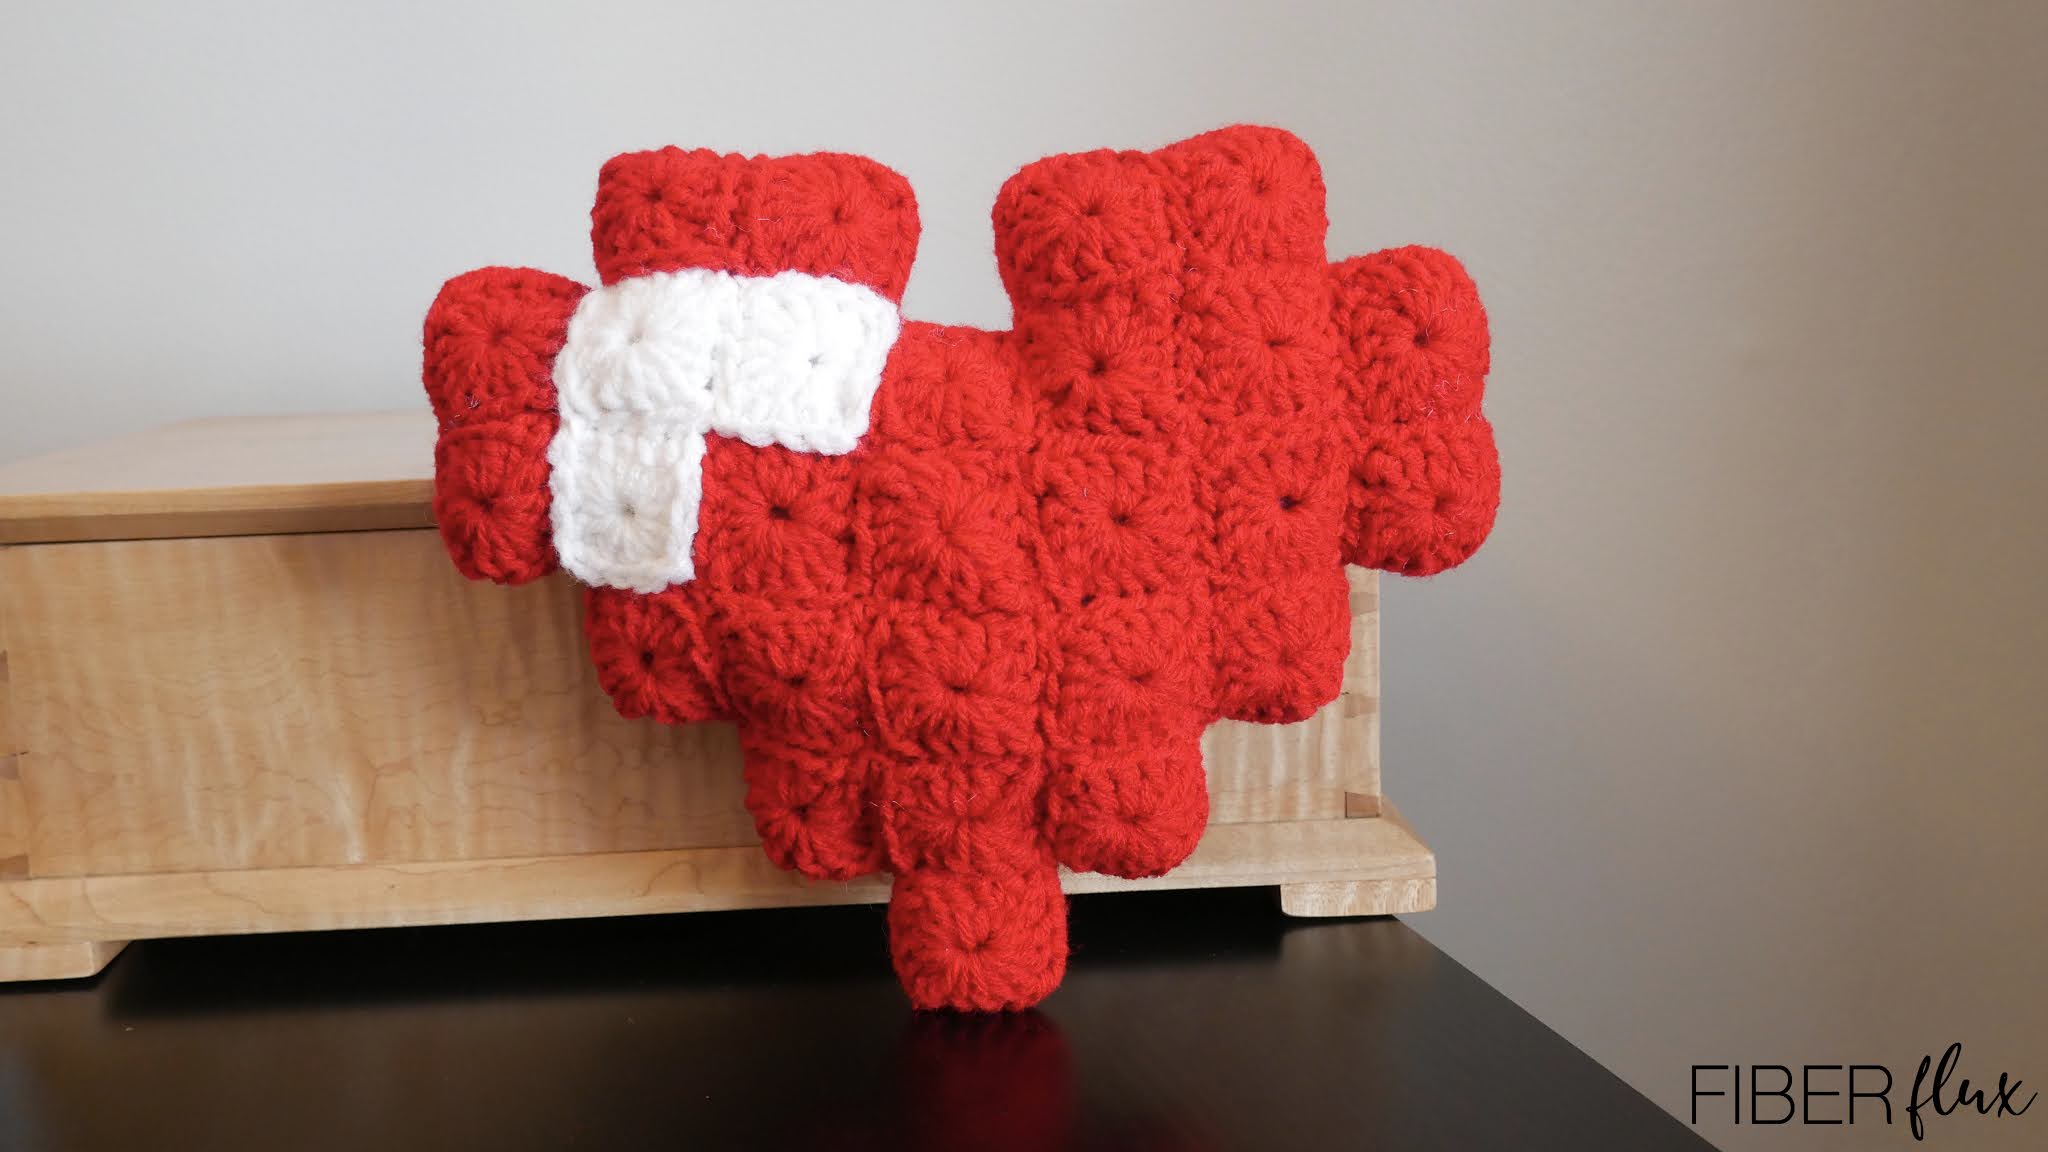
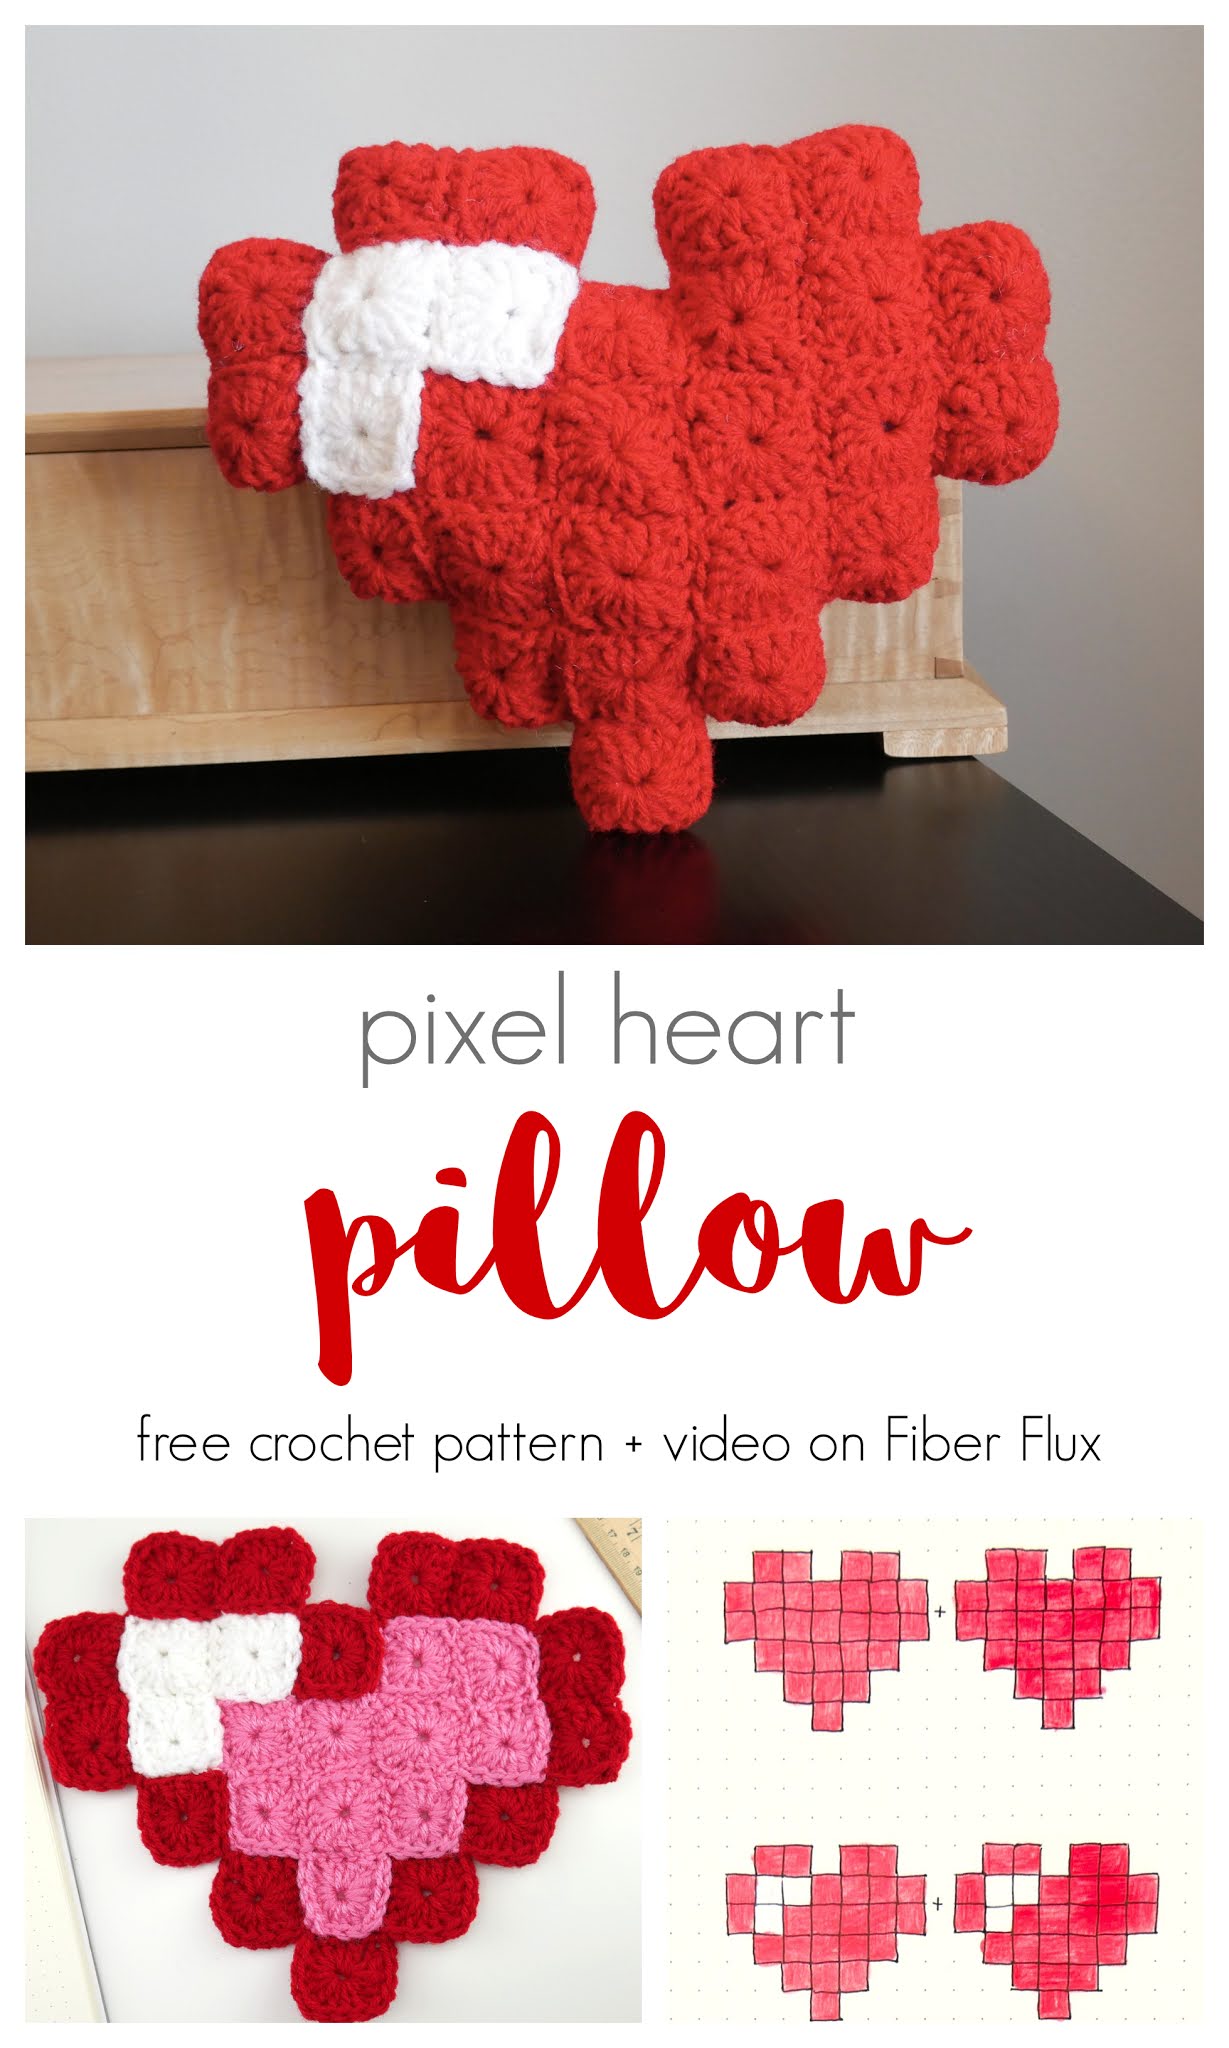
The Pixel Heart Crochet Pillow is a super fun Valentine decor item that is easy to make! Tiny squares are stitched together to form a heart and I have created three different color versions so you can pick your favorite! Makes a super cute addition to the home or a fun and unique Valentine!
Watch a full video tutorial on how to make the Pixel Heart Crochet Pillow:
Love video tutorials? Click here to subscribe to the Fiber Flux YouTube channel for more stitchy fun!
Materials:
- 5.0 mm H crochet hook
- Worsted weight acrylic yarn in red pink, and white (colors will depend on which color /design scheme you choose-see below) I used Red Heart Super Saver in “Cherry Red” “White” and “Perfect Pink” for both example swatches and finished pillow.
- Tapestry needle
- Scissors
- Tape measure
- Stuffing (I used Fiber Fill)
- Optional paper and pen to chart and plan your heart like I did)
Looking for awesome yarn and hooks for this project? Get them all (and lots more) here!
Finished Sizing:
- 10 inches wide
- 8 inches tall
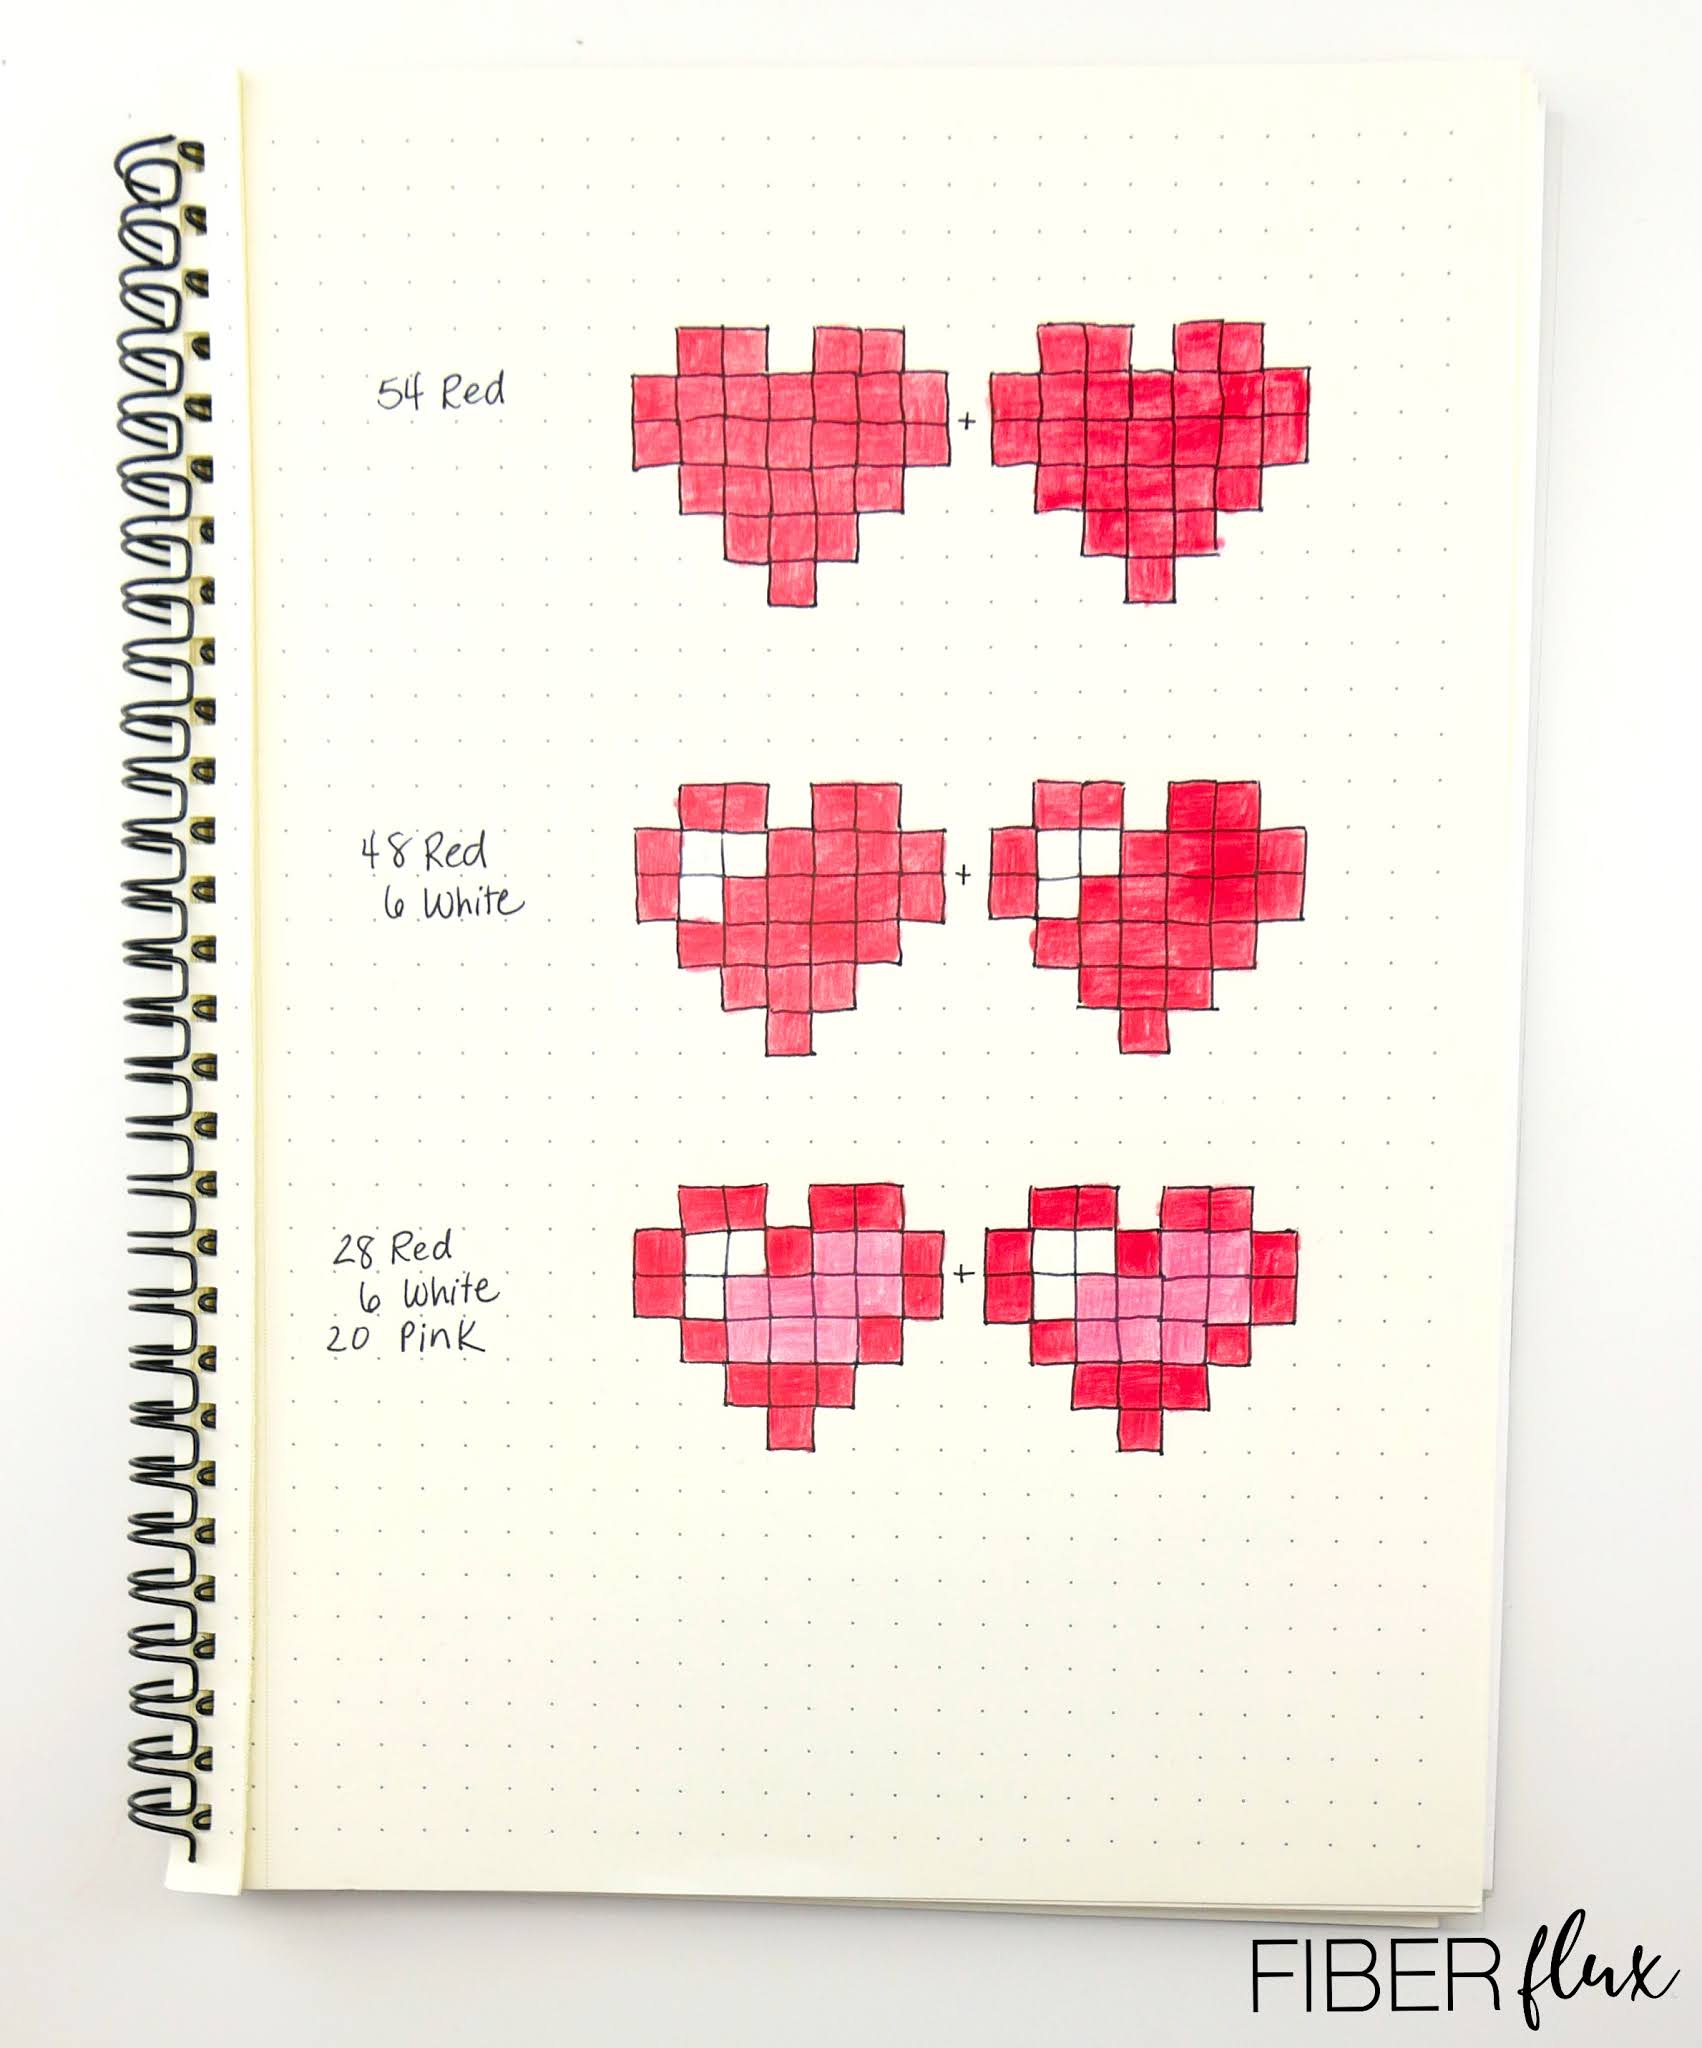
Before you begin, you’ll need to decide which color combination you like best. Below is a chart with three examples, solid red heart, pixel shine heart, and a three color 3D heart.
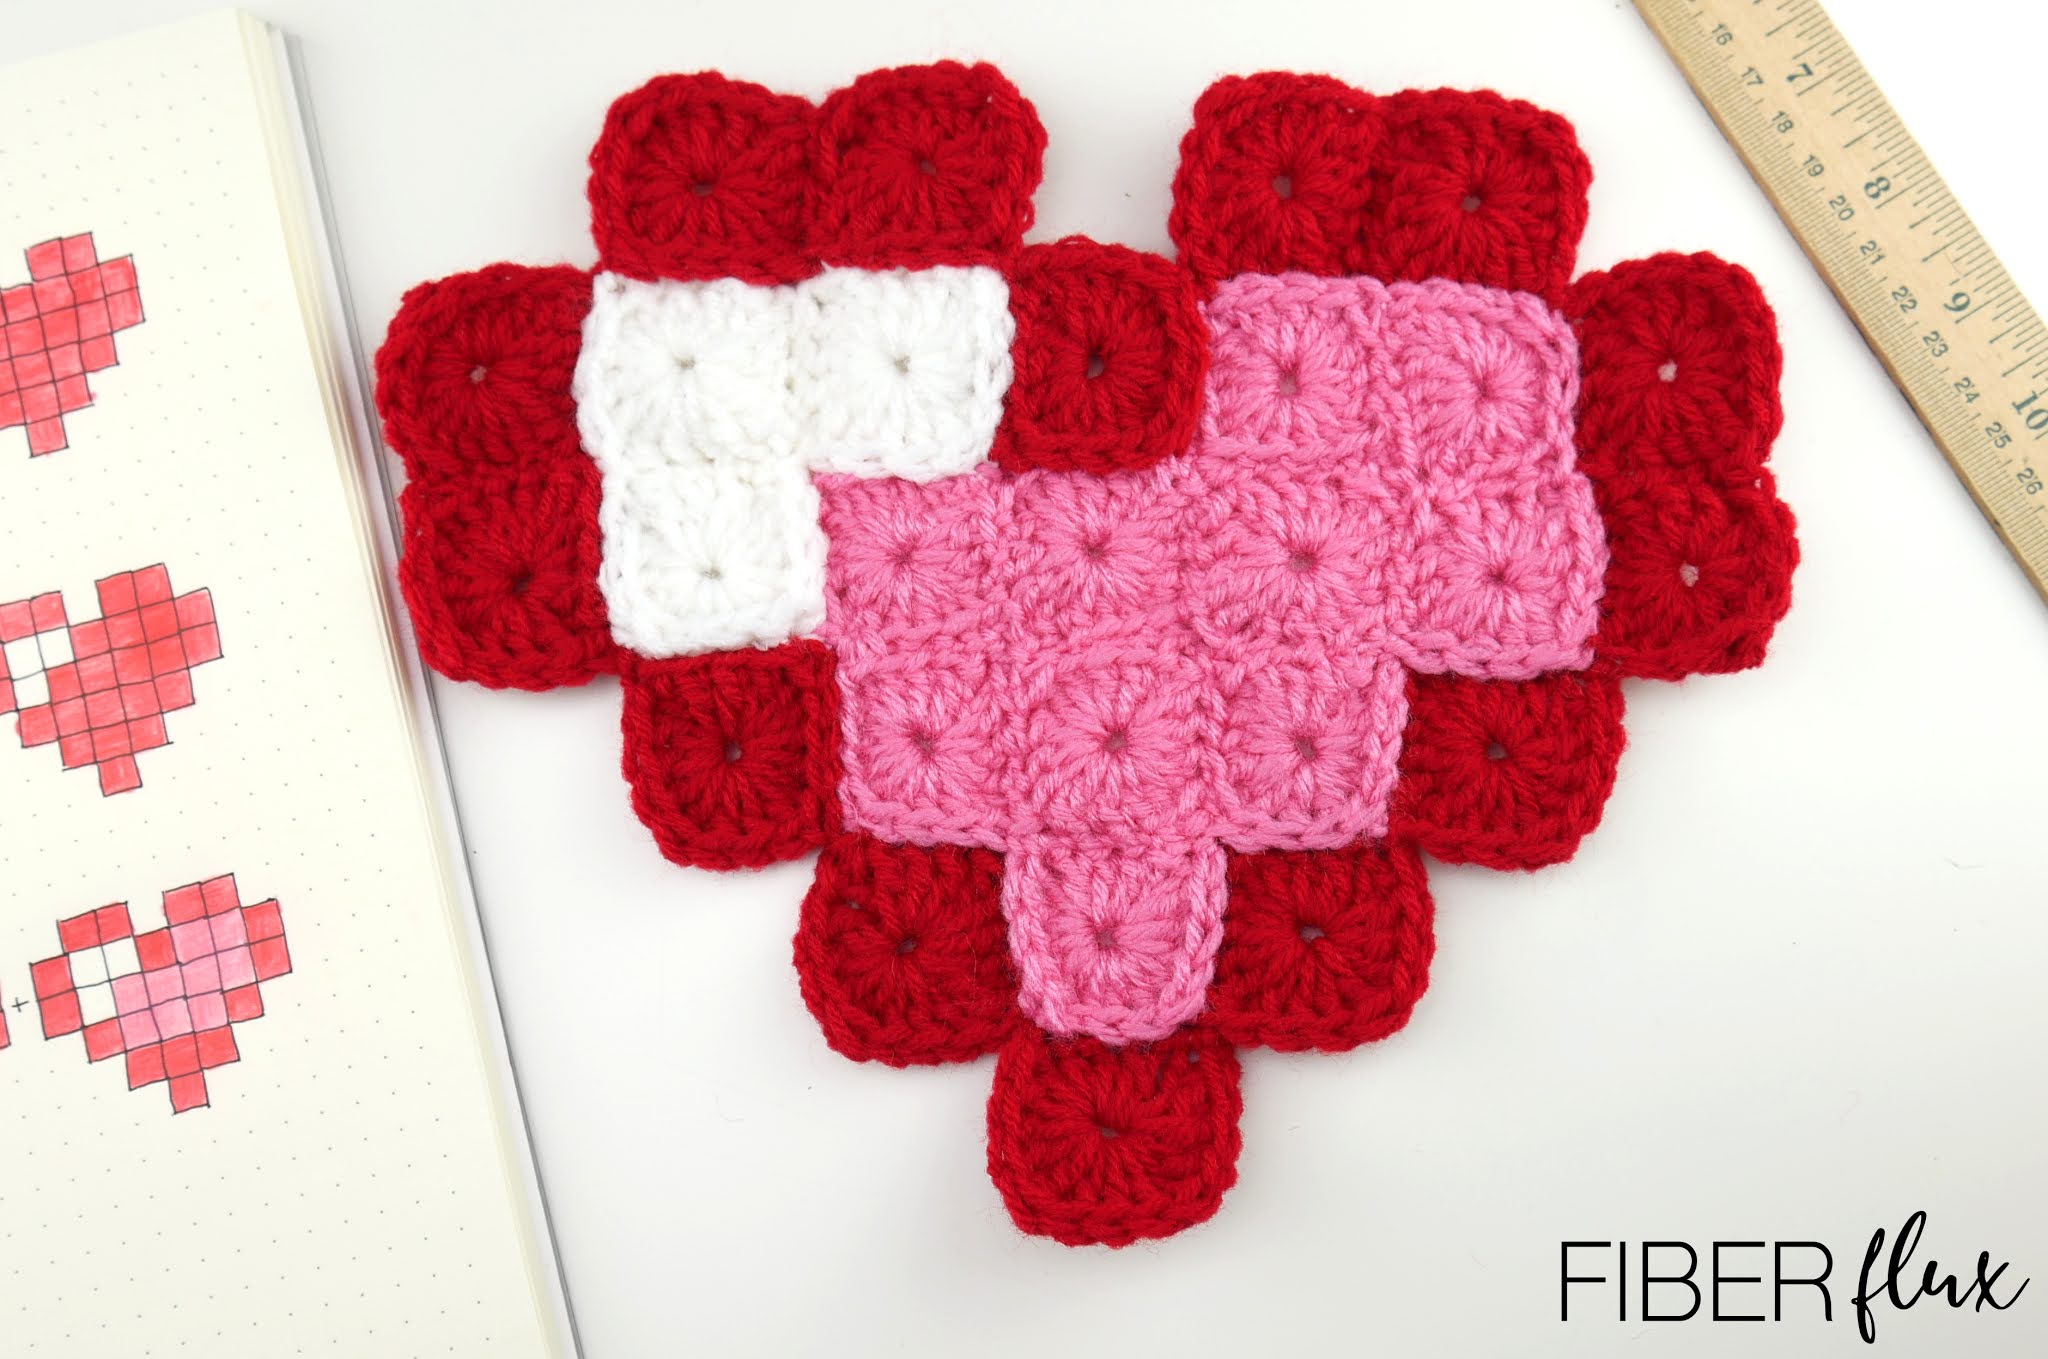
Here is an example of one of the hearts with the pixels stitched up (before stuffing):
Part 1: The Pixel Squares
- Note: Please refer to the chart above to get the exact number of squares in each color you need for your pillow.
- Ch 4, join in the ch furthest chain from the hook with a slip stitch to create a ring.
- Round 1: Ch 4, then work (3 dc, 1 tr, 3 dc, 1 tr, 3 dc, 1 tr, 3 dc). Join to close round at the top of the starting chain with a slip stitch.
- Repeat for each square.
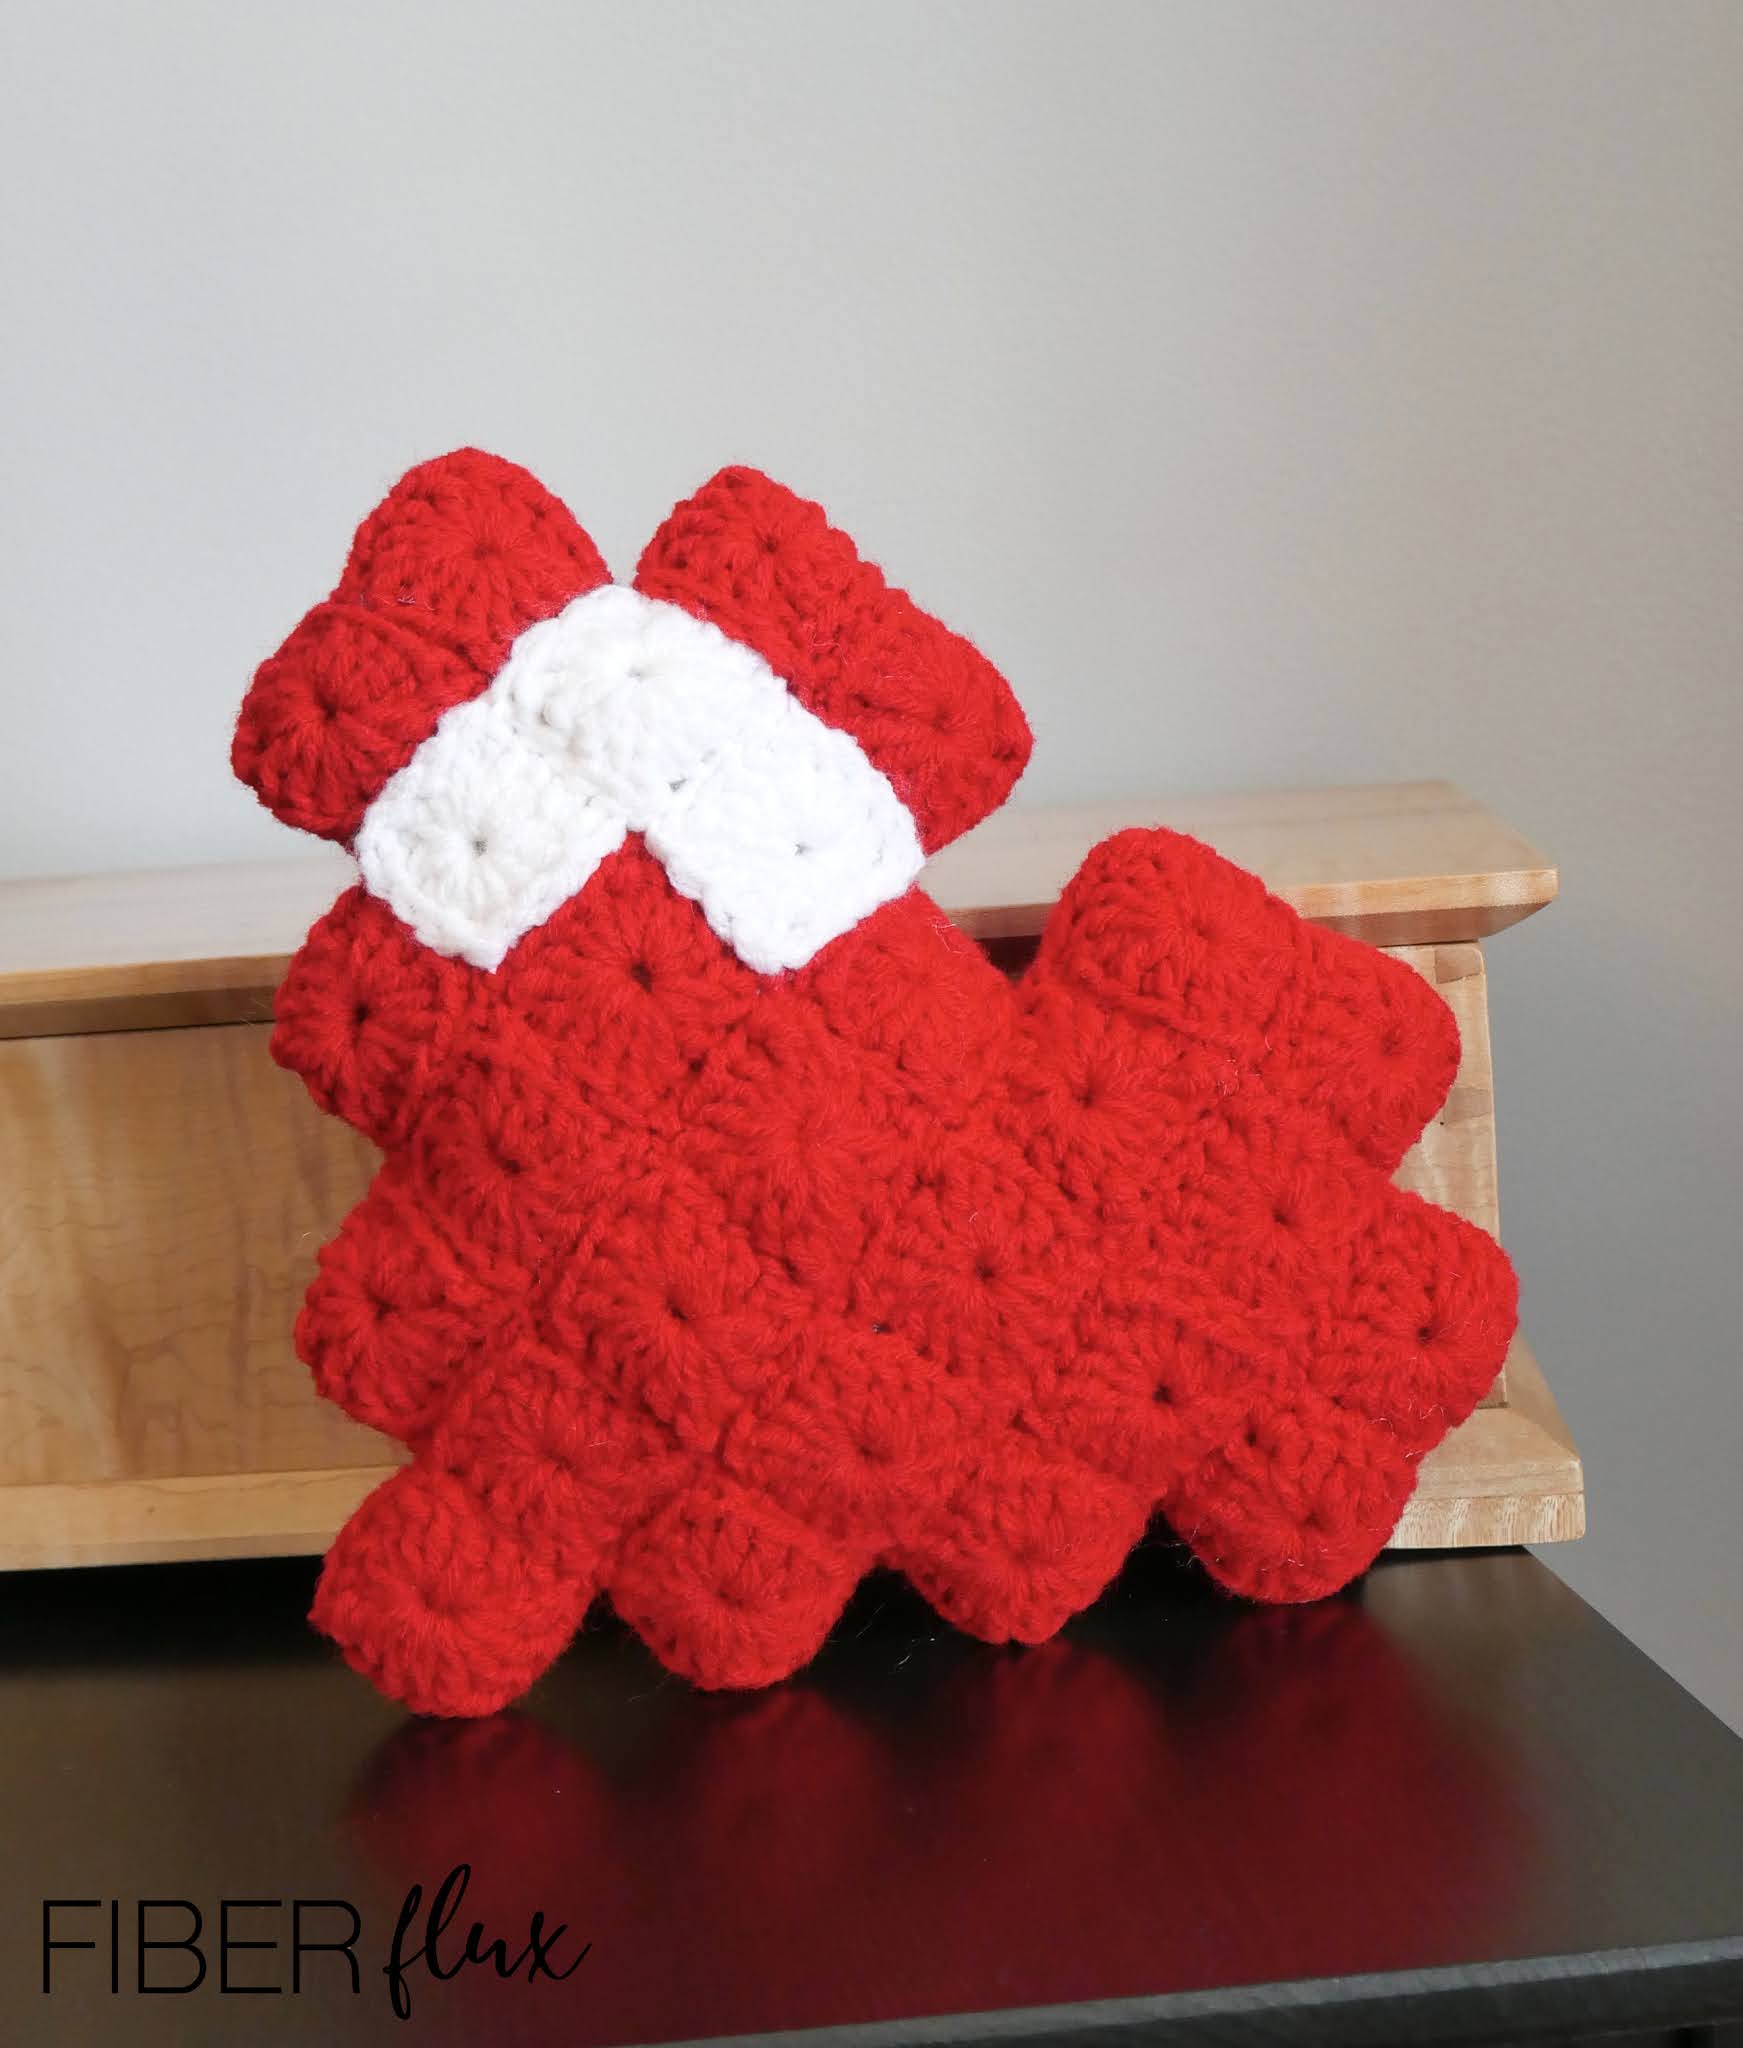
Assembly and Finishing:
- Arrange squares as shown in the chart above.
- Using tails of the squares and a tapestry needle, seam them together as shown, both front side and back side.
- Seam around the heart, leaving a small opening to stuff.
- Stuff the heart then seam closed.
- Shape a little as needed and weave in any remaining ends.


This comment has been removed by a blog administrator.
This comment has been removed by a blog administrator.