
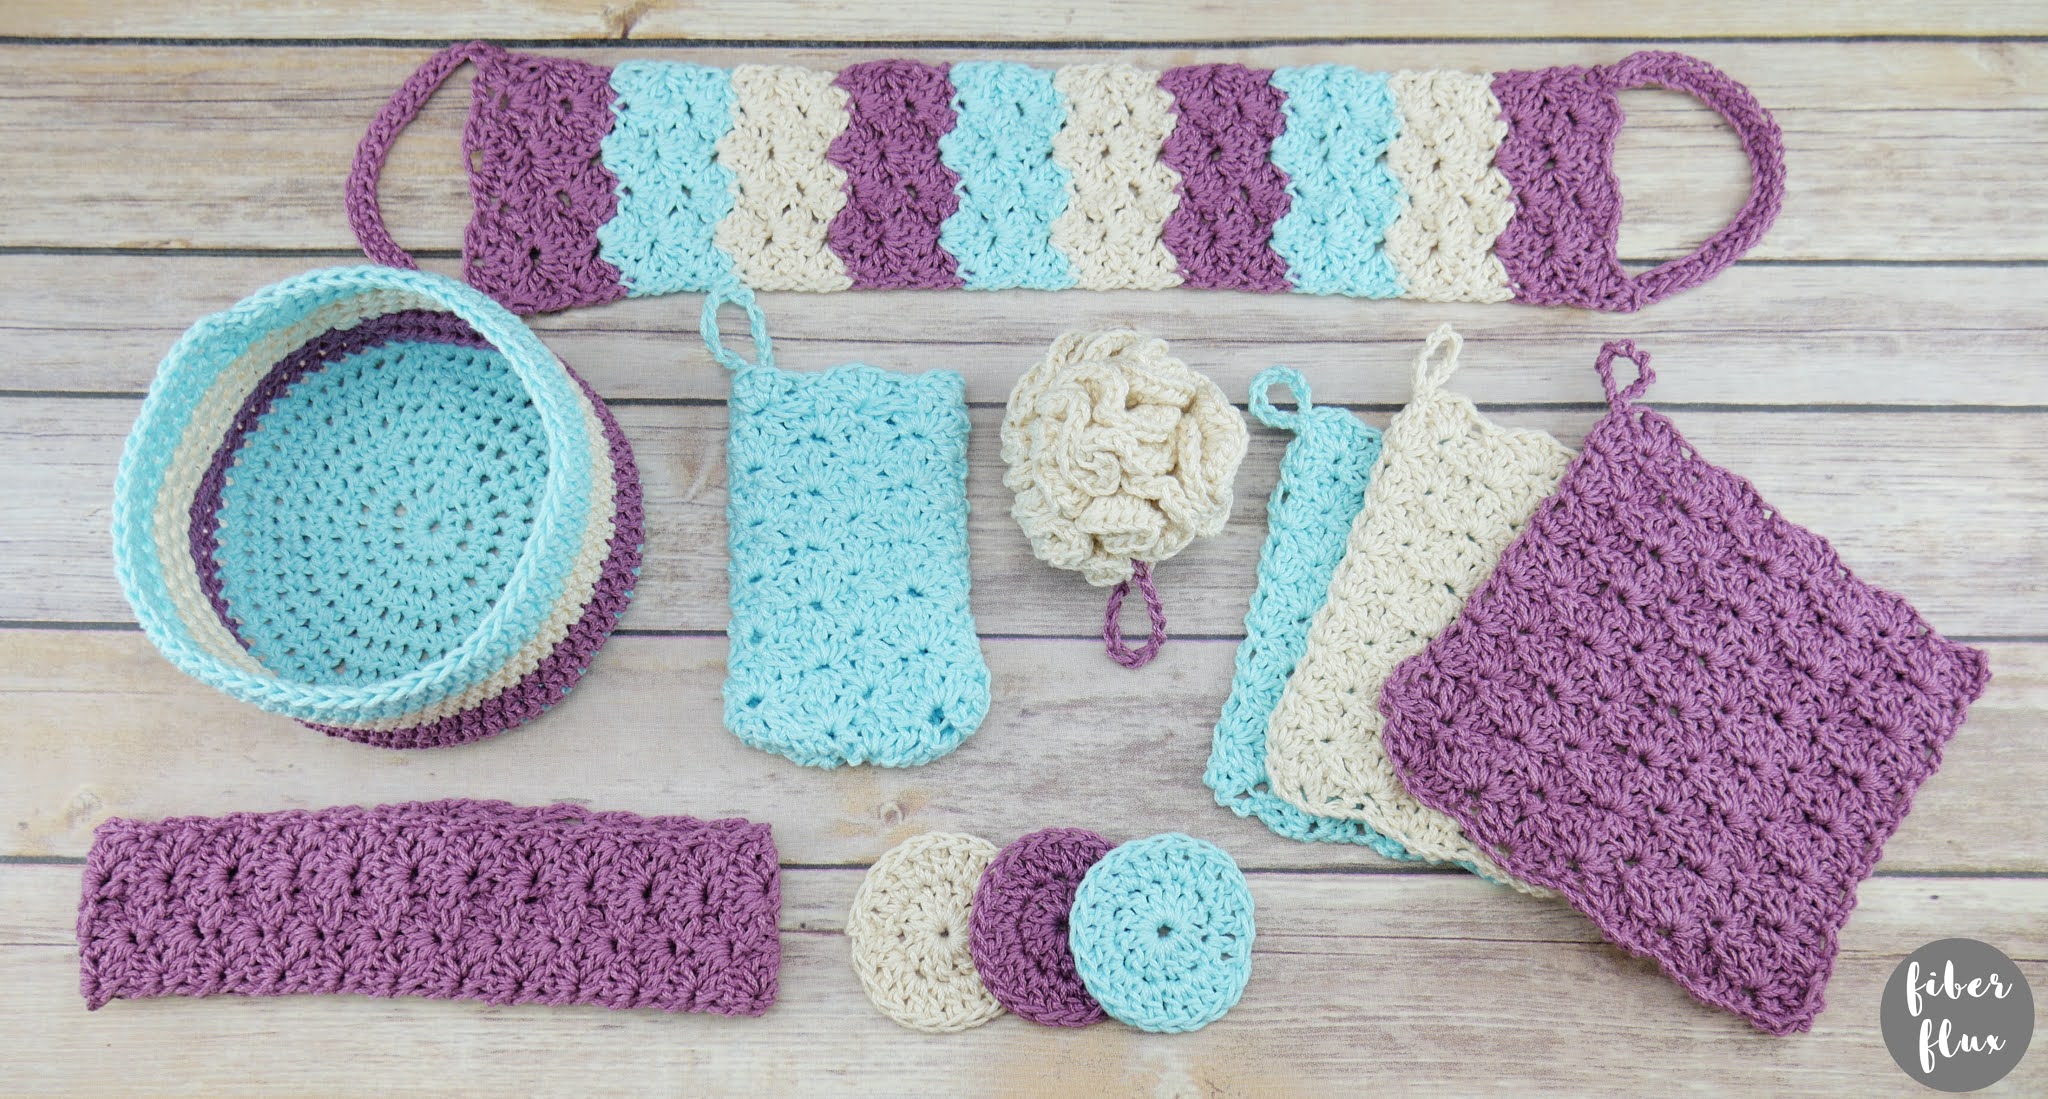
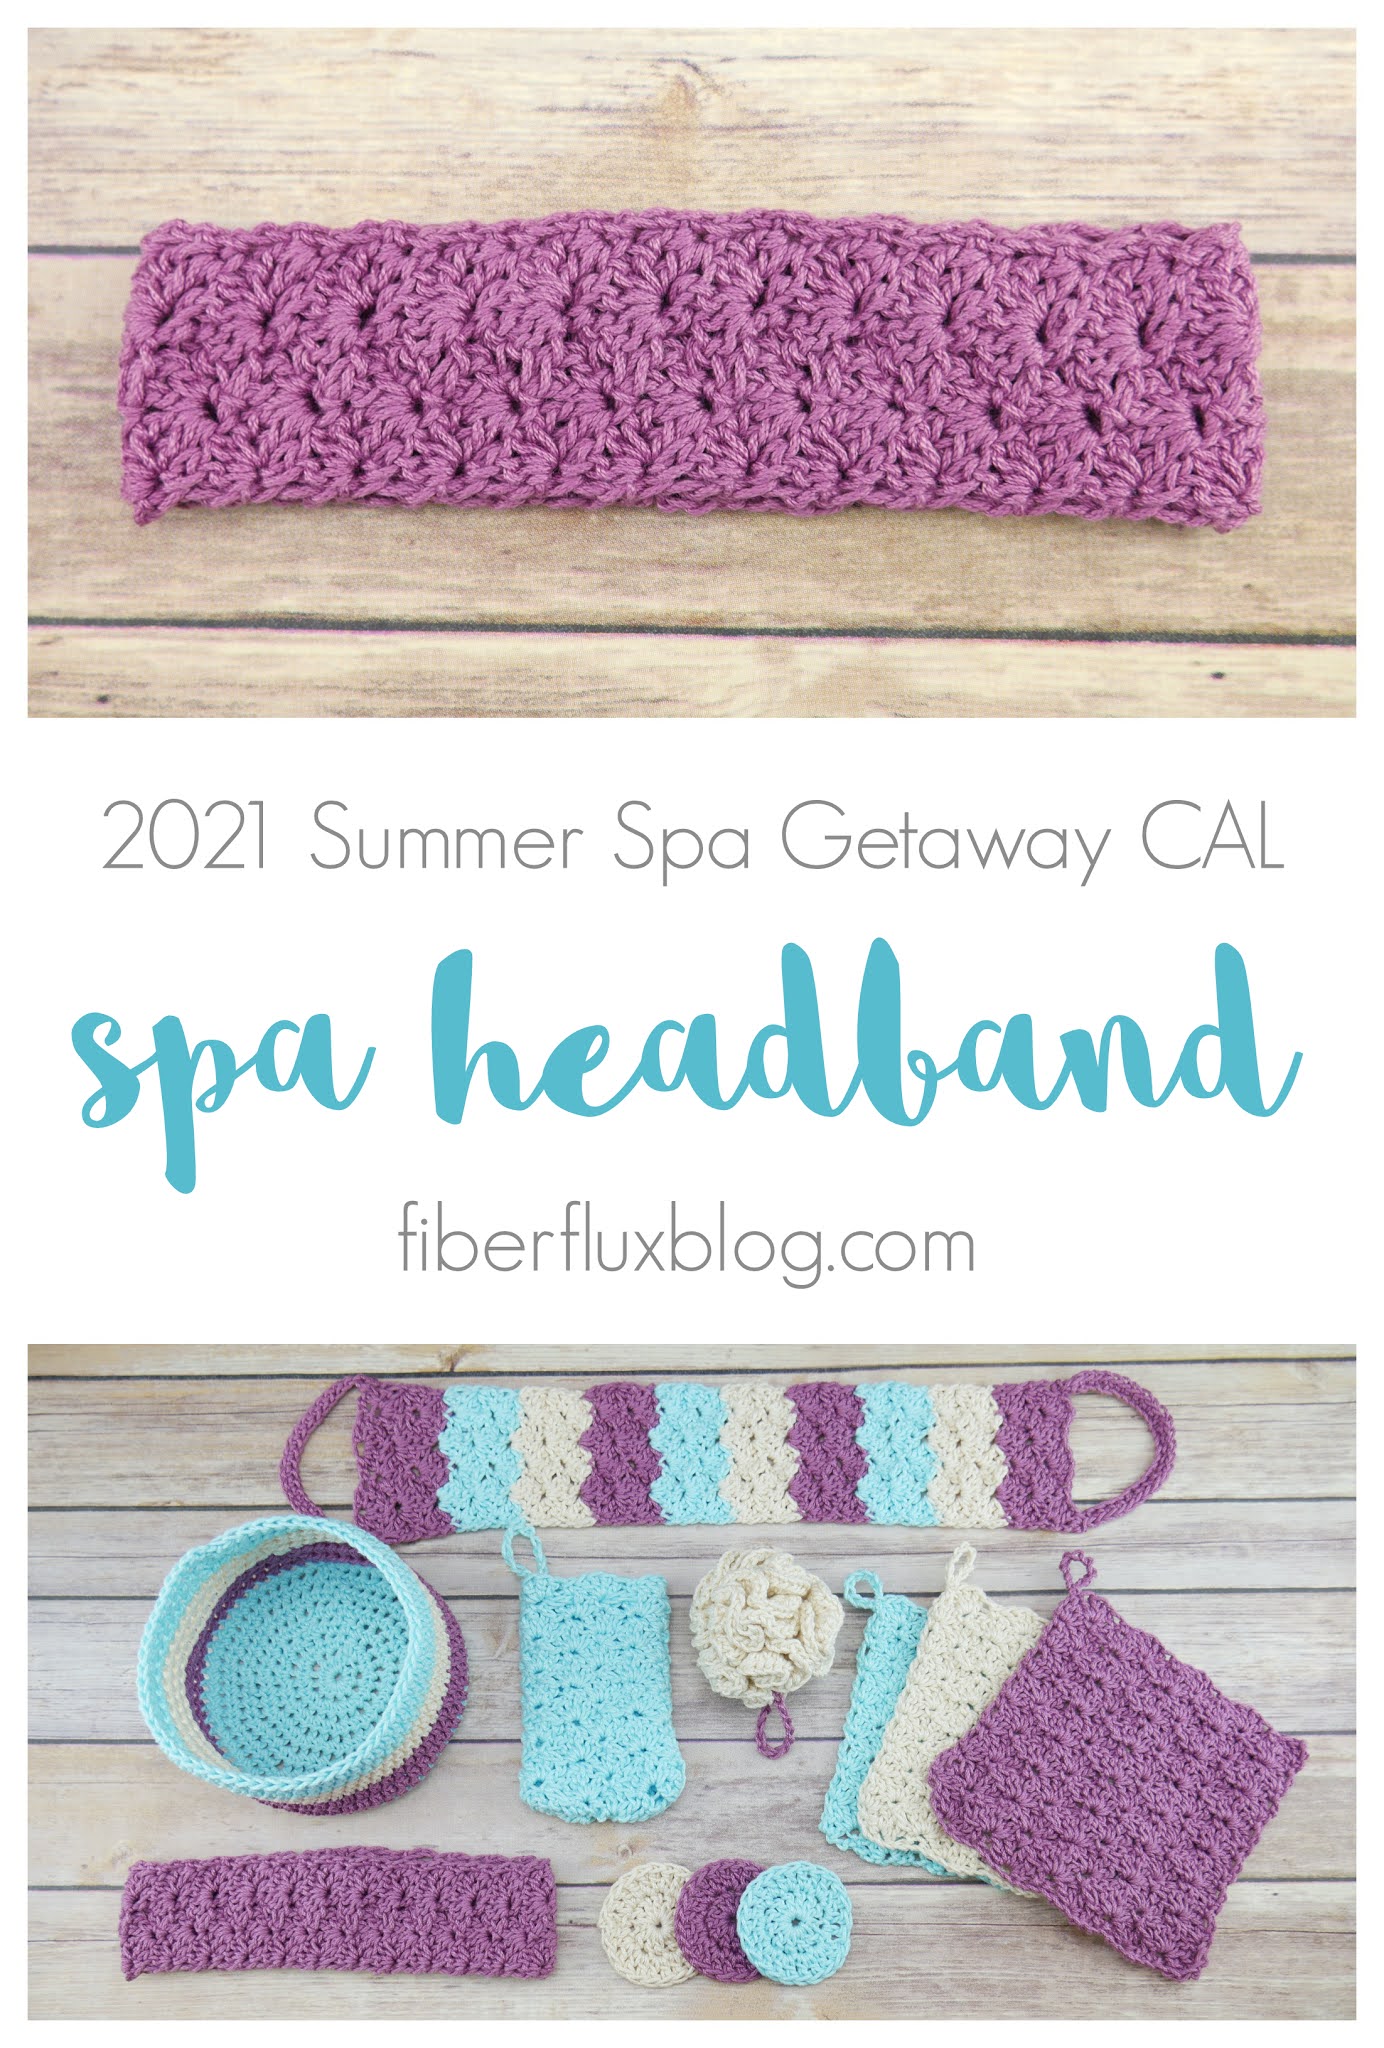
It’s spa time! Welcome back to the 2021 Fiber Flux Summer Crochet Along…yippee! We are working an amazing series of projects this time…the Summer Spa Getaway CAL! Each week we’ll make a different spa item (everything is listed below on the schedule) and at the end, you’ll have a beautiful collection of spa themed crochet items that you can use for self-care or lovely gifts too! This series is easy and fun…meant to be a relaxing, easy going summer project, all part of our spa theme!
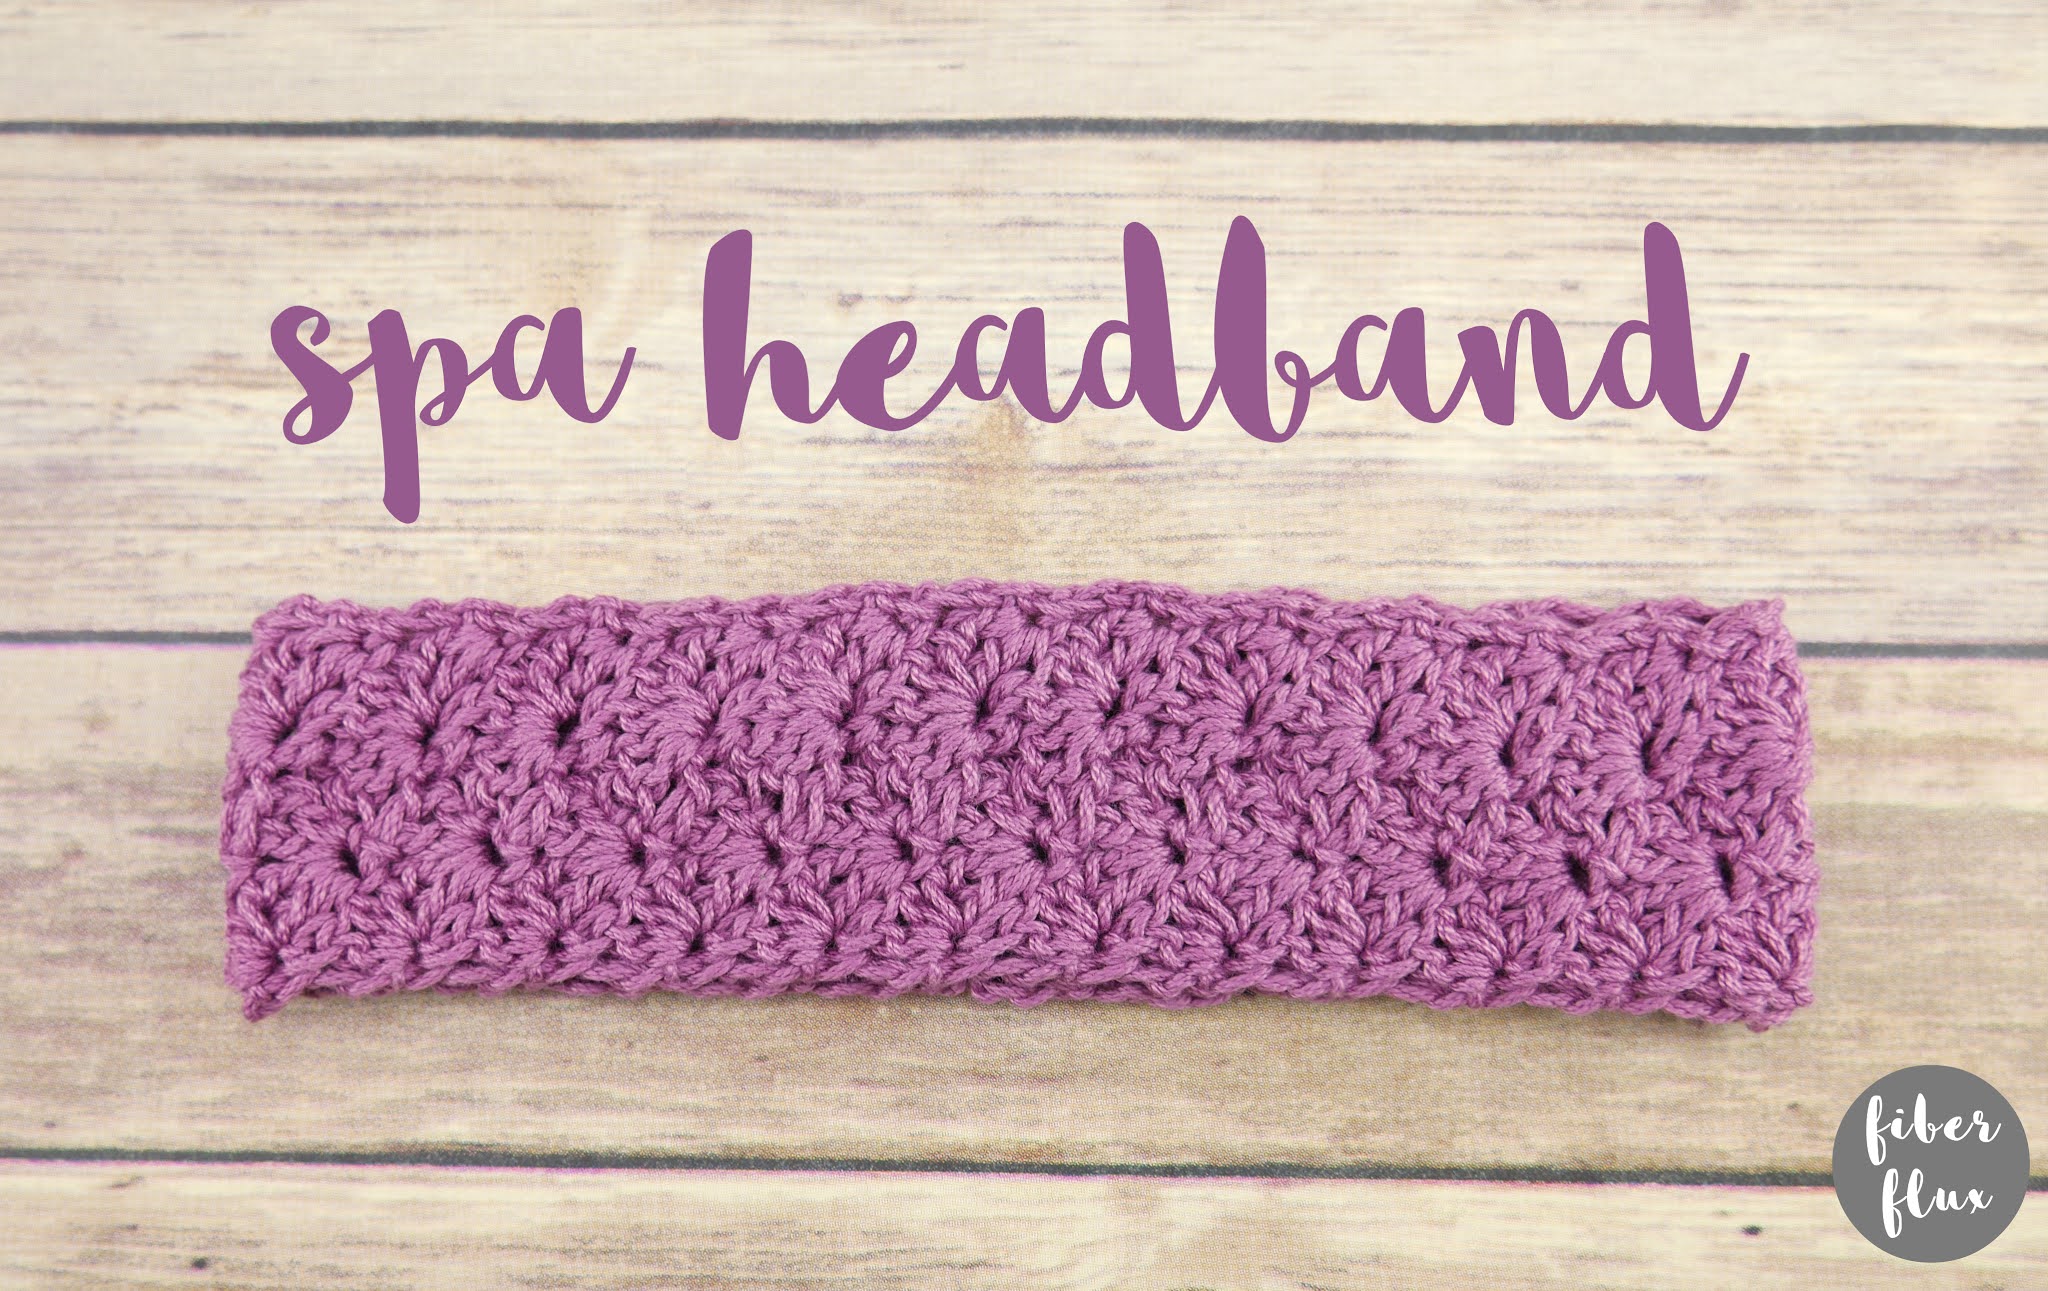
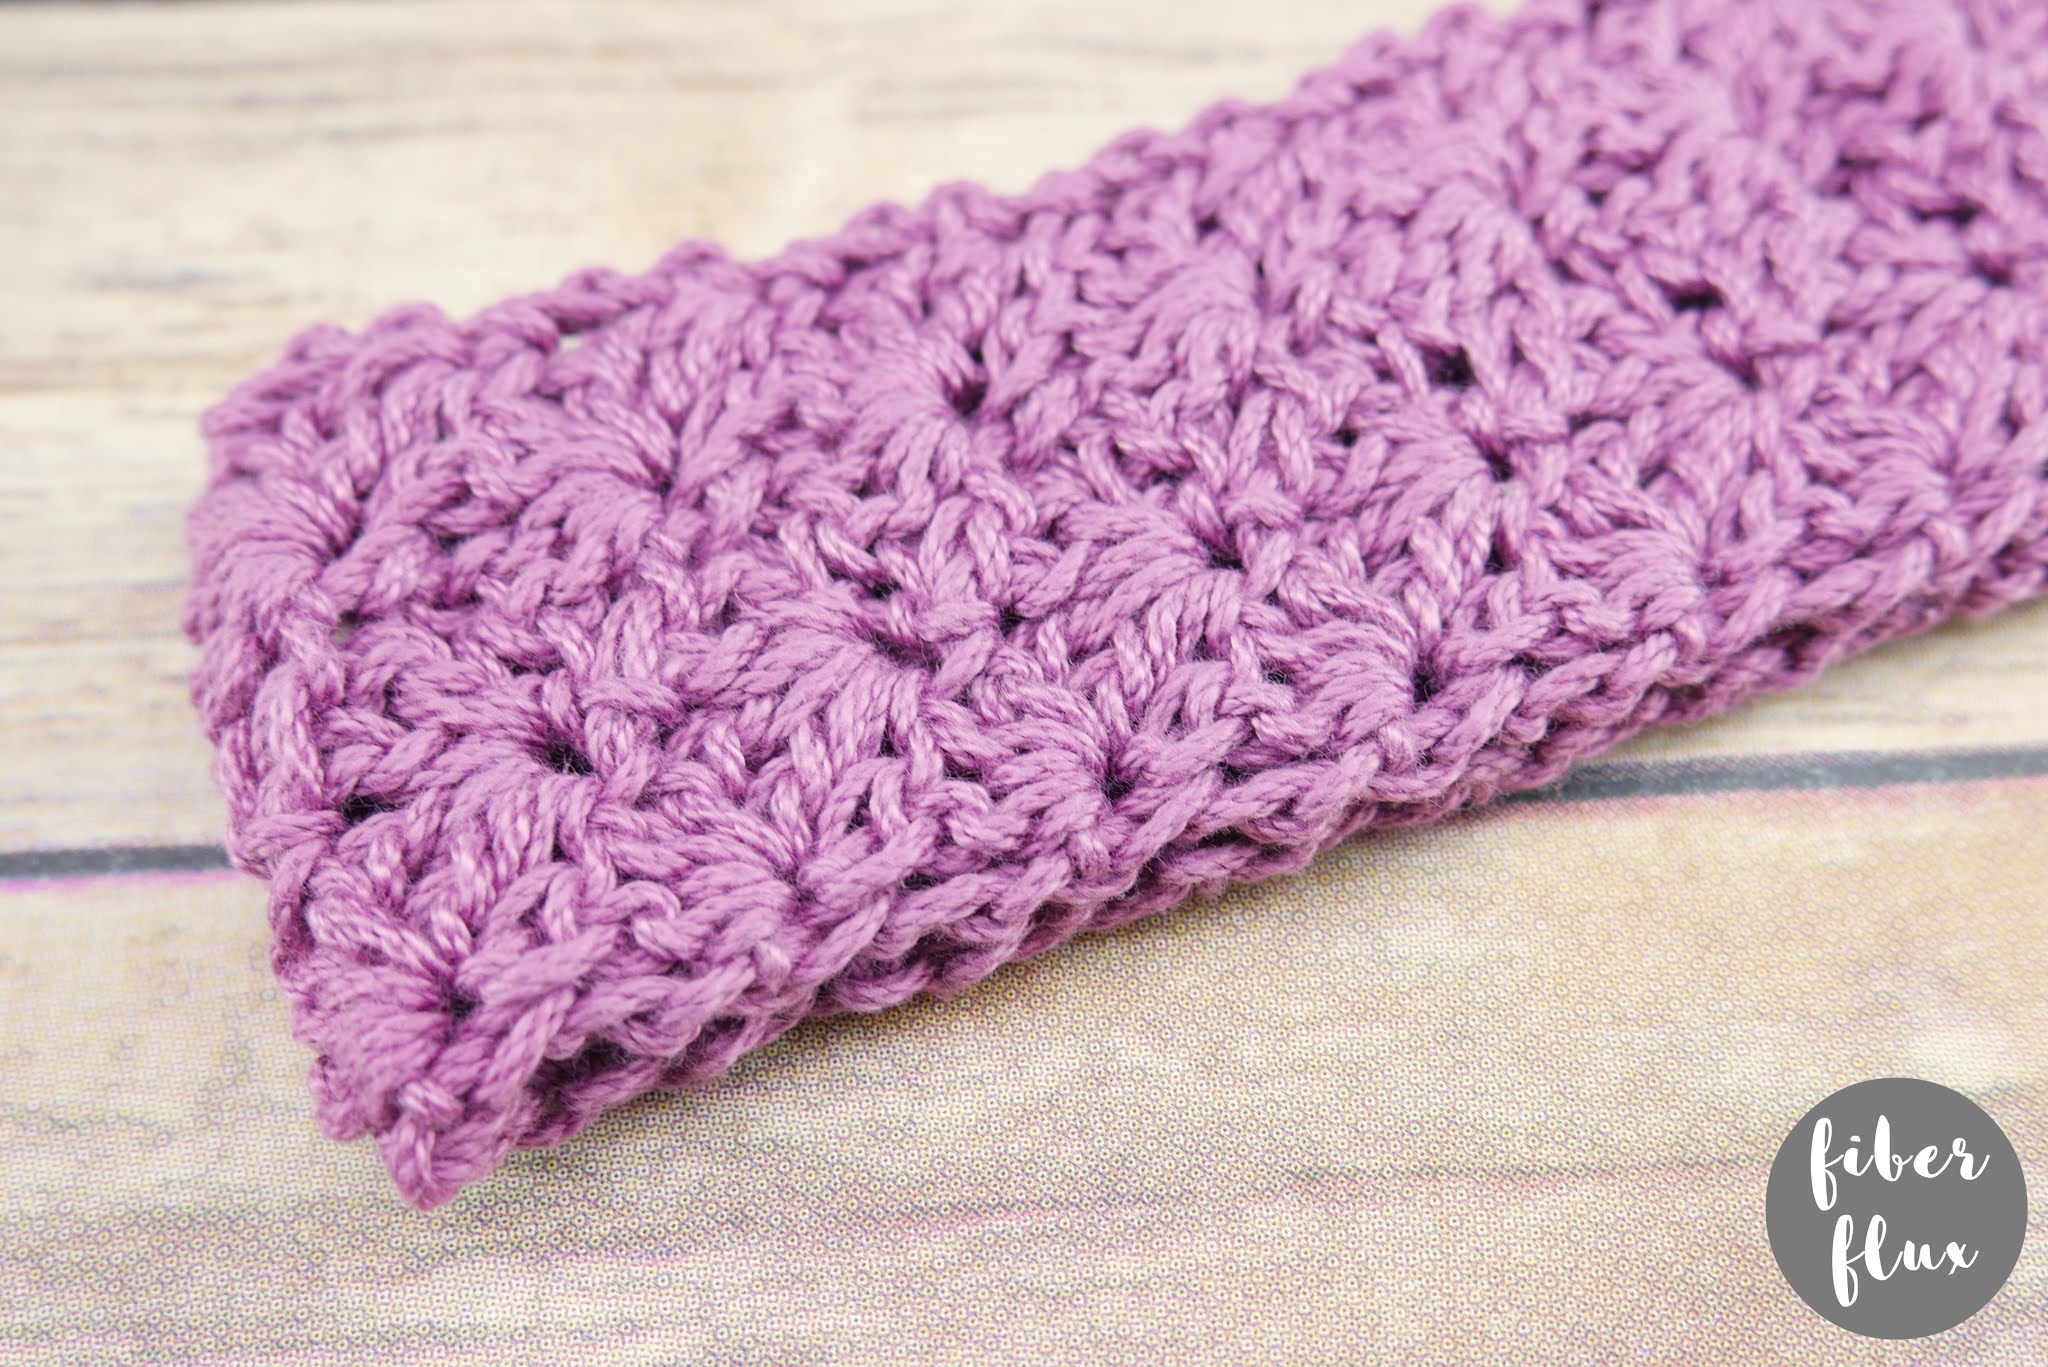
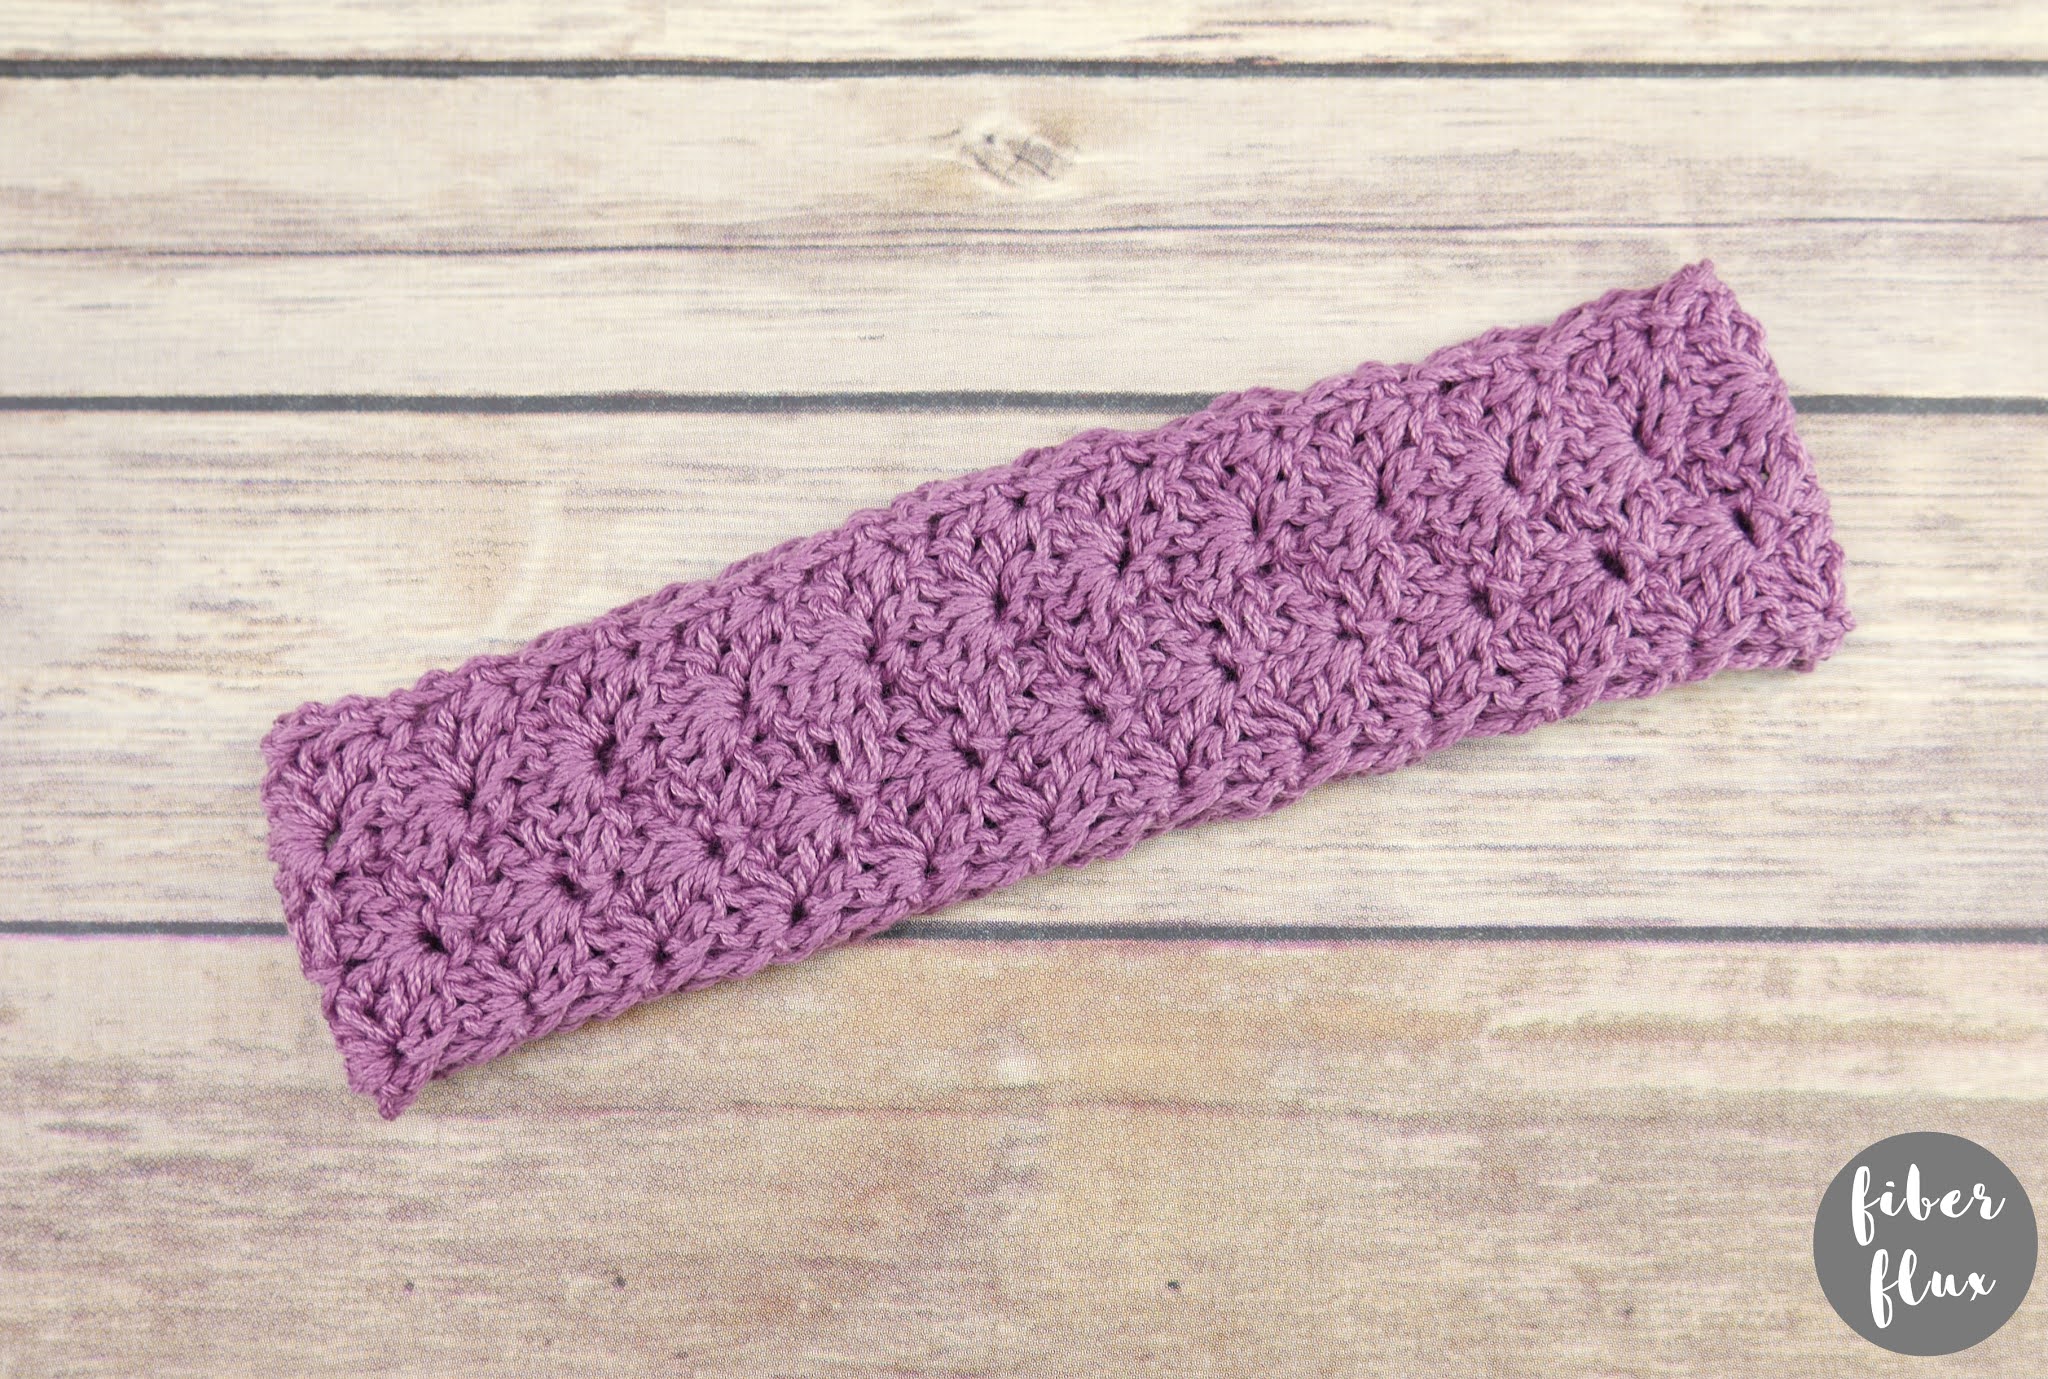
Today we’re working on a spa headband, a gorgeous closed shell stitch headband that can be used for keeping the hair off of the face with creams, masks, etc. Or, simply wear it as a fashion statement too…it’s that pretty!
Want a little help? There’s a full video tutorial below too!
Spa Headband
By Jennifer Dickerson
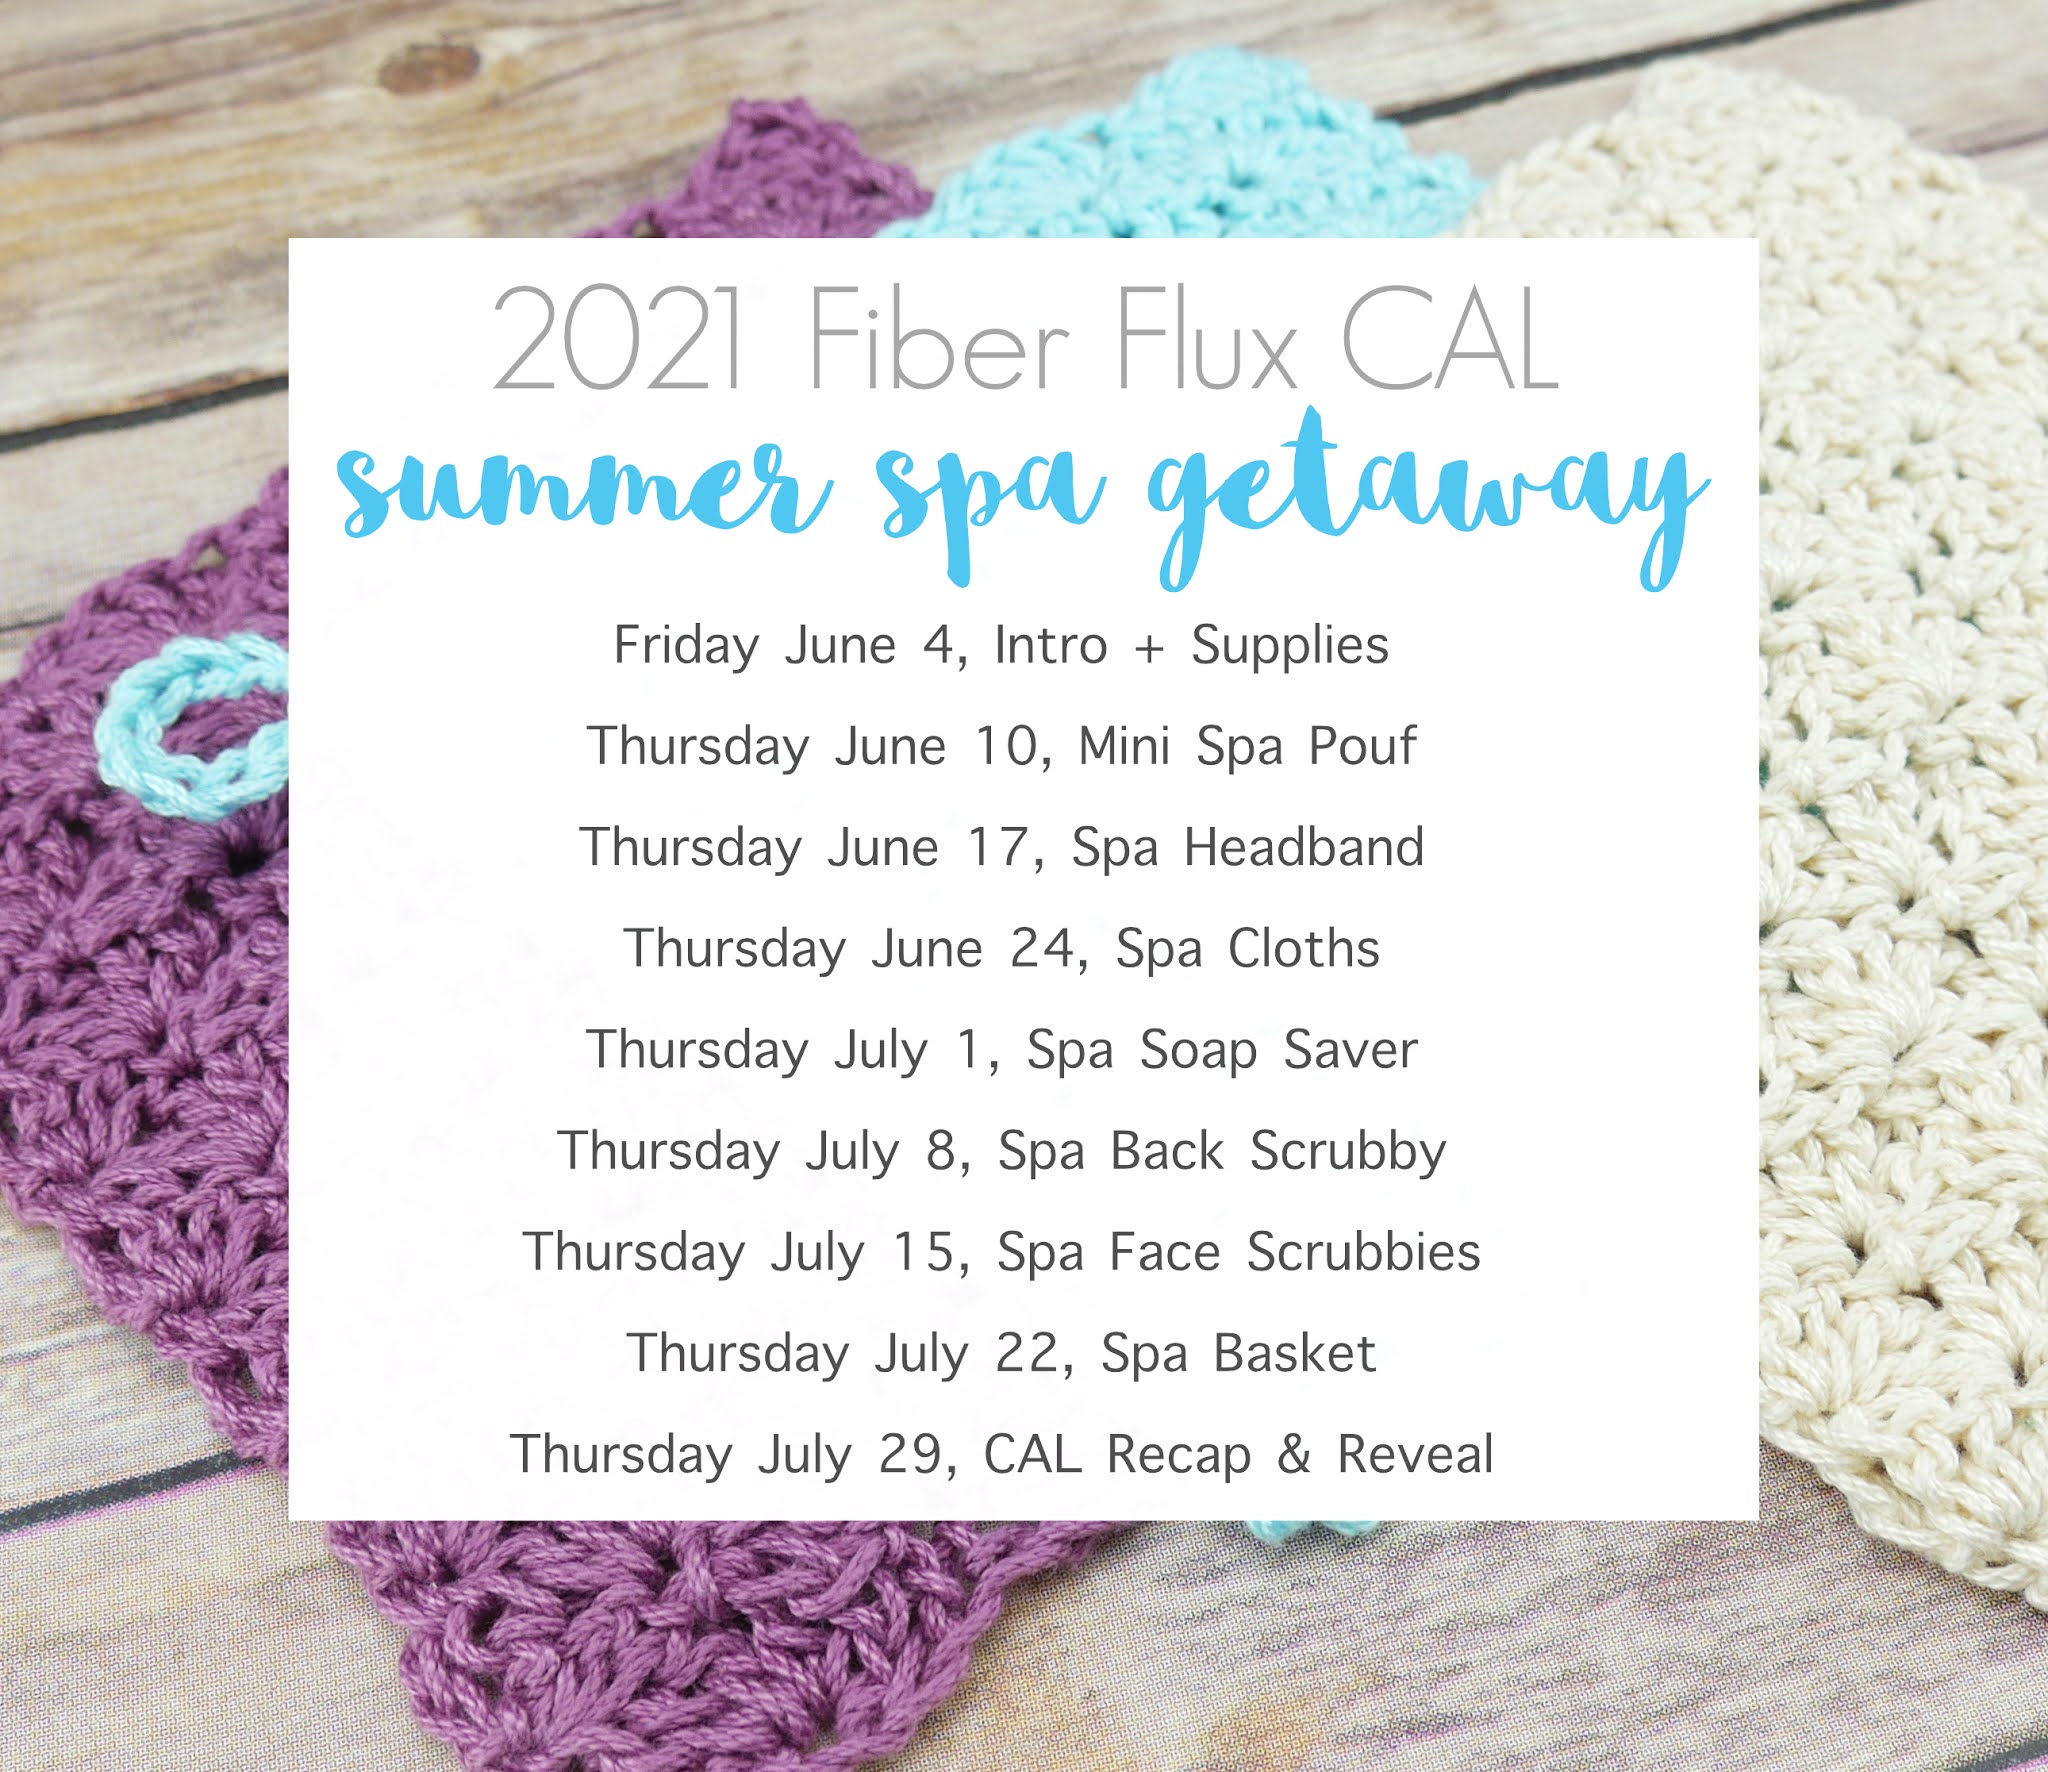
Below is the schedule of all of the projects we’ll be making during the CAL!
Click here to add this to your Ravelry queue!
Click below to watch a full video tutorial on how to make this project:
Love video tutorials? Click here to subscribe to the Fiber Flux YouTube channel for more stitchy fun!
Materials:
- H (5.0 mm) crochet hook
- Cotton dishcloth yarn of your choice, I used 24/7 Cotton yarn from Lion Brand Yarn in “Lilac”
- Tapestry needle
- Scissors
- Tape measure
Finished Sizing:
- 2 inches wide
- 20 inch circumference
Instructions:
Ch 13 (multiple of 6+1)
Row 1: In the 4th ch from the hook, work 2 dc. *Skip two ch then work a sc in the next ch. skip 2 ch and in the next ch, work 4 dc. There will be 3 ch left on the row. Skip the next two ch, and in the very last ch, work a sc.
Row 2: Ch 3 and turn. Work 2 dc in the sc from the previous row. *Work a sc in the center space of the fan from the previous row (area in between the posts right in the center). Work 4 dc in the sc in between the next two fans. Work a sc in the turning chain space to finish the row.
Repeat row 2 until the piece is approximately 20 inches long. Be sure to save about 18-24 inches of yarn to work the seam (see below).
Do not fasten off and sandwich the two ends together. Work a slip stitch seam into both layers all the way across (see the video if you need to see the seam worked + a few tips too).
Weave in any ends that remain.

© Jennifer Dickerson 2021
For more fun projects and pretty patterns, be sure to follow Fiber Flux on Facebook, Instagram, Twitter, and Pinterest for the latest updates!
Love PDF patterns? Join our Fiber Flux Gold Pattern Club on Patreon!


The link to add this to our Ravelry queue takes us to the Pouf pattern, not headband, thought you should know. Love the pattern for the headband, it was easy to make!
Did the video get removed?
This pattern is great. For the second version I made, I added a row of single crochets along the chain before starting the first row and it is very sturdy. I tried a third version to double the width but it has not worked yet. Thank you for sharing this pattern!