
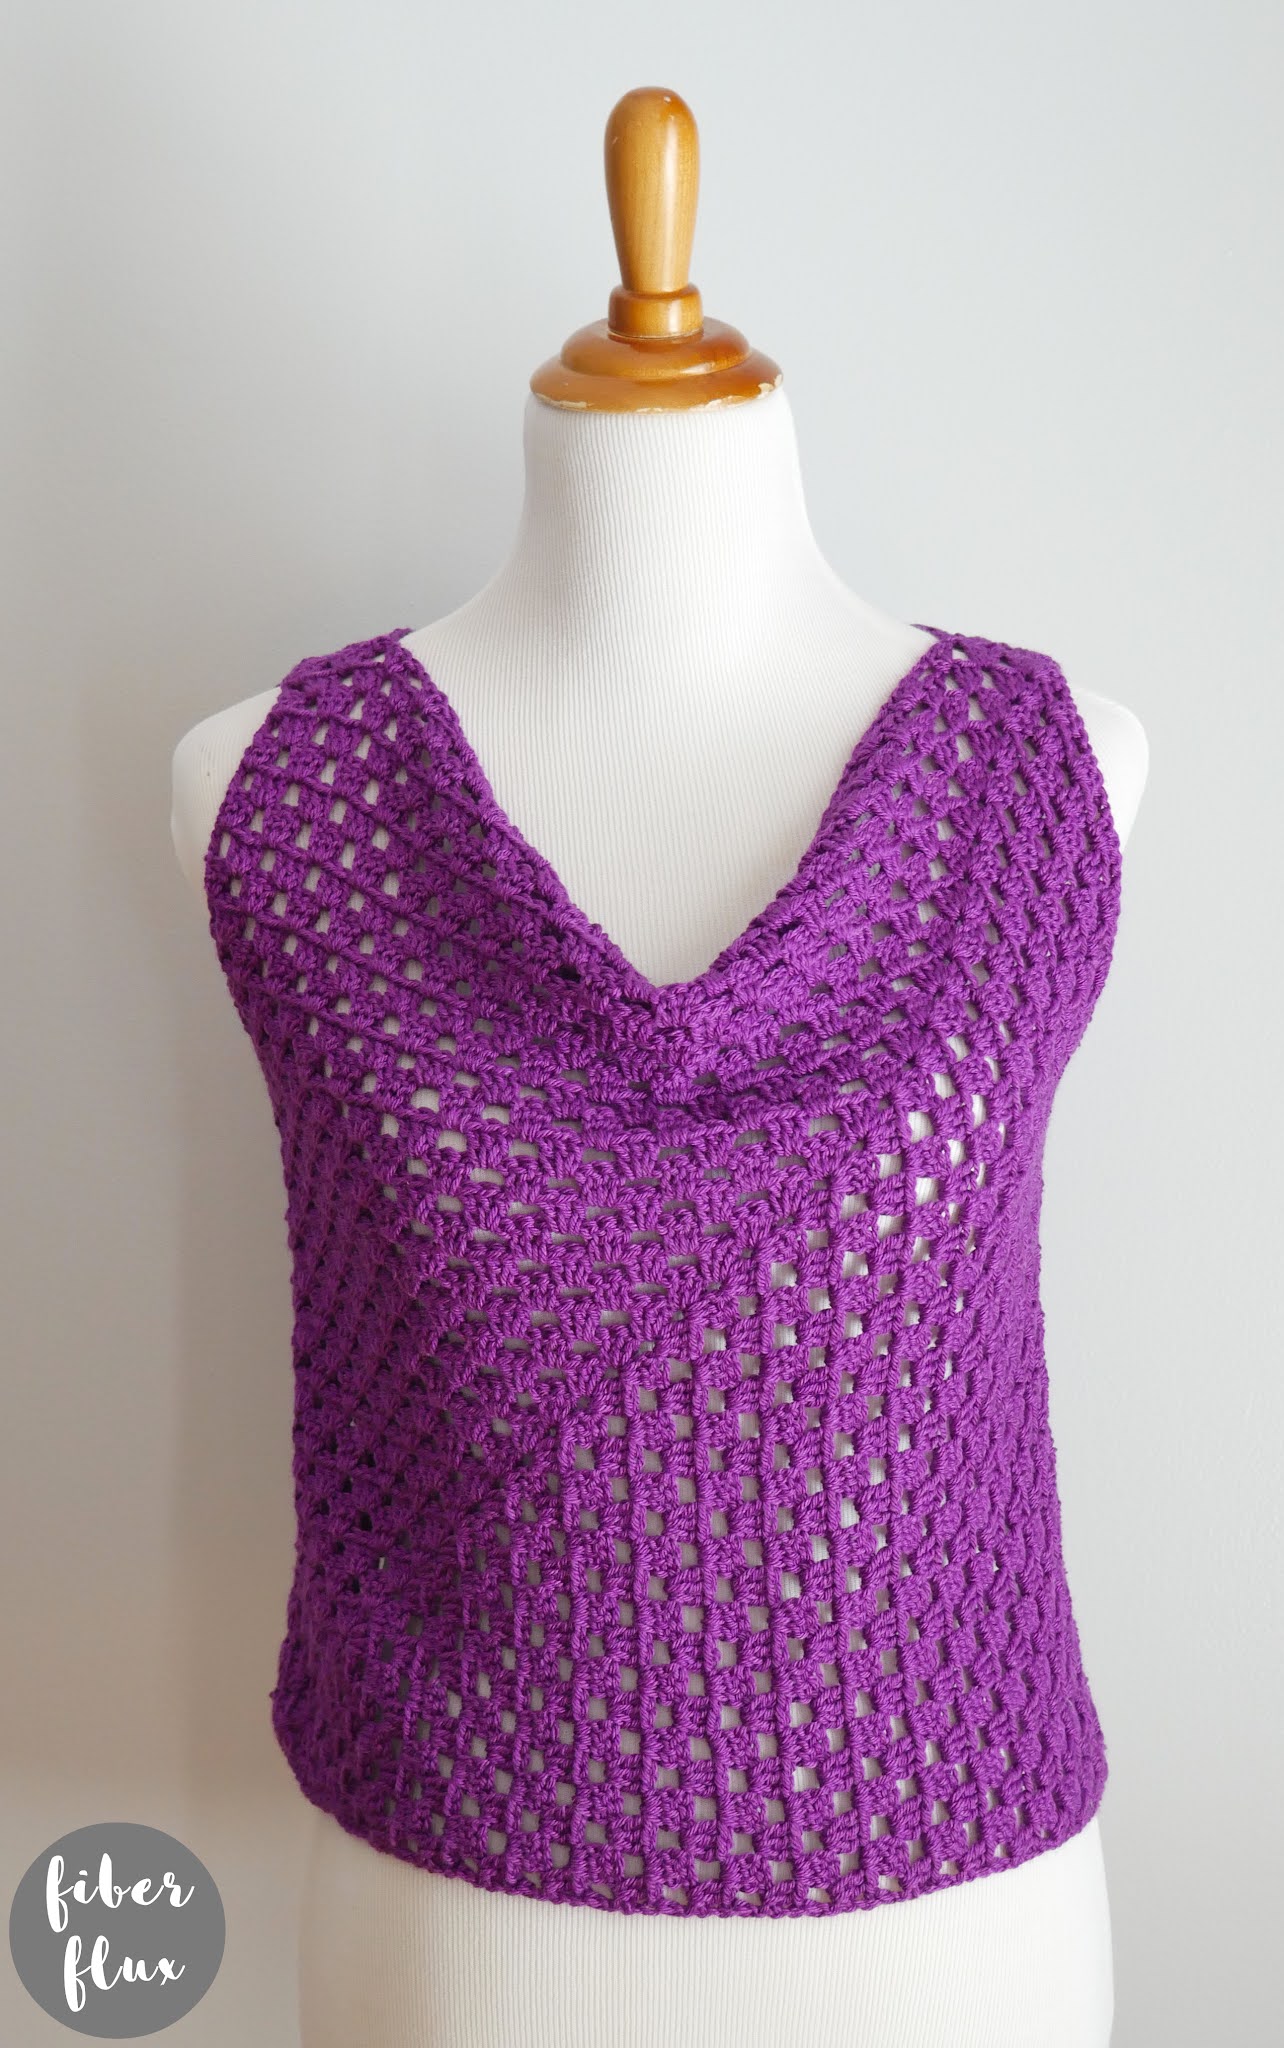
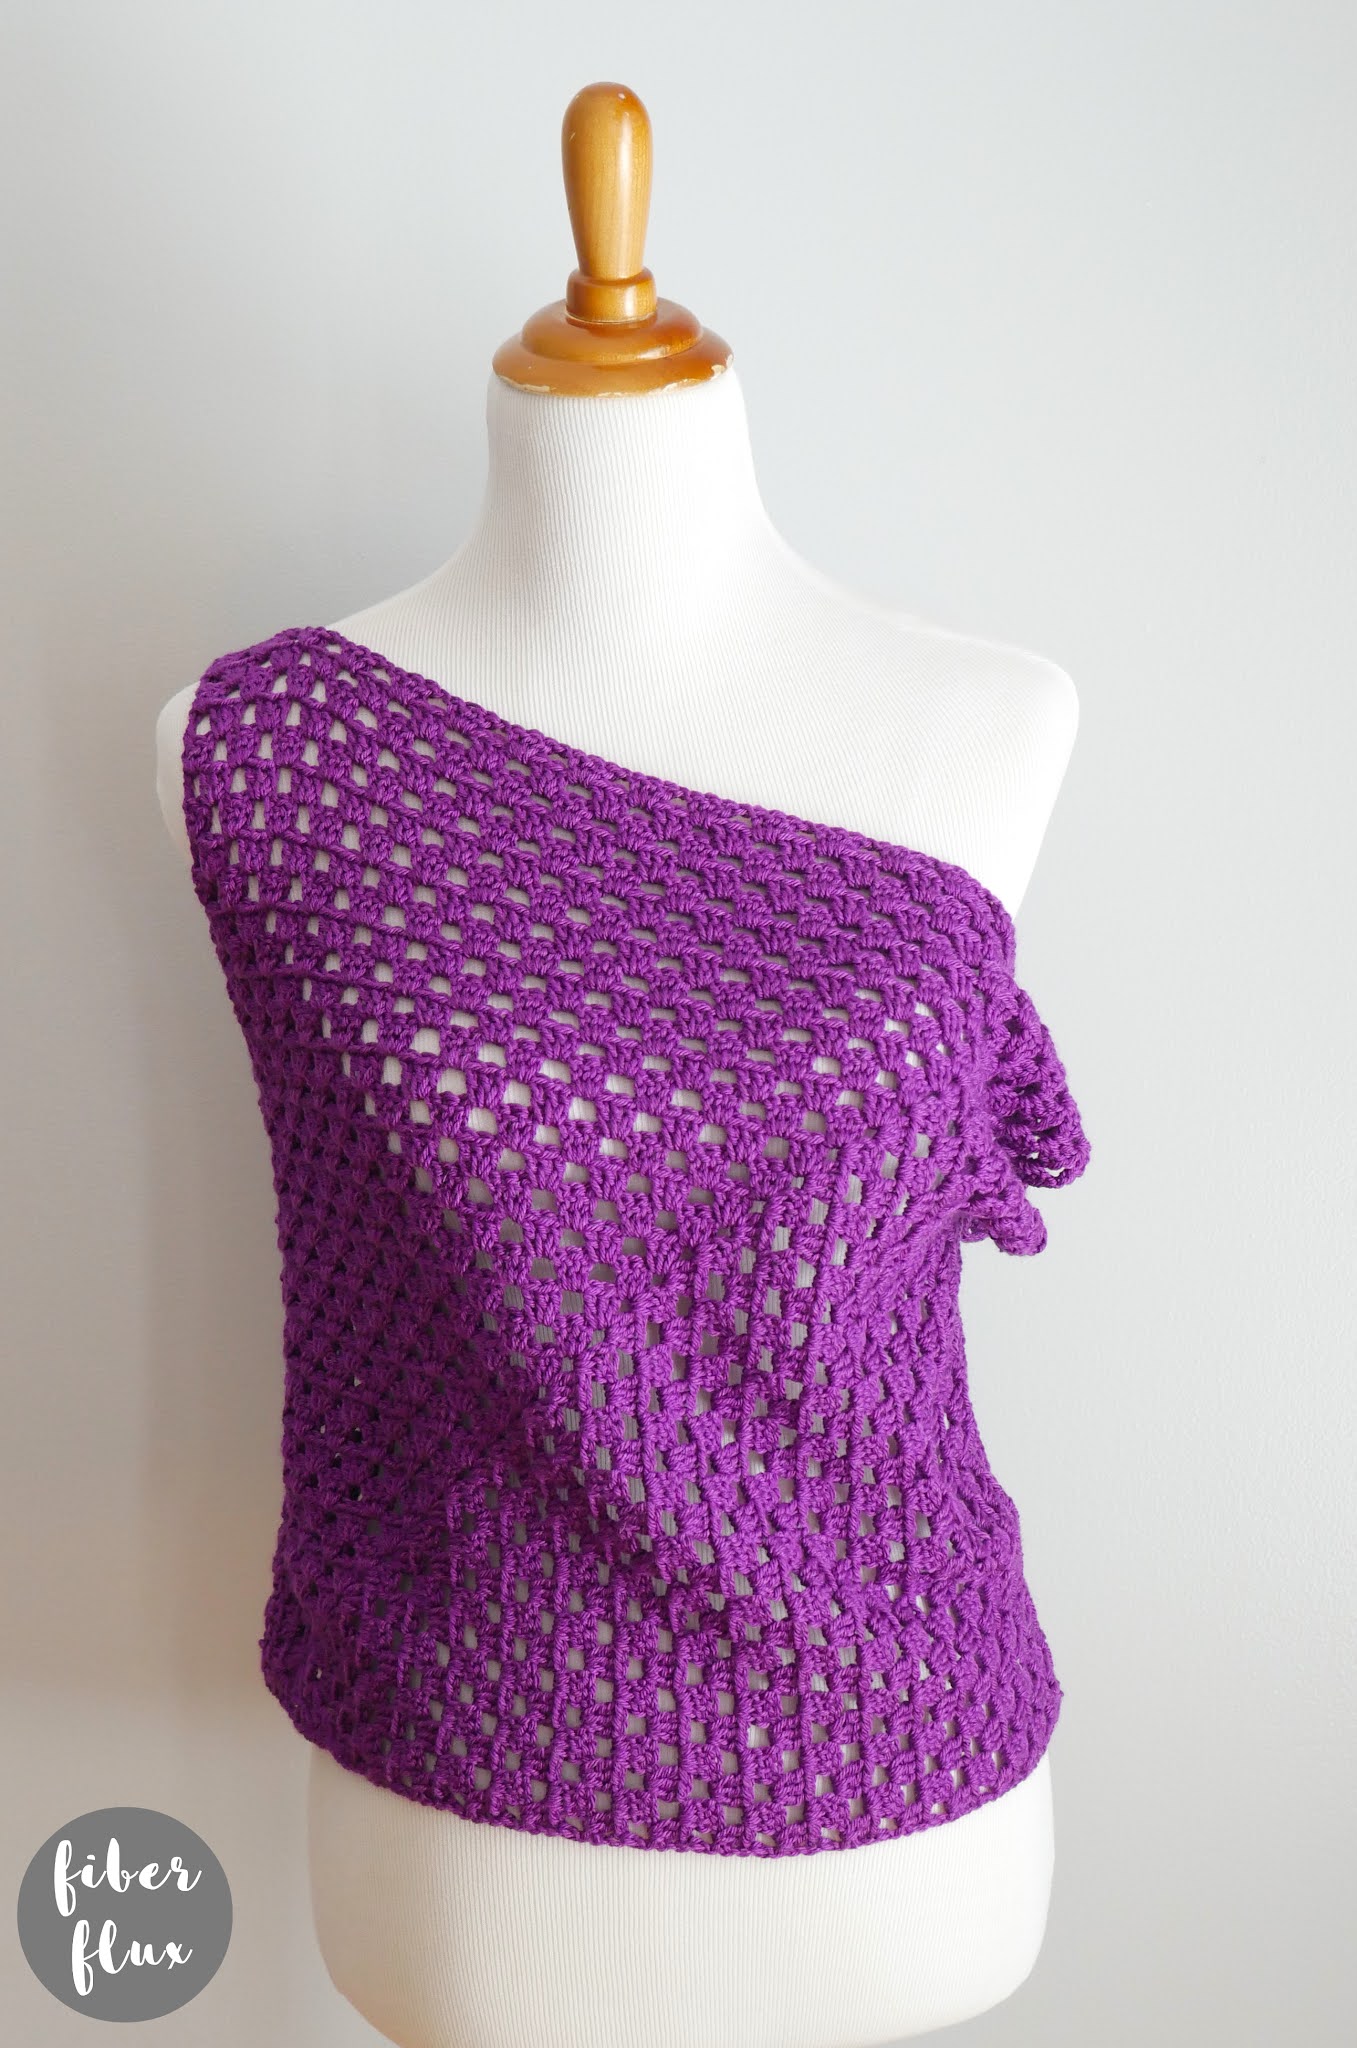
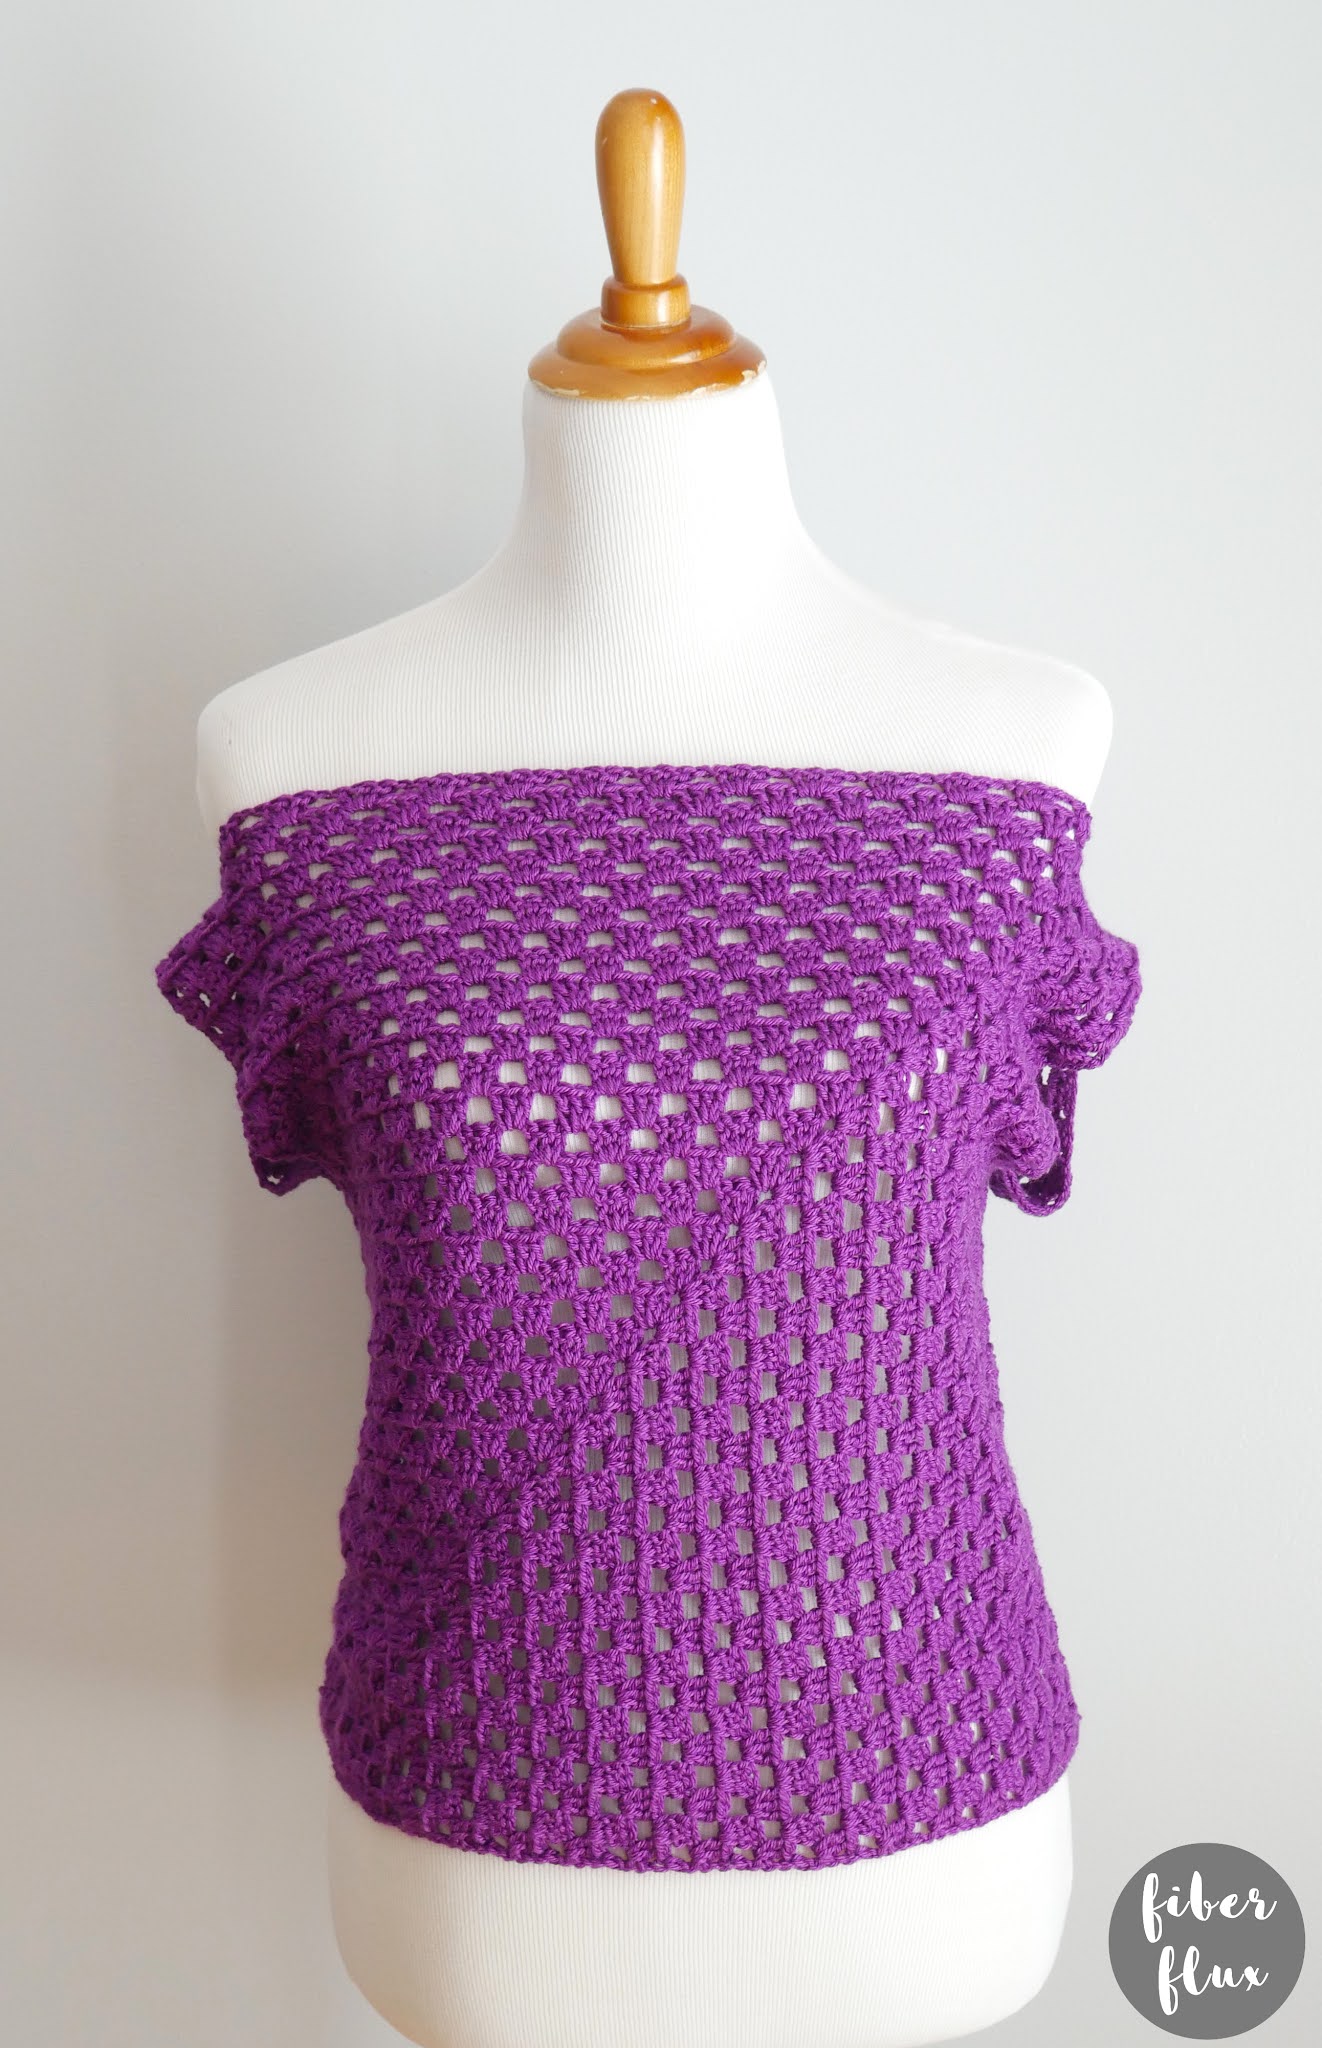
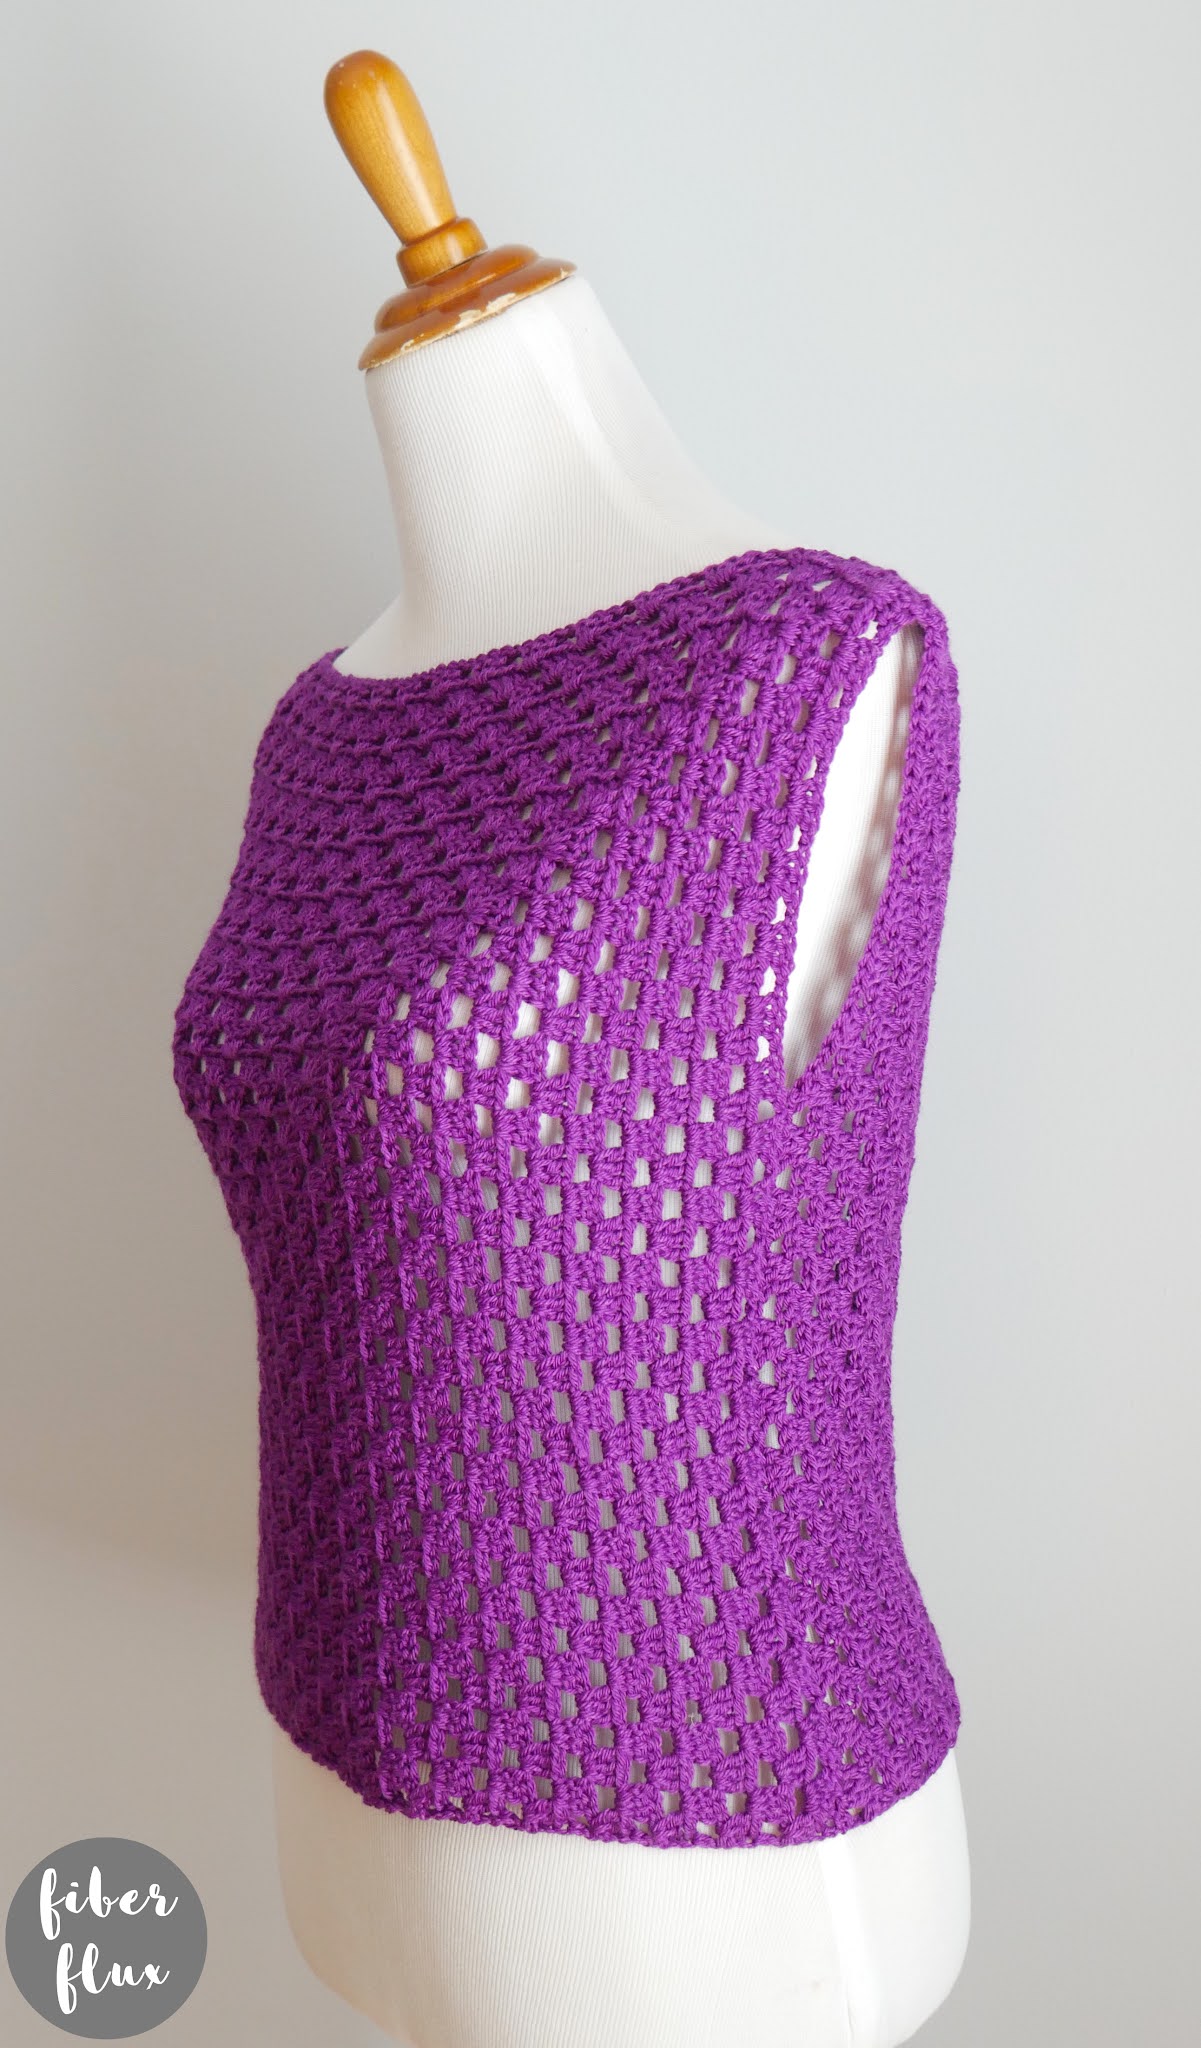
The Delphinium Top is a lovely and super versatile top that can be styled in many different ways! Easy stitches and construction make this top easy as pie to make and the lovely granny mitered squares add a fun design element to the top as well. Check out all of the ways it can be worn in the pics in this post too!
Need a little help? There’s a full video tutorial below!
Delphinium Top
By Jennifer Dickerson
👉 Get the ad-free pattern PDF from my shop here! 👈
Click below to watch a full video tutorial on how to make this project:
Can’t see the video? Click here!
Love video tutorials? Click here to subscribe to the Fiber Flux YouTube channel for more stitchy fun!
Materials:
- 5.5 mm I crochet hook
- 600 yards of DK weight yarn (I used 2 skeins of Uru Silk DK in “Beautyberry” by KnitCrate)
- Tapestry needle
- Scissors
- Tape measure
- Stitch markers to help mark your spot for seaming

Sizing:
- 17 inches tall
- 34 inch circumference
Instructions for Squares (make 2):
Chain 4, join into a ring with a slip stitch.
Round 1: Chain 4, work (3 dc into center of ring, chain 1) 3 times, then 2 dc into center of ring. Join to close with a slip stitch in the third chain up of the chain from the beginning of the round.
Round 2: Slip stitch over to the first corner space, then (ch 3, 2 dc, ch 1, then 3 dc) in the same space…first corner done! Then chain 1, then work the next corner by working 3 dc in next space, chain 1, then 3 dc in same space, chain 1, repeat two more times to complete the round. Join to close round with a slip stitch.
Round 3: Slip stitch over to the first corner space, then work the corner in the same manner as the previous round: (ch 3, 2 dc, ch 1, 3 dc, ch 1). To work the sides, simply work (3 dc, ch 1)…repeat until you reach a corner again.
***This is the part where we transform the traditional square into the mitered square. So far we’ve worked rounds, for the mitered part we’ll work rows instead.
Row 4: Slip stitch over to the first corner space, then ch 3. In the same corner space work (2 dc, ch 1). Work (3 dc, ch 1) in each ch 1 space until you reach the corner. Work (3 dc, ch 1, 3 dc, ch 1) in the corner, then work (3 dc , ch 1) in each ch 1 space down the next side. At the end of the row, work a dc into the corner space.
Row 5: Ch 3 and turn. Work (2 dc, ch 1) into the first ch 1 space. Work (3 dc, ch 1) in each ch 1 space until you reach the corner. Work (3 dc, ch 1, 3 dc, ch 1) in the corner, then work (3 dc, ch 1) down the next side. At the end of the row, work a dc in the top of the turning chain.
Repeat row 5 until the squares are as large as you need them to be. You’ll want it to be large enough so that they both wrap comfortably around the body without any pulling.
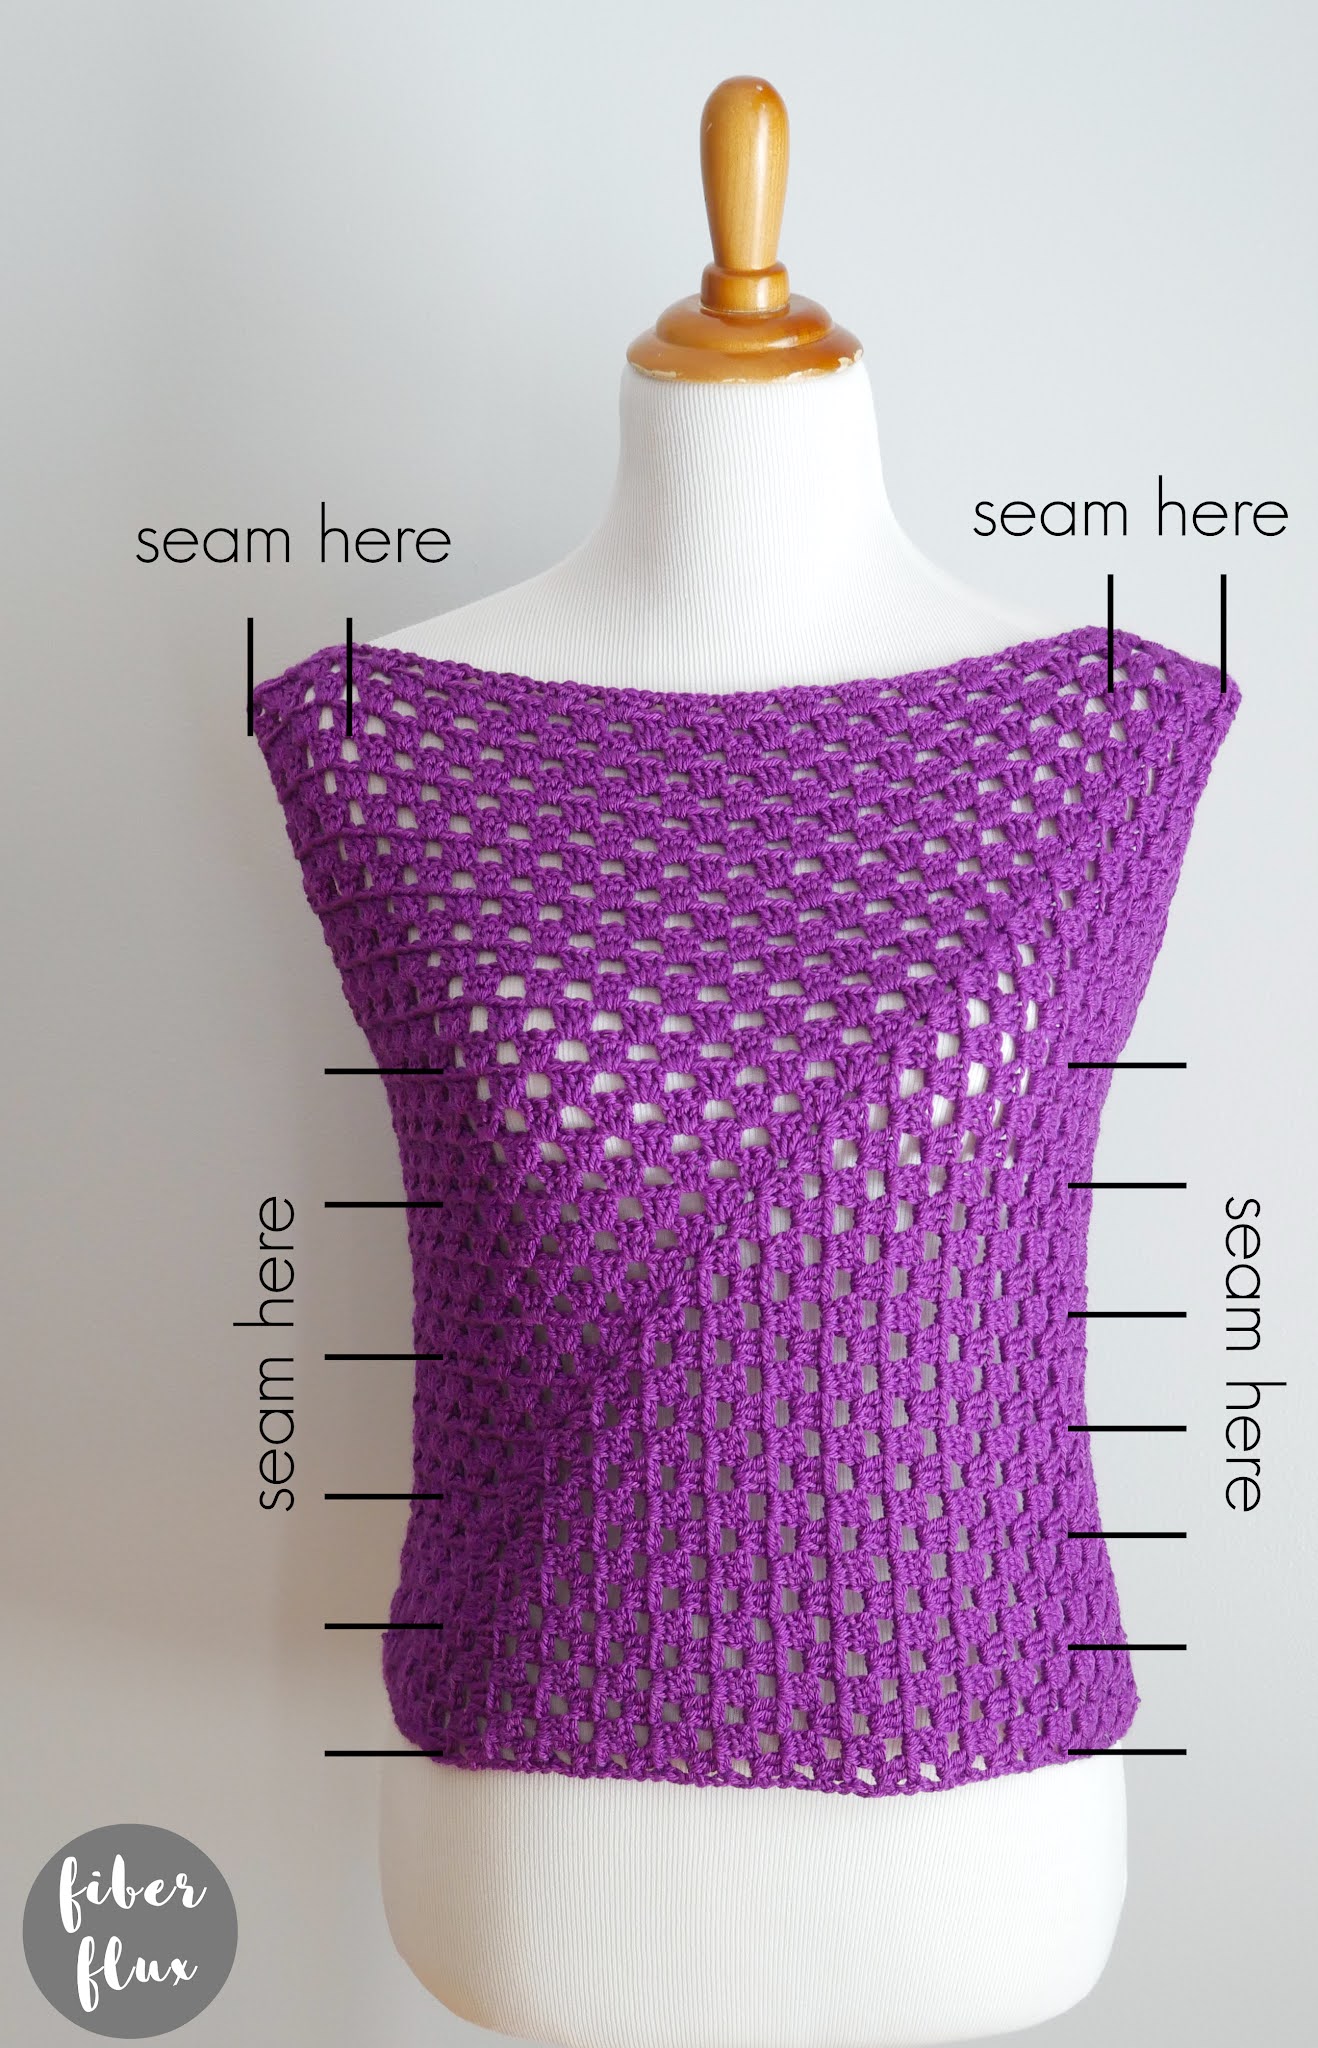
Assembly & Finishing:
Using the diagram above as a guide, seam the tops of the shoulders with a matching piece of yarn, leaving a large neck hole. Next, seam from the underarm down to the bottom of the shirt as shown. Weave in any ends that remain and it’s ready to wear!


© Jennifer Dickerson 2021
For more fun projects and pretty patterns, be sure to follow Fiber Flux on Facebook, Instagram, Twitter, and Pinterest for the latest updates!
Love PDF patterns? Join our Fiber Flux Gold Pattern Club on Patreon!

