
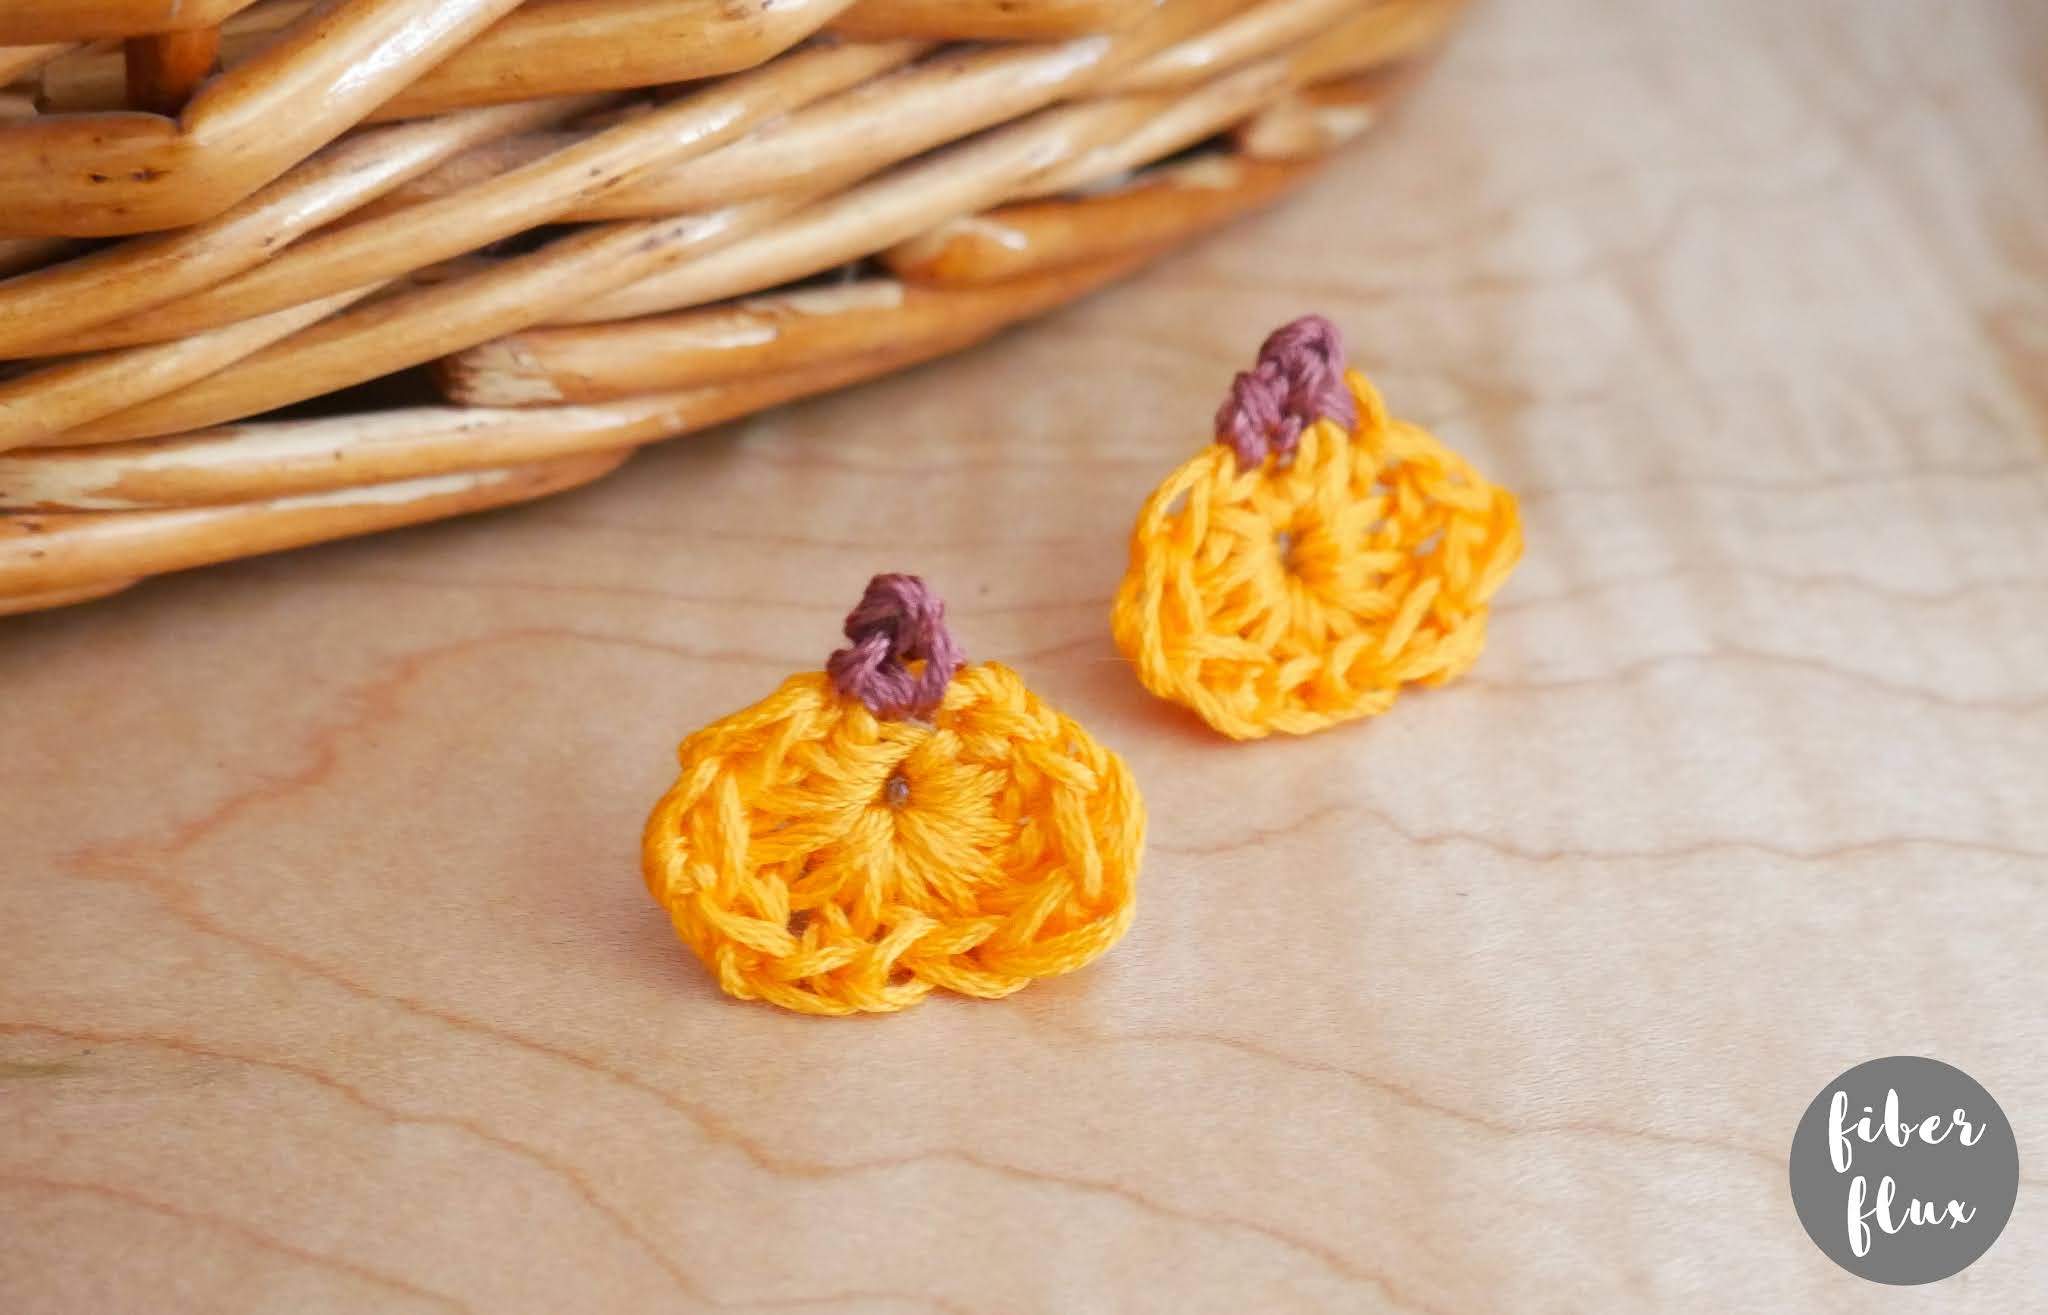
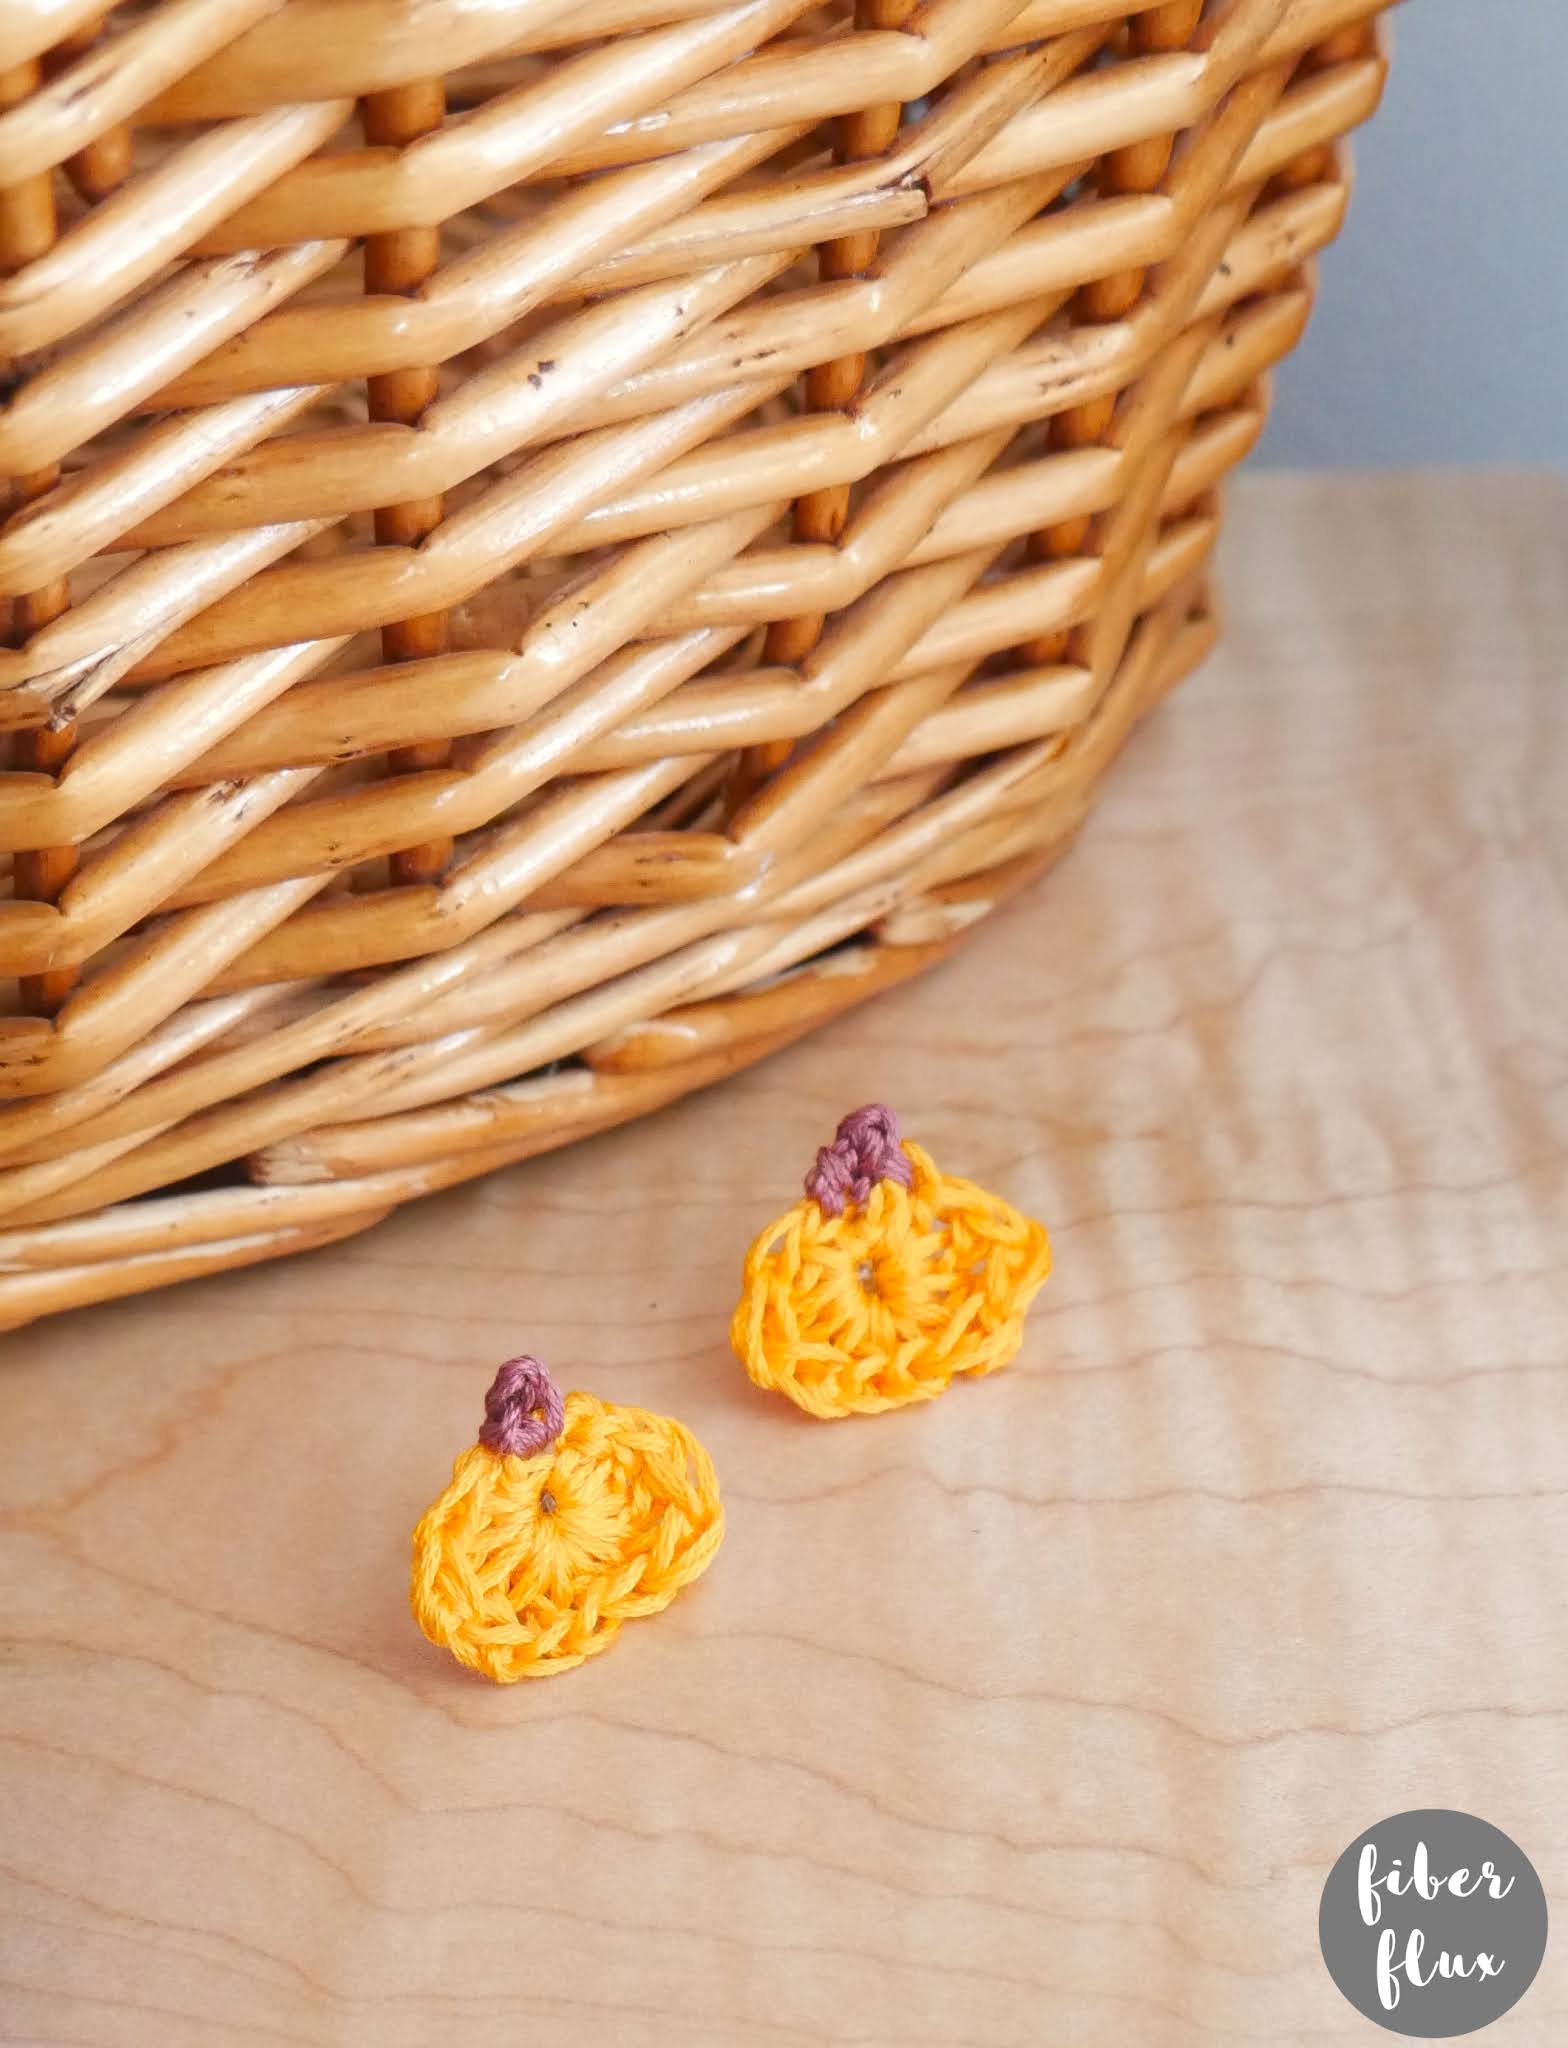
Fall has finally arrived and what better way to celebrate with these super cute and very easy pumpkin earrings! Whip a pair up for you and a friend in no time flat! Happy fall friends!
Need a little help? There’s a full video tutorial below!
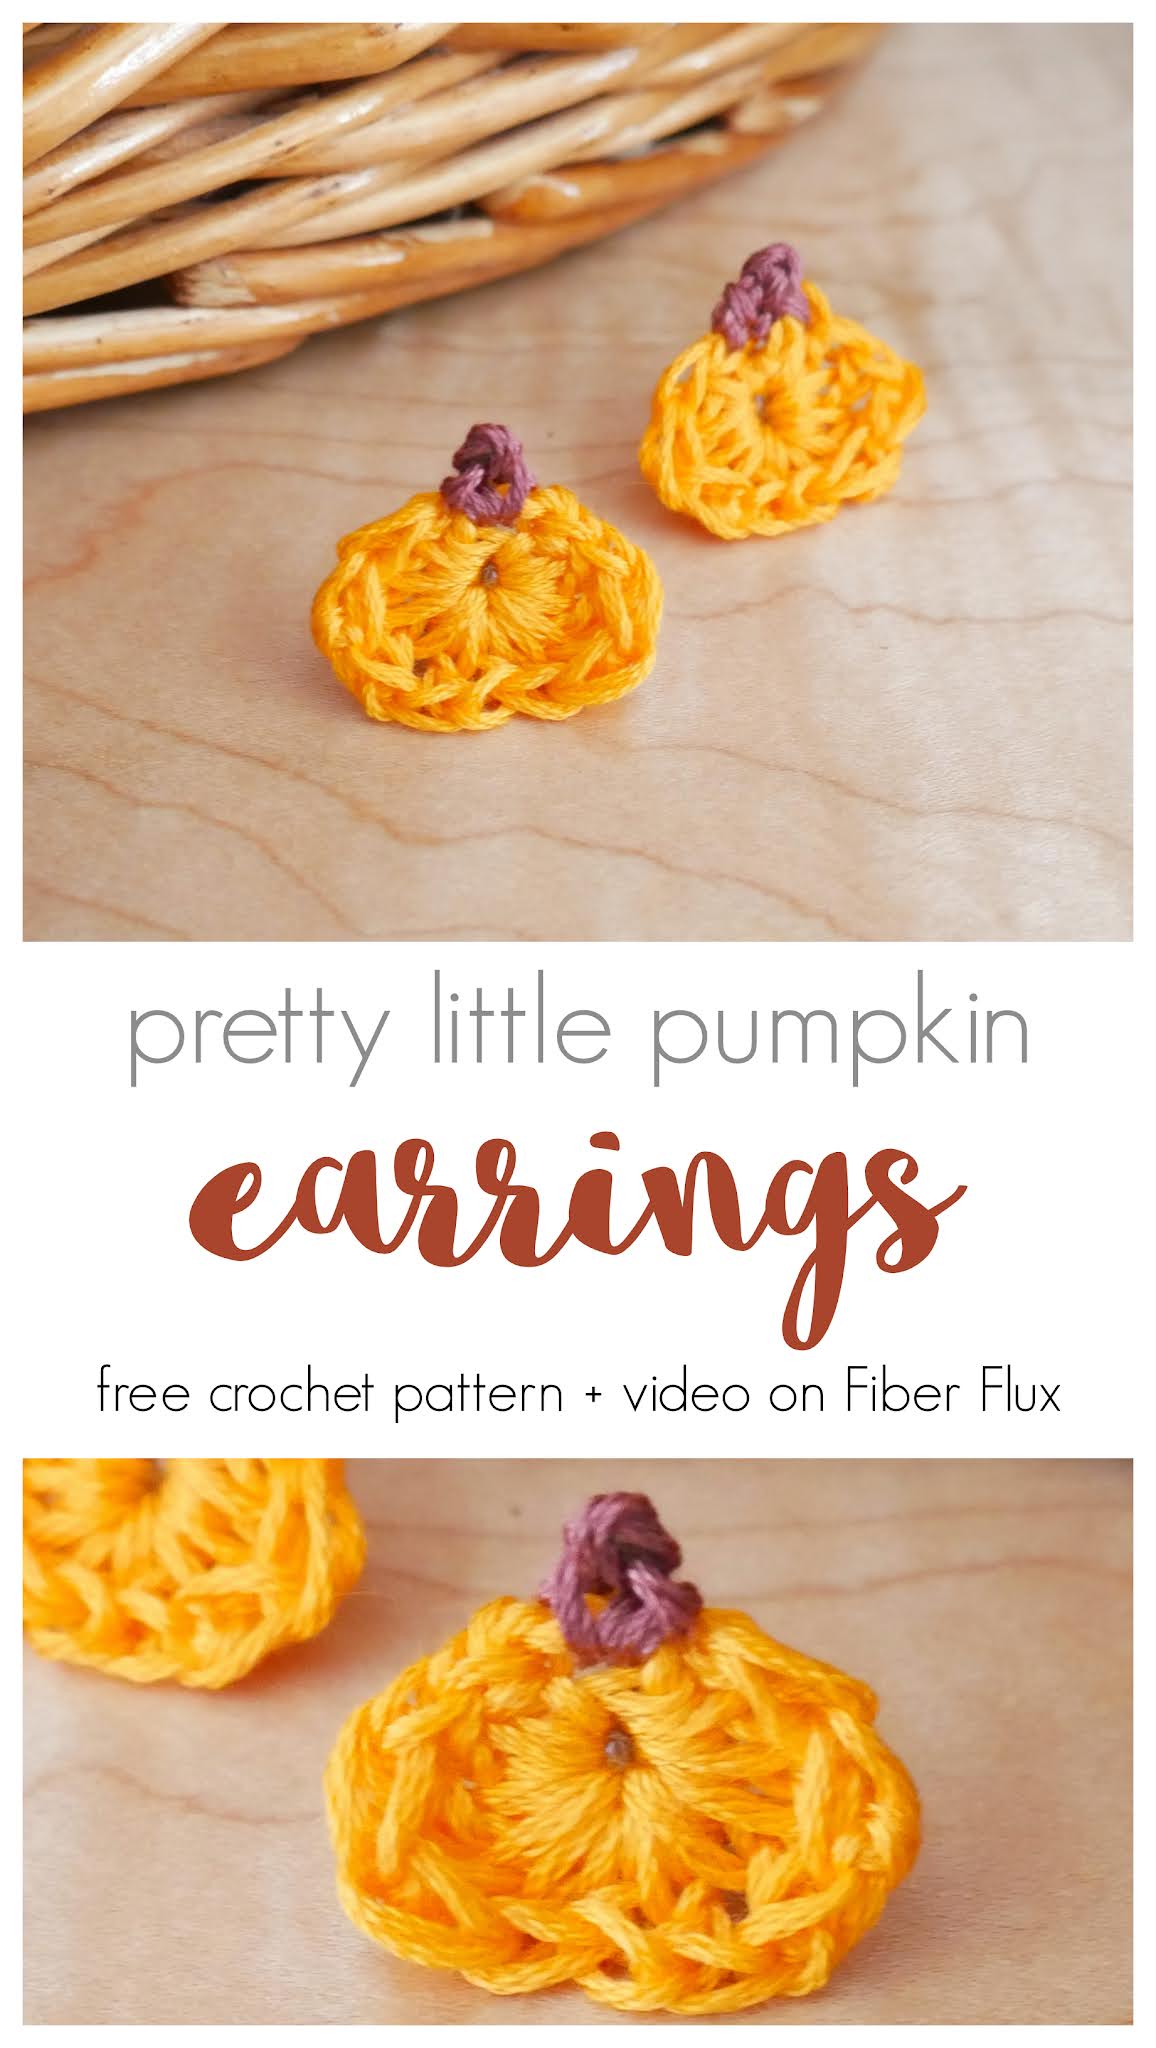
Pretty Little Pumpkin Earrings
By Jennifer Dickerson
Click below to watch a full video tutorial on how to make this project:
Can’t see the video? Click here!
Love video tutorials? Click here to subscribe to the Fiber Flux YouTube channel for more stitchy fun!
Materials:
- 3.75 mm F crochet hook
- Embroidery floss in a pumpkin color and a stem color (I used DMC floss in #741 and #315)
- Tapestry needle
- Scissors
- Earring posts with backs
- Hot glue
Sizing:
- 1 inch wide
- 1 inch tall
Instructions for pumpkin (make 2):
Ch 4, join with a slip stitch to create a ring.
Round 1: In the center of the ring work (1 hdc, 1 dc, 2 tr, 2 dc, 2 tr, 1 dc, 1 hdc). Join with a slip stitch to close round. Fasten off and weave in ends. Shape up a bit if needed.
Instructions for stems:
Tie the floss you will be using for the stem onto the middle top stitch of the pumpkin. Insert the hook into the stitch as if to front post double crochet (check out the video if you are unfamiliar with this technique). Chain 2, then in the second chain from the hook, work a slip stitch. Work a slip stitch into the base of the stem then fasten off, shape it up, and weave in the ends.
Assembly & Finishing:
Flip both pumpkins over to the back side and glue the posts to them. Be sure to not use too much glue…it is very easy for it to squish through to the front. Let dry/cool completely and they are ready to wear!

© Jennifer Dickerson 2021
For more fun projects and pretty patterns, be sure to follow Fiber Flux on Facebook, Instagram, Twitter, and Pinterest for the latest updates!
Love PDF patterns? Join our Fiber Flux Gold Pattern Club on Patreon!


I made FOUR pairs of pumpkins last night with one skein of floss using a 2mm hook. Today I will hook them onto the earring part.