
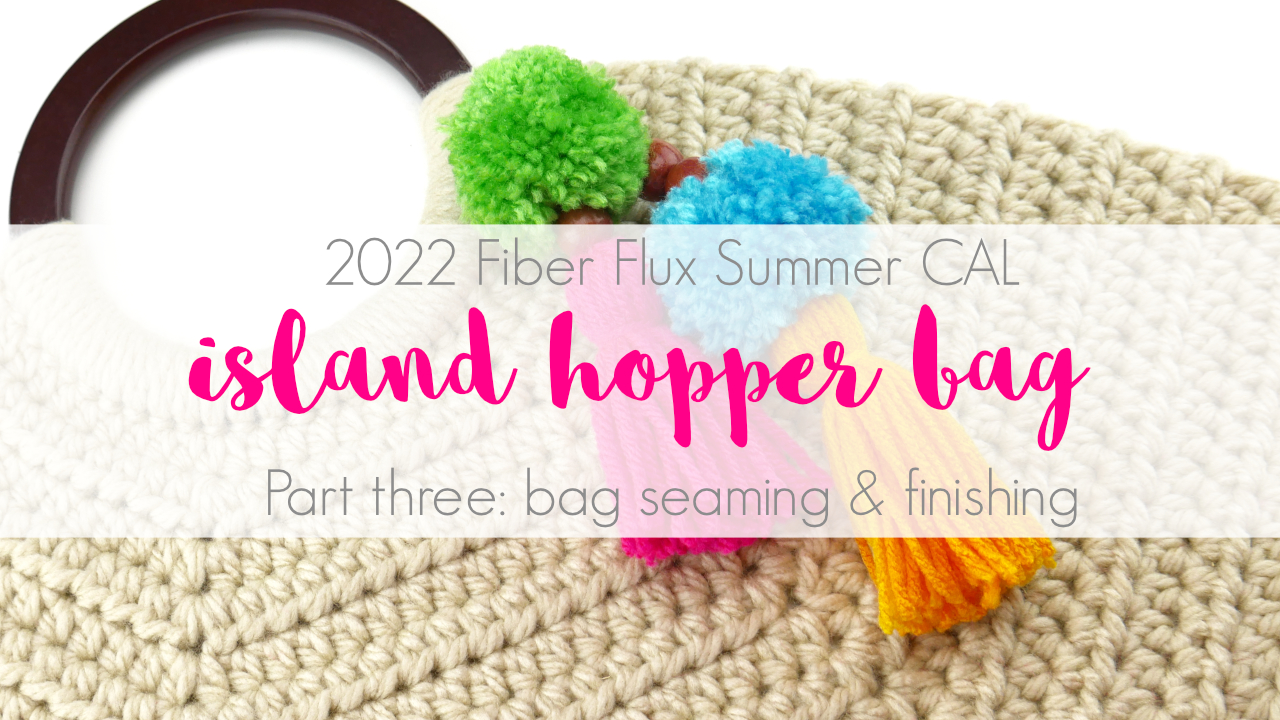
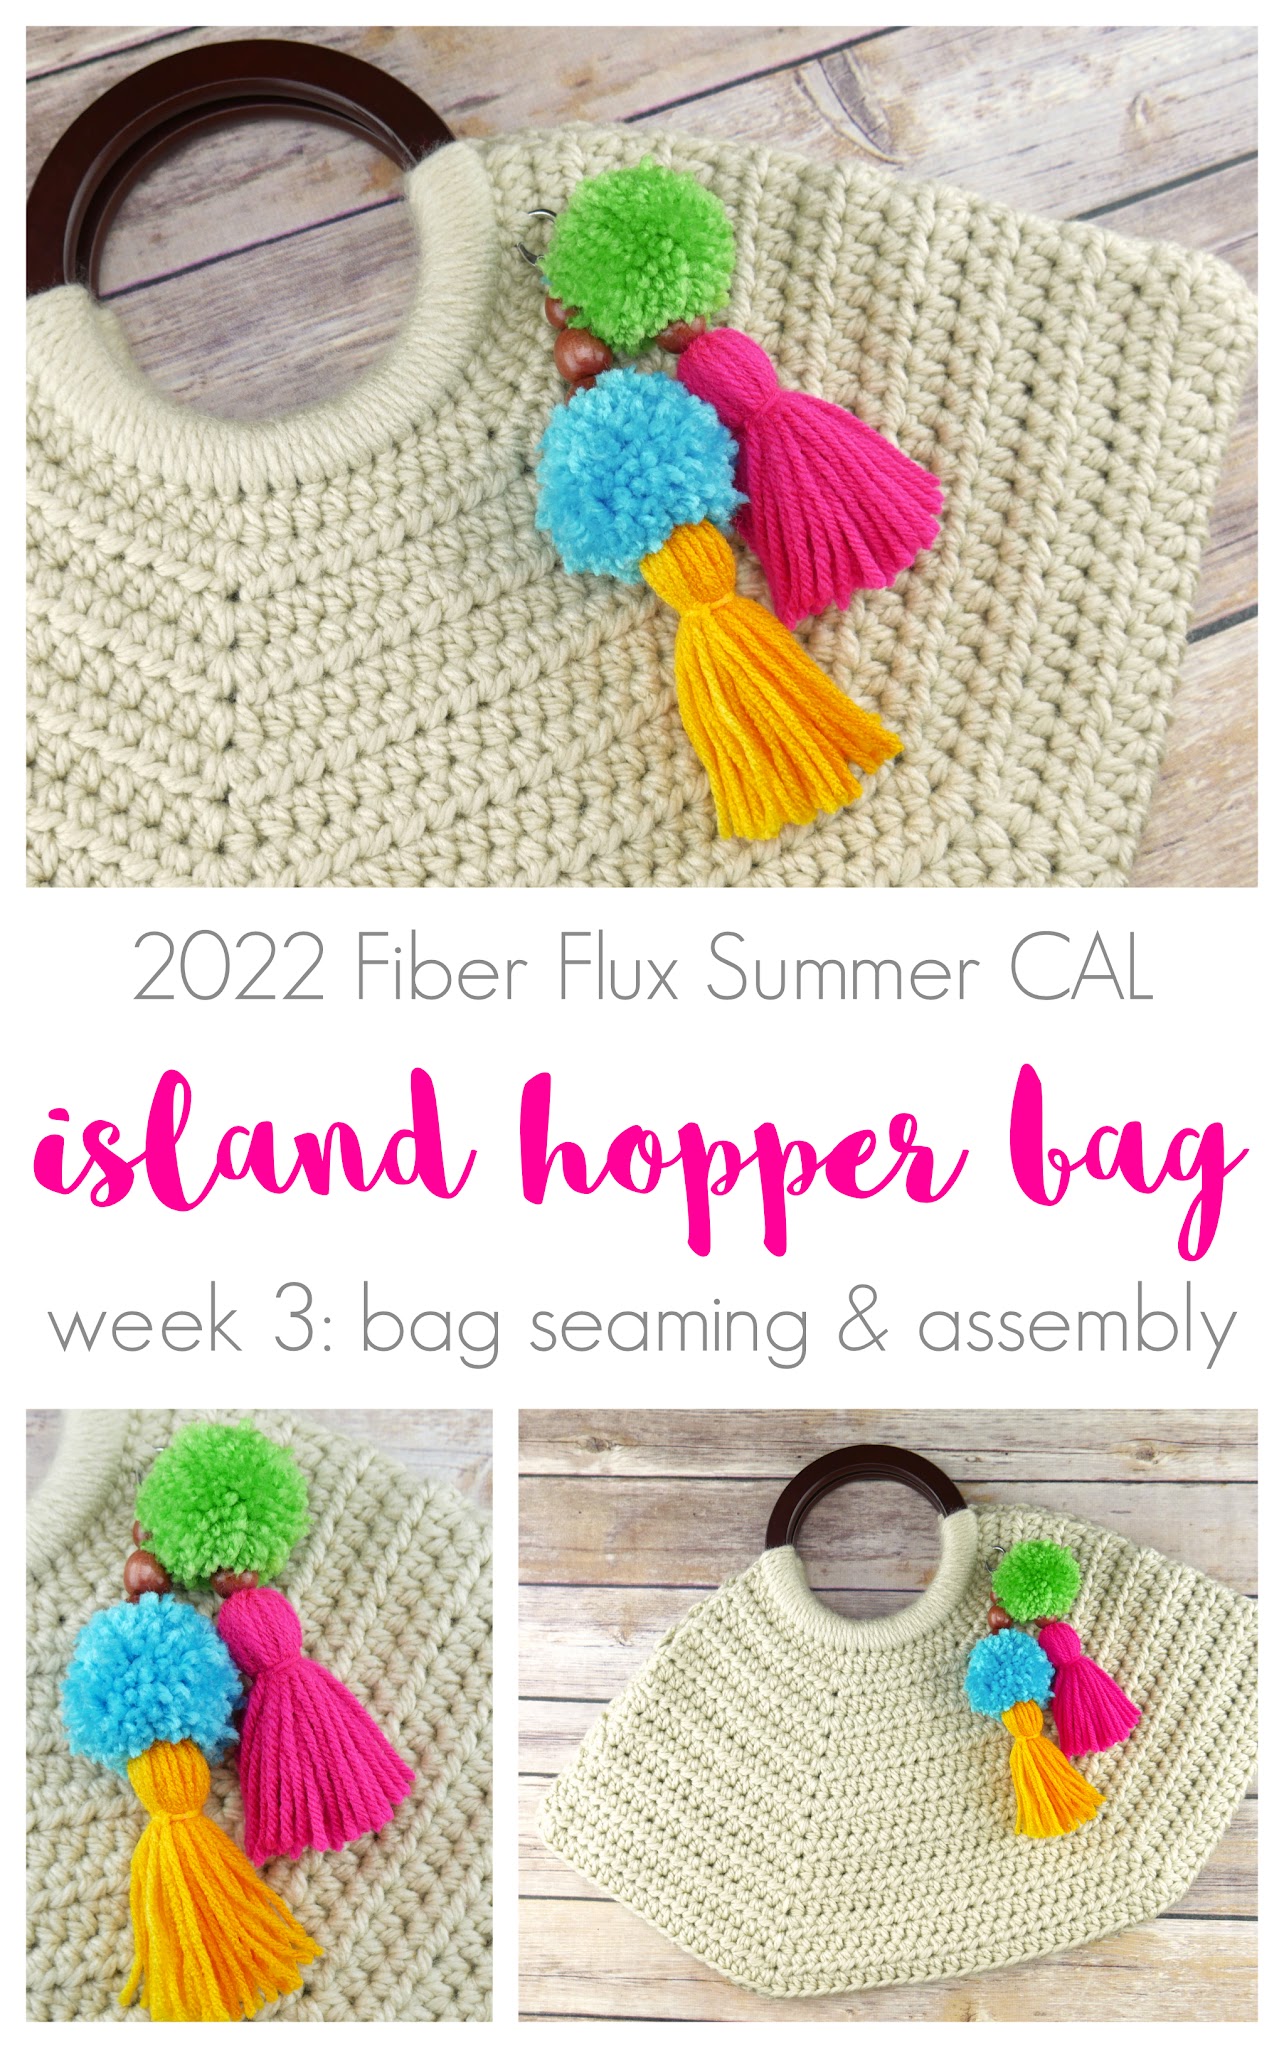
Welcome back to the 2022 Fiber Flux Summer Crochet Along…yay! Today marks week three of the CAL and we’ll be seaming up our two bag panels to complete our bag assembly!
We will be going over a few things today to begin:
- Placing the stitch markers in the best spot
- Seaming the two panels together
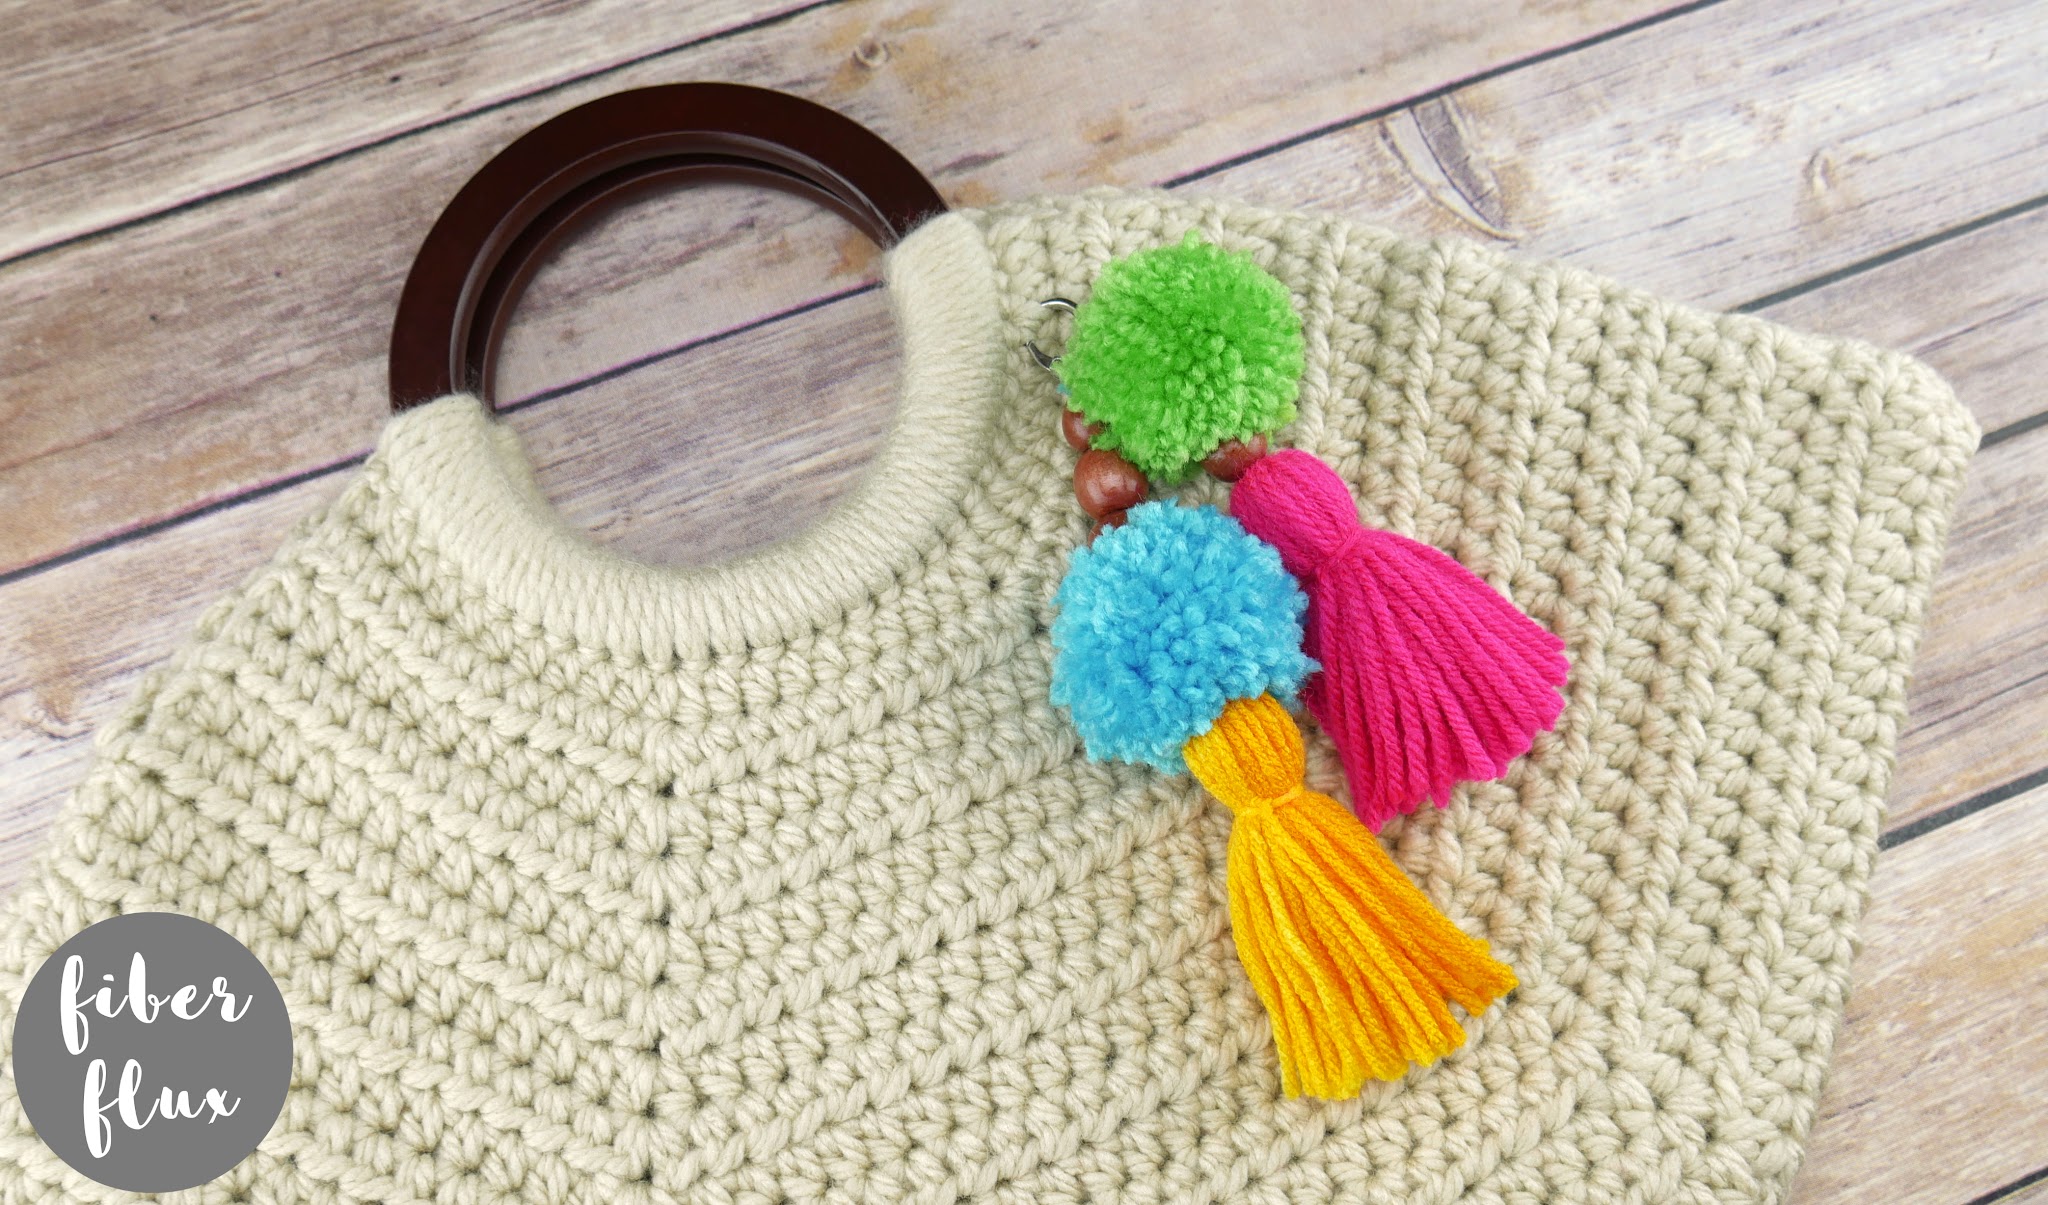
- Finishing your bag (charm tutorial next week)
- Schedule of the CAL
- Where to connect with other makers
Be sure to scroll down for the schedule with actual dates and what we’ll be doing on each day/week.
*This is a self-paced project, so definitely go at the speed you feel most comfortable. The instructional videos and posts will be up forever and you will always be able to go back and watch again and again!
Click here to queue up on Ravelry!
Missed the first week? Get the info on the project and supplies here:
Can’t see the video? Click here!
Missed week 2? Check out the sizing information and how to crochet the bag panels here:
Can’t see the video? Click here!
And here’s week three!
Can’t see the video? Click here!
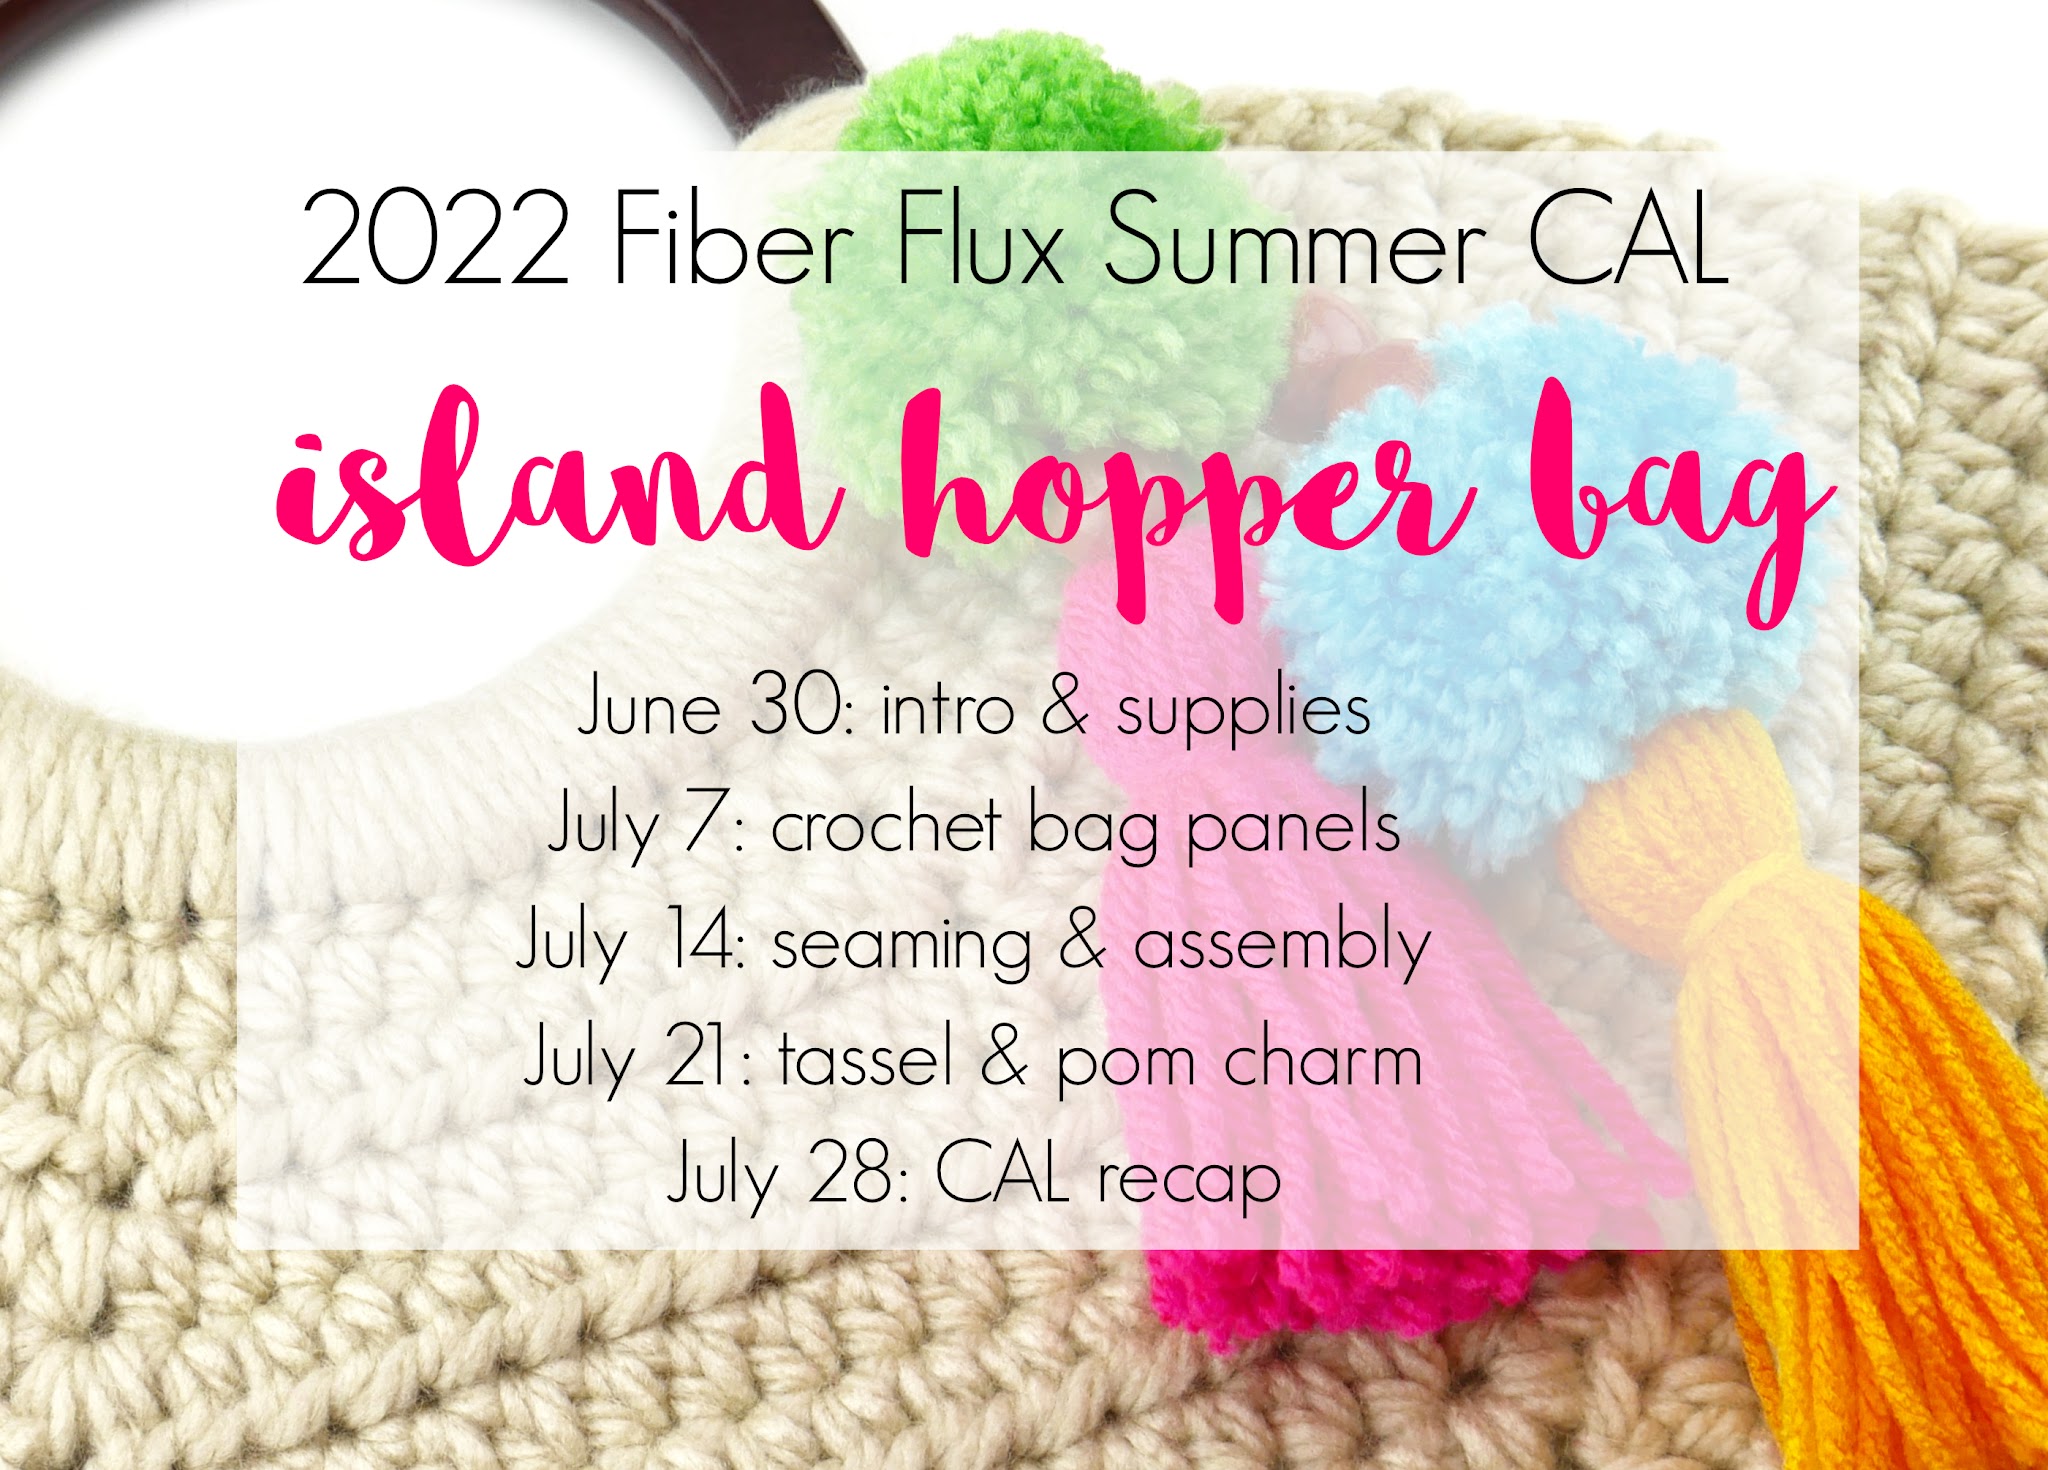
Here’s our CAL schedule below for easy reference:
- Thursday, June 30: Introduction & Supplies
- Thursday, July 7: Crochet Bag Panels
- Thursday, July 14: Seaming & Bag Assembly
- Thursday, July 21: Tassel & Pom Charm
- Thursday July 28: CAL Project Recap
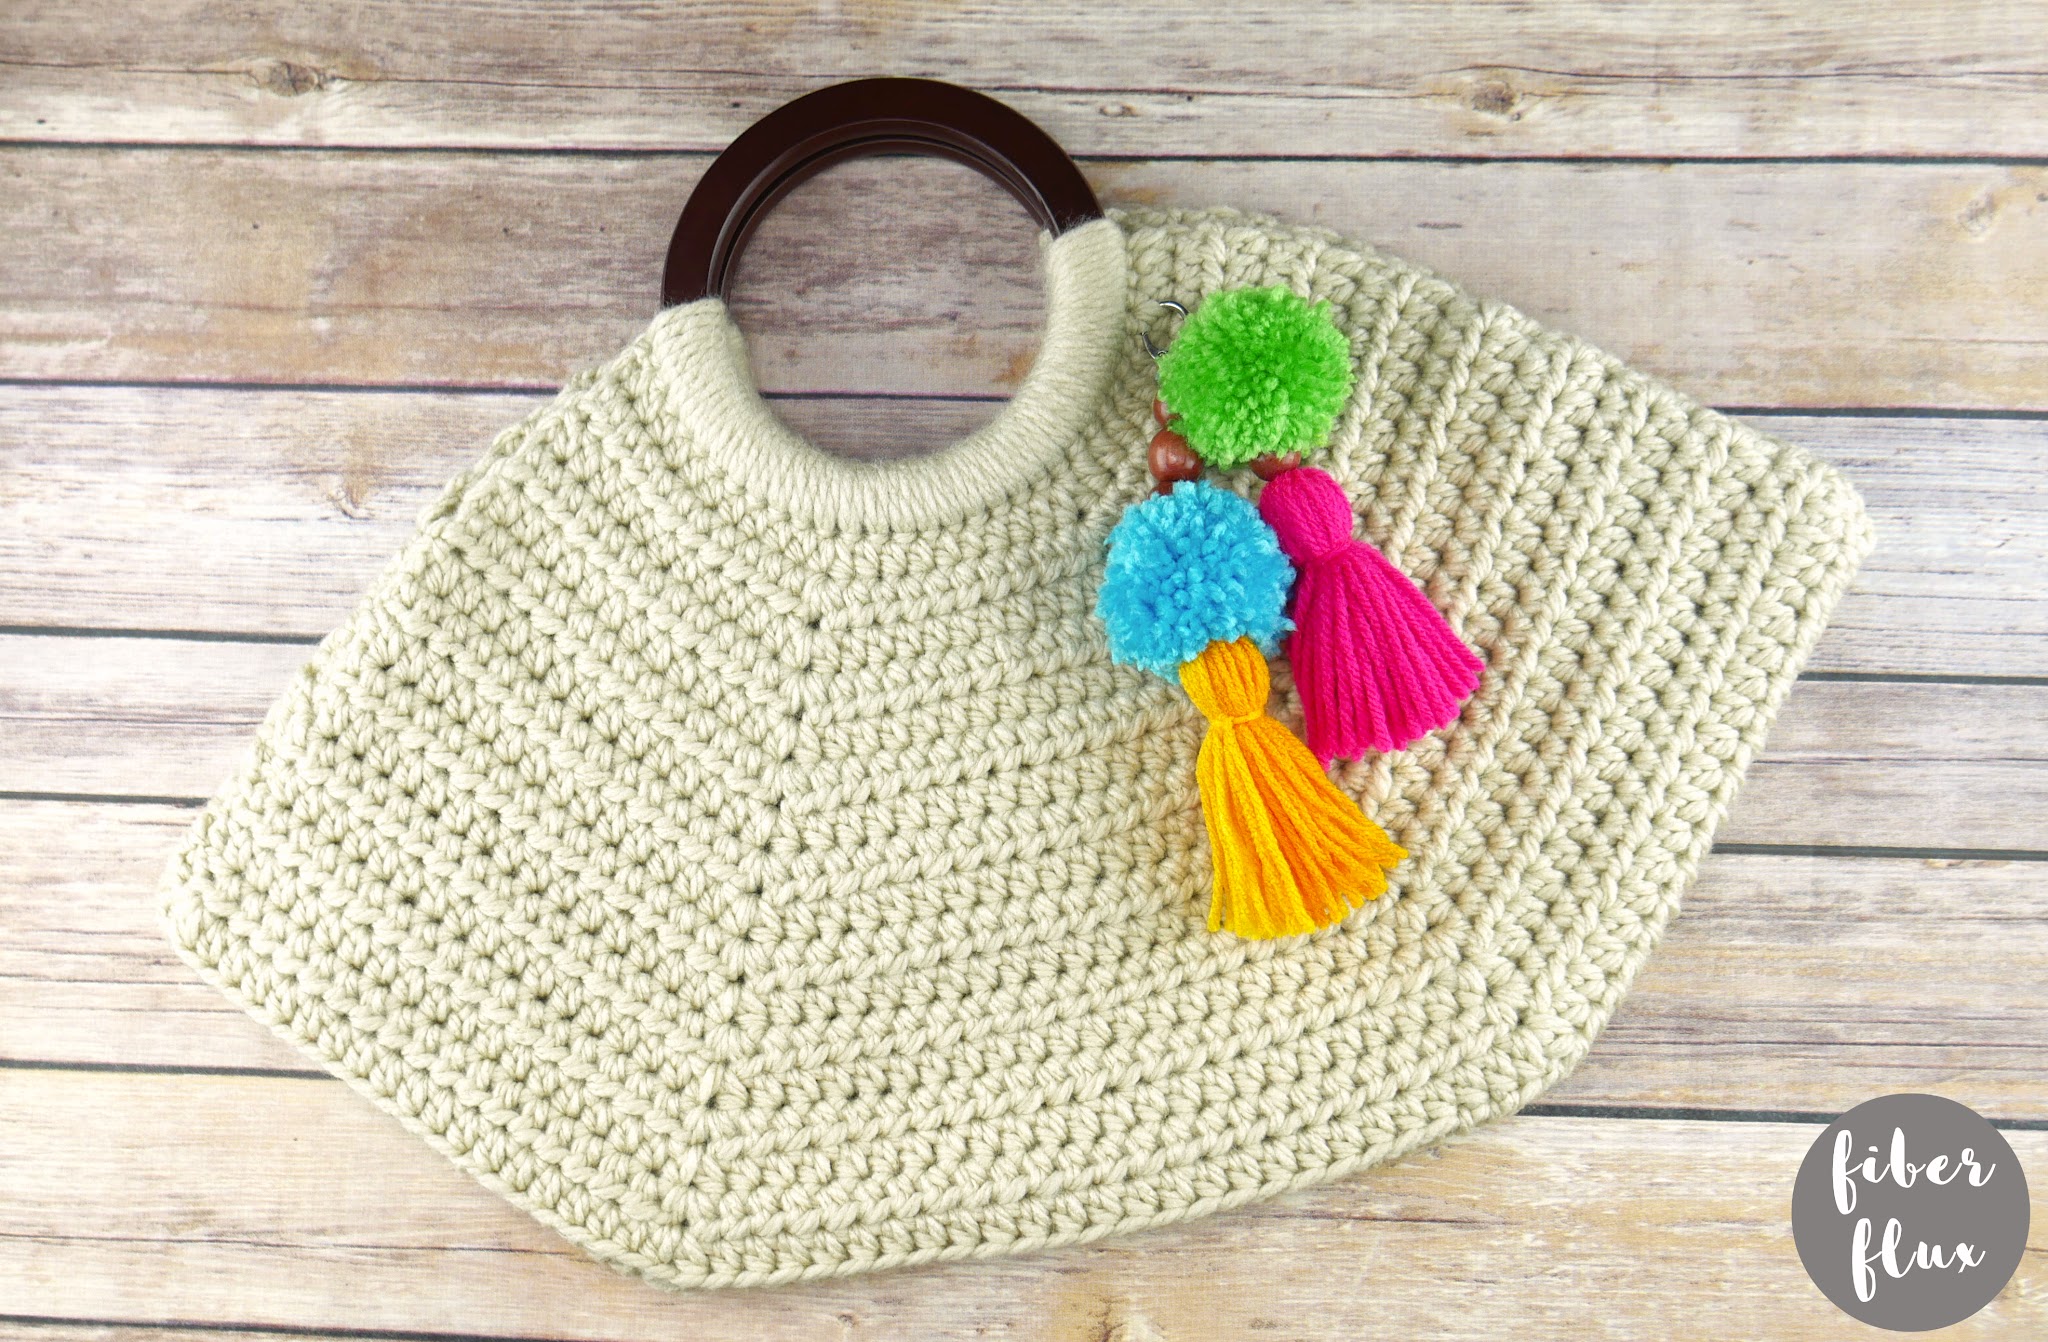
Now that we’re all up to speed, let’s jump right into our seaming, shall we?
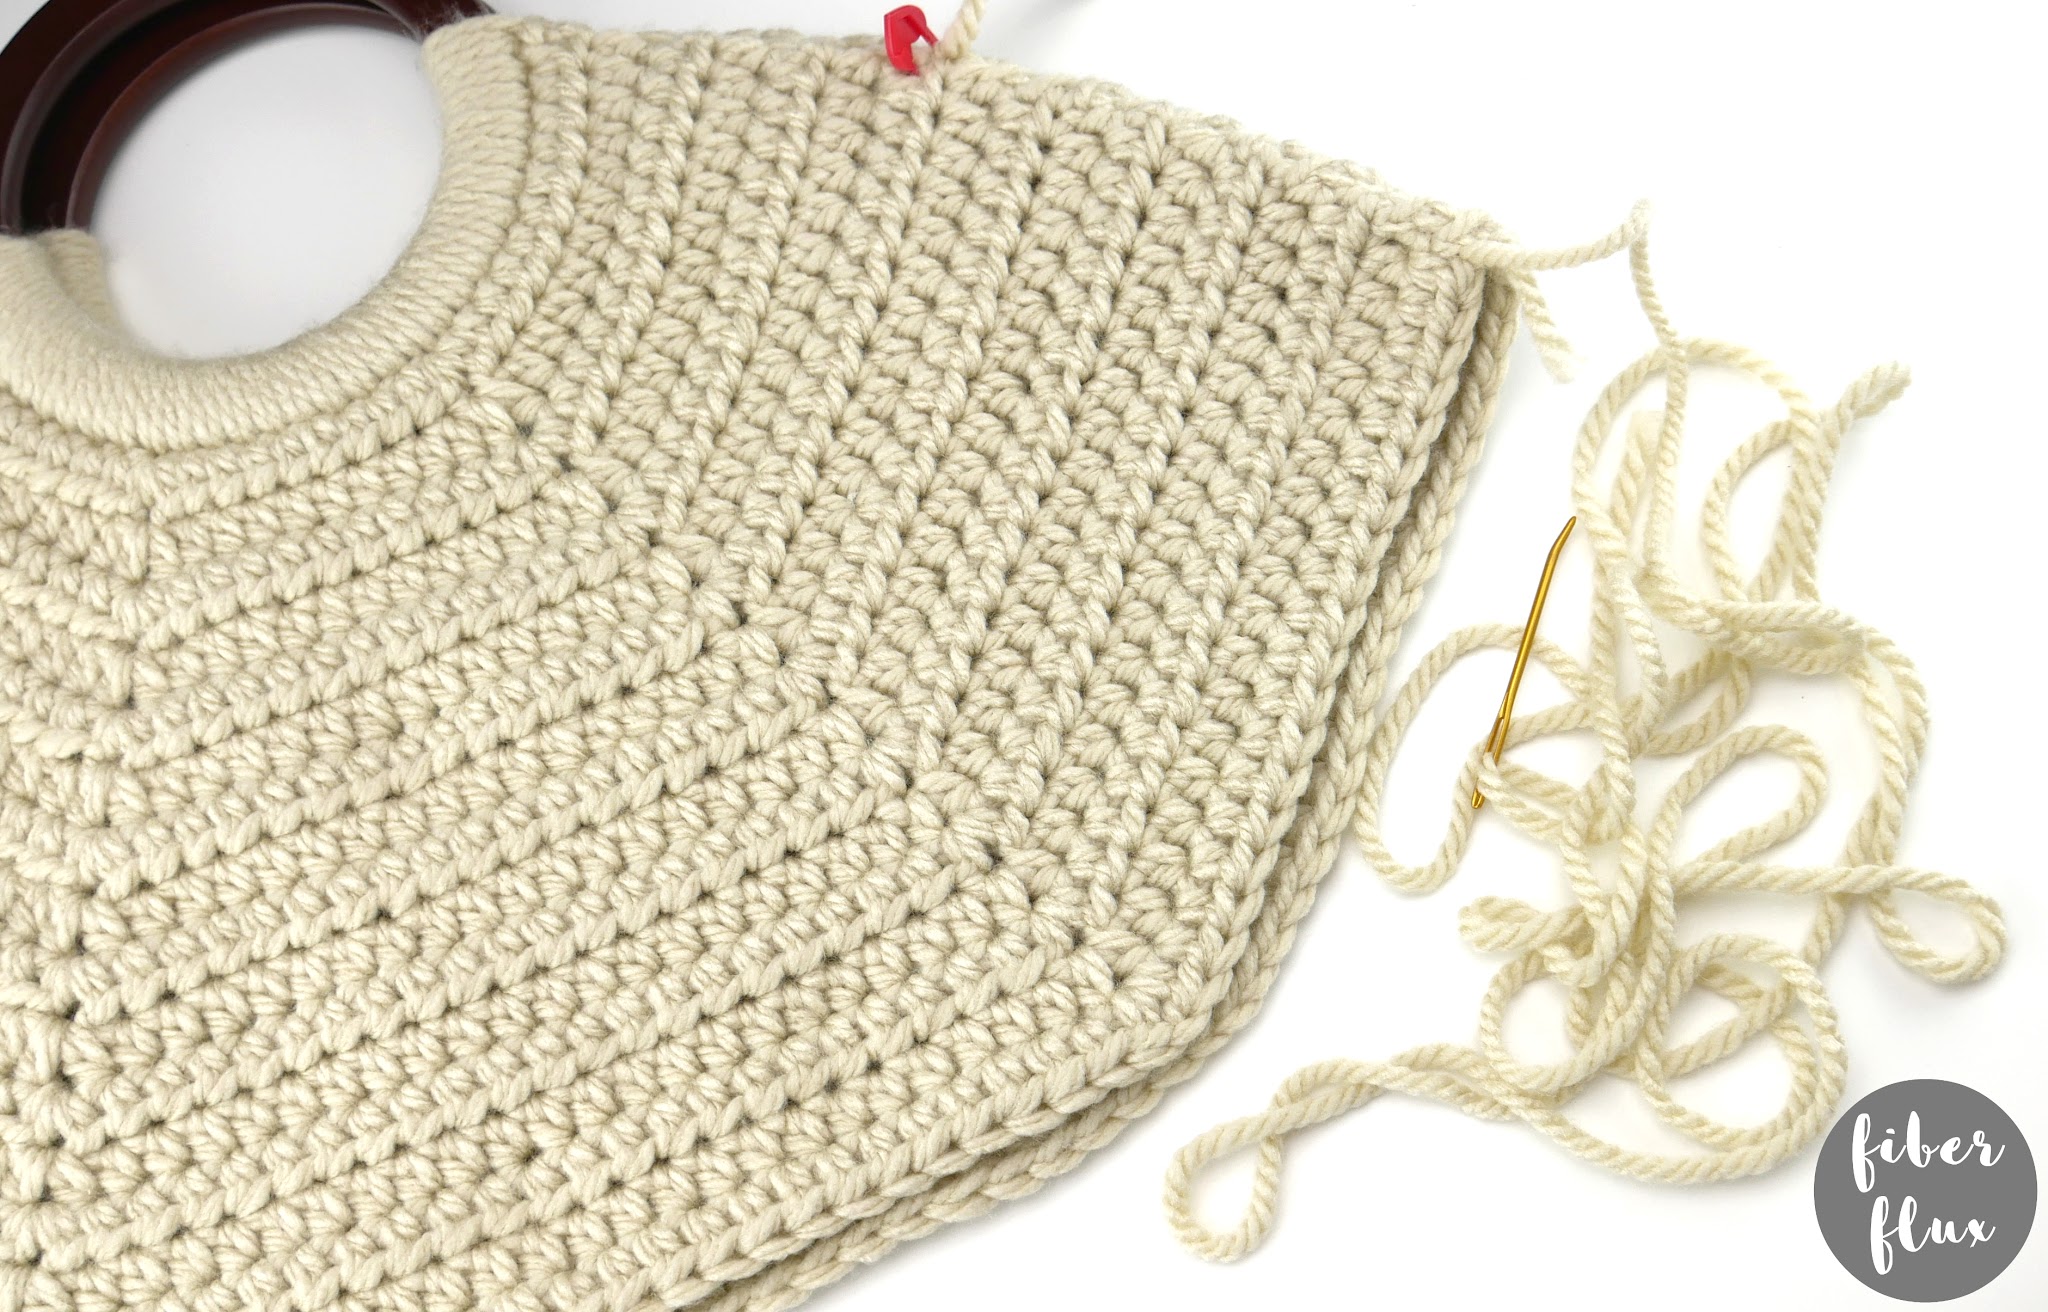
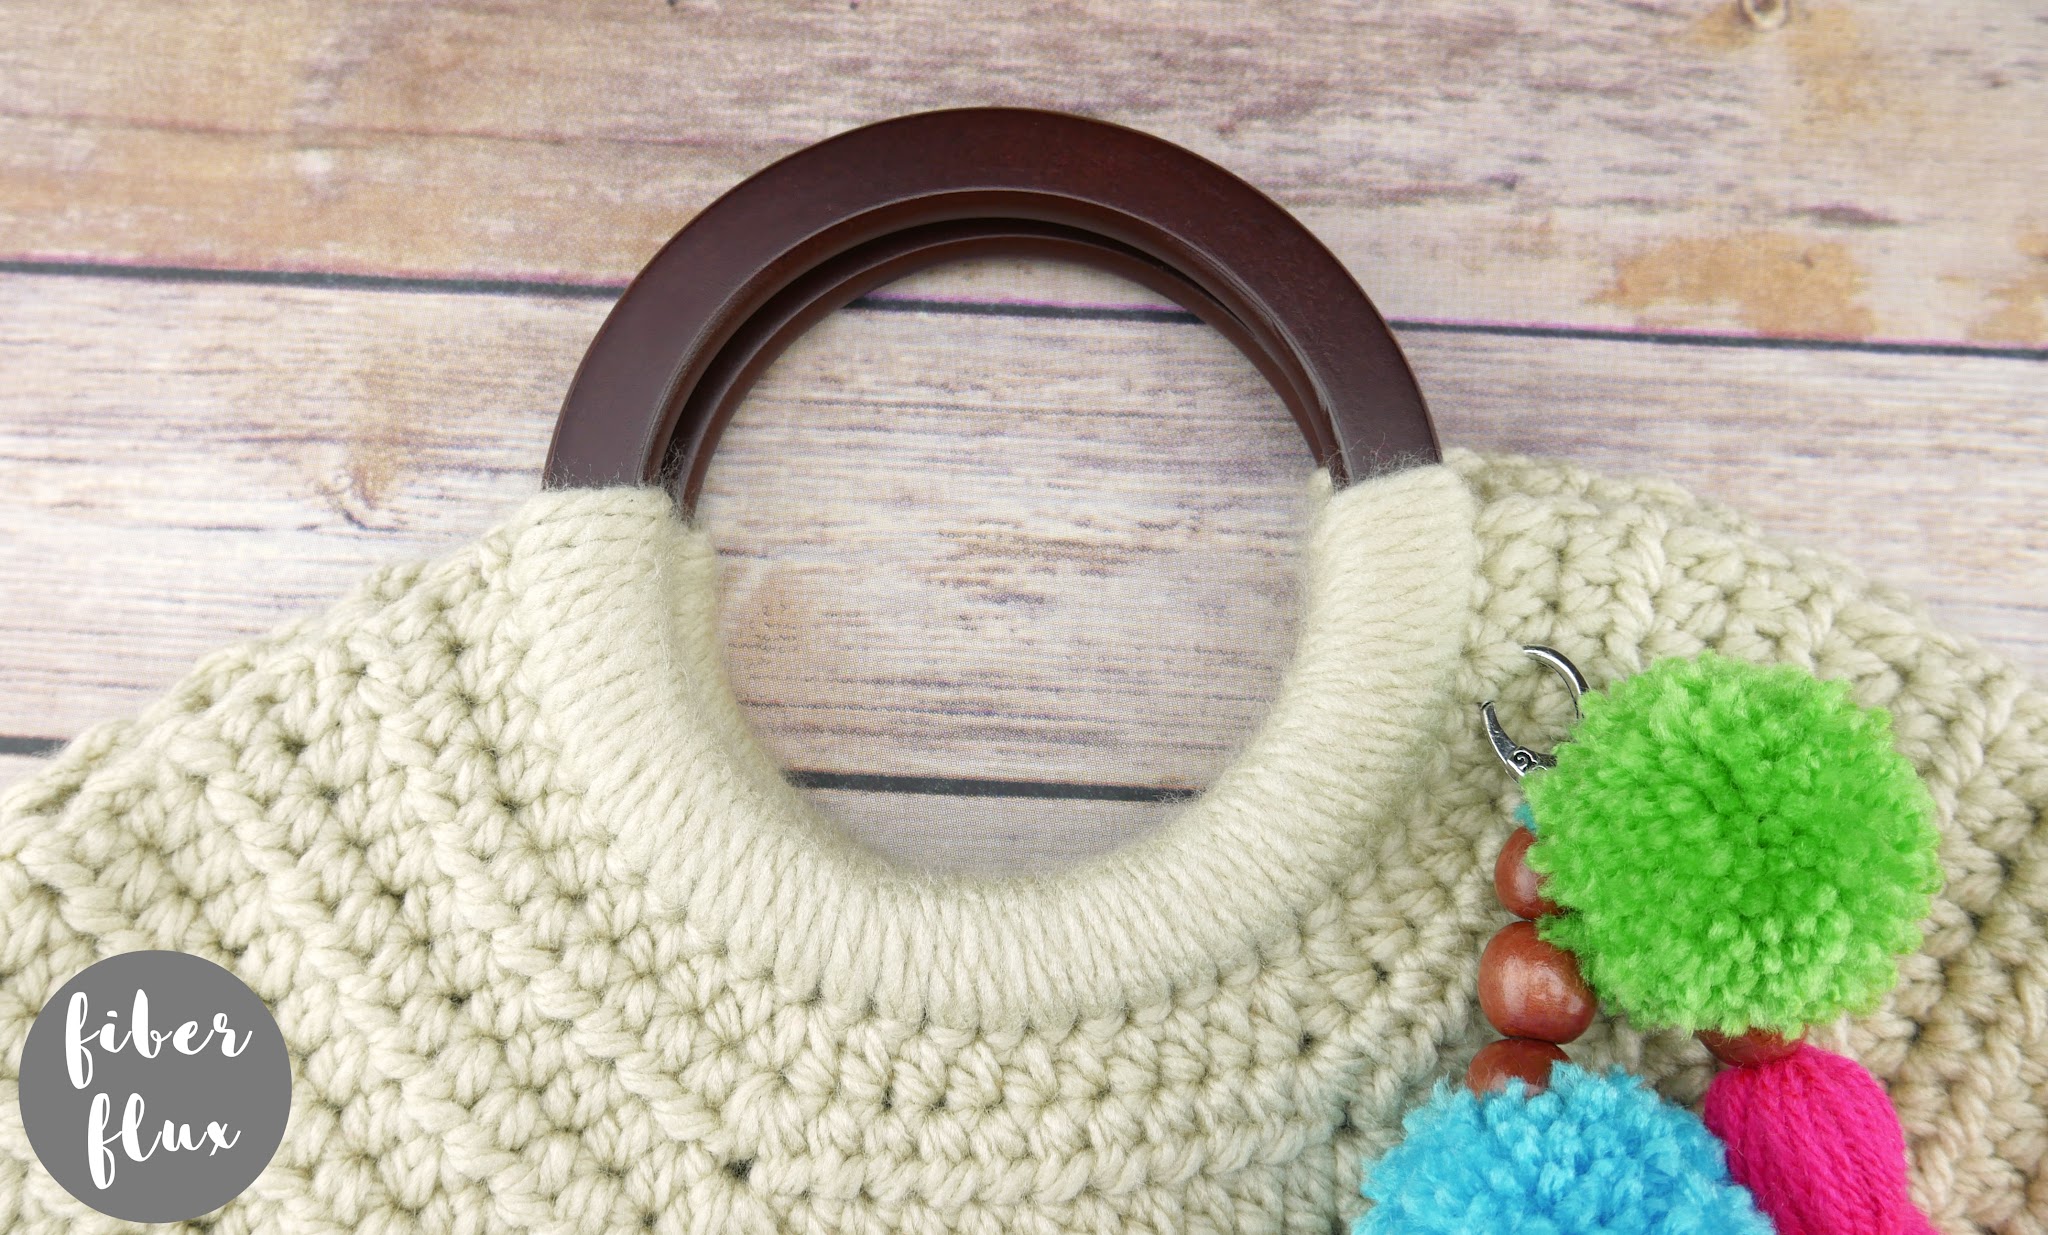
- The first thing you’ll want to do is grab a matching piece of yarn (a couple of yards), tapestry needle, scissors, and two stitch markers.
- Turn the two bag panels inside out, so that they are both facing inward towards each other. Place each stitch marker on either side of the bag about halfway down each side. I used the row “ridges” as a guideline and placed mine on the 4th ridge down from the top. Here’s how mine looked before seaming:
- Next tie the yarn just under the stitch marker on the left. Seam the panels together using the whip stitch and your tapestry needle. Go all the way around until you get to the other stitch marker and fasten off with a secure knot.
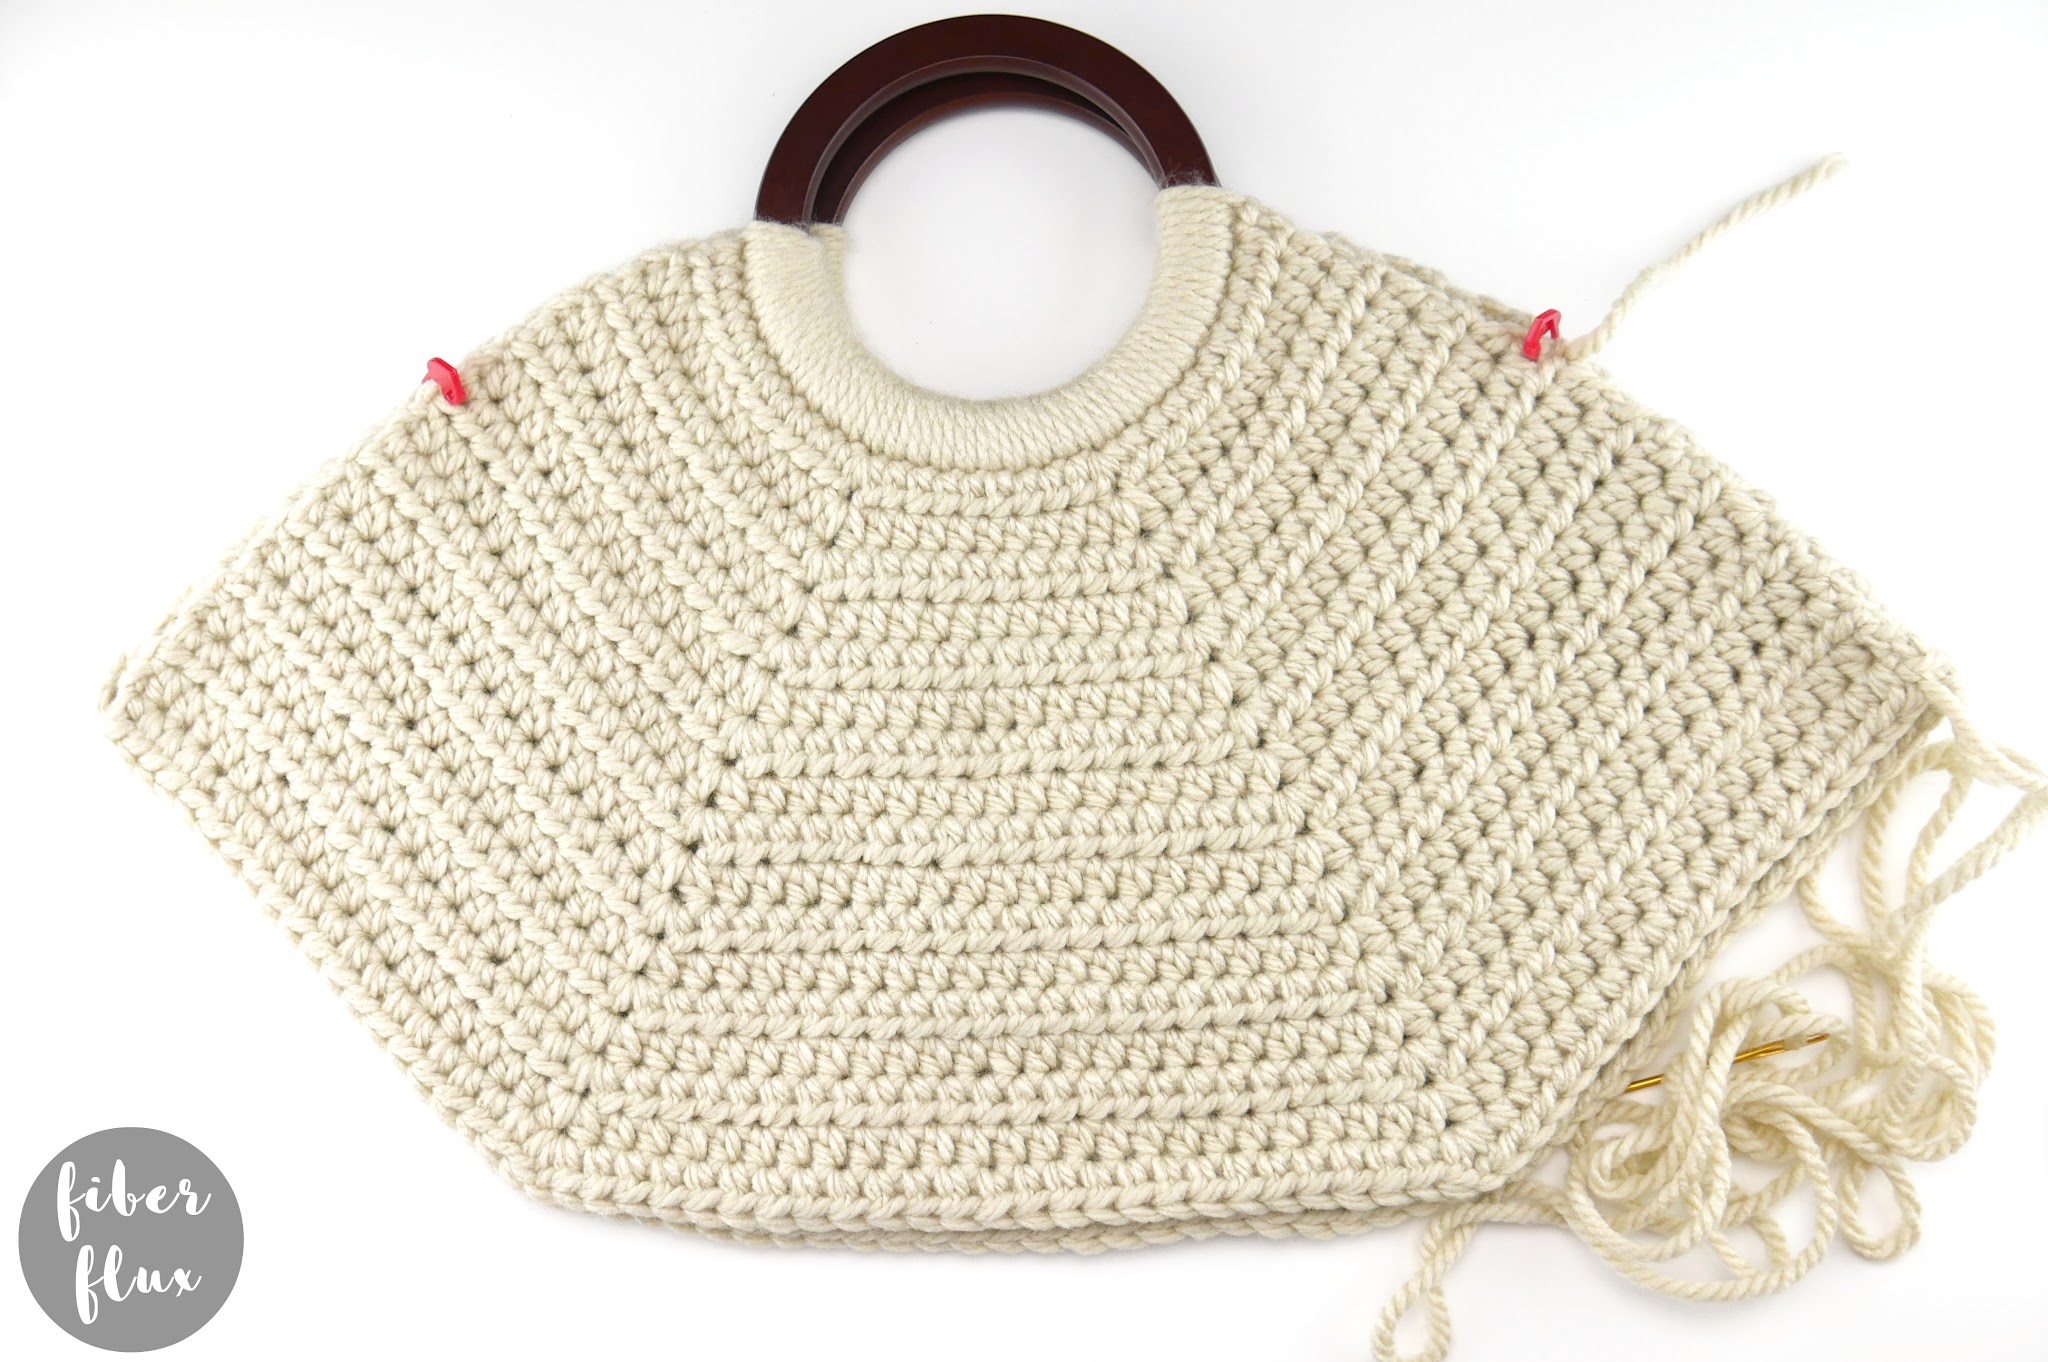
- Remove the stitch markers and turn right side out. Because our bag is thick and sturdy, you may need to smooth out the seam and pop out the points from the inside a bit.
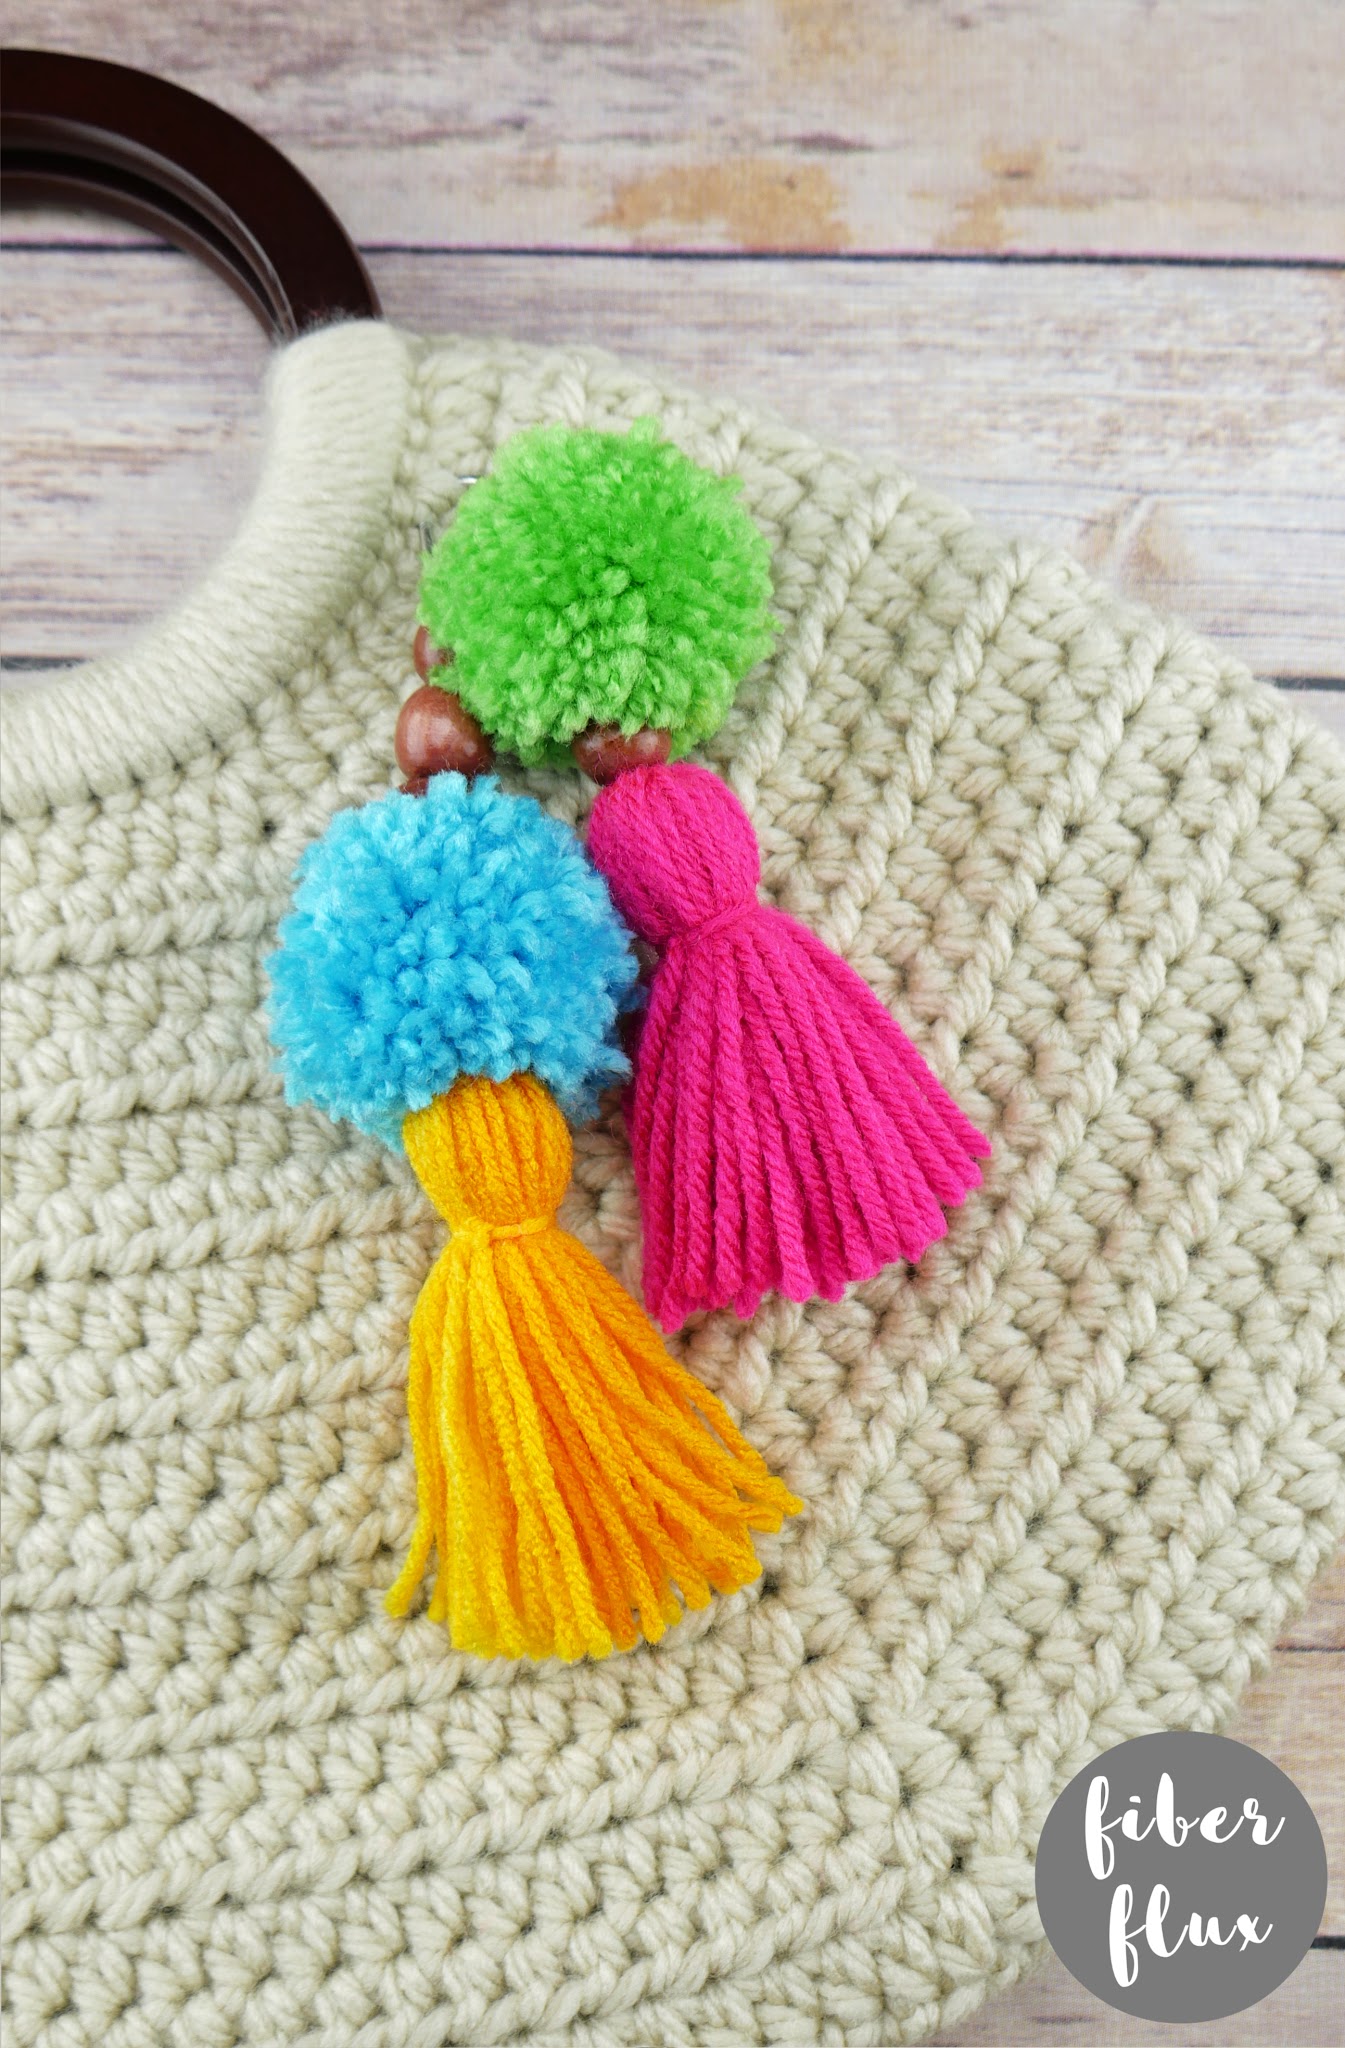
- Done! If you want to add the super cute summery charm, be sure to join me next week!
Last part…let’s connect! You can connect at any of the social media platforms below, and don’t forget to use the hashtag #fiberfluxcal


Also we have two special communities for our CAL makers! Each has a welcome area/thread, so please hop on and introduce yourself. You can get info, ask questions, help each other, see what everyone is doing, and show off your work too!
Click HERE to join the Facebook group!

Click HERE to visit and join the Ravelry group!
Also, don’t forget to tag me and use the hashtag, #fiberfluxcal to share your work on social media!
I can’t wait to see all of your gorgeous bags…please share those pictures and above enjoy, take some time to relax with your hook, and have fun! That’s all for today lovelies, see you next week for the charm tutorial!


![]()
![]()
![]()

![]()
![]()


© Fiber Flux LLC 2022

