
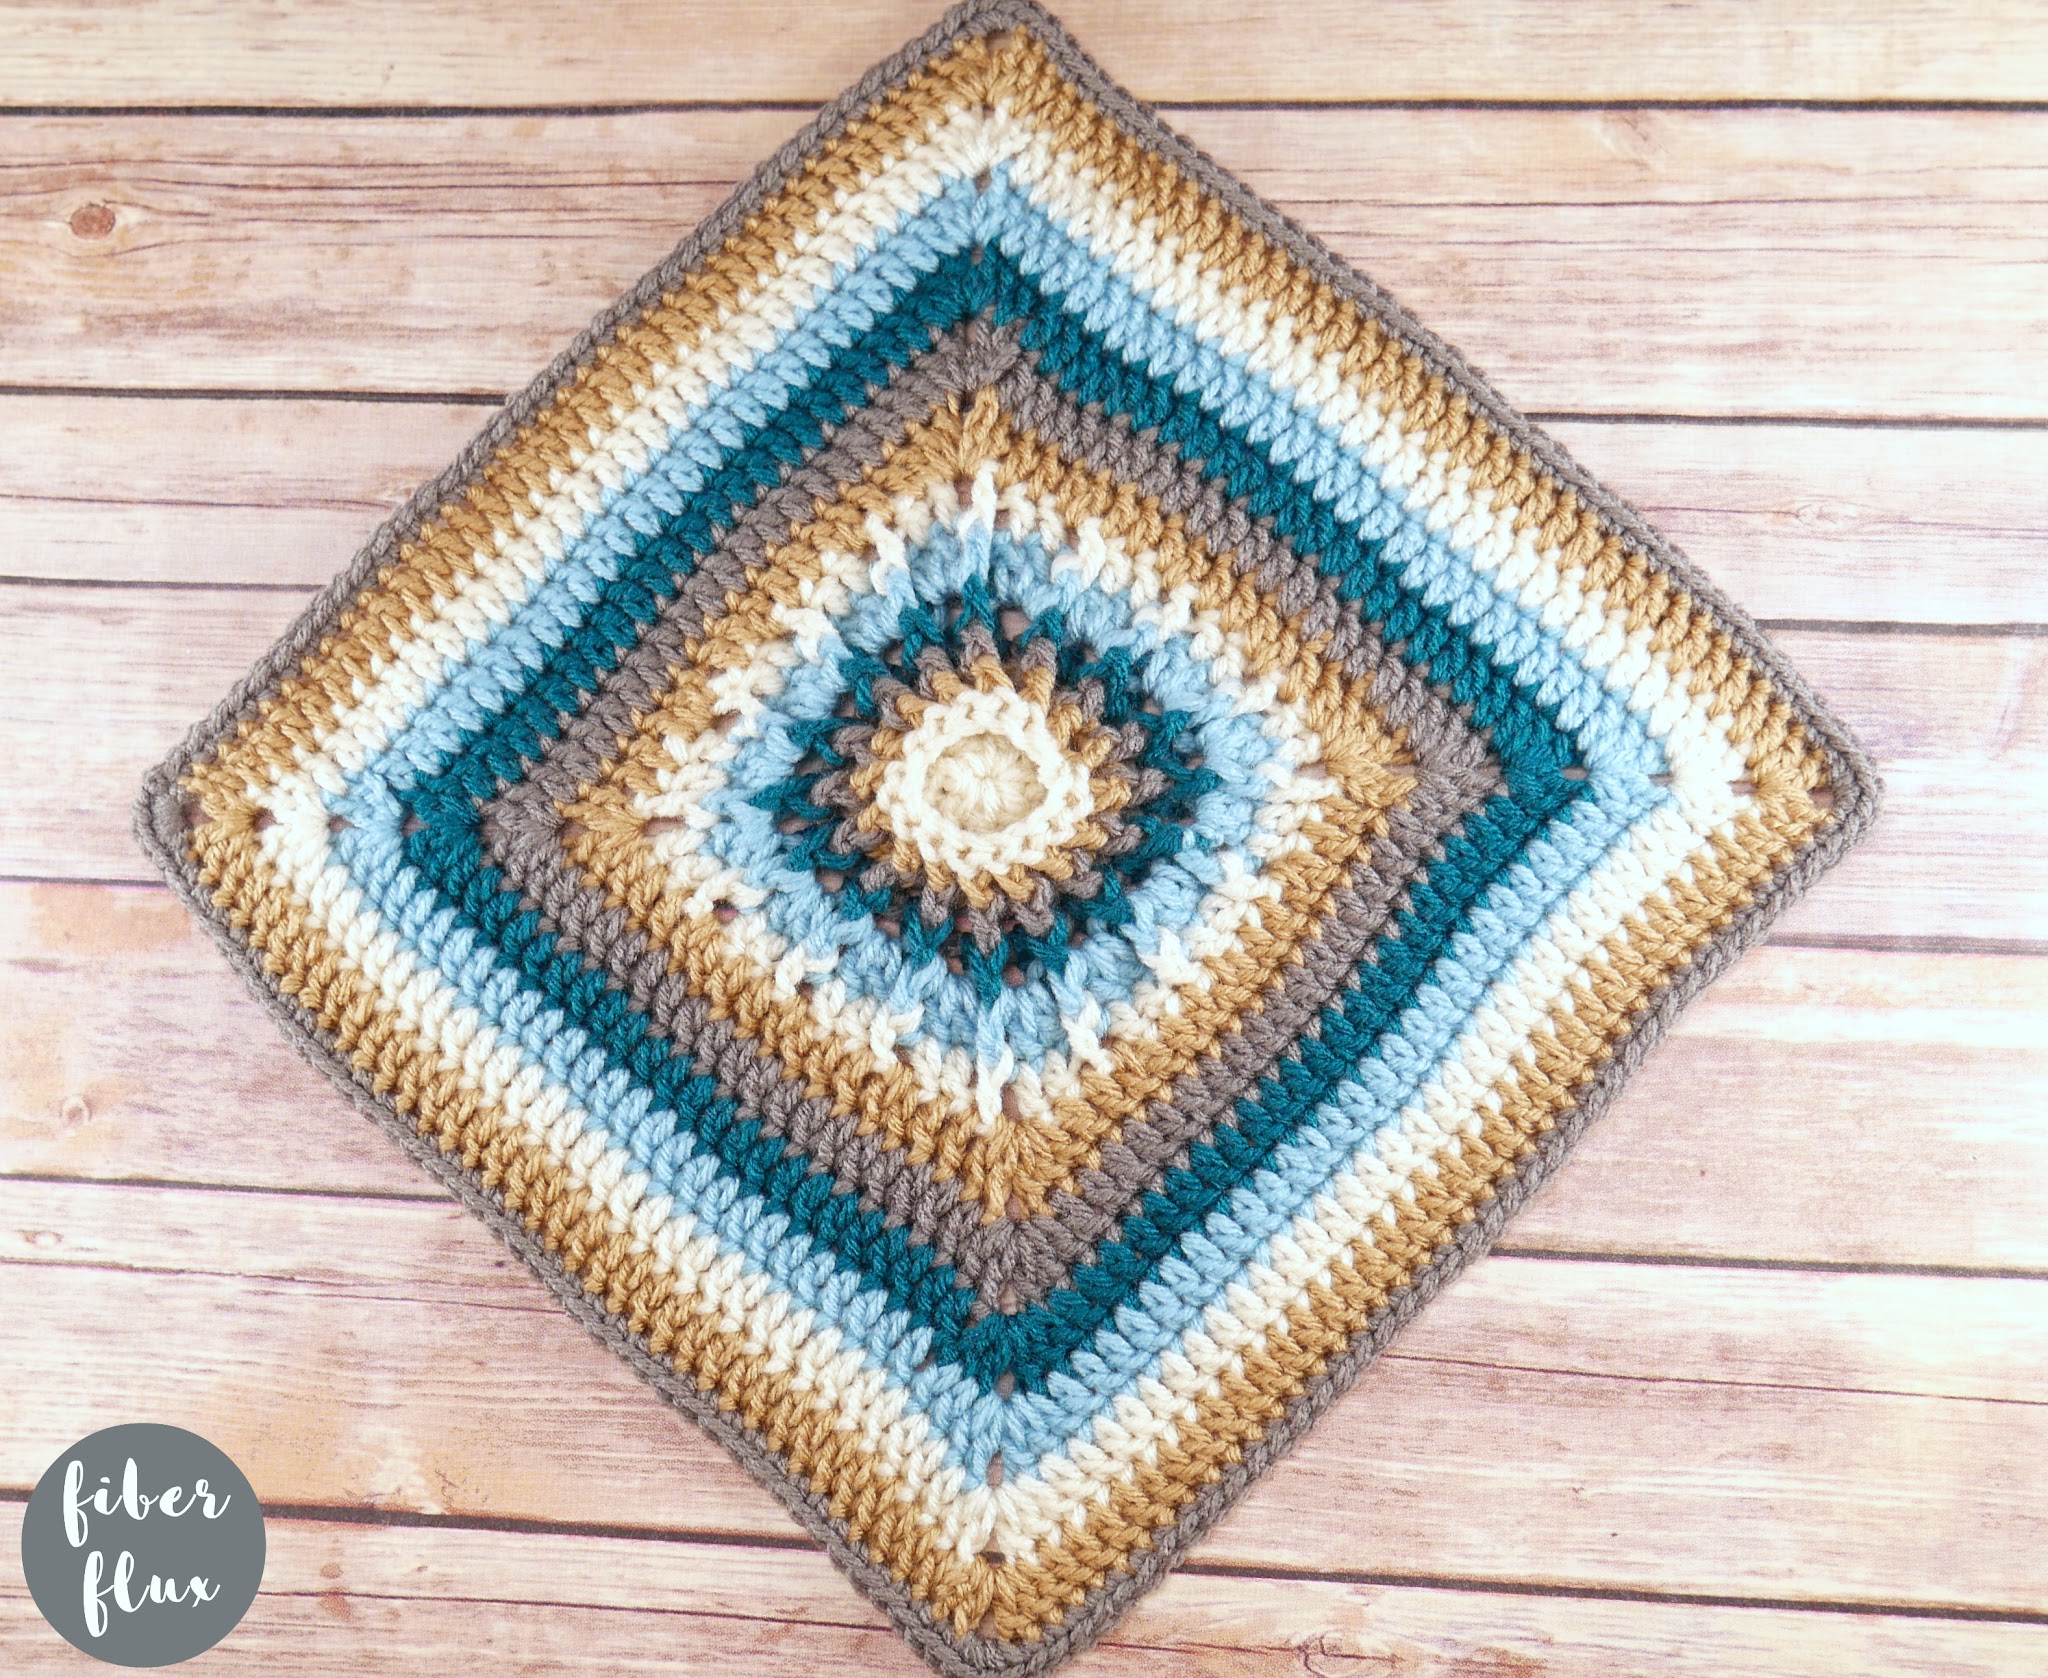
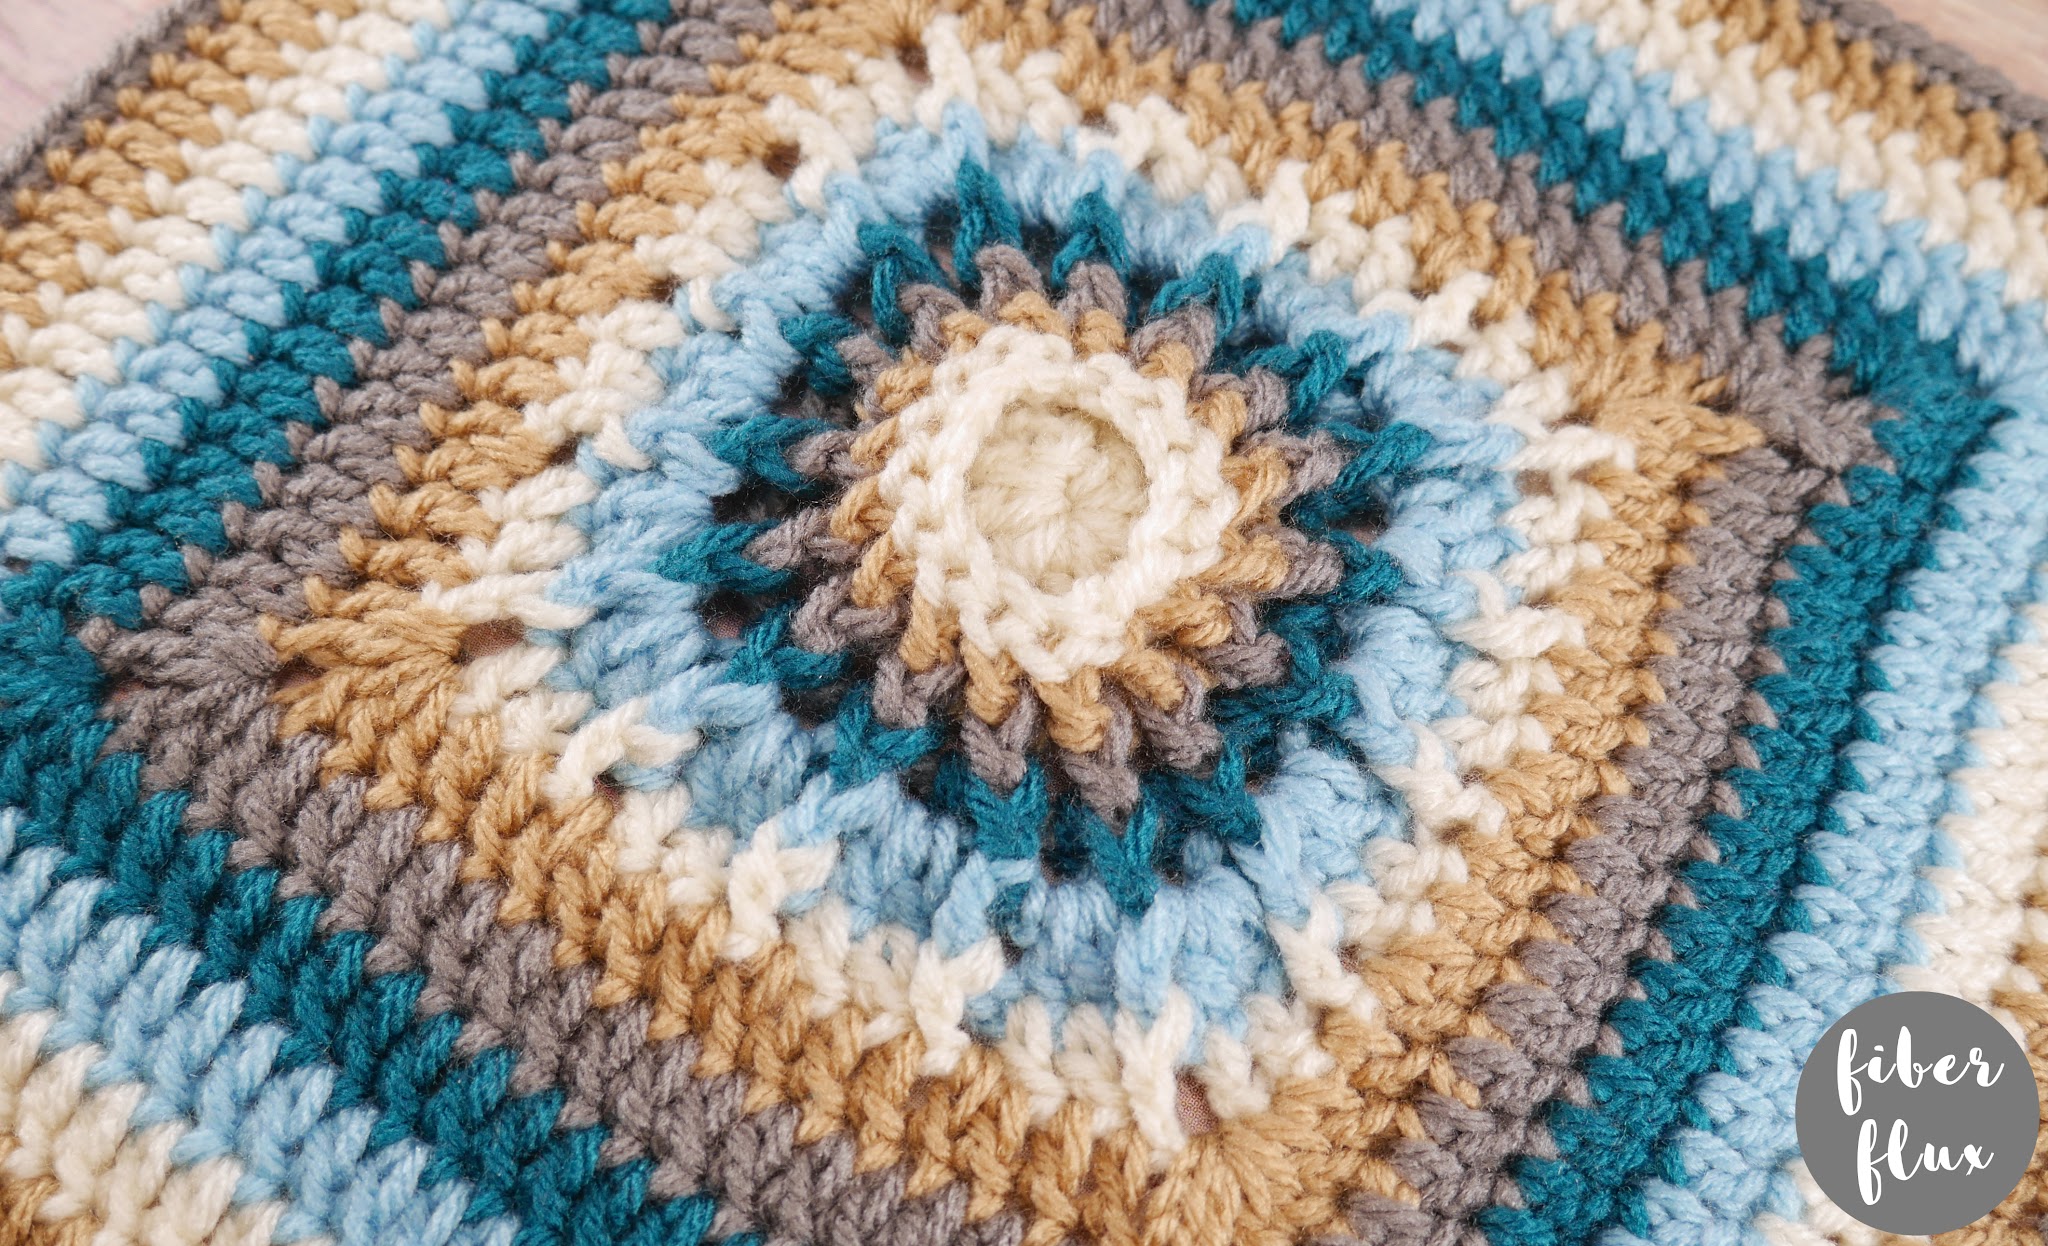
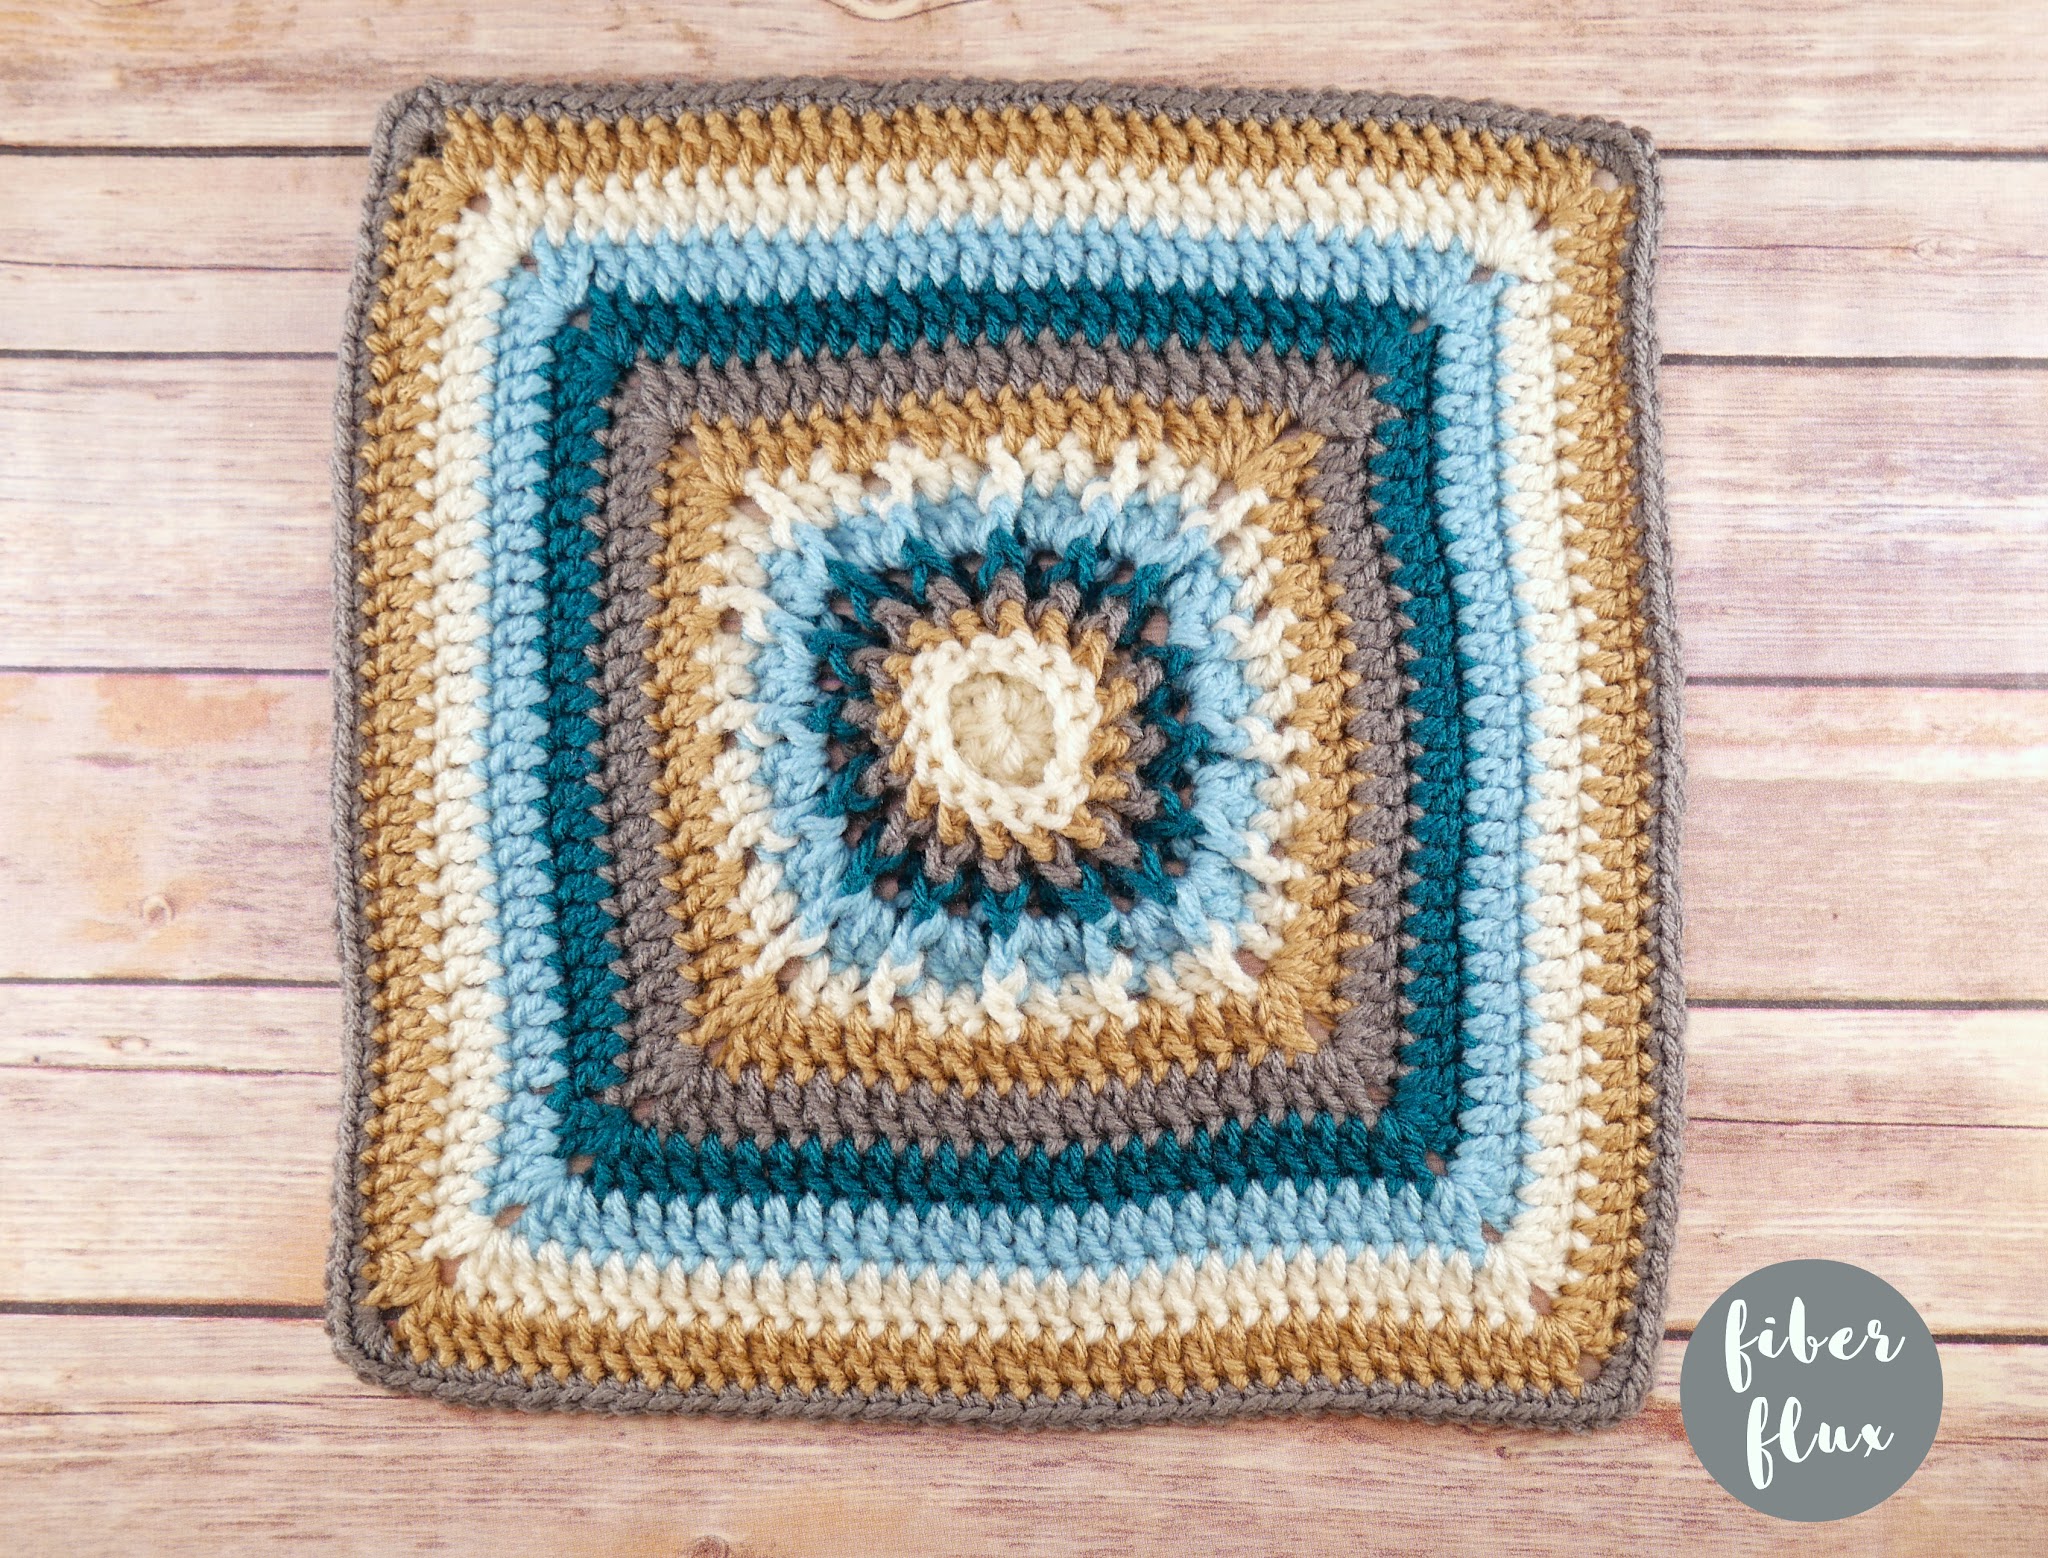
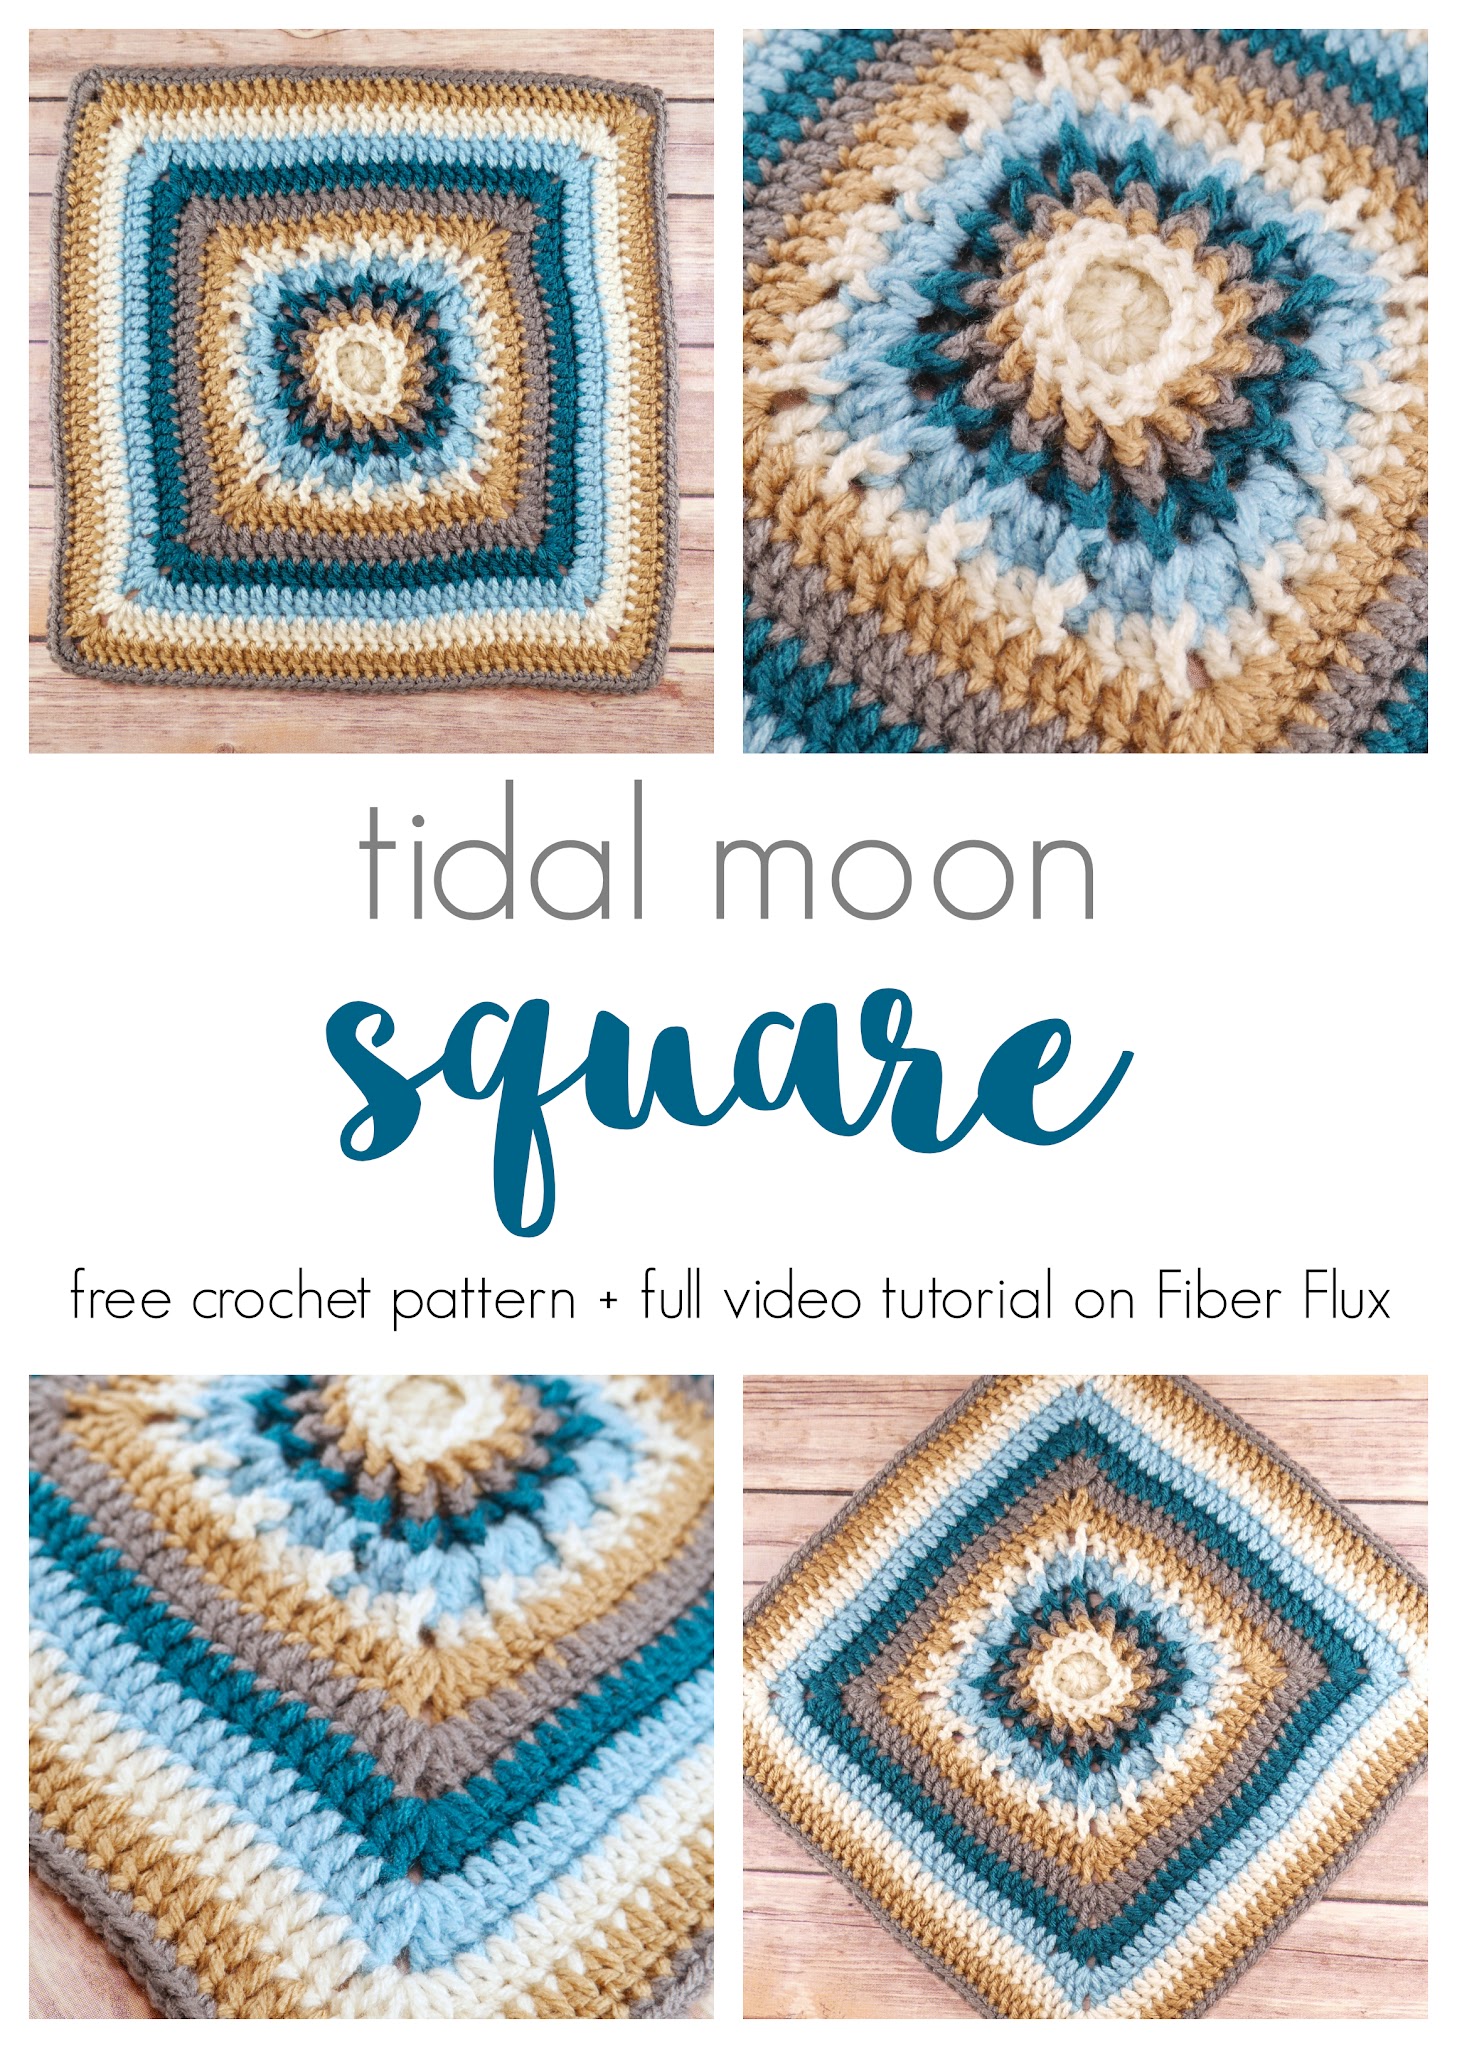
The Tidal Moon Square is a gorgeous square that can make a lovely blanket, dishcloth and more! Post stitches create a pretty textured center and the simple outer rounds frame it all in. Try making one in cotton yarn too for a beautiful coastal dishcloth!
👉Get the ad-free crochet pattern PDF from my shop here!👈
Watch a full video tutorial on how to make this project:
(Can’t see the video? Click here!)
Love video tutorials? Click here to subscribe to the Fiber Flux YouTube channel for more stitchy fun!
Materials:
- 6.0 mm J crochet hook
- Heavy worsted weight yarn in two or more colors. For this 12 inch square, I used just a few yards of yarn for each round of the square, making this square a great yarn stashbuster too. (The yarn shown is With Love from Red Heart in Eggshell, Tan, Pewter, Mallard, and Iced Aqua)
- Scissors
- Tapestry Needle
- Tape measure
Sizing:
- 12 inches wide
- 12 inches tall
To easily and quickly make this square bigger, you can repeat round 9 as many times as you need, then add on the last single crochet round to give it a nice finished edge.
Order of Colors As Pictured:
- Rounds 1 and 2: Eggshell
- Round 3: Tan
- Round 4: Pewter
- Round 5: Mallard
- Round 6: Iced Aqua
- Round 7: Eggshell
- Round 8: Tan
- Round 9: Pewter
- Round 10: Mallard
- Round 11: Iced Aqua
- Round 12: Eggshell
- Round 13: Tan
- Round 14: Pewter
Instructions:
Ch 4, then join in the ch furthest from the hook with a slip stitch to create a ring.
Round 1: ch 3 (counts as a dc), then work 7 dc into the center of the ring.
Round 2: ch 3, then work a dc into the first stitch. Next, work 2 dc into the next stitch and in each stitch around. Join to close the round with a slip stitch.
Round 3: Tie a new color into the back loop of any stitch, then ch 4 as if to bpdc (work that first chain around the post as if you were working a bpdc, then continue with the other chains ). Work a (bpdc, ch 1) in each st. Join to close the round with a slip stitch.
Round 4: Tie a new color into the back loop of any bpdc stitch from the previous round, then ch 4 (working that first chain around the post as if you were working a fpdc). Work a (fpdc, ch 1) in each st. Join to close the round with a slip stitch.
Round 5: Tie a new color into any ch 1 space, then ch 4 (counts as a dc) *Work (a fpdc into the fpdc from previous round, chain 1, then a dc into the ch 1 space). Repeat from * around until the last fpdc, then work (fpdc into fpdc from previous round, ch 1). Join to close the round with a slip stitch.
Round 6: Tie a new color into the back loop of any fpdc stitch, then ch 4 (working that first chain around the post as if you were working a fpdc) *Work 2 dc in the ch 1 space, a bpdc into the next stitch, then a fpdc into the fpdc from the previous round. Repeat from * around. Join to close the round with a slip stitch.
Round 7: Tie a new color into the back loop of any fpdc stitch, then ch 4 (working that first chain around the post as if you were working a fpdc) *work a dc in each of the next two stitches, skip over the bpdc from the previous round, then a fpdc into the fpdc from the previous round, then ch 1. Repeat from * around until just two sts remain, then work Join to close the round with a slip stitch.
Round 8: Tie a new color into any ch 1 space, then chain 3. Work (2 dc, ch 1, 3 dc, ch 1) into the same ch 1 space. This creates the first corner of the square. *Work (3 dc, ch 1) into each of the next three ch 1 spaces. Work (3 dc, ch 1, 3 dc, ch 1) into the next ch 1 space to create the next corner of the square. Repeat from * around, then join to close the round with a slip stitch.
*Alternative look for round 8-If you want more of a solid look for this round (as opposed to the granny square look, per someone’s request, thank you!) you can do this instead…tie a new color into any ch 1 corner space, then chain 3. Work (dc, ch 1, 2 dc) into the same ch 1 space. This creates the first corner of the square. *Work a dc in each stitch/space across. Work (2 dc, ch 1, 2 dc) into the next ch 1 corner space to create the next corner of the square. Repeat from * around, then join to close the round with a slip stitch.
Round 9: Tie a new color into any corner space, then chain 3. Work (dc, ch 2, 2 dc) into the same space. This creates the first corner of the square. *Work a dc into each stitch/space across until you get to the next corner. Work (2 dc, ch 2, 2 dc) into the next ch 1 space (the corner space) to create the next corner of the square. Repeat from * around the square, then join to close the round with a slip stitch.
Round 10-13: Repeat round 9. These rounds can easily be increased/decreased to change the overall size of the square.
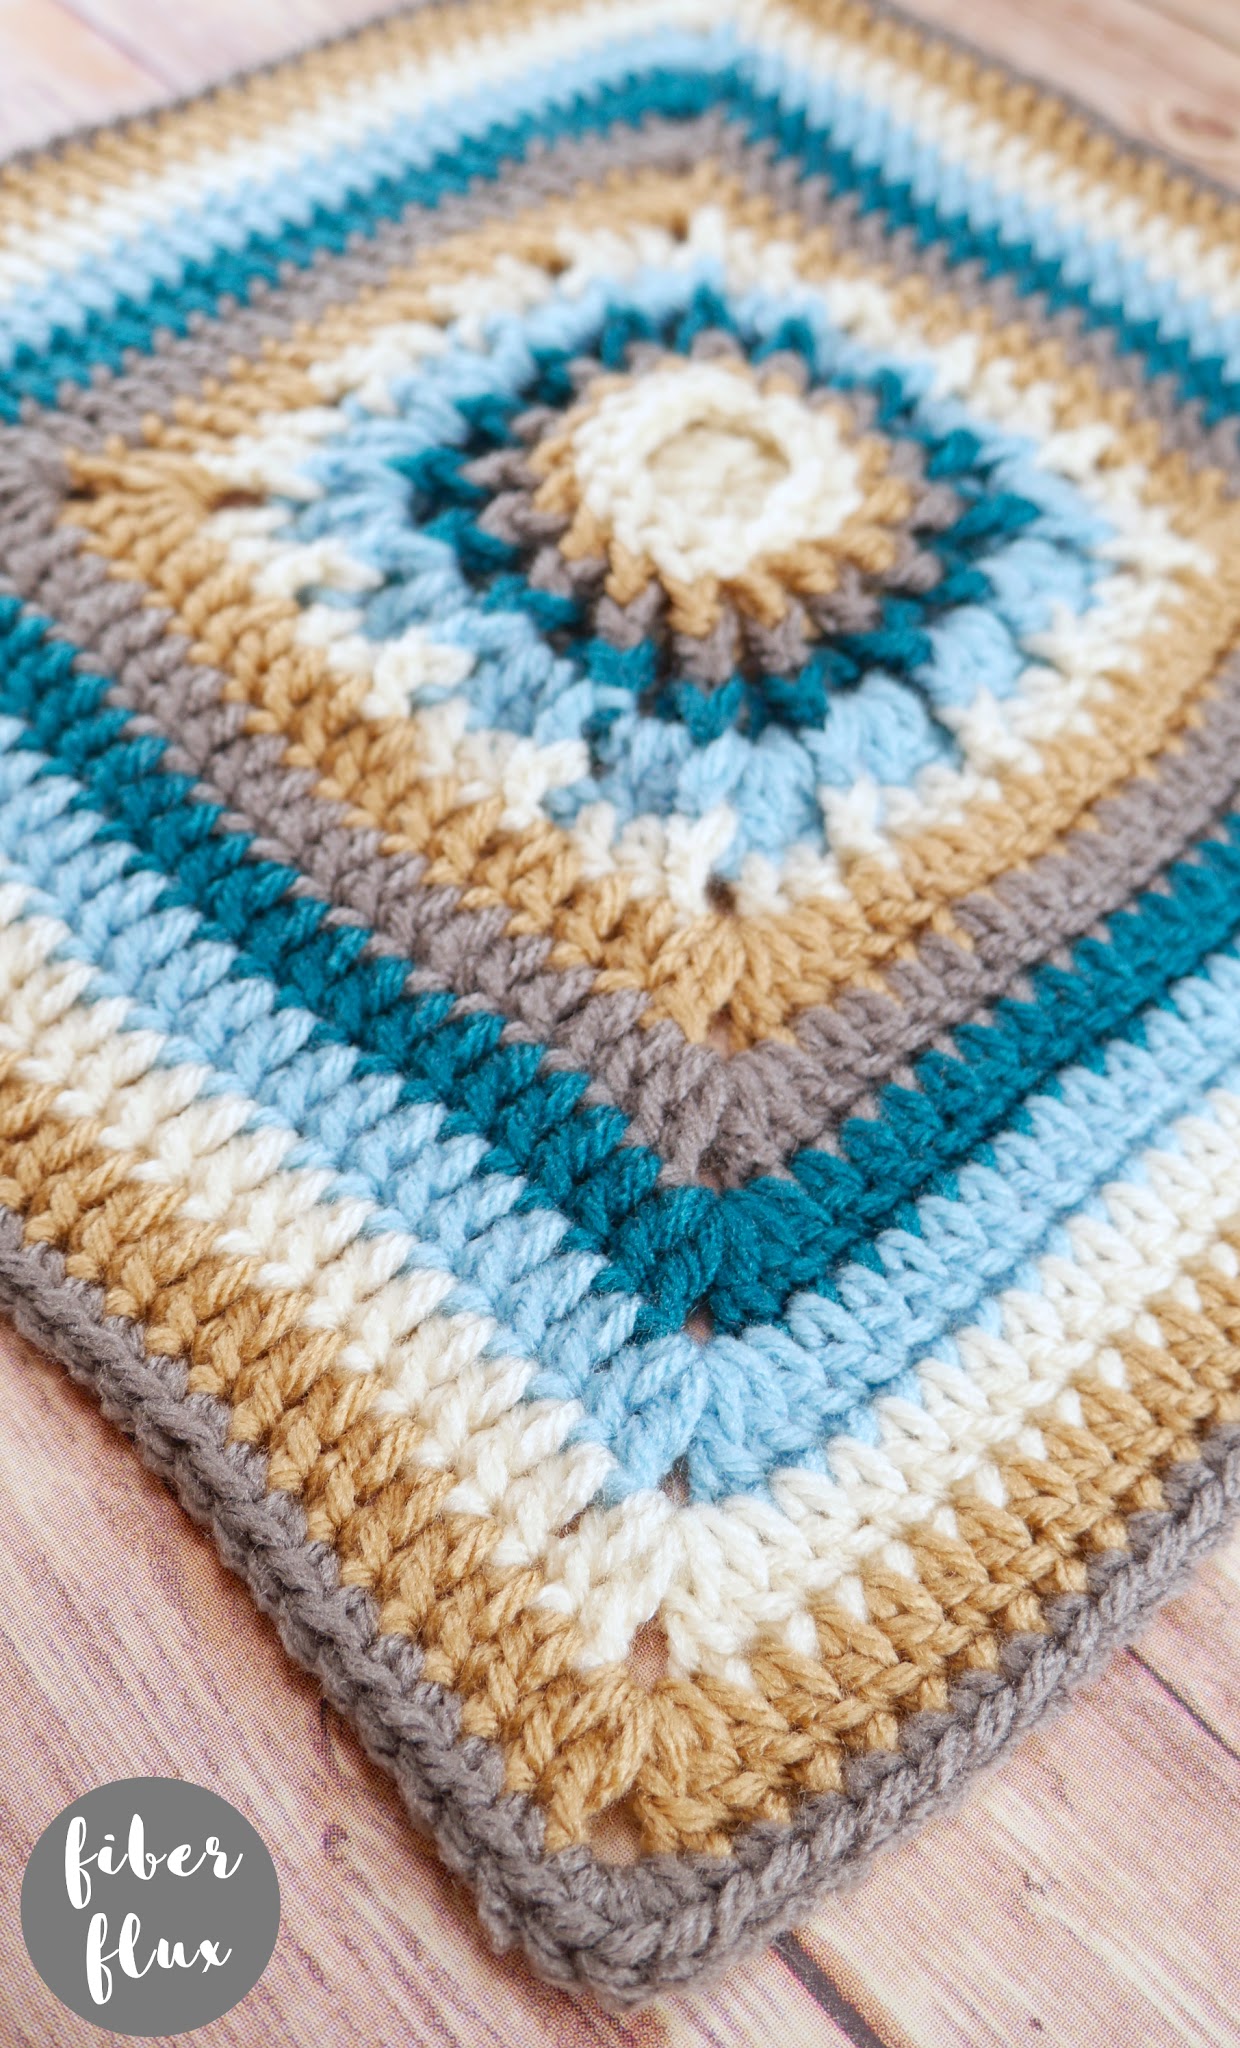
Round 14: Tie a new color into any ch 2 space, then chain 1. Work 4 sc into the same space. This creates the first corner of the square. *Work a sc into each stitch across until you get to the next corner. Work 4 sc into the next ch 2 space (the corner space) to create the next corner of the square. Repeat from * around the square, then join to close the round with a slip stitch.
Weave in any ends that remain and block your square if needed/desired.


![]()
![]()
![]()

![]()
![]()


© Fiber Flux LLC 2023


On Round 7, the instructions say to work until lasr 2 stitches remain, then work….join to close…is something missing?