
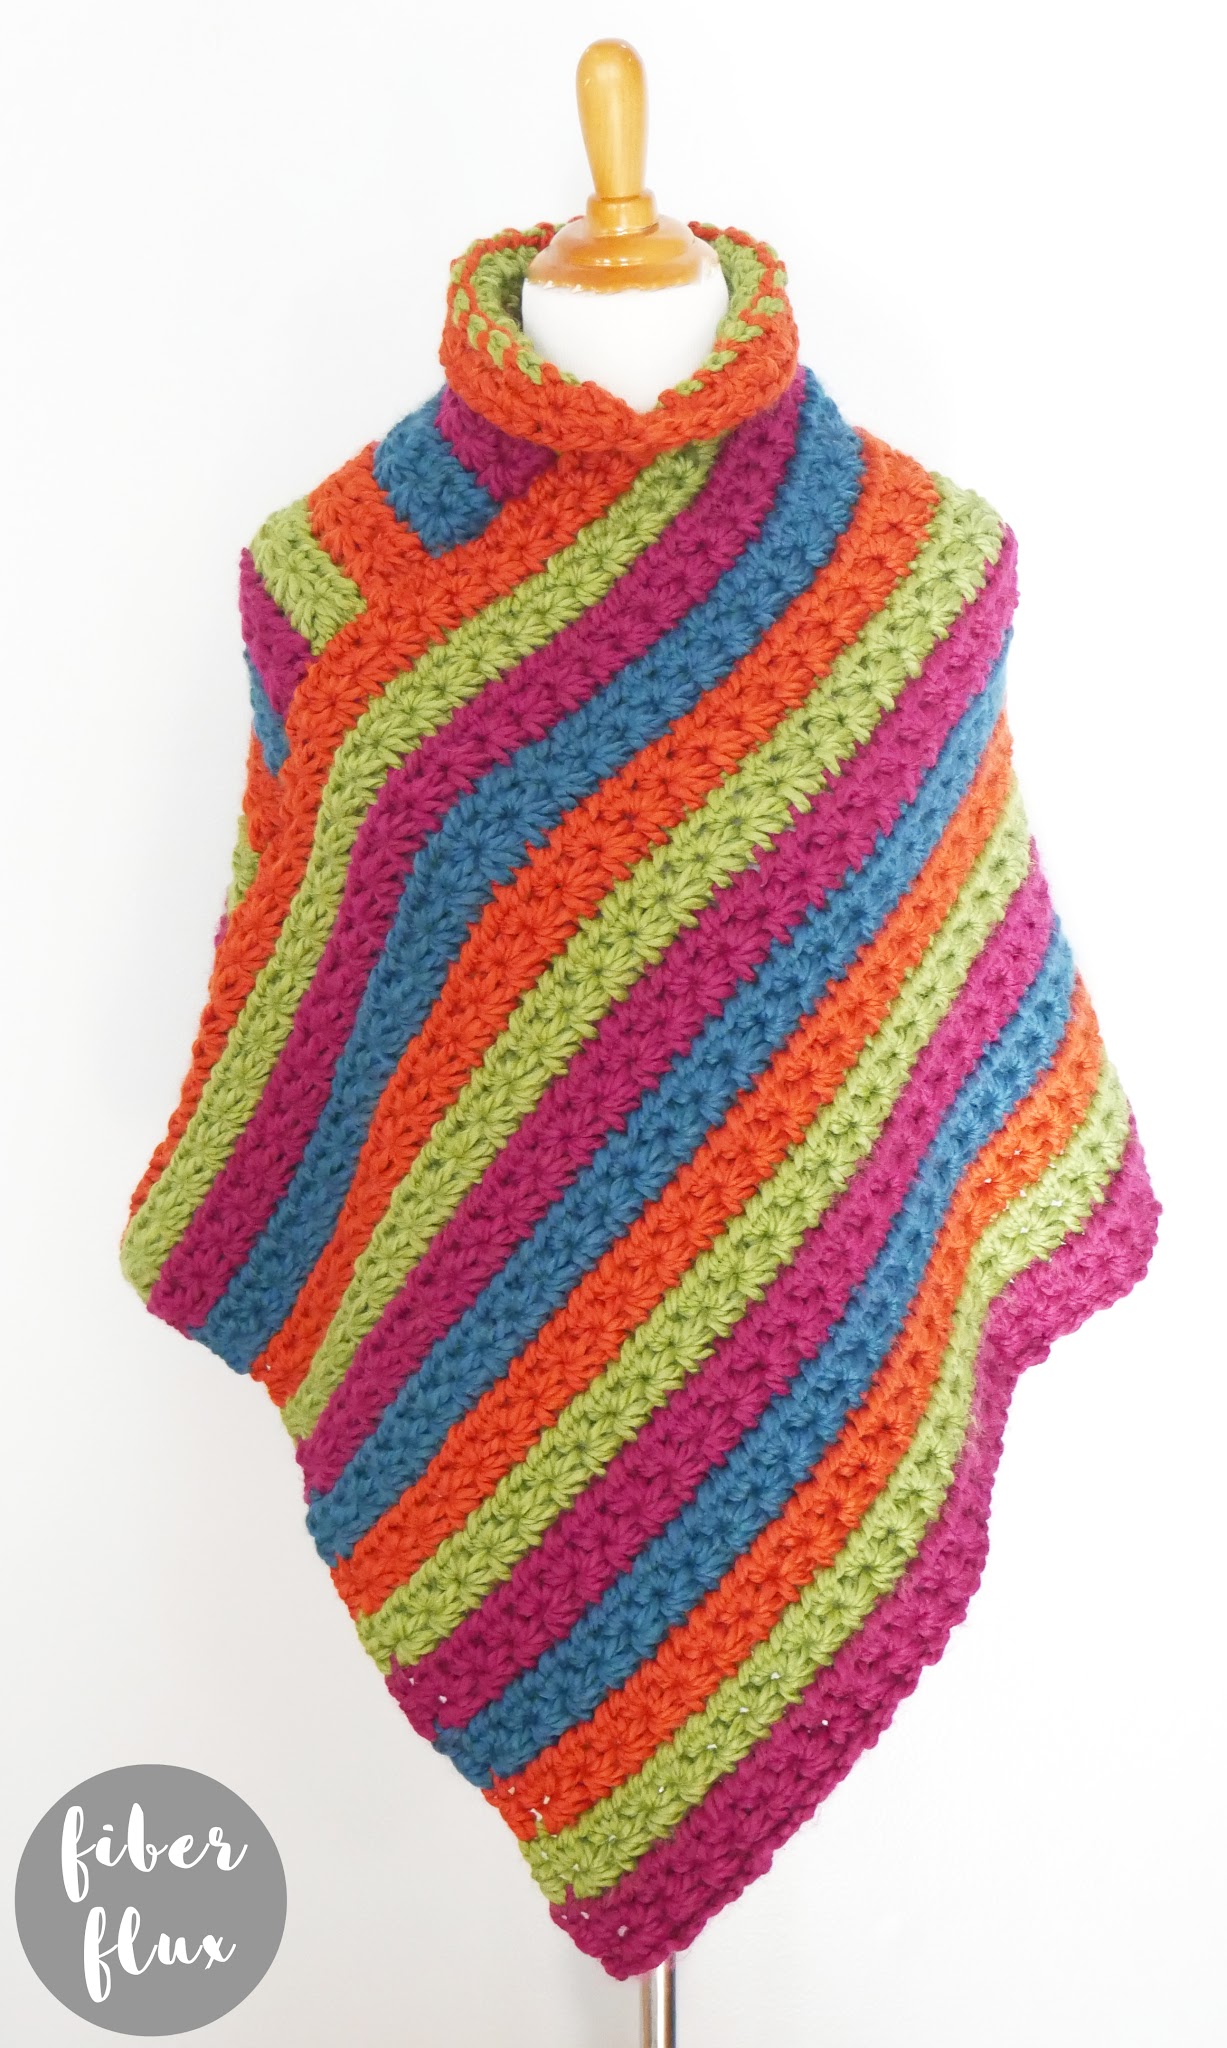
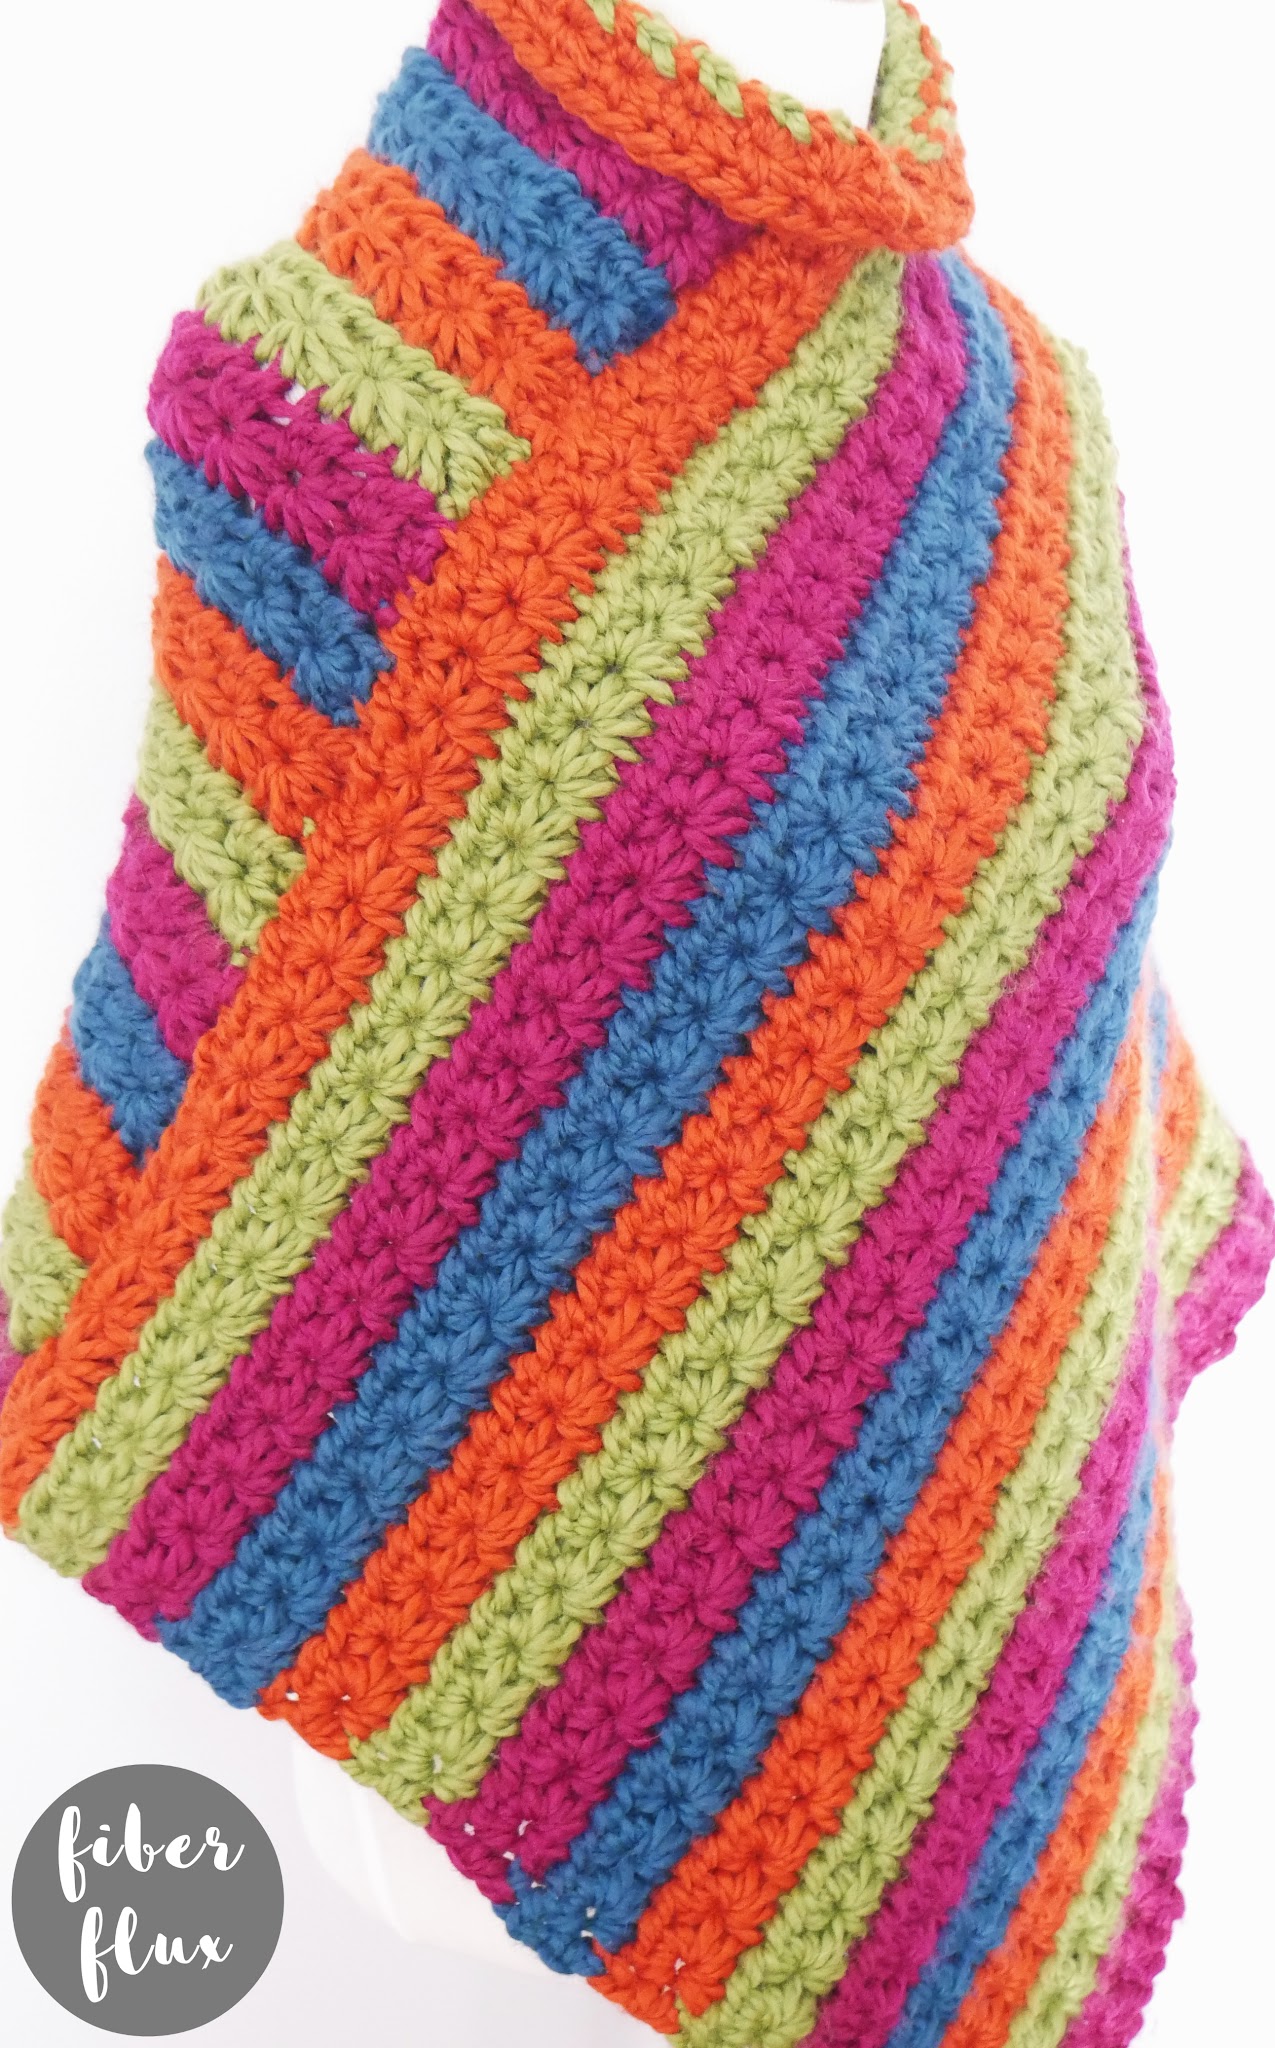
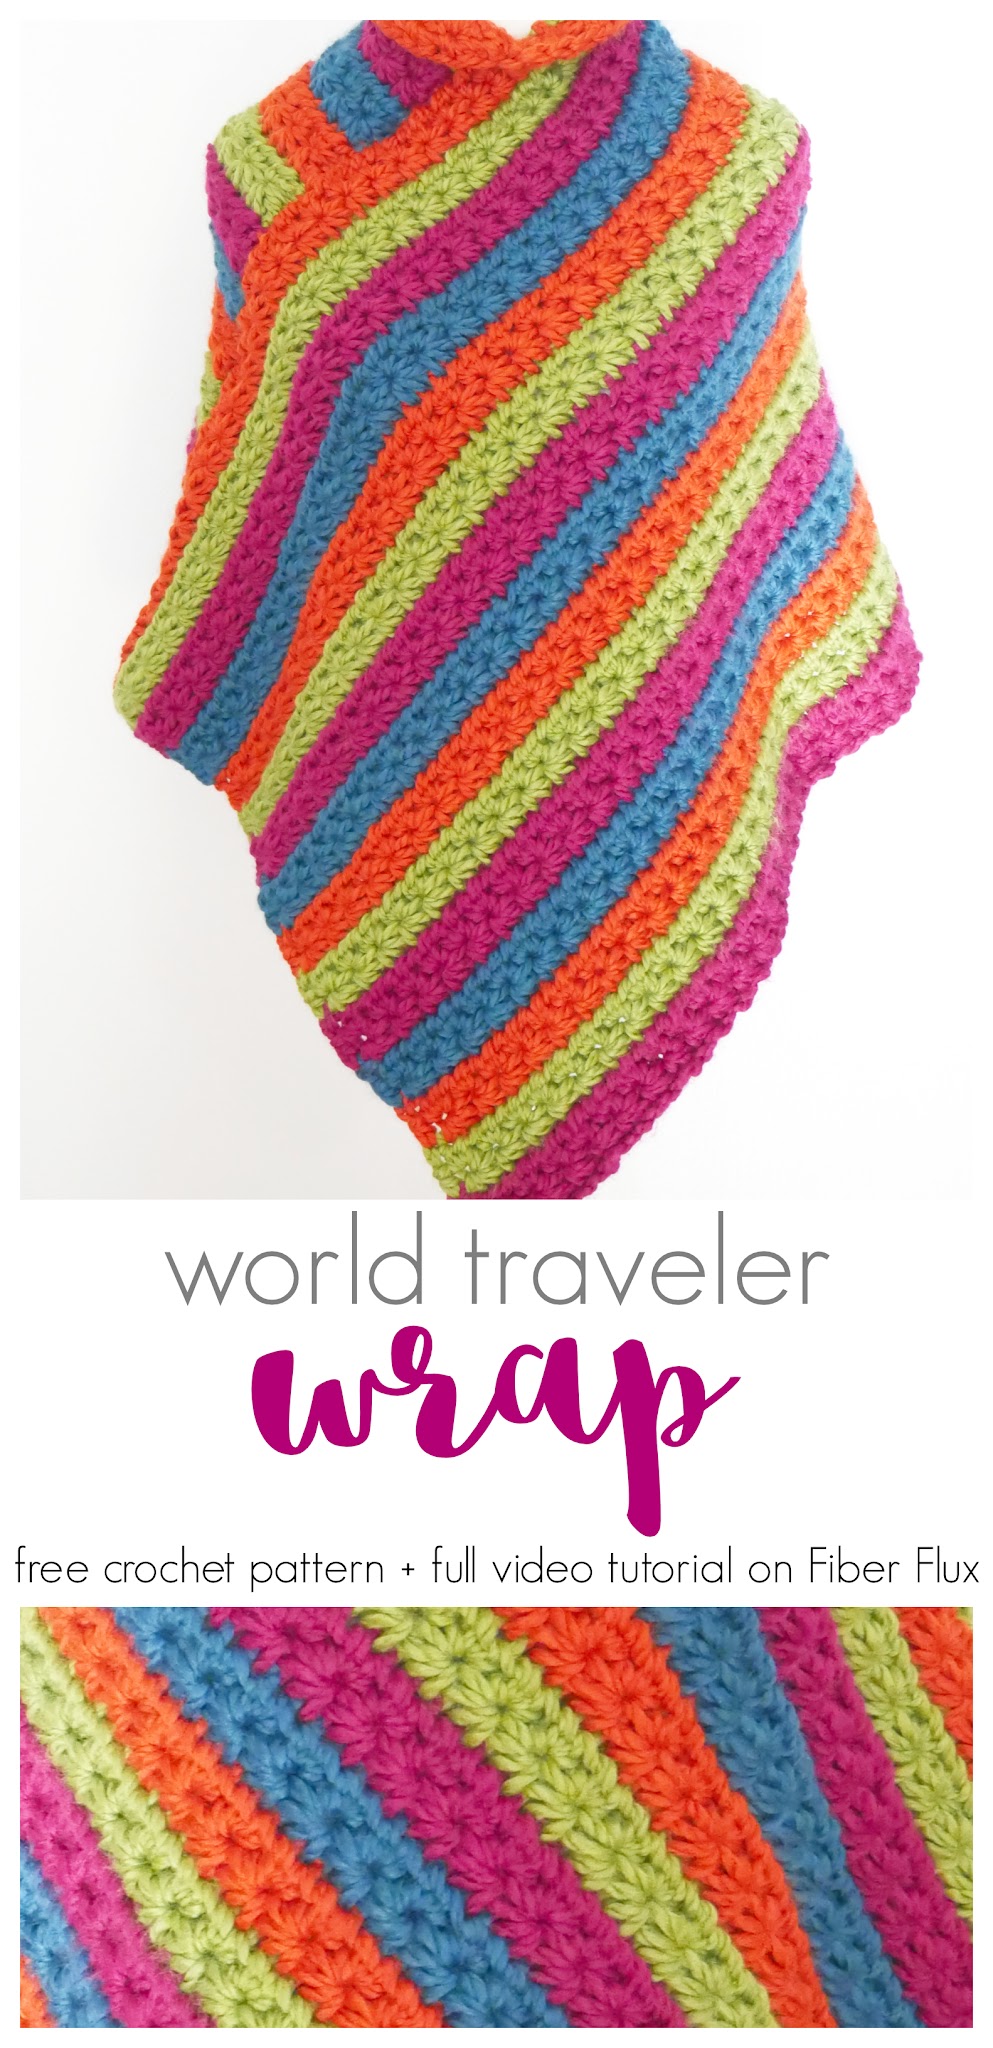
The World Traveler Crochet Wrap is a gorgeous pullover wrap that is full of lovely color and texture. Pretty star stitches in vivid stripes follow the lines of the wrap design and cozy yarn makes it super comfy to wear. A beautiful garment for any occasion!
👉Get the ad free pattern PDF from my shop here!👈
Watch a full video tutorial on how to make the World Traveler Crochet Wrap:
Love video tutorials? Subscribe to the Fiber Flux YouTube channel for more stitchy fun!
Materials:
- 10.0 mm P crochet hook
- 720 yards of super bulky/#6 weight yarn (I used 8 balls of Umami by Hobbii–2 each of “Dark Magenta” “Rust” “Petroleum Blue” and “Leaf Green”)
- Tapestry Needle
- Scissors
- Tape measure
- Removable stitch markers (optional)
Sizing:
- Rectangle before seaming is 21 inches tall and 42 inches wide.
Pattern Notes:
- Multiple for this pattern is any odd number.
- I worked each color for two rows, to get the best looking star effect.
- sc5tog: Insert hook in stitch or chain (depending on the row you’re on), yarn over, pull loop through, *insert hook in next stitch, yarn over, pull loop through, repeat from * 4 times total, yarn over, pull through 6 loops on hook.
- If you are unfamiliar with the star stitch, I highly recommend the video, where I demonstrate everything completely, stitch by stitch.
- To increase/decrease the circumference of the wrap, adjust the number of starting chains (any odd number).
- To increase/decrease the height of the wrap, work more rows of the pattern.
Never worked the star stitch before? Try my full video tutorial!
Instructions:
- Chain 105 (any odd number will work)
- Row 1: sc5tog from 2nd chain, ch 1, *sc5tog from ch 1 (pull up first loop from “eye” of the star, pull up next loop from in between last two spikes worked, pull up next loop from last chain worked, pull up next loop from next chain, pull up loop from next chain (6 loops on the hook). Yarn around hook, bring through all 6 loops, then ch 1. Repeat from * until you have 1 chain left, then work 1 hdc in that last ch.
- Row 2: Ch 2 and turn. *Work 2 hdc in each ch 1 (“eye” of the star) from previous row. Repeat from * across the row, then 1 hdc in the last stitch.
- Row 3: Ch 3 and turn. sc5tog from 2nd chain (bring up a loop in second ch from the hook, bring up a loop in third ch from the hook, bring up a loop from the first stitch, bring up a loop from each of the next three stitches (6 loops on the hook), yarn around hook and bring through all 6 loops, then ch 1. Now work the row as we similarly did in row 1,*sc5tog from ch 1 (pull up first loop from “eye” of the star, pull up next loop from in between last two spikes worked, pull up next loop from last stitch worked, pull up next loop from next stitch, pull up loop from next stitch (6 loops on the hook). Yarn around hook, bring through all 6 loops, then ch 1. Repeat from * until you have 1 chain left, then 1 hdc in that topmost chain from the previous row.
- Repeat rows 2 and 3 until rectangle is desired length, ending on row 2 (I made mine about 21 inches tall from the starting edge).
- *Note: Be sure to change colors when you begin row 3, for the best visual effect.
Assembly & Finishing:
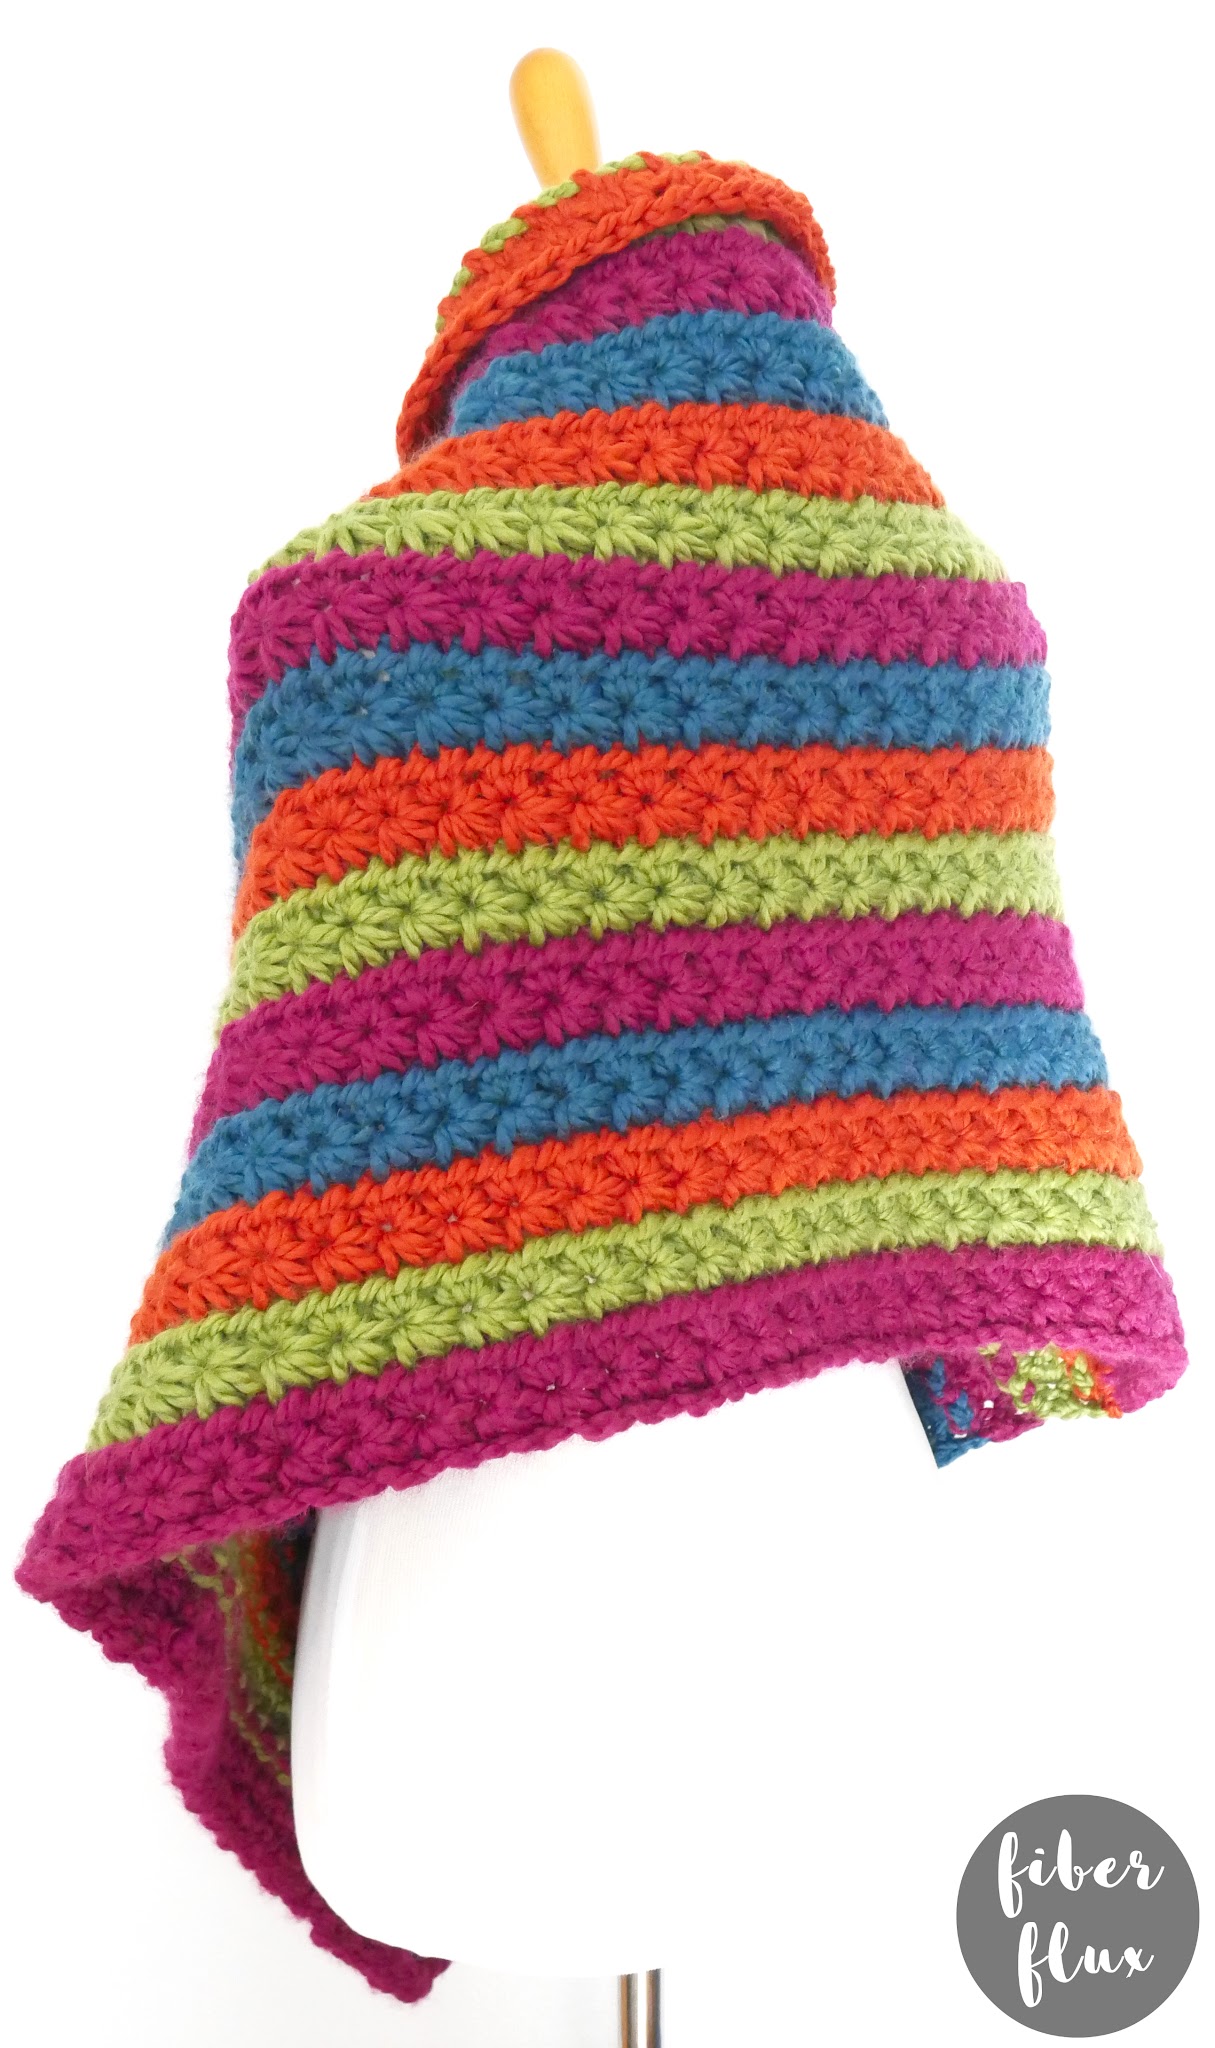
- Wrap the rectangle around so that one of the bottom edges touches along one of the sides of the rectangle (as shown in the photo below).
- Fasten with removable stitch markers if needed and turn inside out.
- With a matching piece of yarn, work a whip stitch across to seam.
- Weave in any ends that remain and you’re finished!


Thank you! I look forward to making this one soon