
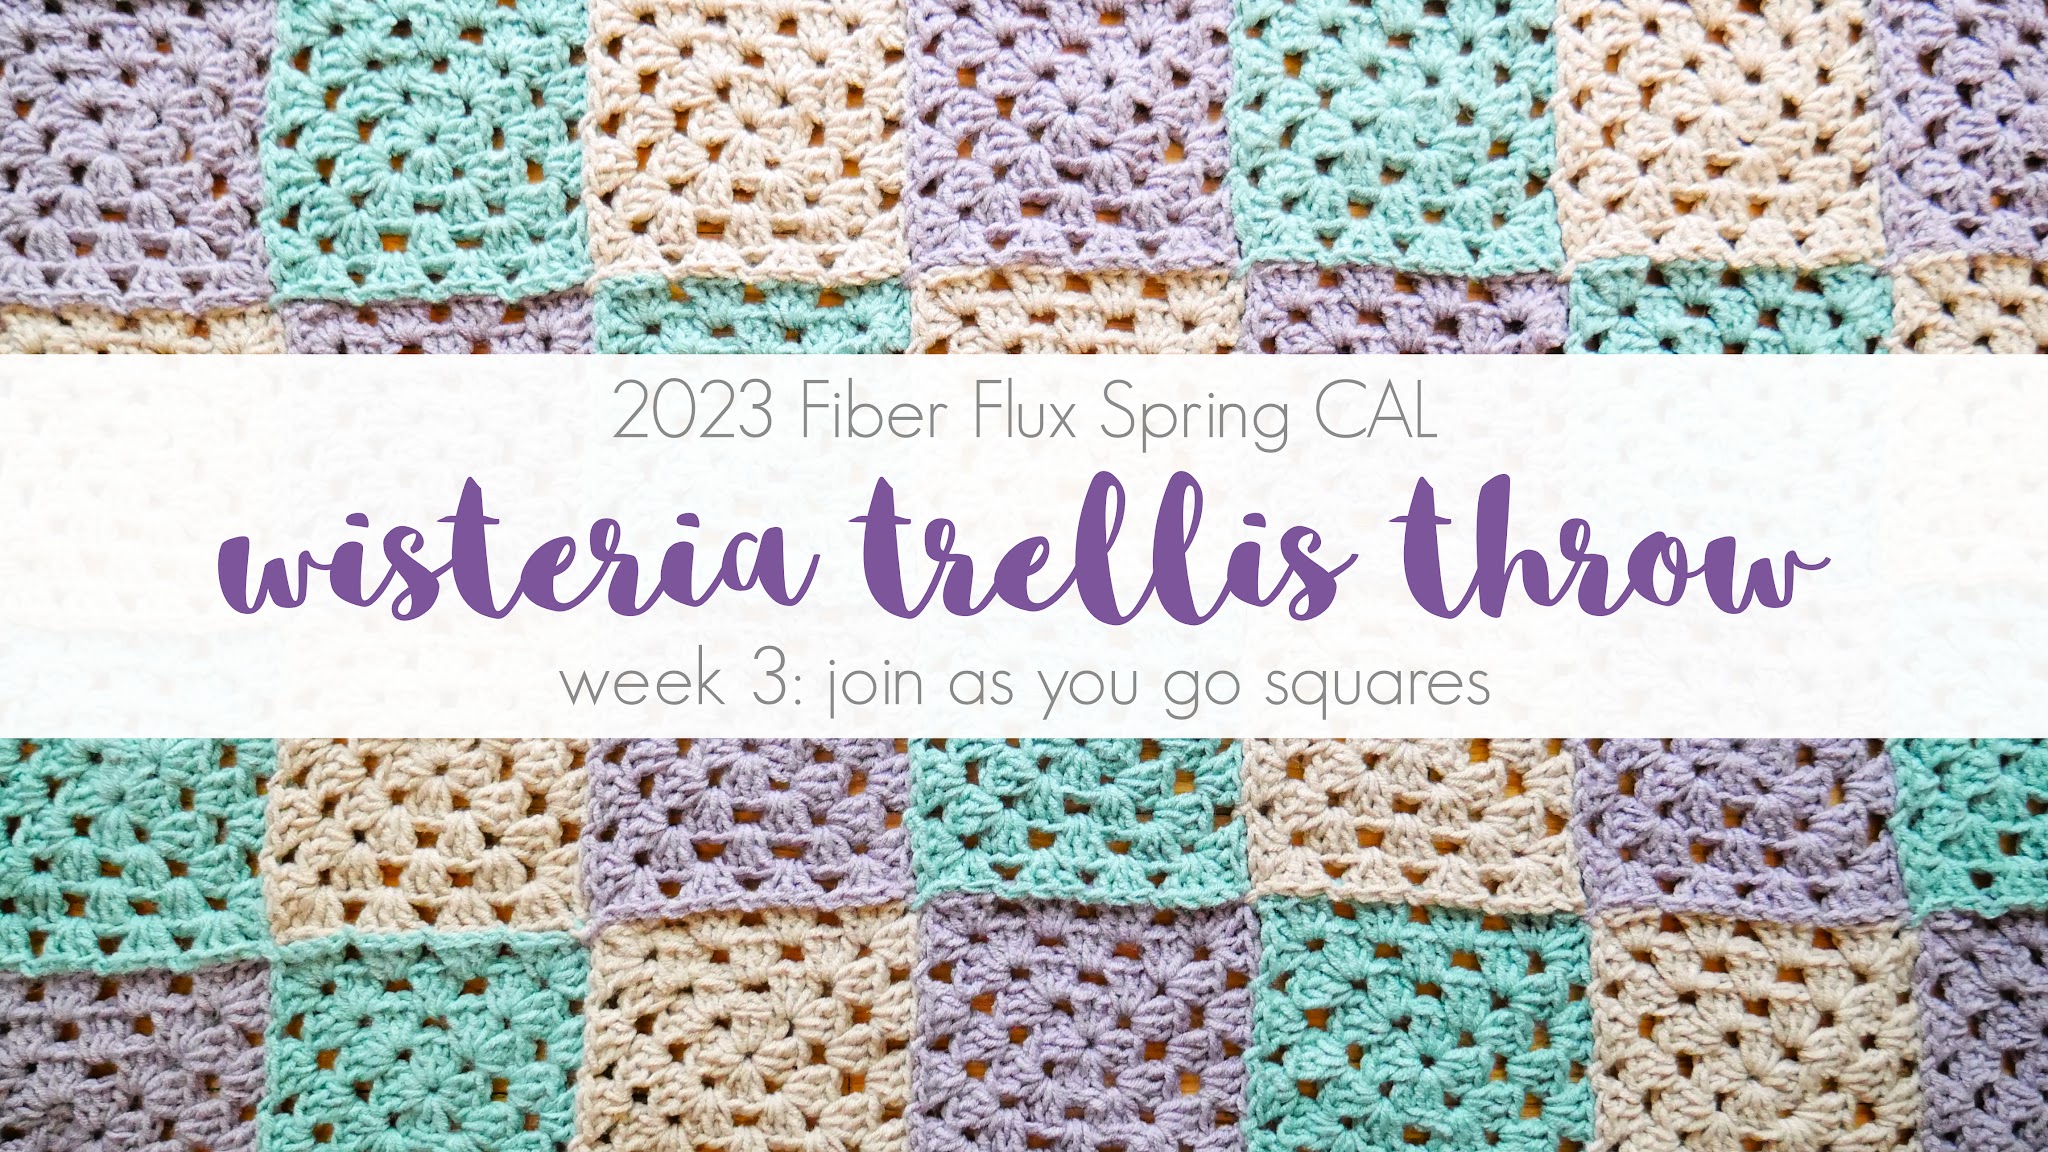
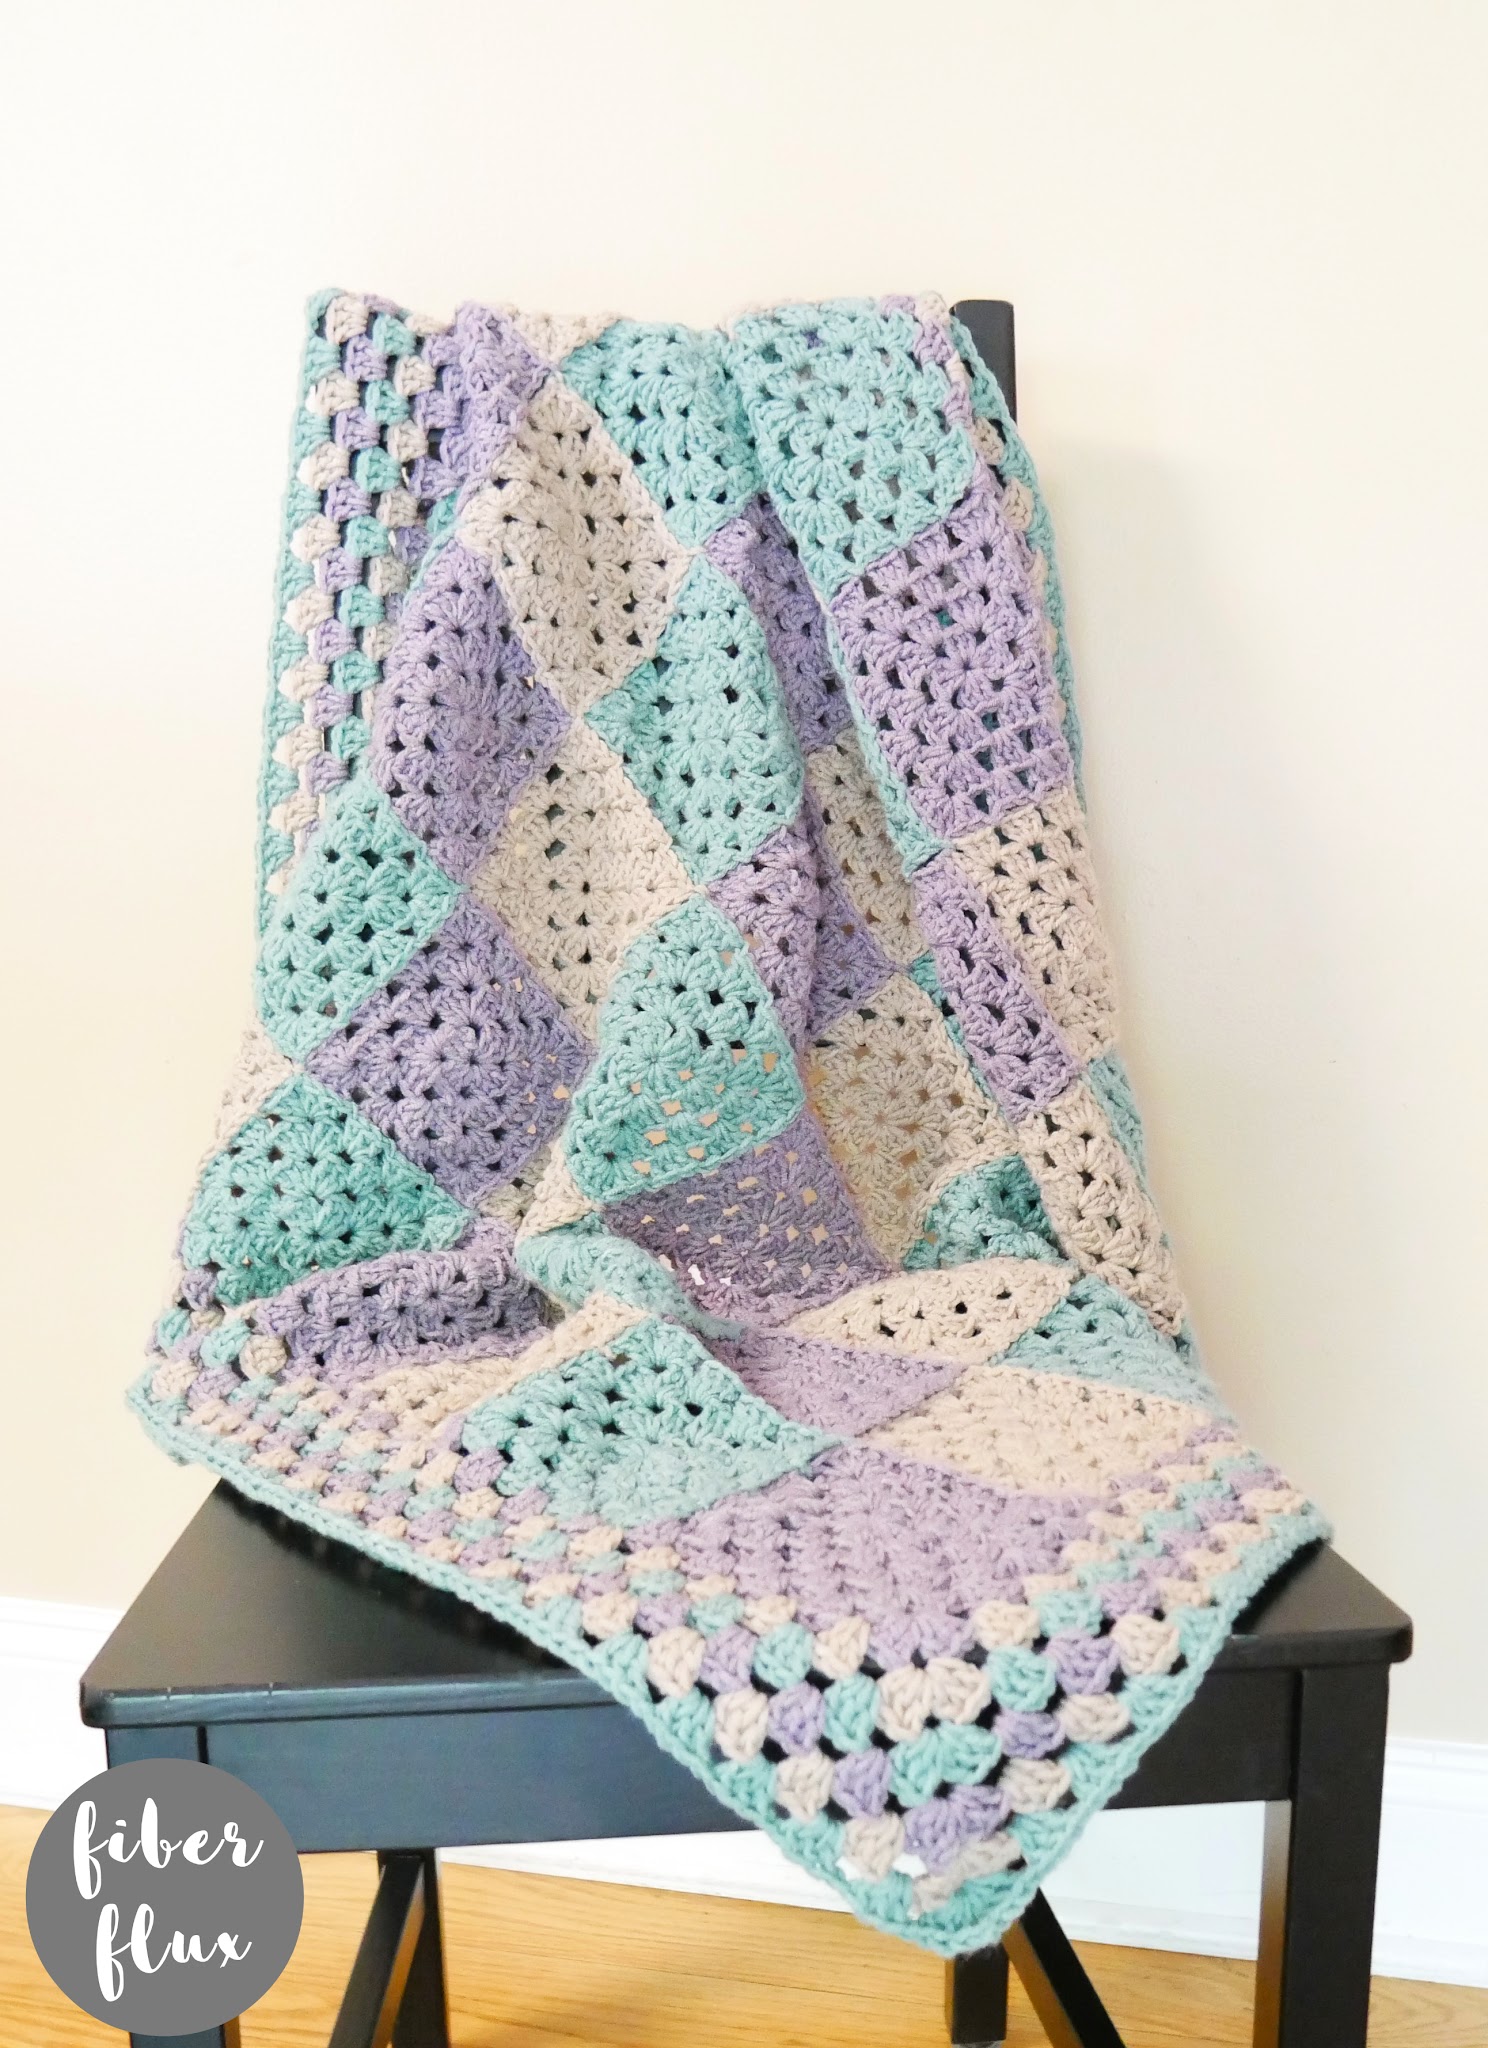
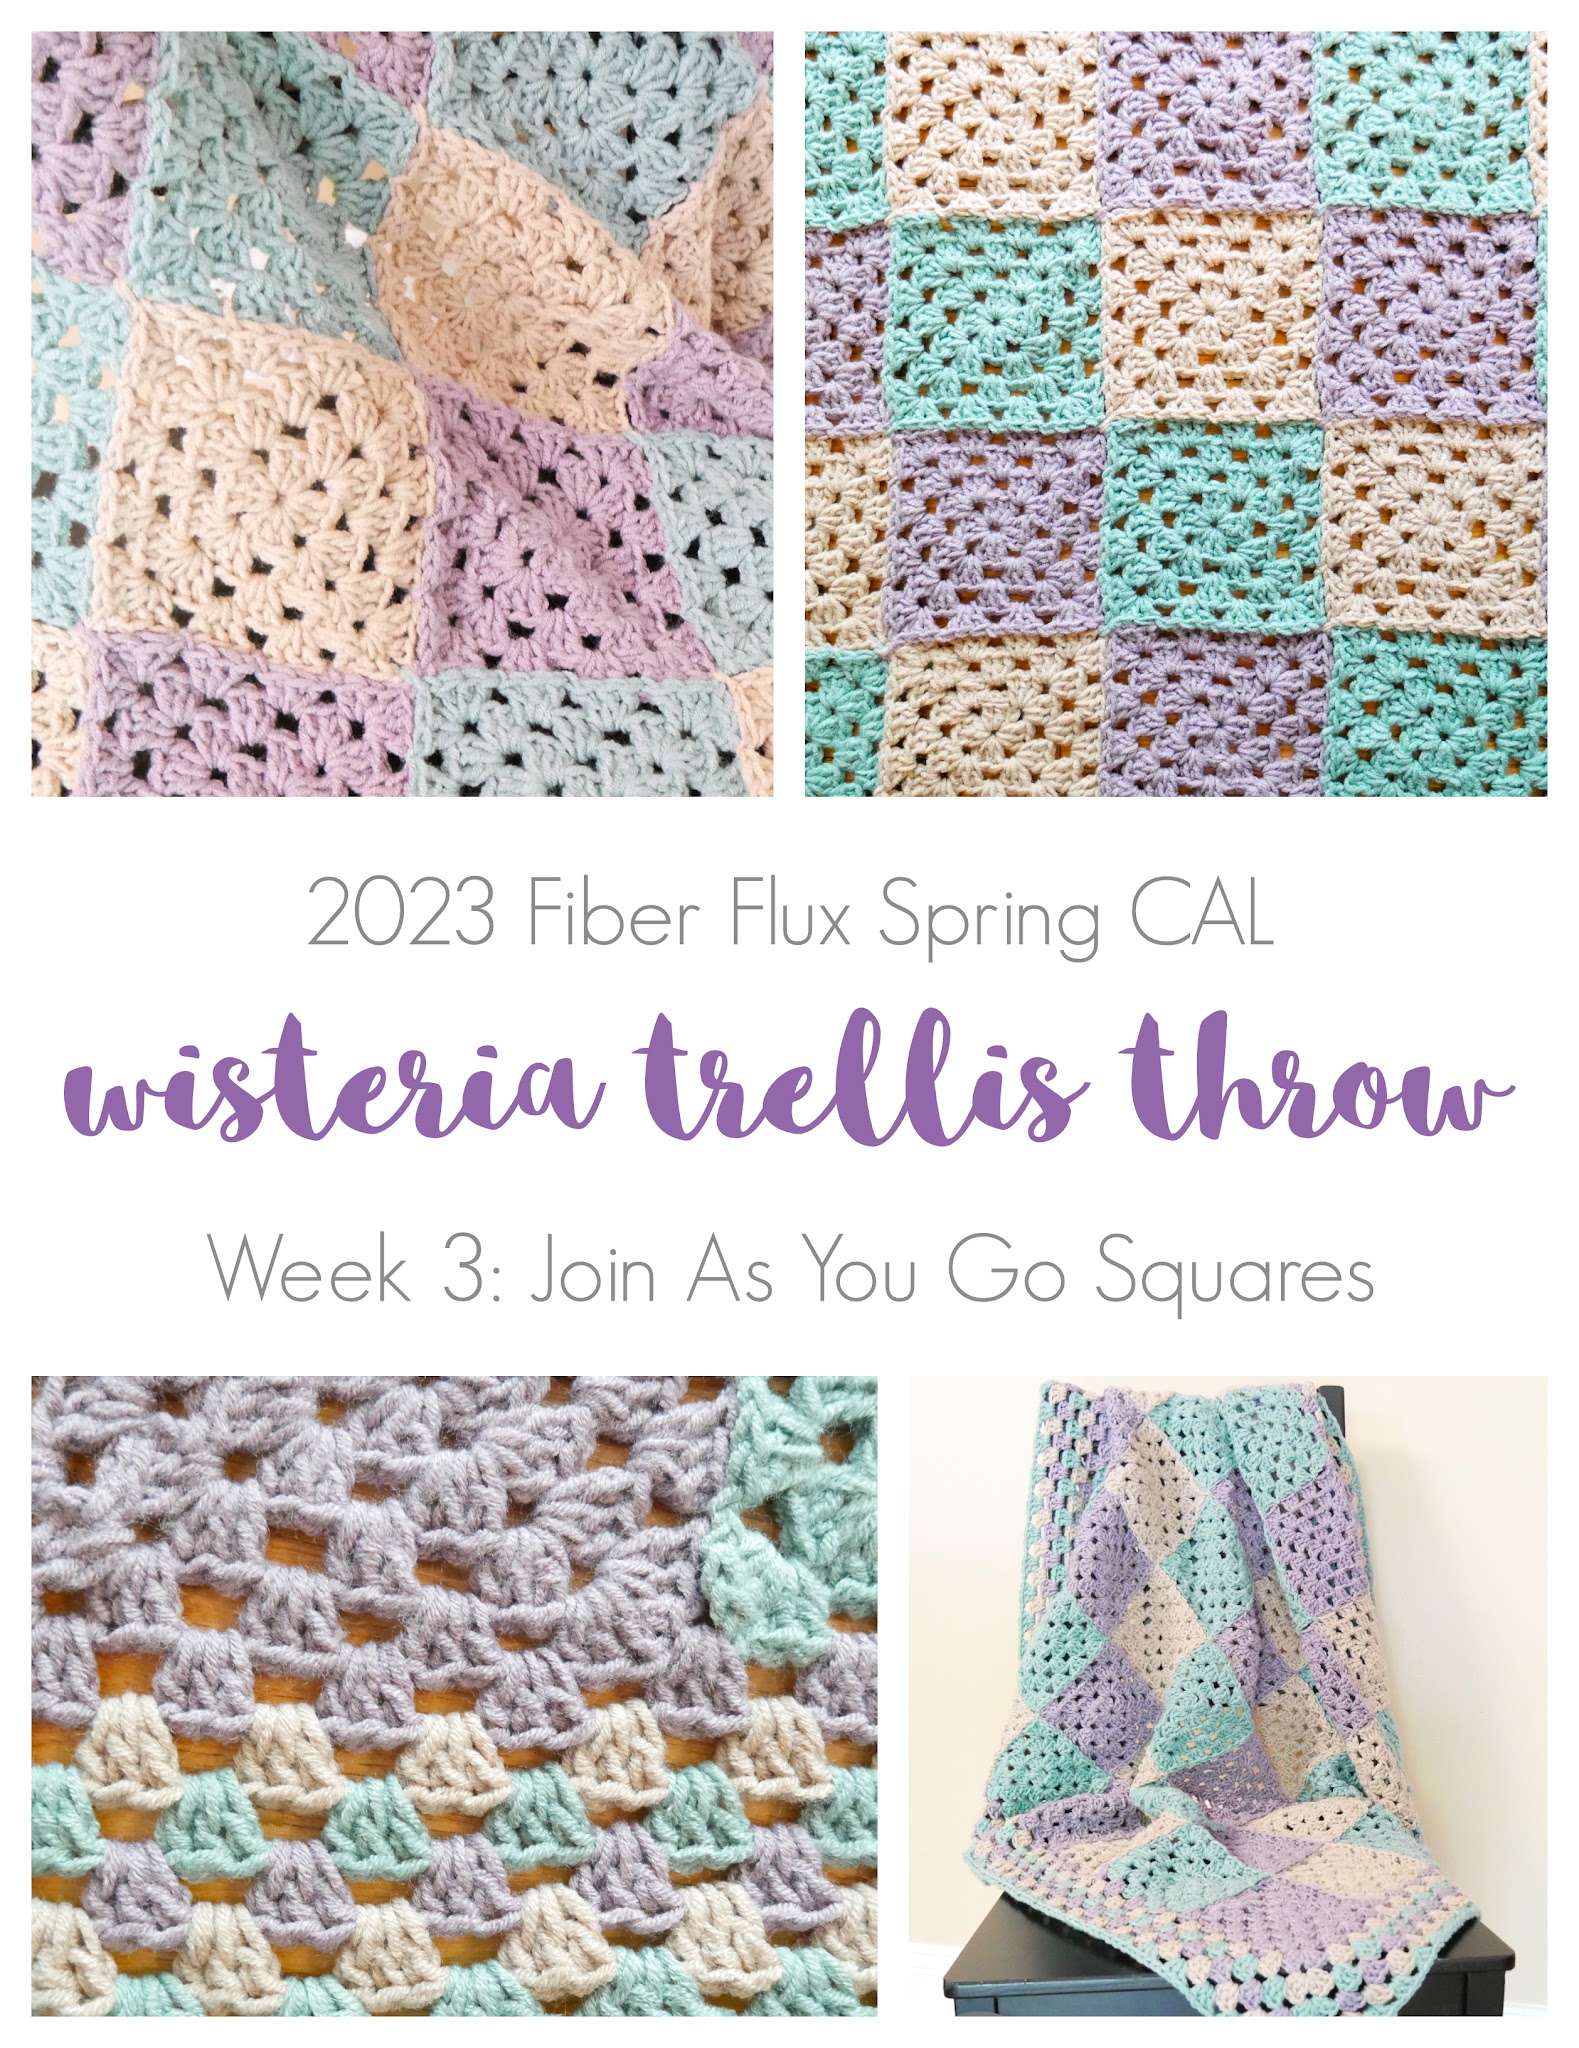
Welcome to the 2023 Fiber Flux Spring Crochet Along…yay! Today marks week three of the CAL and we’ll be jumping in today with the lovely project we’ll be making…the Wisteria Trellis Throw! This blanket is easy and a wonderfully relaxing crochet project!
We will be going over a few things today to begin:
- Making the second and rest of the squares
- Connecting the squares together using the join as you go technique (jaygo)
- Schedule of the CAL
- Where to connect with other makers
Be sure to scroll down for the schedule with actual dates and what we’ll be doing on each week.
*This is a self-paced project, so definitely go at the speed you feel most comfortable. The instructional videos and posts will be up forever and you will always be able to go back and watch again and again!
Add this to your Ravelry queue!
Missed the first week? Learn more about the project and get the supplies info here:
Can’t see the video? Get it here!
Missed the second week? Get the granny square instructions here:
Can’t see the video? Get it here!
Check out this week’s video to learn more about joining the granny squares:
Can’t see the video? Get it here!
Here’s our CAL schedule below for easy reference:
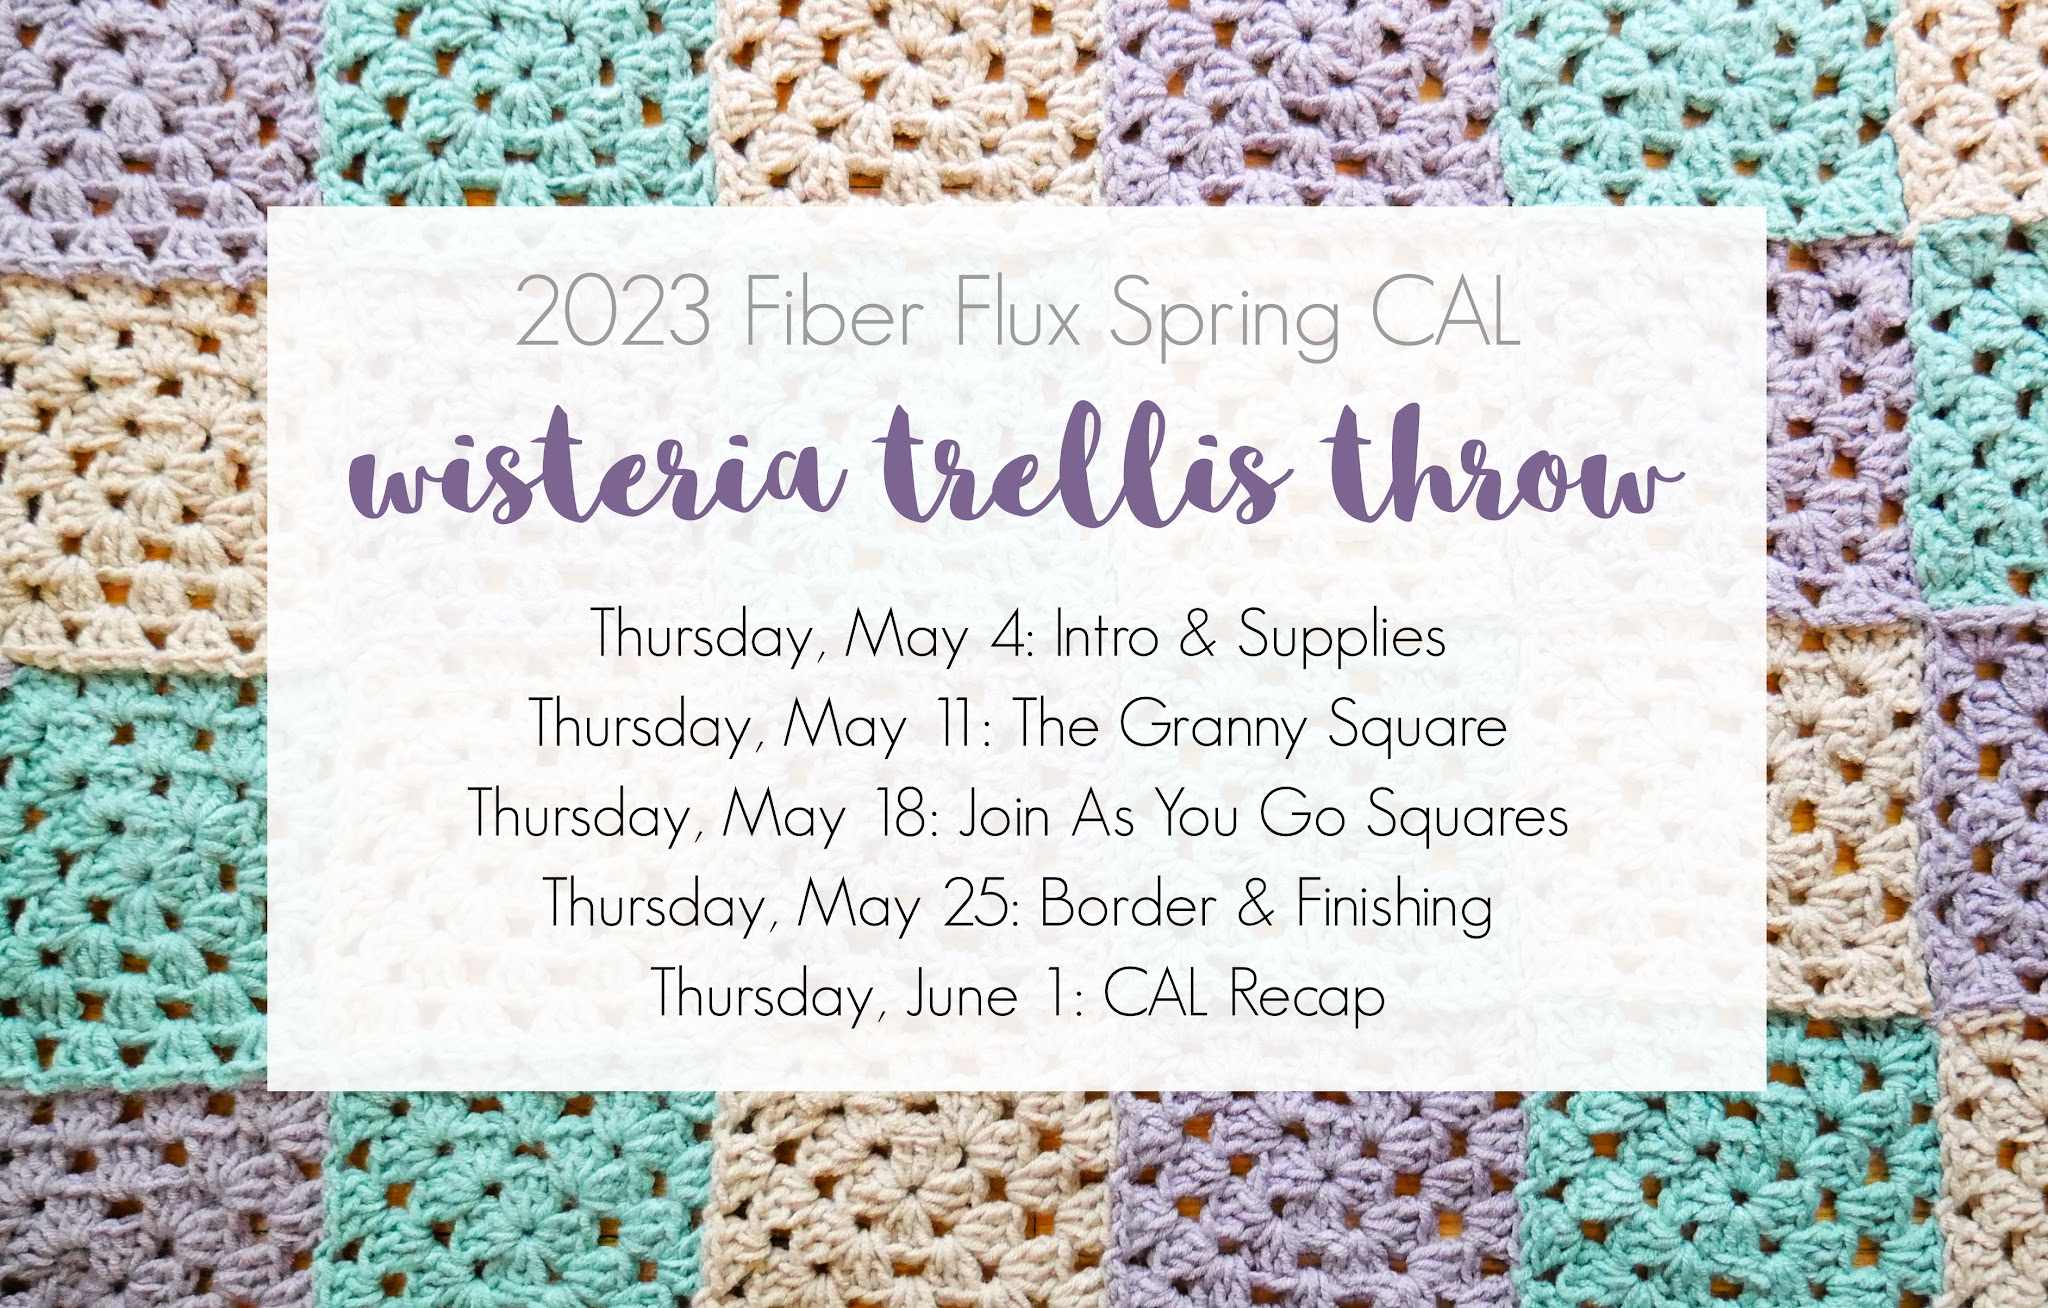
Here’s our CAL schedule below for easy reference:
- Thursday, May 4: Introduction & Supplies
- Thursday, May 11: The Granny Square
- Thursday, May 18: Join As You Go Squares
- Thursday, May 25: Border & Finishing
- Thursday, June 1: CAL Recap
- Because there are those of you who prefer the written version and those who prefer a video tutorial, there are both. Either way, be sure to check out the video for some helpful tips as you are working on the project. I highly recommend the video too if you need a very detailed demo and explanation of the JAYGO technique.
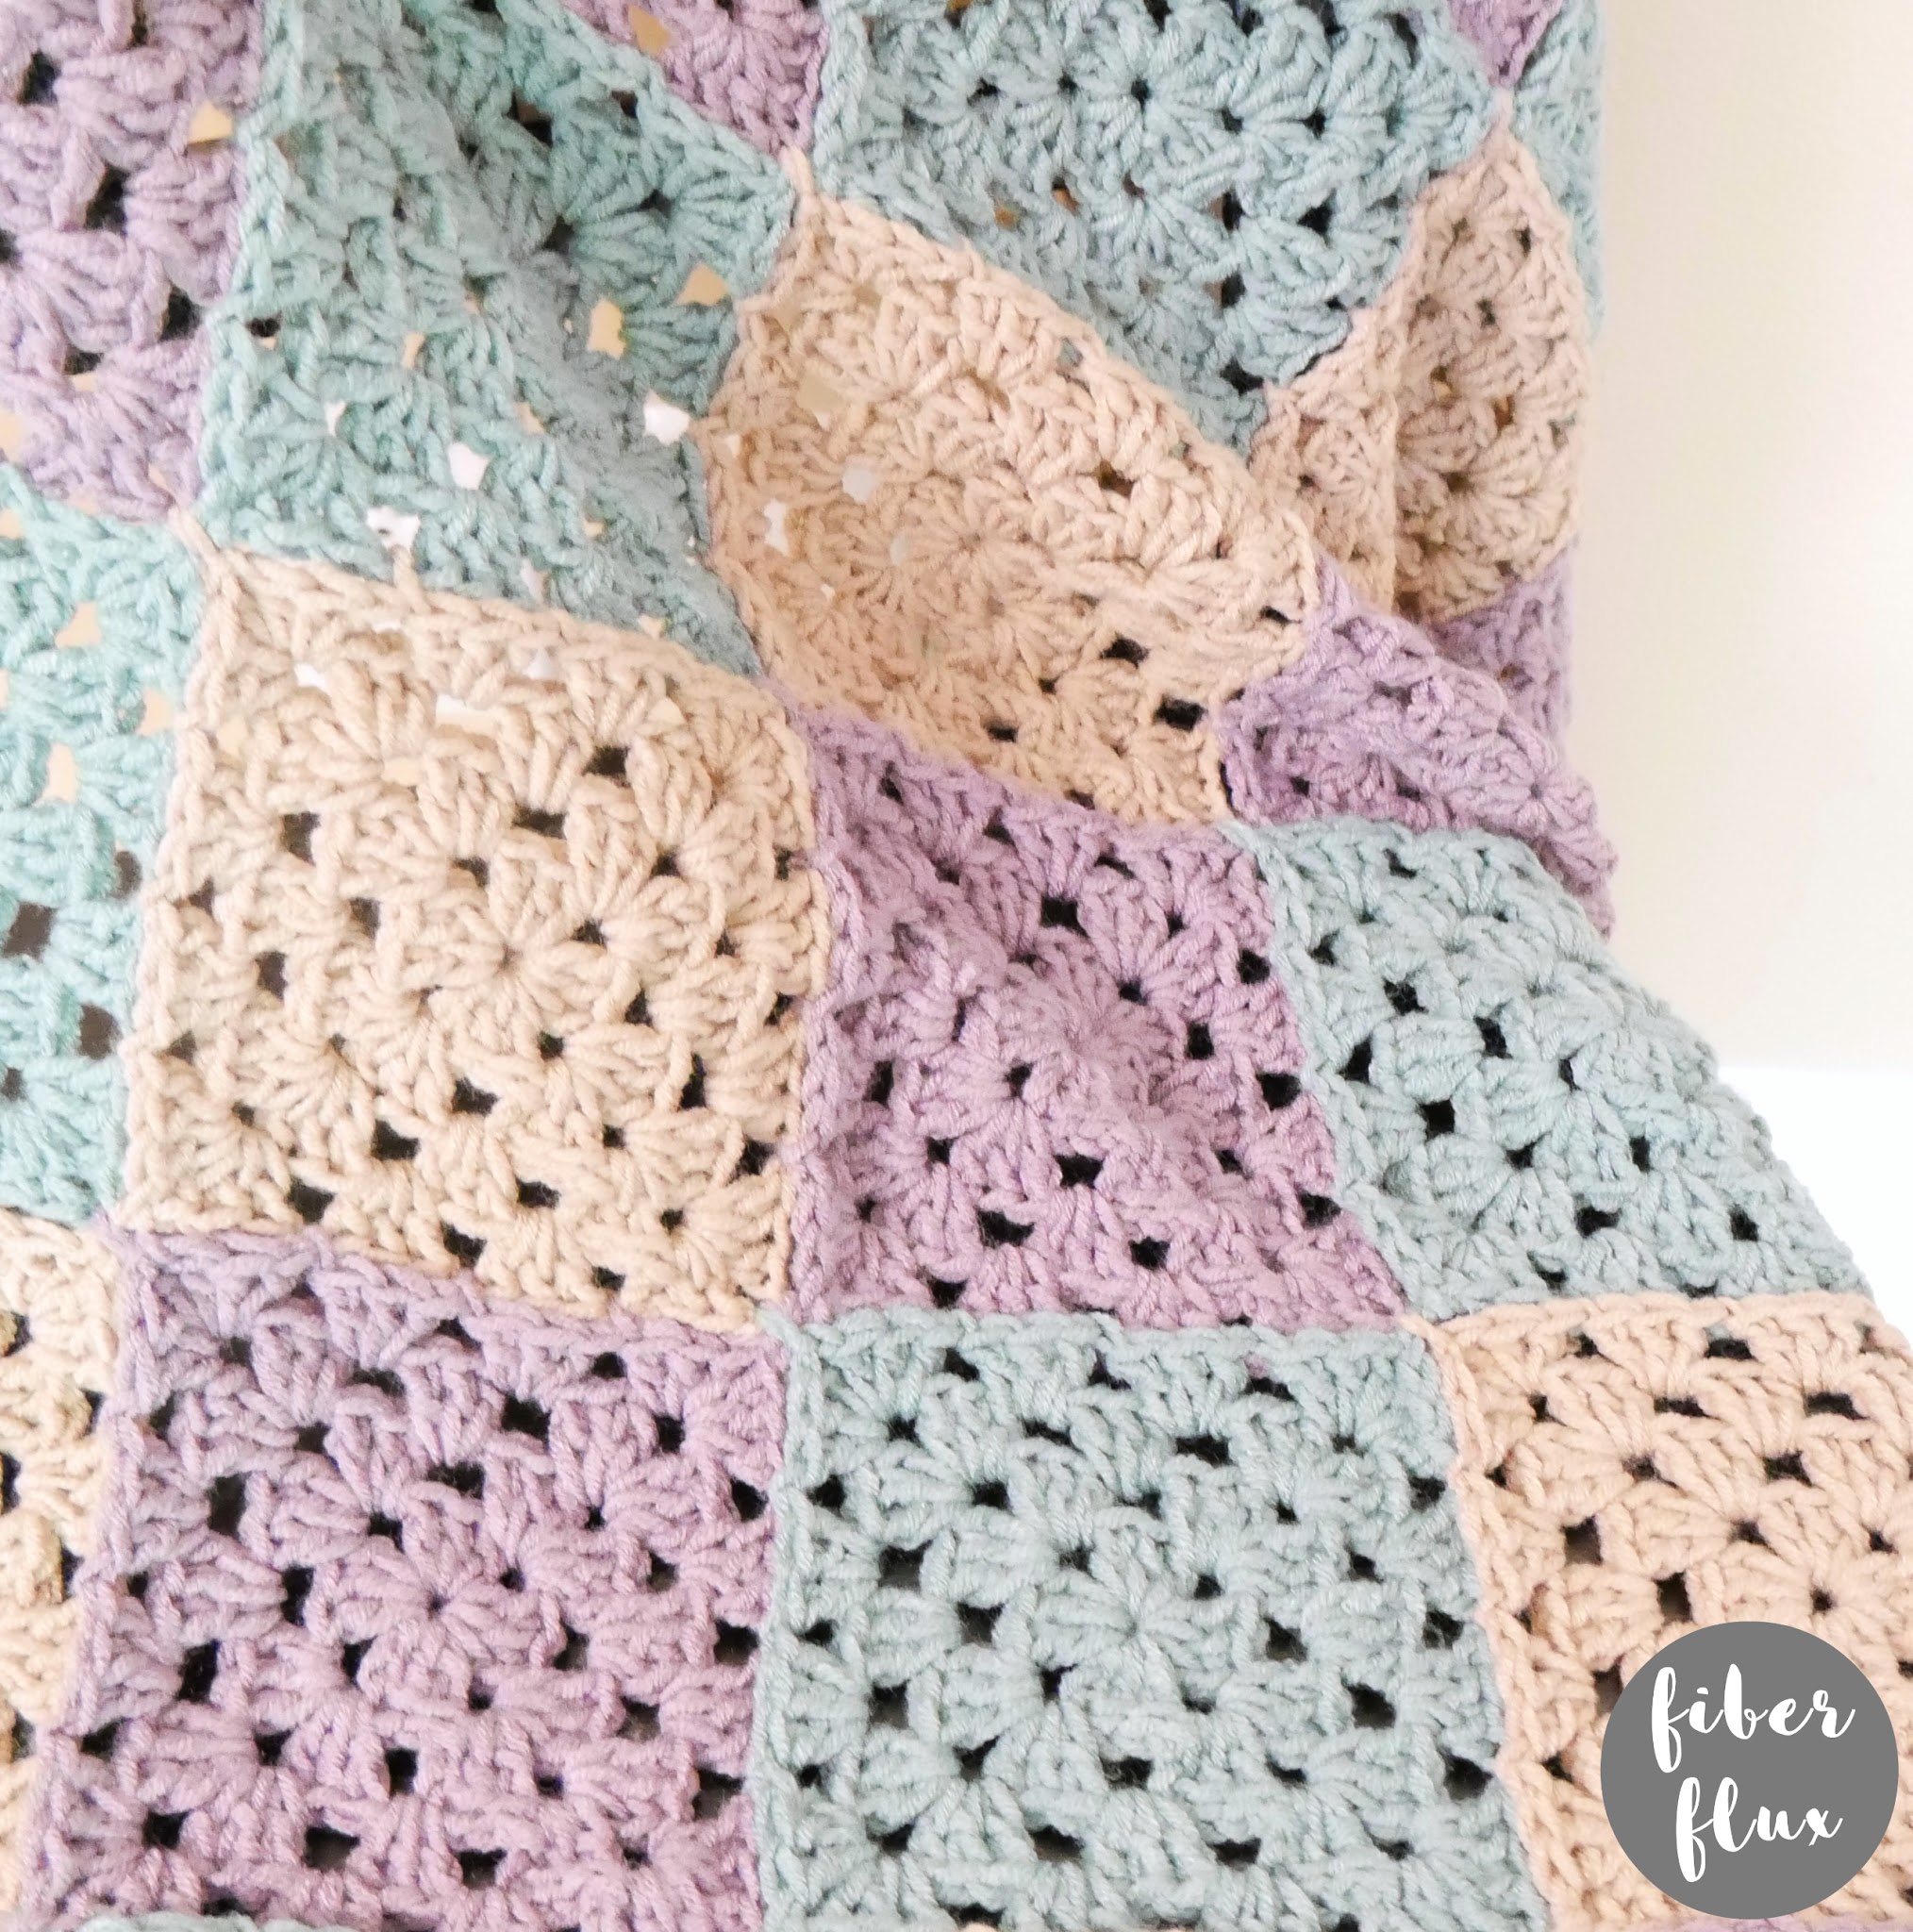
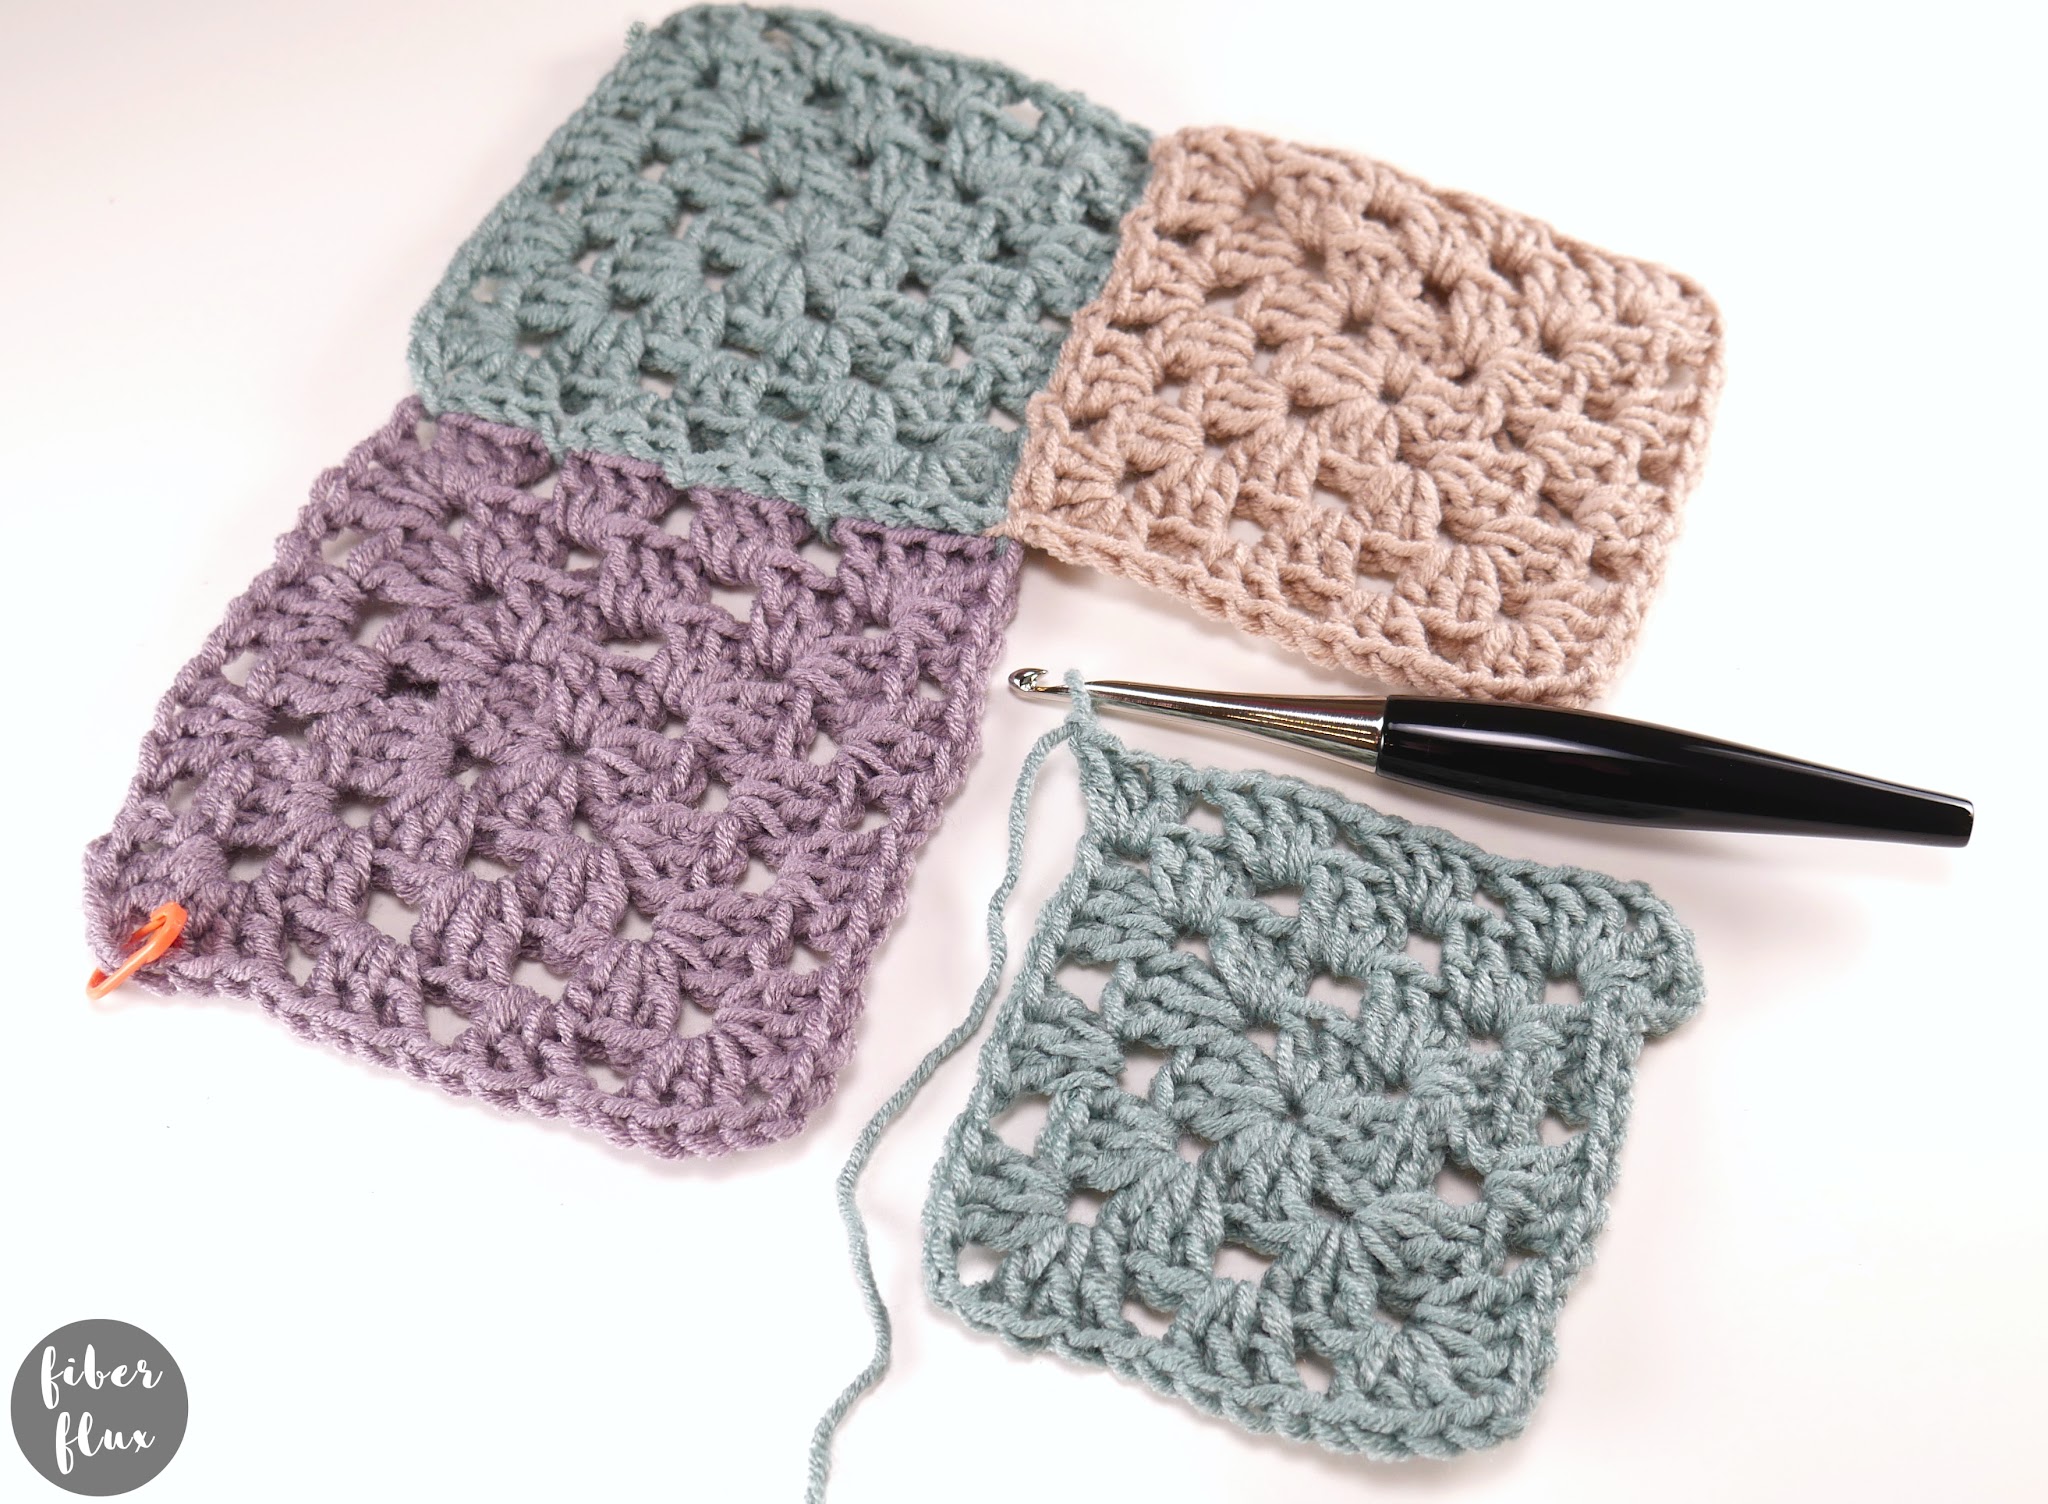
- Last week we learned how to make the blanket square. This week, we’ll be learning how to join them together using the join as you go technique (JAYGO). I have seen many different beautiful ways to join motifs as you go, this one is my go-to method…super simple and very quick to do. I especially love how it stays perfectly flat and shows off the granny square in a simple, clean way.
- It really helps to keep everything flat as you work, I like to lay mine on a table or lap as I go.
- Last week we learned rounds 1-4 of the first square, but this week we’ll work the first three rounds the same way, then be simultaneously adding round 4 while joining each as the final round is worked.
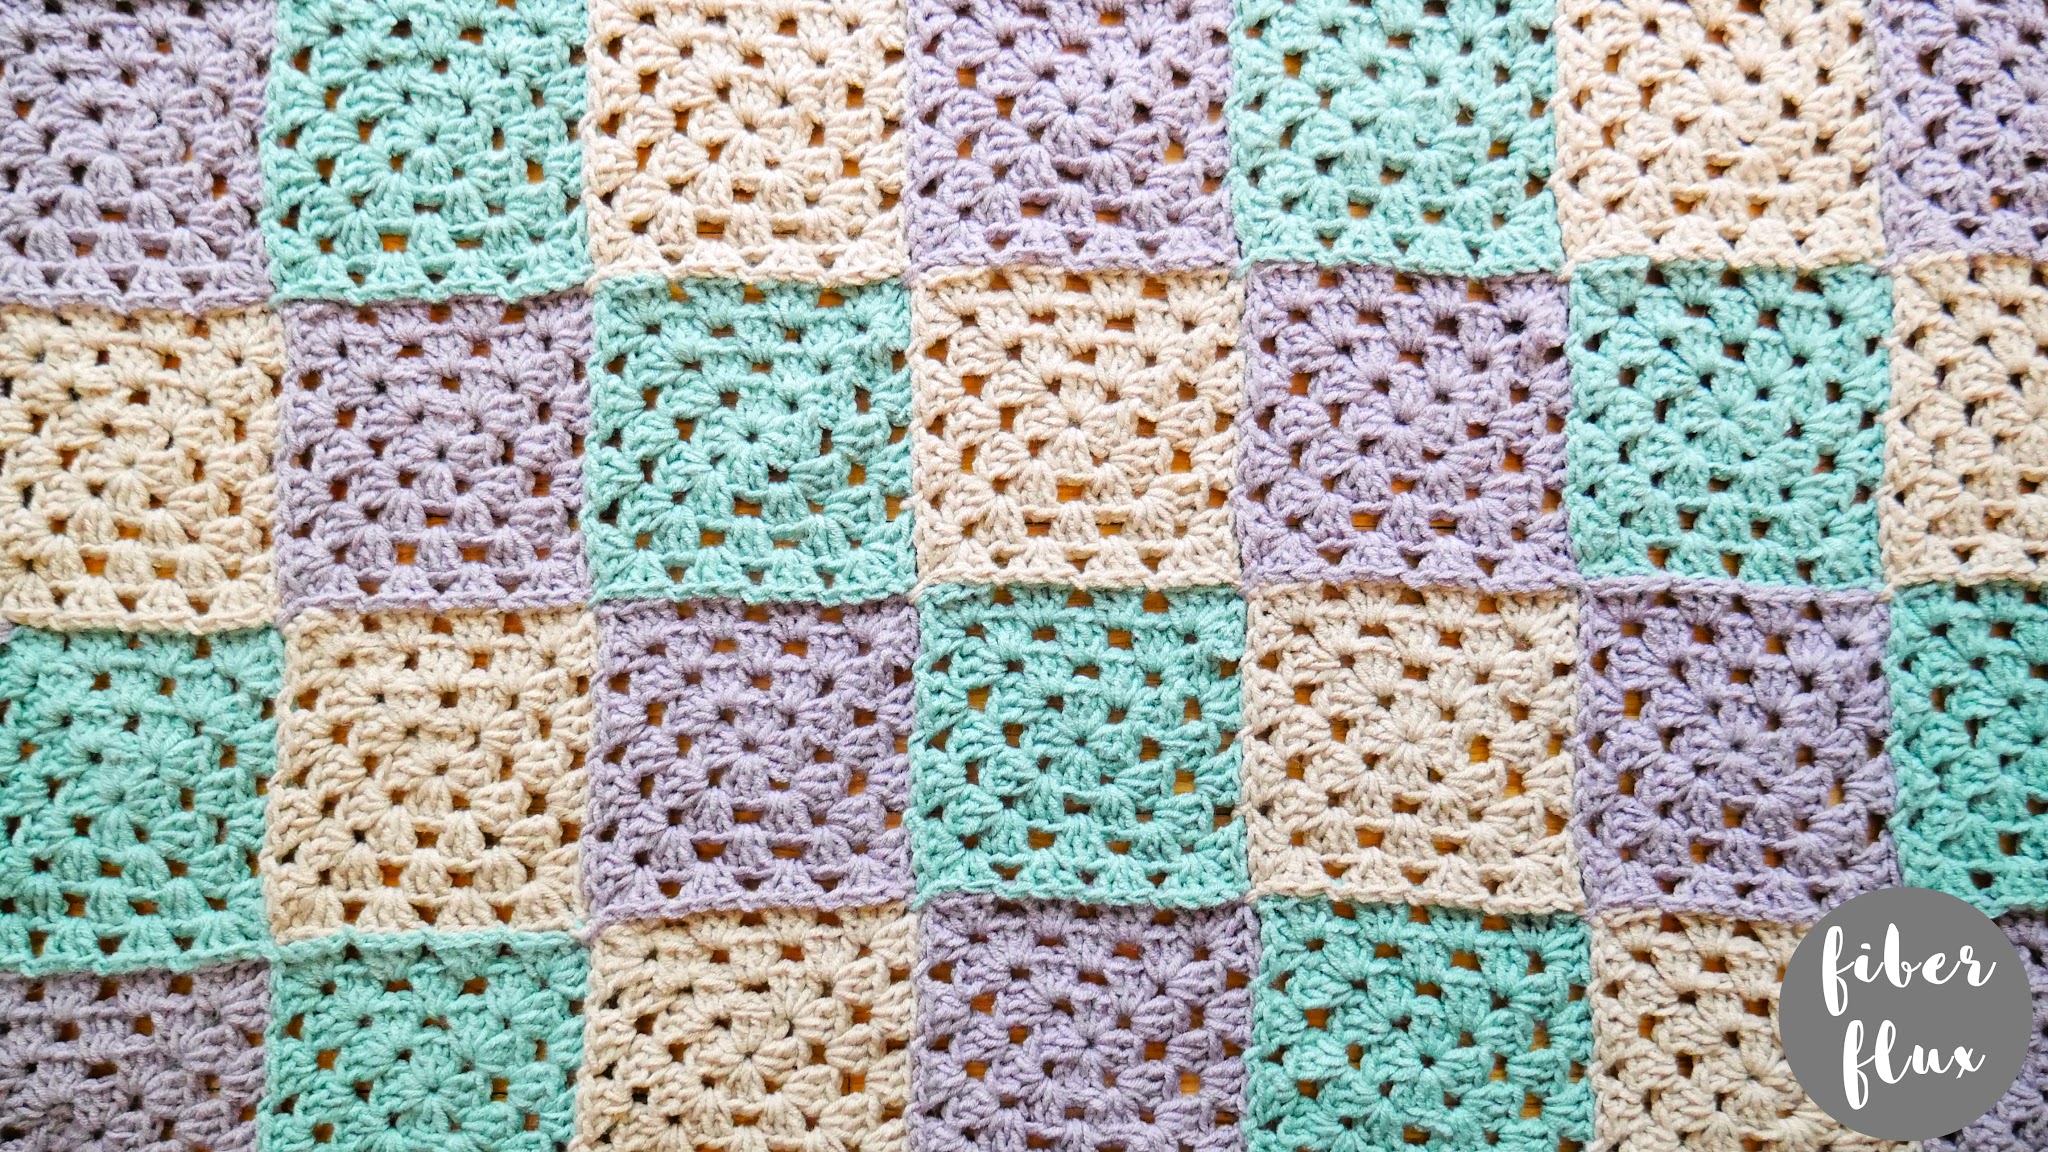
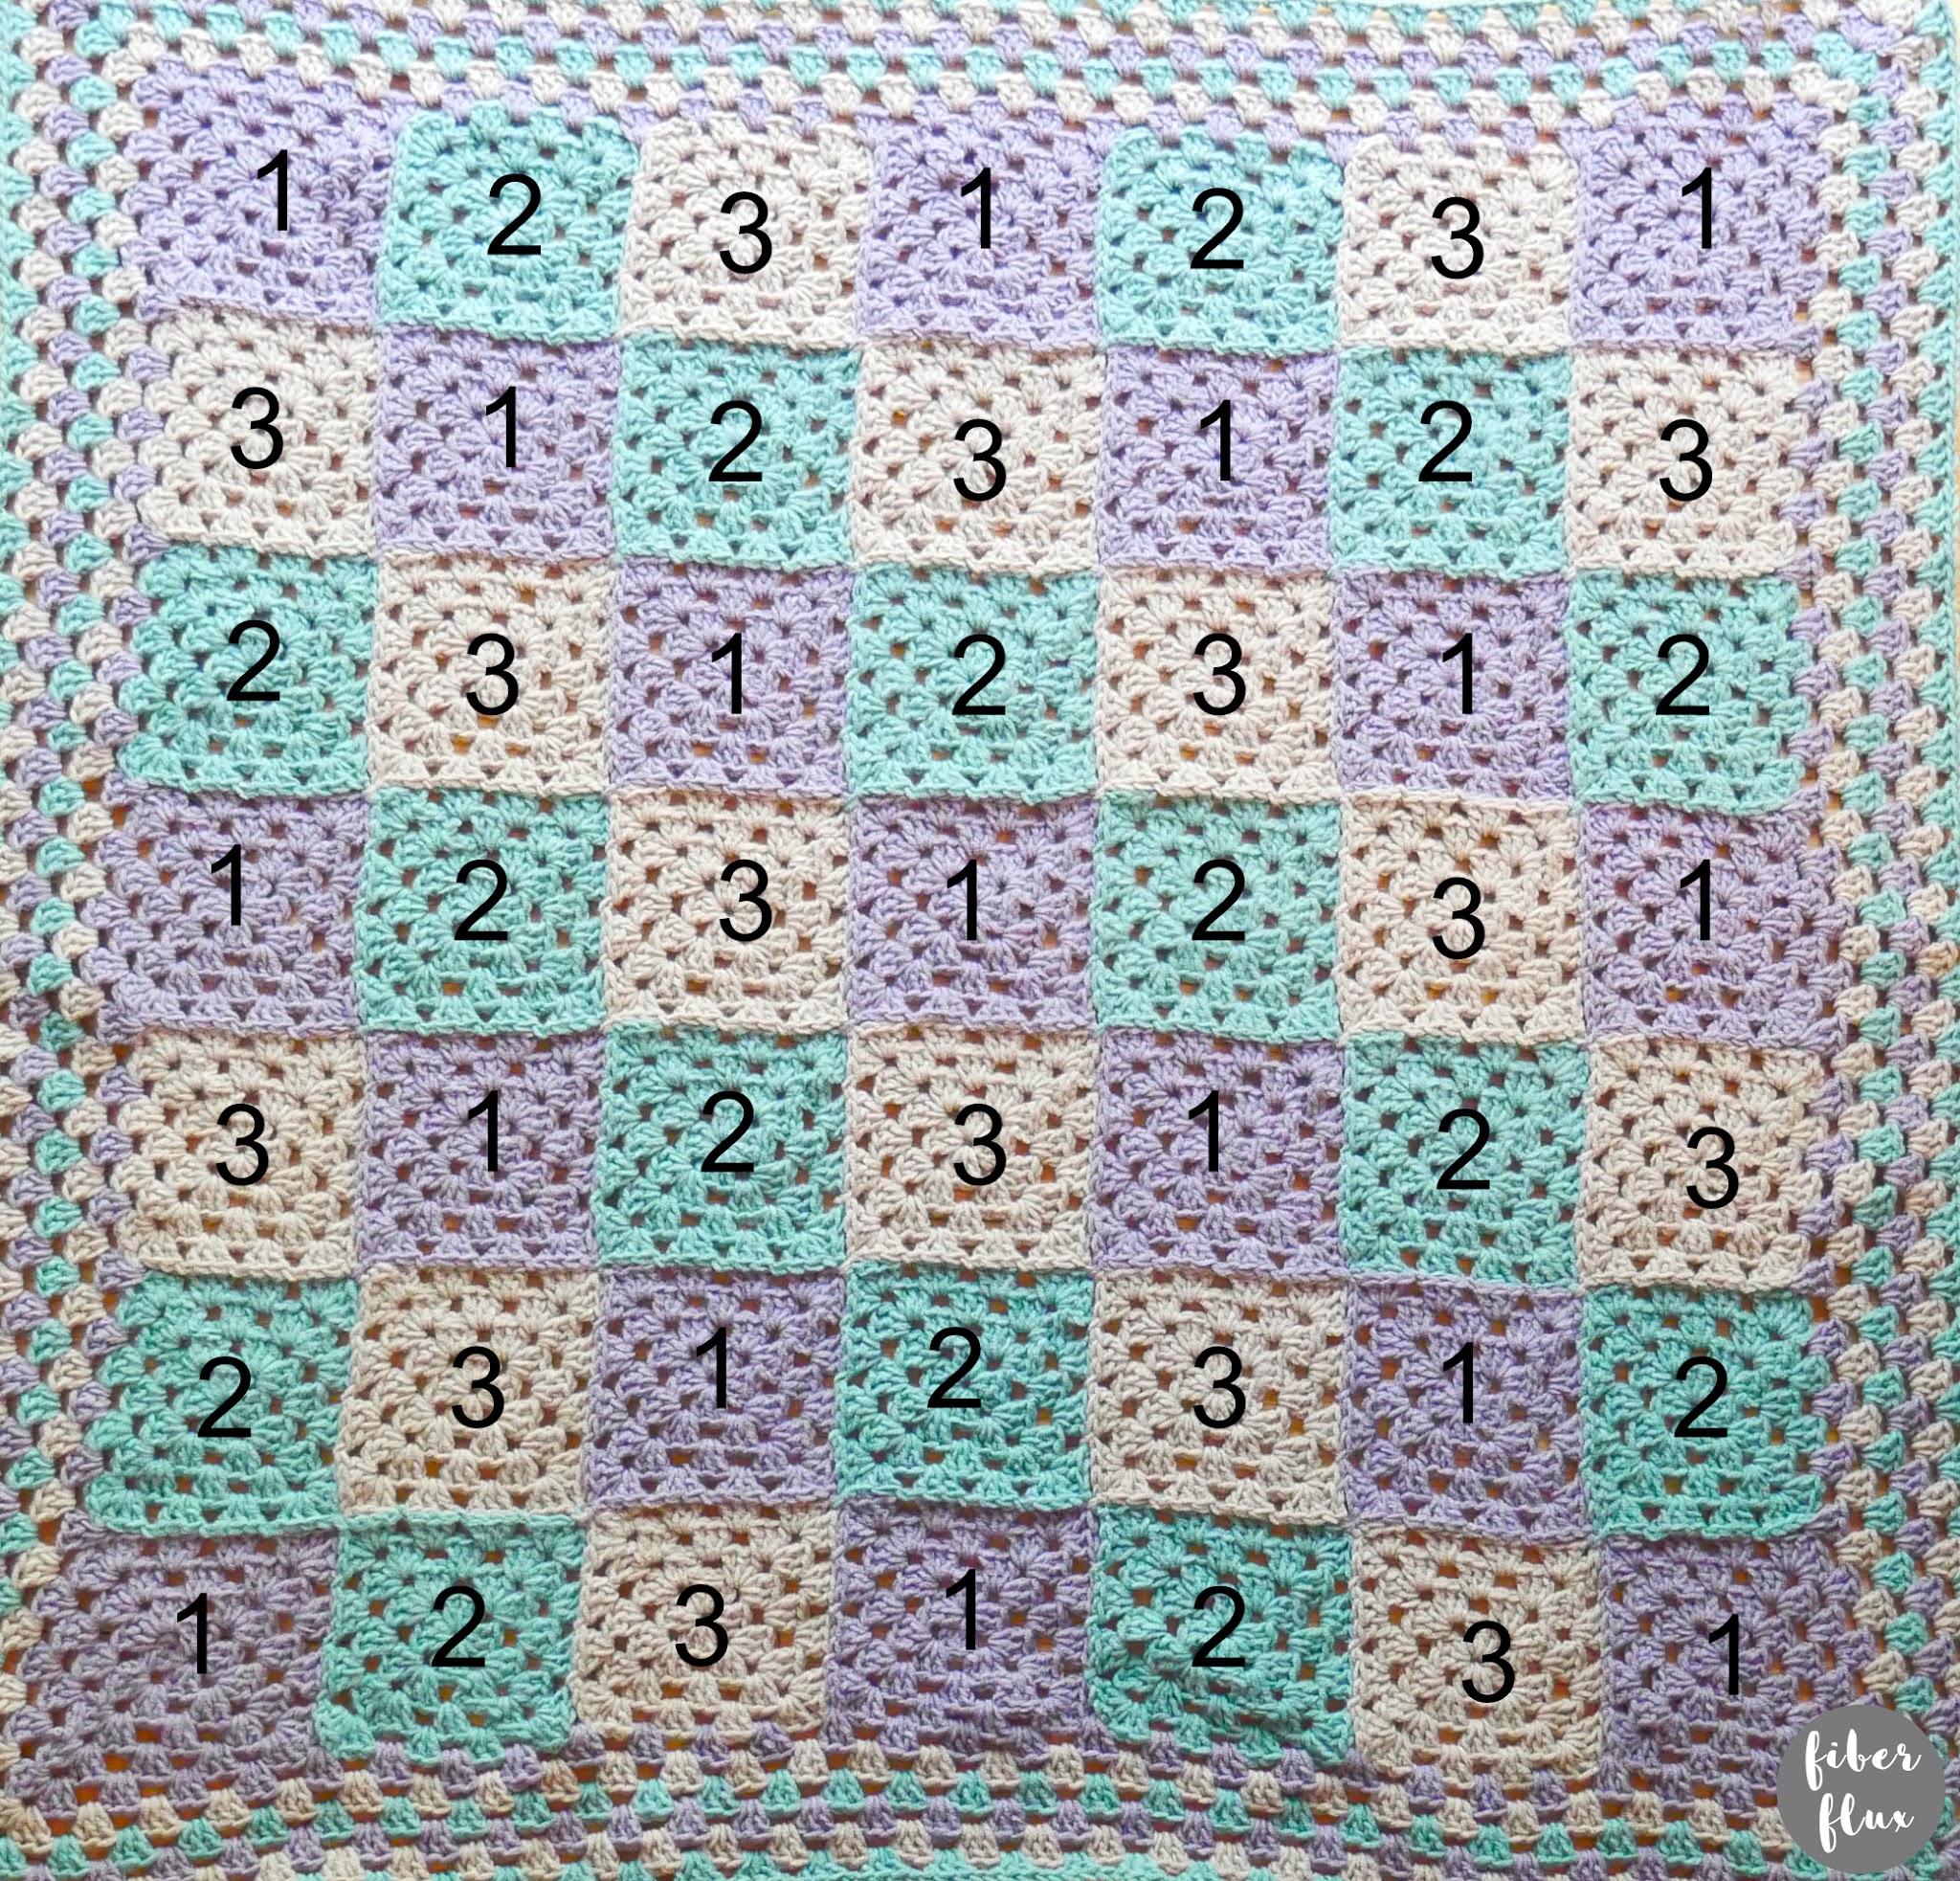
- Below is a chart showing how I arranged all of the colors so you can see it all laid out. I began in the top corner and worked outward in diagonal rows that way. You may find that you like working this way or maybe in rows, up to you! (1=provence, 2=tourmaline, 3=bone). As you can see, working the rows in a diagonal stripe ensures no two colors sit side by side.
Part 1: The Very First Square (worked independently, nothing is joined to this one yet)
*This was fully covered last week, see week 2 for more info.
Part 2: Joining The Second Square
Begin the next square (using the chart above to guide your color choice) and work rounds 1-3 of the granny square. Begin round 4 as you normally would with that first corner (ch 3, 2 dc, ch 2, 3 dc, ch 1). Next, work that first side as you normally would (3 dc, ch 1) in each space across. Repeat for each side space until you reach the next corner…this is where we’ll make our first join. In the corner space work 3 dc. Work a ch 1, then work a slip stitch into the other square’s corner space, then work (3 dc, ch 1) back into the square. As you continue down the side of the square, you’ll work 3 dc into the side spaces of the square, but instead of the ch 1, wirk a slip stitch join into the other square. When you get to the next corner, work 3 dc, ch 1, then slip stitch join into the other square’s corner space, then 3 dc, ch 1 back into the corner space. Work the rest of the square the way you normally would (3 dc, ch 1) in each of the side spaces and (3 dc, ch 2, 3 dc, ch 1) in the corner spaces. Join with a slip stitch to close round, fasten off yarn and you’re ready to join another square!
Part 3: Joining Subsequent Squares
As you join the rest of your squares, you’ll basically be repeating part 2 (see above), except the only difference being that sometimes there will be an area where you’ll be joining into a corner that has two or three squares (instead of simply joining one into another square). In this case make you slip stitch join in the spaces between the squares where the two corners meet (not the corner space). Always go directly across in your join to avoid it being off center. To see this join in action in greater detail, be sure to check out the video. In the video, I join two squares together, then three, then four squares, showing all possible joining scenarios that may arise as you work on your blanket. The rule of thumb is that when you don’t require a join, ch 1. When you are at a spot that requires a join, simply replace the ch 1 with a slip stitch into the other square.
*Important: If you have never tried the JAYGO technique, I highly recommend the video.
Last part…let’s connect! You can connect at any of the social media platforms below, and don’t forget to use the hashtag #fiberfluxcal


Also we have two special communities for our CAL makers! Each has a welcome area/thread, so please hop on and introduce yourself. You can get info, ask questions, help each other, see what everyone is doing, and show off your work too!
Click HERE to join the Facebook group!

Click HERE to visit and join the Ravelry group!
Also, don’t forget to tag me and use the hashtag, #fiberfluxcal to share your work on social media!
I can’t wait to see all of your gorgeous projects…please share those pictures and above enjoy, take some time to relax with your hook, and have fun! That’s all for today lovelies, see you next week for part four!!


![]()
![]()
![]()

![]()
![]()


© Fiber Flux LLC 2023

